
What can Mod Podge do?? Get 101 Mod Podge uses here! You’ll be surprised at all of the things you can make: gifts, jewelry, home decor, fashion, furniture, and on and on. So many great ideas!
Are you ready to learn all the Mod Podge uses in existence? Okay, this isn’t a list of all of them. I’ve been blogging about this craft supply for 15 years and I still see new things it can do at least once a week. Mod Podge is so versatile, and I’m excited to share a ton of uses with you today.
If you’re new to Mod Podge, you’ll definitely want to see this list. Invest in a bottle (find out where to buy Mod Podge) and a brush and get started.
Mod Podge has a very short learning curve and the start up costs are nothing compared to other craft supplies and hobbies (trust me, I’ve tried them all!).
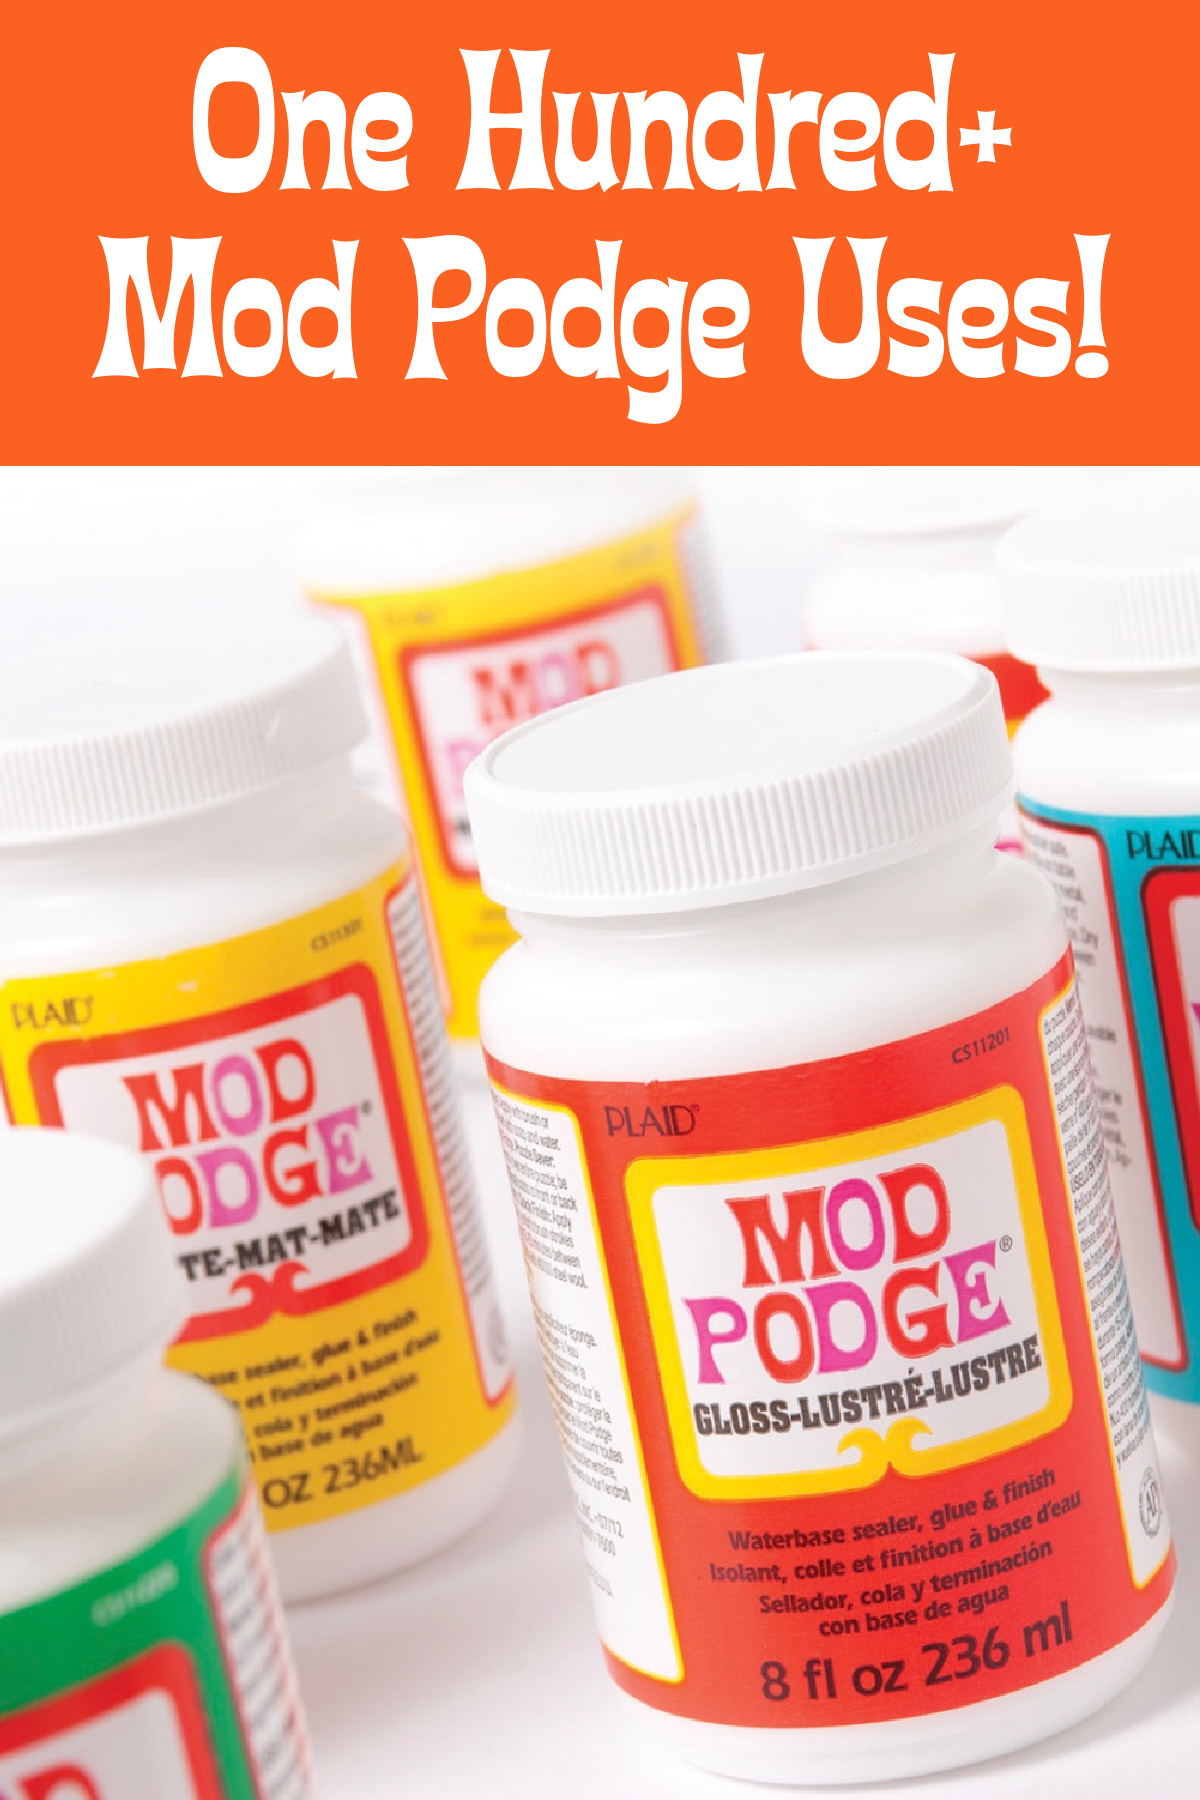
Mod Podge is a decoupage medium. It is a glue, sealer, and finish designed for craft and art projects. Like acrylic paint, it has a formula with several ingredients. It is not watered down school glue (I’ve seen it being made!). It’s also non-toxic, waterbased, and made in the USA.
You’ll be surprised at all of the things you can make: handmade gifts, jewelry, home decor, fashion, and on and on.
You really have to see everything to get a grasp on what this product can do! Do I sound like a salesperson? That’s because I really love Mod Podge.
What Surfaces Does Mod Podge Work On?
Paper, wood, fabric, glass, ceramic, terra cotta, tin . . . and even some plastics. If it doesn’t get up and walk, there is someone that has tried to Mod Podge it!
Though it is non-toxic, it is recommended not to be used on human skin nor should it touch food directly. 😀
How Do I Get Started?
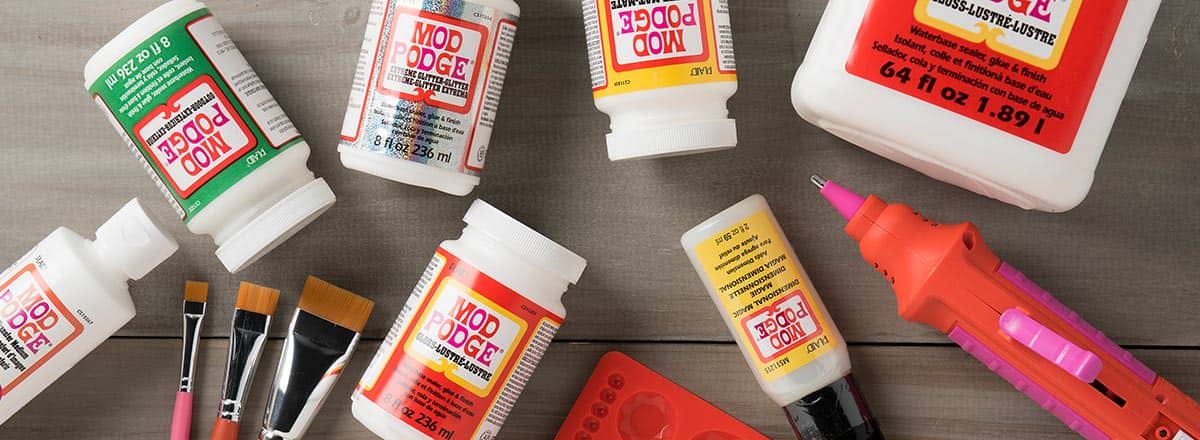
Your main tools will be a set of decent paintbrushes and a bottle of Mod Podge. There are other decoupage supplies you can get that are helpful and relatively inexpensive. Otherwise you’ll just need something to Mod Podge and a surface to attach it to.
You should to visit our post to learn how to Mod Podge. Then you’ll want to practice a bit. I recommend purchasing a $1 wood plaque or frame from the craft store for your first time.
My first frame was a craft fail, but it wasn’t long after that I started churning projects out with ease. I’m impressed by how many people get it right the first time!
101 Ideas Using Mod Podge
Are you ready to find out what it can do? Check out over one hundred Mod Podge uses!
Home Decor
1. Make collage wall art.
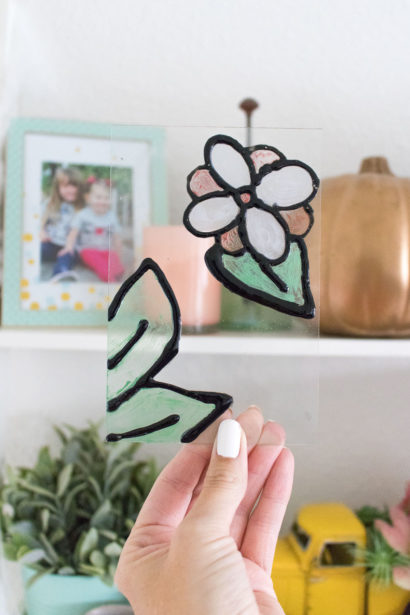
2. Create unique faux stained glass.
3. Add photos to the tops of tile coasters.
4. Try a coastal themed DIY mailbox makeover.
5. Learn how to line your drawers with fabric!
6. Paint a wood storage bin; add papers to the sides and ball feet.
7. Do a Mod Podge photo transfer to fabric to decorate a pillow with a vintage image.
8. Decoupage fabric onto shelves – this works for wall shelves or book shelves.
9. Transform a paper mache letter using a map and some paint.


Wall Art/Canvas
10. Make comic book letters and mount them on the wall (Command Strips are great for this).
11. Create photo booth canvas art with pictures of you and friends, pets, children, or family.
12. Make love canvases with pretty papers and a free template.
13. Make a simple canvas using a map.
14. This DIY superhero canvas would look fabulous in a kids’ room or man cave.
15. Use dollar bin finds to make this doily wall art.


Decoupage Furniture
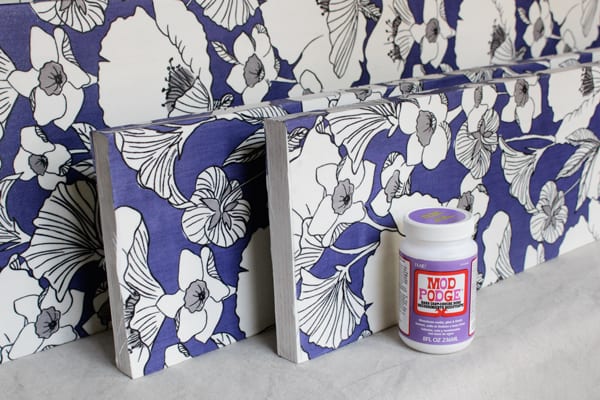
16. Cover a table top with wrapping paper.
17. User paper and bright paint to do a colorful table makeover.
18. Upcycle an old piece of furniture with fabric in this Mod Podge fabric table project.
19. Cover the top of a stool with some pretty paper.
20. Add child’s art to a dresser.
21. Transform a table in this vintage photo transfer table project.
22. Cover a chair in napkins.
Collage/Mixed Media
23. Use book pages to create a backdrop for this cool bird in a cage on canvas.
24. Use paint, sand, and resin to make unique ocean art.
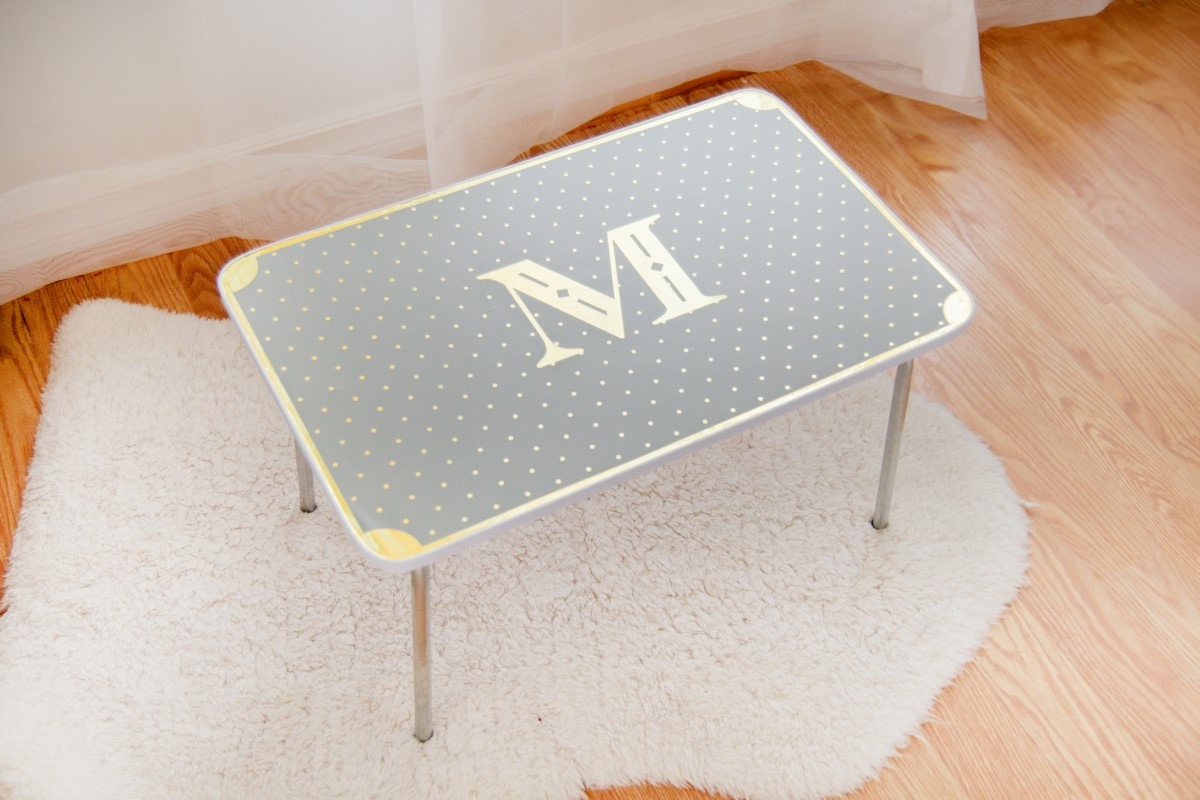
25. Create beautiful art journal pages with paints, papers, Mod Podge, and more.
26. Collage old photos and trinkets into frames for this Father’s Day gift.
27. Make a photo collage on large letters.


Projects with Photos
28. Make Instagram mini canvases and turn them into magnets.
29. Do a photo transfer to glass vases using the decal method.
30. Transfer photos to wood and then either frame or display as-is.
31. Decorate glass magnets with papers and your favorite photos.
32. Make these unique photo vases using old images and PVC pipe.
33. Decorate a suitcase with some of your best vacation images.
34. Use your photos to make unique crystal ornaments (good for holidays or gifts).
DIY Handmade Gifts
35. Decorate a notebook with paper die cuts, letters, and embellishments.
36. Make these DIY lace jars and fill them with candy.
37. Use punches and paper (or photos!) to make cute little wood keychains.
38. Add glitter to a mug with Dishwasher Safe Mod Podge.
39. Give a guy a present for his man cave by making these comic book coasters.
40. DIY alphabet blocks make an awesome gift for a friend with a new baby.
41. Transform a DIY clipboard with paper and paint for a teacher’s gift idea.
42. Create handprint art that kids can do year after year.
43. Decorate a tray with adult coloring pages.
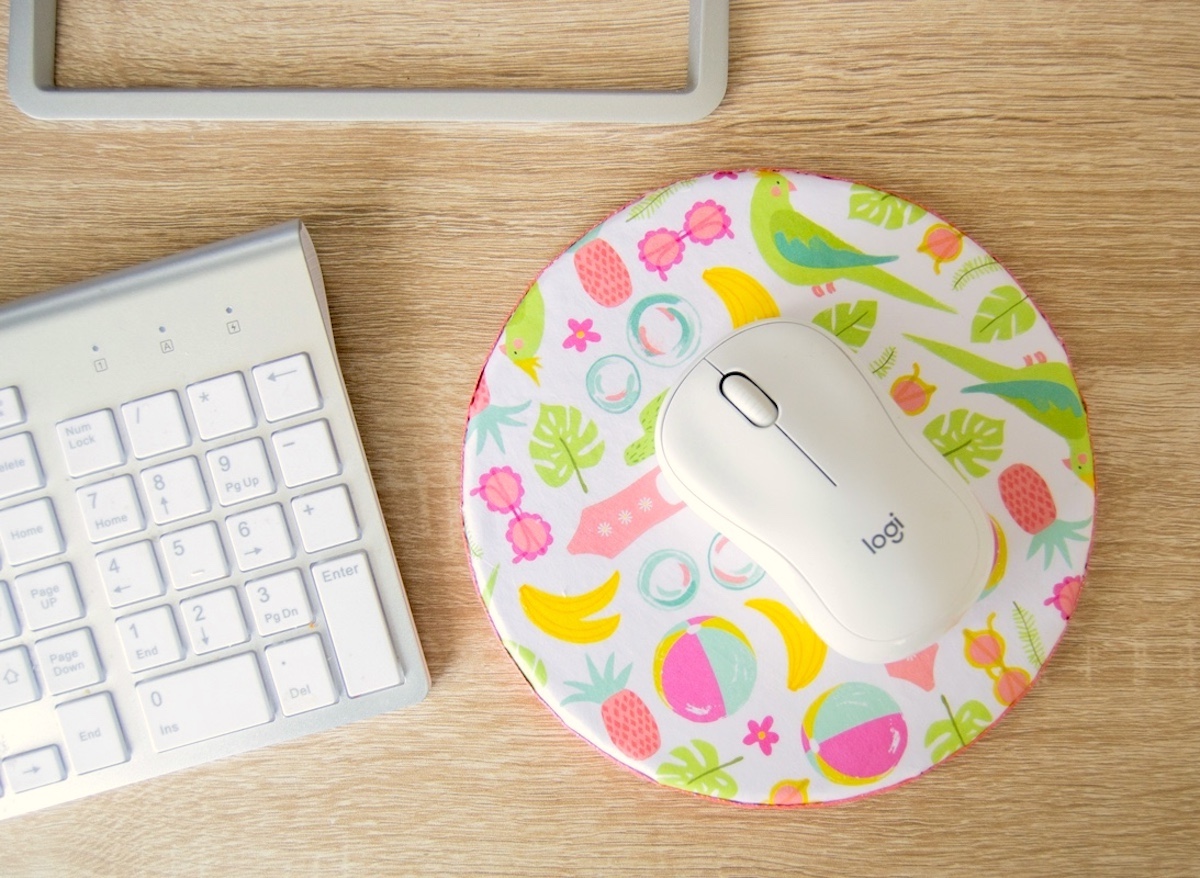
44. Make a DIY mouse pad using scrapbook paper and a cork circle.


Recycled Crafts
45. Make night light bulb Christmas ornaments.
46. Recycle a jar and turn it into a DIY pencil holder.
47. Cover old books in fabric and use them for home decorating.
48. Decorate old Altoid tins with paper and Dimensional Magic.
49. Turn old baby clothes into a new wardrobe in this DIY onesies project.
50. Turn old jars into DIY mason jar night lights.
Dollar Store Crafts
51. Transform a $1 frame with inexpensive scrapbook paper.
52. Cover dollar store candles with napkins.
53. Turn dollar bin doilies into bowls using Mod Podge Stiffy.
54. Decorate inexpensive bottles with vintage labels.
55. Make a DIY iPad case with a dollar store find and fabric.
56. Use Mod Podge as a puzzle glue on a dollar store puzzle.


Celebrations/Party
57. Glitter some glasses that are Dishwasher Safe.
58. Add confetti to a champagne bottle for a unique table number/centerpiece.
59. Use a glue gun to make 3-D gem drink stirrers.
60. Add napkins, doilies, and glitter to the back of glass in this dessert plate.
61. Make gift bags for a baby shower, birthday party, or wedding.
62. Make a crown for someone else – or yourself (you know you’ve always wanted one).
DIY Jewelry & Fashion
63. Personalize your sunglasses – two ways.
64. Make this DIY Shrinky Dink pendant necklace.
65. Use Dimensional Magic to make DIY belt buckles that will get you attention.
66. Take hardware store finds and turn them into washer necklaces.
67. Add fabric to sneakers.
68. Make DIY lace earrings (out of lace ribbon!).
69. Transfer images to clay with these image transfer pendants.
70. Add fabric to your denim for some cool DIY patchwork jeans.


Summer & Garden
71. Create a DIY beanbag toss with terra cotta pot trays.
72. Use colorful images to create this unique butterfly terrarium.
73. Turn the lids of mason jars into DIY garden stakes (free printable too!).
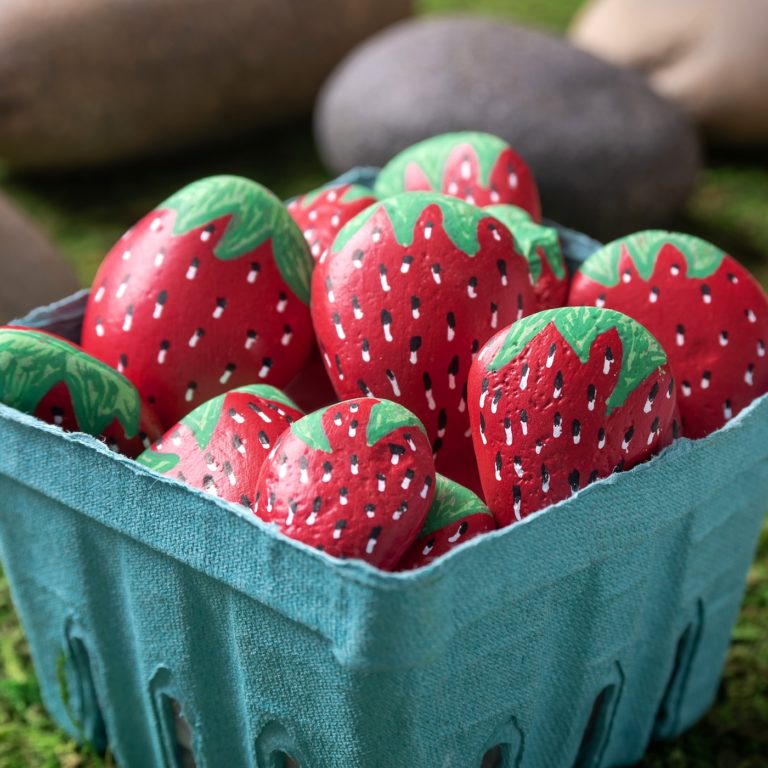
74. Seal painted rocks with Mod Podge Outdoor.
75. Learn how to cover pots with fabric and Mod Podge the easy way.
Kids Crafts
76. These bottle cap necklaces are a perfect summer boredom idea.
77. Make this Mod Pod Podge slime recipe.
78. Recycle ice cream sticks and turn them into a washi tape frame.
79. Create your own DIY window clings.
80. Kids will love this egg carton art.


Fall & Halloween
81. Preserve leaves with Mod Podge.
82. Make a DIY leaf bowl with Stiffy.
83. Decorate no-carve confetti pumpkins.
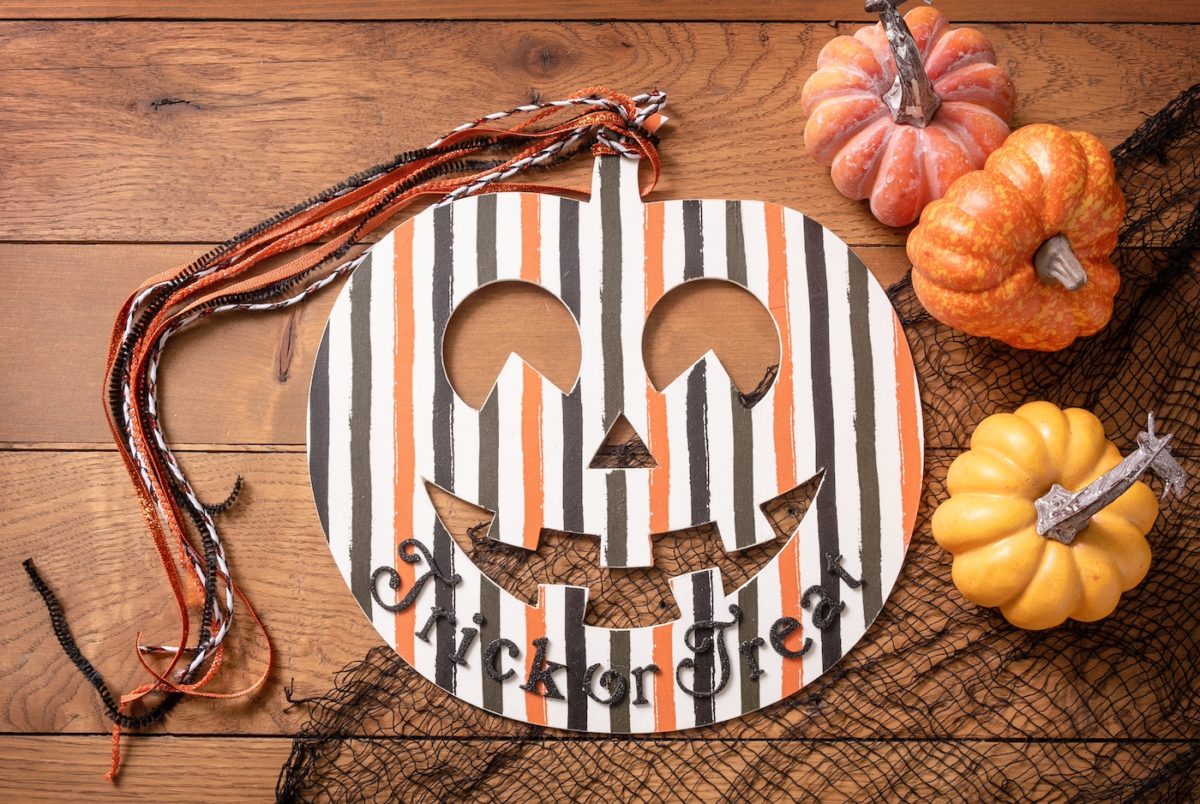
84. Use one sheet of scrapbook paper to make a simple fall sign.
85. Capture this cute cheesecloth ghost with Mod Podge Stiffy.
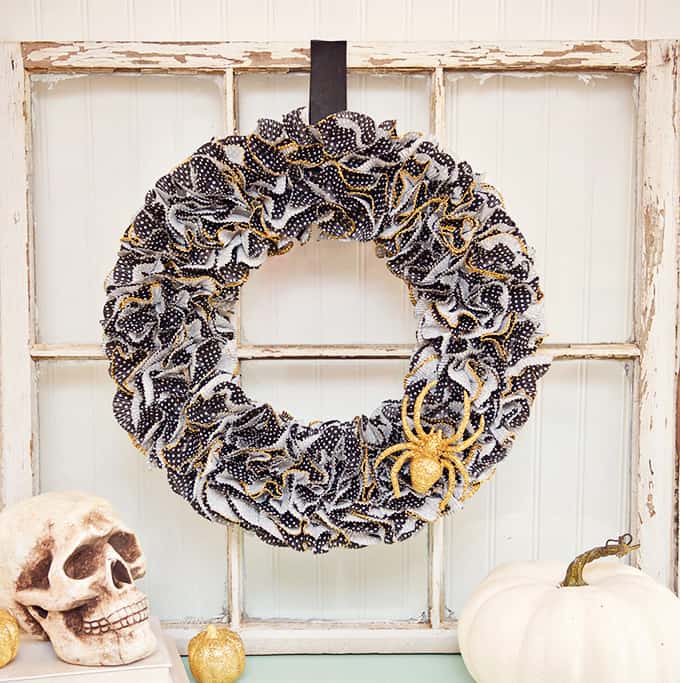
86. Create a cupcake liner Halloween wreath.
87. Make mummy Halloween luminaries with kids.
88. Recycle pill bottles into Halloween potion bottles (with free printables!).
89. Cover a Dollar Tree wood pumpkin with a napkin.
90. Try these handprint Halloween crafts for toddlers.


Christmas & Holiday
91. Make a handprint ornament with your kids.
92. Turn old Christmas cards into magnets.
93. Make DIY Christmas tree decor from boxes.
94. Make your own fancy gift wrap.
95. Make Mod Podge photo Christmas ornaments.
96. Take your vacation memories and turn them into DIY glittery seashell ornaments.
97. Make a big ol’ advent calendar using canvas and boxes.
98. Decorate lights in this glittered snowball DIY Christmas lights project.
99. Make a very easy Christmas wreath with kids.
100. Decorate a mason jar like Santa for a last minute gift idea.
101. Create beautiful winter decor with these winter scene vases.
There are so many Mod Podge uses – these are just a start. Let me know your favorite uses in the comments! What do you love to do with your Podge?


I fix my cellphone covers with modge podge
Hi there what Mod Podge could I use to stick a photo on a dark brown beer bottle (my friend passed away and I want to stick a photo of us all on his favourite drink bottle)
Hi Joann! I recommend using Gloss. And print out the photo on laserjet OR print on inkjet and spray on both sides with clear acrylic sealer or hairspray (and let dry overnight) so the ink doesn’t bleed.
Hi Amy,
I am painting terra cotta pots for outside. I’m wondering if I can use any acrylic paint and cover/seal it with Mod Podge outdoor? Or do I need to use an outdoor paint as well?
Thanks
Hi Kathy! So if the sun is blazing – like you’re in Phoenix – I’d use an outdoor paint because it has UV protection that the regular acrylic does not, and you need every bit of UV protection you can get in very sunny environments. If it’s going on a porch or some area that doesn’t get sun all the time, I think you’d be fine to just use regular acrylic paint. It really depends on the sun level, kinda like plants 🙂
@Amy, Thank you, I’m in the blazing sun and heat of Texas. My outdoor paint was delivered yesterday so I’m excited to get decorating.
Can Mod Podge be used as a temporary adhesive?
Hi Mary Jane! No, it is made to be more permanent.
Hi, i want to laminate a photo to place on a memorial (outdoor). is Mod Podge suitable for this?
Hi Darren! Mod Podge doesn’t really act to laminate something, and my guess is there would be difficulty adhering it to a smooth stone. I would do a search online for other options or use a tutorial like this: https://www.ehow.com/how_6364954_make-ceramic-photos-headstones.html
Hi there!
I was wondering if you can use Mod Podge for making sticker, made from a Cricket stay sealed on a plastic cup?
I wouldn’t – I’d just use waterproof vinyl with your Cricut. It will stay sealed and you won’t need Mod Podge (since you aren’t decoupaging).
Hello
Im looking for a sealer for plastic flower pots. I have painted them with acrylic paint and need to seal them for the weather, as they will be outside.
Would Mod Podge work for this?
Thank you
Mod Podge would work, however, since you aren’t decoupaging just use a spray. Since they’ll be outside, use something like Krylon UV protection.
can i use this product to brush on the back of paper images that i will use for paper tole. I’m wondering if your product when dry will act as a sealer and stiffen the paper for the easy cutting of cut outs when developing multi layers for paper tole.
Hi Reg! Yes, Mod Podge stiffens paper a bit – and keeps it from tearing. And a lot of people use it for paper tole. One thing you might notice is that it wrinkles the paper if you only apply it to the back. I recommend doing it on both sides. Apply on one side, let dry, apply on the other. Do a TEST first and make sure you are happy with the results!
Hey there!
I wanted to share a use for Mod Podge that may not be what many expect: I use it as a pouring/flow medium for acrylic painting. It is quite amazing as such, especially since it combines the best of all worlds: medium, sealer, and a guard against yellowing. Even more so, the variety of finishes and types allow for those effects to be built into the art not only without having to pay for specialized products, but there is also a wider variety of options to stylized your art with at the outset. If you want to talk about this more, feel free to contact me.
-Kim
@Kimberle Andrews-Panattoni,
I really wanted to get into the paint pouring but have no idea where to start. Would you be able to give me some advice/tips?
Thanks!!
I am interested how does it dry on quilt fabric? Can it be washed after Quilting?…etc
thank you
gwen
Hi Gwen! You’d definitely want to use Fabric Mod Podge for that sort of application:
https://modpodgerocksblog.com/all-about-fabric-mod-podge/
I will warn you that it does make the fabric stiffer and can slightly darken it. But I like the results. I’d do a test first. And yes, you can wash it 😀