
Discover my top tips for gluing a puzzle to preserve your masterpiece! Learn the best techniques to turn puzzles into lasting art.
Skills Required: None. Even if you’ve never crafted before, you can seal a jigsaw puzzle with Mod Podge. You’ll get the tips and tricks for success below.
Ever since I was little, I’ve been addicted to puzzles. They are one of my favorite crafts to do at home!
My favorite puzzle when I was young was a white cat. We didn’t even have cats because my dad and one of my brothers were allergic, but that’s what I had.
I liked that puzzle because the large amount of white area made it a challenge to put together. Some of my favorites were mounted on my wall, and the way I got the pieces to stick together was puzzle glue.
If you’re wondering how to glue a puzzle, it’s REALLY easy to do. My favorite high quality adhesive is Mod Podge Puzzle Saver. It’s a water based glue, sealer, and finish. This Mod Podge formula comes in two sizes:

Tips for Using Puzzle Glue
I’ve been asked this question before since a lot of people break up their puzzles and put them back in the box when they are done – looking forward to getting them out and doing them again.
Of course you can do that, but some people want to preserve their puzzles permanently, typically to hang on the wall.
Once your creation is glued, you can stick it in a frame with or without glass. The puzzle glue makes it so that it will stick together even without glass holding it in.
Another option for mounting your puzzle is on a canvas. I’ve seen people complete a puzzle, use glue to seal it, and then attach it to the canvas and hang.
Do you glue a puzzle on the front or back?
I always glue them on the front only and they stay together. I’ve never had any problems if I do a few coats. Having said that, if you want to make it extra secure, simple flip the puzzle over and do the back as well. Let dry completely.
Framing a Jigsaw Puzzle
If you’re going to frame the puzzle after gluing, I want to give you a few tips. Here’s what you need to do:
- Buy a piece of foam core larger than the puzzle.
- Mount the puzzle to foam core using the Mod Podge. Add a relatively thick layer of Podge to the core and place the puzzle on top. Wipe away any glue that comes out the sides and let dry.
- Once dry, trim away the excess foam core. You can trim exactly to the edge of the puzzle or leave room for a mat.
- Place a mat (if desired) around the edge of the puzzle and frame.
- You can have your piece professionally framed, or buy a frame from the craft store. Add the puzzle to the frame.
Are you ready to get my tips for gluing a puzzle? Keep reading!
Gather These Supplies
- Finished puzzle
- Mod Podge Puzzle Saver – or other quick drying liquid glue
- Paintbrush if you don’t get the package with the brush
- Wax paper or parchment paper to cover your work area
- #0000 steel wool (optional)
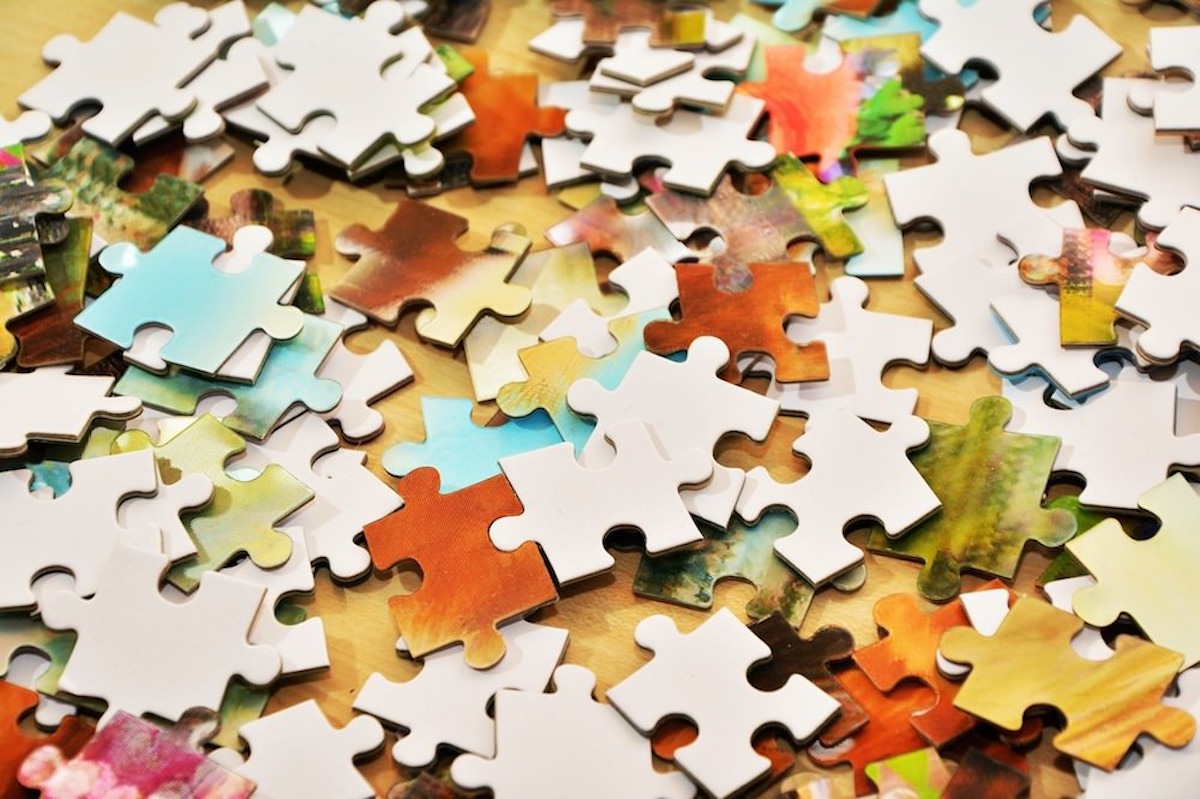
Complete the Puzzle
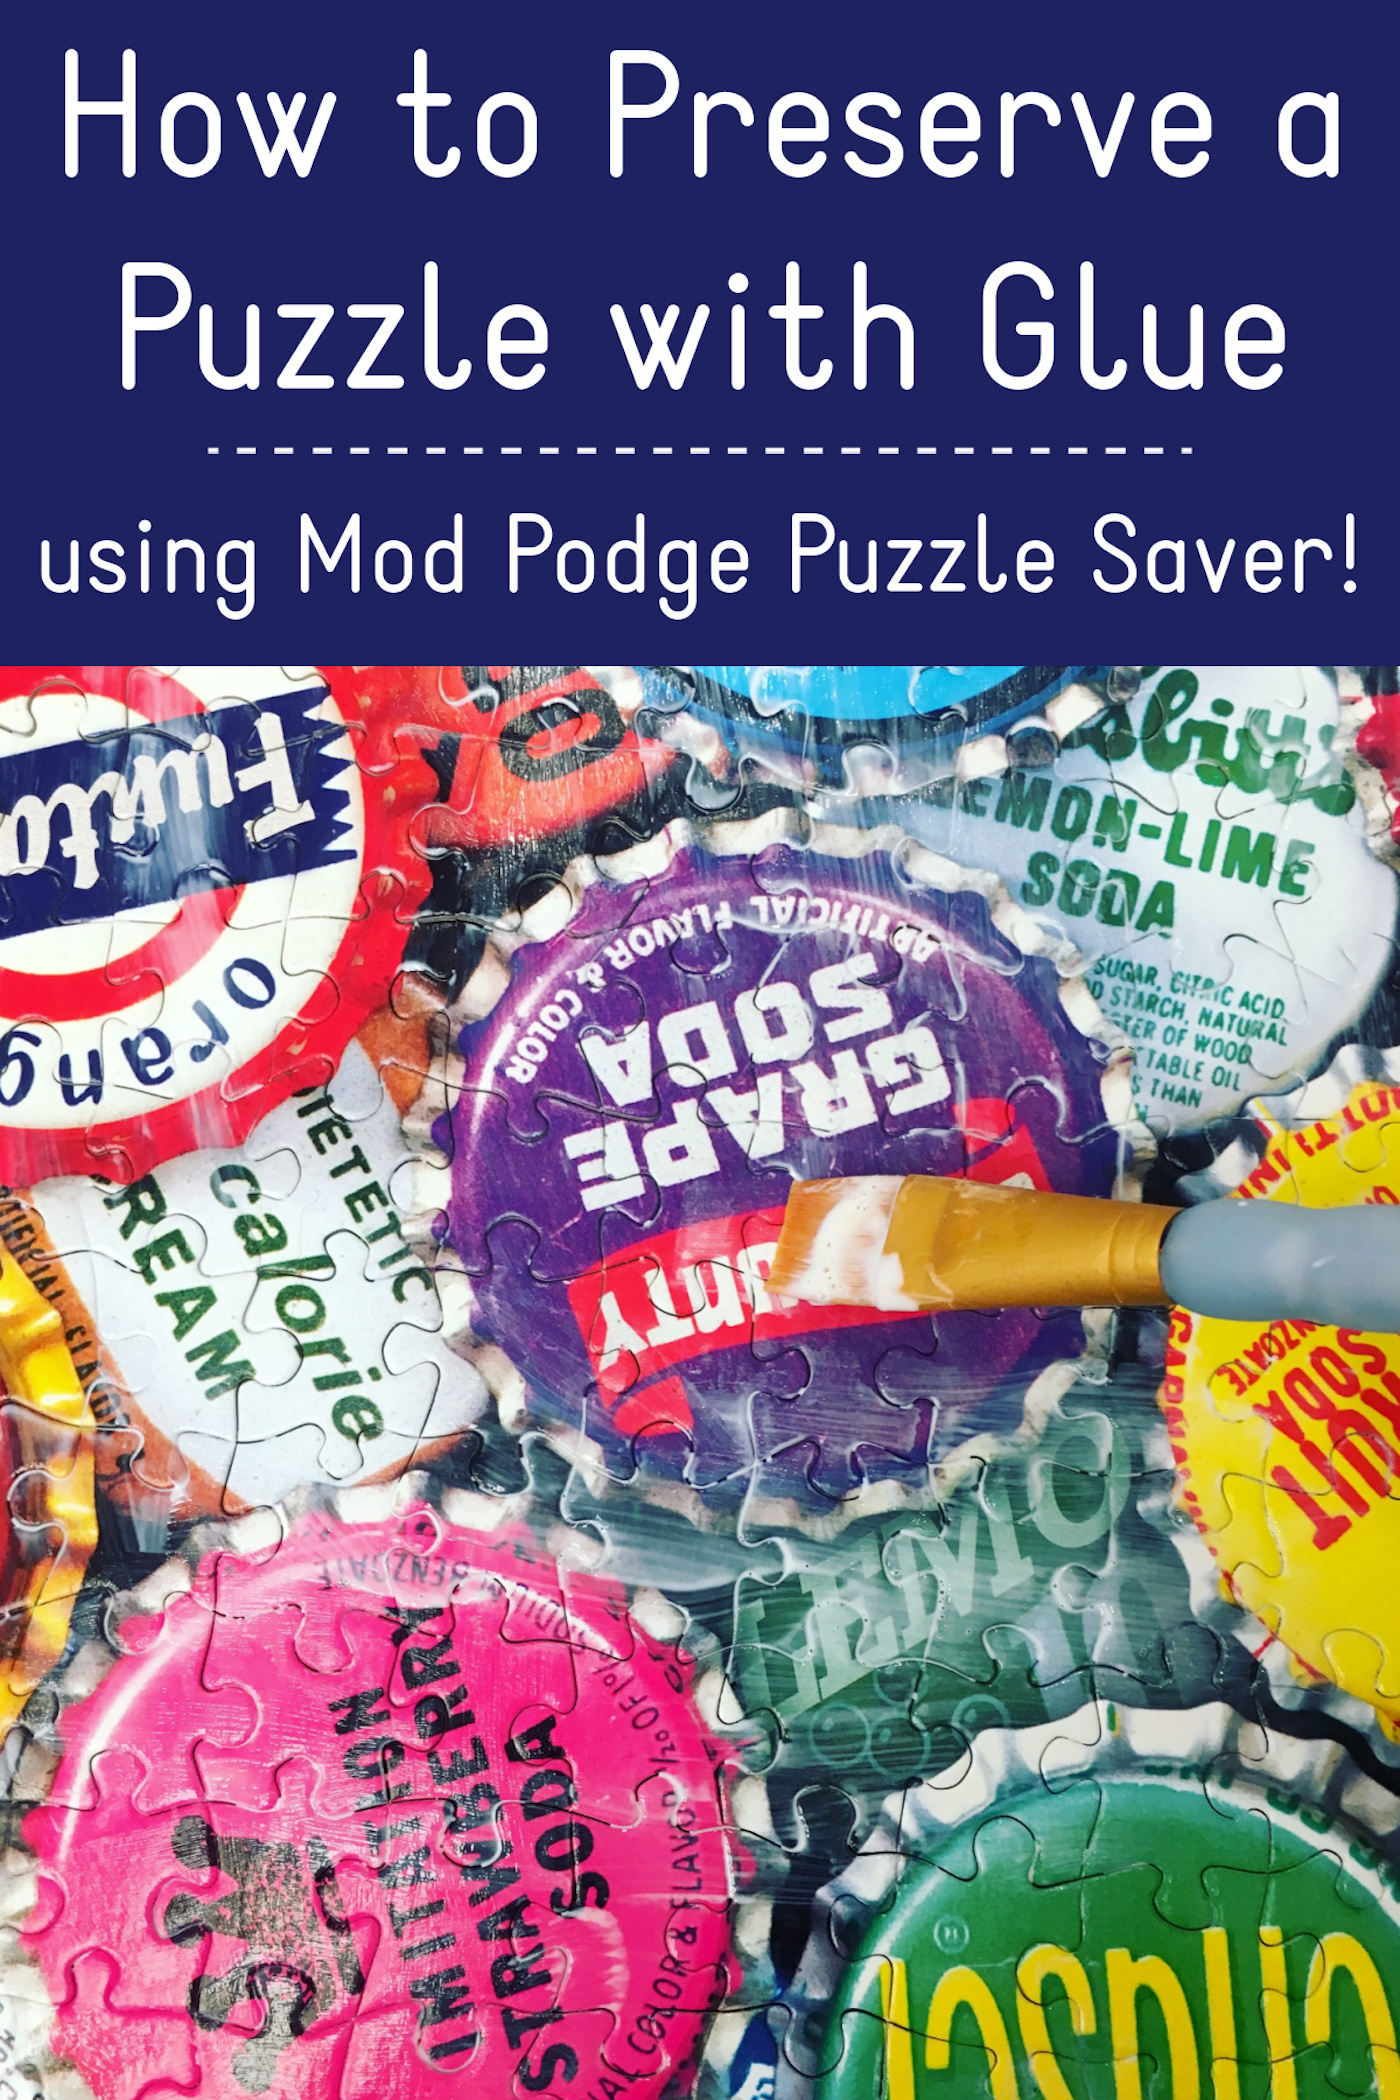
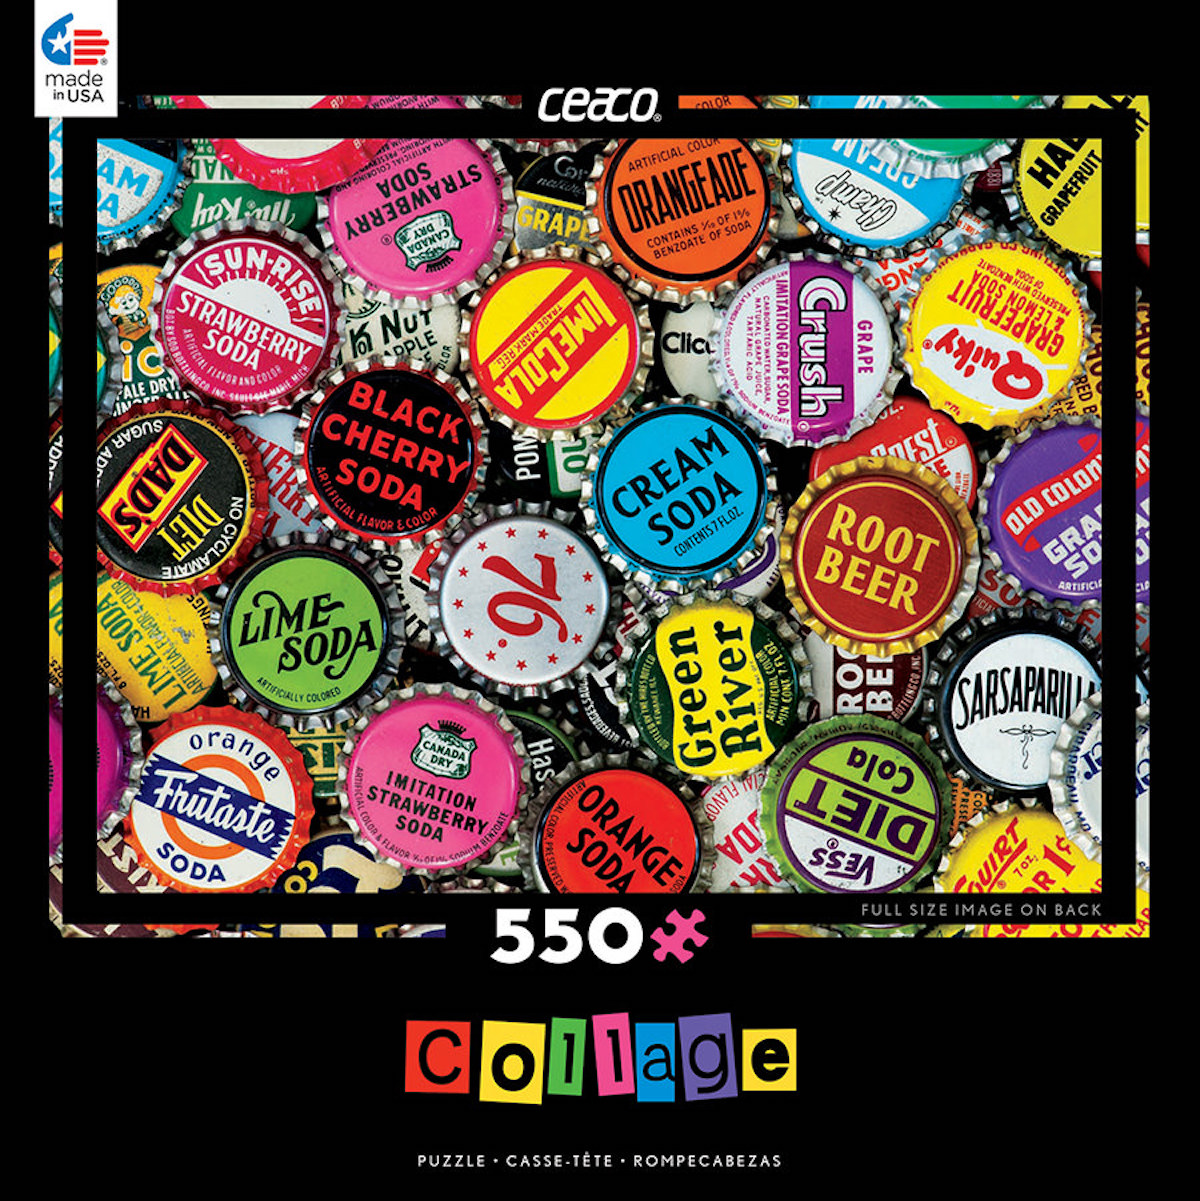
Here’s the puzzle I did for my demonstration. I love the bottlecaps and colorful nature of this puzzle!
After completion, transport your puzzle an area where you can apply the glue. This means you might want to start by doing your puzzle on wax paper or parchment paper in the first place.
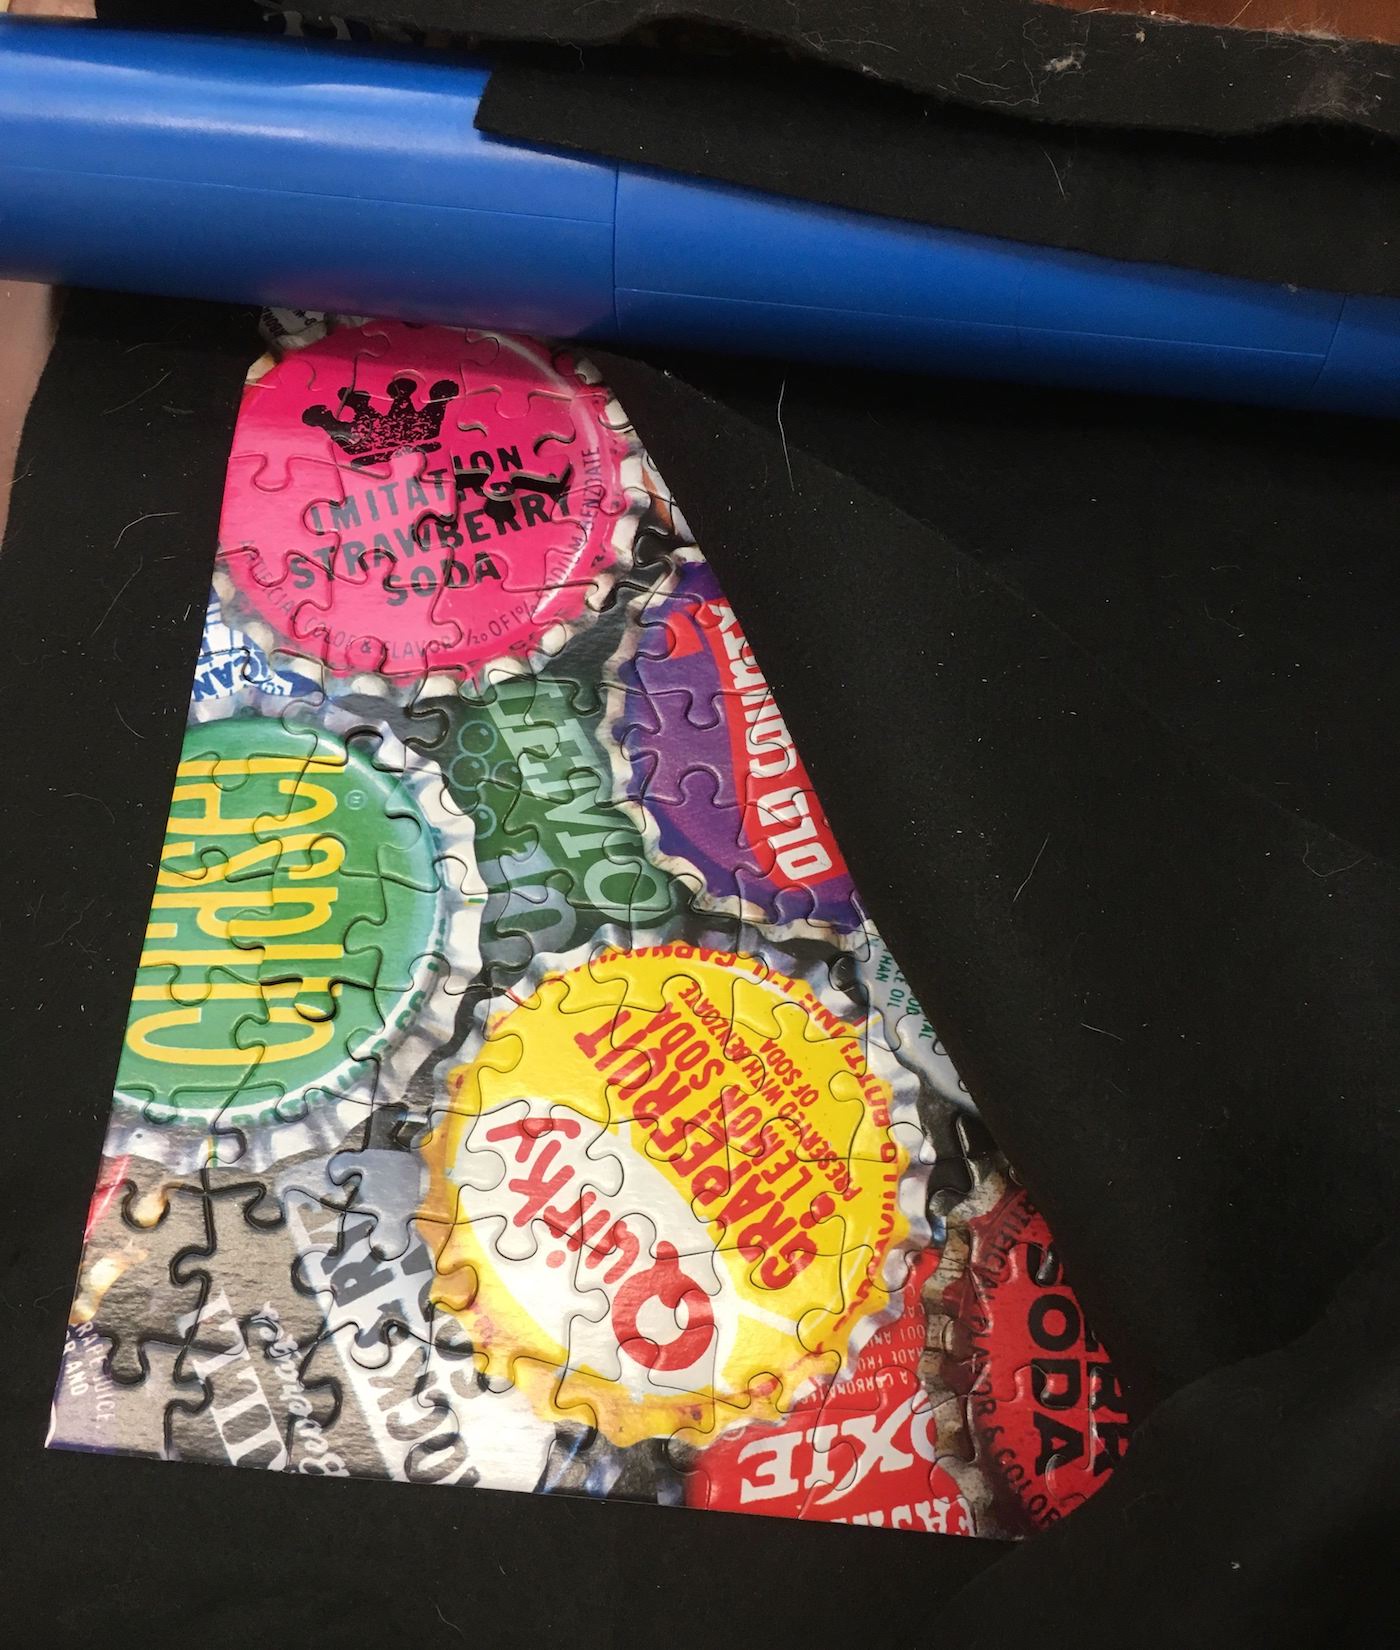
I actually use a puzzle roll up mat that is made of felt. This is because I can’t leave my puzzles out all the time – I don’t have a place.
Add the First Layer
So for my first layer of liquid glue, I do a VERY light coat of glue on the front of the puzzle. My goal is to get the puzzle pieces secure so that I can move it safely off of the mat without messing it up. I let it dry for about 15 – 20 minutes.
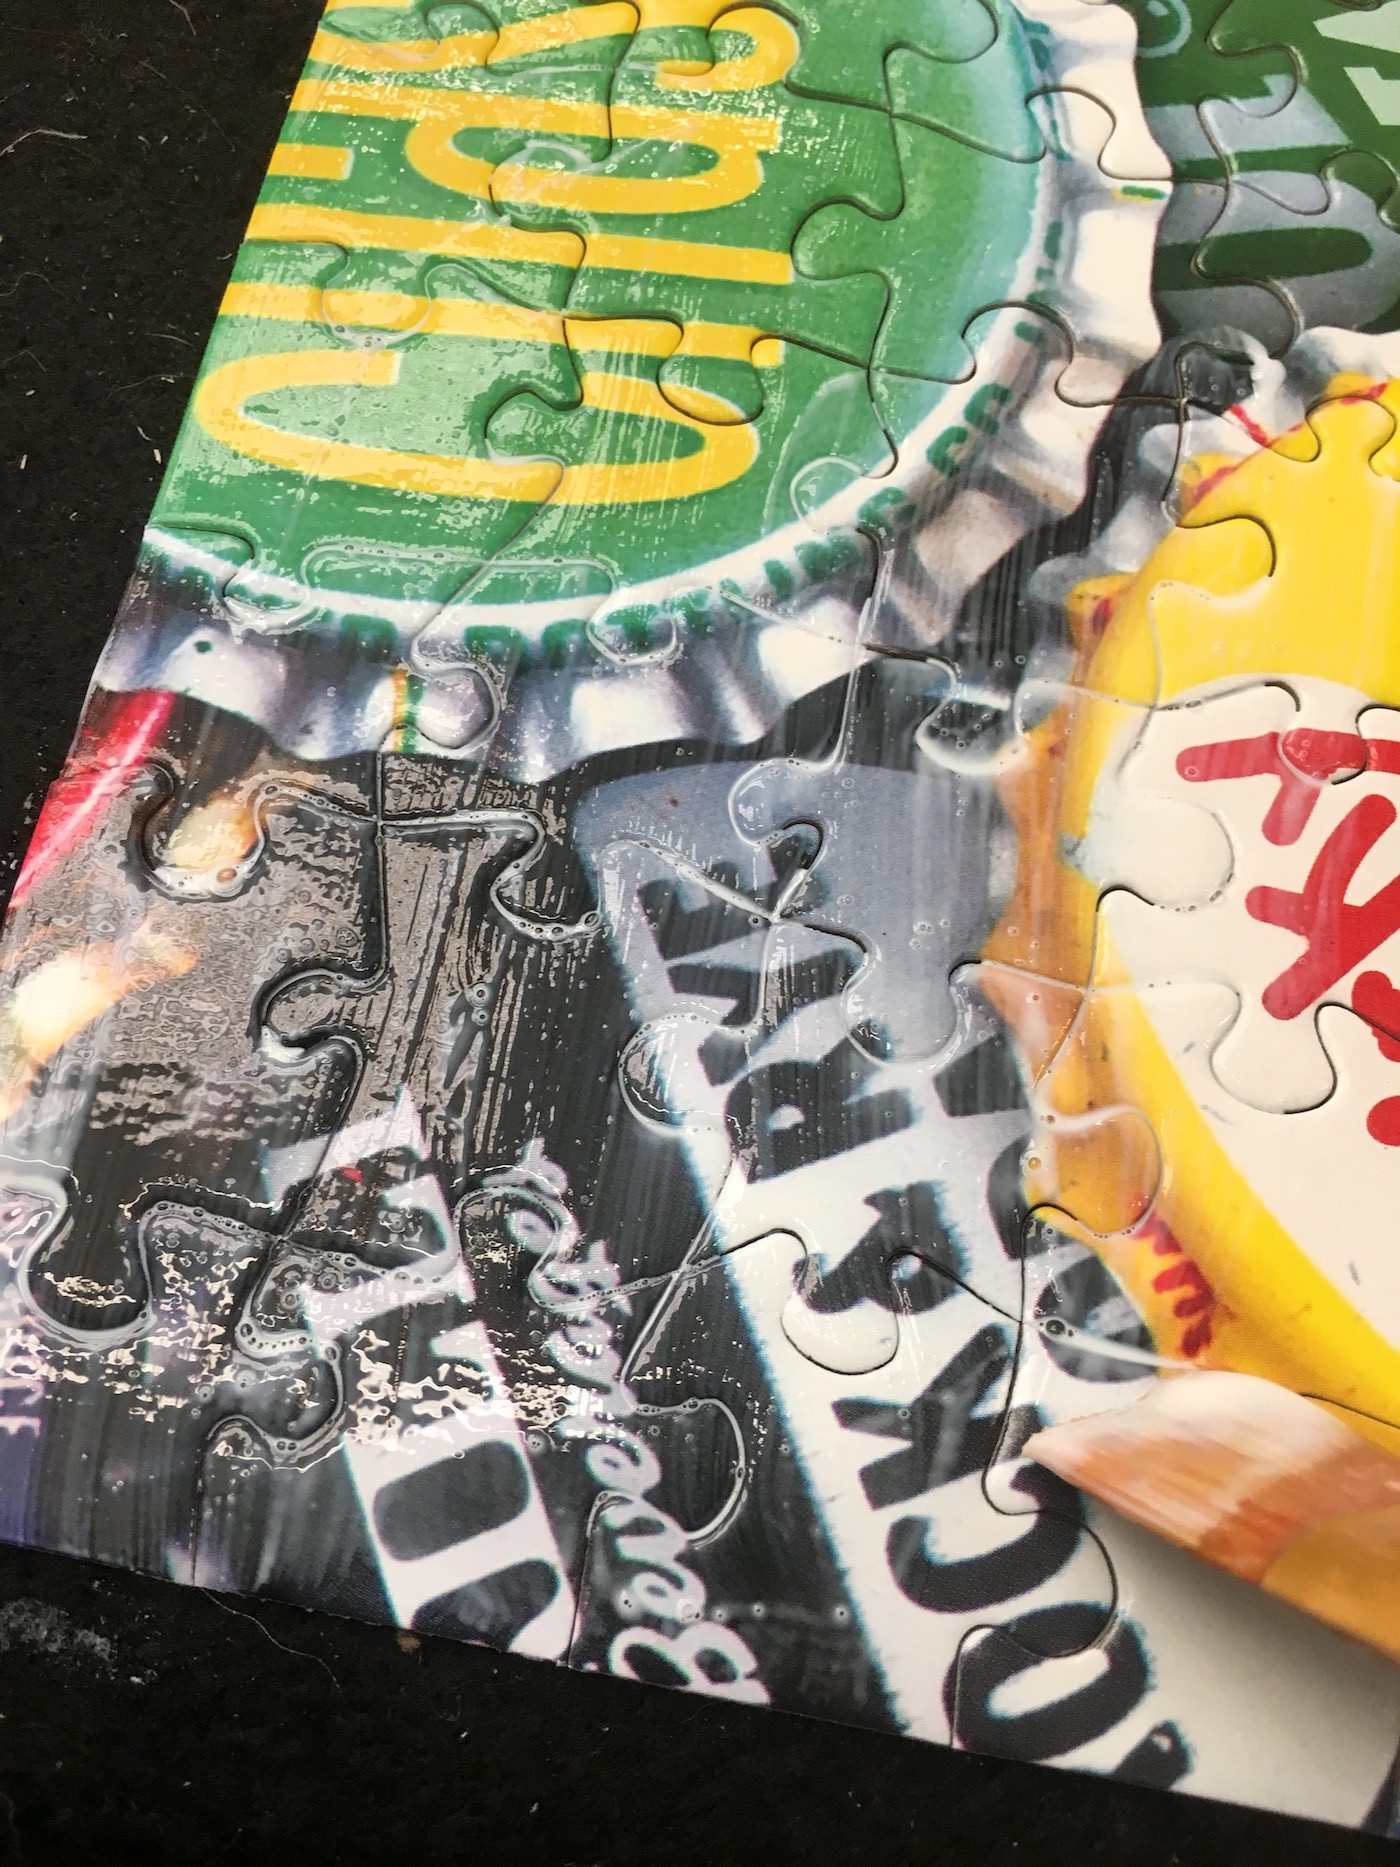
Once the glue dries, I move it off of the mat onto a surface. If I see any excess that got on my mat, I wipe away . . . or just let it dry. There might be a few dots, but because my first layer of puzzle glue was so light, it’s never that much.
I then move it off the mat to wax paper or parchment paper when I’m ready to glue. I just slide it off directly onto the work area.
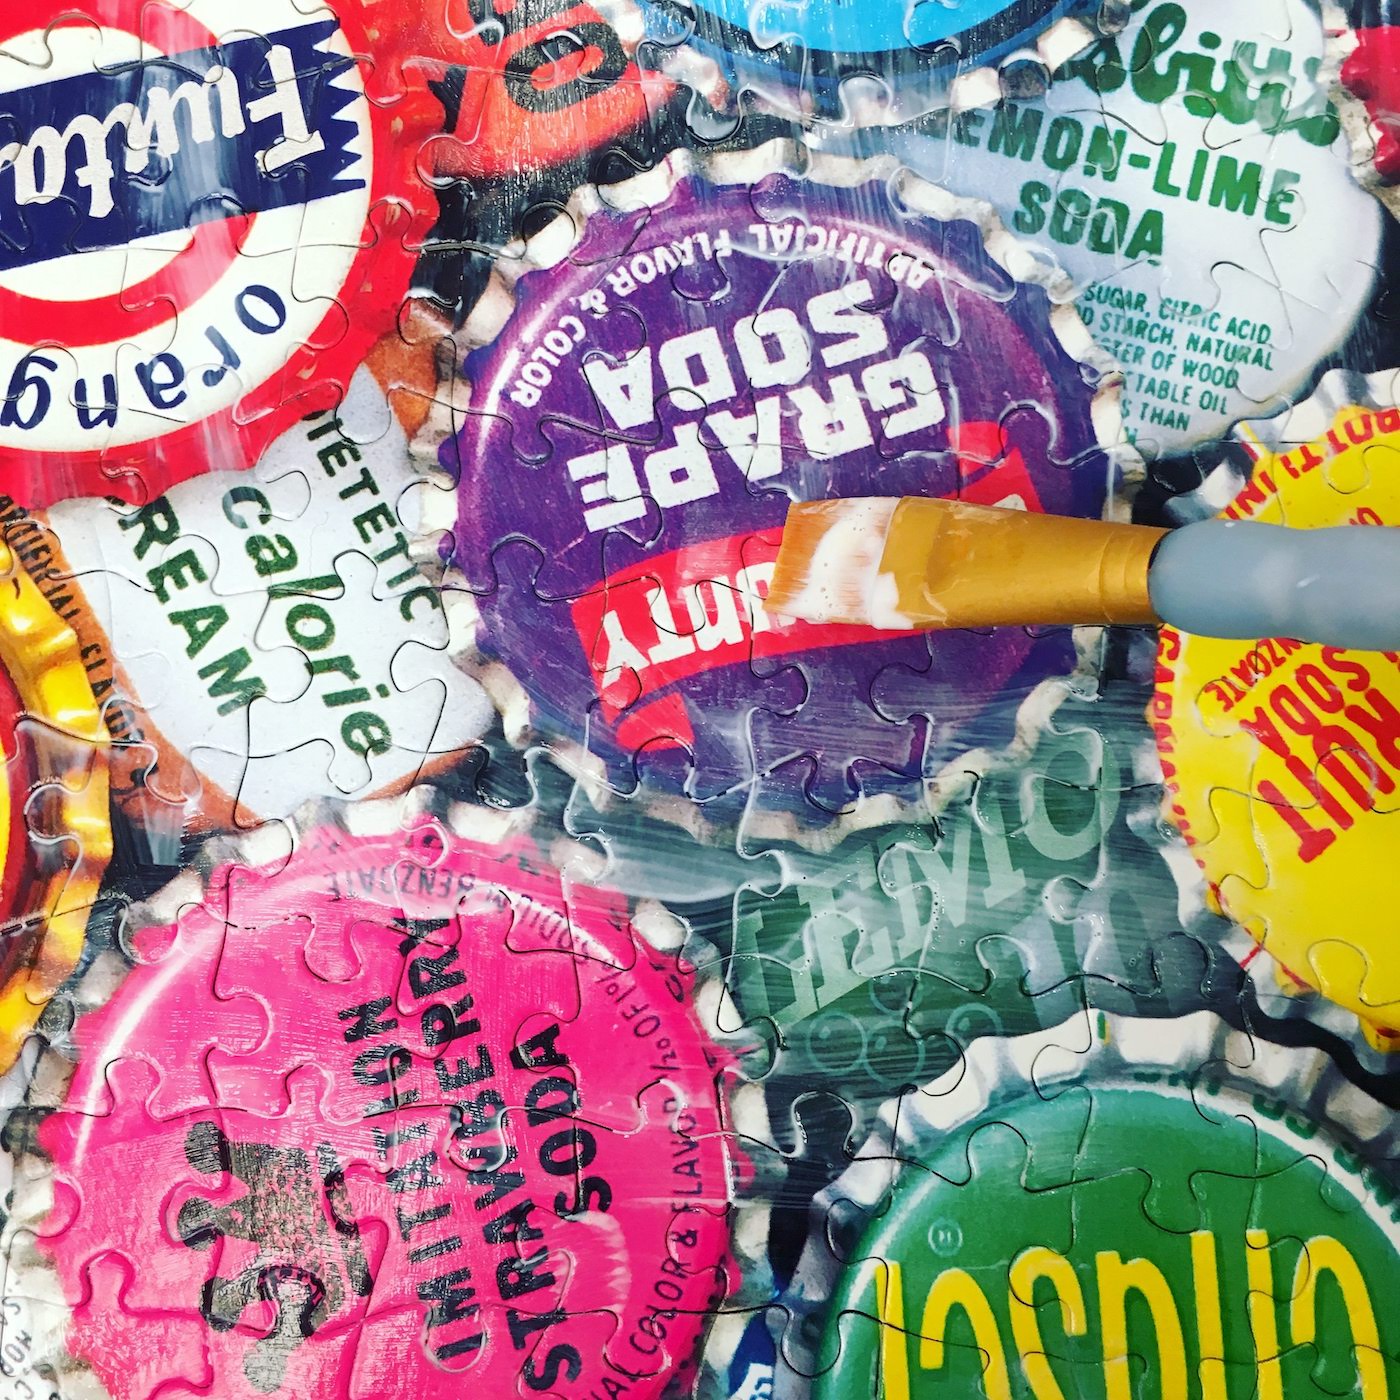
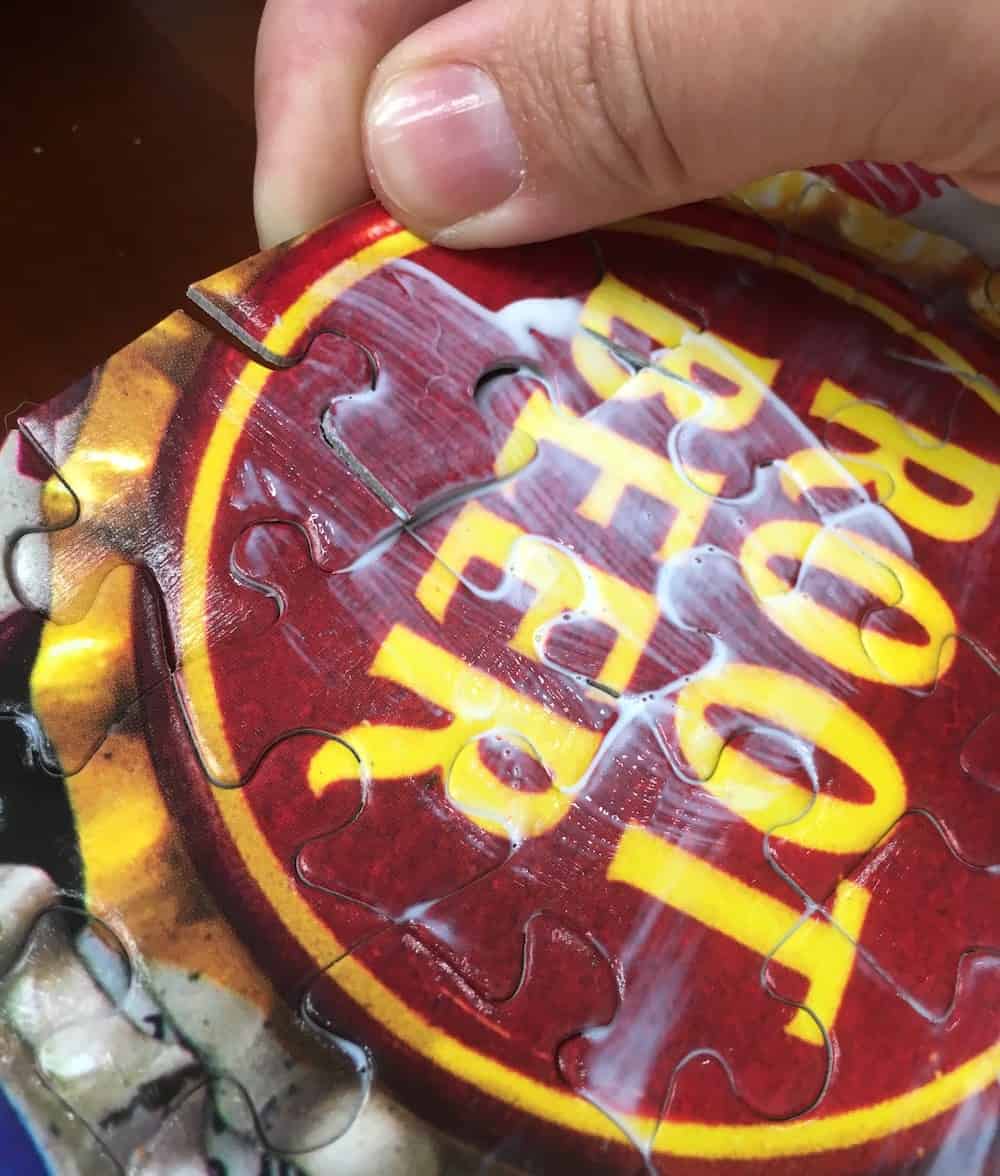
Apply a Second Coat
Once you’ve got it onto a better surface, coat with a medium layer of puzzle saver. Spread the glue into the cracks. Let dry.
You might have a few loose puzzle pieces that you didn’t get. You might need to give the edges of the puzzle a little extra too.
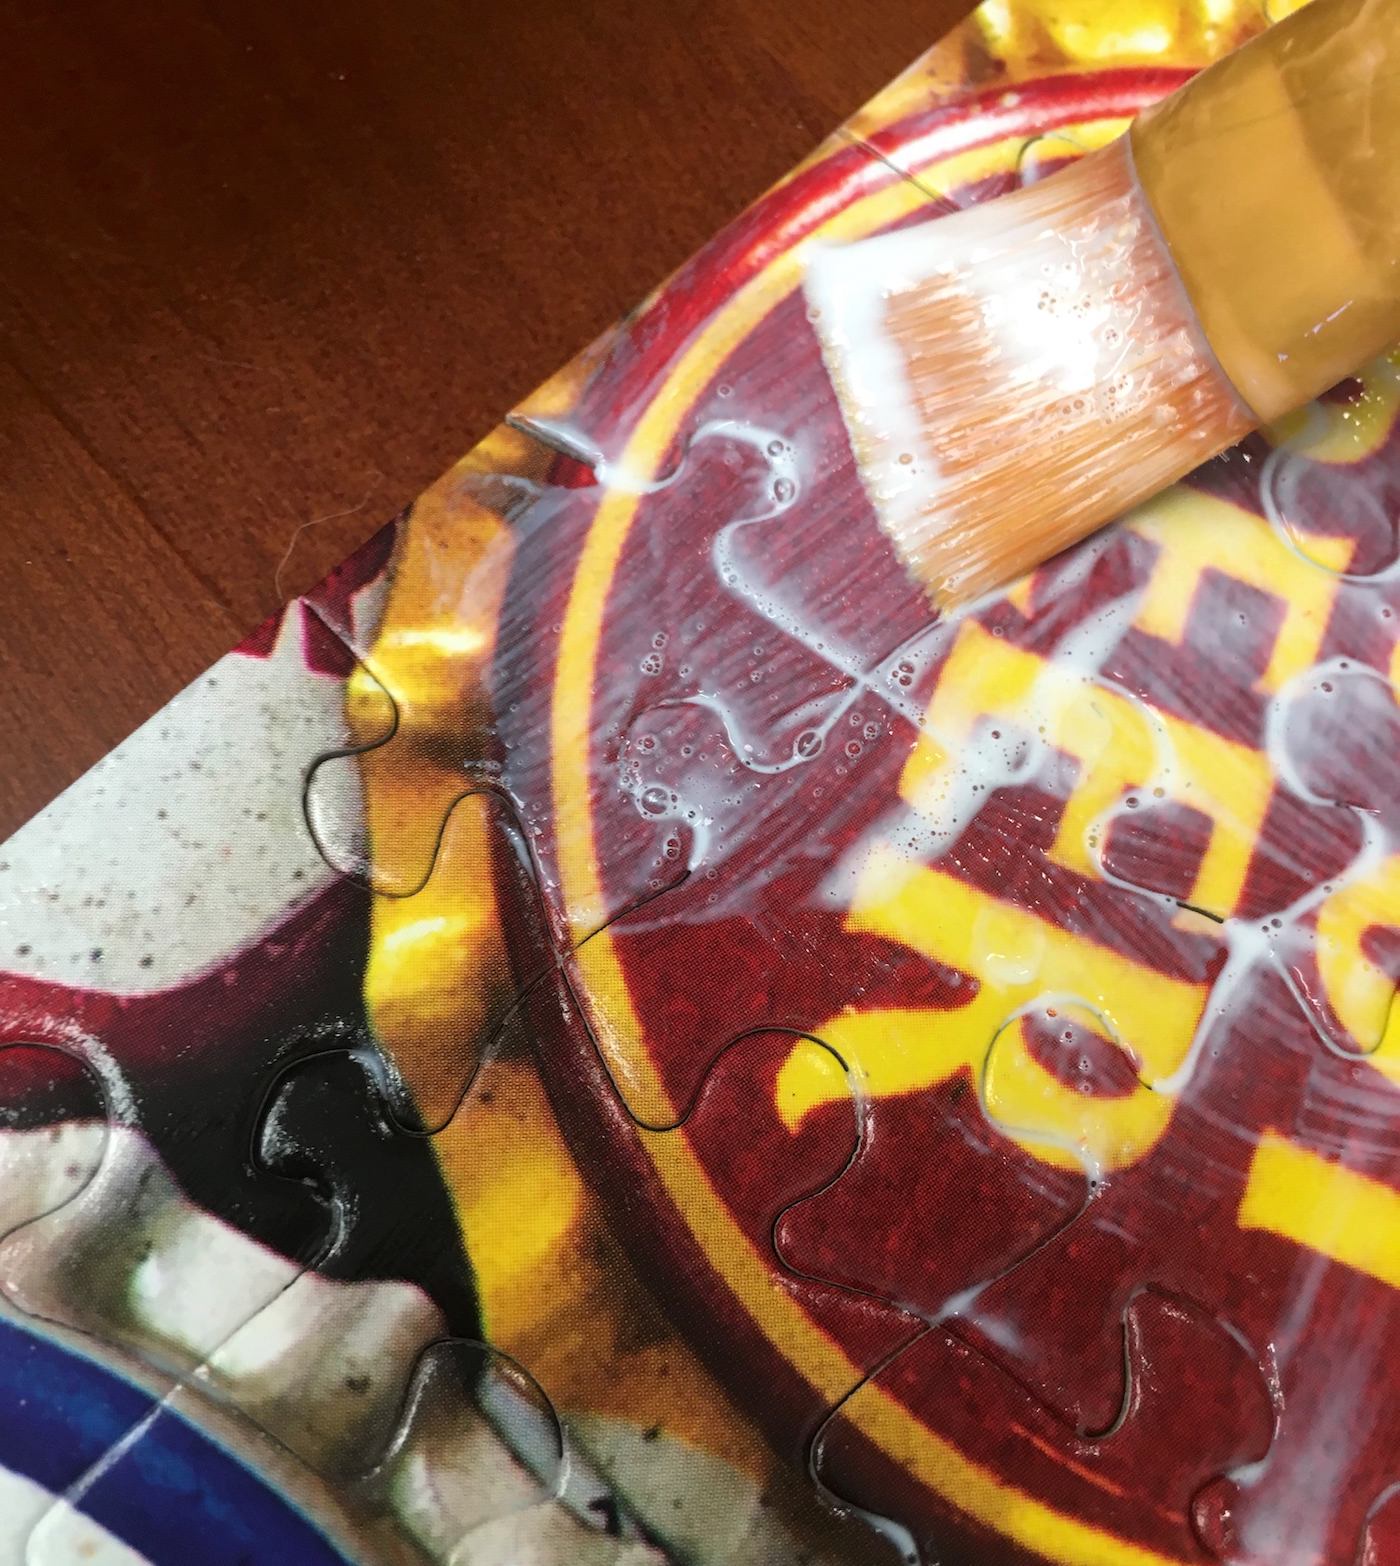
Simply secure everything into place with more glue. If you like, you can let dry and apply more coats of Mod Podge. Two to three works well for me.

Once your glued puzzle is done and dry, you can place it in a frame or otherwise display it any way you like! You can pick it up easily when dry and move it – the pieces are secure. I do NOT do the back. I don’t need to.
Don’t forget to wash and dry your brushes after use. Preserve them for the next project!
Optional: Depending on the brush you use – the finished product might have some brush strokes in it. To minimize, use a piece of #0000 steel wool over the top. It really helps!
Now that you know how to glue a puzzle, would you try it? Let me know your process and tips in the comments!
Oh, and if you’d like to learn how to make a puzzle of your very own – check out our photo puzzle tutorial! It’s really easy.


What can I put between finished puzzles to keep them from sticking together? I have dozens of finished unframed puzzles.
How do I get the finished and sealed puzzle to stick to the wooden frame
Hi! It should be mounted to foam core or put under glass. You would mount it to the foam core and then place it in the frame.
Does this work for holographic puzzles, or does it ruin the effect?
Hi Jennifer! Mod Podge does dull glitter so I imagine it would dull it slightly. It’s not terrible but . . if you could figure out how to flip the puzzle over, you could apply the MP to the back only. 🙂
What is foam core?
It’s a very lightweight posterboard type material with a foam middle! You can get it at the craft store. Check it out: https://en.wikipedia.org/wiki/Foamcore
I glued a 9000pc puzzle but in halves. Now i tried putting the two halves together and the pieces are fitting properly because of the excess dried glue. do you have any recommendation on how to go about this?t thanks
Hi Liborio! You can sand those areas. If you have sandpaper, use that, but an emery board works too. Sand and try to fit it and keep going until the excess glue areas are sanded off and the pieces fit. Don’t sand too aggressively or you’ll sand the design off and not just the glue.
Do you use the modpodge on the face of the puzzle ? Or on the backside of the puzzle?
On the front!
We have done this on many puzzles, however this year for New Years we will be making a hologram puzzle (flat 3D) to hang. Which modge podge will retain that hologram shift of the puzzle for us? We are afraid to loose the 2 dimension upon applying modge podge to the top, not sure the puzzle one is the one to be using this time??!
Hi Michelle! I wouldn’t use any acrylic medium on the front of the puzzle. I worry that it would dull it – since it dulls glitter. Honestly I’d probably Mod Podge the back, though Mod Podge could seep through. You could also use packing tape across the back!
I didn’t know what I was doing, but I put my puzzle together on a large piece of oak tag, now called poster board, from Dollar Tree. That way, if the Mod Podge seeps down, you don’t ruin your table, and your puzzle can be easily moved without it breaking apart. After your puzzle is finished, and Mod Podged, just cut down the poster board to size, and frame it. Simple & easy. Mine came out great.