Mod Podge is a crafting essential! Discover how this all-in-one adhesive works, why crafters swear by it, and how to use it for your DIY projects.
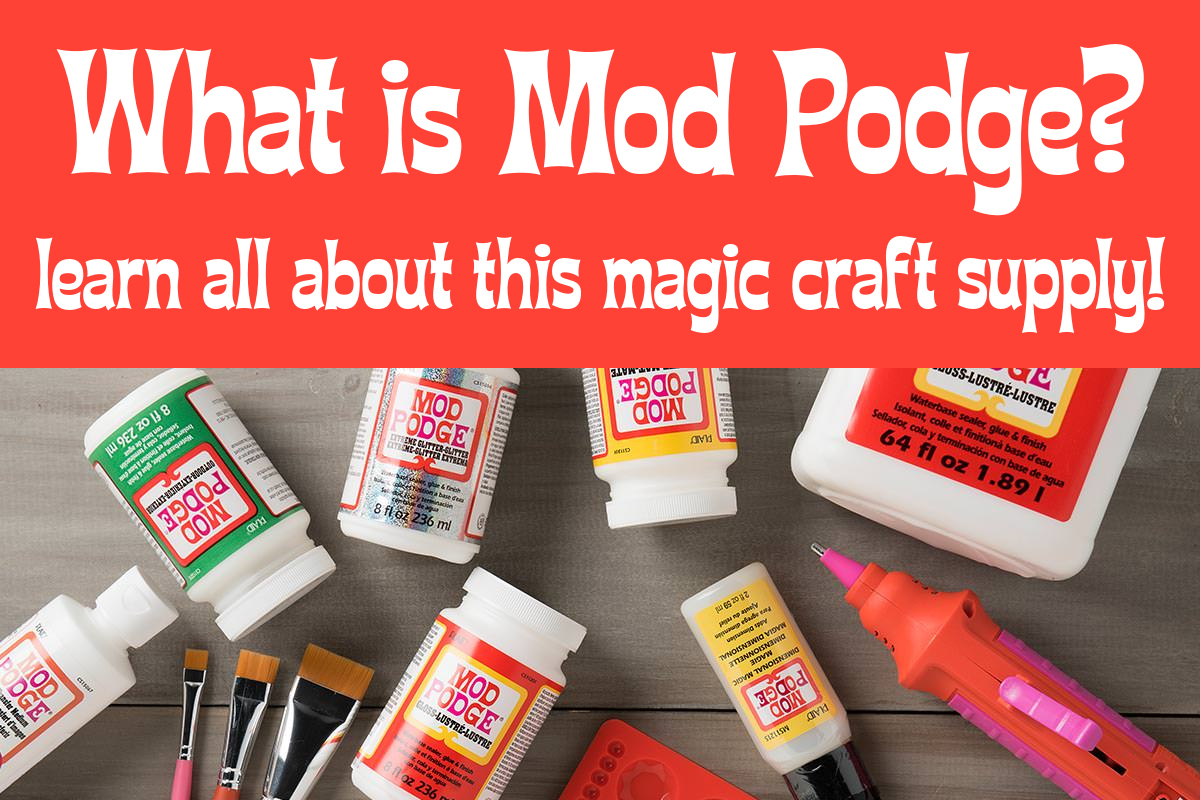
I’m so excited to explore the magical world of Mod Podge with you today! If you’re just visiting the blog for the first time, welcome.
I’m sure you can tell just by the URL that I’m obsessed. If you’re wondering, “what is Mod Podge?” then you’ve come to the right place.
It’s basically the best craft supply of all time. At least, in my humble opinion! And I’m looking forward to telling you all the details.
What is Mod Podge?
Let’s start with the obvious. It’s all-in-one glue, and finish that does three things:
- Glue: you can use it to adhere items to porous surfaces
- Sealer: paint a protective coat over the project, to seal in your work
- Finish: add a final finish to the project, which depends on the formula
Decoupage medium is used in the art of decoupage, or gluing paper/fabric to surfaces. In fact, the name comes from combining “modern decoupage.”
When was it invented?
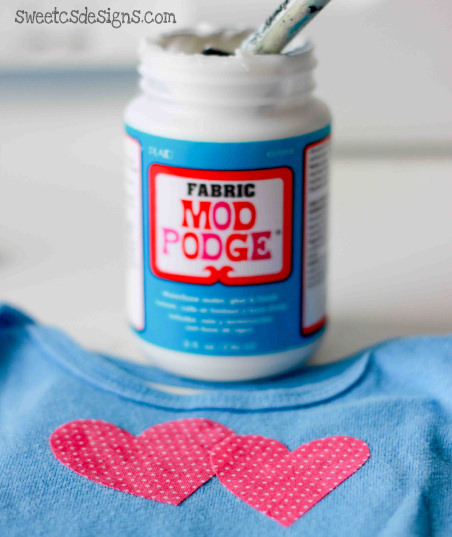
Jan Wetstone invented the product over 55 years ago, in 1967. Before I ever picked up a bottle, I recognized the logo. I feel it’s really memorable:
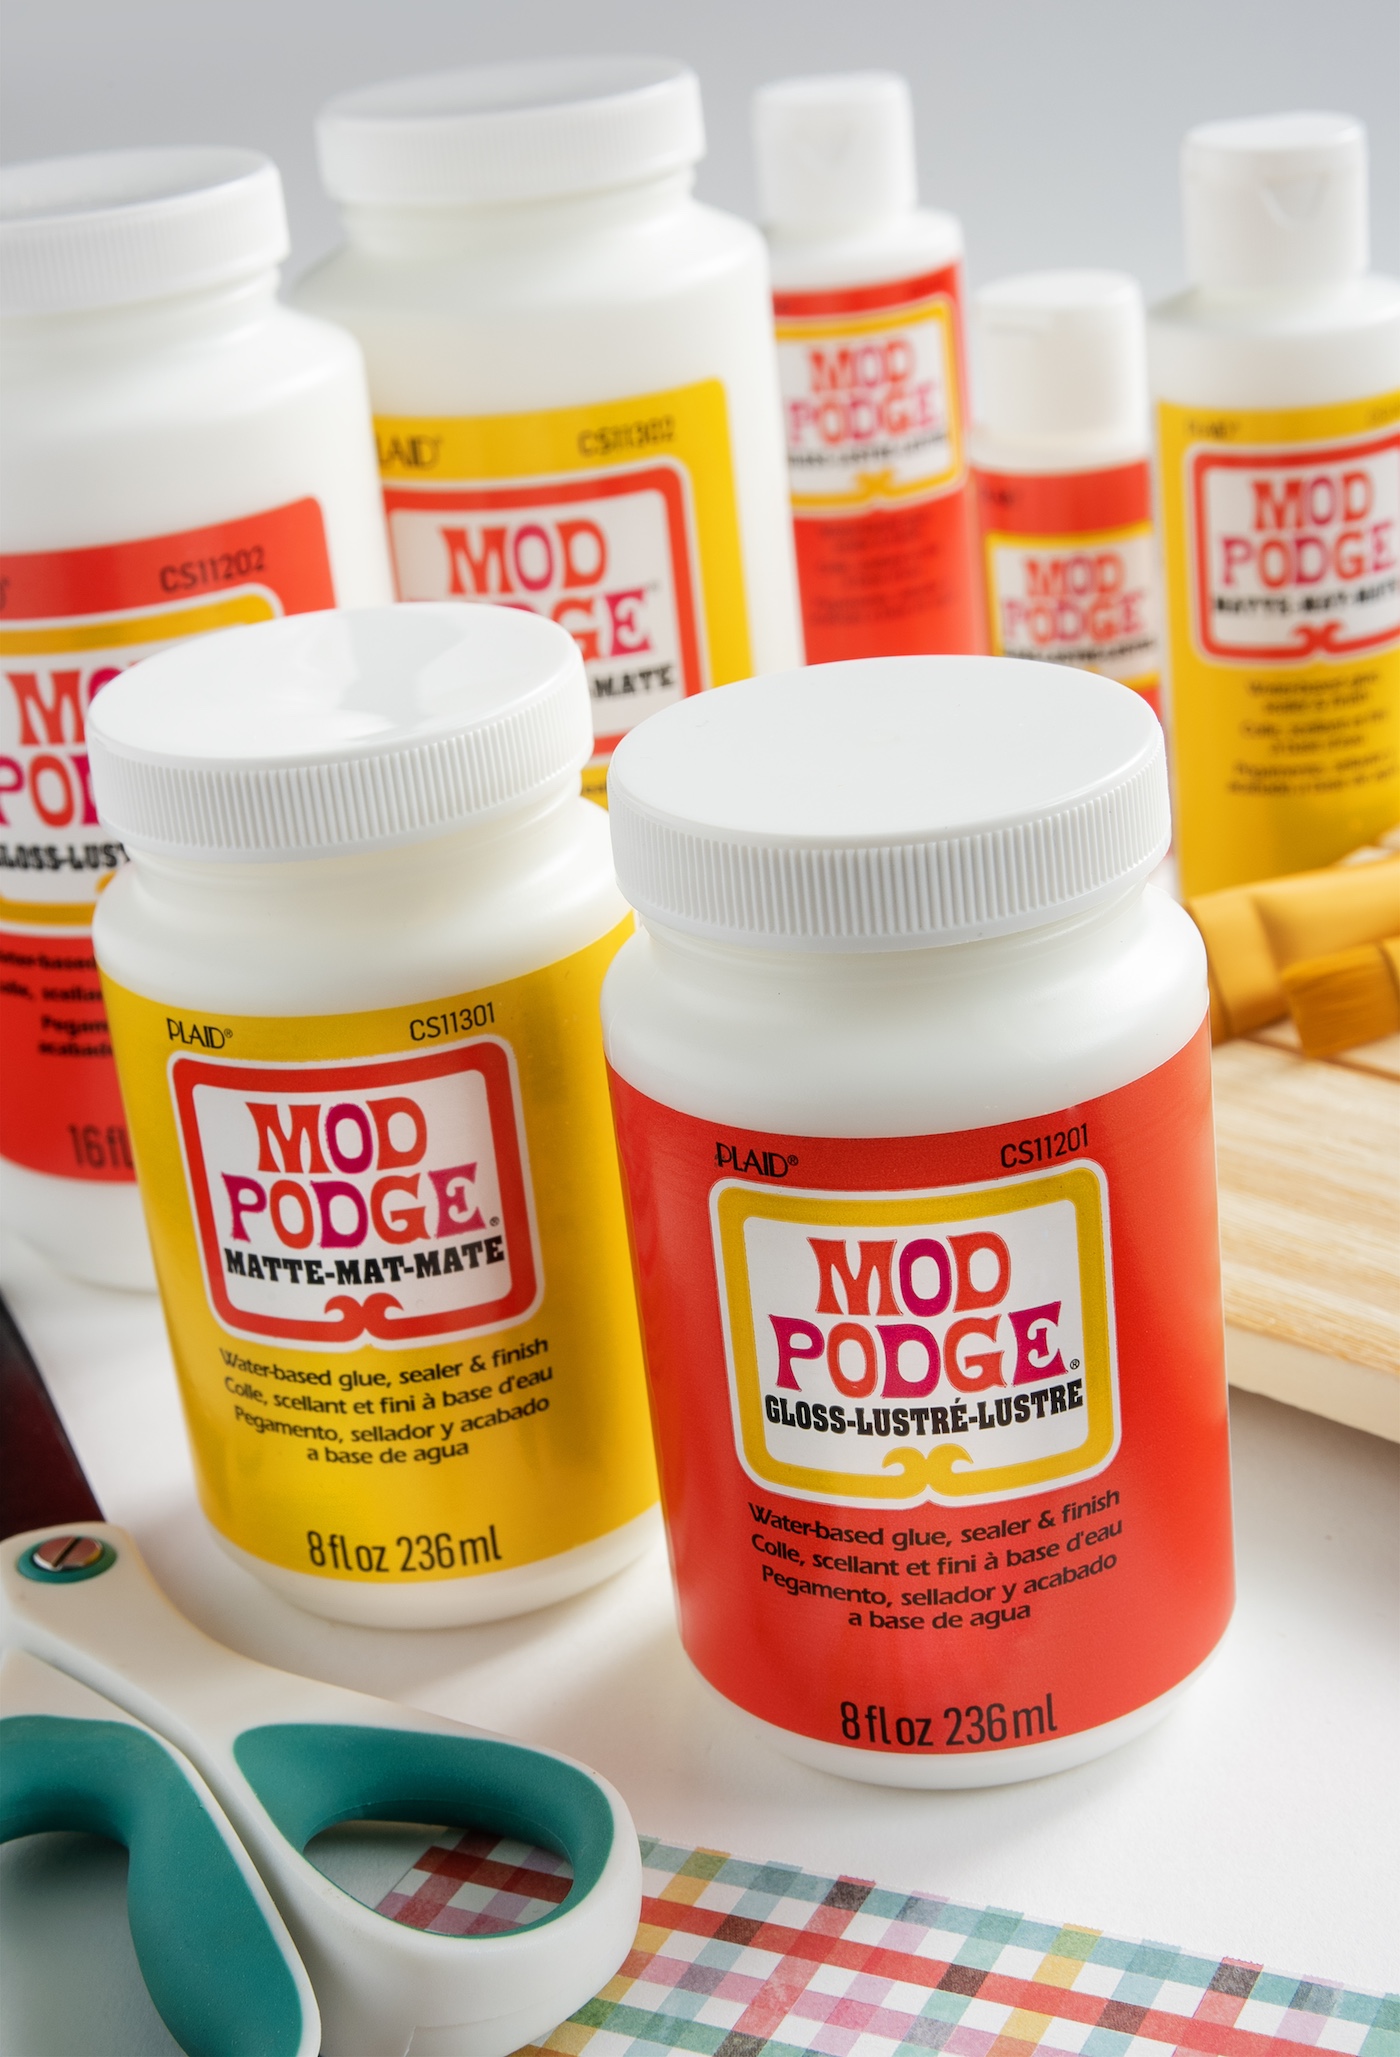
You’ve probably seen it before if you’re here! Mod Podge is at every major craft chain, Dollar Tree, Target, Walmart, and a variety of other stores in the US and worldwide.
What is Mod Podge made of?
If you want to get down to the nitty gritty, Mod Podge is a polymer that contains polyvinyl acetate, defined as “a synthetic resin made by polymerizing vinyl acetate, used chiefly in paints and adhesives.”
If you open a bottle, it’s white, creamy, and of medium viscosity. Though I will say, some formulas are thicker than others. It’s easy to paint on and it dries clear.
What it is NOT is Elmer’s glue, and you shouldn’t make your own (find out why).
Is it the same as PVA glue?
No. It contains PVA, but it’s not the same. There are additional ingredients.
How to Use Mod Podge
Mod Podge works on paper, wood, fabric, glass, ceramic, terra cotta, tin . . . and even some plastics. Let’s dig in to how decoupage will work on various surfaces, so you can get an idea of what you’ll be doing (plus sample projects!).
Using on Wood
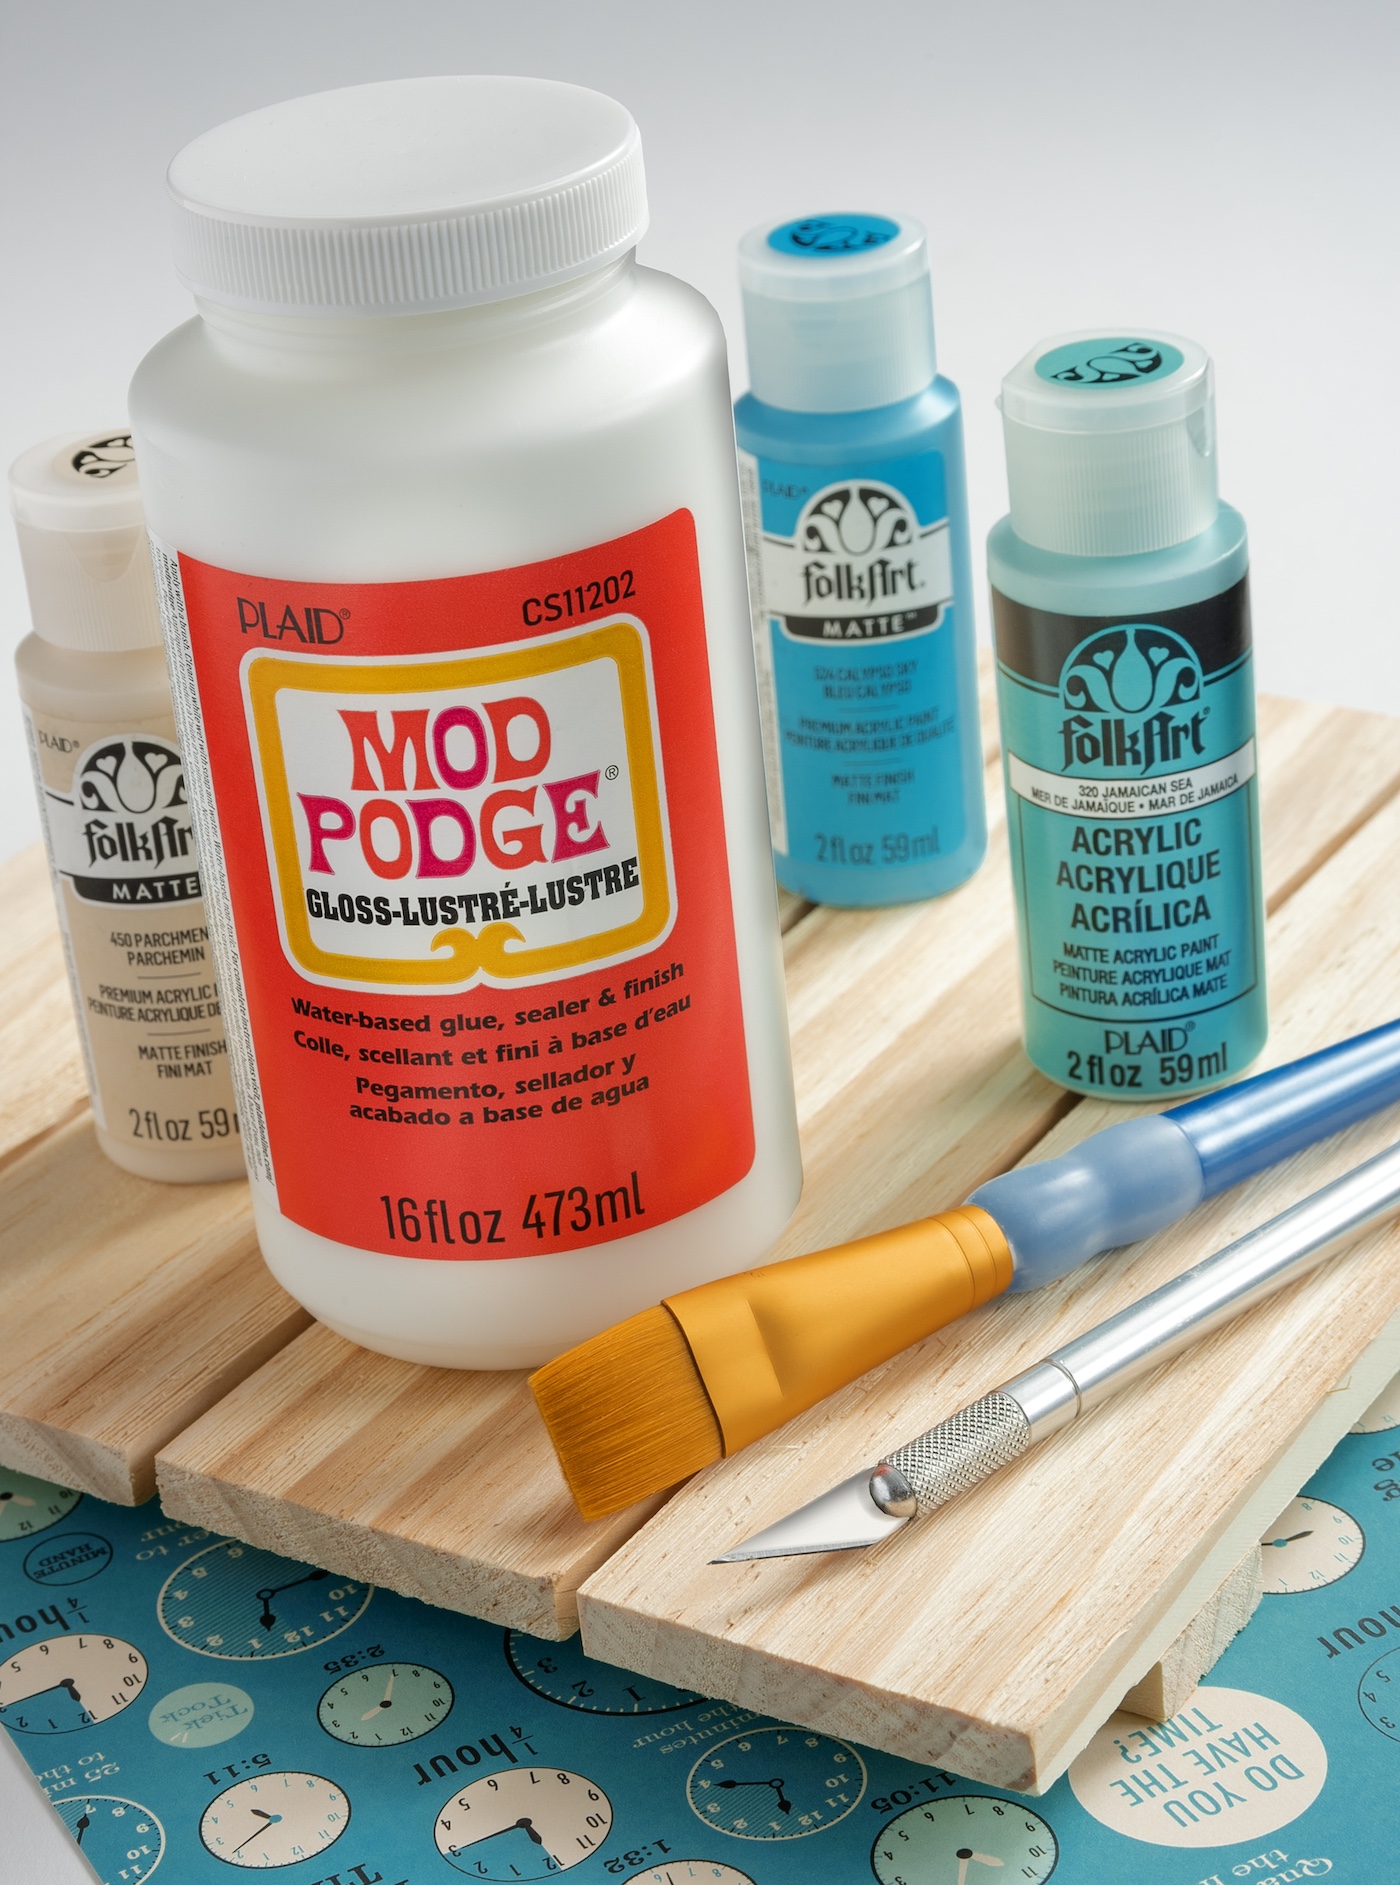
I told you that most of the time I use decoupage medium to attach paper or fabric to wood, and that’s true. If you’re going to apply it to wood, It’s a four-step process:
- Prepare the wood surface. This can include painting with acrylic paint – but the painting is optional.
- Cut out your items to decoupage to the surface, whether they be fabric, paper, etc.
- Paint Mod Podge on the surface. You can paint it on the back of the item (the fabric or paper) as well. Smooth down to the surface. Let dry 15 – 20 minutes.
- Add a top coat of decoupage medium and let dry. Repeat as desired (I usually do about 2 – 3 coats).
It’s a relatively straightforward and simple process, though I do recommend practicing before you get started. I always recommend that crafters purchase a $1 wood plaque (or frame, whatever is cheap) from the craft store to begin.
Grab a single piece of scrapbook paper, newspaper, or fabric. Practice a bit before you get started. We have a great list of beginner craft projects here.
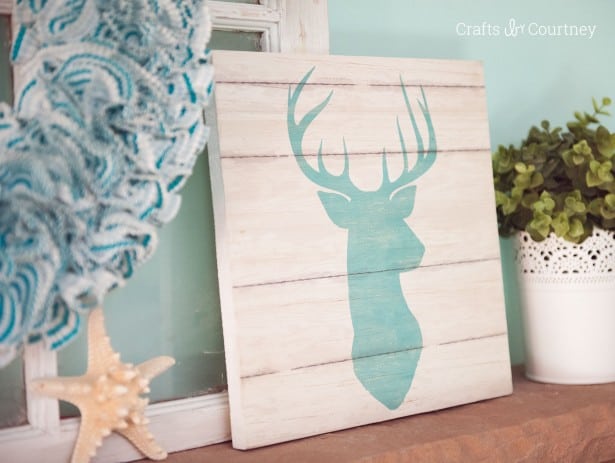
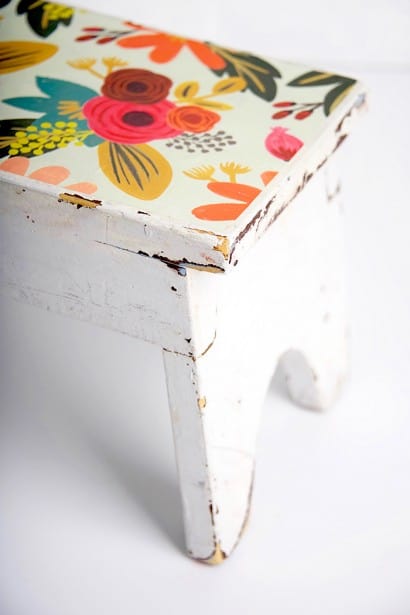
If you want to see some sample projects using wood, check out these ideas from the blog:
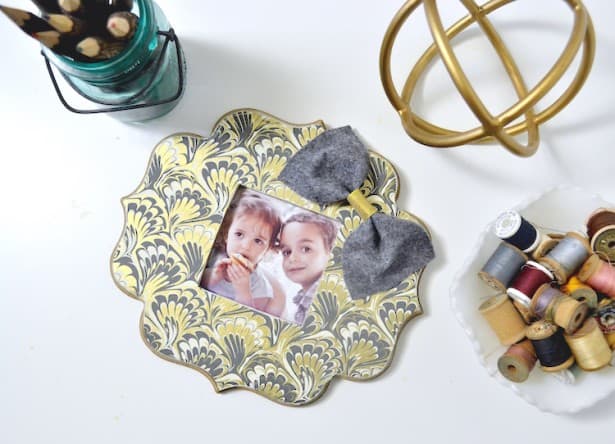
Using on Glass
You can absolutely decoupage on glass, and it’s a very cool effect! There are a few ways you can take your project. Generally speaking, you’ll do the same thing with glass that you did with wood, though there are some changes in step 3:
- Prepare the glass surface by cleaning with mild soap and water. Dry. You can also use a multisurface paint or glass paint (optional).
- Cut out the items to decoupage.
- Paint Mod Podge on the back of the item and smooth down to the glass surface. Wipe away any medium that comes out from under the item. Let dry 15 – 20 minutes.
- Apply a top coat over the item only. Wipe away any excess medium around the edges. Repeat as desired.
Tip: You can remove dried Podge from glass using an X-Acto knife or razor blade and some scraping power. However, I try to minimize clean up like this because it’s time consuming and a pain. So I attempt to be neat when decoupaging glass as much as possible!
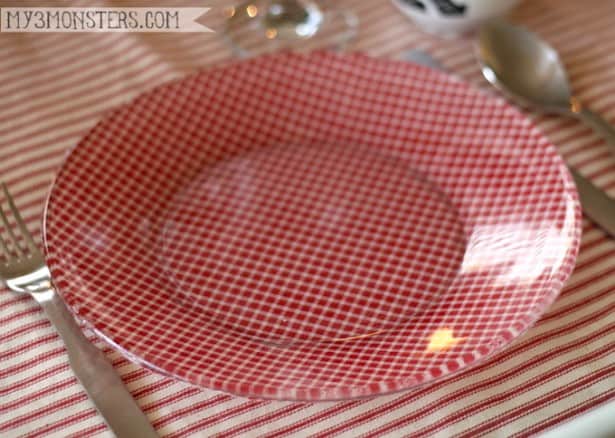
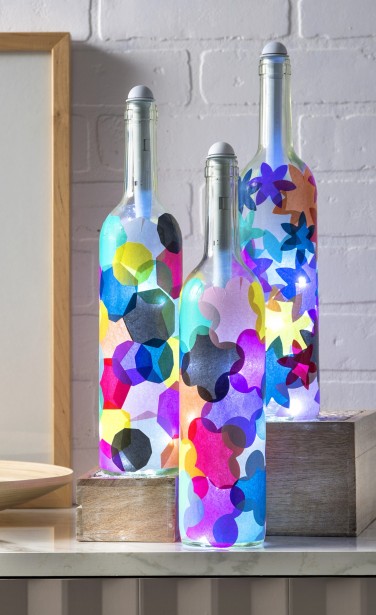
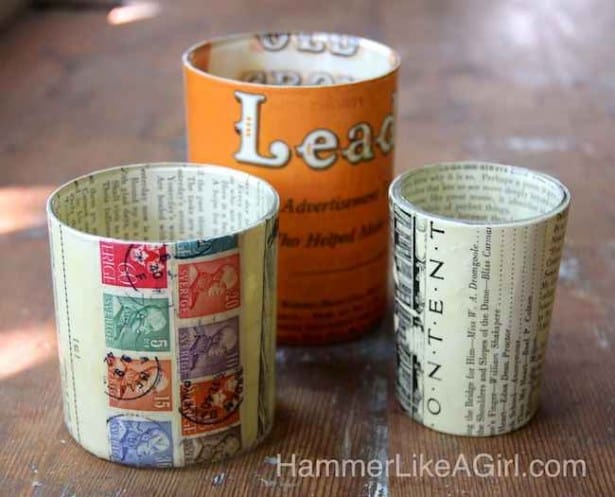
If you want to see some sample projects using glass, check out these ideas from the blog:
Using on Canvas
Besides wood, wall art is one of my favorite things to decoupage. The process is very similar to what I’ve outlined before, with one exception – you’re going to use a bit more medium:
- No preparation is needed for a canvas, unless you are going to paint. Use acrylic paint for this step. Let dry.
- Cut out the items to decoupage.
- Paint Modge Podge onto the canvas liberally AND the back of the item; smooth down on the surface. Wipe away any medium that comes out from under the item or sides of the canvas. Let dry 15 – 20 minutes.
- Apply a top coat, and wipe away any excess medium that squeezes out around the edges. Let dry and repeat as desired.
TIP: Decoupage on canvas is relatively easy since canvas is so porous. However, I do find that I need to “slop on” a little bit more medium to get things to stick.
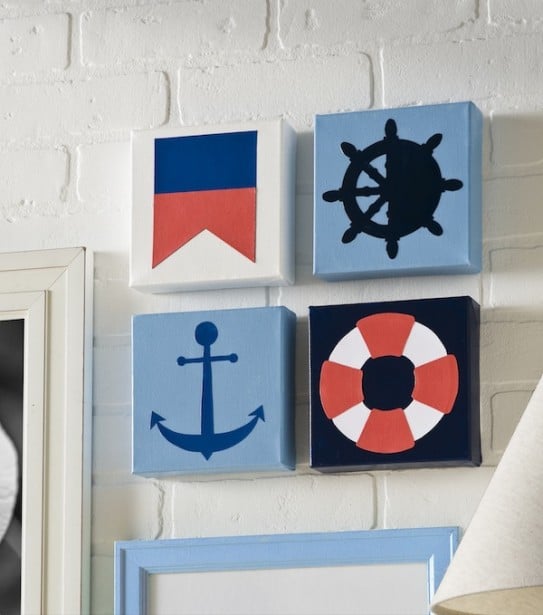
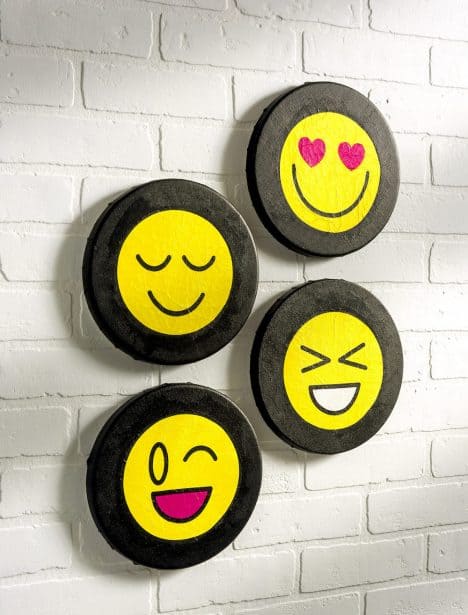
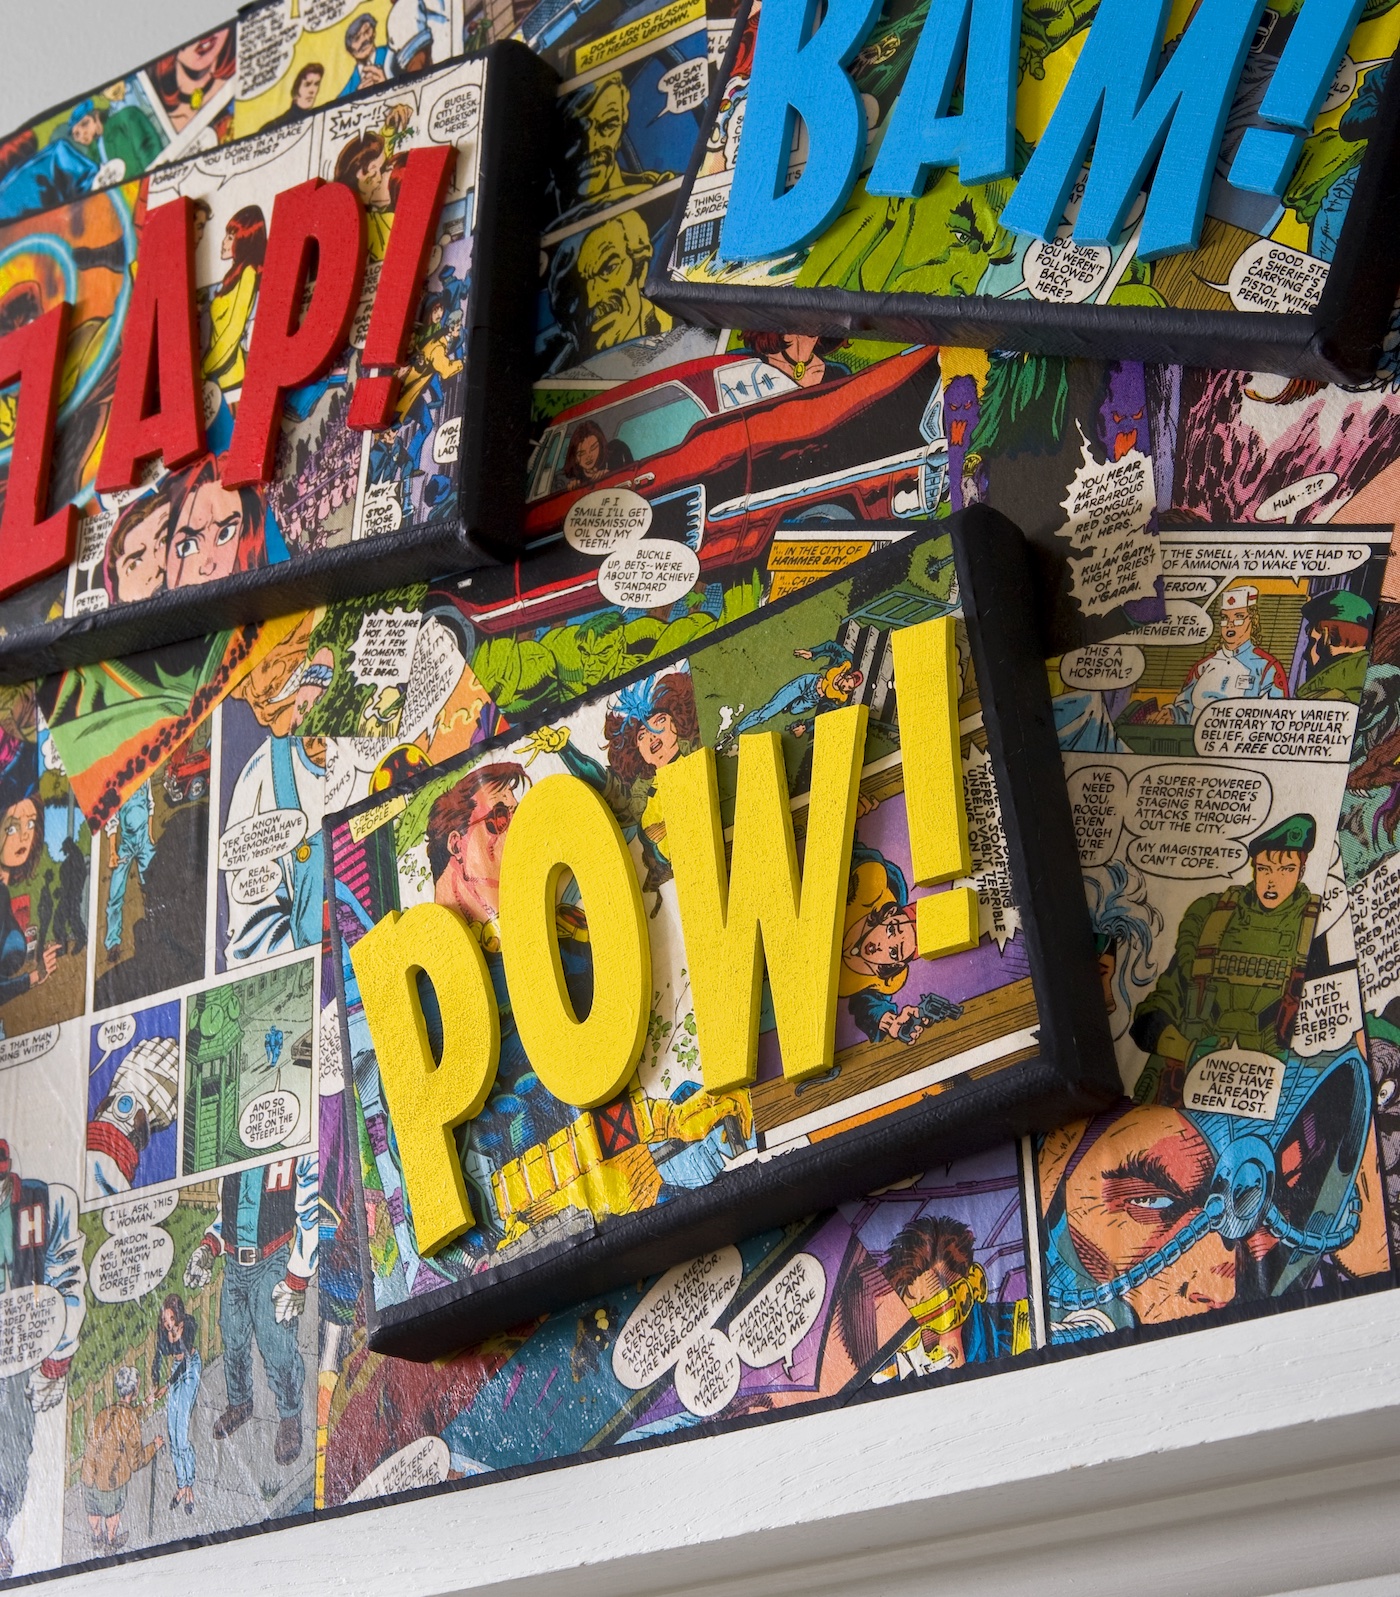
If you want to see some sample projects using canvas, check out these ideas from the blog:
Using on Fabric
It can be used to attach fabric to fabric or fabric to wood. Depending on what you are doing, you may be using this formula.
You’re going to follow the same steps under the glass section above, including being mindful of where the decoupage medium is placed (you WILL be able to see the outline of glue around a fabric patch, for example).
IMPORTANT TO NOTE: once you’ve painted any decoupage medium onto fabric, it’s on there. You may be able to wash it out – use our guide to removing Mod Podge.
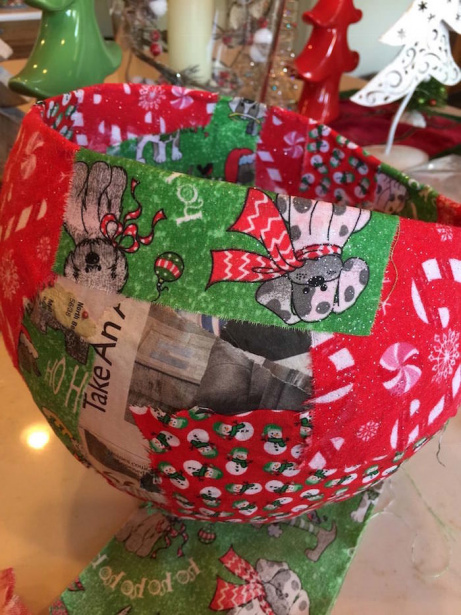
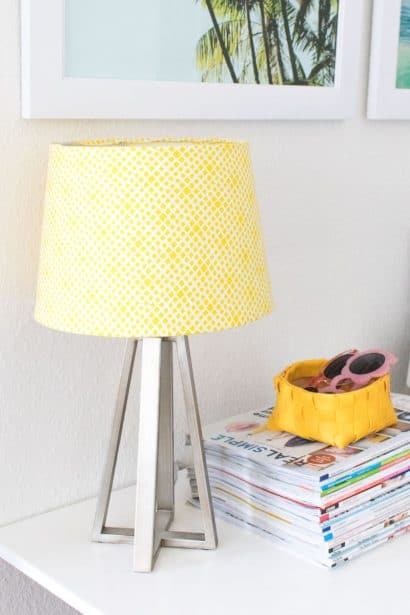
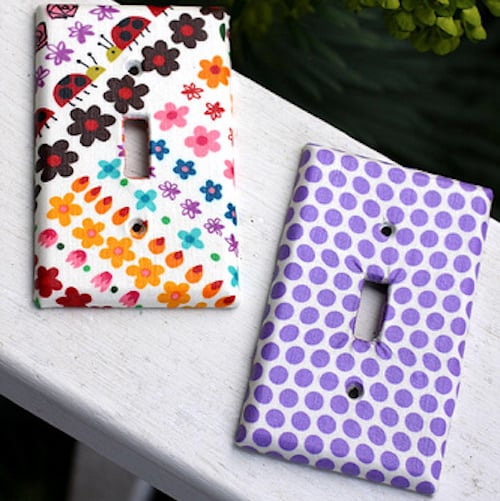
If you are decoupaging fabric to fabric, definitely play with scraps before you get started. To see some sample projects using fabric, check out these ideas from the blog:
Are you ready to try it? Leave me your comments, questions, and thoughts below! And before you go for good – don’t forget to see the decoupage car. It’s epic!





Extremely informative. I am a Mod Podge user but never realized all the options. Thank you so much for writing this. I know I am NOT the only one who will benefit.
Thank you Linda! It was a long time coming!
I agree…appreciated all the details for using Mod Podge. I have used this inventive product to seal salt dough ornaments and they have lasted for many years. I’ve used it to seal acrylic painting on ceramic tiles, even on plastic baby bottles. Terrific product!
Very informative!
just getting started with modge podge but can’t wait to try everything.
Thank you for writing this. I am new to using mod podge and my first attempt wasn’t great. Now I understand why. Looking forward to playing some more.
Pleased you have explained using Mod Podge very well as I am just starting to try this on my craft project.
Glad you enjoyed it Patricia!
wow! thank you for writing this! I am wanting to use this for my daughters halloween costume. We are wanting to glue cardstock on a spray painted 20 gallon garbage can and then modge podge to kind of seal it. I didn’t see anything in your post about using it on spray paint/plastic. Any input would be most helpful!
Hi Sheena! Hmmm – it works well with spray paint but it’s going to be tough to keep that cardstock on the spray paint on top of plastic. Honestly I would use a spray adhesive if it’s as thick as cardstock. I’d use Super 77 or something similar. If you want to see it, you could use a spray sealer over the top. You’re just really going to have to hold it in place for that Mod Podge to adhere.
Thank you. I’ve been thinking about trying decoupage for a while but didn’t really know where to start or what was best to use. Now I can start and hopefully have a whole new interests hobby
Yes! You’re going to love it Anne!
How would this product work on diamond dotz to finish a project? Would it keep the drills in place and secure?
Check out this video here: https://www.youtube.com/watch?v=Eg3G-W41_Ug&t=4s
Thank you for all this information.
I do quilling and wonder if I could use it on ornaments to stiffen and preserve them.
Thank you
Hi Mary! It would stiffen the paper a bit. Not completely stiffen – there’s a product called Stiffy you can use for that.
I just put a thick layer of mod podge over a piece of burlap. Hung it to dry. Then I want to put it over a piece of good quality foam board–putting a layer of mod podge over it
Will it adhere to the foam board alright?? Hope so!!
Hi Virginia! It will adhere to the foam board, but if it’s already Mod Podged, you will have to add more Mod Podge and maybe even a stronger glue. Depends on how straight it is and how flat you can keep it on the surface while drying!
I want to puts some thick wallpaper onto some bedroom furniture which is Mdf veneer . Can I use mod lodge to stick the wallpaper pieces and then seal with mod lodge on top? I haven’t used before so any advise will be welcomed!
Yes you can! https://modpodgerocksblog.com/unique-wallpaper-dresser/
I would sand the MDF though. Then remove the dust. You can to sand the surface to make the decoupage medium adhere better.
Hi
I am looking for a product to clear top coat over some acrylic paint and someone recommended Mod Podge. My project is an outdoors sign and I need a clear top coat that DOES NOT block UV rays, this is because the paint I am using is luminous, it relies on the suns UV to charge it up in the daytime to make it glow at night.
Can you please tell me if mod podge is suitable for outdoor use and whether it blocks UV or lets UV
through.
Thanks
Gary
Hi Gary! Mod Podge Outdoor has UV protectant in it! But the others do not. Regular Mod Podge will likely break down . . . I’d look for an enamel spray that is not necessarily outdoor friendly, since outdoor usually = UV resistant.
Great info – thank you! I want to decorate a small table top that will be outdoors. After it’s done, can I set a glass top on it? I’m unsure if the ModPodge paper will stick to the glass or otherwise not be a good idea?
Thanks!
Kim
Hi Kim! You can, but I think with the sun blazing on it, it could end up getting stuck to the glass somewhat. My suggestion is if you want to remove the glass, you’ll need to do it when it’s cold outside. You do end up risking tearing the paper. It would be different with fabric. If the fabric sticks, you still won’t tear it!
I purchased the green label Mod Podge outdoor-exterior and opened it to find it extremely thick (paste). Can I add water to this to thin down so I can use a brush application.
Yes! I usually shake it and dip my brush in water. You can add a *touch* of water without hurting the properties.
I’m refinishing a wooden dining table and going to pour epoxy over the entire table after applying stickers to the table. It’s sanded and painted and now waiting for my Hodge Podge and stickers to arrive. Not exactly sure which steps to take once I receive my order. Any suggestions or videos on on pouring epoxy resin over paper stickers? Thank you in advance
Hi Rick! I don’t know that you need Mod Podge for the stickers. It really depends on what the stickers are made of. For example if the stickers are vinyl? You can just stick them down and pour the resin over the top. If they are truly paper (some stickers have a coating on top), you’ll probably need the Mod Podge to help protect the stickers. I’d put the stickers down, and Mod Podge over the top with several thin layers. You are really trying to protect the edges. Let dry for 48 hours before pouring the resin. You want to make sure everything is completely dry. Because if there is moisture and you pour the resin, you’ll be left with clouding you can’t fix!
I’m making pictures out of old jewelry,beads and buttons mostly attached to hard canvas. I’ve been gluing with E6000. Sometimes I’m leaving the canvas natural and sometimes painting it with acrylic. Can I use mod podge to seal the project?
Hi Liz! You can – but you don’t need to. Since it’s not really a decoupage project, you can just buy a clear spray sealer. Mod Podge is a sealer, but I don’t want to recommend you buy something that you don’t need if you already have a clear spray sealer that can do it 🙂
@Amy,
thank you Amy. I have mod podge spray and krylon varnish. Are those both ok?
Thanks again for your input
Yep, both of those are okay!
Want to paint on glass using mod lodge as base. Will it work? Using acrylic or oils
Yes using acrylic, no using oil paint. Mod Podge is acrylic and only works well with other acrylics. Here’s a guide for you! https://modpodgerocksblog.com/mod-podge-on-glass/
Is it OK to use Mod podge matte over an acrylic painting for protection. Will it dry clear?
Yes and yes! Use a few thin to medium coats, drying in between.
Is it OK to use mod podge matte as a protective finish for acrylic paintings on paper or a canvas?
Also, you say this above” Not all of the Mod Podge formulas are great for decoupage – some of them are used in decoupage projects, but aren’t necessarily specifically for attaching paper or fabric to a surface.”
So my question is which Marge podge formulas are best for gluing objects and fabric and papers on an acrylic painting?
Hi Robin! Great question! I have a separate post on the formulas: https://modpodgerocksblog.com/mod-podge-formula-guide/
I keep it updated since they change on occasion, and there’s a LOT of information there!
Hi there my name is Johnathan and I’m living in the Netherlands and I use Mod Podge for my mosaic tiles coating and this works very well. And to mine complete satisfaction.
Thank you for the kind comment!
Read your article on Fabric to Canvas.
Which Mod Podge should I use for this project.
I am using a pillow case & would like to glue it to canvas. A bit confused ton the tipping it over on one side and smooth it from the back????
Hi Santa! Either gloss, matte, or satin would work. And a canvas is raised, so when you smooth it from the front, you’re just pushing down on the canvas. You might need to turn the canvas completely over and smooth from the back on a flat surface. You will see what I’m talking about when you do it.
I’m having trouble using Mod Podge as a transfer agent. I’m trying to put a written image (printed on plain paper using an ink jet printer) onto canvas. I’ve sealed the canvas with two coats of Gesso, then painted the surface with acrylic paint. 1st attempt: I coat both canvas and paper with MP, laid the paper down on the canvas, let dry about 2 hours, then applied water to peel off the paper. The whole image came off with the paper. 2nd attempt: after cleaning off the canvas, I again applied MP, then laid the paper down (much drier this time.) I waited 24 hours until the MP was dry, then applied water and again, the entire page came up, this time with the MP attached to the paper. The paper is not sticking to the canvas, nor is the MP capturing the image. What is wrong?
I’m not sure how you can love Mod Podge so much. I tried using it, and I found that it was difficult to spread, dried too fast to be able to spread it smoothly on anything large than a few inches, and when used as a topcoat, bubbled the paper terribly. Also, the matte is not really matte; it has a distinct sheen.
Instead of directions for how to do different projects, I would like to see a blog that compares the different versions of Mod Podge (thickness, finish, etc.) and tells how to use each one successfully (what type of brush to use, how thick to apply it, etc.) I’ve watched several YouTube videos about decoupaging, and none of them really give that information.
When I was young, I decoupaged with my mother, and I think we used an oil-based satin varnish that worked much better than Mod Podge.
There is a blog that shows the different versions and finishes and how to use them, and it’s this one. There are several posts about that, some linked in this very post. And some of that stuff is subjective anyway. You’re looking for exact answers to questions that are often -whatever you prefer. Mod Podge may not be for you. But, if you try to find that varnish and don’t come up with anything, you’re welcome to join our Facebook group of over 600,000 crafts who use and love Mod Podge: https://www.facebook.com/groups/craftywithmodpodge
You can ask lots of questions, too. You will have to experiment though. Few crafts can be mastered in one or two times of trying it. Good luck!
Just wondering can I use mod Podge on styrofoam ???
Yes you can! https://modpodgerocksblog.com/mod-podge-on-styrofoam/
Do you know if it offers any UV protection? I have old ticket stubs and I have had the sun fade them when under glass. Will the same thing likely happen with MP?
Hello! Only the Outdoor offers UV protection. But you shouldn’t use Mod Podge here. You should get glass with UV protection and don’t put them in direct sunlight. You could also spray them with a UV spray before putting the UV glass over them. Since you aren’t decoupaging really, that’s what I’d do 🙂
Hi.. Do you know if I can use it for seal ceramic candle holders. I’m looking for something safe with candles. And, which formula would be better?
You definitely can use it to seal the candle holders! Gloss, Matte, or Satin is fine depending on the finish you like. Mod Podge is non-flammable but shouldn’t be in contact with flame. As long as you do that, you’re fine!
Is mod podge on a surface food safe?
It’s not. It’s non-toxic but it’s not rated for food safety. That’s a whole different process they have to go through and very few art supplies meet the criteria. There are special coatings that do and a lot of resins 🙂
@Amy, This partially answers one of my questions. I broke a painted glass bird bath that I want to glue back together. Would mod podge work on this? The glass is about 1/8″ thick and 18″ diameter. I also broke a sprout off of a ceramic pet fountain and want to glue that back together. Would mod podge work for ceramic and glass? Both pieces will have water in them all the time and I want to make sure toxins don’t leak out into the water to keep my cats and the birds safe. Both the bird bath and ceramic water fountain aren’t made any longer so can’t be replaced. I’ve been spending hours looking for an adhesive that work for both and ended up on your website. Hope you have a solution for me. Thank you.
I am about to start working on an art piece for my daughter’s first birthday and the idea is to take photos and adhere them to a wooden letter one. My Only question would be, what would be the best product to use the photos are printed on photo paper that I believe is glossy and I’m not trying to transfer them onto the wood I’m actually trying to place them directly on the wood. I was wondering if there was a way to do that and what mod podge product would work best?
You might not need Mod Podge for this if they are photo paper. Just use spray adhesive. You’re not really decoupaging anything in a traditional way!
I’m making table pads using PVC board. I am adhering flannel to one side and a flannel backed vinyl to the other. Will modge podge work for this?
Hi Karen! If the flannel is thin, an acrylic product could soak through and cause spotting. Plus you’re dealing with PVC, a plastic. I’d use spray adhesive to be honest!
Need advice on using Modpodge on borax crystals to seal them. Want a clear high gloss finish, but don’t want the colors to wash out or the crystals to wilt or melt.
Do you think the Modpodge spray sealant would be ok, used in light mists until all areas are covered?
Hi Jan! I’m not sure about the spray. Regular acrylic products won’t work because they are mostly waterbased. You want to keep the crystals very dry apparently – check this out: https://sciencenotes.org/how-to-preserve-crystals/
I want to dip some mini crocks (as keychains or back pack-zipper decorations) in black and white marbled paint. The crocks are all white but I want the
I seal them after they’re “painted.” Will ModgePodge work to see them?
Hi Katherine! SO I have never Mod Podged Crocs. But there is a Mod Podge group on Facebook I run, and they say they can be Mod Podged. So yes, you can seal them with Mod Podge (per what they’re saying). Now, if you’re not decoupaging, you really just need a clear spray sealer to put over the top. 🙂
I have a paw print made of air dried clay. Would modgepodge seal it and fill hairline crack? If so, which version? Thanks!
Hi Julie! Mod Podge isn’t a filling compound so I’m not sure it would fill the crack to your liking. You could give it a try – use Gloss or Matte depending on the finish you want (shiny or flat). You can always paint the crack with paint and fill it in and then Mod Podge over the top.
I’m just curious about what the standard gloss mod Podge looks like under black light. Not the black light out glue in the dark, just standard Mod Podge
Great question! I’m not sure. I don’t think you could see it.
The surface I want to mod podge is a round metal tube or column on a floor lamp. I have white wallpaper with a raised pattern. After decoupage is finished and dry I want to chalk paint an antique white and highlight the raised surface. What are suggestions for type of matte mod podge and since I can’t smooth it because of the raised surface, will it wrinkle ? Any tips ?
Hi Verna! Wallpaper should be easier to Mod Podge without wrinkling because it’s thicker. I recommend using a lot of Mod Podge and wiping away the excess that comes out the edges when you smooth it. Even though it’s raised, you can still smooth it as much as possible. Hard Coat would work great.
Can this be used to add a clear finish to a lamp base?Or is it flammable? If this cant be used, do you have another suggestion?
Yes it can! It’s non-flammable. It shouldn’t be used close to an open flame however, because it will melt. The base is far enough from the bulb to be okay.
Hello I am new to all of this lol, i have lots of ideas and what not. Was wondering what kind of small projects i could practice with the mod podge?
Hi there! I have a list for you! Welcome to Mod Podge 🙂 https://modpodgerocksblog.com/craft-ideas-for-beginners/
My mod podge has become very thick, Is there a way to get it more fluid, so I can keep using it?
Joan Cain
If it’s old you should toss it and get new. You can add a bit of water just not too much as to dilute it 🙂
I am attaching permanent vinyl to blank ceramic coasters and the instructions recommend putting a coating of Modge Podge on them before using the coasters – which kind of Modge Podge would you recommend for that? Thanks for your help!
Hi Erin! I don’t recommend putting Mod Podge over permanent vinyl. It is a polymer as is vinyl, so they don’t work well together. It might look like it’s protecting it, but it’s really not. I could probably use a finger to scrape the Mod Podge right off even several weeks after drying. Permanent vinyl shouldn’t need to be sealed, hence the name permanent. Thanks!
@Amy, Great, thank you so much for your help! I thought it was odd the project suggested it on permanent vinyl, but I’m new to using it, so I wasn’t sure.
Hello, I am making my own version of the game Sequence. I have cut my cards and used Scotch double stick tape to stick to foam board. Now I want to Modge Podge over the top to seal everything. Should this work?
It depends on how thin the paper is. Since it wasn’t Mod Podged to the foam board, if you put it on the top of printer paper (for example) it will wrinkle. And if it’s inkjet, it will also bleed without being sealed. I don’t know the extent of your project but if you are planning on Mod Podge you have to do some things to prepare for it. SO I’d probably just use clear contact paper on the top or packing tape to seal!
I’m making an ocean poured epoxy bar top. My first attempt failed because I mixed sand with epoxy and it turned 5 shades darker and looked like mud.
Would mixing the sand with Mod Podge first seal the sand and prevent color shift when epoxy is poured over it?
Hi Richard! I’m guessing Mod Podge would shift the color just like resin. Did you use very light sand? Was it clean (like purchased at the craft store) or from outside (which could have dirt even though it doesn’t look like it? I would anticipate some darkening but that sounds odd. I would try lighter sand that you can get from a craft store and do a small resin mix to see if you get the same result. When I have used light sand I purchased it worked fine: https://modpodgerocksblog.com/ocean-resin-art/
What is the lowest temperature in which to use mod podge?
I’m not 100% sure but online says no less than 40 degrees for acrylic products.
I want to purchase items for a birthday gift that would give the beginning Mod Podge products, brushes, napkins and other items necessary to make up a kit. Can you kindly give me the tools needed?
Hi there! That is a great gift! Please find my suggestions here: https://modpodgerocksblog.com/essential-decoupage-supplies/
Thank you so very much for all this information. I’m 48 years old and only just learning what Mod Podge is and am so excited to dive into different crafts. Thank you! 🙂
i researched jig saw puzzle glue and mod podge came up number one. i have a 4000 piece world map puzzle. how many coats should i use and how much glue should i buy? also would you use gloss or matte finish?
Everything you need is here! https://modpodgerocksblog.com/how-to-use-puzzle-glue/
I have cardboard blank puzzles that pictures were drawn on with marker ( Nonwashable markers to be exact). I was going to put mod podge on the puzzle pieces to make them last longer. Will the markers (pictures) run? I don’t want to ruin the drawings.
Hopefully this helps! The longer it dries the better: https://modpodgerocksblog.com/using-mod-podge-with-ink-markers-pencils/
HI DEAR
Please guide me for puzzle glue formula
Hi Maryam! Check this post out: https://modpodgerocksblog.com/how-to-use-puzzle-glue/
Can I transfer a photo onto stained, but not sealed, wood?
Hi Tom! Yes!
Can you majpa’s newspaper?
Yes you can! https://modpodgerocksblog.com/newspaper-crafts/
I had a Mod Podge Gloss Lustre bottle which was kept away and forgotten. It is sealed, but I can see that it isn’t white. The liquid has gone yellowish and translucent. Would I still be able to use it?
Hi May! No, it sounds expired. Start over 🙂
Is Mod Podge suitable for items to go outside, ie external uses
My jar of Mod Podge is glued shut! I can’t get the lid off! Help! If this has happened to you, please let me know how you solved it at fieldk180@gmail.com. Thanks!
Throw the jar in some hot water – also banging on the lid helps!
What can I use as a final finish to prevent my Mod Podge projects from sticking to each other. It’s over a year and the gloss Mod Podge boxes still stick to each other. I can’t stack them. ????
Try an acrylic spray sealer, clear!
Can I use mod podge in coloring books as snow
I’d try this! https://www.kiwico.com/diy/art-creativity/quick-easy-crafts/shaving-cream-snow-paint
Would like to make a car decal like made in 1950/1960s. It would be stuck on windshield glass on the inside facing out. How would you do this? Print out decal on inkjet paper, podge back of decal (to protect), when dry cut it out. Then mod podge front of decal and stick to inside of windshield? Thank you for your help.
Hi Elaine! I wouldn’t use Mod Podge to do this. Mod Podge isn’t going to stick to car window glass, which is coated. You’d have to use a clear vinyl, or plastic wrap, or something like that :/
I’m planning on using it to seal a wooden puzzle together. Obviously the actual image on the wooden pieces is most likely paper. Do you recommend a specific type and or finish? I’m a little worried that it might turn out too shiny. I’m planning on then having the glued together puzzle matted and framed so suggestions on the proper procedure for doing this would definitely be welcome and appreciated.
Here’s the process: https://modpodgerocksblog.com/how-to-use-puzzle-glue/
I recommend using the hard coat Mod Podge. That way it will be a satin, not too glossy. Or you can go with completely Matte!
I want to decoupage (glossy) pictures from magazines onto 1/8th and 1/4 inch foam board to preserve them. (I’ve never used decoupage) Will that work?
Does Mod Podge contain fragrance? I have issues with fragrance mix, and need to stiffen a crocheted Christmas banner.
There’s no fragrance added in, but some people don’t like the smell of it. It’s rare, but it happens. Usually those folks wear a mask – and like I said, it’s not that many people. Having said that I would go for fabric stiffener for a crochet banner: https://modpodgerocksblog.com/fabric-stiffener/
The Mod Podge isn’t going to stiffen probably the way you’d like!
Hello,
I am working on a project using old apple crates and I want to protect the labels on the crates. Would Mod Podge work to protect them and if so which formula would you recommend?
Can a spray Mod Podge be used on crocheted snow men ( wool) to clear coat it? And help with yellowing?
Do you know if Mod Podge plays nicely with tempera paint? (aka non toxic kids’ paint) I’m making some Christmas ornaments as gifts for family with our dogs’ paw prints on tiny canvas panels, and I used tempera for the prints so it would be safest for the dogs. As I was thinking about it I realized I should seal them with something so the paint doesn’t rub off when the ornaments are stored. I specifically would like to use the matte formula so that the shine of gloss doesn’t make it hard to see what’s on the ornaments. I used Mod Podge one time long ago in school but don’t know that much about it. I also want to hot glue on some fabric Christmas ribbon to the ornaments, and while I wasn’t really wanting to coat the ribbon, I’m not sure if hot glue sticks okay to Mod Podge or not, so also would be curious what order to do that in. If you have any advice I’d greatly appreciate it!
It does!
I would like to make coasters from ceramic tiles that have a fairly rough surface. Can you suggest a produce to smooth the surface or would many coasts of modge podge smooth the surface?
@Helen,
@Helen, The question about producing a smooth surface with modgepodge or some other product is the one I’m really wanting answered.
Also wanted to ask what kind of brush is best for applying modge podge?
I like to use a soft bristled brush! The ones they sell at craft stores. Some people like foam brushes, though.
I have paper artsy projects that i want to preserve, that cannot be laminated because they have like, 3 dimensional stickers on them. Can mod podge be used for something like this, to preserve? I’m not crafty so don’t really know if this could be an option.
Does anyone know if Mod Podge will stand up to a bit of heat? We want to use it to put new craft paper on a lampshade, which will of course get warm from the light bulb.
Yes, it can. There are plenty of lampshades here on the site! 😀
Hi. Great website.
Is mod podge non toxic?
Can I use it to.seal natural wood etc for the terrarium? It will come in contact with animals. And I’ll need to mist daily. Thanks.
Hello,
I have a wood dinner tray. I have put some stickers on it, and would like to seal it! Food plates will be put on it. So I would like to know, what would be the best mod podge product to use for this?
Is Mod podge good for sealing diamond art!!
There is a specific Mod Podge for it: https://plaidonline.com/shop-products/mod-podge-diamond-top-coat-sealer-8-oz-cs27590
Hi,
I am tinting glass bud vases with food coloring. I want them to be dishwasher safe. When I use the dishwasher safe mod podge they come out opaque/cloudy and I want them clear. Any suggestions? Thanks!
I have a question, Can Mod Podge be tinted for a dark brown/coffee look?
I want to match the dark wood of a table my mother gave me, I grew up on an island and love boats. I have a map of the island 48X36 I wanted to decoupage onto a large sheet of cardboard. I like to ask experts before I venture into unknown territory.
Maybe paint the map with watered-down coffee & dry it before applying it to cardboard backing?
Thanks!
[your blog is awesome]
YES you can! You can tint it with food coloring and paint, so you can definitely tint it with coffee. Just keep in mind that it’s going to wrinkle when you paint it with the watered down coffee. So when you apply it to the cardboard, you may want a brayer or something to help you smooth. Acrylic or waterbased products – paint, Mod Podge, etc – can make paper wrinkle.
Hi my mod podge is thick .can I add water to it.
My sisters and I used Mod Podge with fabric and paper on plastic tubs for flower pots! They turned out very cute!!
Sounds super cute! 🙂
What can I buy to make things waterproof?
Can I use Mod Podge to stiffen crochet items ?
I recommend using Stiffy! https://modpodgerocksblog.com/mod-podge-stiffy-doily-bowl/
I want to cover a tin can with fabric, but the can may need to be cleaned from time to time once in use. Can Modge Podge be wiped down after it has cured? Or should I clear coat it with clear spray paint to add durability?
Can I use Mod Podge on a painted metal garden table. I would love to decoupage the top?
Hi Amy, thank you so much for this amazing information it’s so helpful, I’m really excited to start using mod podge to up my crafting game! 🥰🤗
Just had a look online to purchase my first bottle and I’ve got myself a bit confused by all the different types that have come up. I’ll be using it for a variety of different projects but mainly I’ll be sticking a lot of glitter to various different things. Which one is the best one to get?
Thank you,
Pippa.
Hi Pippa! I’d just get regular gloss in the dark orange label! It works great with glitter.
I want to decoupage an old suitcase. Which Modge Podge product should I use? Not a spray obviously, because I don’t want to have to cover up the hardware and handle.
I’m so glad I found this blog! I was never a very creative person but reading about all the different things that can be done with Mod Podge has helped me find my creativity.
Informative & interesting info
I am learning all the things I can do with Mod Podge. Thank you for the great ideas and I will be following to find more fun things to do with it.
I fly model Radio Control Aircraft. Some of these crafts are made of Styrofoam. Although this is a very dense it can be damaged with daily usage. I own an E-flite Apprentice Model 1500. Can your product be used to “Toughen Up” my plane. Thank you. Tony Zylstra
i have seen so many projects calling for this product and i have never done one as I knew NOTHING ABOUT MODPODGE. thank you for the information
Wanted to do the fabric plates for Christmas. Had some trouble getting it to stick on the edges and now the edges are very sharp in some spots after trimming. Can it be lightly sanded so it is not so sharp.