
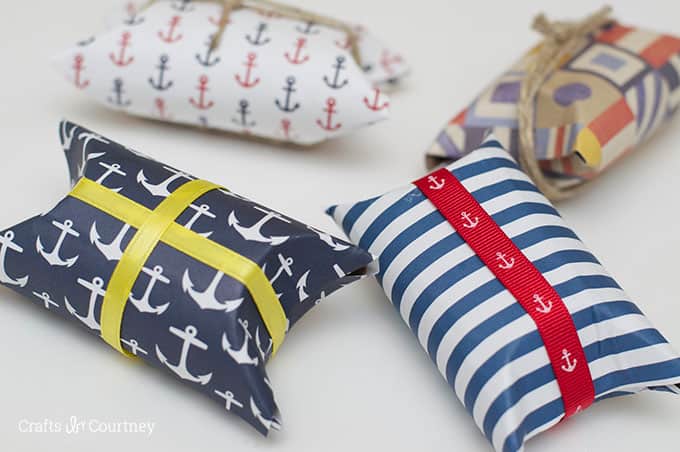
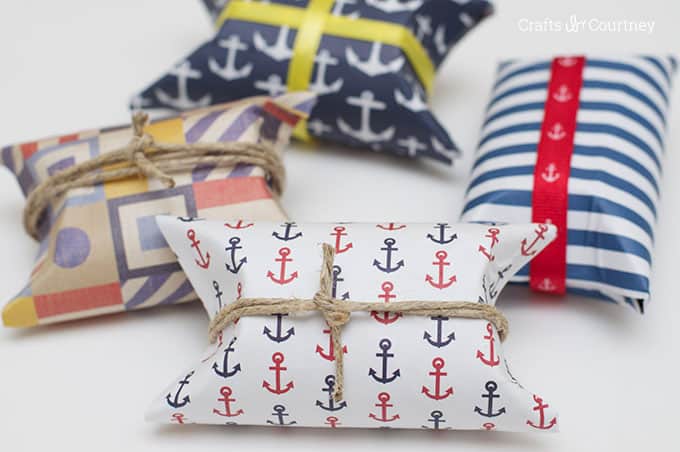
These simple and cute DIY party favors are so easy to make – and use a supply that you already have in your house! These nautical party favors will be a hit.
Skills Required: None. You can make these easy favors even if you’ve never crafted before. They’re that simple!
While we’re getting close to the end of summer, my son’s third birthday is coming up, and I want to have a nautical themed party for him. I thought I would get started on some of the party favors early.
These Nautical Party Favors are so easy to make and can be customized to go with any theme as long as you can find the scrapbook paper! Plus I have some great news – these are recycled. That means, they’re inexpensive!
Not only can these be used as favors, but they can also be used as small DIY gift boxes for that special something you’d like to gift one or more recipients. They are great for situations where you have a lot of small gifts to give – think neighbors, coworkers, teachers, and more. Get the tutorial below!
(get tons of party ideas with Mod Podge here!)
Easy Party Favors DIY
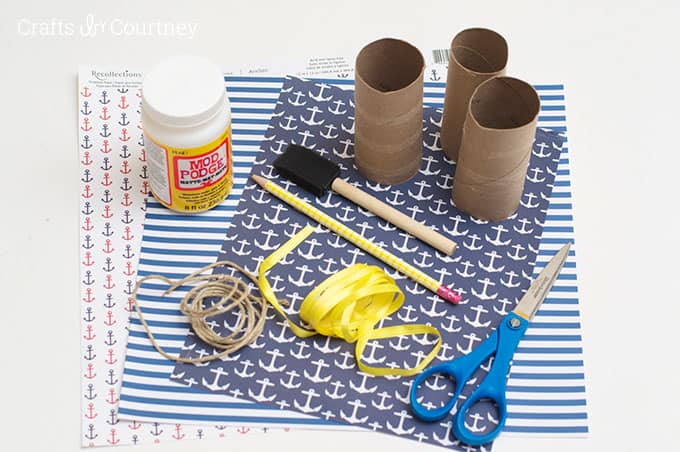
Gather These Supplies
- Mod Podge Matte
- Scrapbook Paper
- Foam brush
- Scissors
- Toilet Paper Roll
- Pencil
- Ribbon
Getting Started
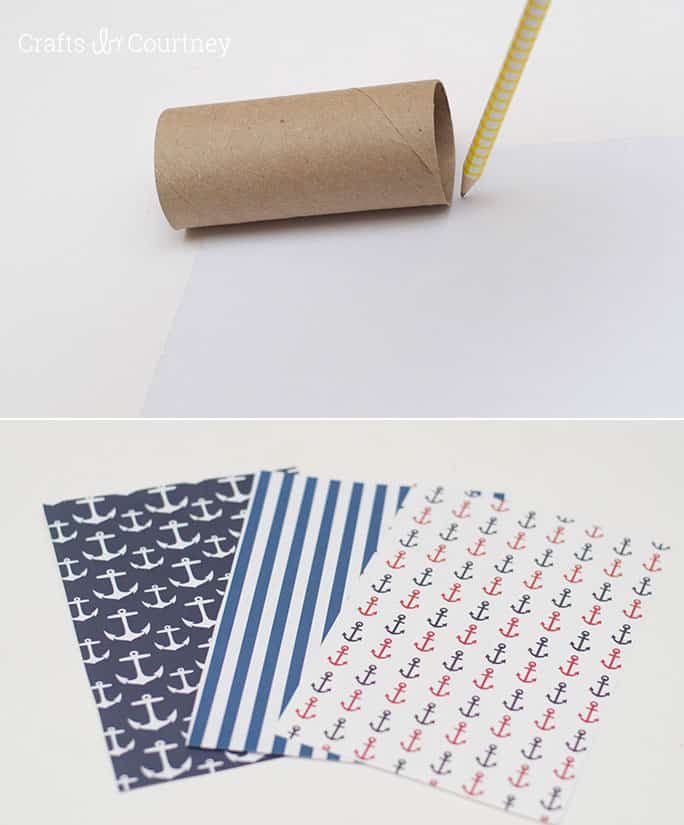
I found some really cool pieces of scrapbook paper at my local craft store. The design on the paper is really what inspired me to make these DIY party favors in the first place.
I rounded up the rest of my supplies, including Mod Podge, to get started.
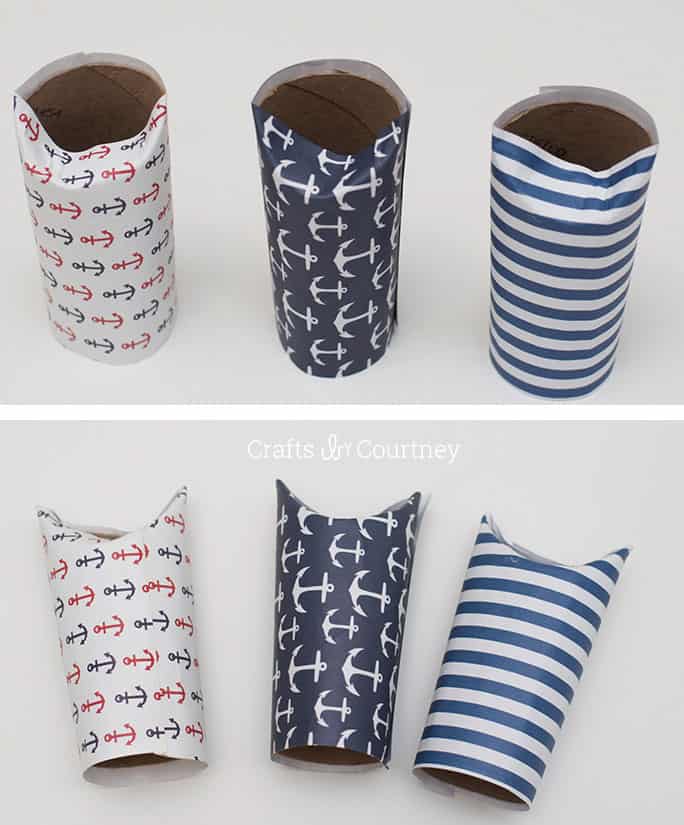
Step 1 – Cut Scrapbook Paper
Measure your toilet paper rolls, then measure the scrapbook paper. Cut the scrapbook paper to fit around the rolls using the scissors. You’ll want a little bit of overhang as well.
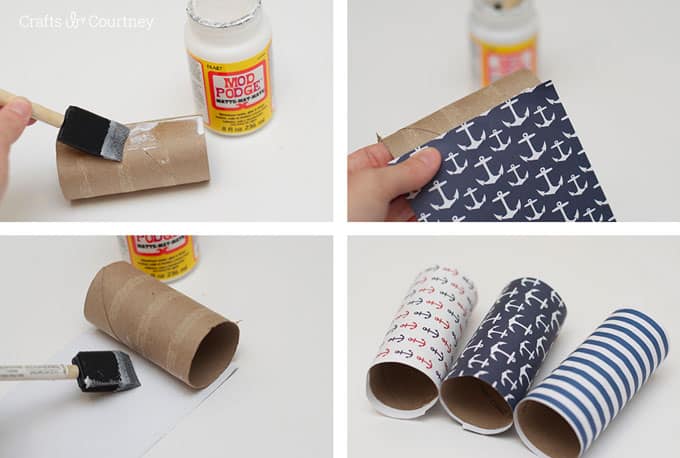
Step 2 – Add Scrapbook Paper
Add the scrapbook paper to the toilet paper roll. Do this by painting Mod Podge on the toilet paper roll and then wrapping the paper around the roll (work quickly).
Make sure to smooth out any bubbles, as much as possible. Let dry 20 minutes.
Step 3 – Bend the Tops
Once the toilet paper rolls are dry, you’ll want to bend the tops over. This part is super simple; they bend over very easy.
Do this by lightly folding one end of the roll in half, then pushing down with your thumbs and towards each other. You’re basically folding in the ends on top of each other.
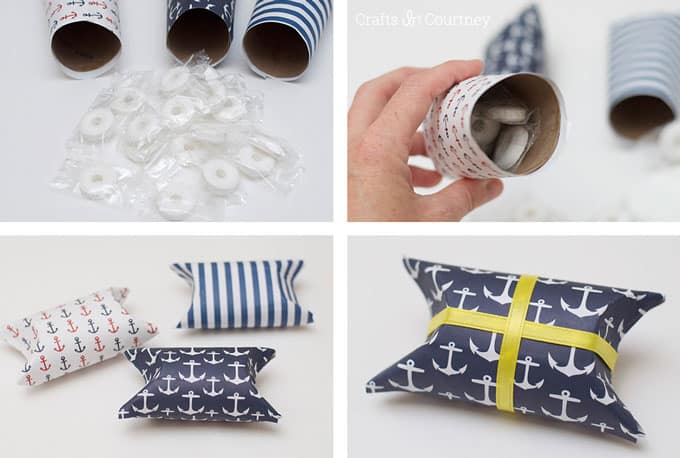
Step 4 – Finishing Touches
Don’t forget to add some goodies inside (I, of course, used Life Savers) and fold the other side over. Finish off by adding your decorative ribbon. Tie the ribbon around the favor as you would a present.
I used a little Mod Podge on the back of the ribbon to keep in place.
If you have a printable for the celebration, this would be a great touch to add to the outside of your party favors as well.
There ya have it: easy and inexpensive party favors for your next nautical themed party! These would even be great for a nautical themed baby shower, graduation celebration, wedding, or bridal shower! The possibilities are endless.
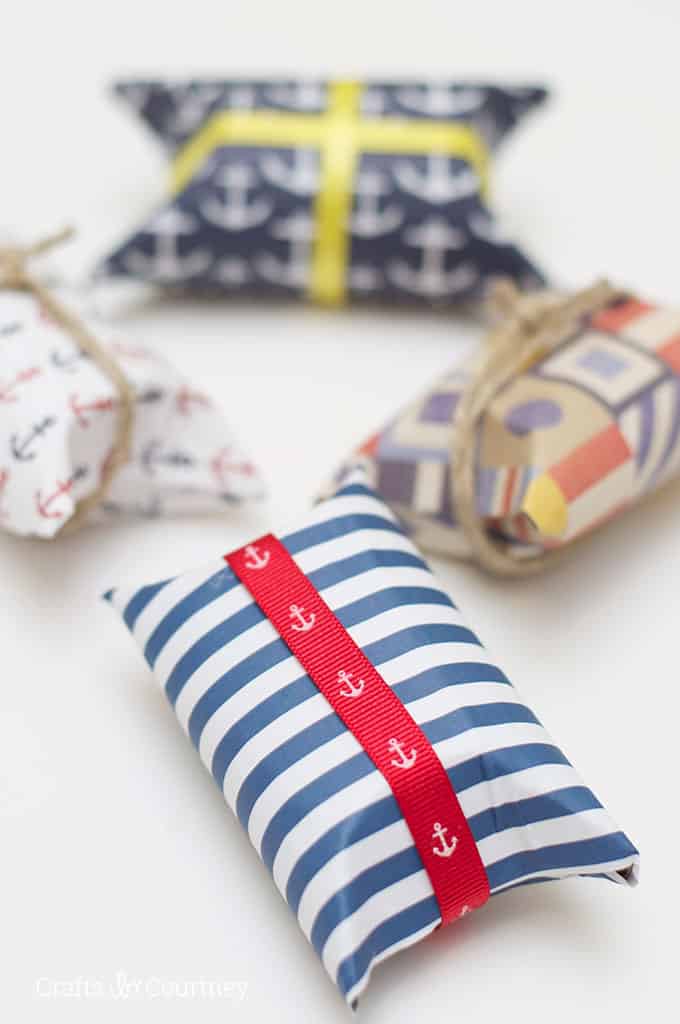
The anchor ribbon I found was my favorite touch. I found it at JoAnns for $1.00, total bargain!!
I can’t wait to start working on more projects for this nautical theme party. My little guy is going to be so excited. I always have a great time putting these parties together for my three boys. I’m all about diy parties on the cheap!

DIY Party Favors
Equipment
Materials
- Mod Podge Matte
- Scrapbook Paper
- Toilet Paper Rolls 1 per favor
- Ribbon or Twine
Video
Instructions
- You’ll use one toilet paper roll per favor. Measure the scrapbook paper to fit the roll and cut with scissors.
- Add a layer of Mod Podge to the toilet paper roll and to the back of the scrapbook paper. Wrap the paper around the roll, making sure to smooth out any bubbles.
- Let dry 20 minutes. Bend the tops over by folding the toilet paper roll in half and then pushing two thumbs together. Do at one end.
- Add goodies inside the favor and fold the other end together.
- Finish by adding decorative ribbon as shown. I used a little Mod Podge on the back of the ribbon to keep in place.
Notes
Did you enjoy these simple party favors out of recycled materials? Then I think you’re going to love these other projects as well:


This is a terrific idea!!!! AND so very economical too! I am off to make some right now for giving cash as gift in these cool holders!
THANK YOU for sharing!