
Learn how to decoupage on wood using paper printed on your home printer (including inkjet). I’ll give you all the tips and tricks for a successful project.
Skills Required: Beginner. It helps to have some experience with painting in general, but this is a good beginner Mod Podge project. You’ll be cutting out paper, applying Mod Podge to wood, painting, and sealing.
For any crafting endeavor, there’s always a “first project.” That’s the place you start as you are learning a new hobby. For knitting, it’s probably a scarf or potholder. For sewing, it could be a basic apron or simple bag.
So what is it for decoupage? You might not know. So I’m going to guide you: you need to decoupage on wood.
Grab yourself a wood block, wood plaque, wood box, or frame from the craft store. This tutorial is going to show you how to take paper from either a laserjet or inkjet printer and attach it to wood successfully.
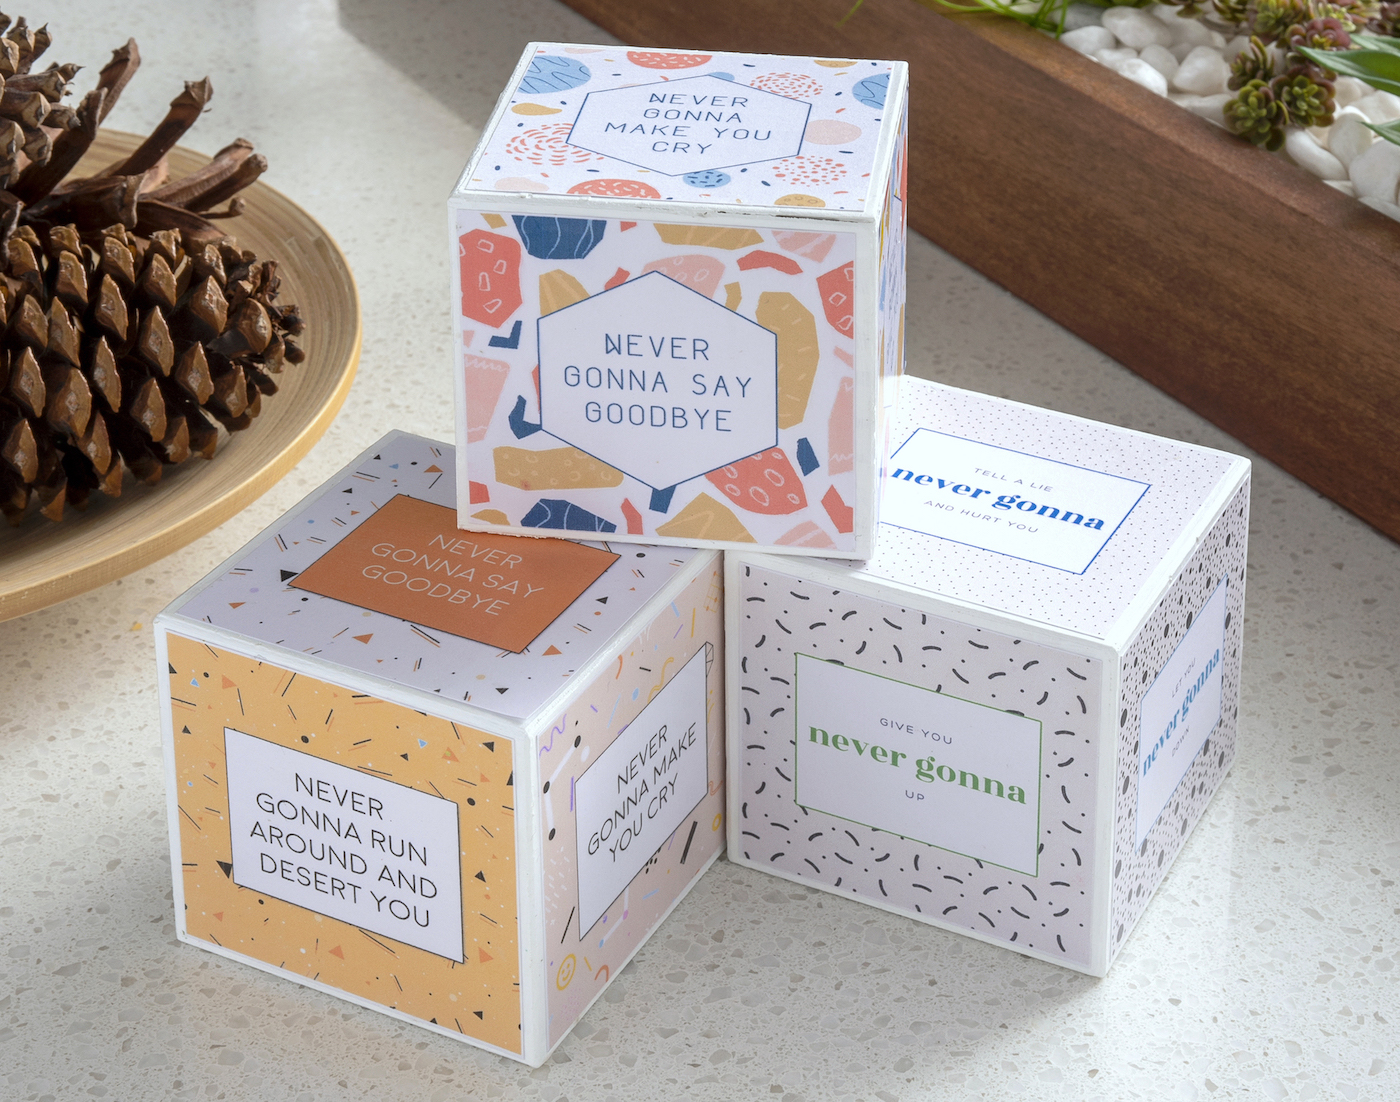
I used wood blocks and some fun Rick Astley song lyric printouts I designed (get them here). Keep reading.
Mod Podge on Wood
Before we get into the skinny, I’m going to go over some frequently asked questions. If you are new here or this is your first time working with Mod Podge, I think you’re going to want to read these. Otherwise you can scroll right down to the tutorial at the bottom of this post.
Is decoupage the same as Mod Podge?
They are not the same thing. Decoupage is the process and Mod Podge is the art medium that you are going to do it with!
Do I have to paint wood before decoupage?
No you don’t! You can do it directly onto raw, unfinished wood.
How do you decoupage a piece of wood?
There’s a seven step process you are going to go through. Lucky number seven! Which sounds like a lot, but it’s not:
- Prepare the surface (sanding if necessary)
- Pick the Mod Podge formula to use
- Paint or stain your surface (if desired)
- Cut the fabric or paper to fit the surface
- Adhere the fabric or paper with Mod Podge
- Smooth it out and let dry
- And a protective coat to finish
I can’t wait for you to try it.
How do you prepare wood for decoupage?
I mentioned above that you need to prepare the wood first. This means sanding, if there are raw edges (and wiping away the dust). It also means potentially painting or basecoating with paint. You can use craft paint, spray paint, chalk paint, stain, and more.
Should I use laserjet or inkjet printouts?
Here’s how you should prepare each.
Laserjet – No preparation. You can Mod Podge the printouts directly out of the printer.
Inkjet – print out the images and let the ink dry for about 15 minutes. Spray both sides of the paper, front and back, with clear acrylic spray and let the paper dry for 24 hours. THEN you can decoupage it.
The reason for all this hubbub is because inkjet can smear. It uses a liquid ink to print, while laserjet uses powder. So you have to let the ink dry first when it’s inkjet.
How do you seal wood decoupage?
Mod Podge is self sealing, but you can use an additional varnish or sealer when the Mod Podge is sticky. It can take awhile to lose the tackiness. Learn more about how that here.
How many coats of varnish do you need for decoupage?
Usually 2 – 3 coats. I recommend using polycrylic. It is a waterbased product that is less toxic than other polyurethanes and varnishes. It also dries quickly! People love this particular brand.
Are you ready to learn how to decoupage onto wood? Get the tutorial below!

Decoupage on Wood
Equipment
- Printer and paper laserjet preferred; pay attention to notes for inkjet
- Paper cutter or craft knife and mat
Materials
- Wood block(s) 3.5″
- Craft paint white
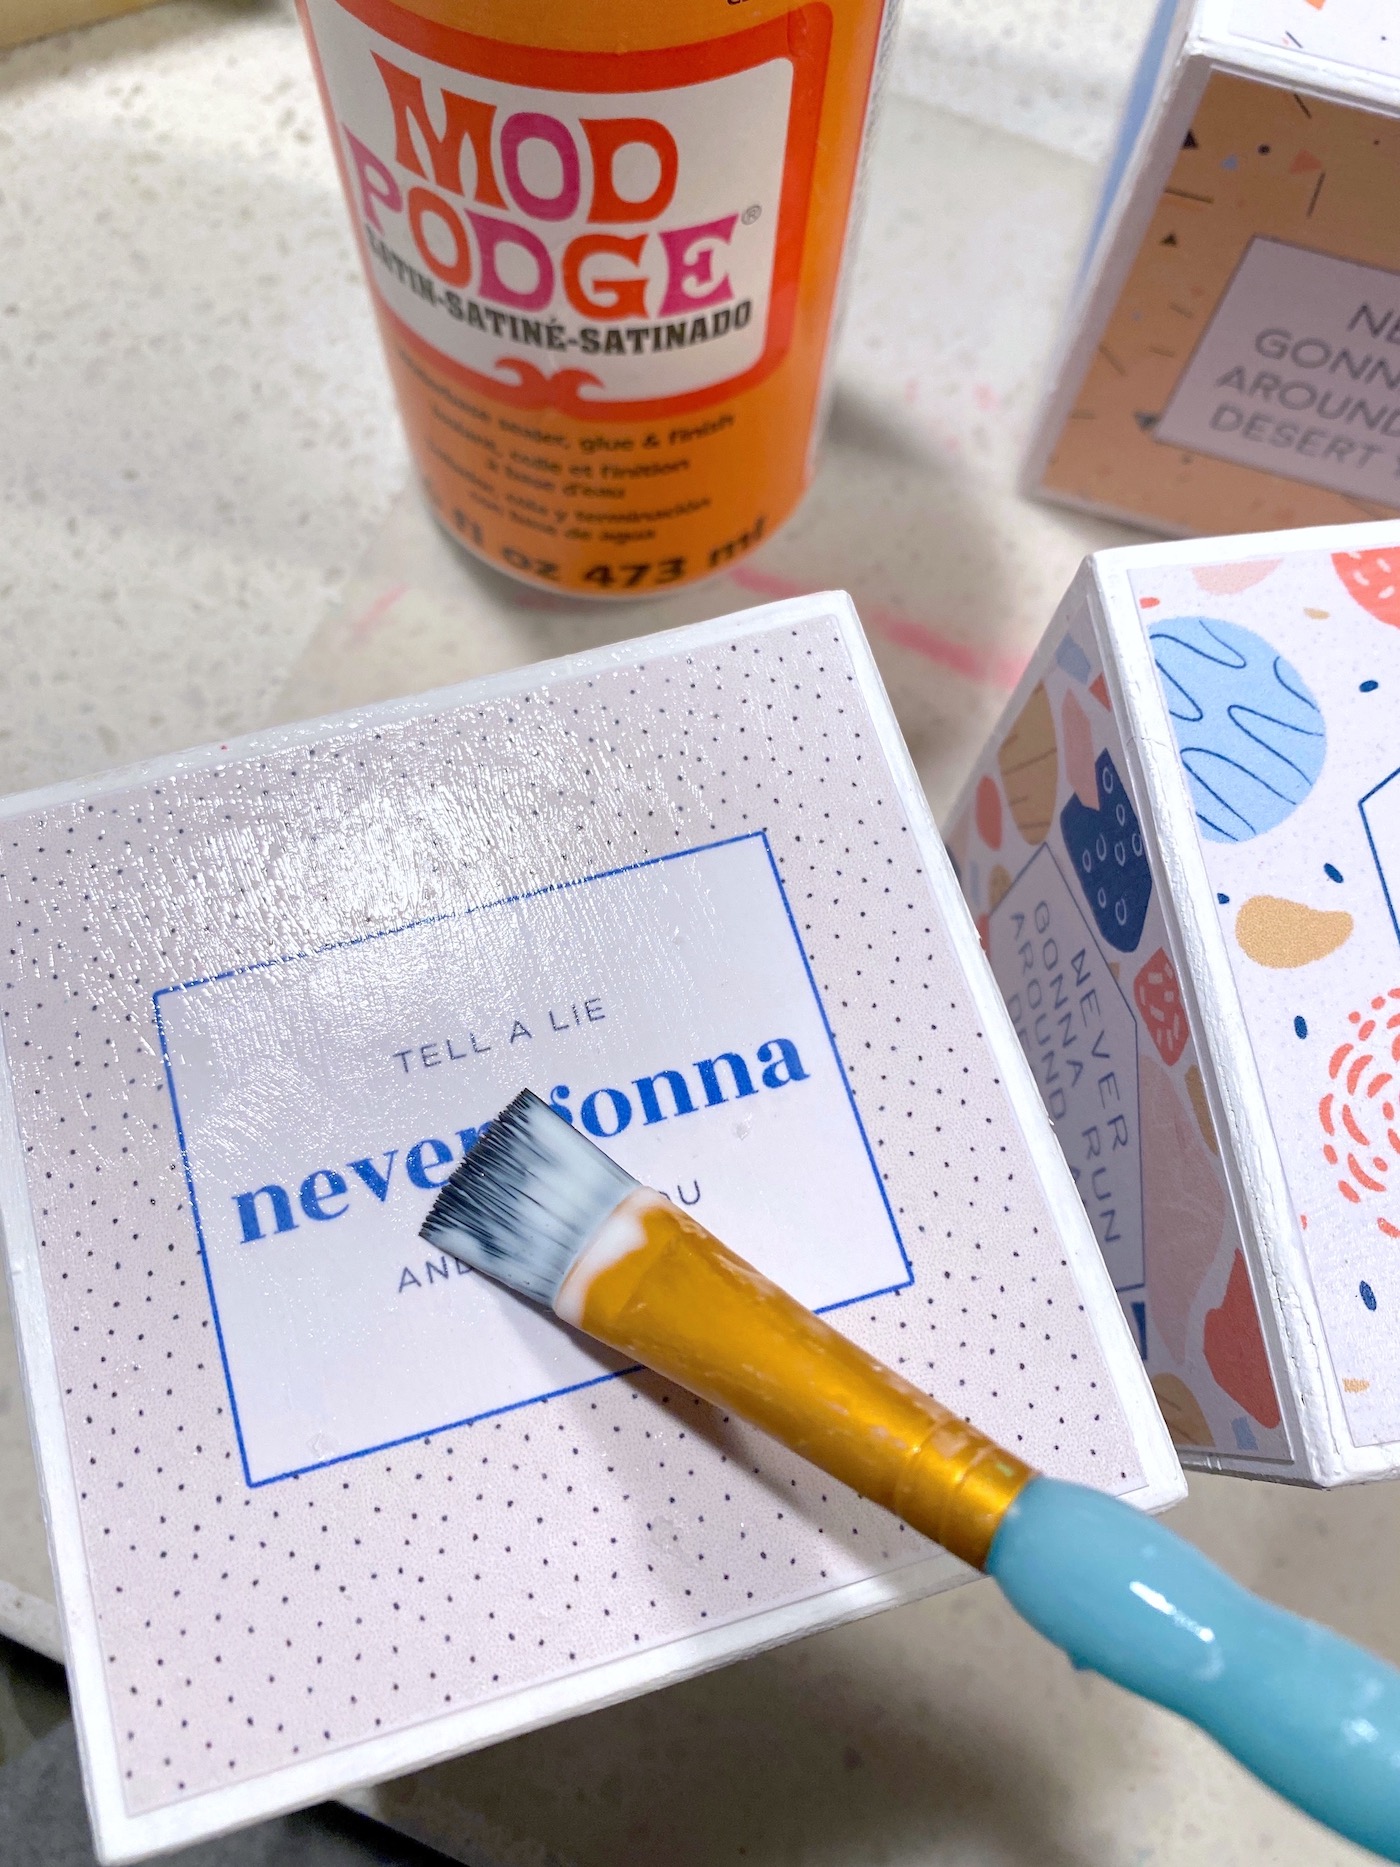
- Mod Podge
- Clear acrylic sealer or hairspray
Video
Instructions
- If you print out the design on an inkjet printer, you will need to prep the paper. Print out the images and let the ink dry for about 15 minutes. Spray both sides of the paper, front and back, with clear acrylic spray and let the paper dry for 24 hours.
- Remove the labels from your wood surface. If you need to use a sticker remover, go here.
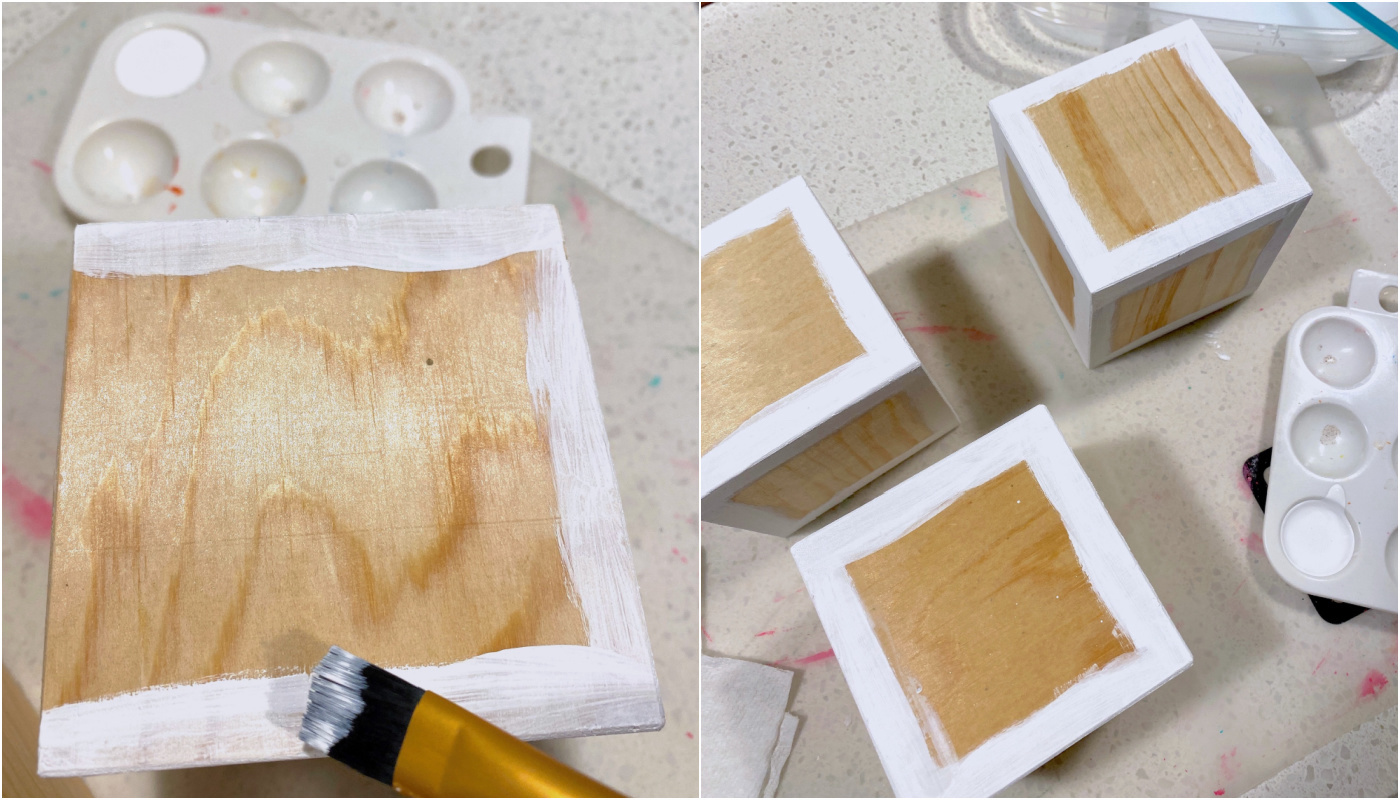
- Paint your wood blocks using acrylic paint. If your blocks are light colored, you can just paint the edges (which will peek out from around the paper). Paint several coats and let dry completely.
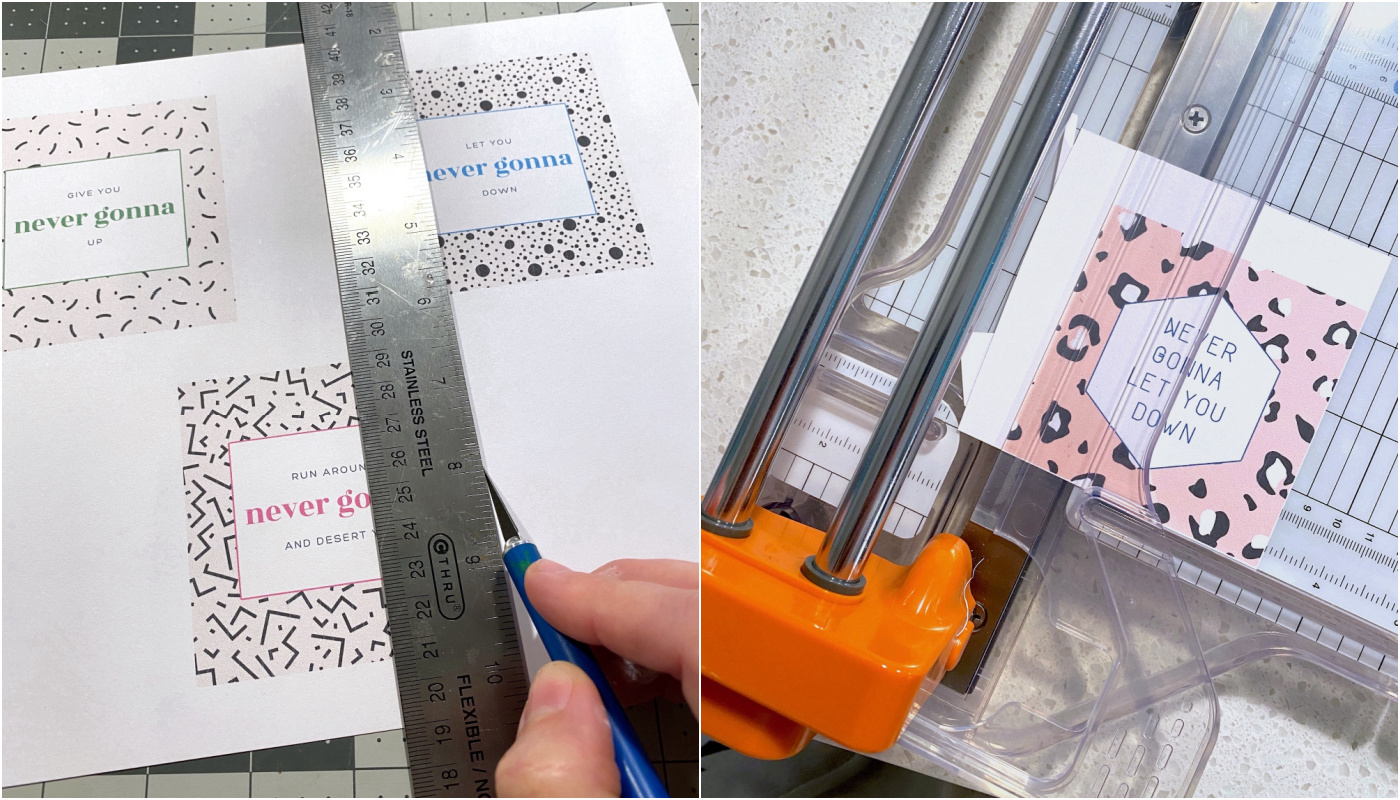
- Use either a craft knife and ruler or a paper trimmer to cut out the shapes you’d like to decoupage on wood. Cut everything out at once and set aside.
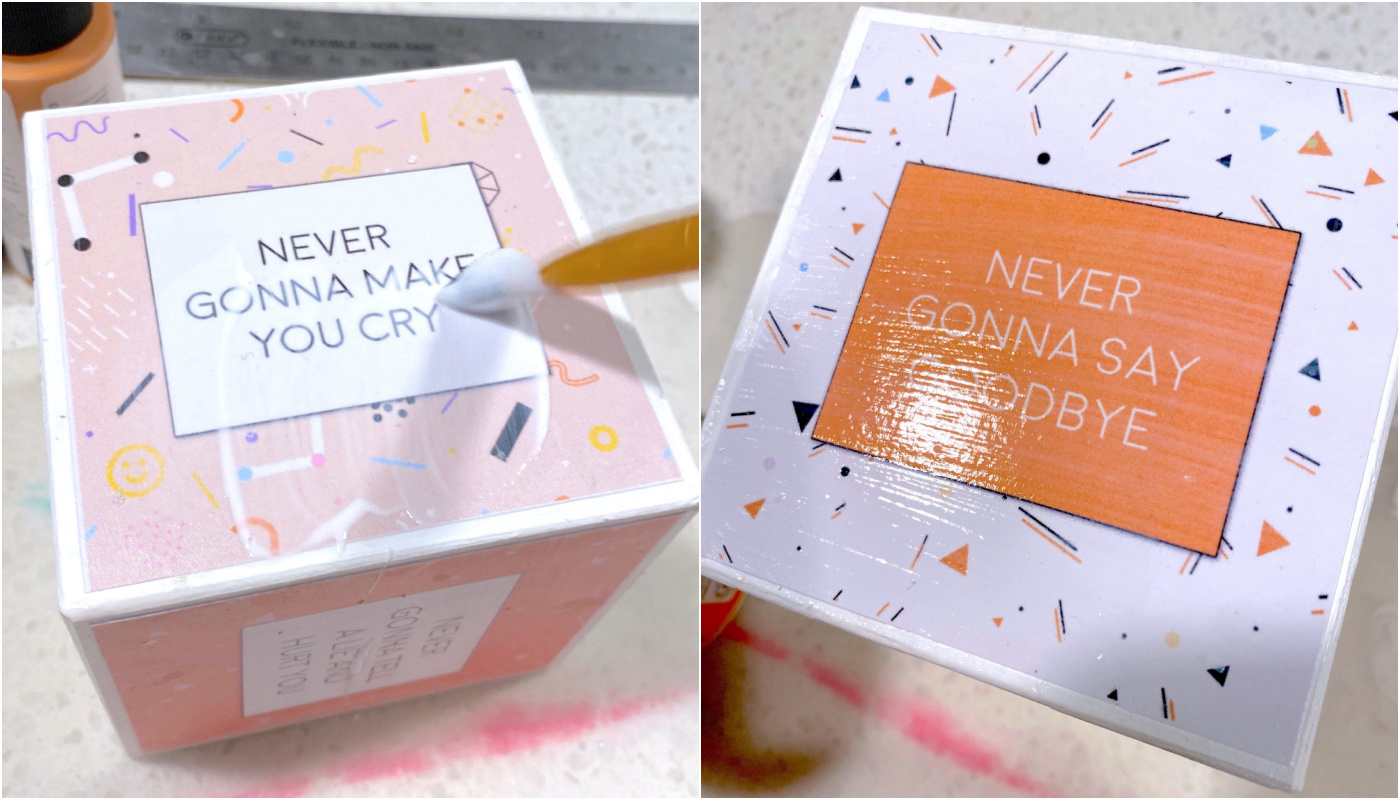
- Working on one side of the wood block at a time, apply a medium layer of Mod Podge to the side.
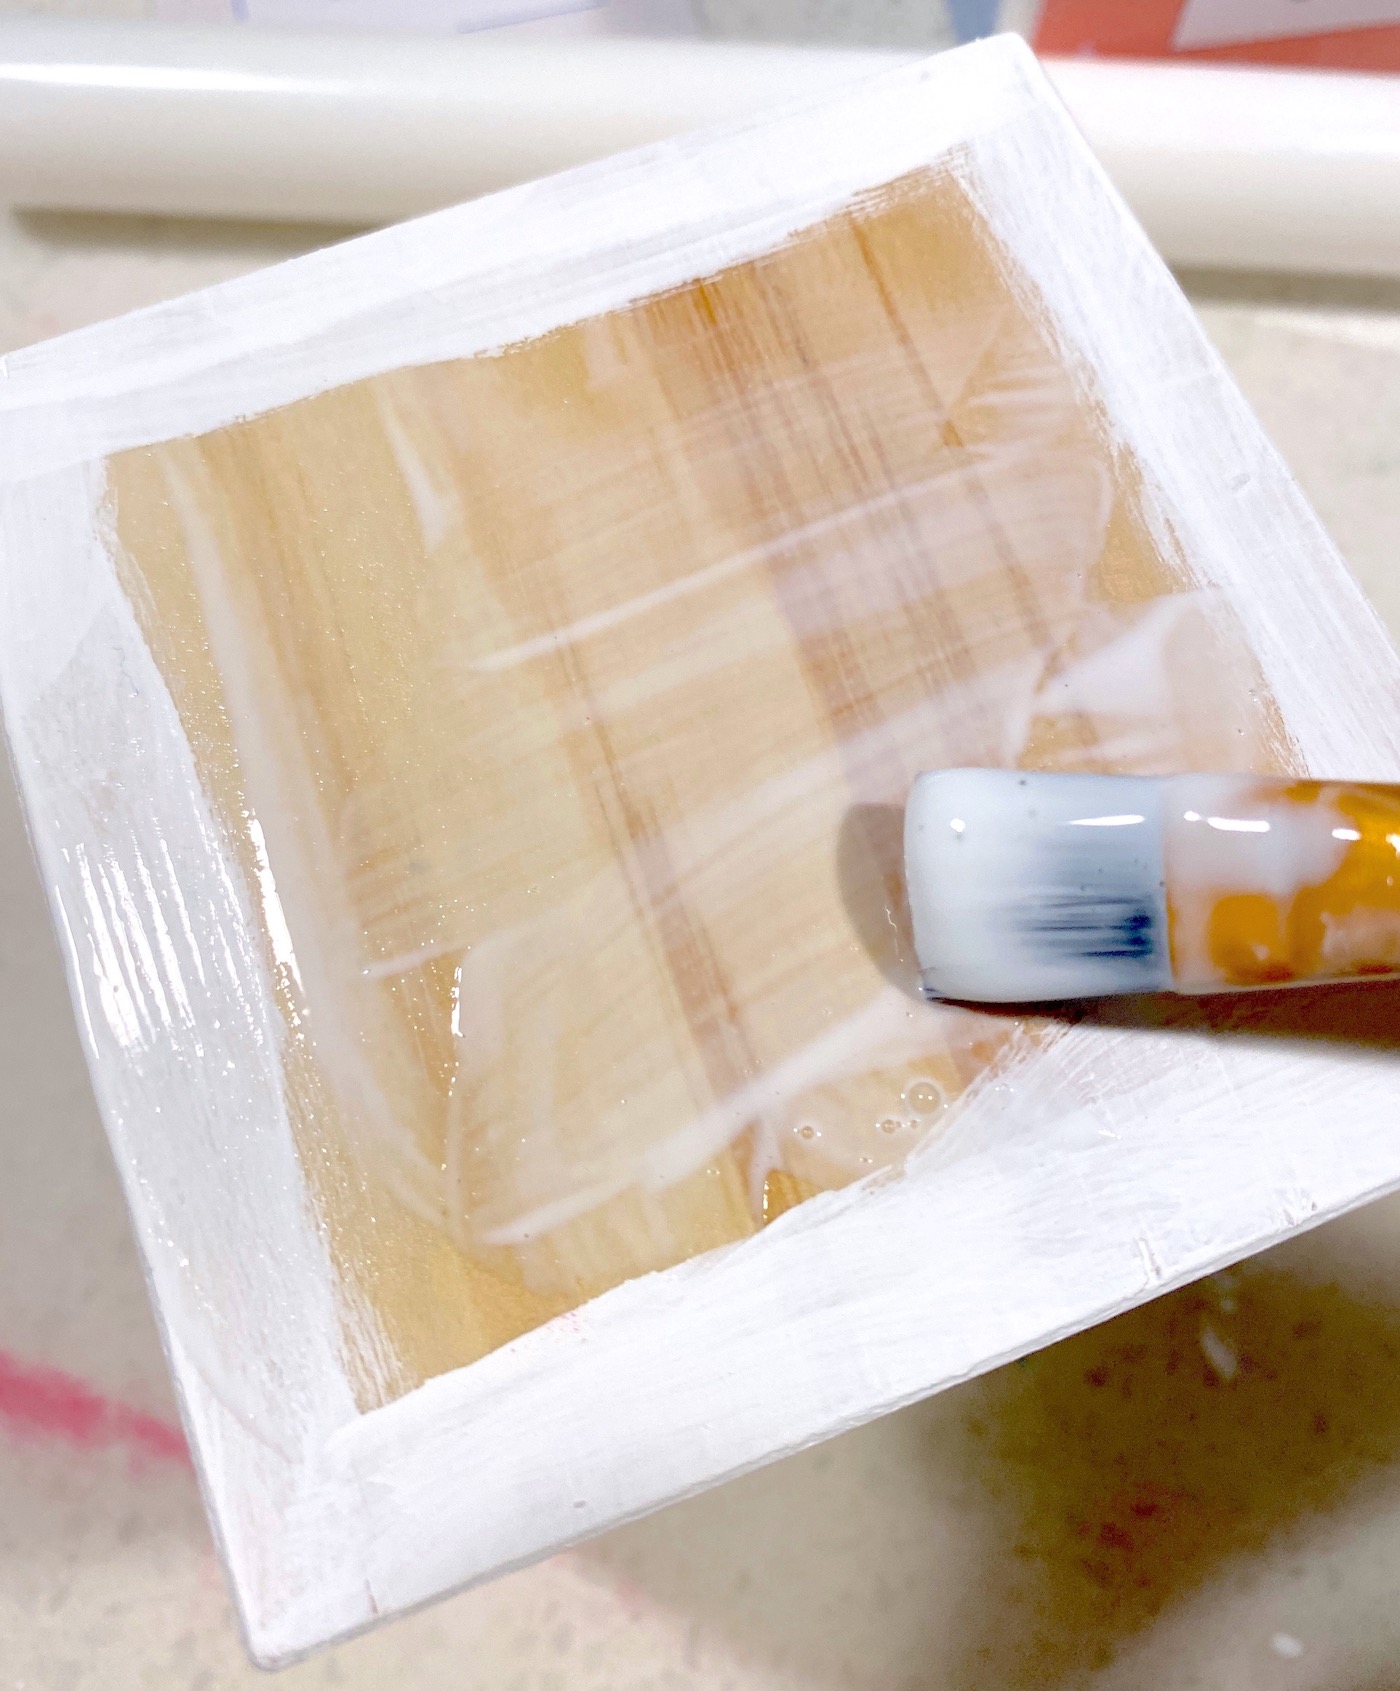
- Take one of the paper squares that you cut and smooth it down onto the Mod Podge on the wood block. Smooth thoroughly, and wipe away any Mod Podge that comes out the side (from under the paper) with a brush. Let dry for 15 – 20 minutes. Repeat with the additional sides.
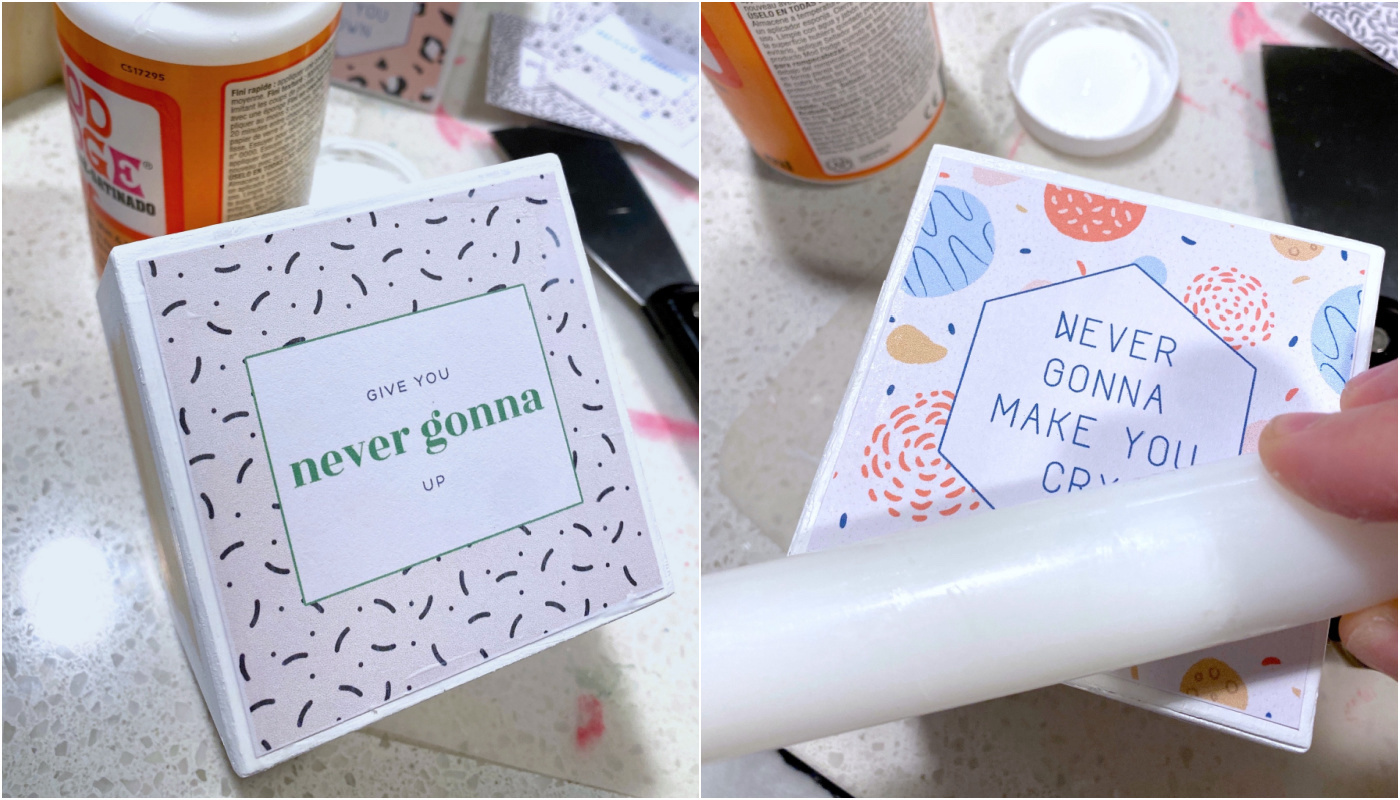
- Once you are done applying the paper and it has dried, seal the outside of the blocks. Apply a medium layer of decoupage medium and let dry. Repeat with the remaining sides of the wood block, letting the first layer of Mod Podge dry completely.
- Once the blocks have been sealed with a first layer and are dry, add a second, medium layer of Mod Podge. Repeat with all sides of the wood and let dry.
- Use a clear acrylic or brush on spray sealer to fully seal the blocks. Apply the sealer, let dry, turn over, and repeat. Wait until completely dry before displaying.
Notes
I’d love to know how your first project goes. Let me know in the comments! Then I’d also love for you to check out these other posts:


Hello, have you ever decoupaged a canvas paper print onto wood? I have these gorgeous prints on a cheap paper canvas ( type that I can’t out tape onto the back and make the paper thinner). I want to out it onto the front of a wooden cabinet door. I am looking for advice as to whether it might work and if so what modPodge formula would be best. Thank you in advance.
I started a project following another tutorial. I did 2 coats but on one part I wasn’t able to get all the mod podge off. Should I start over ? I also didn’t spray the laser jet as you suggest.