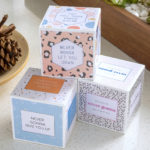
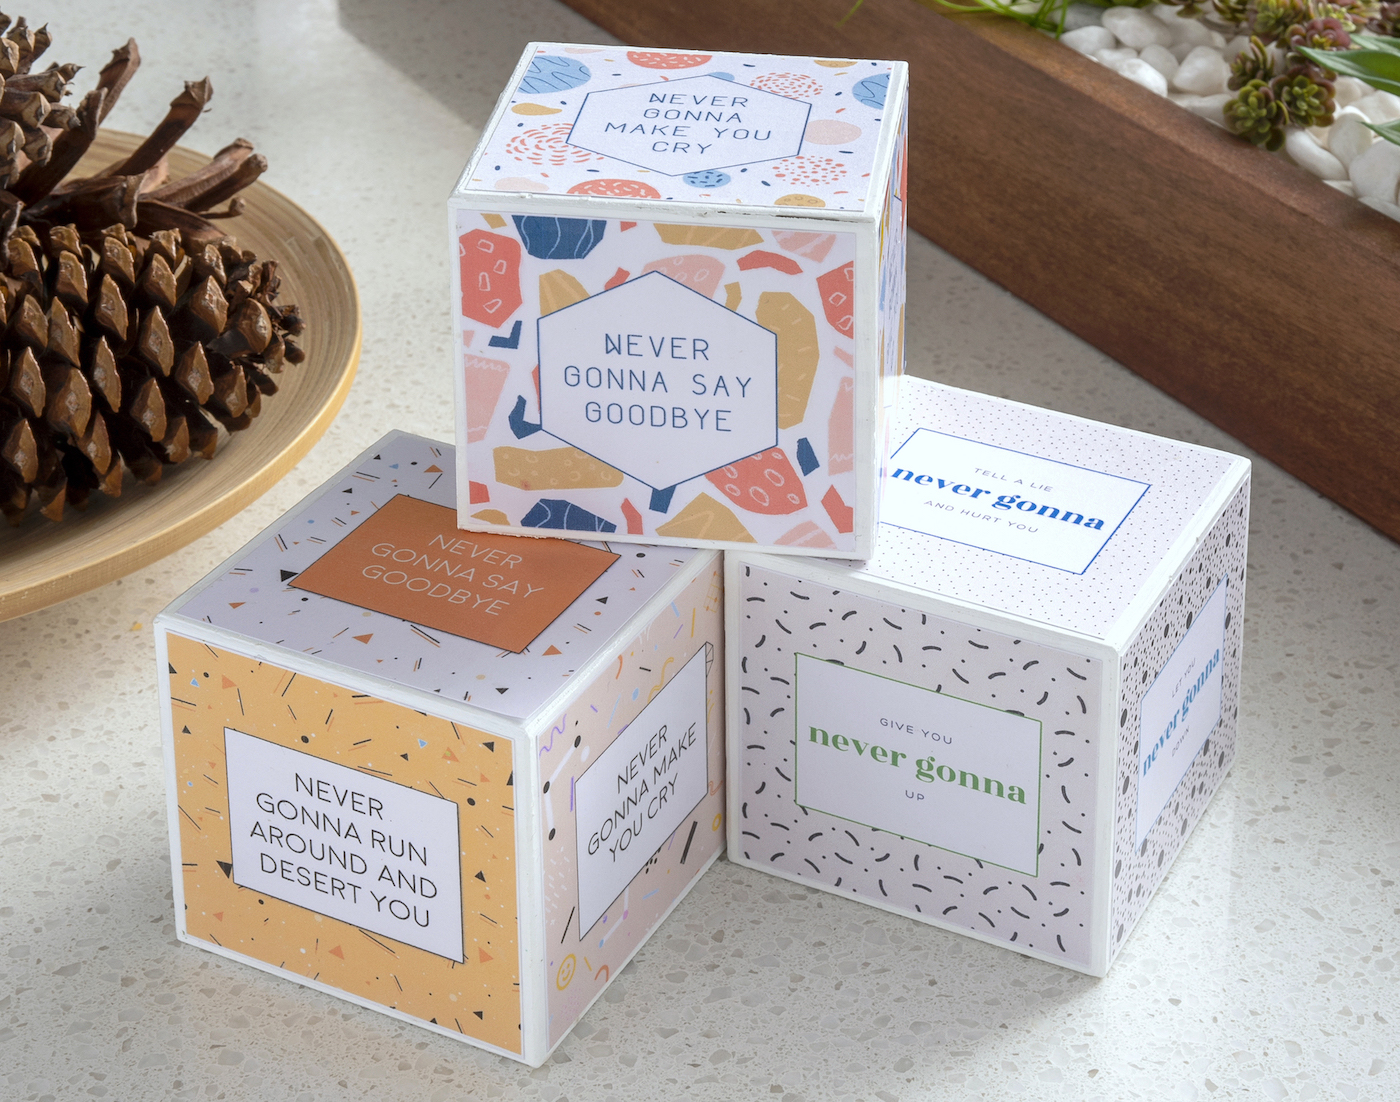
Decoupage on Wood
Learn how to decoupage onto wood using printed items from your home printer! You can use photos or any graphics you like.
Yield: 3 blocks
Cost: $5
Equipment
- Printer and paper laserjet preferred; pay attention to notes for inkjet
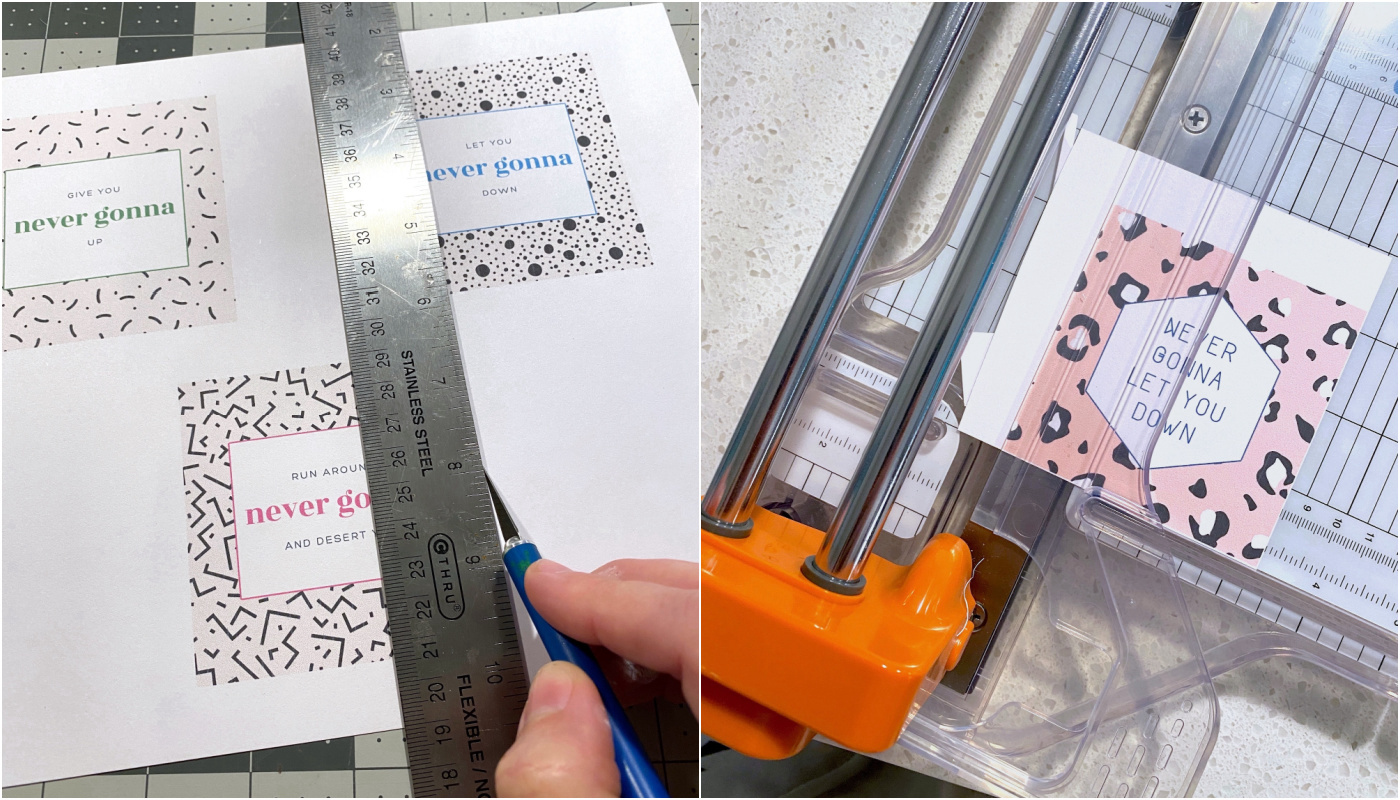
- Paper cutter or craft knife and mat
Materials
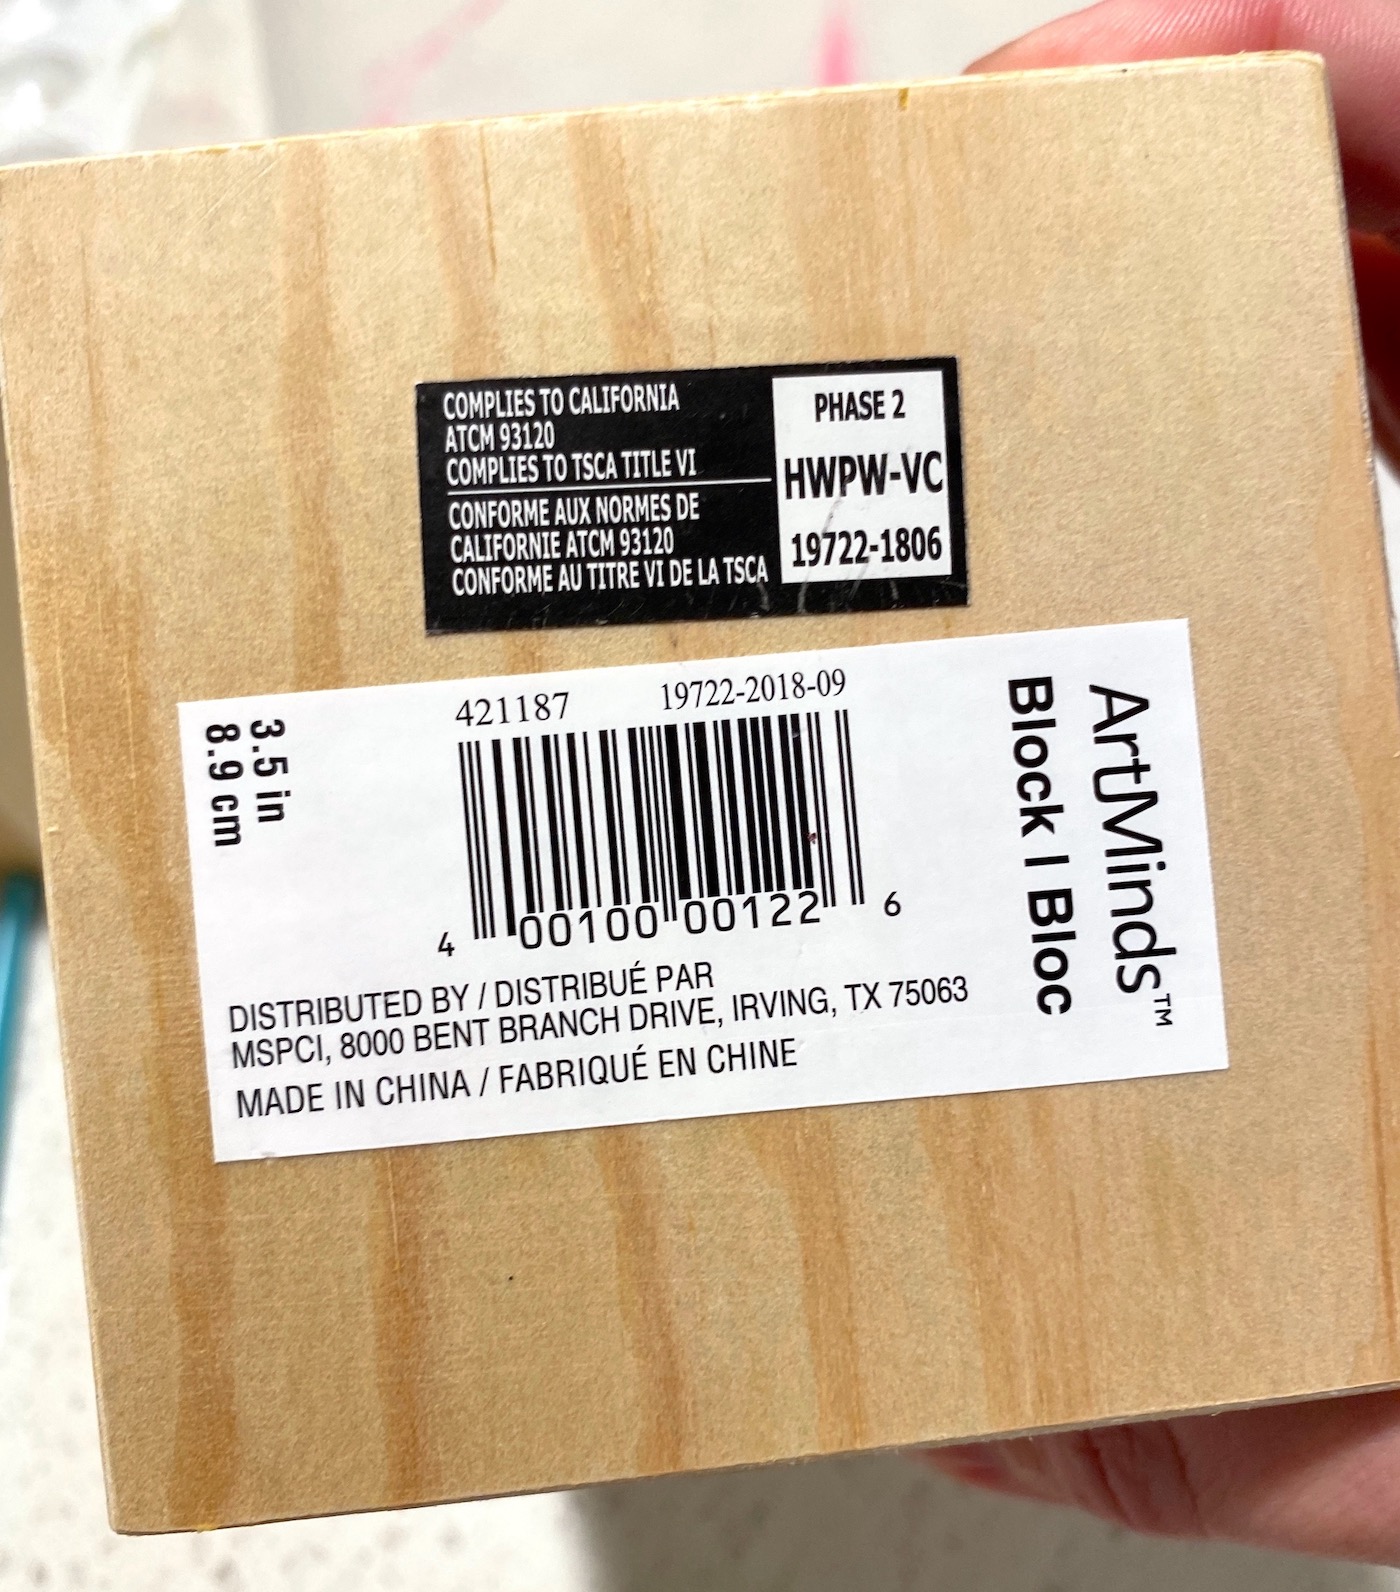
- Wood block(s) 3.5″
- Craft paint white
- Mod Podge
- Clear acrylic sealer or hairspray
Video
Instructions
- If you print out the design on an inkjet printer, you will need to prep the paper. Print out the images and let the ink dry for about 15 minutes. Spray both sides of the paper, front and back, with clear acrylic spray and let the paper dry for 24 hours.
- Remove the labels from your wood surface. If you need to use a sticker remover, go here.
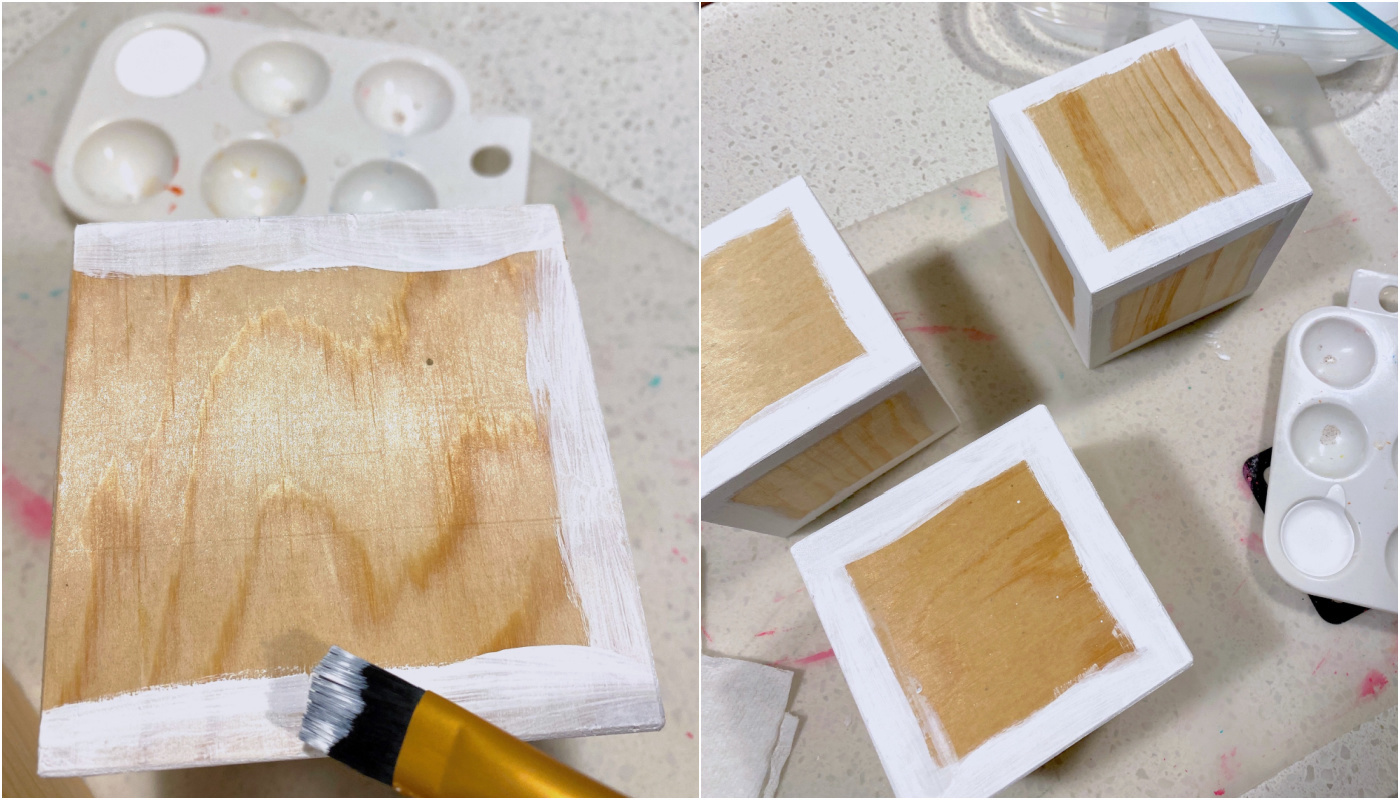
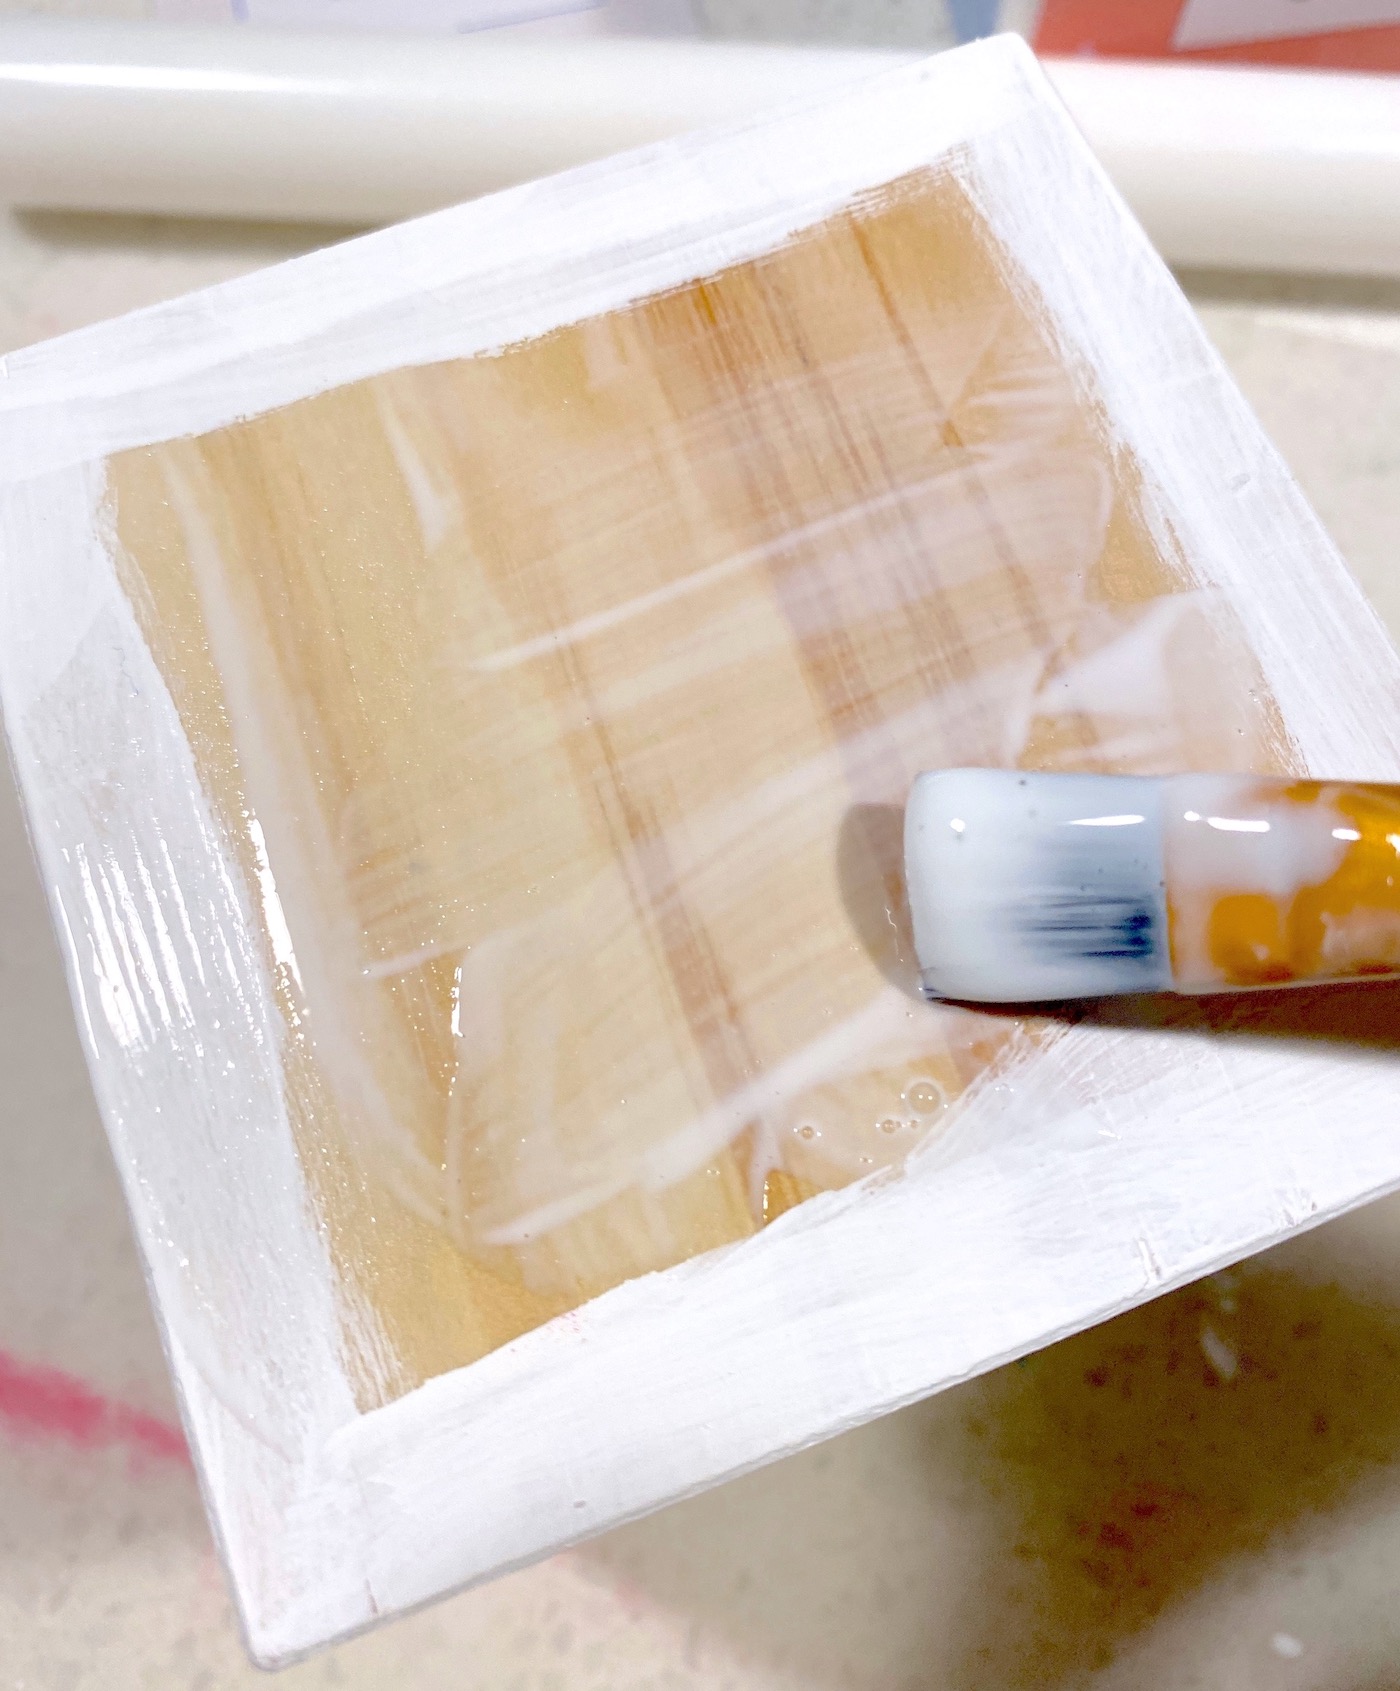
- Paint your wood blocks using acrylic paint. If your blocks are light colored, you can just paint the edges (which will peek out from around the paper). Paint several coats and let dry completely.
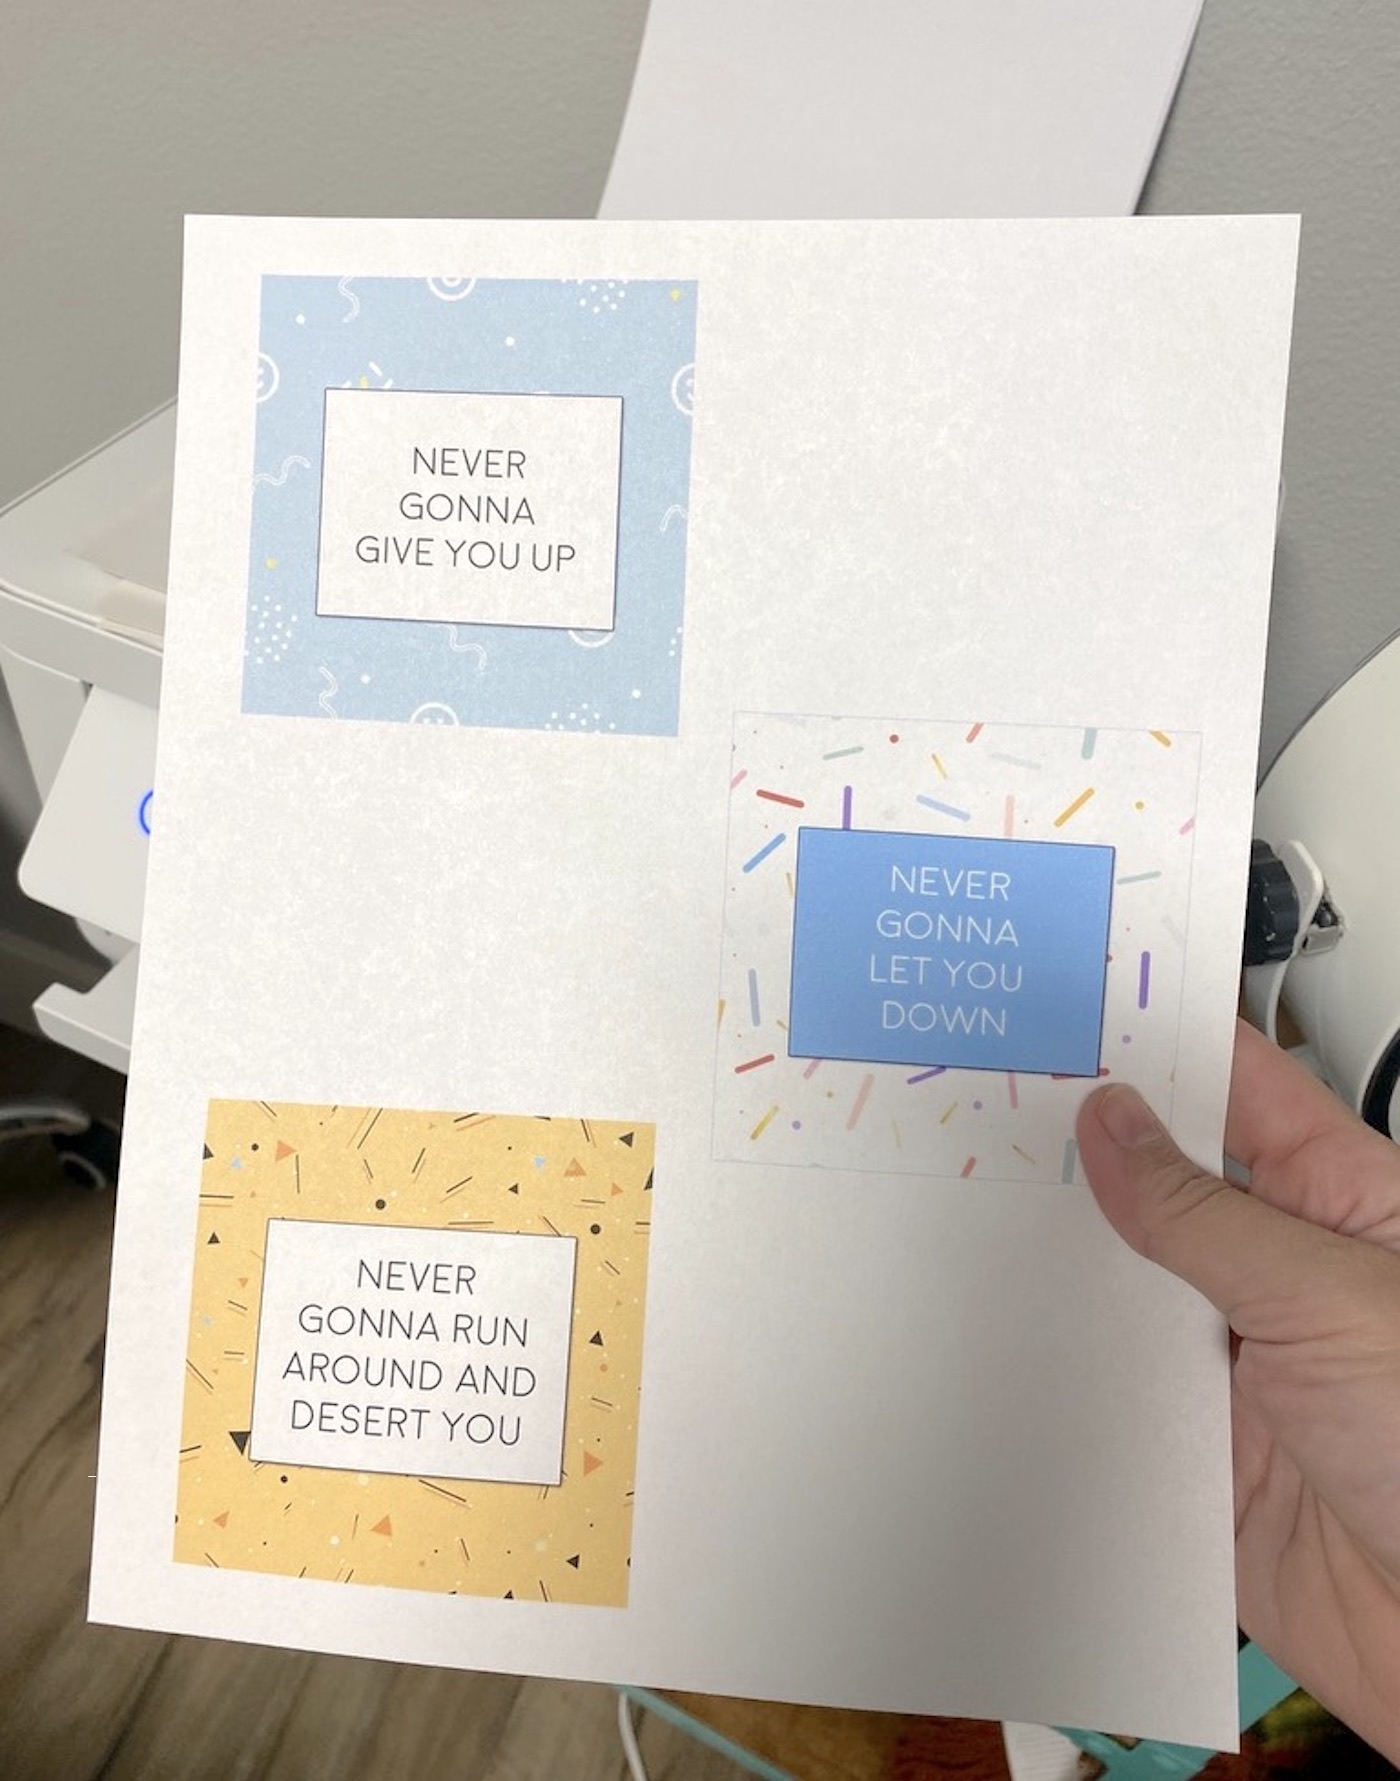
- Use either a craft knife and ruler or a paper trimmer to cut out the shapes you’d like to decoupage on wood. Cut everything out at once and set aside.
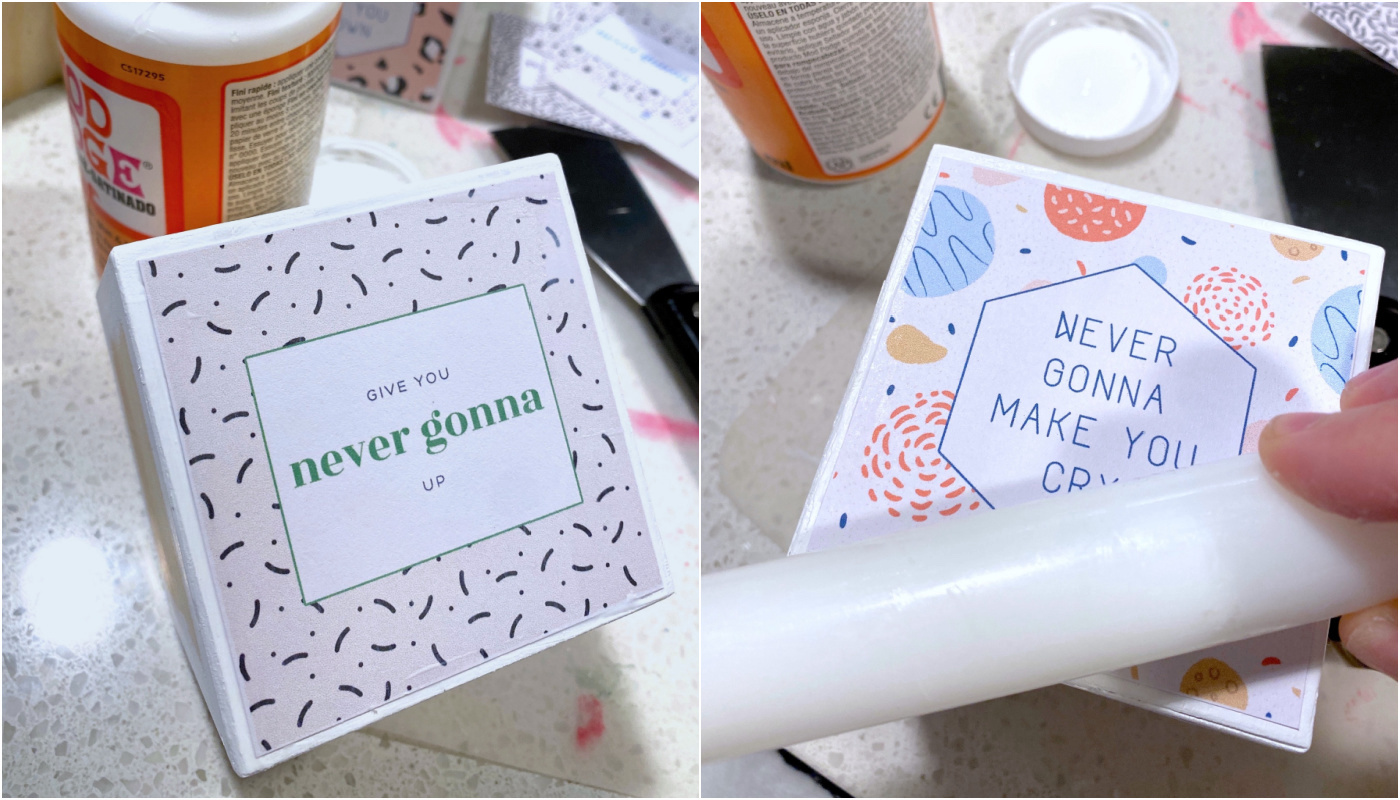
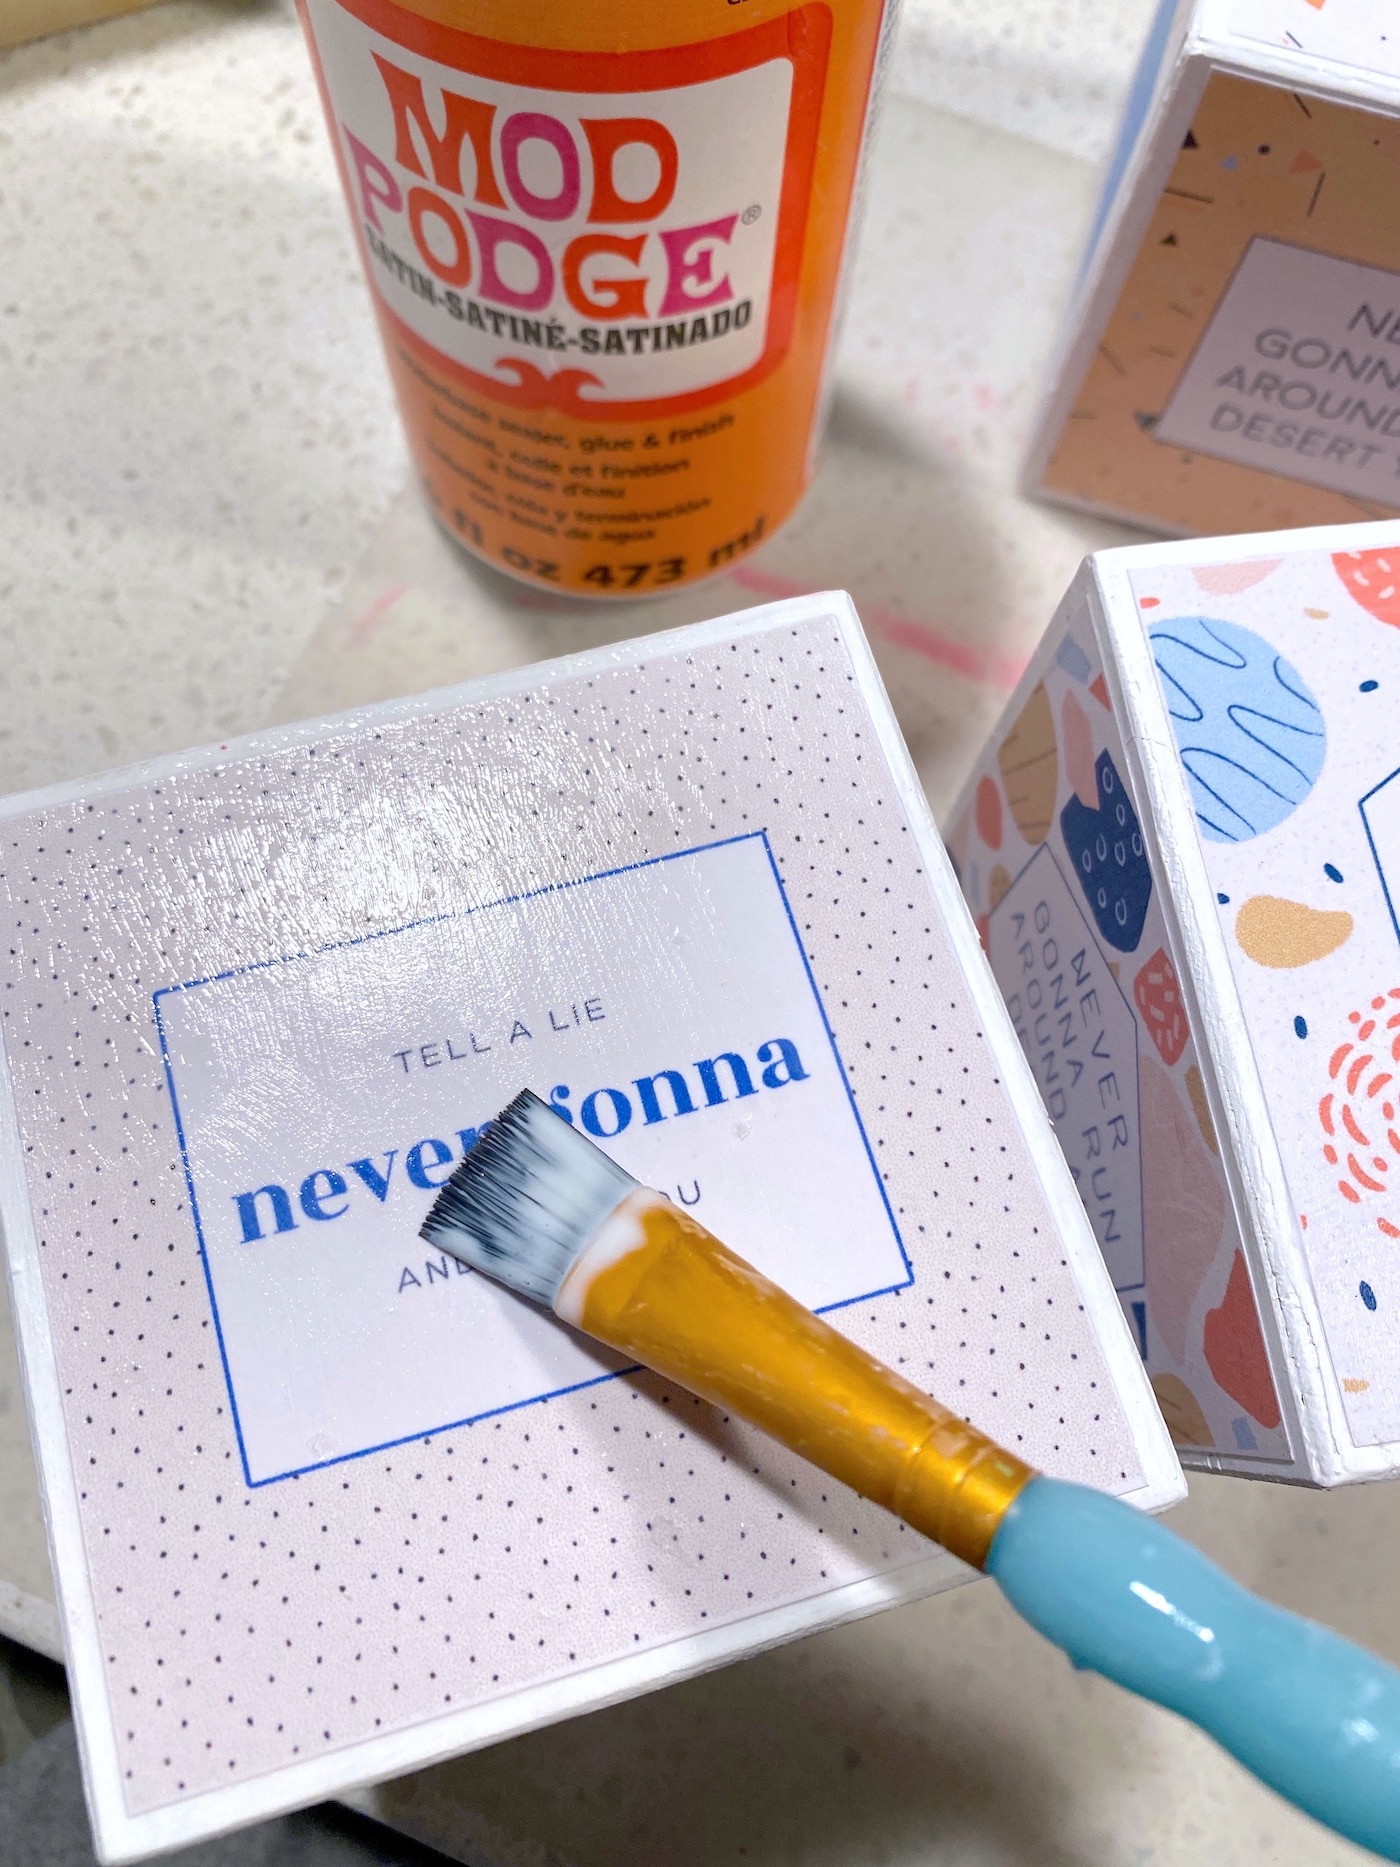
- Working on one side of the wood block at a time, apply a medium layer of Mod Podge to the side.
- Take one of the paper squares that you cut and smooth it down onto the Mod Podge on the wood block. Smooth thoroughly, and wipe away any Mod Podge that comes out the side (from under the paper) with a brush. Let dry for 15 – 20 minutes. Repeat with the additional sides.
- Once you are done applying the paper and it has dried, seal the outside of the blocks. Apply a medium layer of decoupage medium and let dry. Repeat with the remaining sides of the wood block, letting the first layer of Mod Podge dry completely.
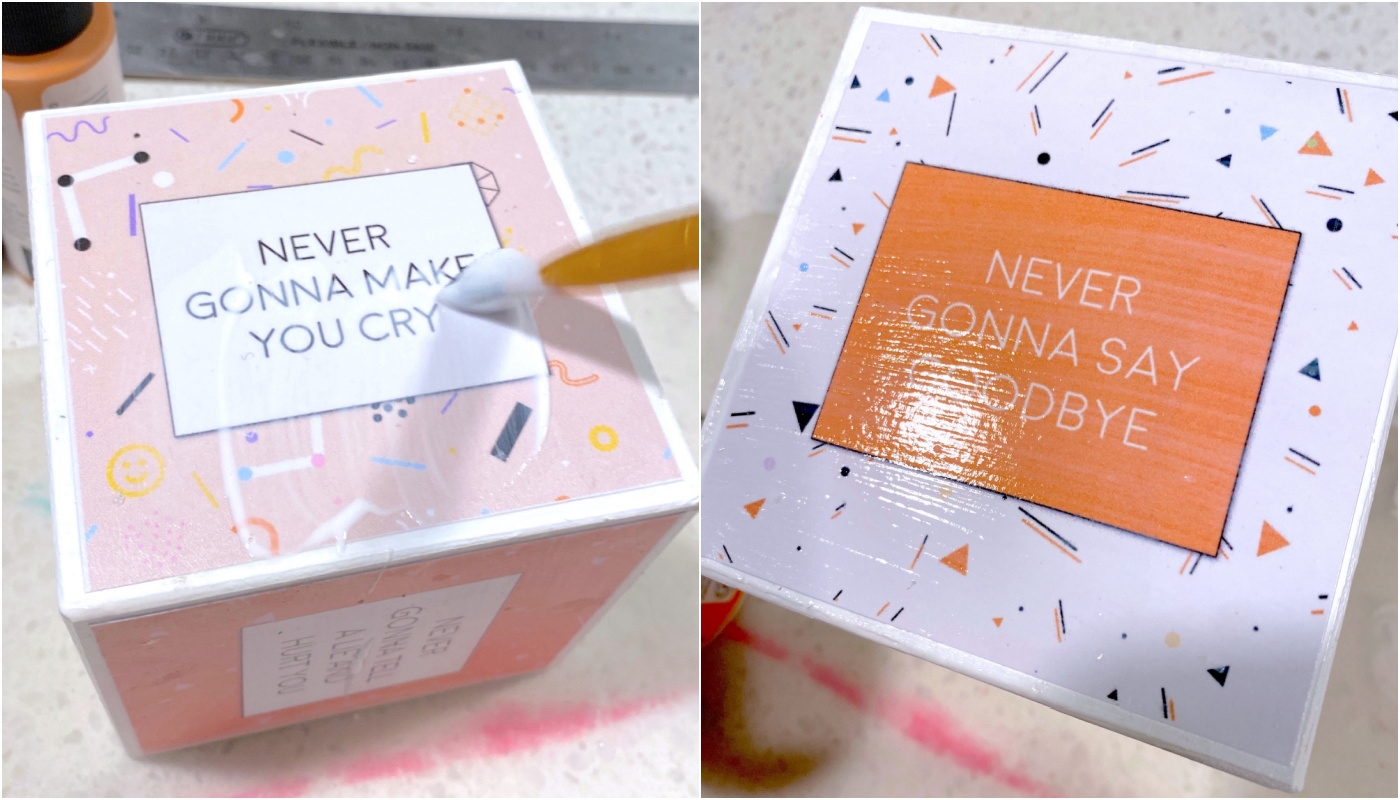
- Once the blocks have been sealed with a first layer and are dry, add a second, medium layer of Mod Podge. Repeat with all sides of the wood and let dry.
- Use a clear acrylic or brush on spray sealer to fully seal the blocks. Apply the sealer, let dry, turn over, and repeat. Wait until completely dry before displaying.
Notes
Adding enough Mod Podge in step 6, smoothing thoroughly, and letting dry before putting on the top coat is crucial for avoiding wrinkles so don't skimp!