
Elevate your home decor with these cute DIY votive candle holders made with Mod Podge! You’ll use recycled glasses and book pages for this idea, so you won’t spend a lot of money for this pretty, vintage inspired project.
Skills Required: Beginner. You can decorate candle holders with little crafting experience. It does help to have experience with Mod Podge so you know how to apply it and smooth down the paper without wrinkles.
Over at Hammer Like a Girl, we usually try to use materials that have been cast off, scrounged, or salvaged. So when we first were planning this DIY votives project, we thought it would be a great idea to use cut-off bottles.
You’ve all seen the technique online – soak string in acetone, wrap it around a bottle, light it on fire, turn turn turn to get an even burn and when the flame starts to die down, dunk it ice water, and the bottle breaks where the string was, essentially turning a bottle into a glass.
It sounds so cool (and easy). We went out and bought acetone, dug in our recycling bins and went to work. Maybe we were doing something wrong, but for the life of us, we could not get a nice clean break.
The edges were jagged-y, like something you’d see in a bar fight. So with singed arm hair, we went to the Goodwill, where we bought three glasses for $.69/each instead. We decided to use those for a recycled craft instead. WE came up with these votives!
Here’s some instructions – not how to singe your arm hair – but for making unique decoupage votive candle holders. If you want to Mod Podge on glass, this is a perfect craft to get you started.
Gather These Supplies
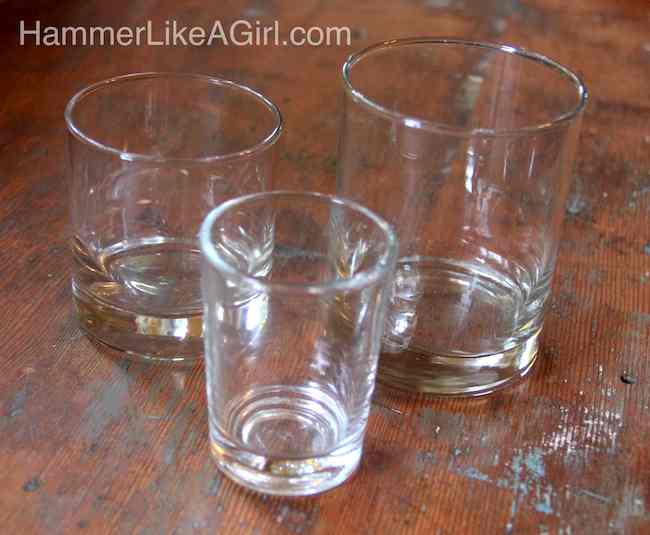
- Drinking glasses, preferably with straight sides
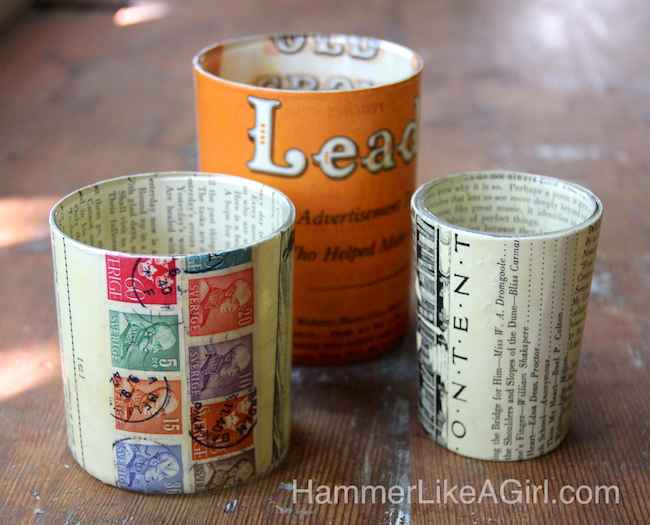
- Ephemera of your choice – we used an old poetry book, a fiction magazine, and old postage stamps
- Mod Podge Matte (you can use any Mod Podge formula)
- Brush
- X-Acto knife
- Fine sandpaper (220-grit)
- Bottle for holding the glass while decoupaging
Tips and Thoughts for This Project
The straighter the sides of your drinking glasses, the better. We lucked out at Goodwill and found a large, a medium, and a small glass, making a perfect little varied size “set”.
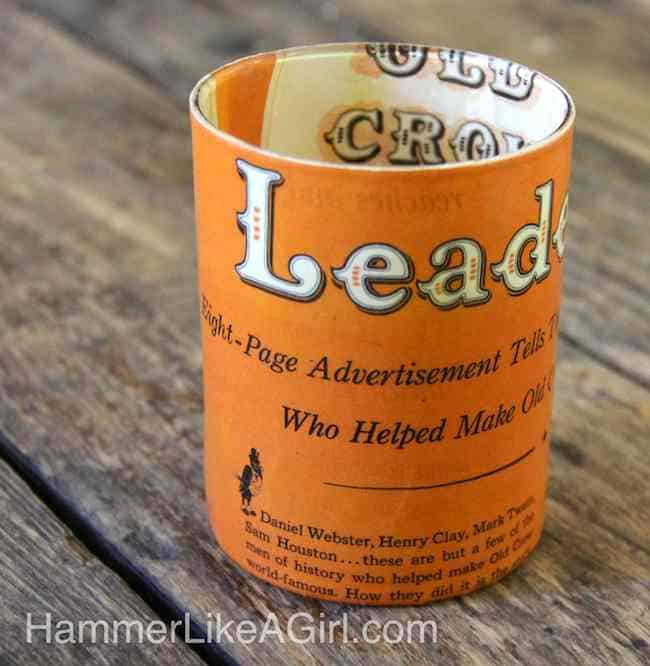
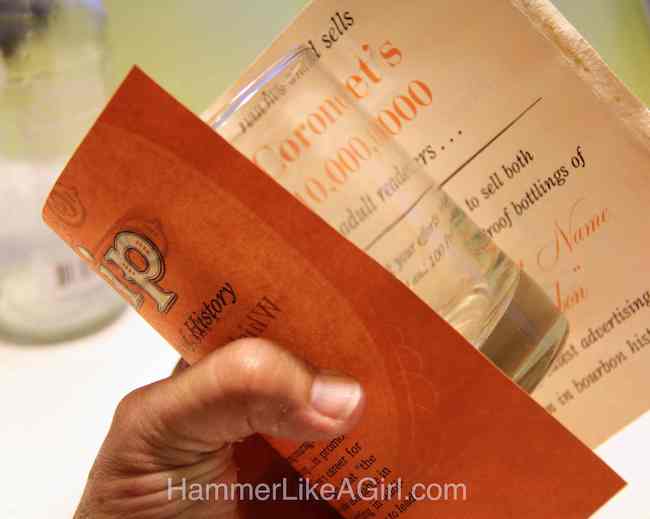
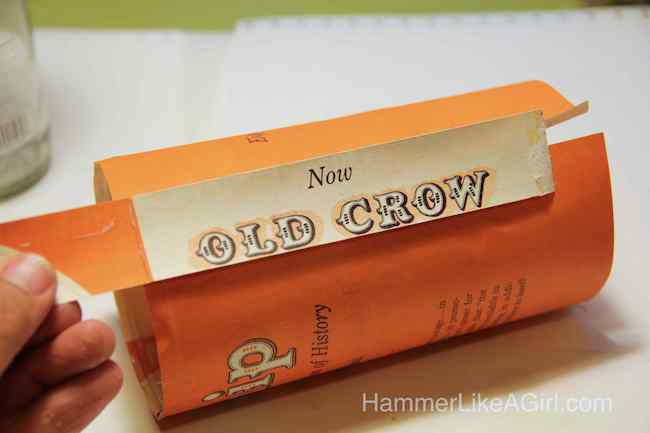
Old wrapping paper, books, magazines, and brown craft paper work great for this project. We used an old poetry book, stamp collection and a literary magazine from 1954 (with a great orange advertisement for whiskey).
If you don’t want to use originals, you can use laserjet (no smearing or bleeding!) copies instead and hang onto the originals.
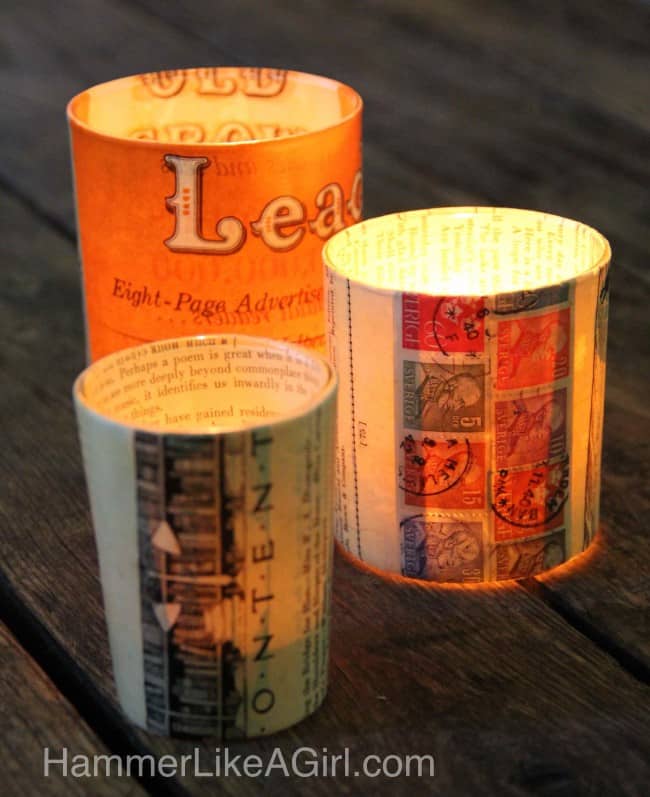
There you go! A simple project (if you skip the part where you light your arm hair a string on fire) that has some fun effects when you place lit candles inside.

You can customize these votive candle holders and use your favorite pattern papers, kids drawings, etc.

Get the printable how to for this craft idea below!

Mod Podge Candle Holder
Equipment
- Sandpaper fine, 220-grit
- Bottle for holding the glasses
Materials
- Drinking glasses preferably with straight sides
- Ephemera an old poetry book, a fiction magazine, and old postage stamps
- Mod Podge
Video
Instructions
- Wash the glasses inside and out with mild soap and warm water. Let dry.
- Select some of your favorite papers to cover your votive holders. Old wrapping paper, books, magazines, craft paper work great.

- Cut the paper so it is slightly larger than the glass. The paper should hang over the top and bottom edges a little bit.
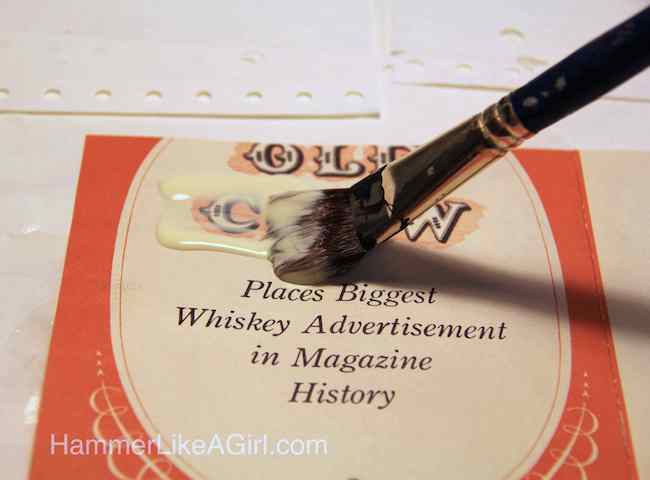
- Spread Mod Podge onto the back of the paper.
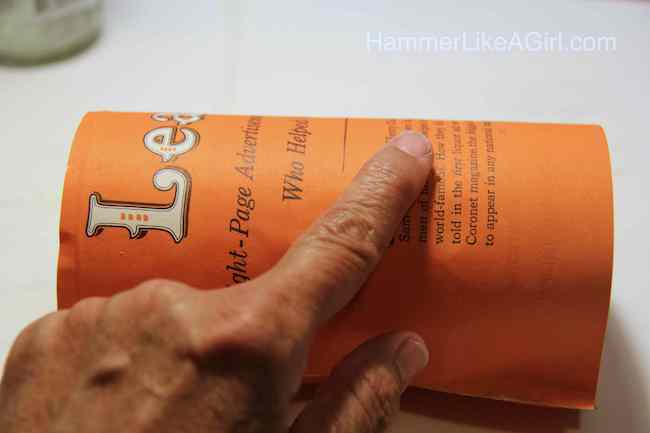
- Turn the glass on its side, and lay the paper over the top of the glass, letting the excess paper hang off the top/bottom edges.
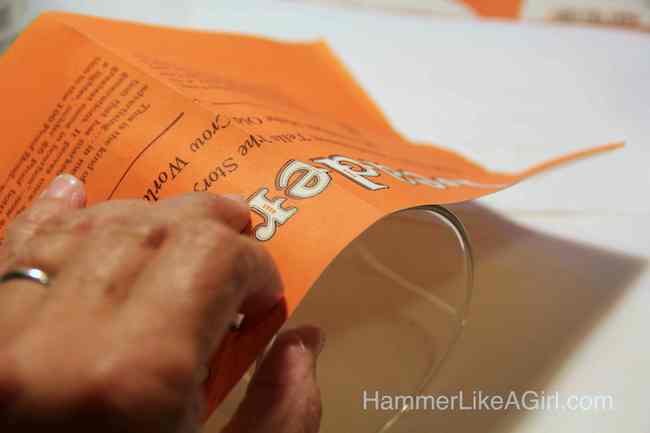
- Roll the glass on the table until the paper covers the glass.
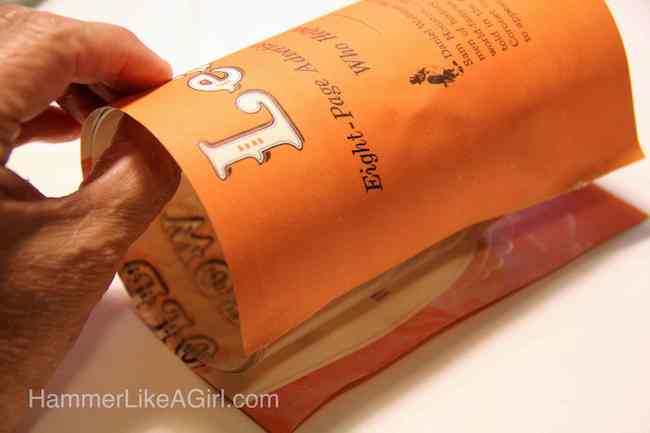
- Smooth the paper onto the glass, working from the center outward to the edges.
- If you have a gap, cut another piece of paper to cover it. Keep the design in mind; here's a chance to add a little interest. Let dry thoroughly.
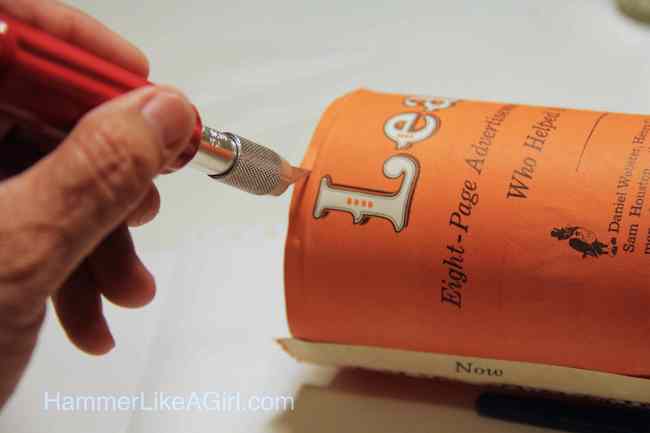
- Trim the excess paper off the top by using an X-Acto knife. Repeat along the bottom edge.
- If needed, touch up areas along the bottom of the glass (where it curves) with Mod Podge. Gently press down/in with fingers, working your way around the glass.
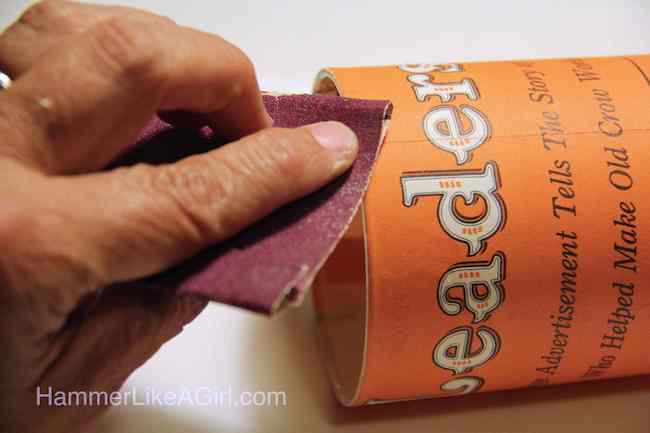
- Let Mod Podge dry thoroughly. If the edges are a little rough, you can take fine sandpaper and gently touch up the edges, sanding in an inward direction.
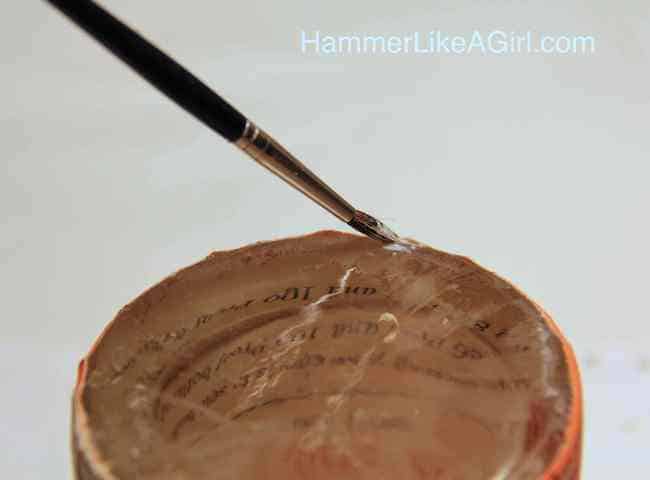
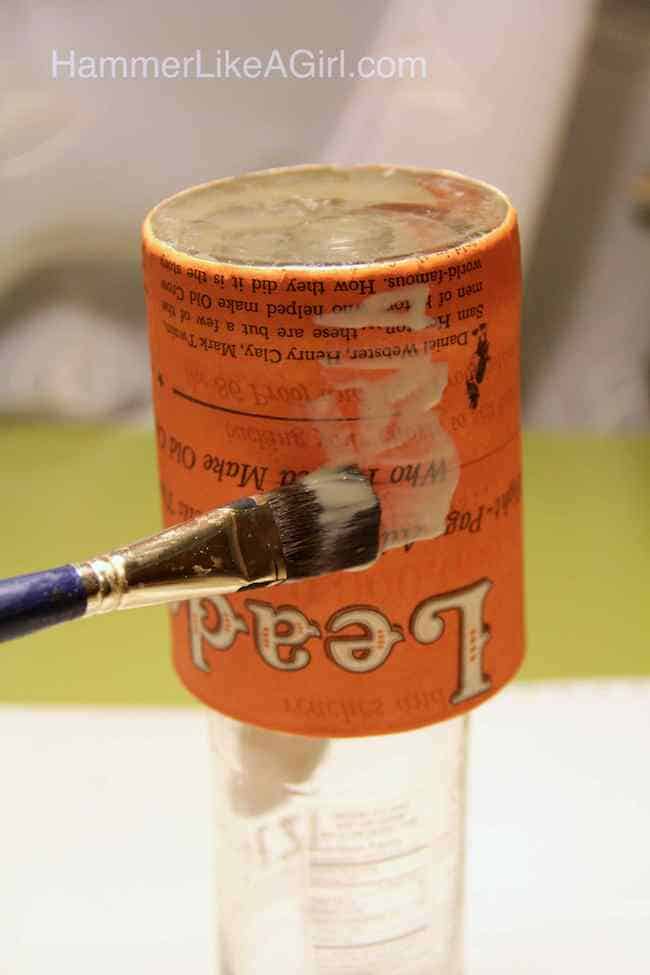
- Place the glass upside-down on a stand of some sort (we used a bottle) and apply a coat of Mod Podge to the outside. Let dry and repeat.
- Add tealights – either real or LED – to finish. Never leave any real flames unattended.
If you enjoyed these DIY votive candle holders, let me know in the comments! I’d also love for you to check out these other recycled craft ideas:


They look beautiful you got so many ideas that inspire to people who does craft. Thanks very very much
I love this craft. It gives me ideas.
Love these votive holders! Can you also use fabric scraps or is it better to use paper? Thanks!
I haven’t tried with fabric, but would think it would work just fine! The only thing that may not work quite as well is trimming off the excess top/bottom. The paper is stiff so it works to use an X-Acto, but the fabric would be more soft and would flex a lot when you try to slice through it. The bottom edge you could just tuck underneath (no one would see it) but the top edge looks nice when it ends at the lip of the glass. Good luck, give it a try! 🙂
Amy, those are cute! Love the stamps. I am glad I am not the only one who cannot get that burning string, acetone, ice water trick to work. I tried many times and it wouldn’t break at all or not a clean break. I gave up luckily without any injuries.
Off the subject but I recently found sock monkey print fabric and made a baby quilt for my niece and gave it as a gift with a sock monkey. It is a silvery grey minky fabric on the back with a red ruffle around it. Awe, I know you like those.
Hi Michelle! That baby quilt sound delightful! You’ll have to send me a pic – I want one! ;D
I have just nominated you to do the libster award
Such a great idea. Love the way they look.
Thanks Rachel! Let us know if you try it!
Ok way too cute! Love them!