
Learn to make Santa’s hot air balloon for a cute addition to your Christmas decor! This is easy to do with a paper lantern, fabric, and Mod Podge.
Skills Required: Advanced Beginner. There is some fussing with attaching the cup to the paper lantern and placing the fabric over the top of it. It helps to have some experience with Mod Podge before doing this project.
Christmas is almost here, and along with it, lots of Christmas crafts. Stuff like mason jars, wall decor, and lots of other projects for holiday decorating!
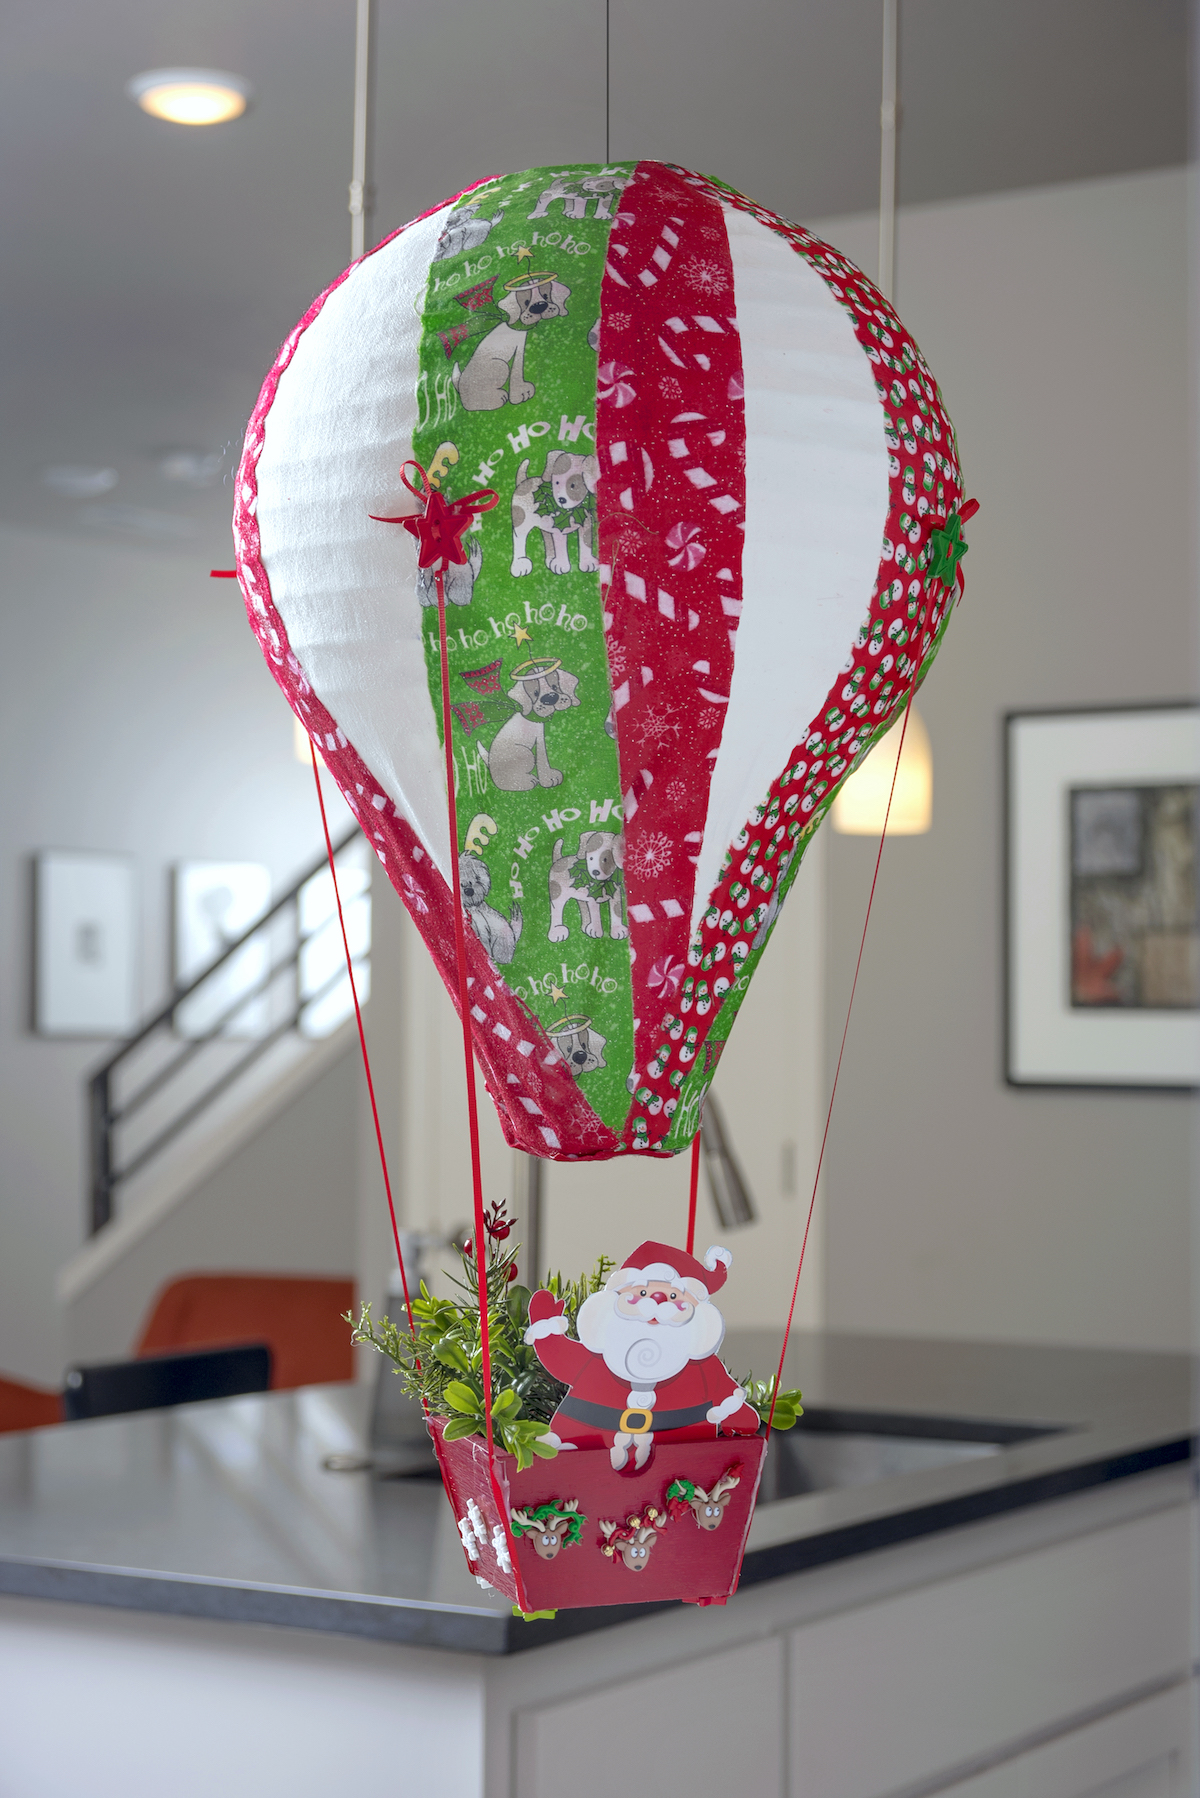
This year my mother actually made a pretty cute Santa Christmas craft that I wanted to share: Santa’s hot air balloon! Because let’s face it . . . the reindeer need a break sometimes. So Santa has to take a trip in a hot air balloon.
Hot Air Balloon Christmas Decoration
This hot air balloon Christmas decor has a few things going for it: 1) it’s fun and 2) it’s unique! I think it’s a fun idea to make, especially with older kids. Might be fun for a Christmas party? Or above the kids’ table? In a doorway?
There are a lot of options for this Santa.
You can make this project in three simple steps! You’re going to add the cup to the balloon and cover with fabric. Then you’re going to make Santa’s basket. Finally, you’ll attach this basket to the balloon. Then Santa will be ready to take his balloon and presents out into the great beyond for delivery!
If you’re ready to try this super fun Christmas project, then let’s roll! Learn how to make it below.
Gather These Supplies
- Paper lantern
- Mod Podge Matte
- Plastic cup
- Santa graphic
- Fabric – white or warm white, enough to cover the paper lantern
- Christmas fabric – red and green scraps
- Thin satin ribbon – we used 1/16″ width
- Acrylic paint – red
- Pins – four small with a flat head (optional)
- Faux greenery
- Small wood container or basket
- Buttons – 10 – 12
- Scissors
- Hot glue gun and glue sticks
- Craft glue
- Paintbrush
- Measuring tape
Make the Balloon
Start with a paper lantern – make sure it’s the 12″ if you use a red Solo cup. There are 6″ paper mache lanterns too, but you’ll need to get a smaller cup then.

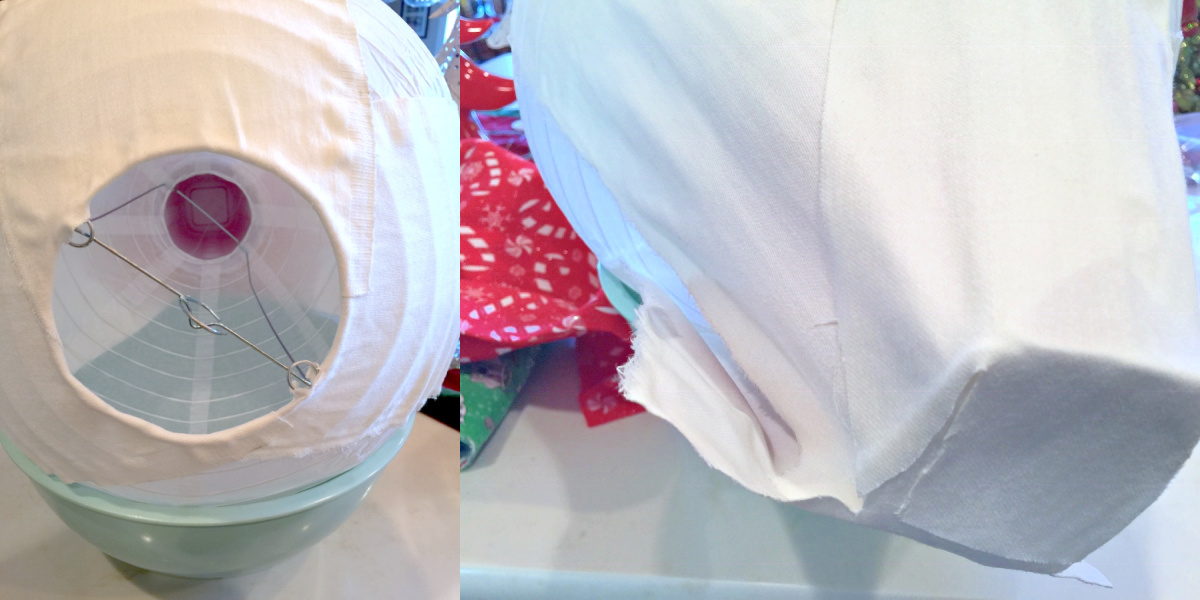
Expand the paper lantern out and place in a bowl (or some other way to stabilize the lantern and keep it from rolling away).
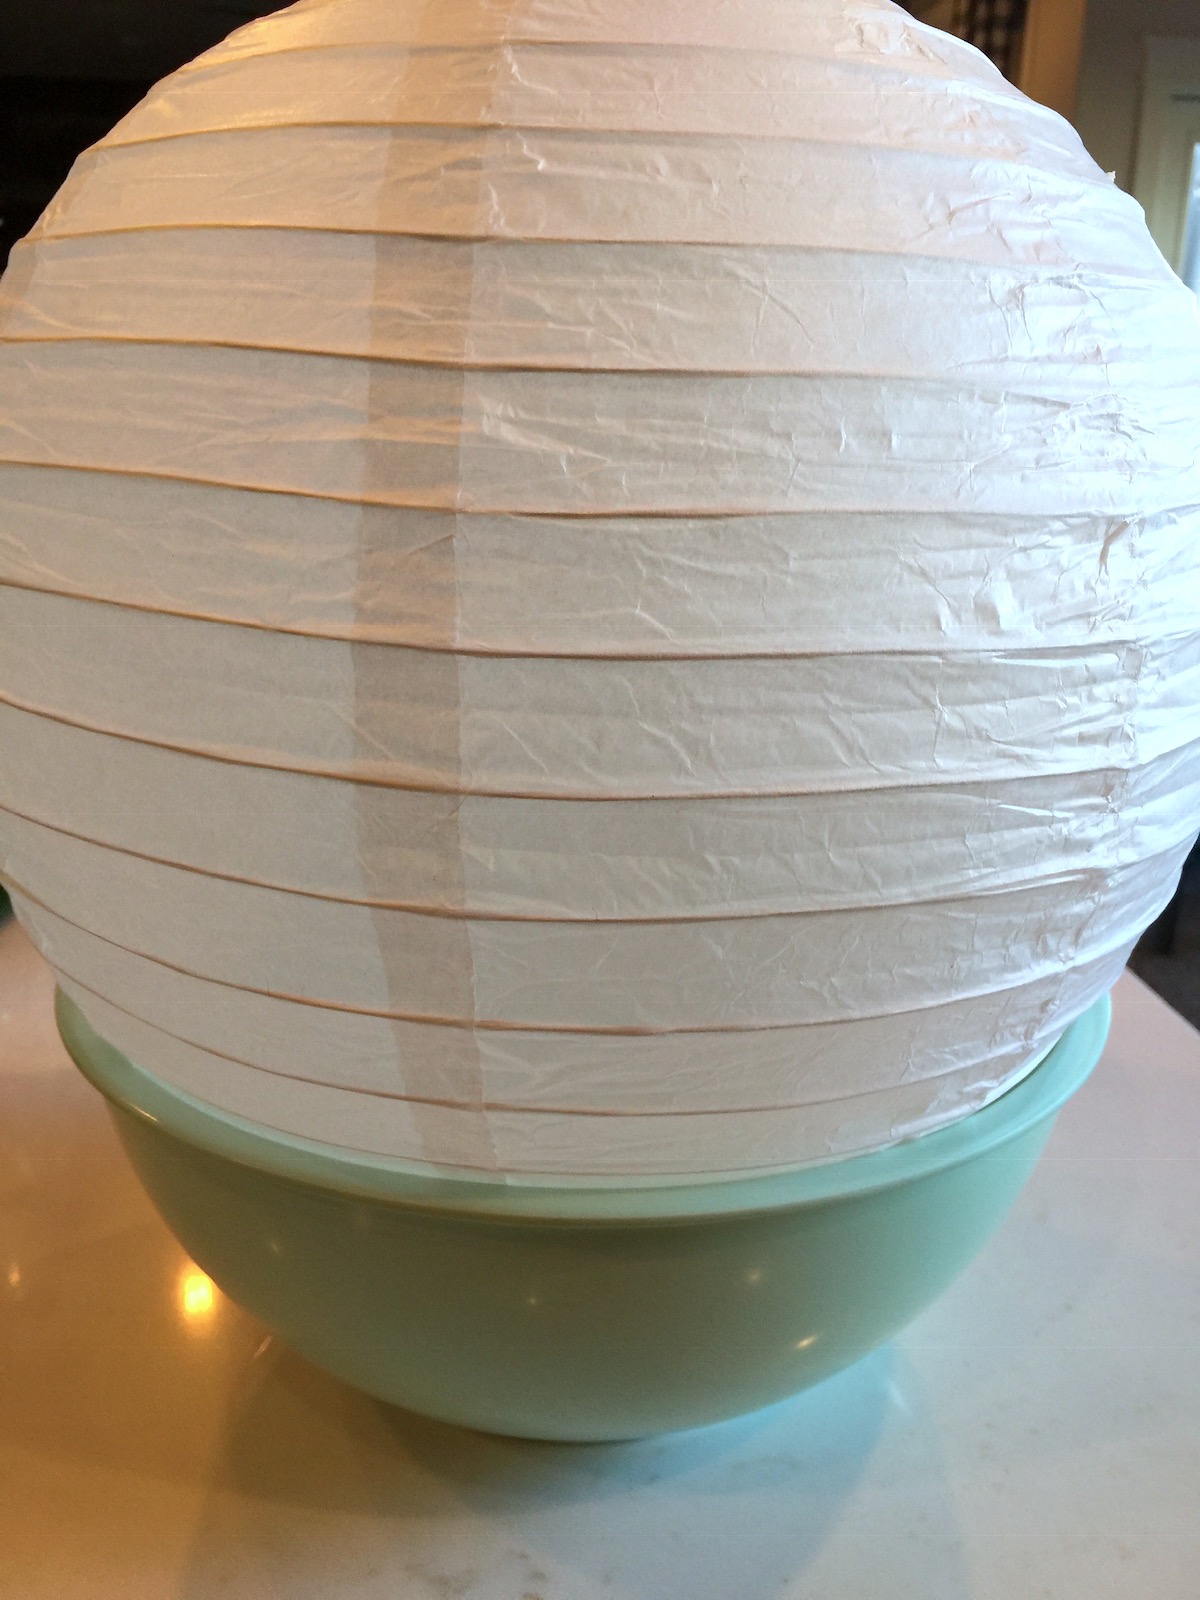
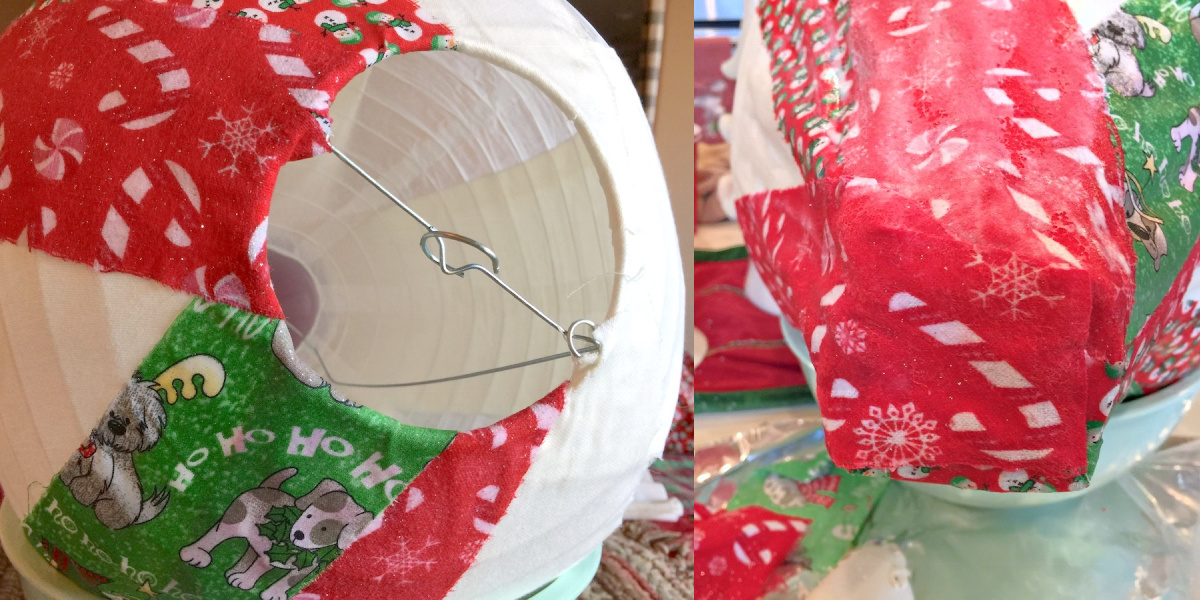
Start by hot gluing the Solo cup to the bottom of the lantern, over the opening. Let cool.
You can do this next step in a few ways. My mom decided to create the balloon with a first layer of cream fabric and then put down the Christmas fabric. You’ll cut four long strips, and then apply from top to bottom, over the lantern and cup.
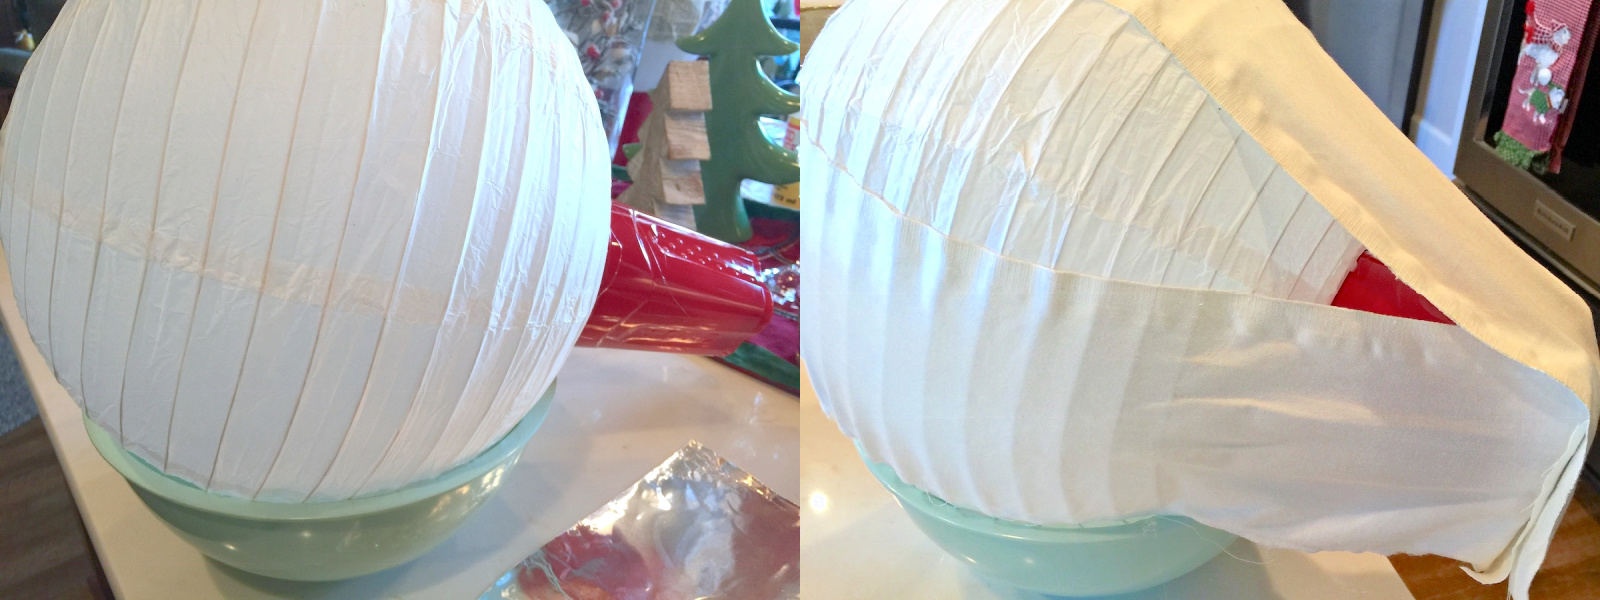
Place Mod Podge down onto the lantern, then smooth the fabric down. Bring the fabric down around the cup and trim with scissors. Put Mod Podge onto the cup and smooth the fabric down and onto the bottom of the cup.
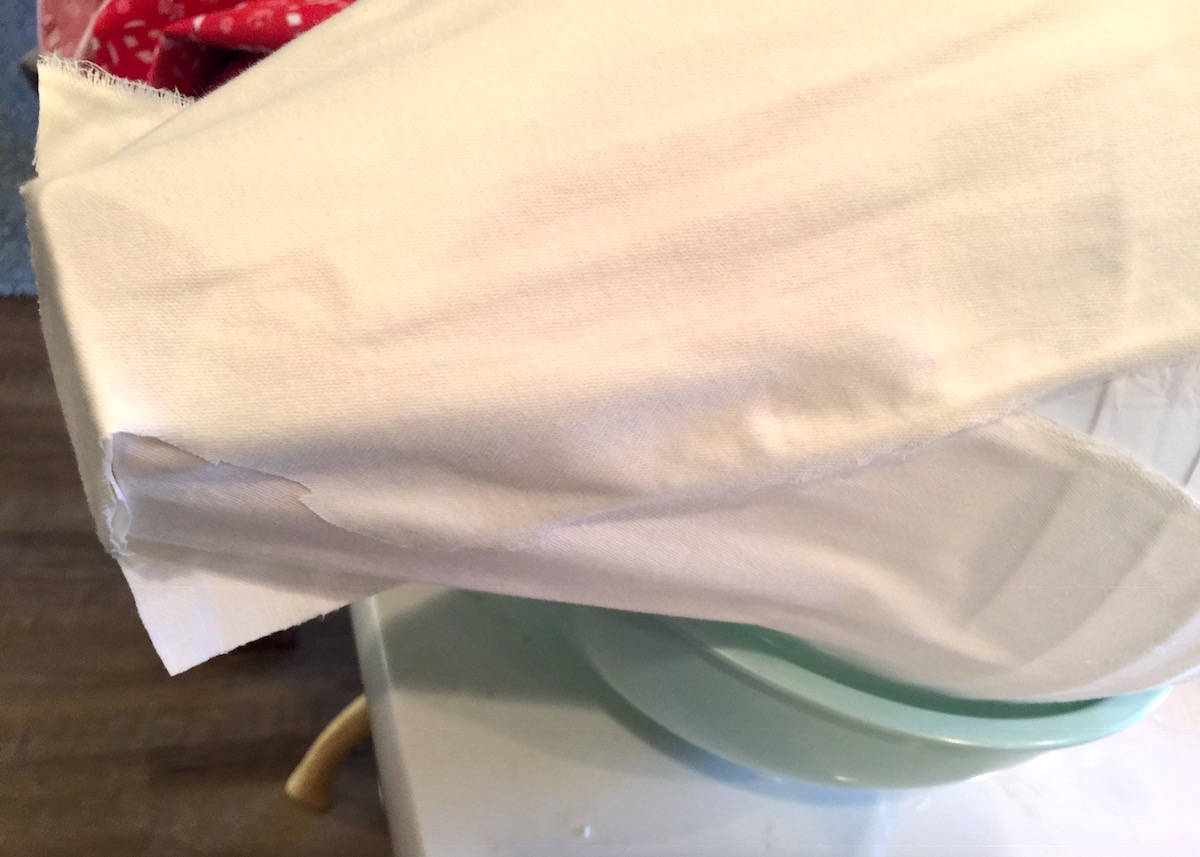
I think you can see how it comes together. You’ll Mod Podge the tops down into the lantern, and then you’ll Mod Podge the fabric down around the cup at the bottom.
Once you get the four pieces of fabric down on the lantern and secured on the bottom, let dry. Then you’re going to Mod Podge over the top of the fabric up on top on the paper lantern and down by the cup. Let dry.
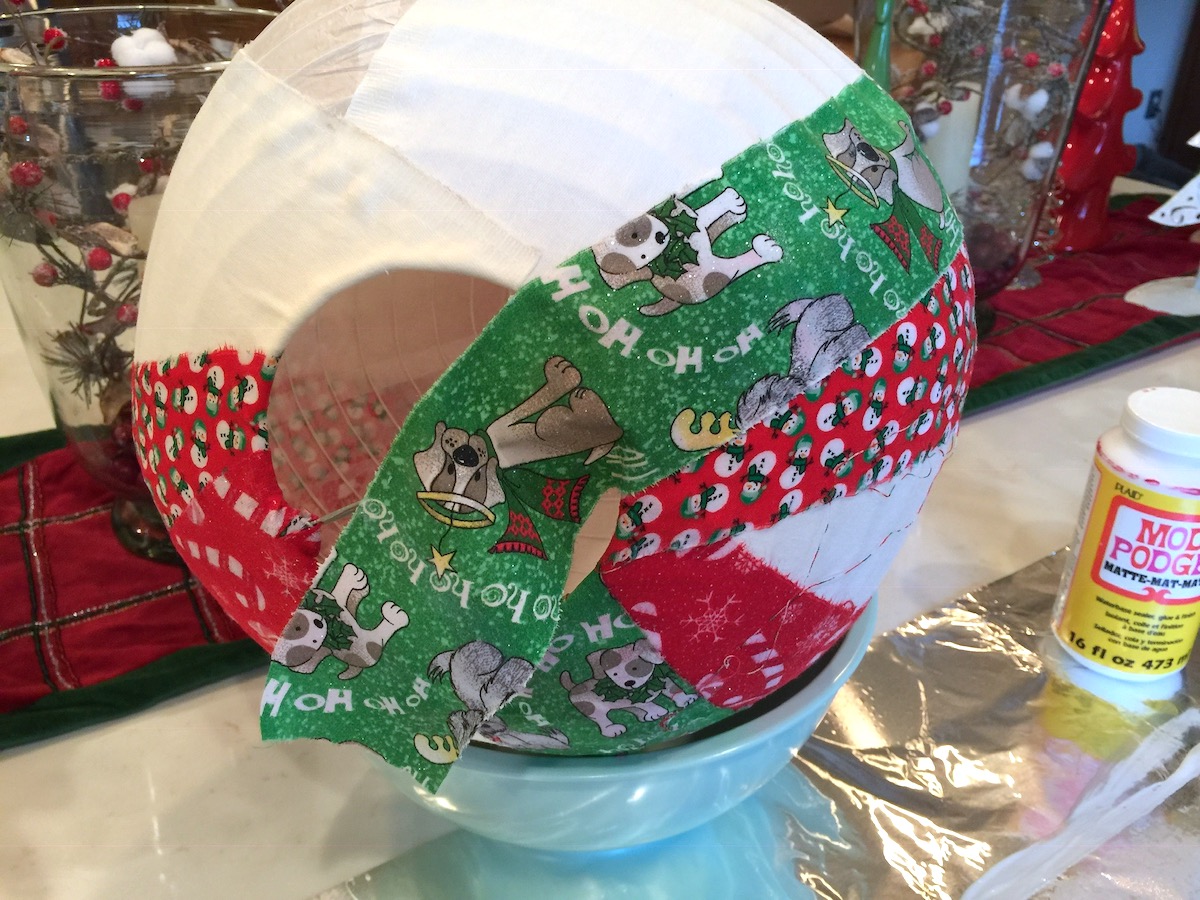
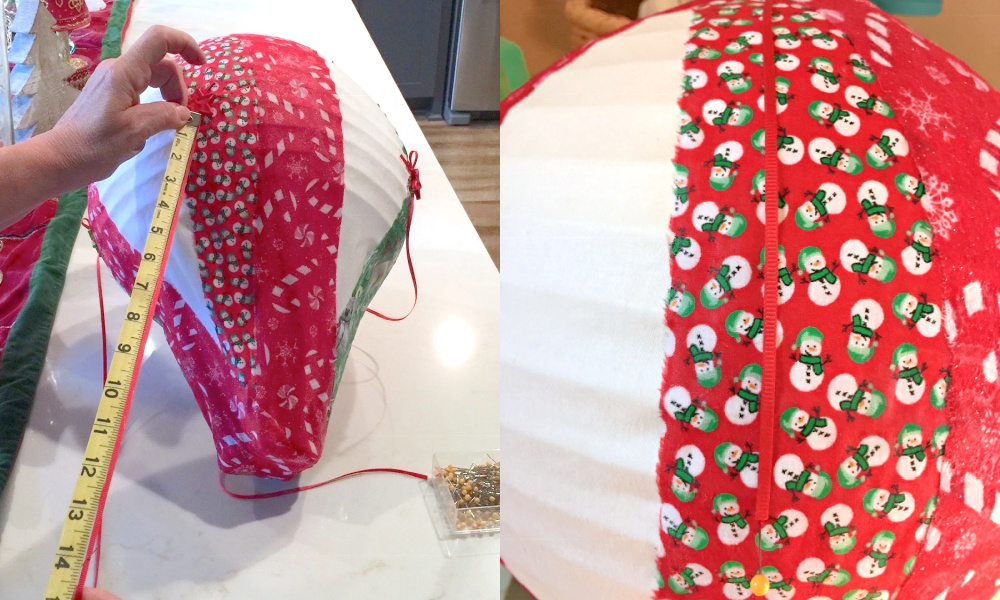
Next you’ll tear some strips of your Christmas fabrics, and then you’re going to apply them around the paper lantern to cover up.
Place a layer of Mod Podge down on the lantern (and onto the white fabric) and then smooth down the Christmas fabric.
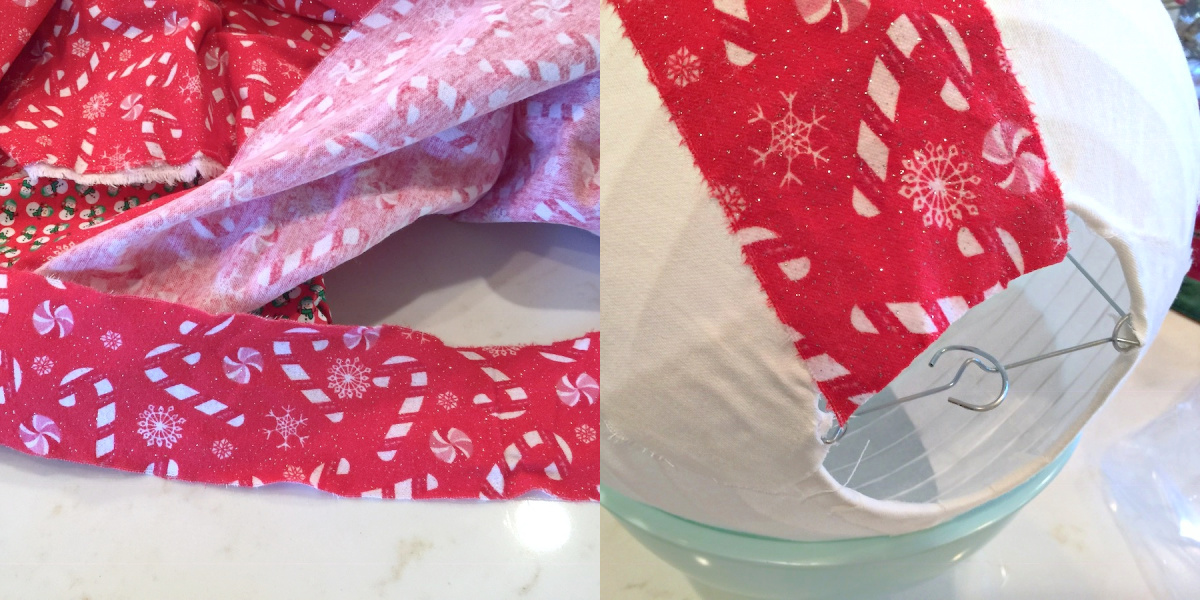
Mod Podge more fabric down the same way, from the top (wrapping into the paper lantern slightly) down to around the bottom of the cup.
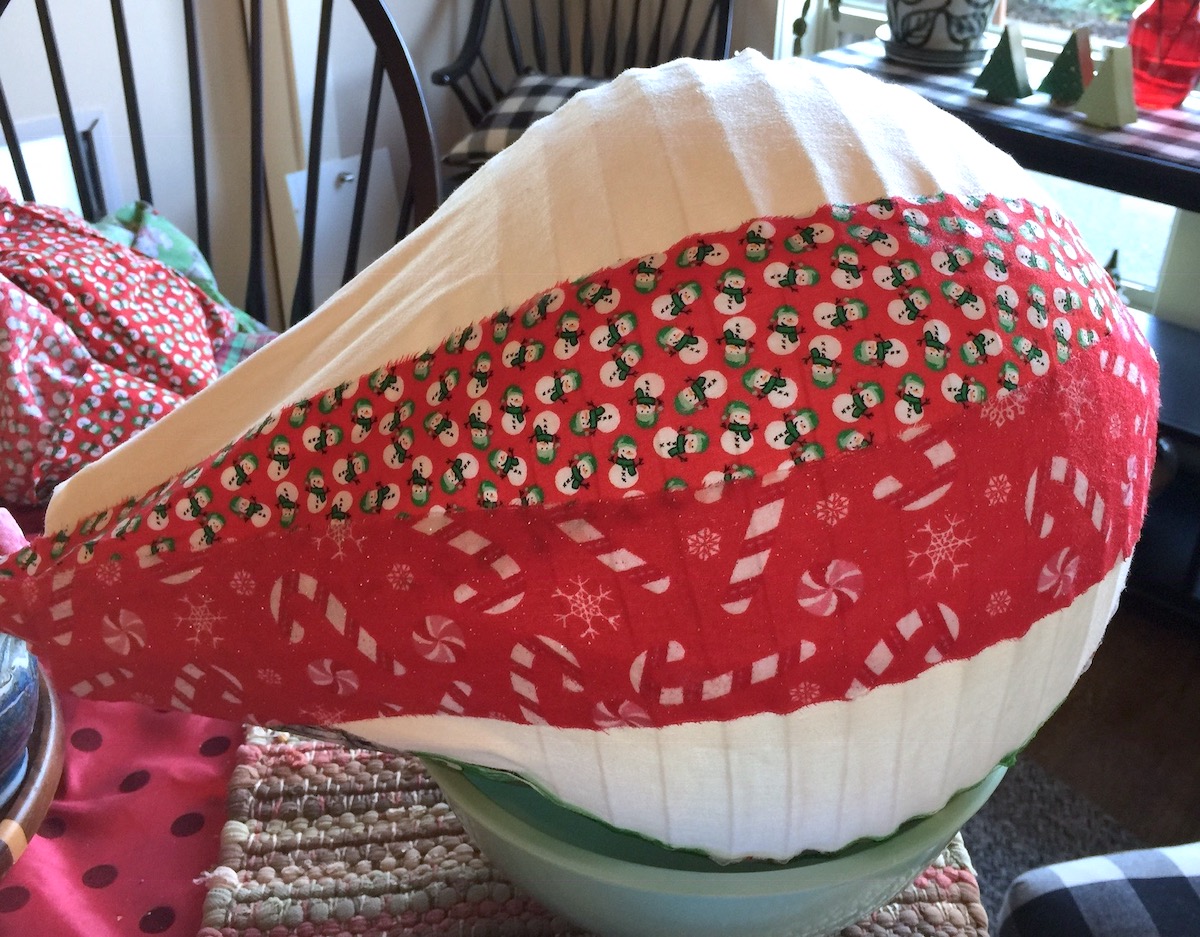
Every time you add more fabric, you’ll add a medium layer of Mod Podge, bring it down across the lantern, and around the bottom of the cup (trimming if necessary).
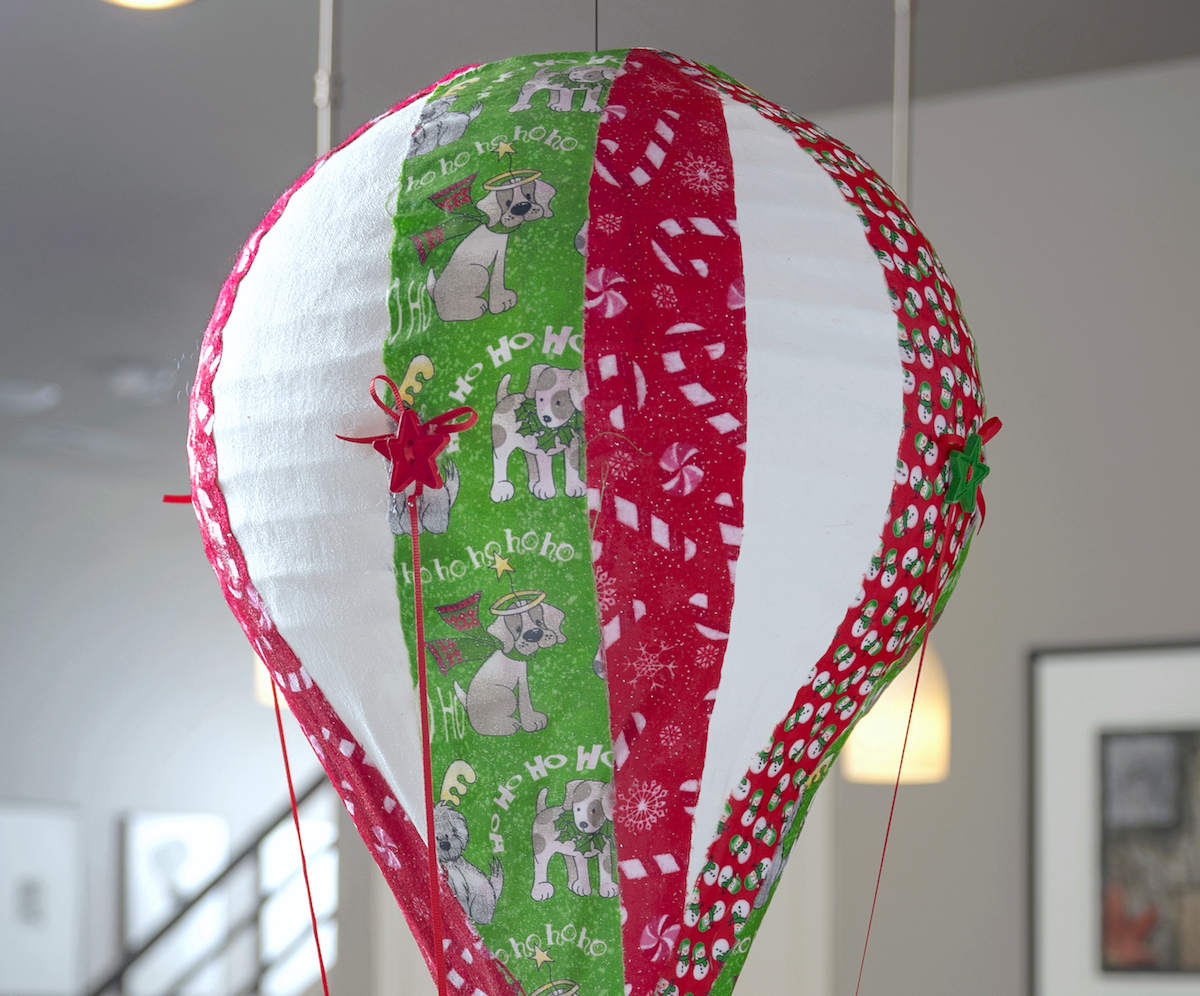
Continue working your way around the lantern, adding Mod Podge and fabric strips, until the entire paper lantern is covered. Let dry. Then apply a coat of Mod Podge Matte to the entire hot air balloon and let dry.
Make the Basket
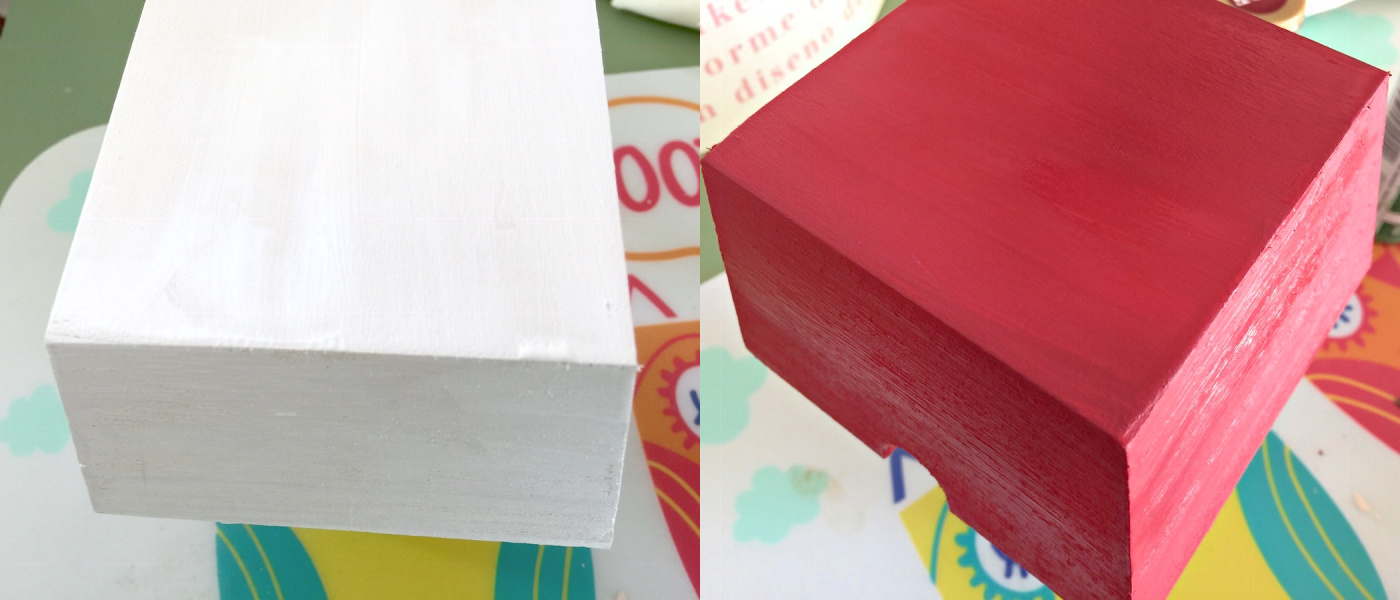
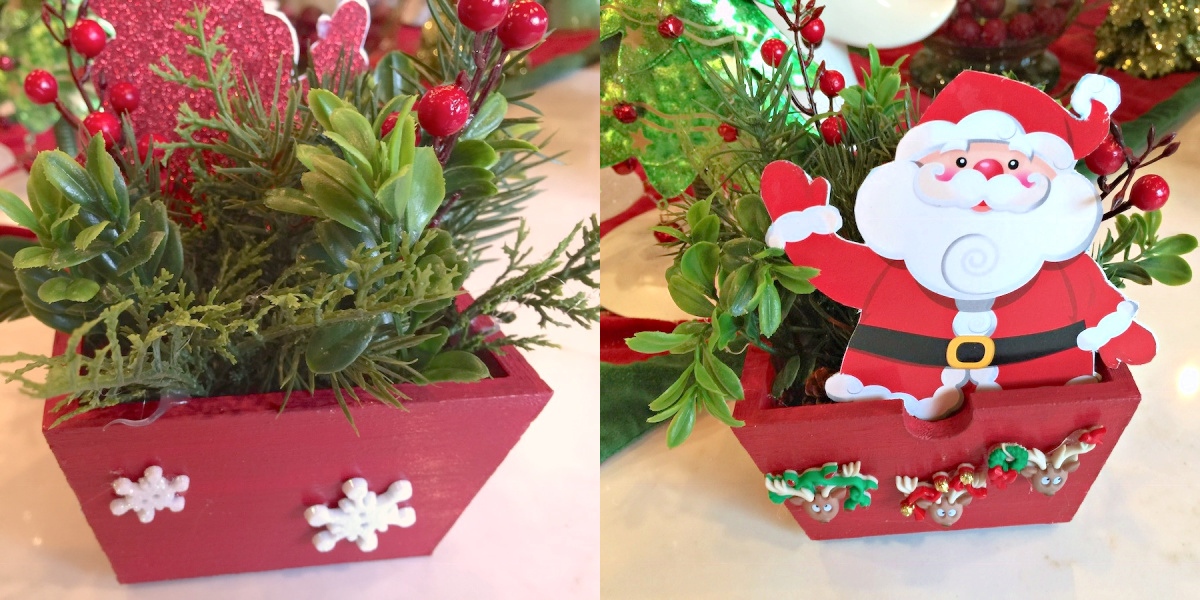
Paint the wood basket with the color of your choice. Red was used here. There are a lot of things you can use for the basket besides wood. There are strawberry baskets, or you can cut something like the bottom of a square milk carton.
Don’t be afraid to get creative – you definitely don’t have to use wood.
At this point greenery was added to the inside of the wood basket, and buttons were glued around the basket perimeter (my mom dug into her craft stash).
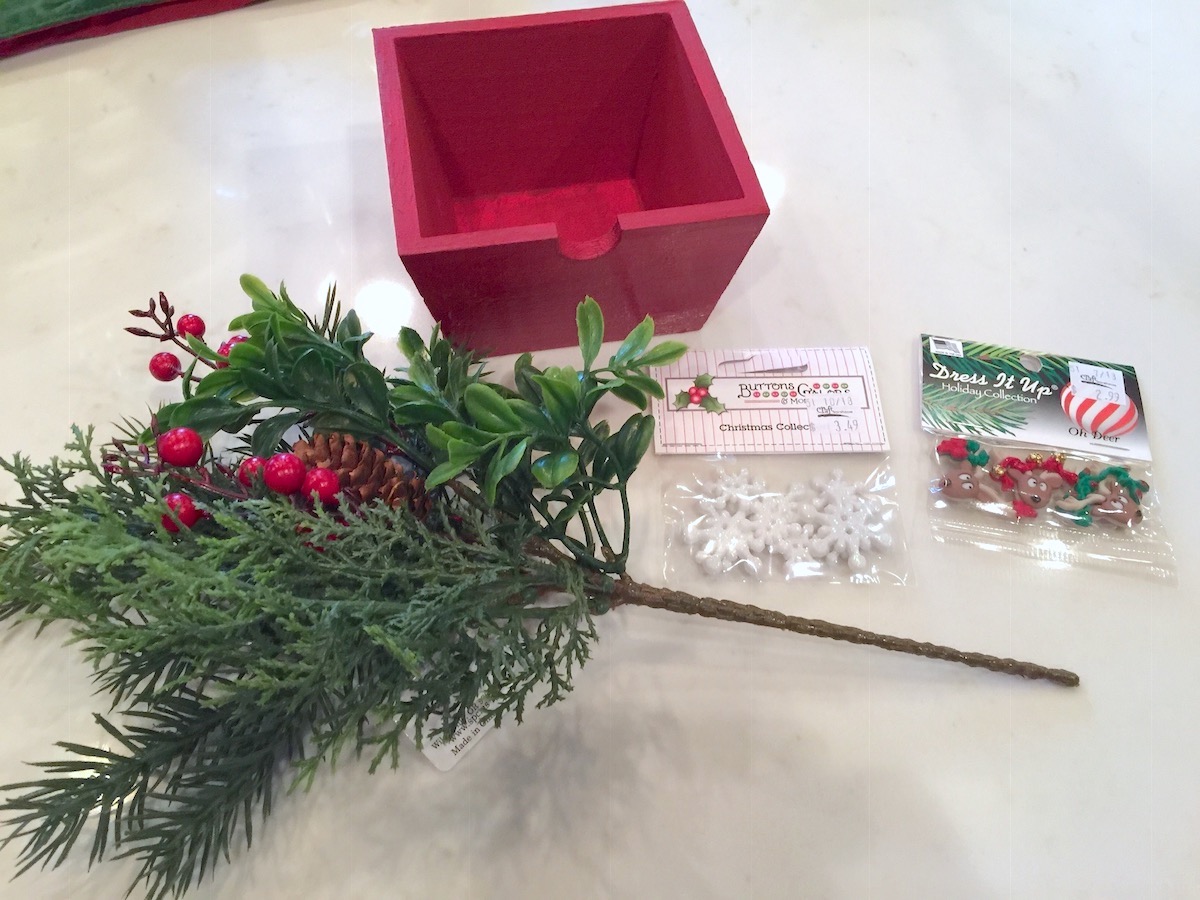
Hot glue your pieces into the balloon basket. THEN you can choose to add Santa! It’s really easy to do. My mom cut this guy out of a Christmas card, but you can stick whatever you like in the basket. You can print something off the net on cardstock, or whatever you like.
Attach the Basket to the Balloon
This step is pretty simple. The hot air balloon basket has four corners. You’re going to use ribbon and a hot glue gun to attach the basket at four points about mid-way up the balloon. Pick a spot on the balloon and measure with the measuring tape.
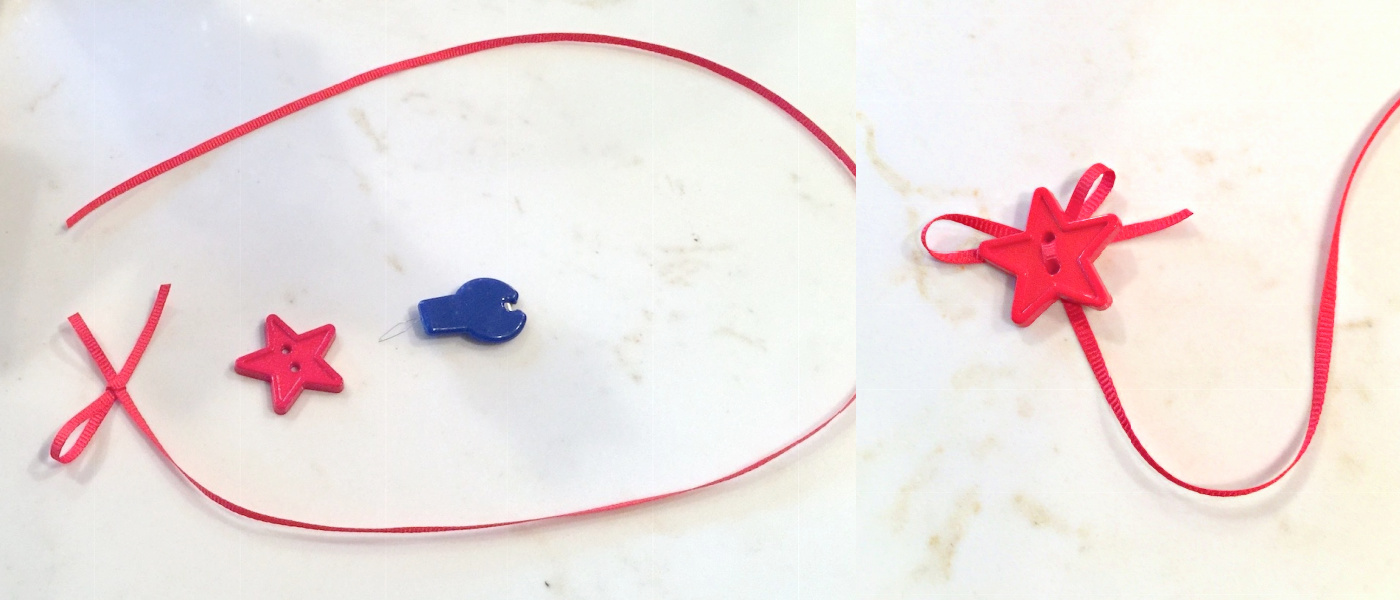
You’re going to estimate where you want your basket and how long you want the ribbon to be. My mother cut four pieces of ribbon about 15″ long.
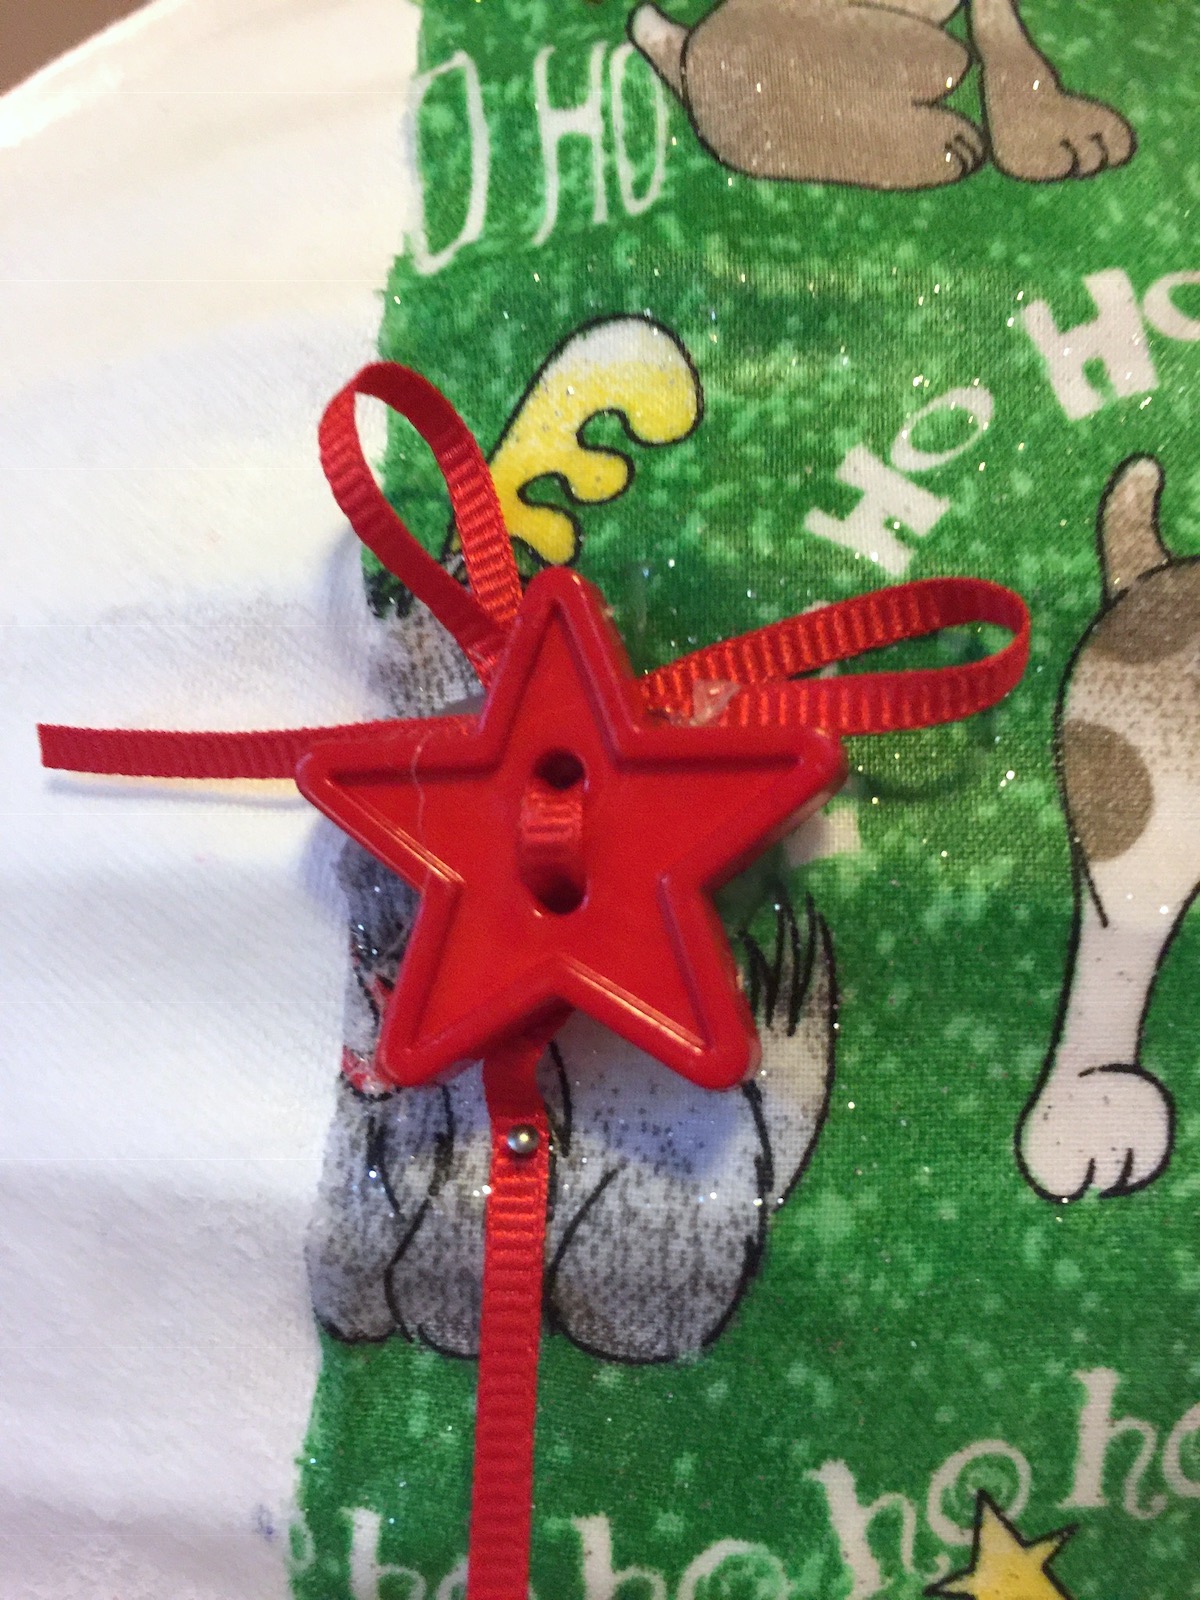
To attach the ribbon she tied a bow at one end, and then put it through a button to cover it up. You don’t *have* to use the button.
Glue the ribbon onto the balloon, about halfway up near the roundest part. The ribbon should be glued at four equal points around the balloon.
Note: My mother added some pins right below where the ribbons were hot glued to reinforce the ribbon so that it wouldn’t tear off the balloon. I don’t know that you have you, but that’s what she did.
To finish Santa’s hot air balloon, you simply need to glue onto the wood basket and trim. Use your tape measure to make sure that the ribbon pieces are of equal length, so the basket hangs correctly.
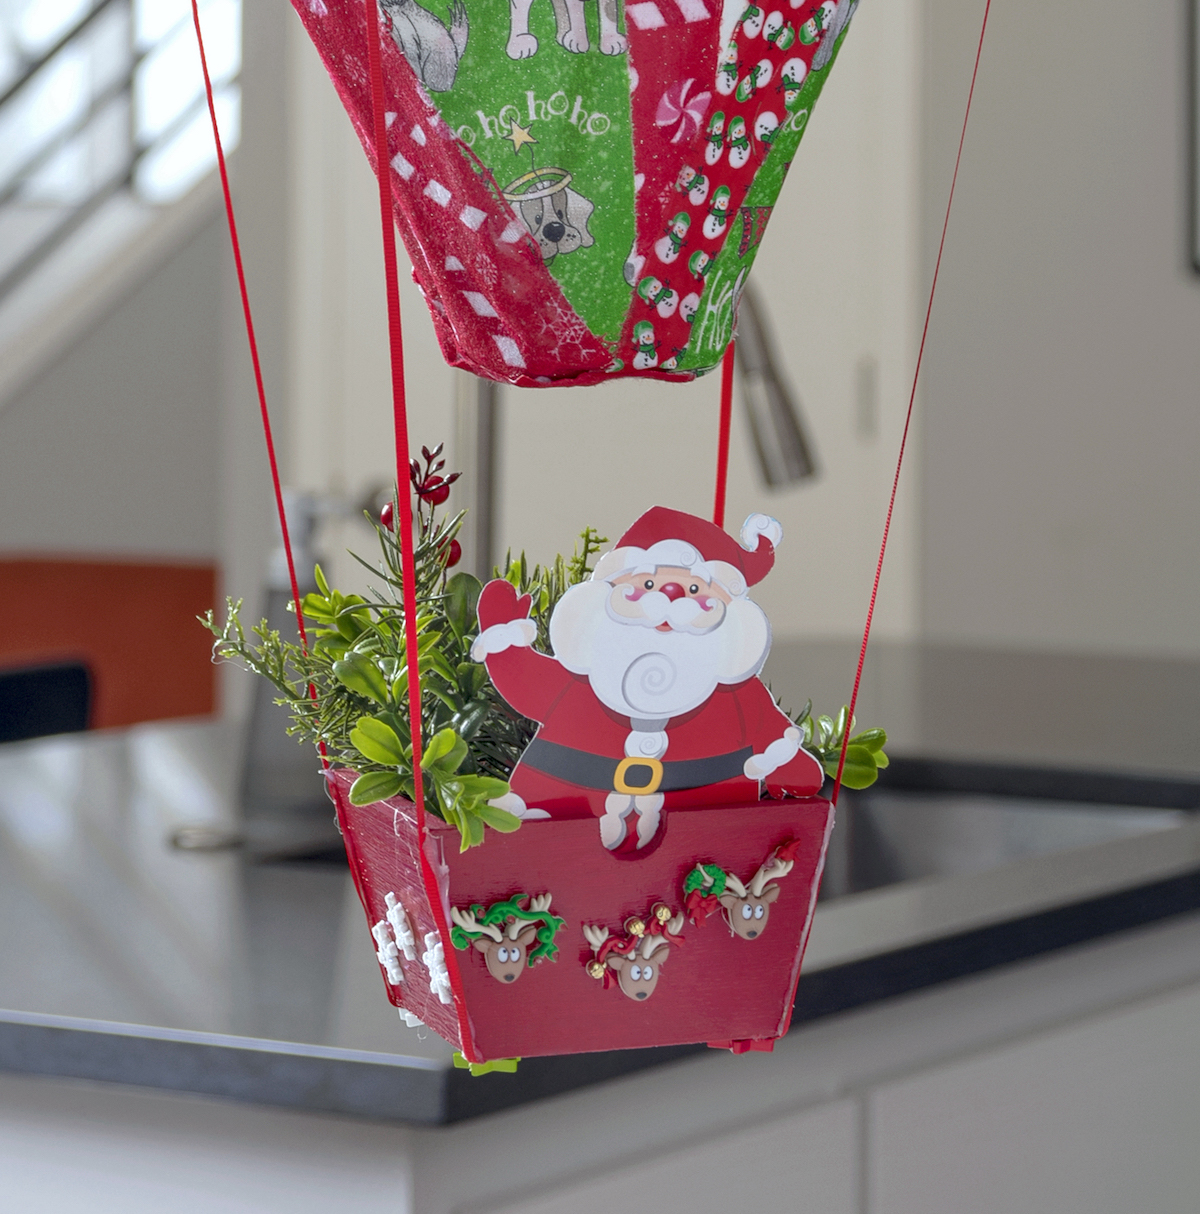
I believe this hot air balloon decoration looks ready to fly away. Santa might need to toss some of that greenery to pick up presents, but who am I to tell the big guy what to do?
If you loved Santa’s hot air balloon, let me know in the comments! I’d also love for you to check out these other projects:


Very creative! I love the idea and plan to try to make some myself.