
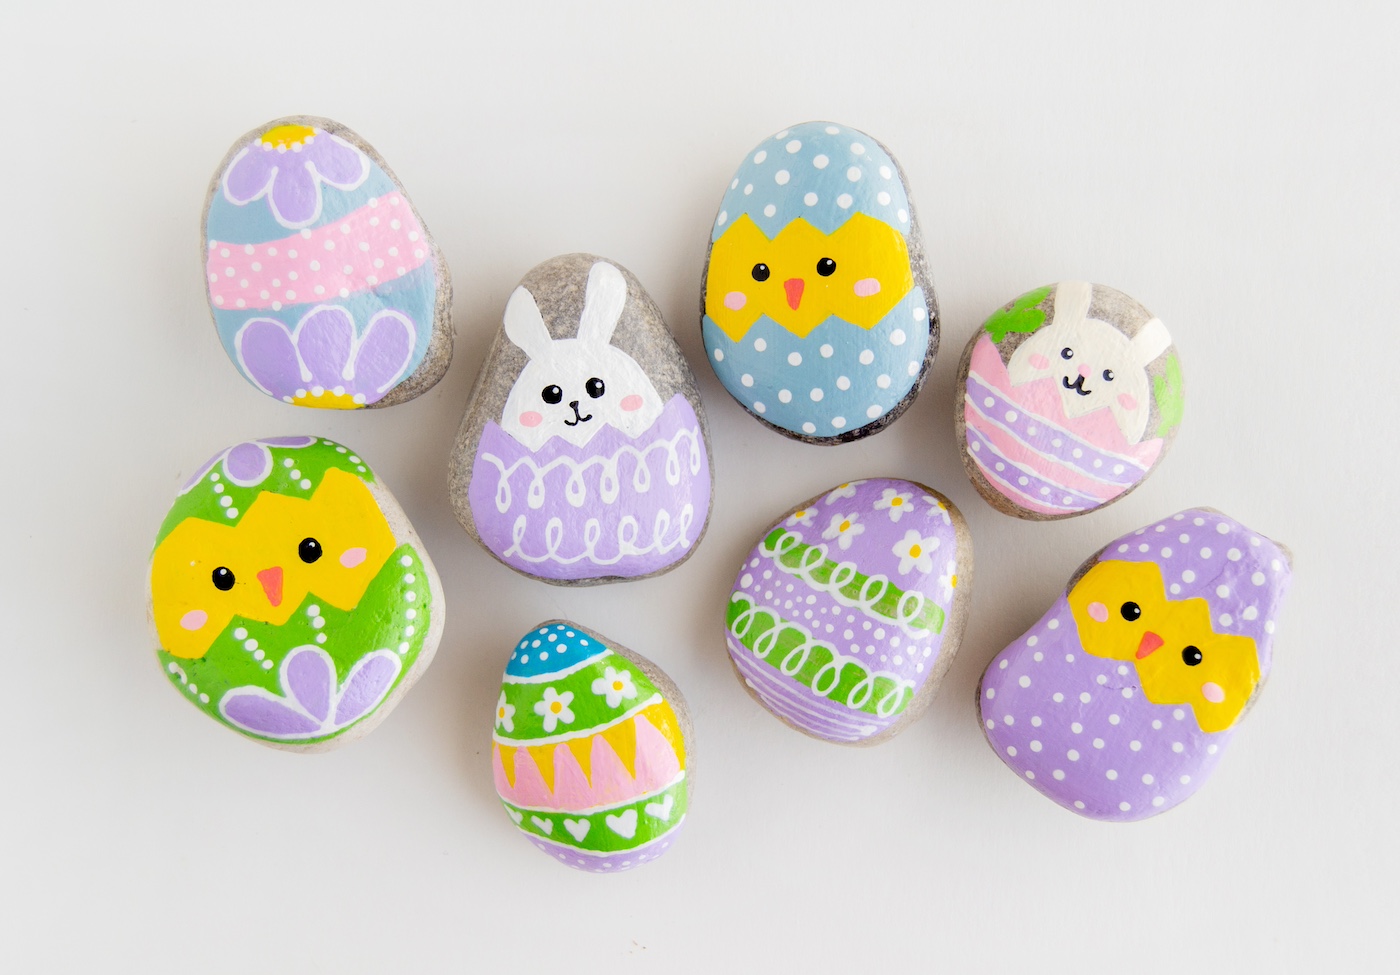
Unlock the magic of the holiday with vibrant painted Easter rocks! A simple, joyful way to add a splash of color and creativity to your seasonal decor.
Skills Required: None. You’re going to be painting on a surface as well as using paint pens. This is project is simple even if you’ve never crafted before.
Easter is around the corner, and if you’re anything like me, you’re probably thinking, “How many chocolate eggs can a person consume before turning into an actual Easter bunny?”
But it’s time to put down the candy, because today I’m going to share a fun holiday craft idea that is perfect for both kids and adults: Easter rocks.
Not the kind you’d sprinkle in the drainage ditch near your garden, but the kind you can paint, decorate your home with, and maybe even give to someone as a quirky little handmade gift.
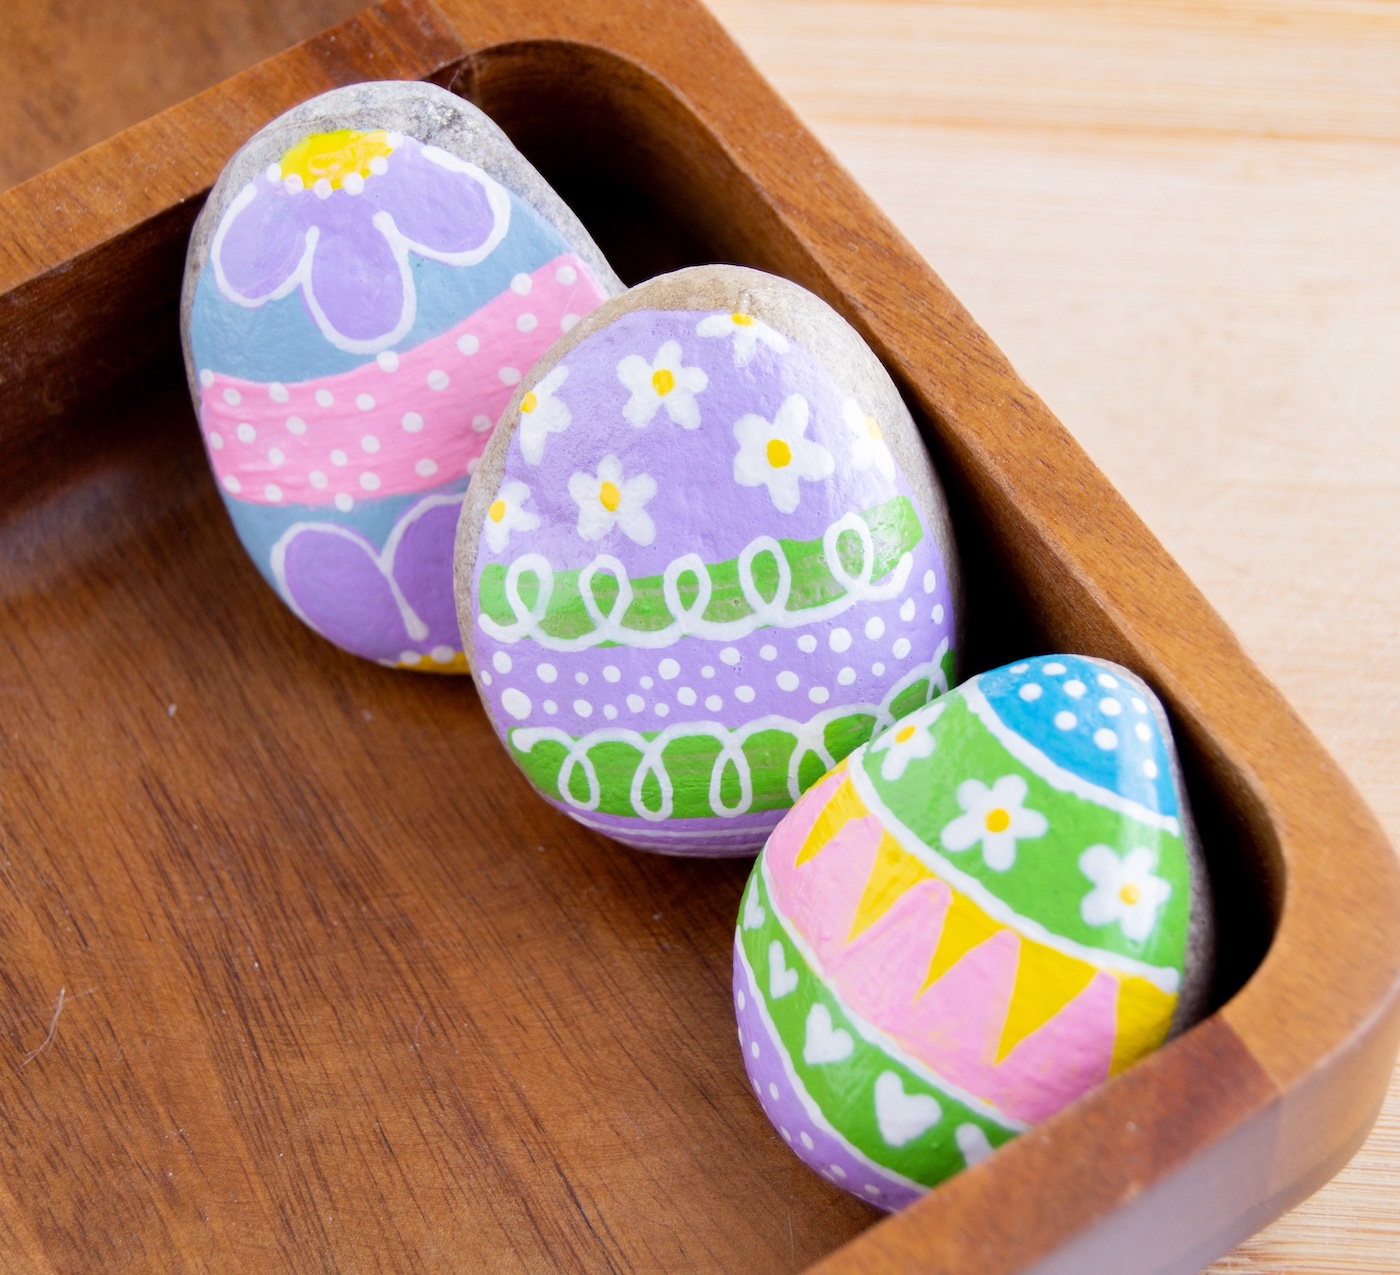
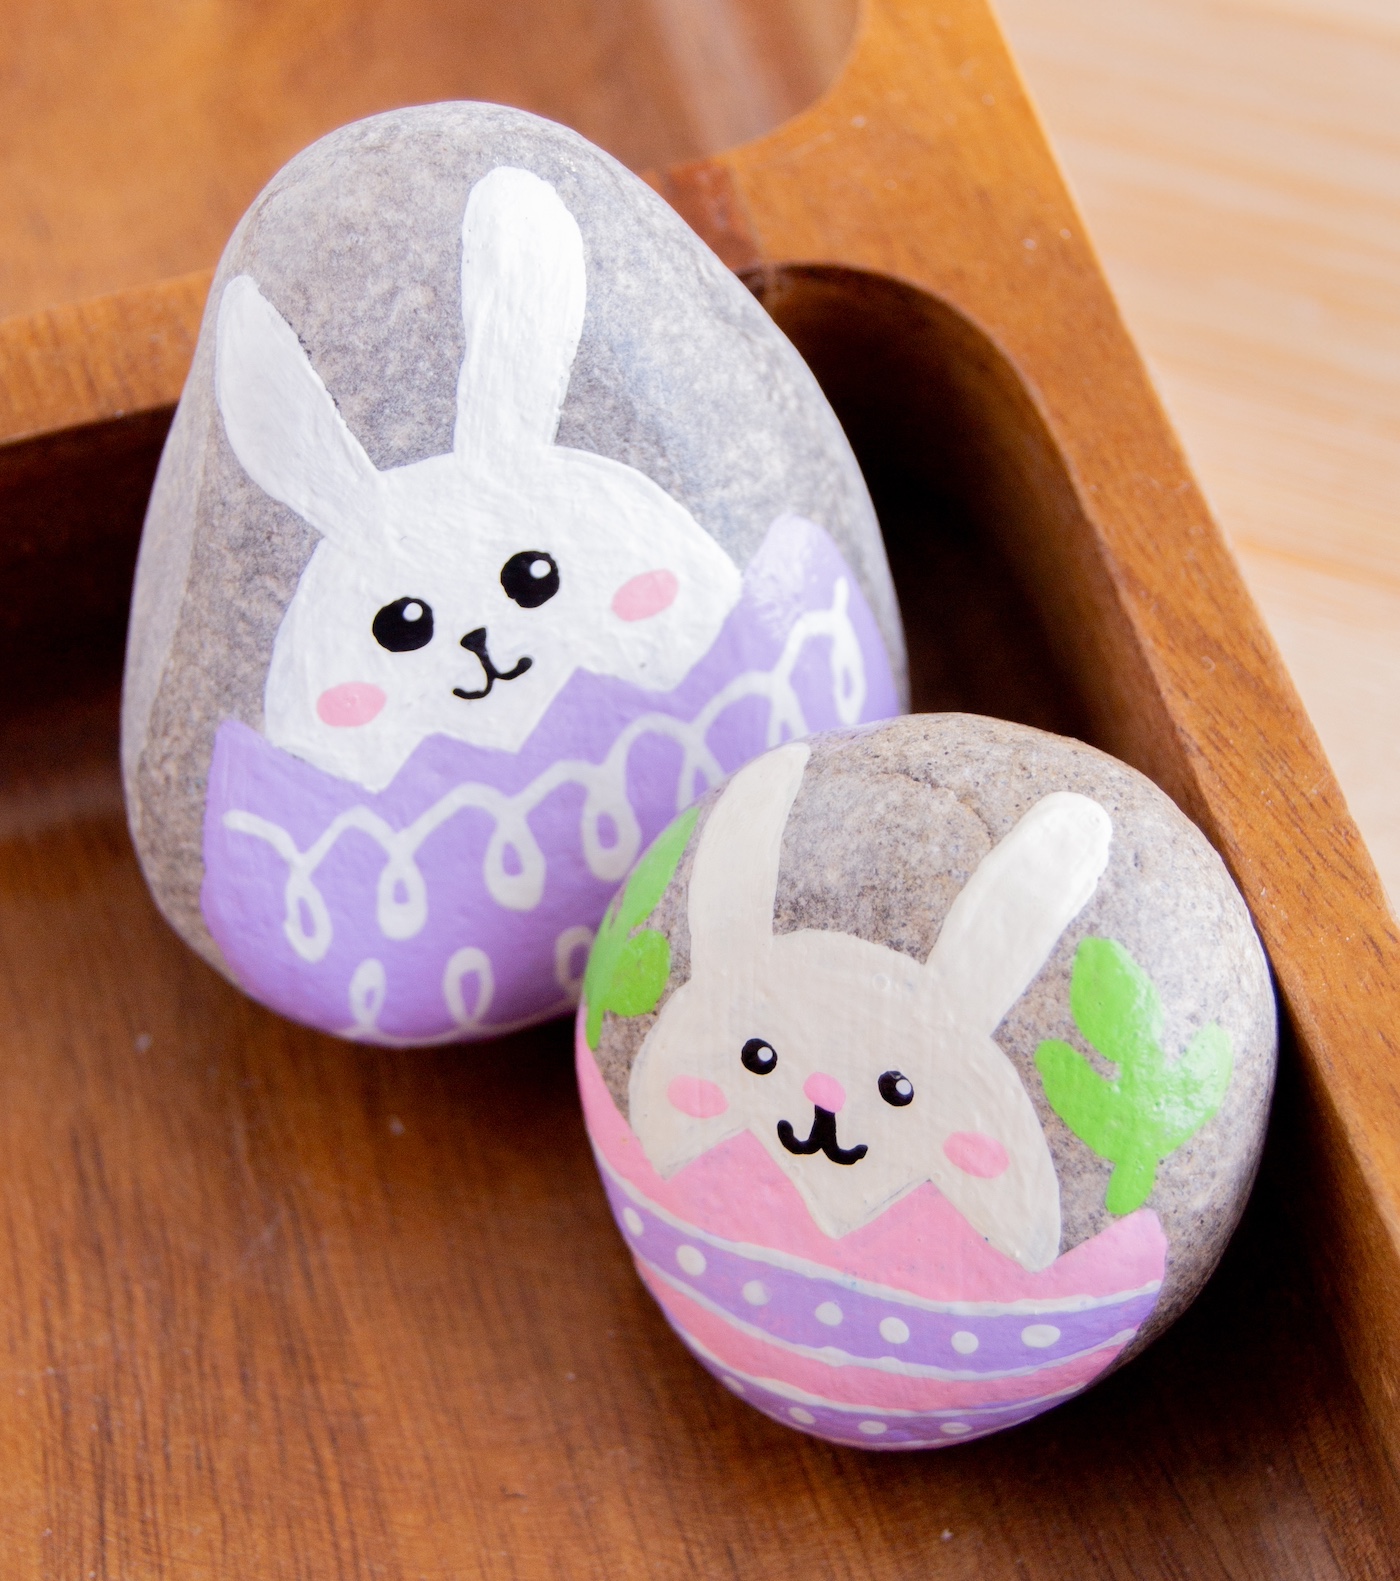
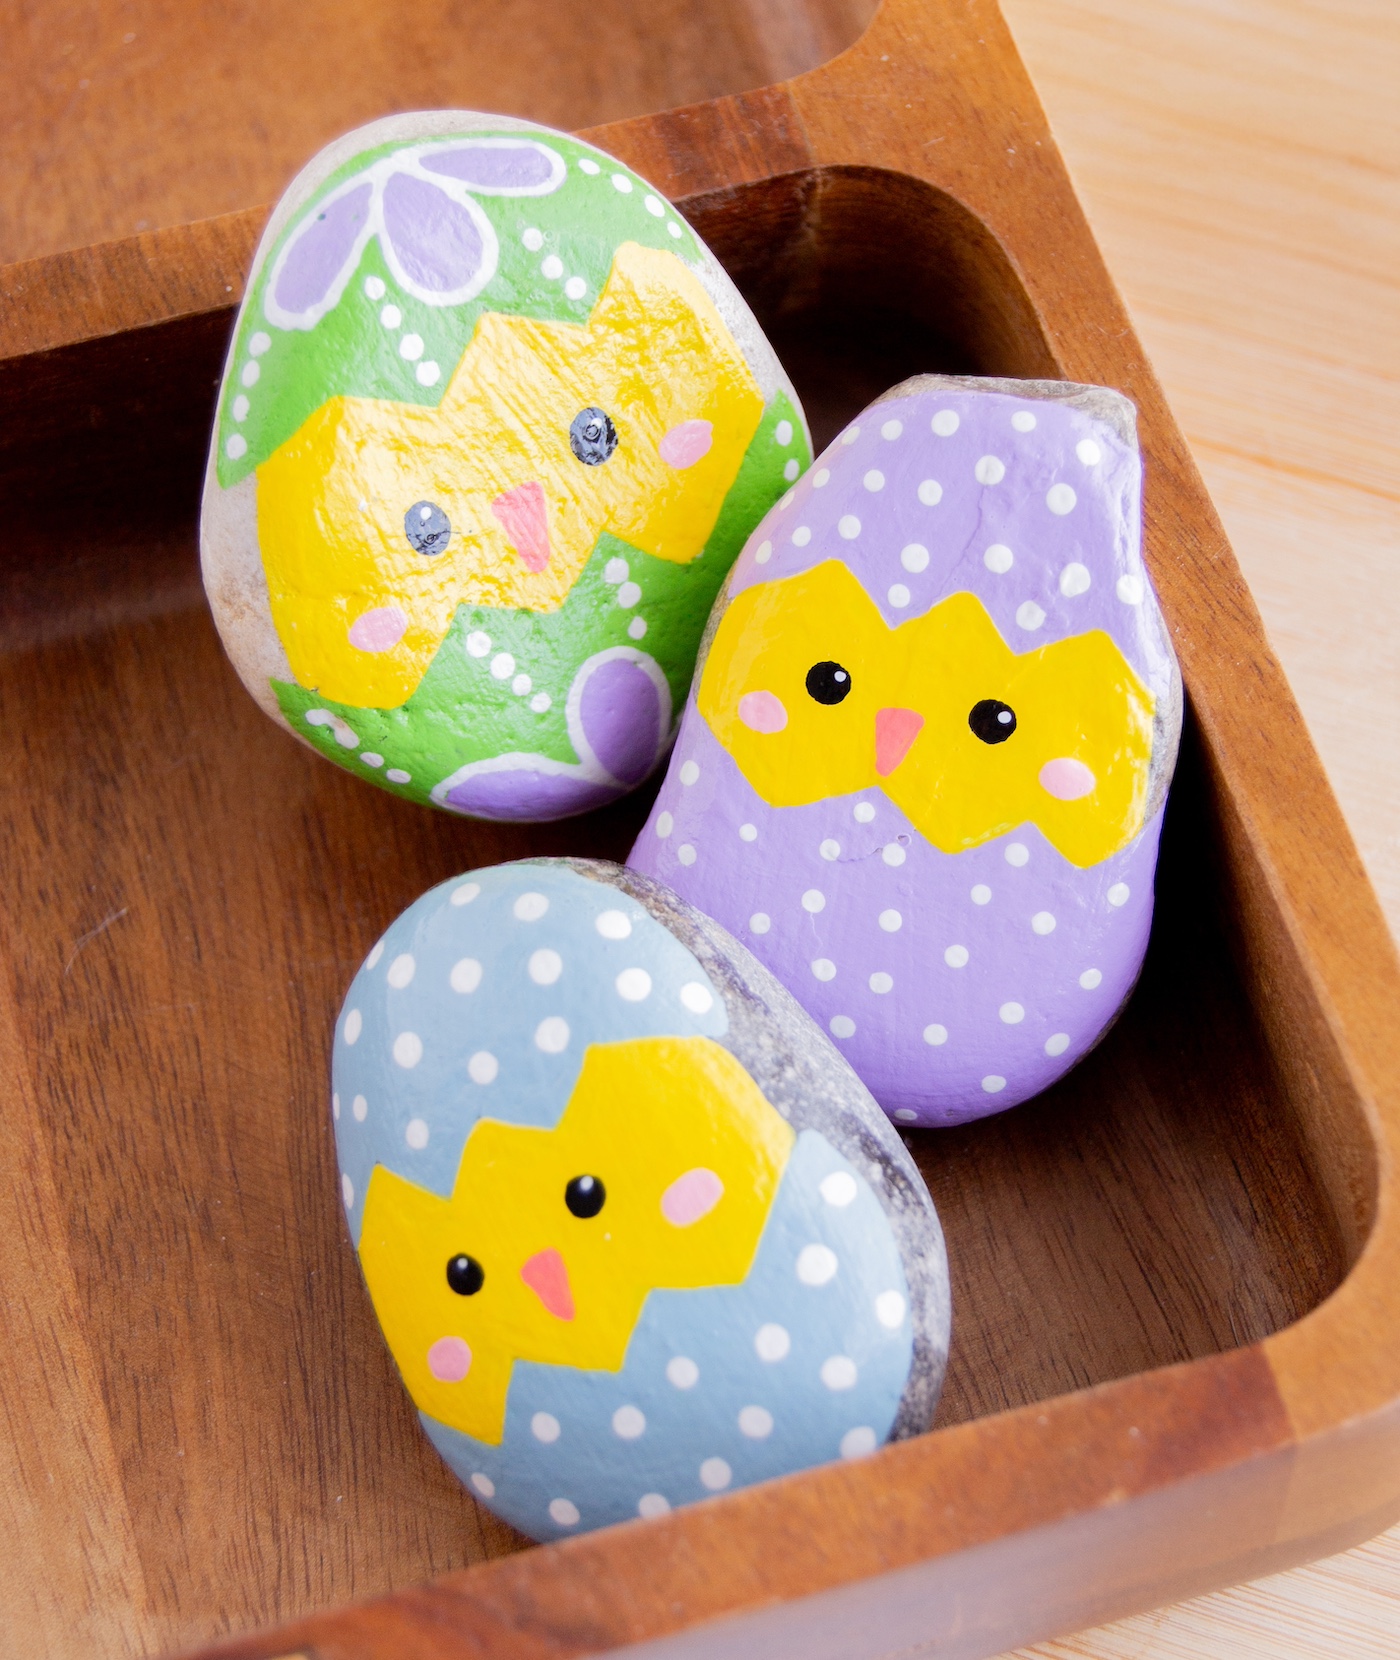
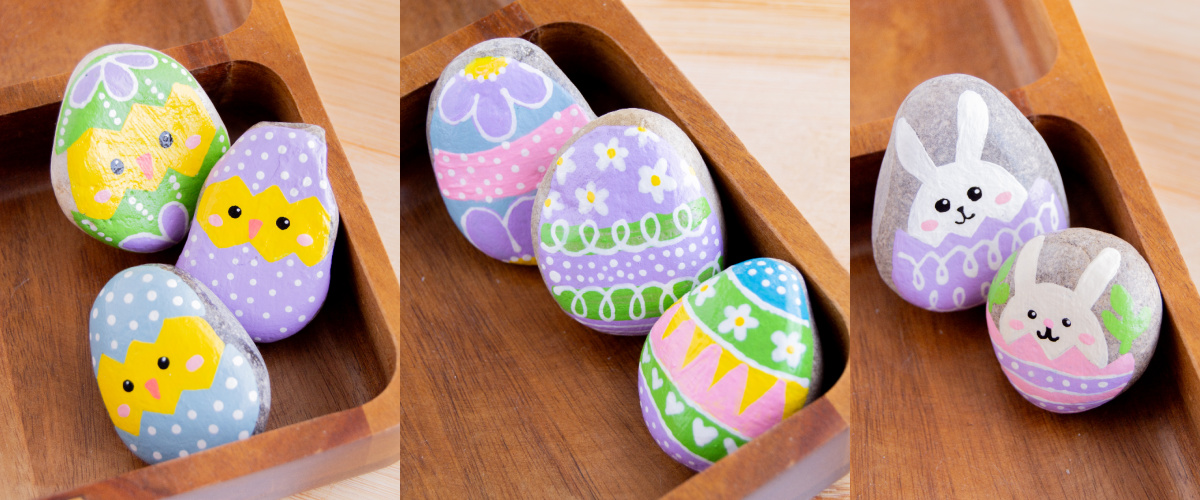
I’m going to show you how to turn ordinary (smooth) stones into adorable Easter-themed treasures. Think Easter eggs, bunnies, and chicks. And the best part? You only need paint, paint pens, and a dash of creativity (wine optional for the adults, but highly recommended for inspiration).
Now, I know what you’re thinking: “But I have the artistic talent of the rock itself.” Well, guess what That’s the beauty of painting rocks for Easter; it’s all about having fun and embracing the imperfections.
Plus, I’ve got all the tips and tricks to make sure your Easter painted rocks turn out looking like mini masterpieces—or at least like something you’d happily display on your mantelpiece.
Whether you’re looking for a fun family activity, cute holiday decor, Easter basket or party favors, or just an excuse to avoid spring cleaning a little longer, decorating Easter rocks is the way to go.
So, grab your rocks, roll up your sleeves (or don’t, if you’re going for the paint-splattered look), and join me in creating some egg-ceptional Easter decorations that will rock your world.
Trust me, by the end of this, you’ll have more painted rocks than you’ll know what to do with – and maybe, just maybe, you’ll have found a new favorite craft. Let’s hop to it!
Gather These Supplies
- Flat, oval shaped rocks
- Craft paint
- Paintbrushes
- Mod Podge – use Gloss or Matte for indoor, Outdoor for outdoors
- Paint pens (optional) – I recommend Posca markers
- Other tools (to use for painting)
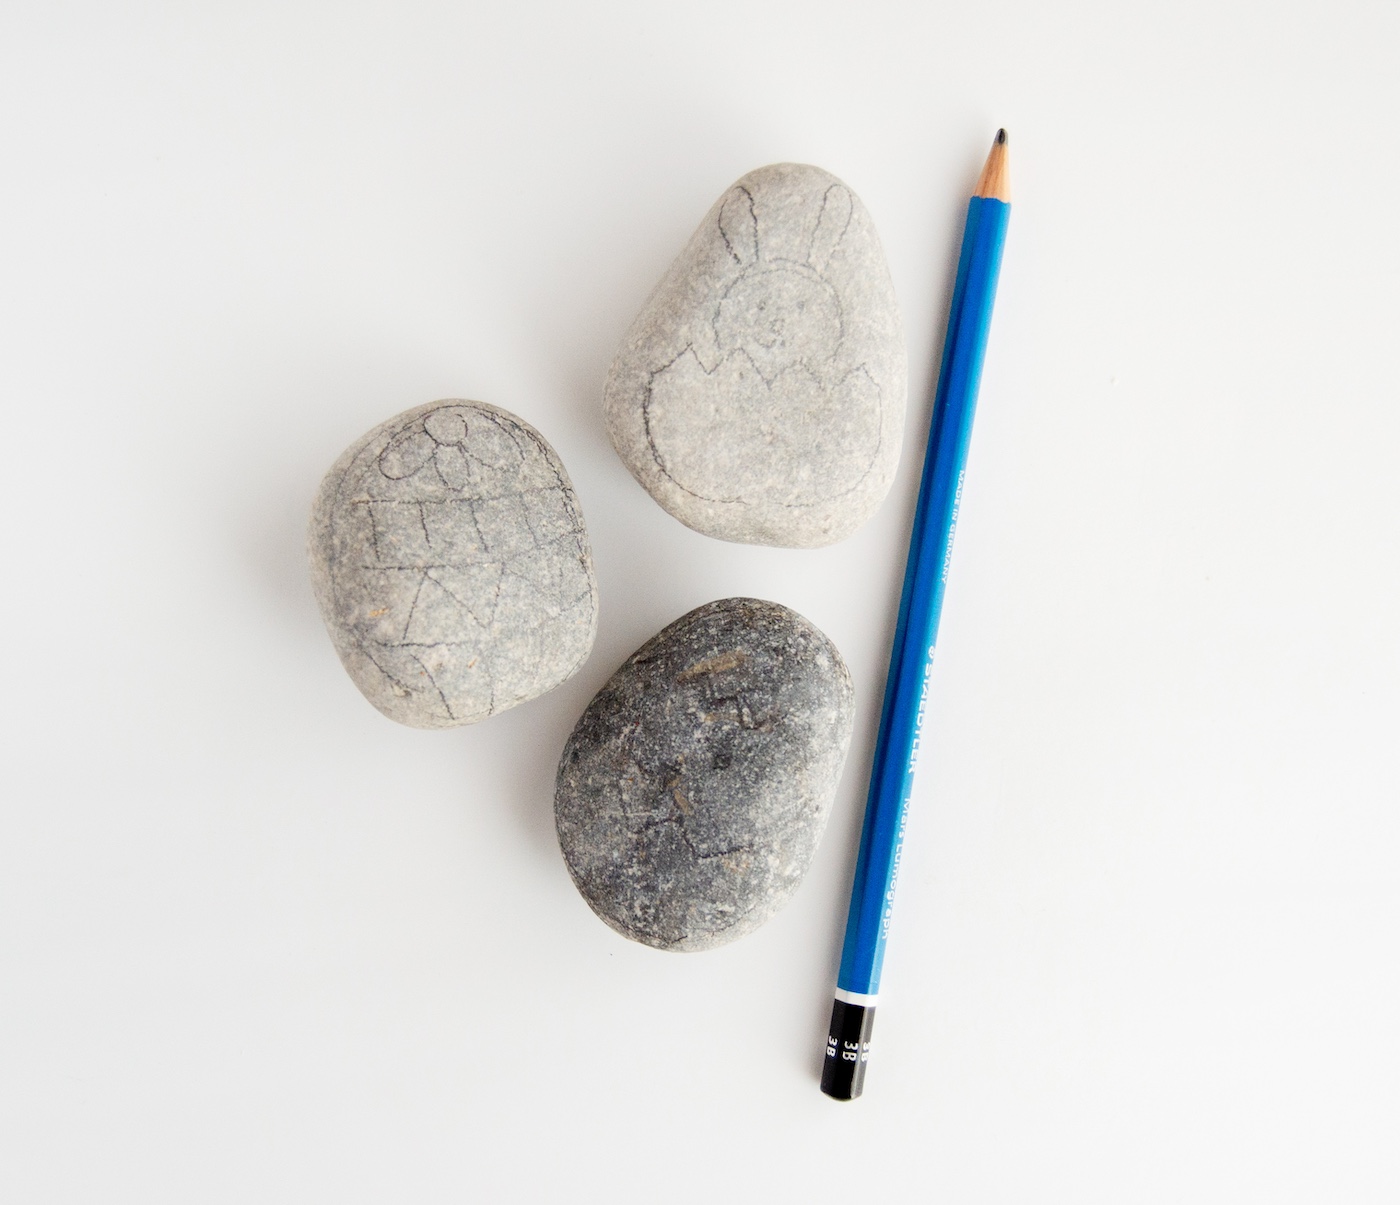
- Pencil
Tips and Thoughts for This Project
If you’re going to do a lot of rock painting, I highly recommend getting a set of dotting tools. These allow you to try different effects and make dots of all sizes (including really small ones). Toothpicks are also great for making small dots.
Get the printable how to card for this craft below:

Easter Rocks
Equipment
- Other Tools (to use for painting)
Materials
- Rocks flat, oval shaped
- Acrylic outdoor paint
- Mod Podge
- Paint pen(s) optional
- Outdoor sealer optional
Instructions
- Find oval shaped rocks with a flat side for this craft. Wash and clean your rocks to remove excess debris. Using a pencil, sketch your design idea onto the rocks.
- Using an appropriate sized round brush, paint your first layer carefully and let it dry.
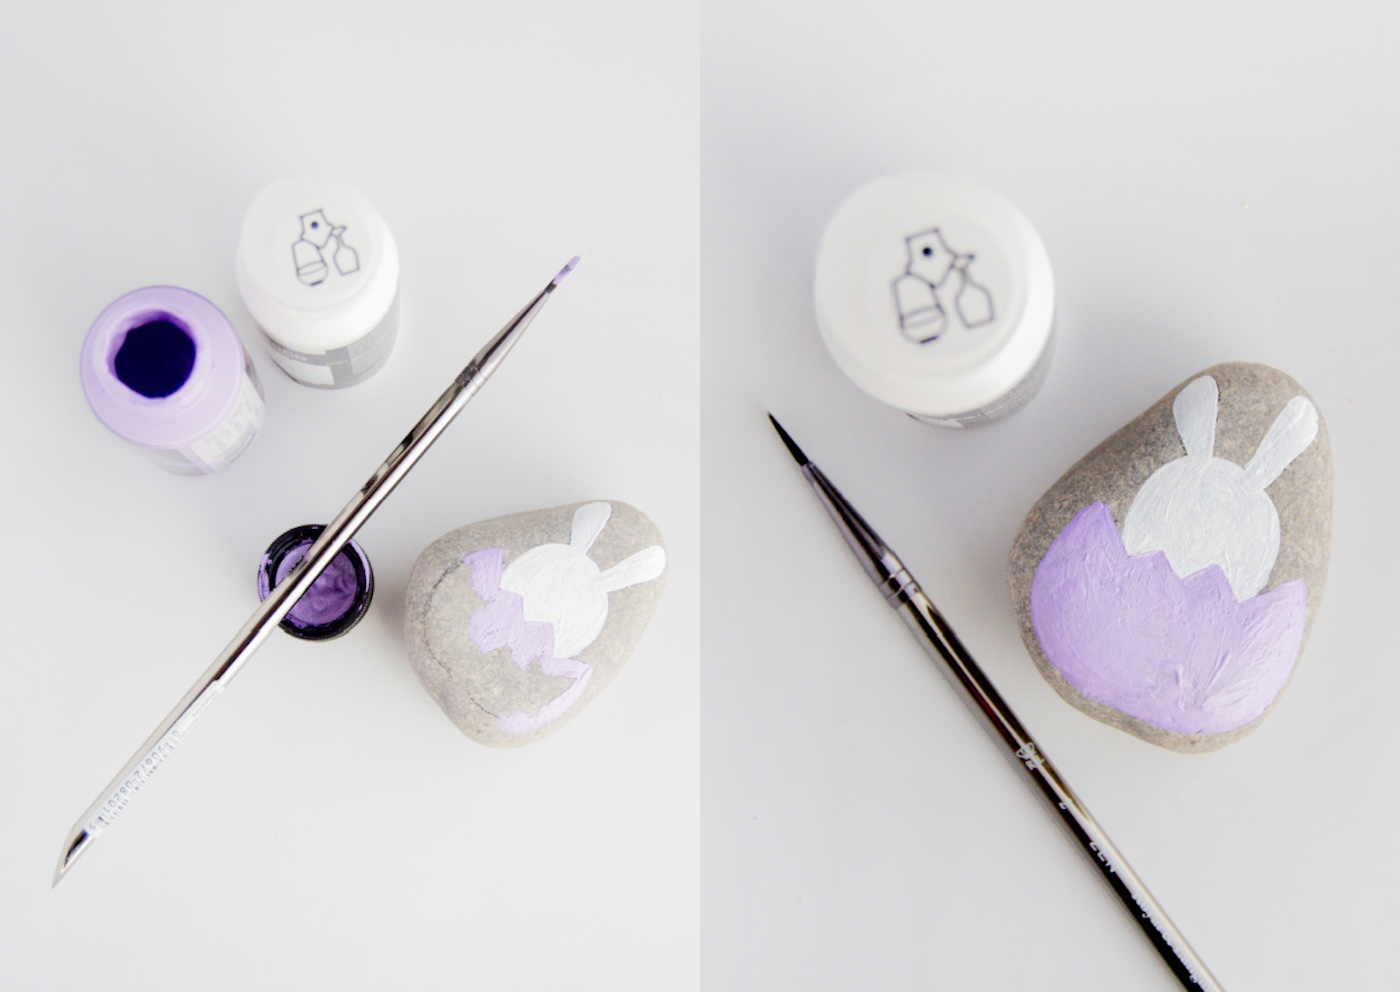
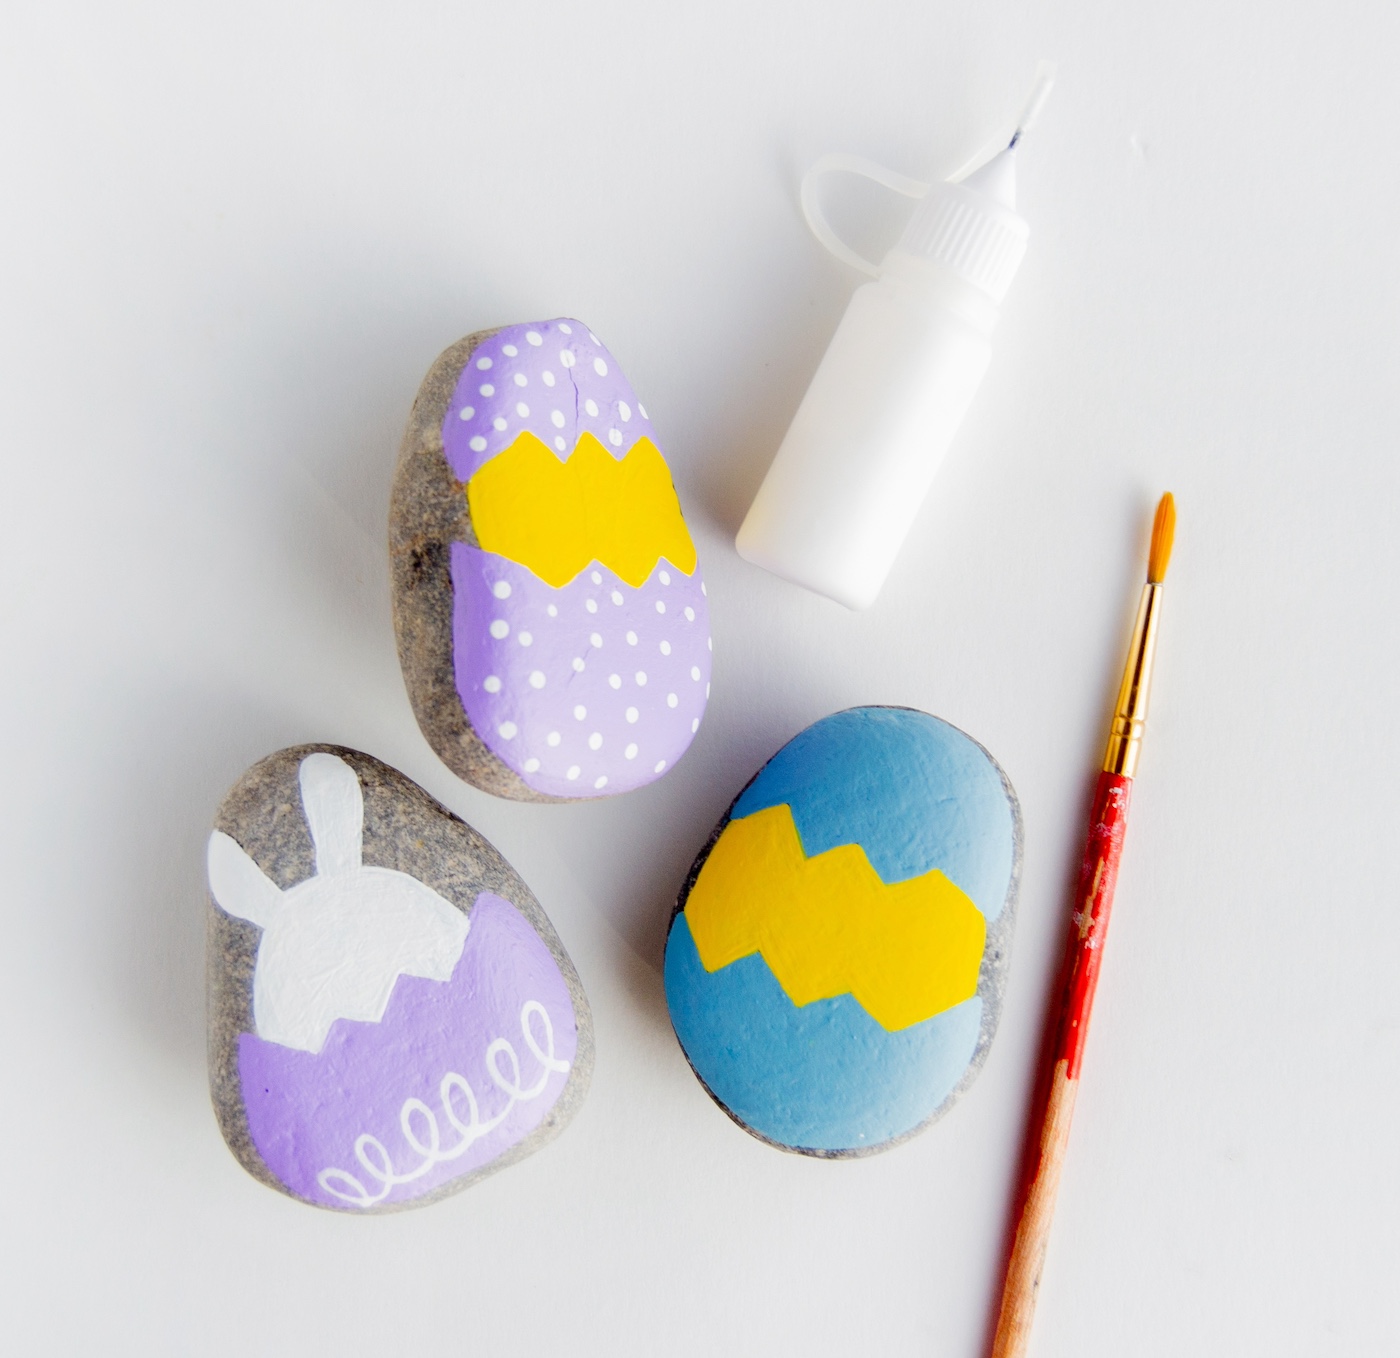
- Once the first layer is dry, add your details. Tip – use a thin paintbrush for bigger details, and the other tip) of your paintbrush for dots. You can also use needle-tip squeeze bottles for detailing, or paint pens if you aren’t precise with a paintbrush. Let dry completely.
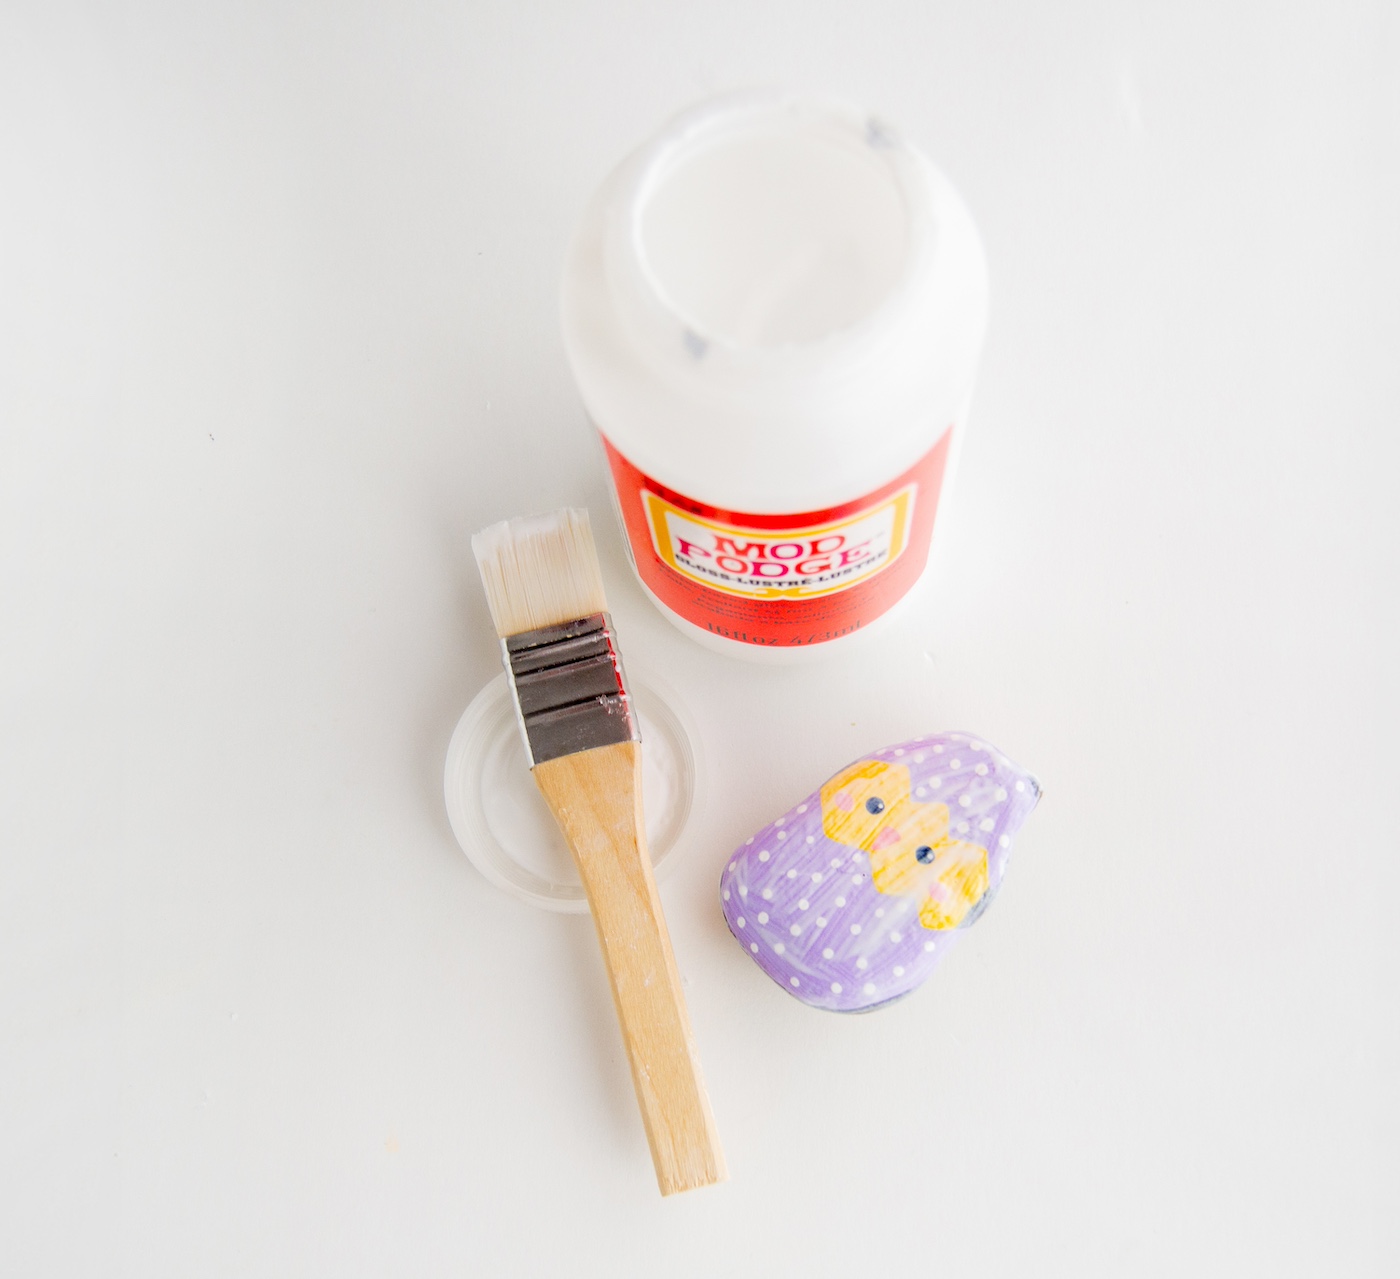
- Once all the paint is dry, apply a moderate layer of Mod Podge to seal your painting and protect it from scratches and paint chipping. Let dry completely.
- If the rocks will be exposed to extreme rain or shine, I recommend adding a UV and/or waterproof sealer to the top of your rocks. Let dry completely before placing outside.
Did you enjoy this Easter craft? Let me know in the comments! I’d also love for you to check out these other ideas:
Bunny Canvas • Bunny Mason Jars • Glitter Easter Eggs • Happy Easter Sign • Wood Easter Bunny • Yarn Eggs


Fantastic! We have some river rocks in the yard so I painted a few and top coated them for protection. Because we have collected a lot of Easter decorations over the years I made these for outside. I placed them next to a concrete bunny in a cozy spot in the garden. My wife was surprised by it and loved it.
Oh that’s awesome Tom! I bet she did love it!