
Easter Rocks
Discover the joy of Easter with our step-by-step guide to painting rocks. Perfect for families looking to create memorable, festive decorations!
Yield: 8 rocks
Cost: $1
Equipment
- Other Tools (to use for painting)
Materials
- Rocks flat, oval shaped
- Acrylic outdoor paint
- Mod Podge
- Paint pen(s) optional
- Outdoor sealer optional
Instructions
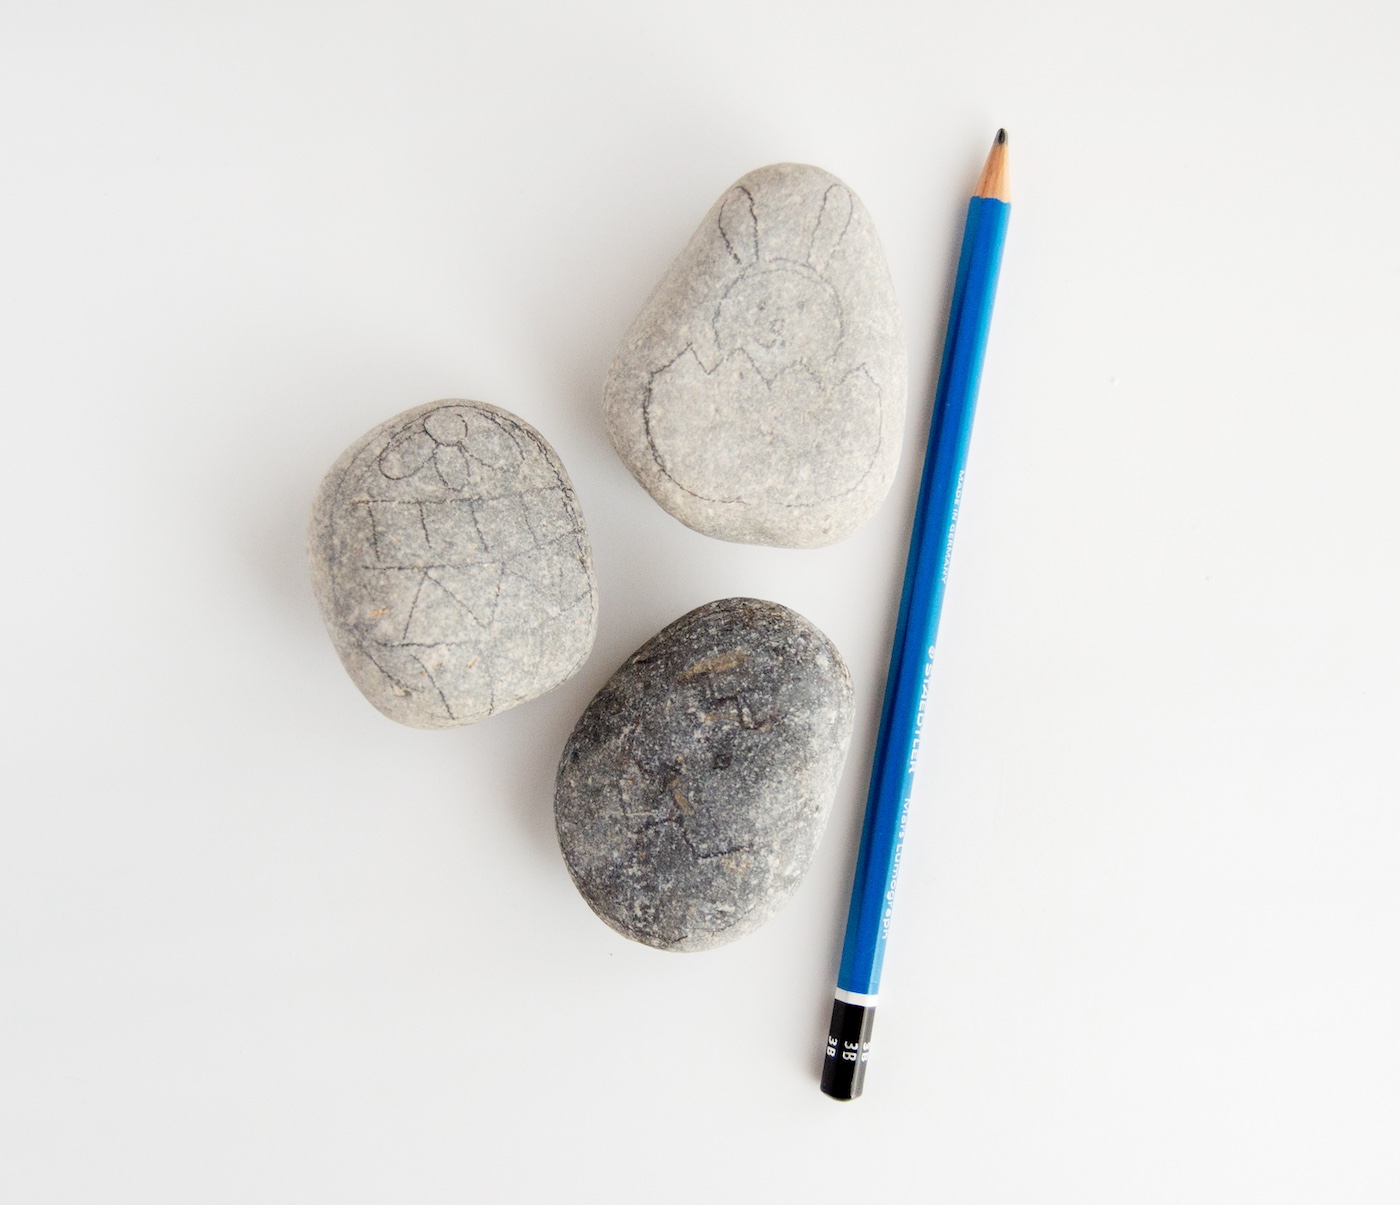
- Find oval shaped rocks with a flat side for this craft. Wash and clean your rocks to remove excess debris. Using a pencil, sketch your design idea onto the rocks.
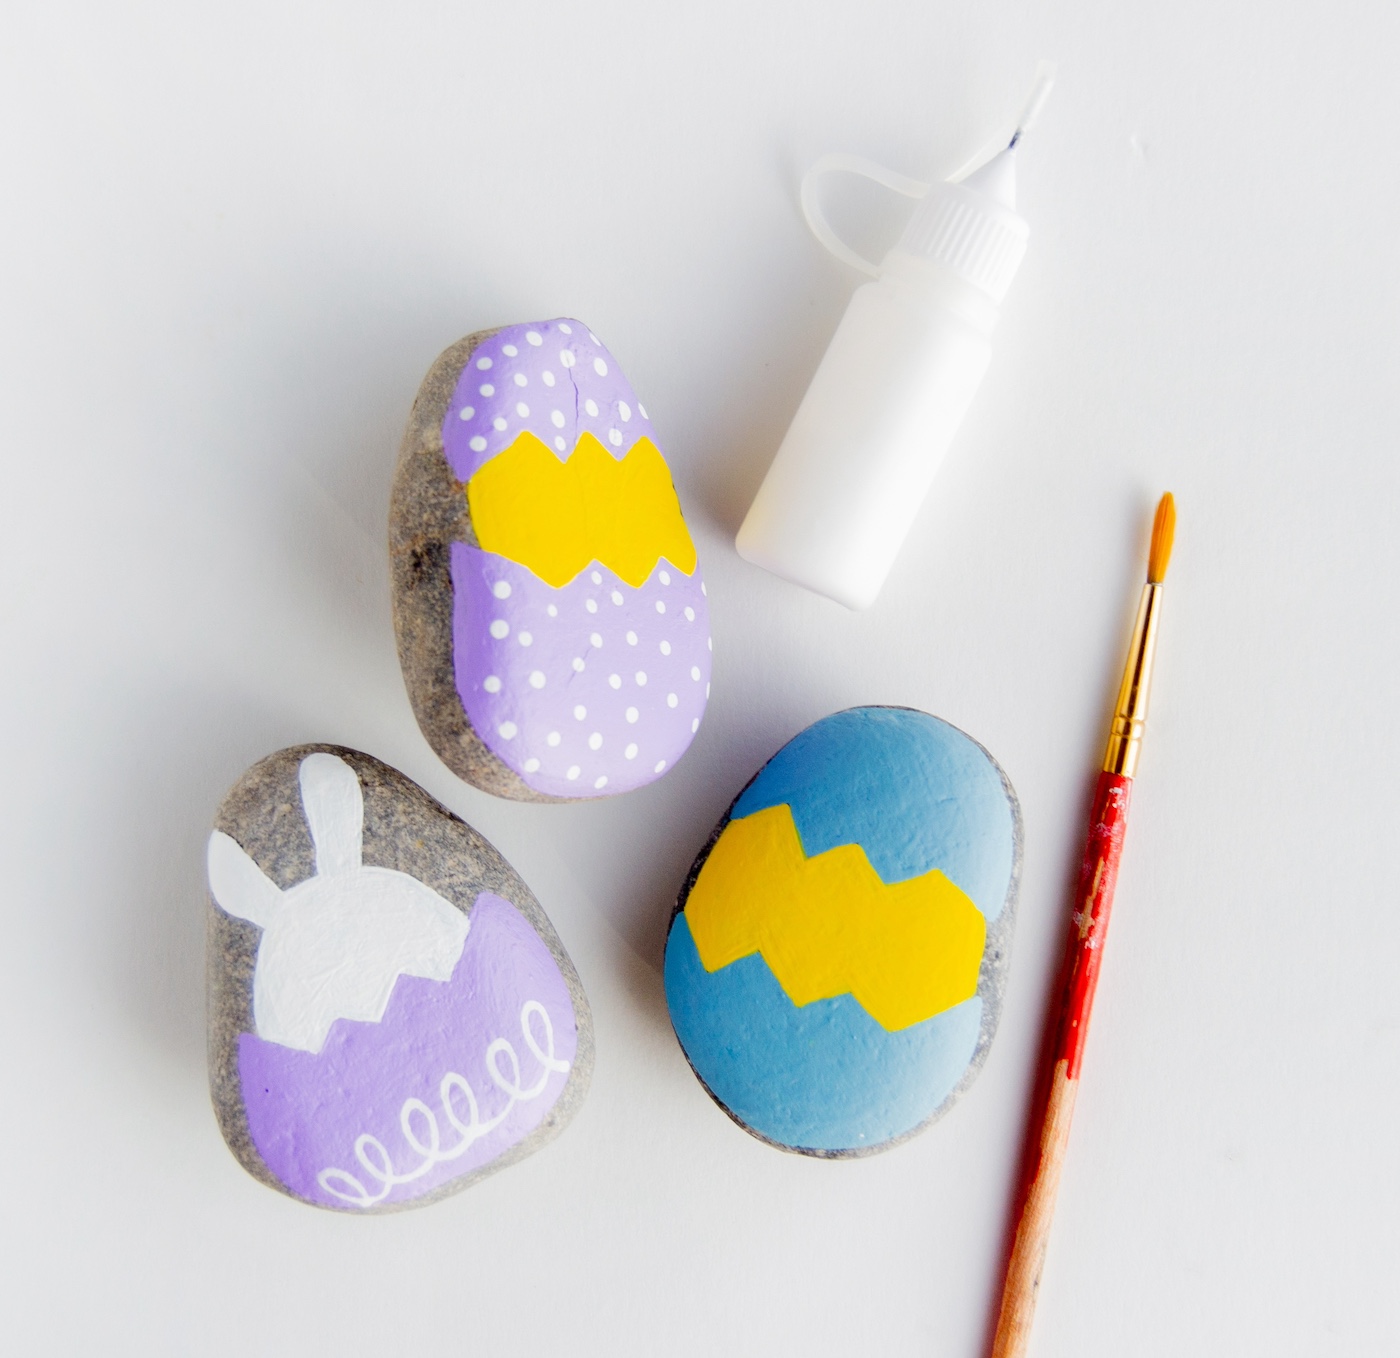
- Using an appropriate sized round brush, paint your first layer carefully and let it dry.
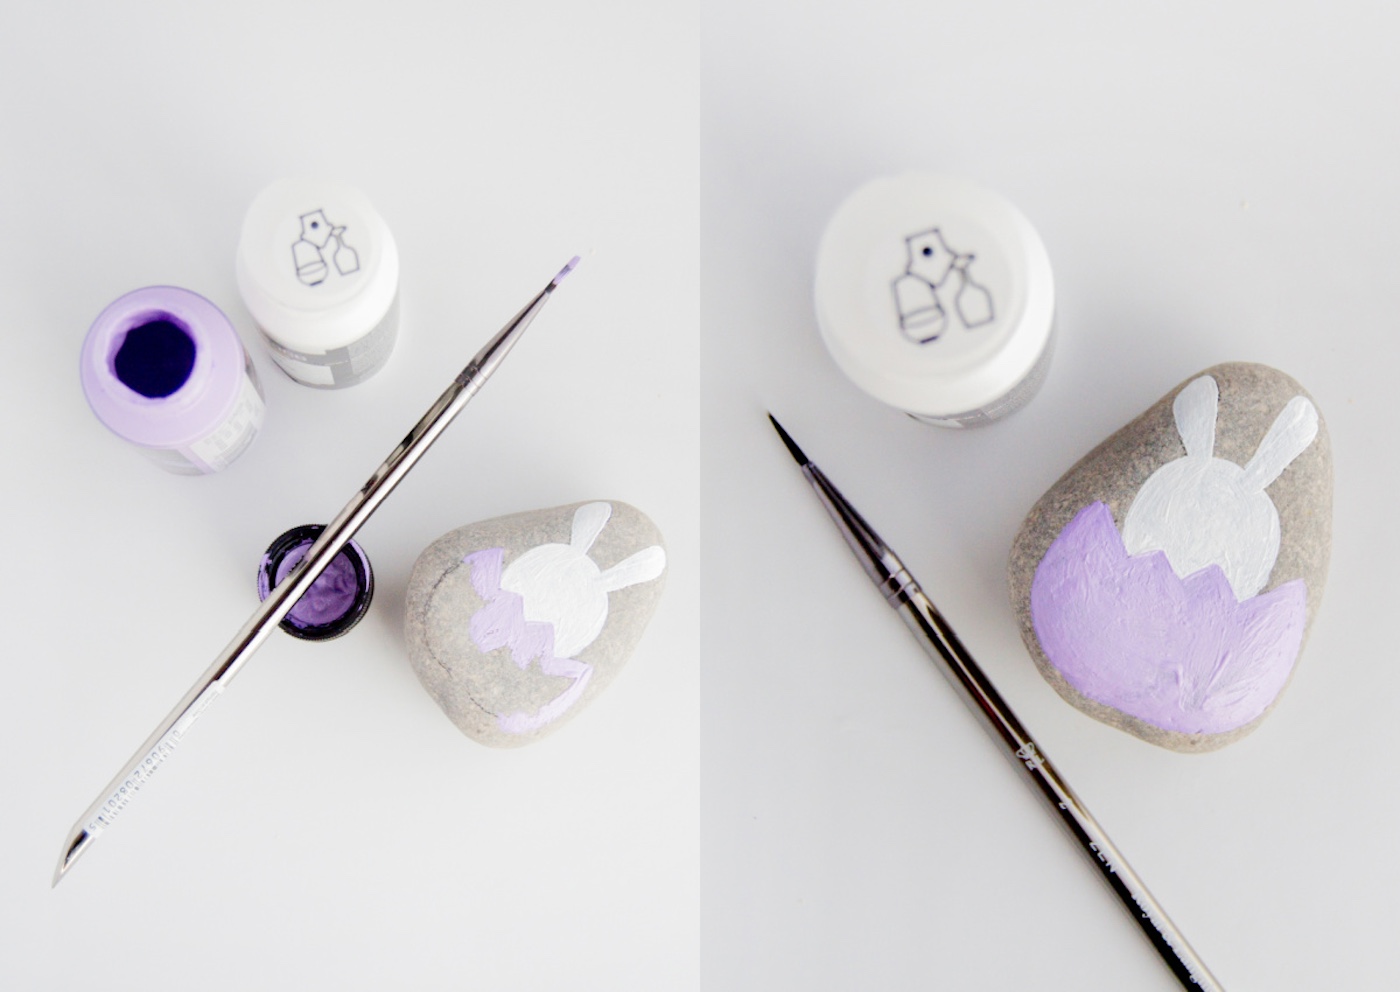
- Once the first layer is dry, add your details. Tip - use a thin paintbrush for bigger details, and the other tip) of your paintbrush for dots. You can also use needle-tip squeeze bottles for detailing, or paint pens if you aren’t precise with a paintbrush. Let dry completely.
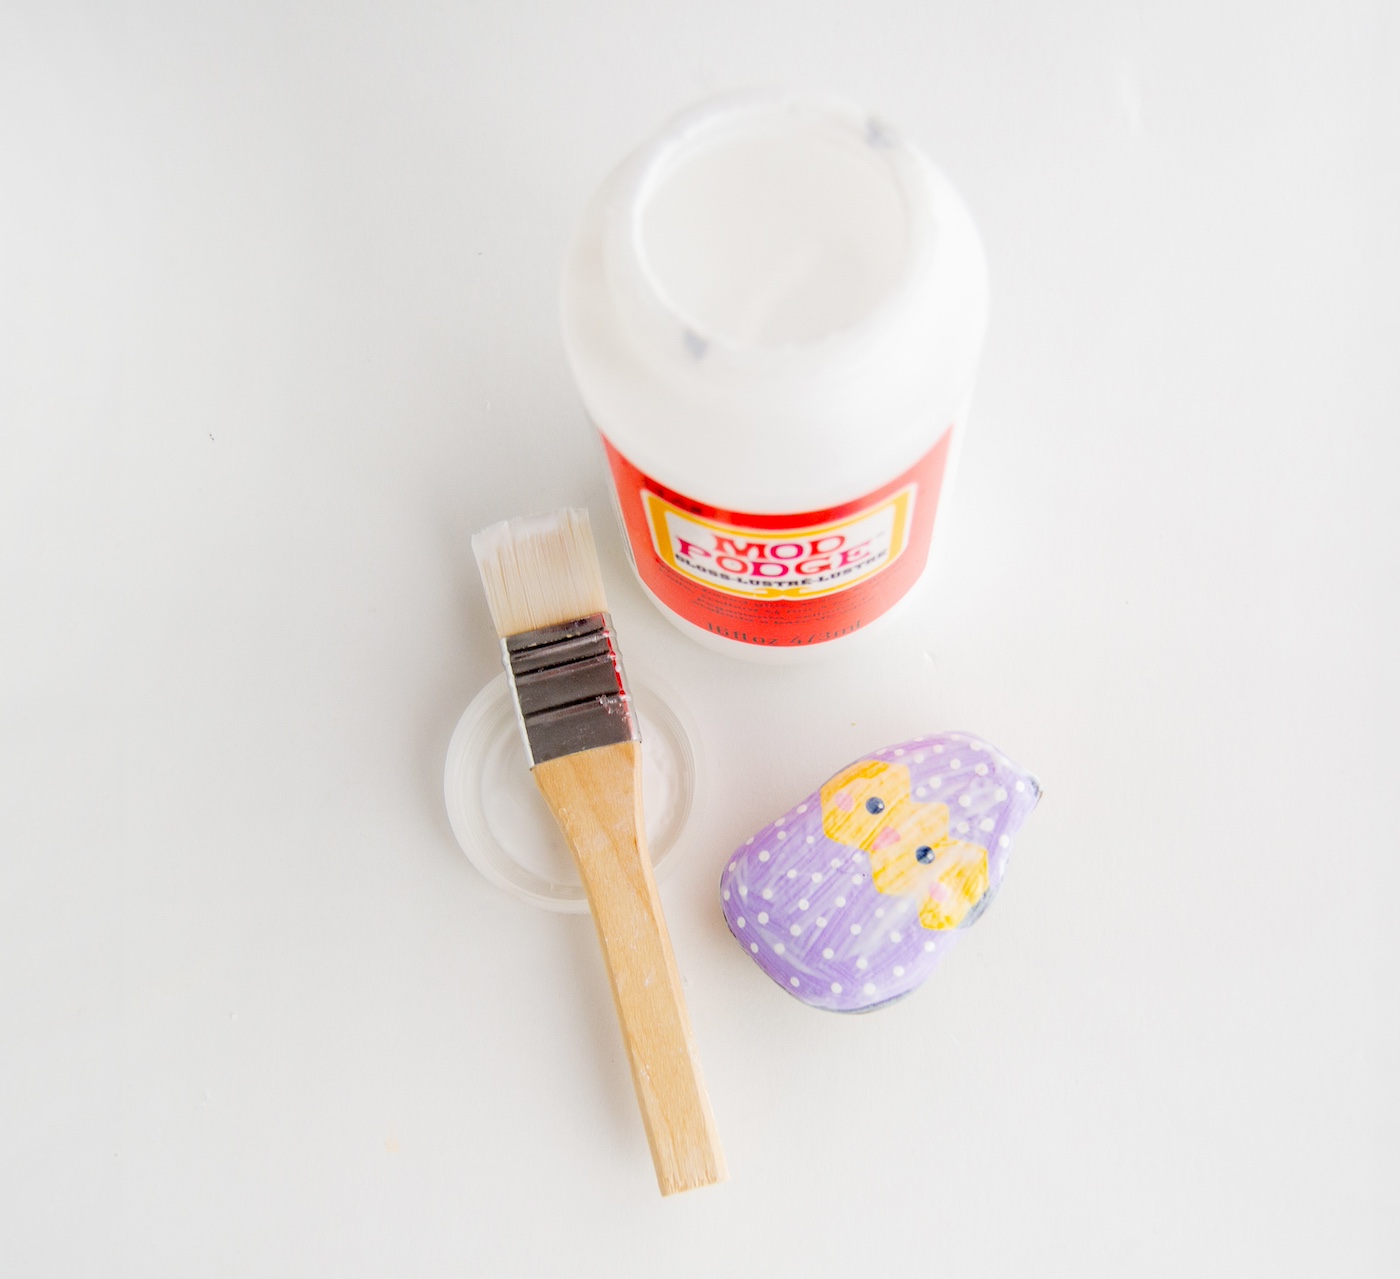
- Once all the paint is dry, apply a moderate layer of Mod Podge to seal your painting and protect it from scratches and paint chipping. Let dry completely.
- If the rocks will be exposed to extreme rain or shine, I recommend adding a UV and/or waterproof sealer to the top of your rocks. Let dry completely before placing outside.