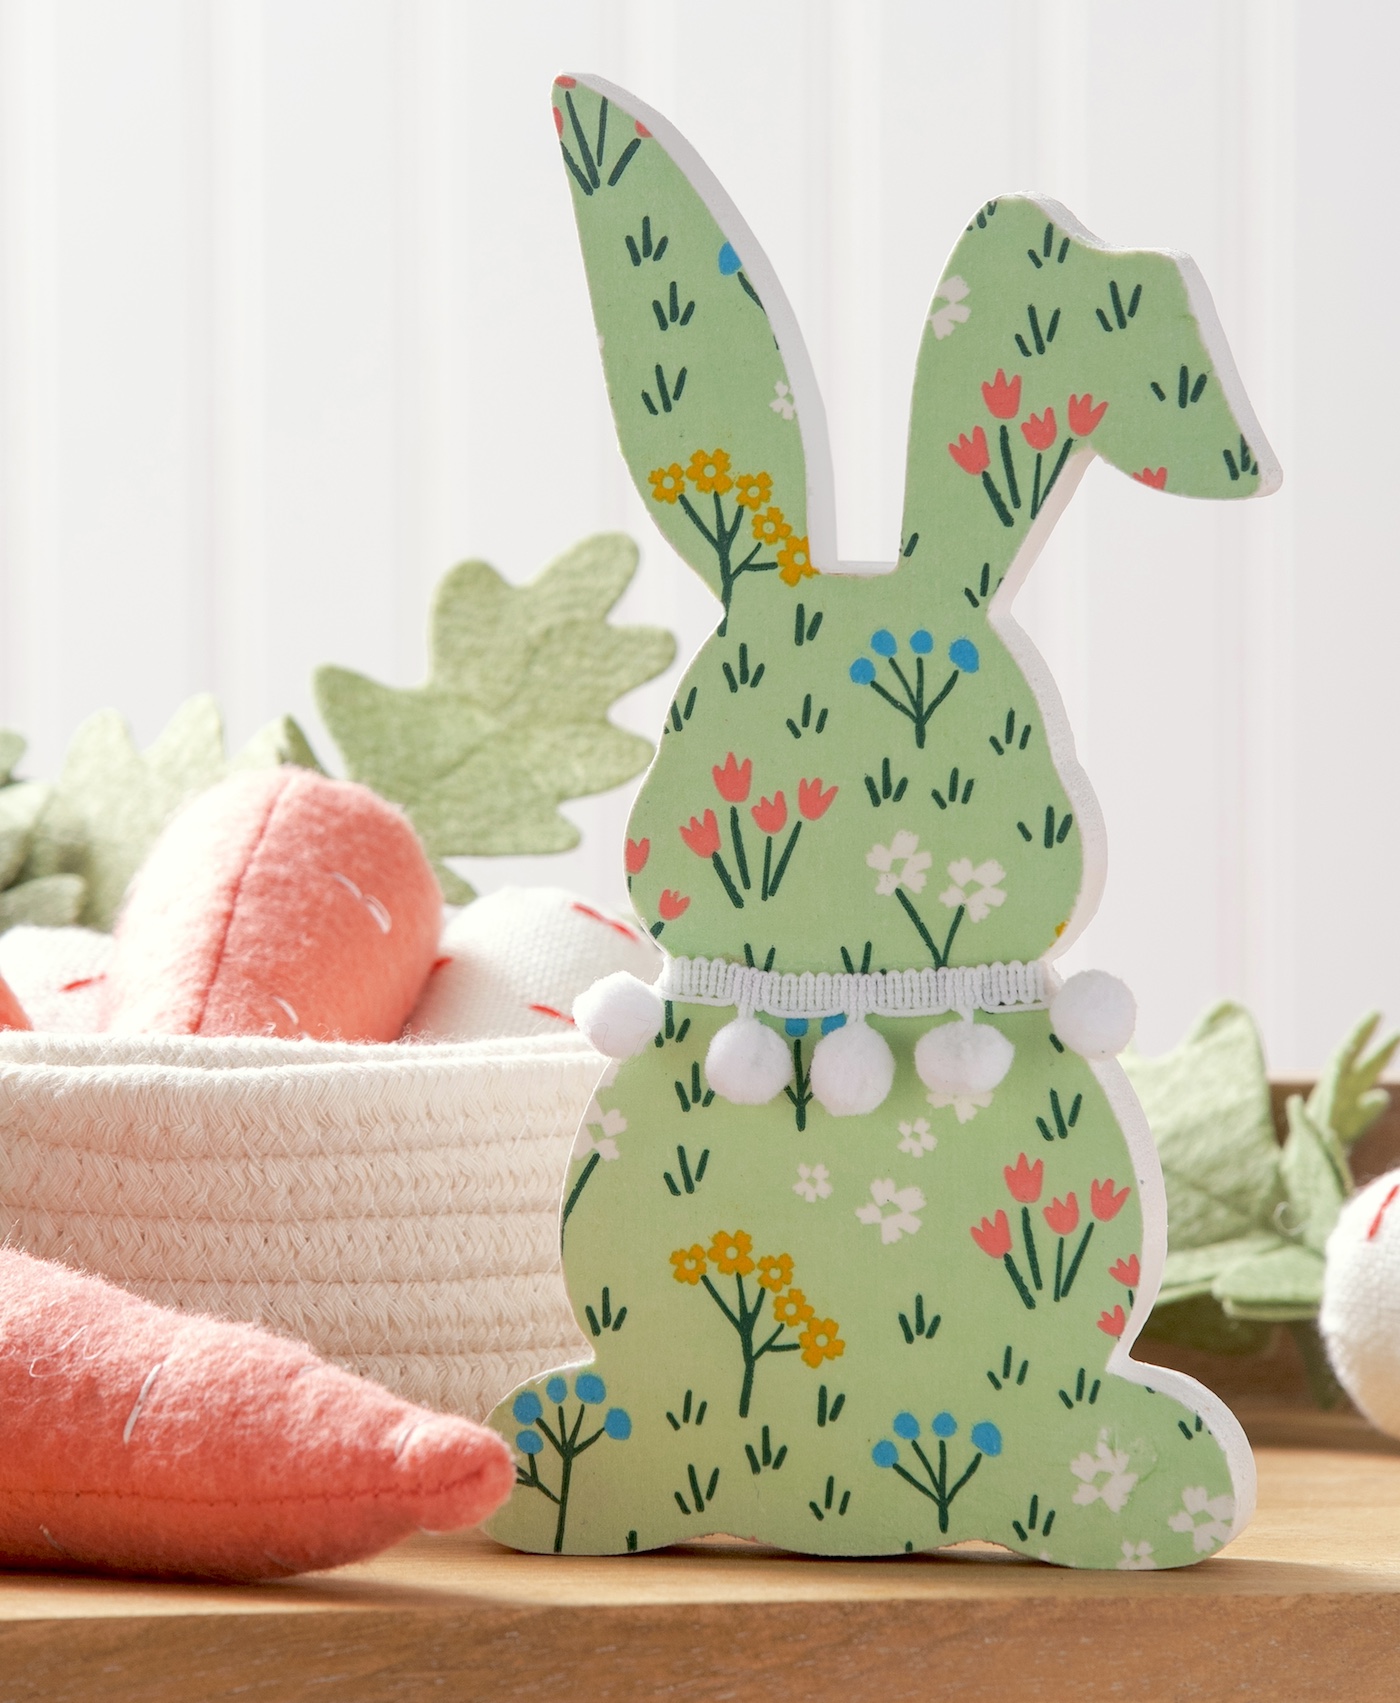
Decorate a wooden Easter bunny using bright, floral napkins and Mod Podge! This easy craft is perfect for your spring or holiday decor.
Skills Required: Advanced Beginner. To make this Easter craft, it helps to have experience with paint and Mod Podge. You’ll be applying both, ironing the napkin down, then gluing embellishments.
Last year around springtime I went into “Tarjay” (Target to the layperson) and, just like you probably do, went right to the Dollar Spot.
You know, that section at the front with all the cute little decor. I always find cute little items, especially when it comes to holiday or seasonal decorating.
Welllll . . . last year I squealed when I went into the section because they had the CUTEST little felt carrots! You can see them in the pictures in this post.
They were so fun and inexpensive that I bought several bunches, and decide to make them the highlight of my Easter decor.
It turns out the craft section also had some wooden Easter bunny shapes, so I grabbed a few of those also and decided to decorate them with some Easter napkins.
I’m sure you’re thinking – how the heck you decorate wood with paper napkins? Well . . it’s easy, and I’m going to show you how it’s done!
You’ll use Mod Podge of course.
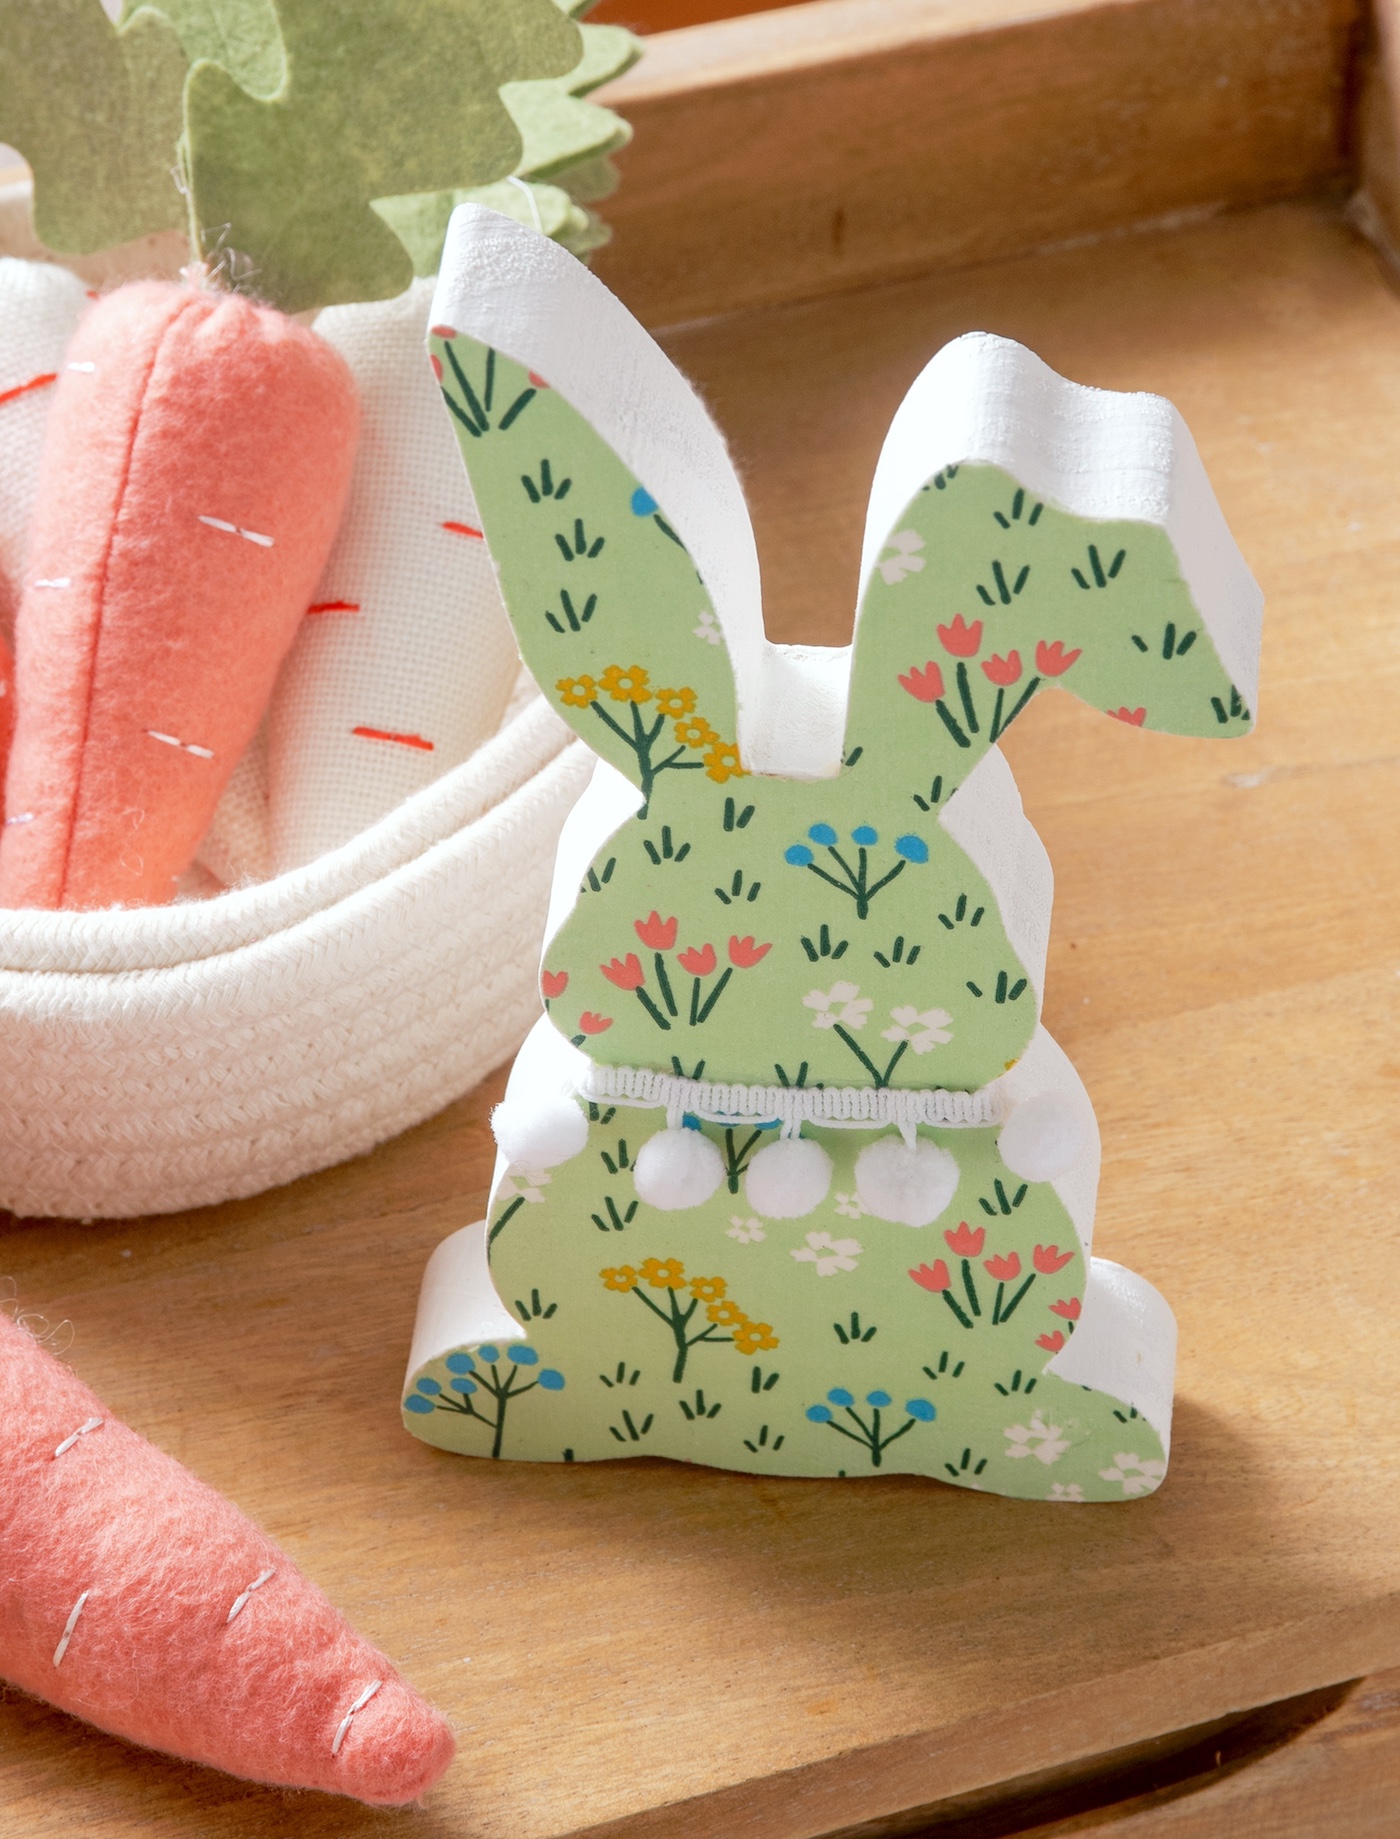
The process for this craft will be to paint and Mod Podge the bunny, then iron the napkin on top after everything is dry. Does it work? Absolutely, and it’s really easy.
This is such a fun Easter craft and I’m excited to show you how to make it! Here’s what you’re going to need.
Gather These Supplies
- Chunky wood bunny
- Craft paint – white
- Floral napkin
- Mod Podge Satin
- Pom pom trim
- Craft glue
- Parchment paper
- Mini craft iron
- Emery board
- Scissors
- Paintbrush
Tips and Thoughts for This Project
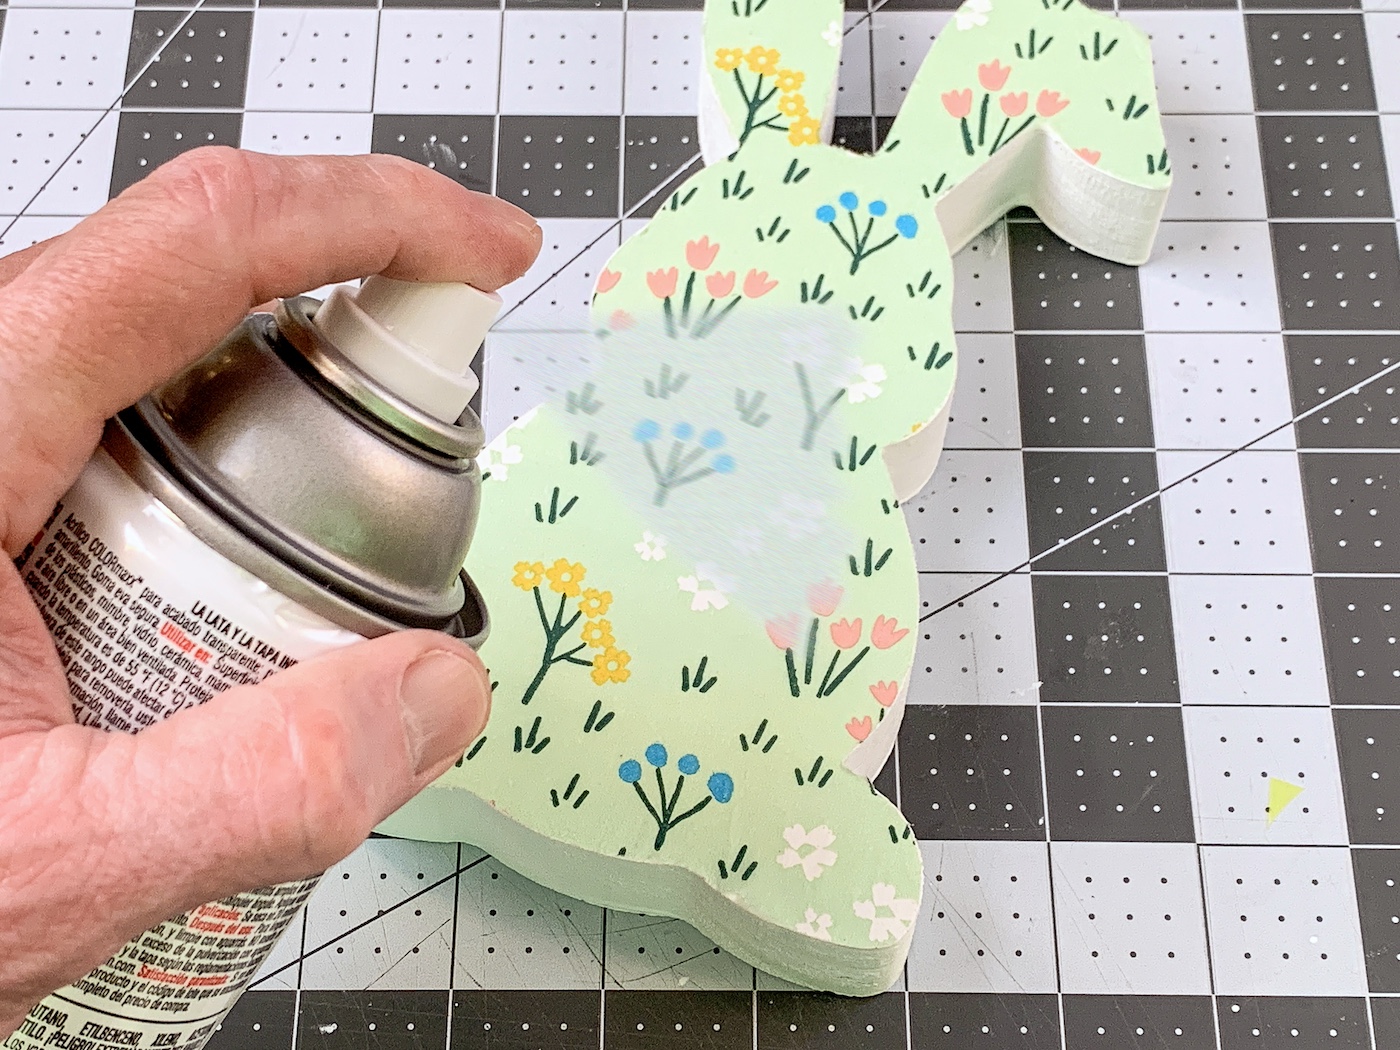
You don’t *have* to paint the bunny white, however, it makes the colors of the napkin pop. It’s also easy to do, so I always do it. You can use spray paint, but craft paint is cheaper and just as fast with a roller.
I didn’t seal the top of the napkins with Mod Podge – it tends to make them wrinkle. If you do seal with Mod Podge and the napkins wrinkle, you can place parchment down and iron over the top again.
Get the printable how to card for this craft below:

Decorate a Wooden Bunny
Materials
- Chunky wood bunny
- Craft paint white
- Decorative paper napkin(s)
- Mod Podge Satin
- Pom pom trim
- Craft glue
- Parchment paper
Instructions
- Paint the wood rabbit with white paint. Do both sides and let dry completely.
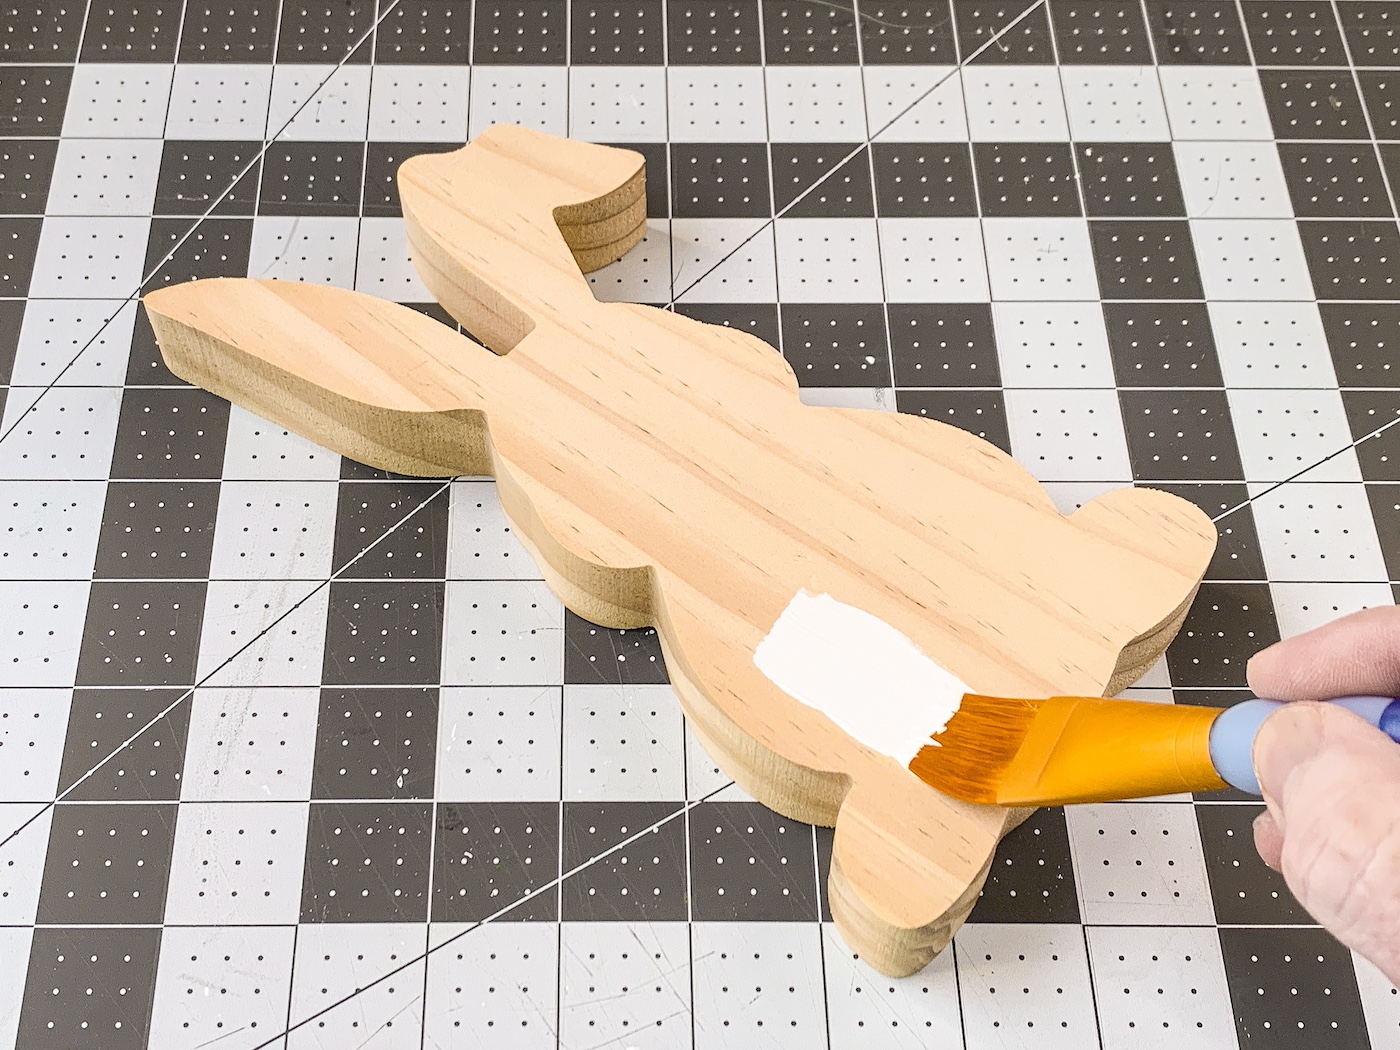
- Paint two layers of Mod Podge on the front of the wood, letting dry between each layer. Don't do the sides.

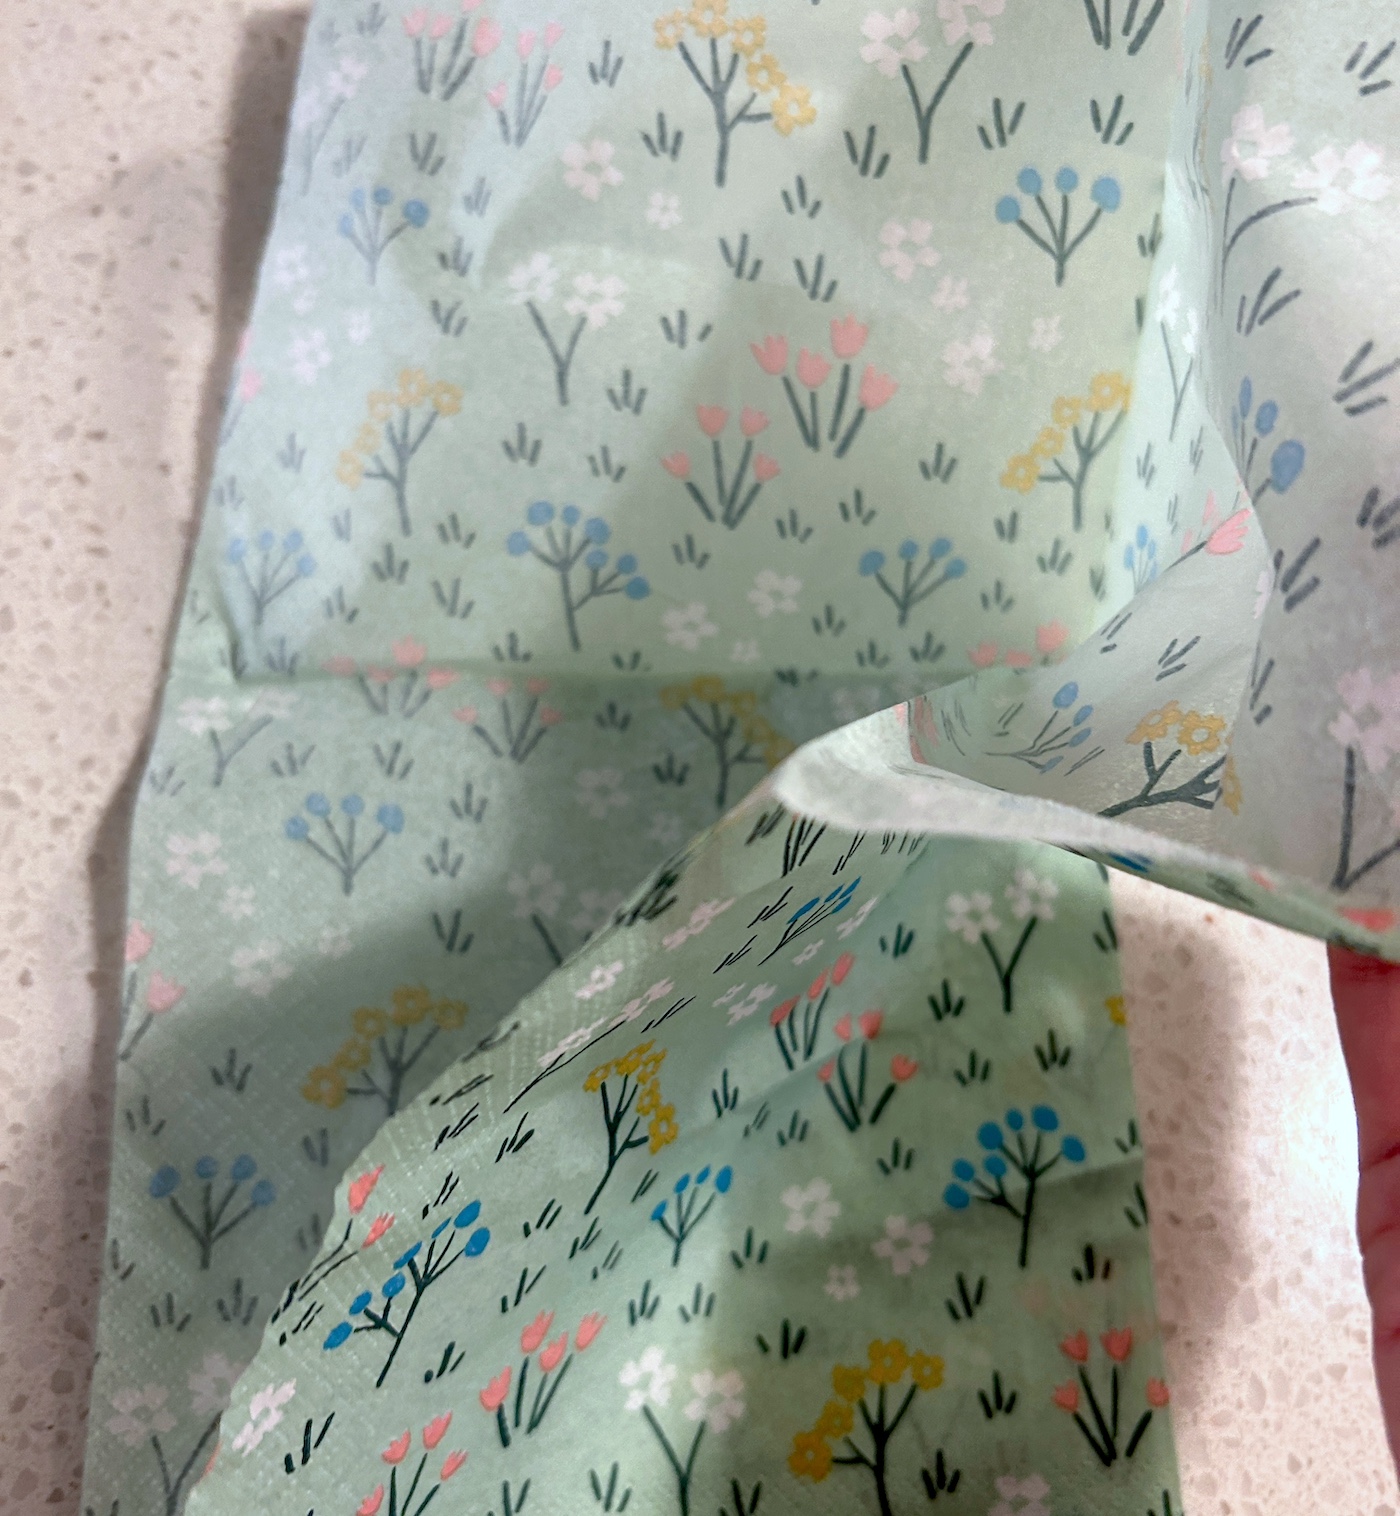
- Separate the layers from the napkin. You only want the top, printed layer. It helps to use double stick tape.
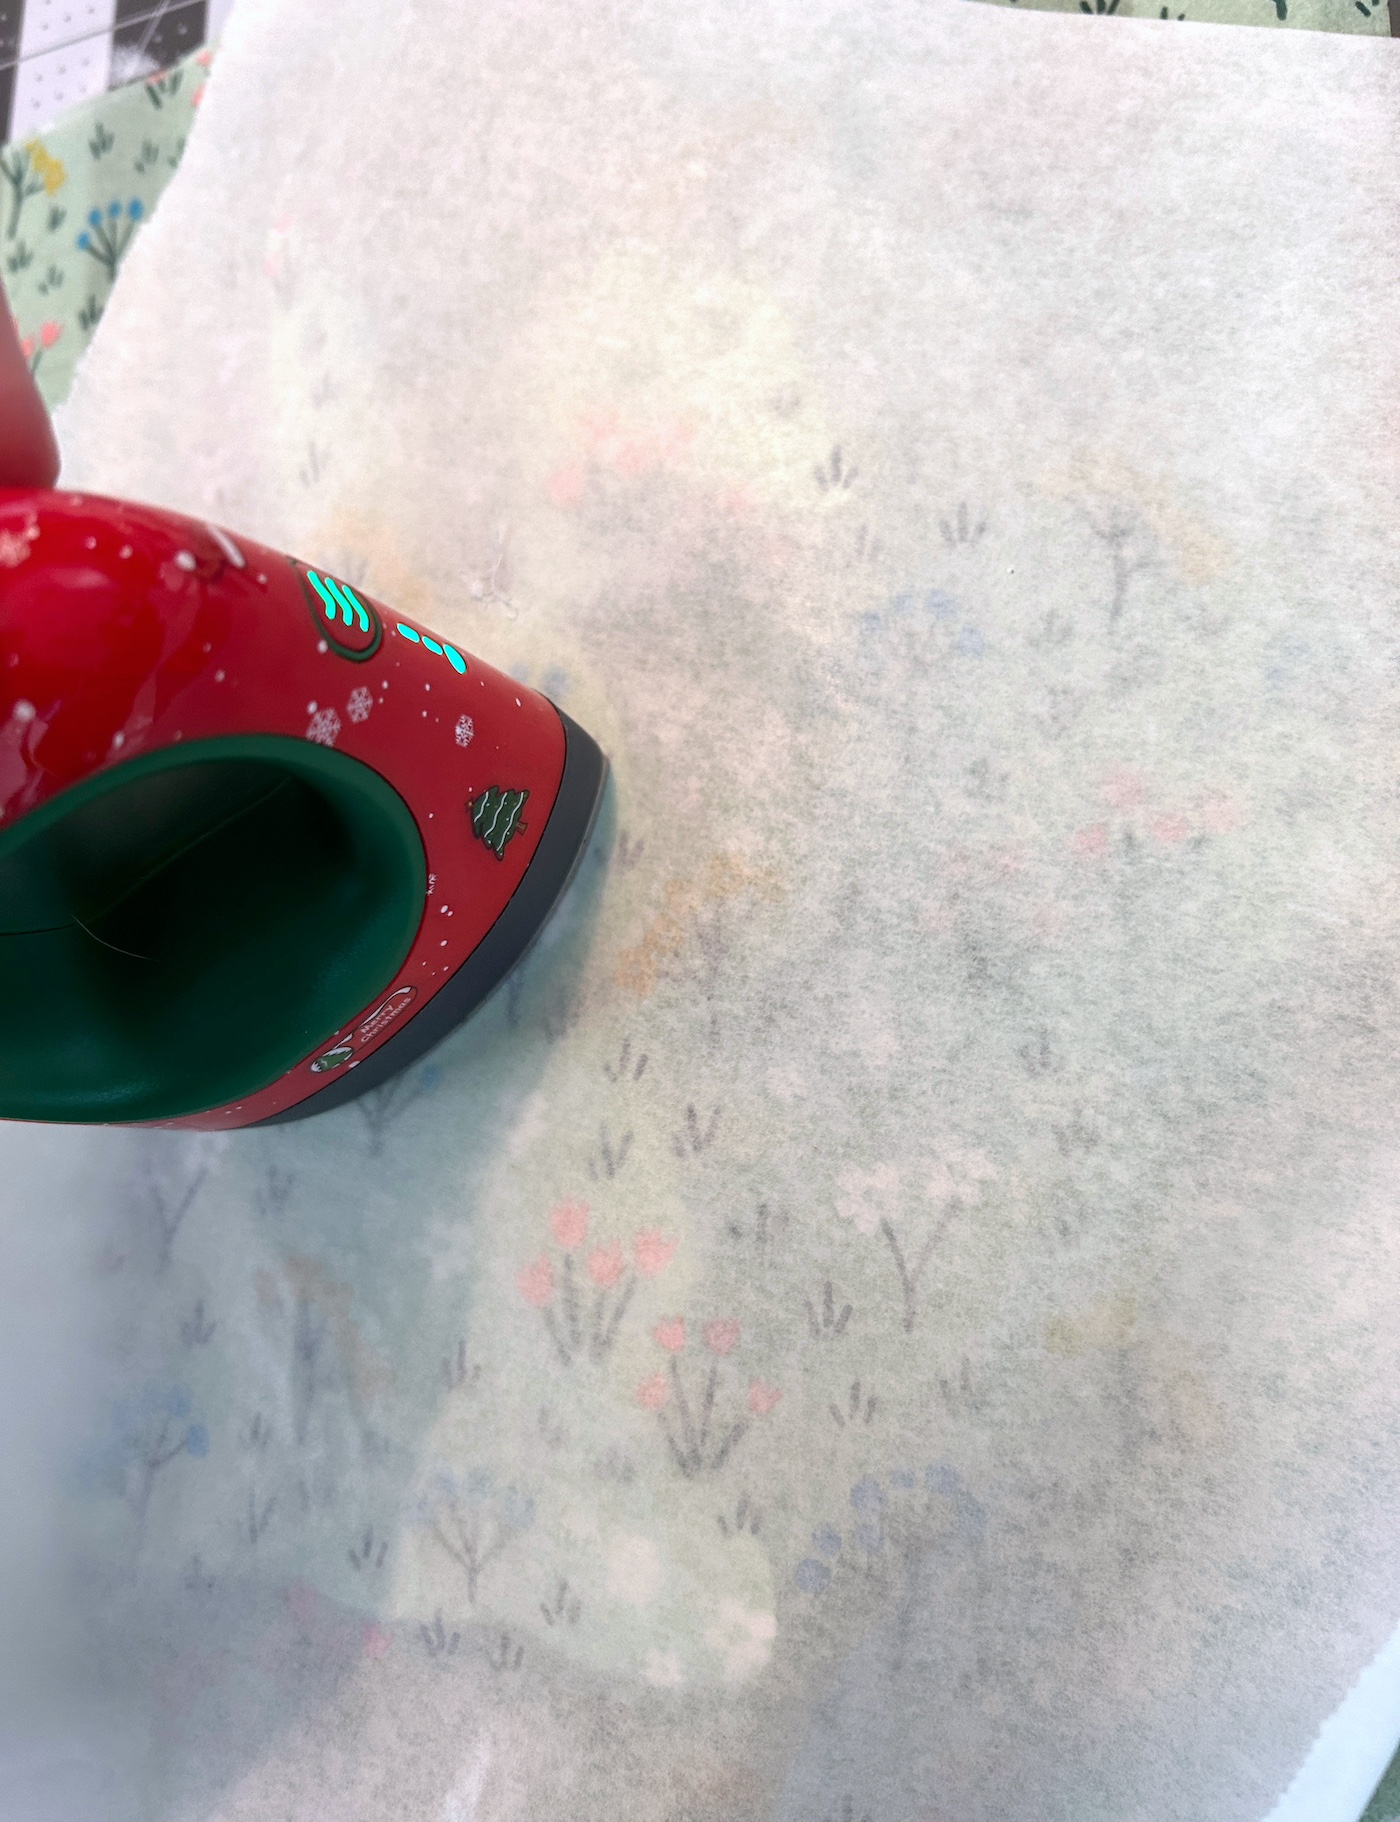
- Place the napkin down onto the wood. Place a piece of parchment paper on top of the napkin, and run the craft iron across the top several times. While you are doing this, the Mod Podge is melting below the napkin, and the napkin is adhering. Keep going until the napkin is fully adhered.
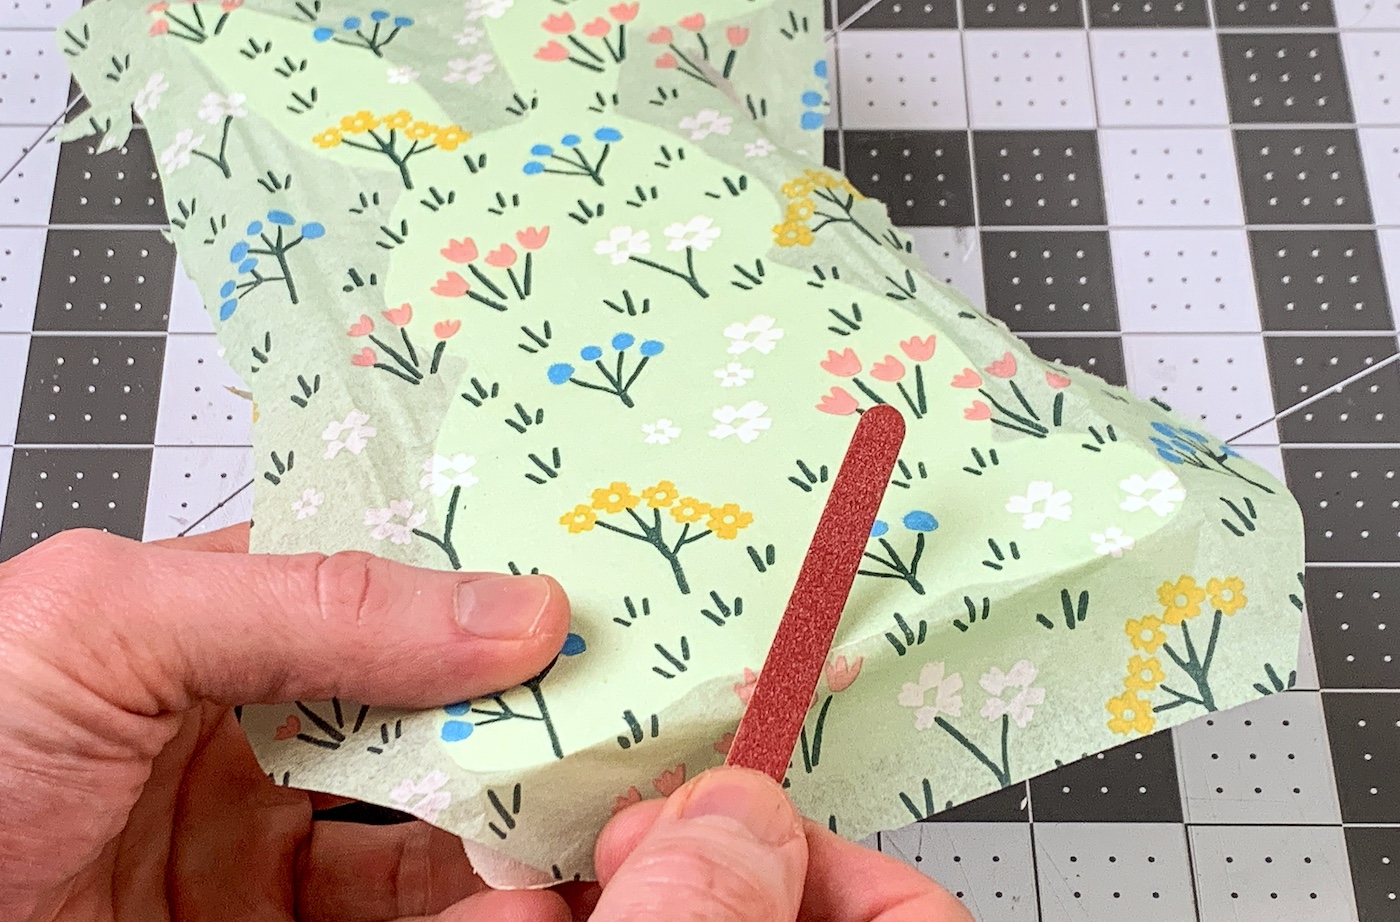
- Let the wood cool after ironing. Use an emery board to gently sand away the excess napkin. Sanding at an angle works very well. Continue until all the extra napkin is removed.
- Use a spray sealer to seal the napkin on top, if desired.
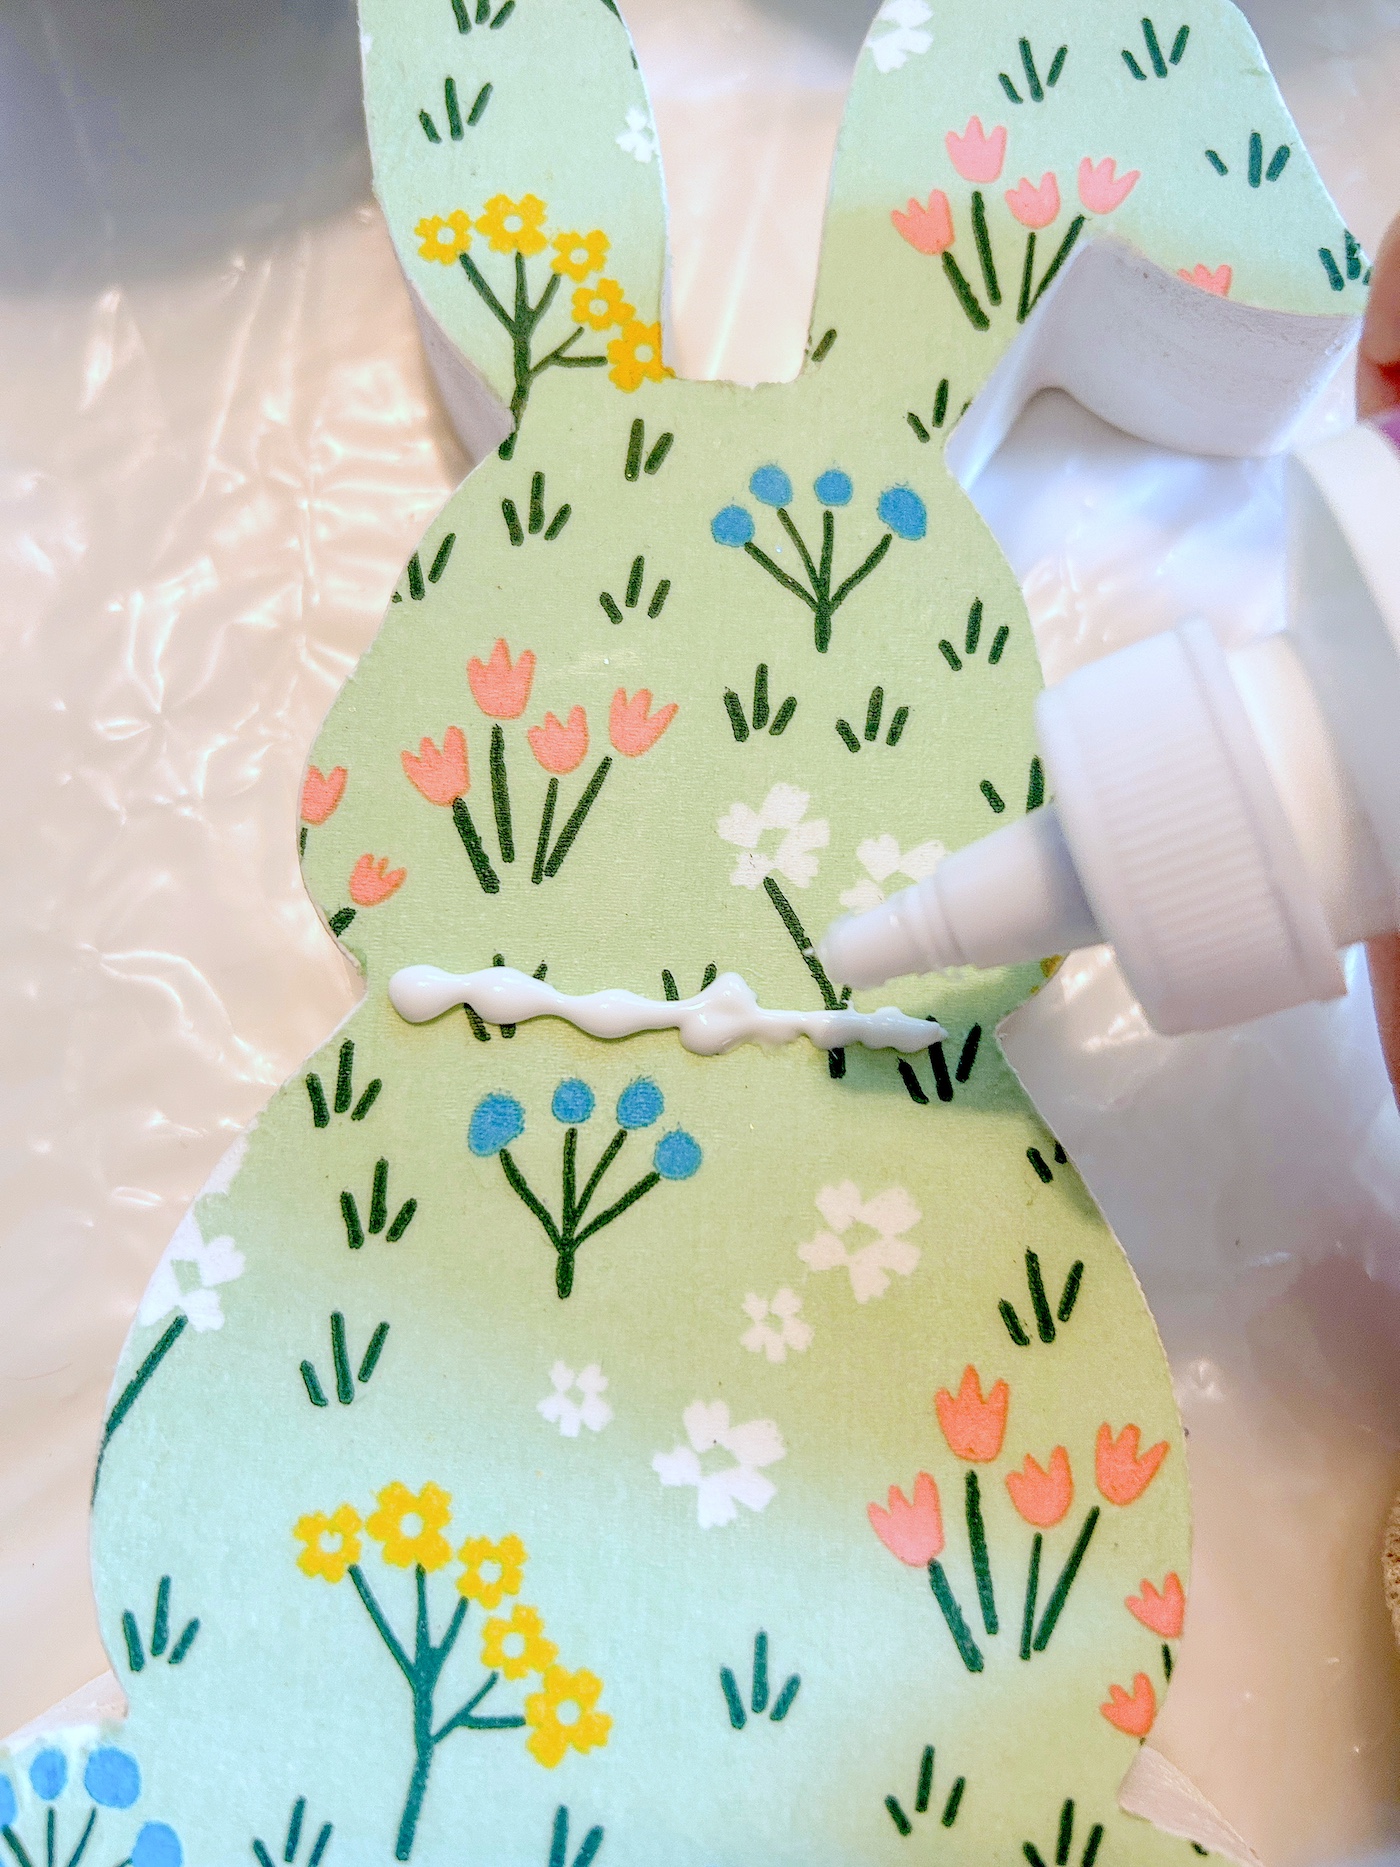
- Use the craft glue to adhere a strip of pom pom trim to the neck of the bunny. Let dry completely before displaying.
I hope you enjoyed decorating this wood Easter bunny . . . and you’ll let me know in the comments. Please also check out these other posts and Happy Easter!