
In this post I’ll show you how to do paper napkin decoupage on a wood frame using the iron on method! This is easy enough for beginners.
Skills Required: Beginner. It helps to have experience with Mod Podge to do this project. You’ll be applying it to a frame, then ironing a napkin down. I’ll walk you through the process.
There are a variety of ways to use Mod Podge to apply paper or fabric to surfaces. One of the most common ways is to apply it directly to a surface, then apply the paper/other material down and let dry. Then add a top coat of Mod Podge and let it dry again.
That’s the way I decoupage most often here on the blog.
But the thing is, that works better for thicker materials and fabrics – and not as well for thinner materials like tissue paper, napkins, wrapping paper, etc.
Those items tend to wrinkle when they are applied to wet Mod Podge. Sometimes crafters use plastic wrap to assist in smoothing, but thinner items can still tear under the plastic wrap without a very careful touch.
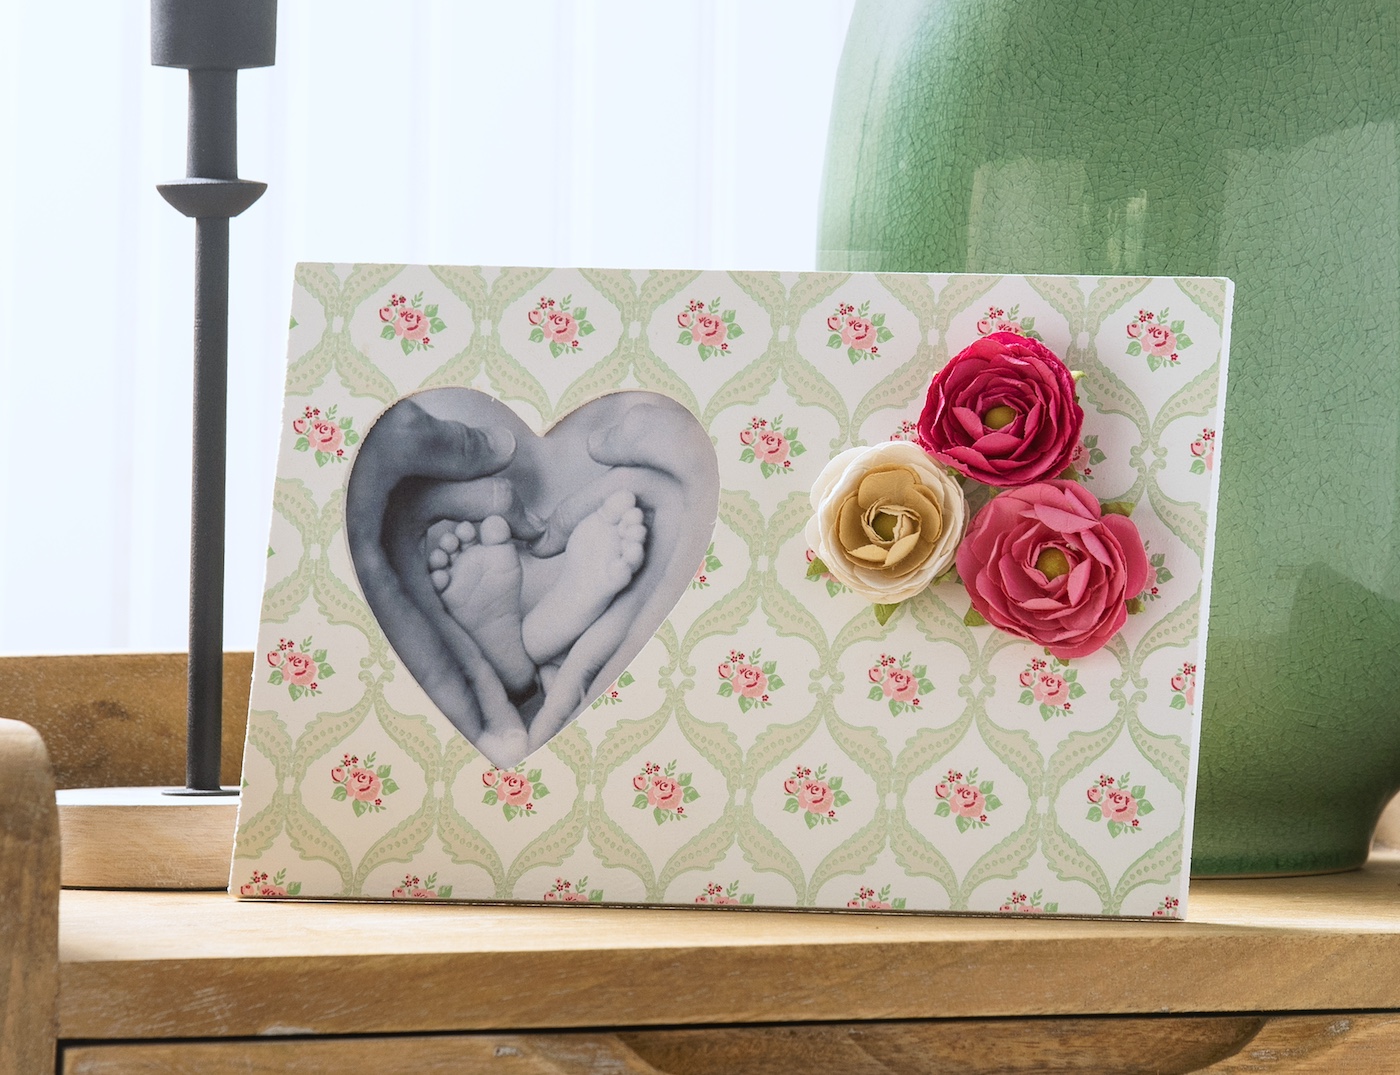
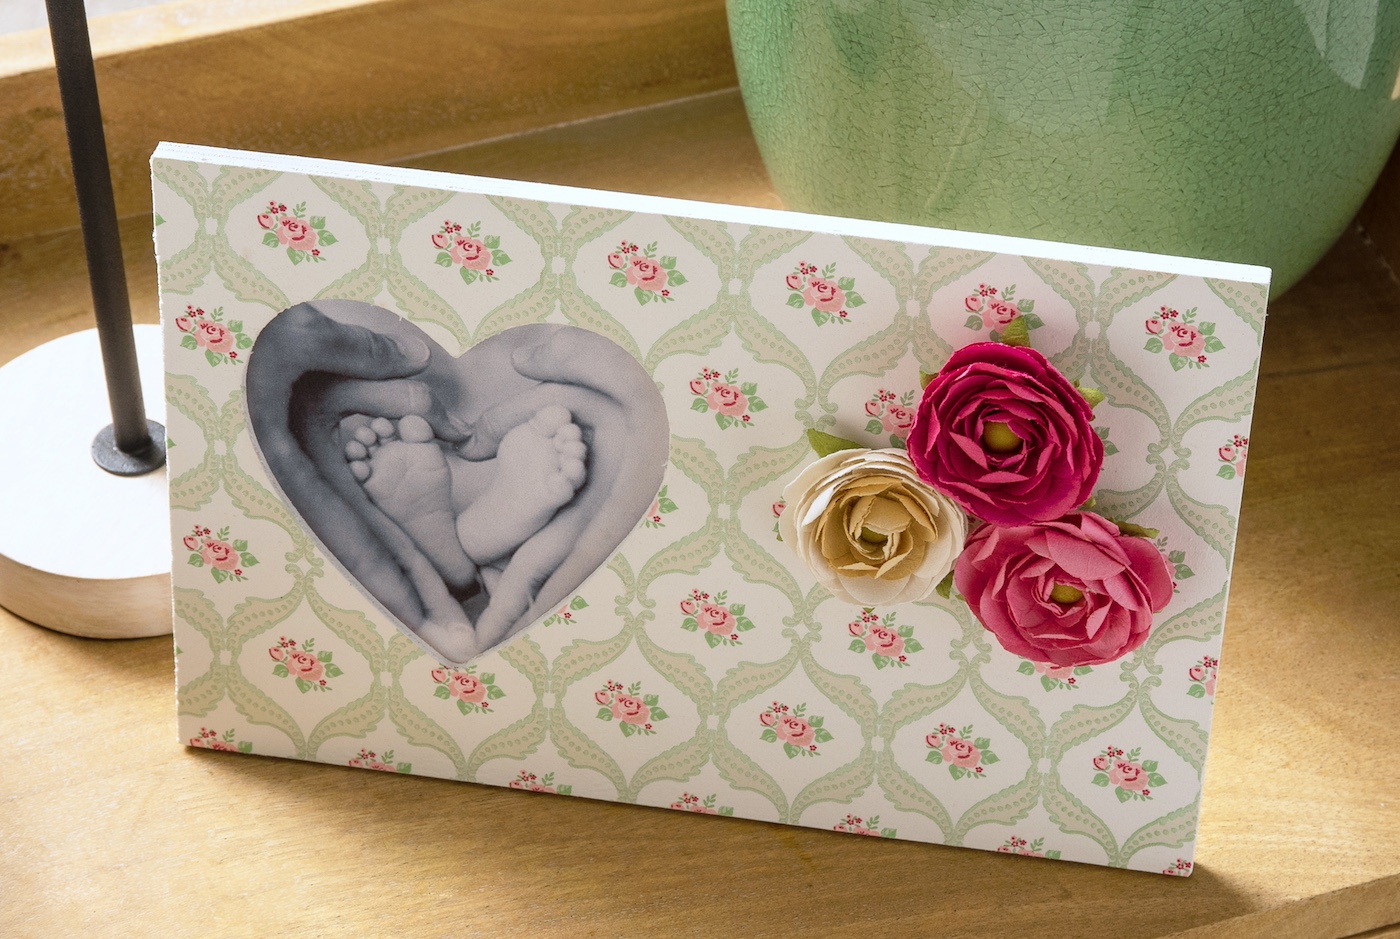
SO I’m really excited to show you something frequently called the “iron on method” – and in this case, we’re going to do paper napkin decoupage to a wood frame.
This method, which allows the Mod Podge to dry BEFORE applying the napkin, is a great solution when you just can’t decoupage your items without wrinkles. When the items are thinner – this is super easy.
For this paper napkin decoupage, you’ll be painting the wood frame, then applying Mod Podge and letting it dry. Then you’ll iron on the napkin, activating the Mod Podge below. The napkin will adhere to the surface.
You might need to practice this technique a few times to master it, but it’s way easier than other methods. Once you see how smooth the surface turns out . . . you’re going to get hooked.
First of all, here’s what you’re going to need. Then you can jump right in and get crafting!
Gather These Supplies
- Wood frame of your choice
- White acrylic paint
- Mod Podge – any formula
- Decorative paper napkin
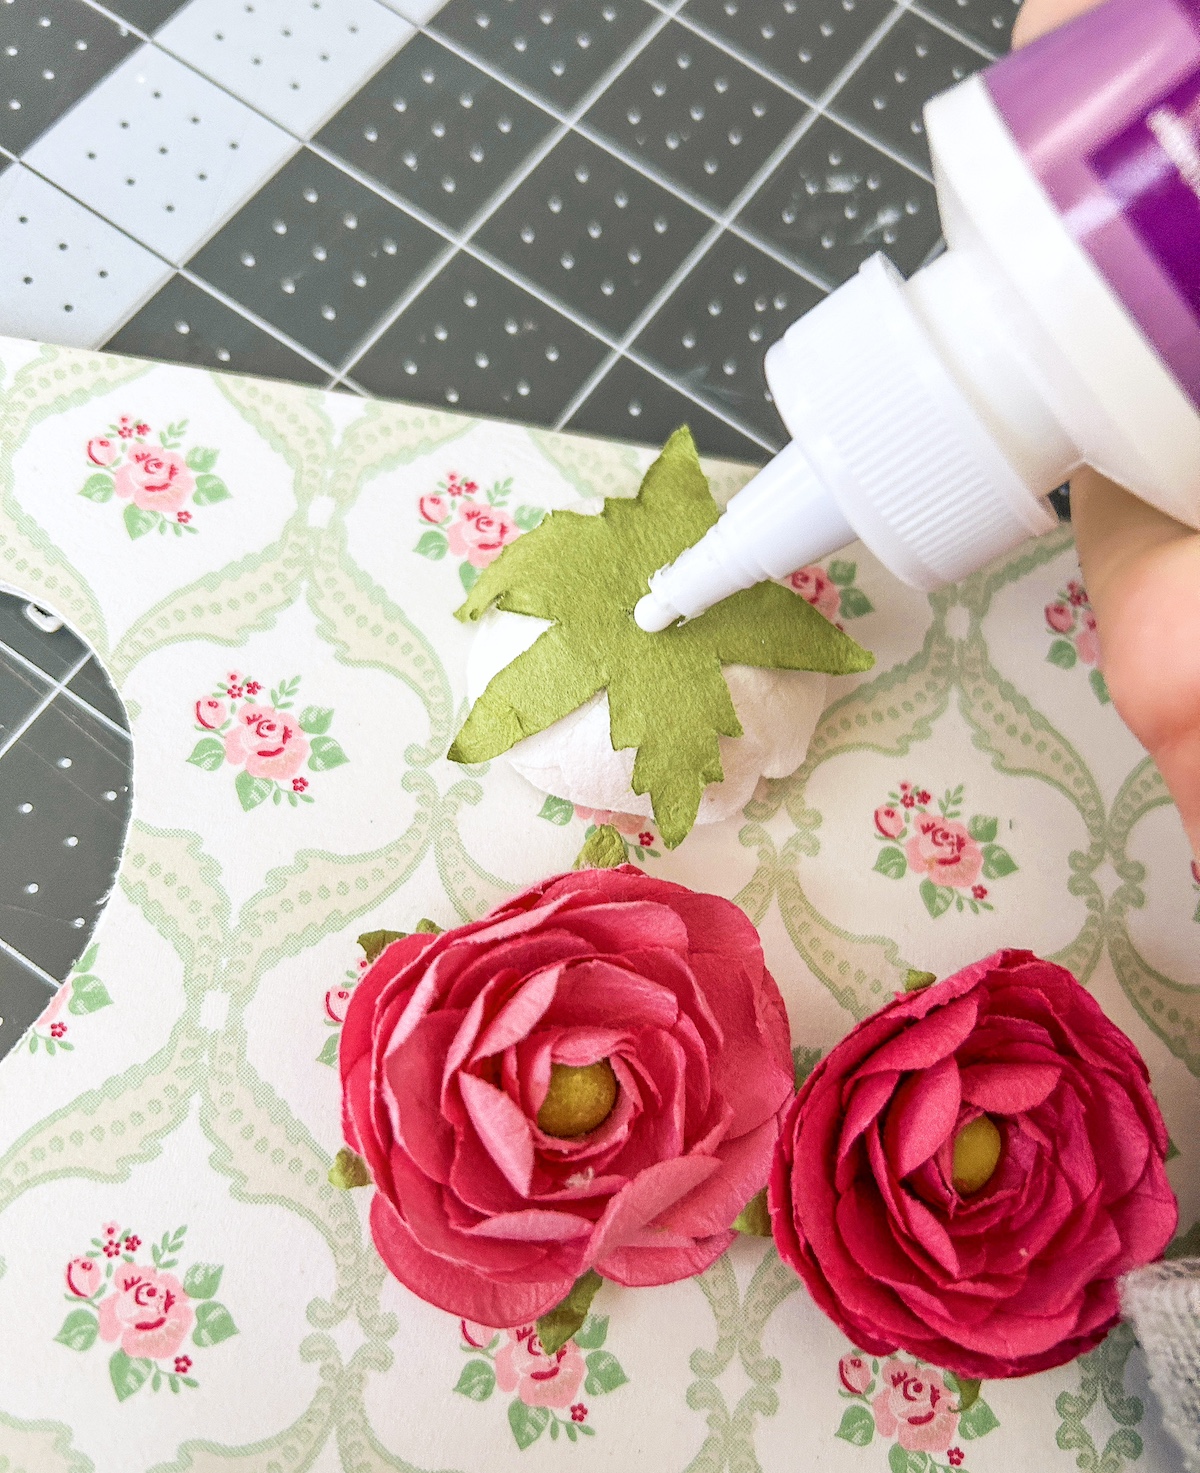
- Paper flowers
- Craft glue or hot glue
- Mini craft iron
- Parchment paper
- Emery board
Tips and Thoughts for This Project
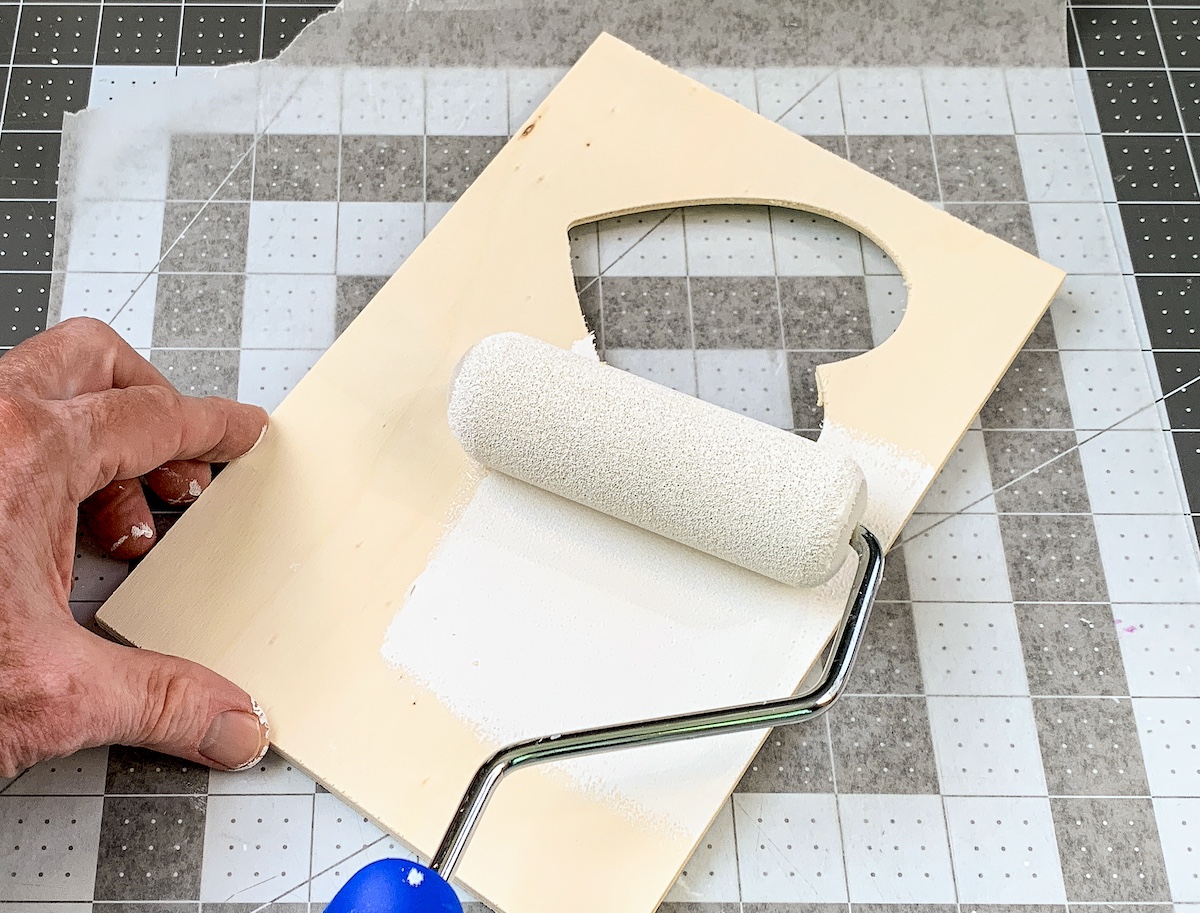
You don’t *have* to paint the frame white, however, it makes the colors of the napkin pop. It’s also easy to do, so I always do it. You can use spray paint, but craft paint is cheaper and just as fast with a roller.
I didn’t seal the top of the napkins with Mod Podge – it tends to make them wrinkle. If you do seal with Mod Podge and the napkins wrinkle, you can place parchment down and iron over the top again.
Get the printable how to card with instructions for this project below:

Paper Napkin Decoupage
Equipment
Materials
- 1 Unfinished wood frame
- Craft paint white
- Mod Podge any formula
- Decorative paper napkin(s)
- Paper flowers
- Craft glue or hot glue
- Parchment paper
Instructions
- Paint the frame using white craft paint. Roll on one side, let dry, and flip over. Paint other side and let dry.
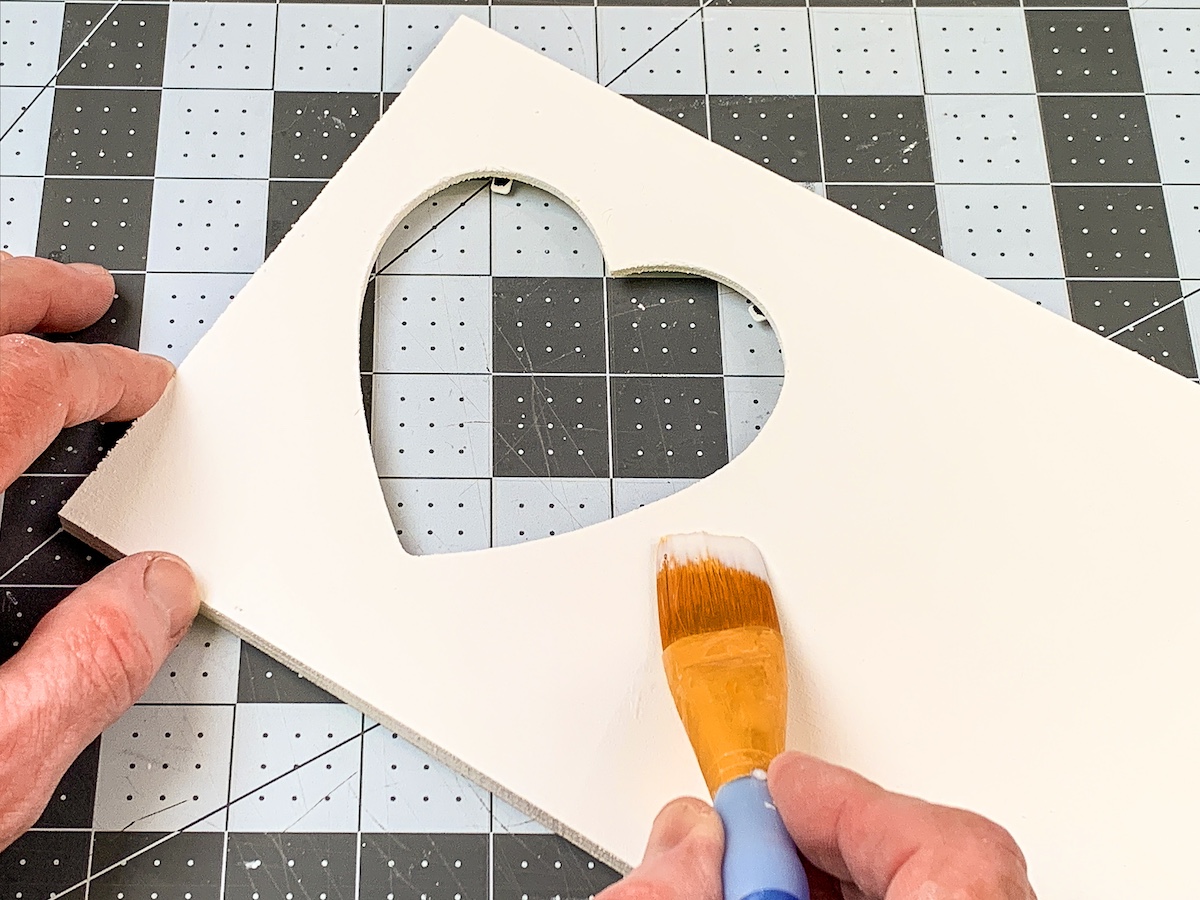
- Apply a coat of Mod Podge to the wood; don't do the edges. Let dry 15-20 minutes and repeat.
- While the Mod Podge is drying, separate the napkin from the bottom layers. You can use tape to help. You just want the top layer with the design.
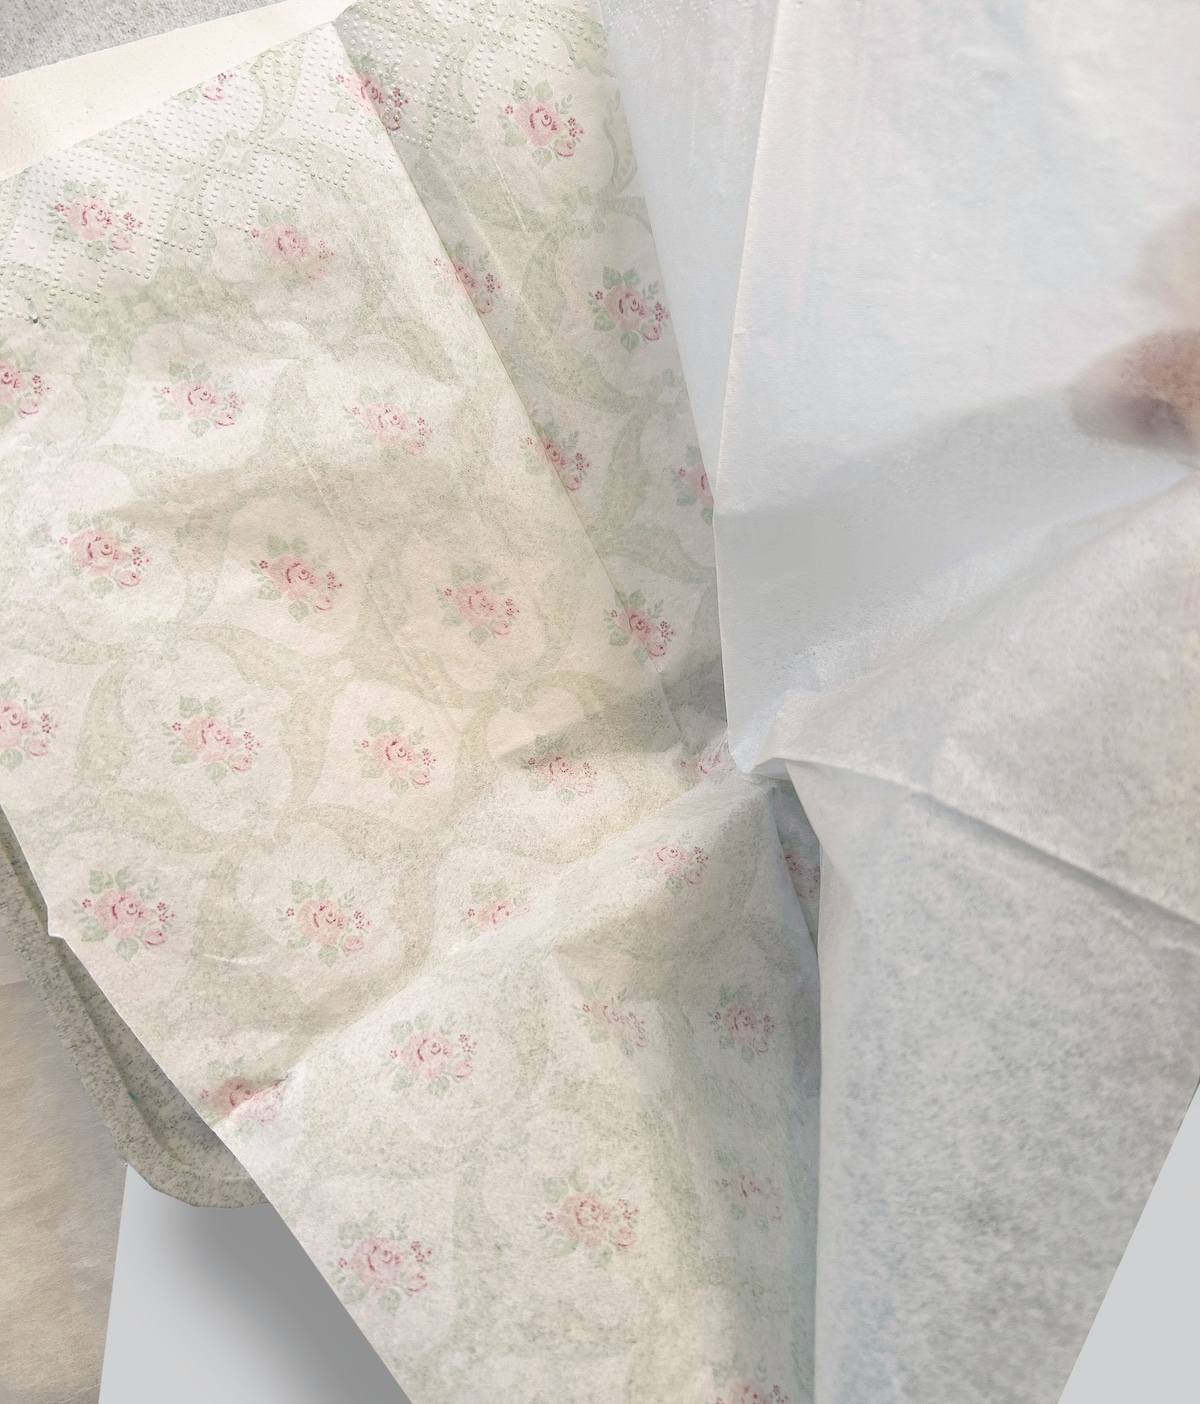
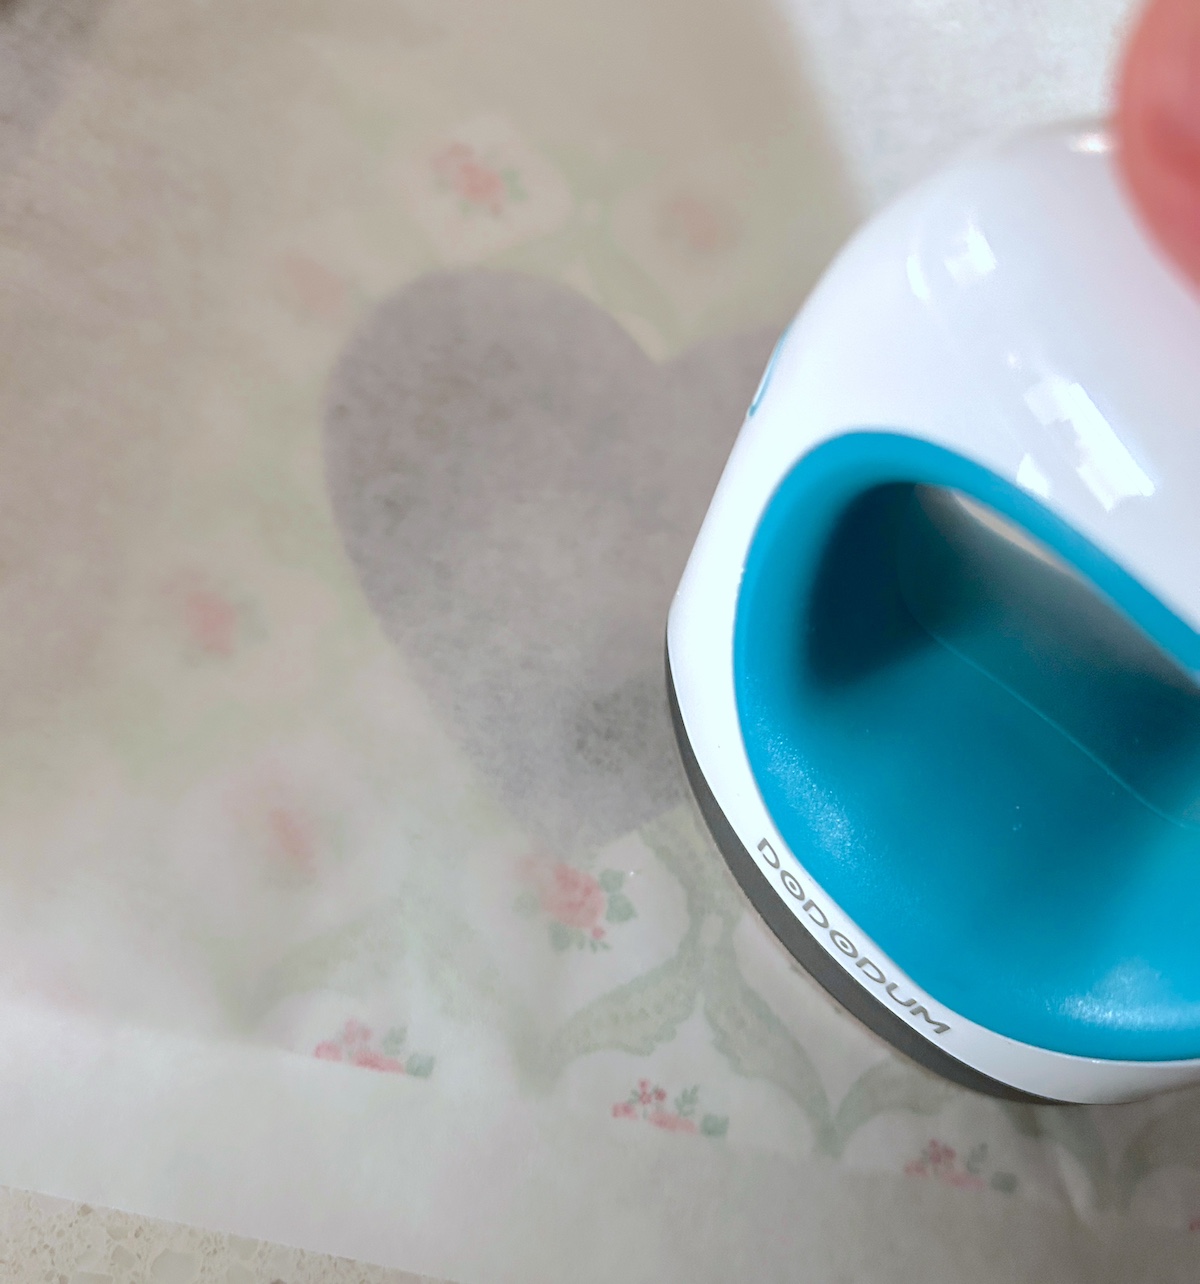
- Place the napkin down onto the frame. Place a piece of parchment paper on top of the napkin, and run the craft iron across the top several times. While you are doing this, the Mod Podge is melting below the napkin, and the napkin is adhering. Keep going until the napkin is fully adhered, including the edges.
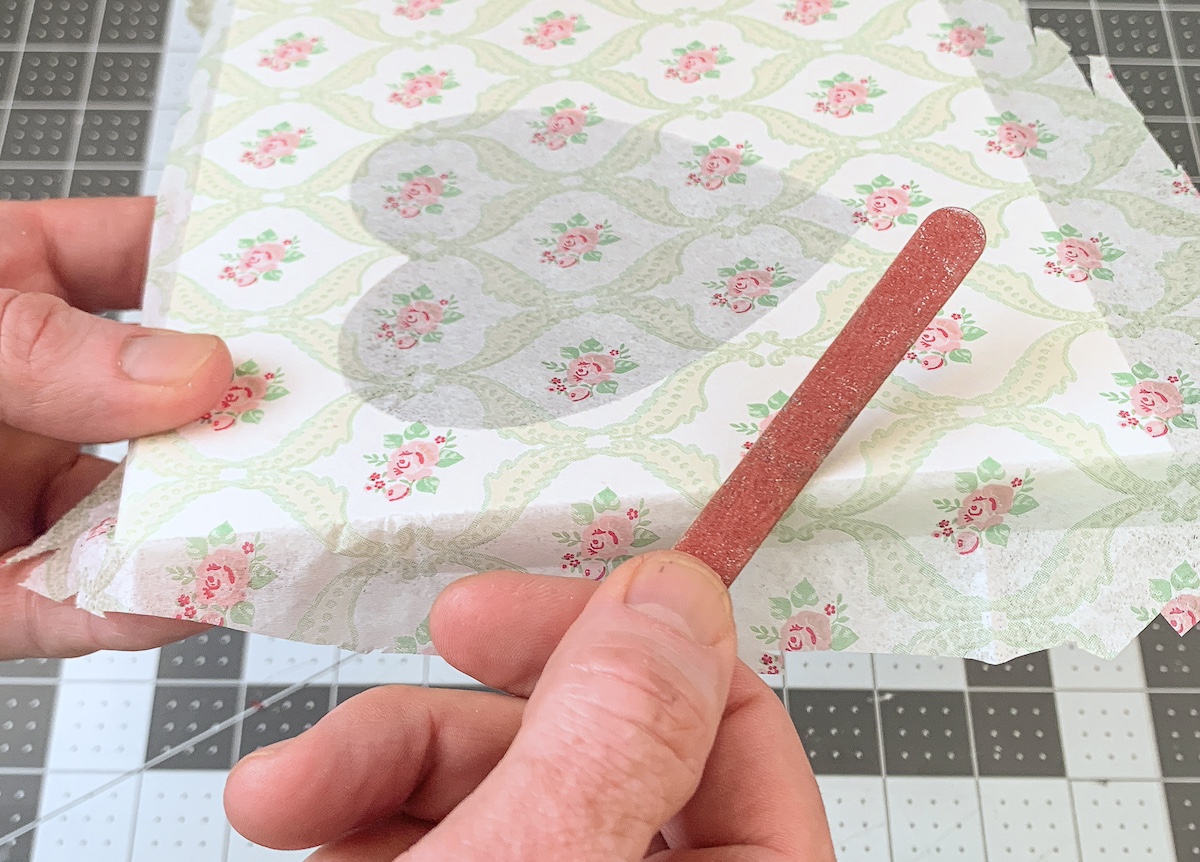
- Let the frame cool after ironing. Use an emery board to gently sand away the excess napkin. Sanding at an angle works very well. Continue until all the extra napkin is removed.
- Use craft glue to adhere the embellishments. Let dry completely before adding a photo and displaying.
If you have any questions about this technique I’d love to know in the comments! I’d also love for you to visit these other posts:


Hi how would you seal a wood project made with napkins and ironed?
Hi Kelly! You can seal over the top again with Mod Podge, but there might be wrinkles . . you can put down parchment and re-iron. Or a lot of people just spray with clear acrylic sealer on top.