
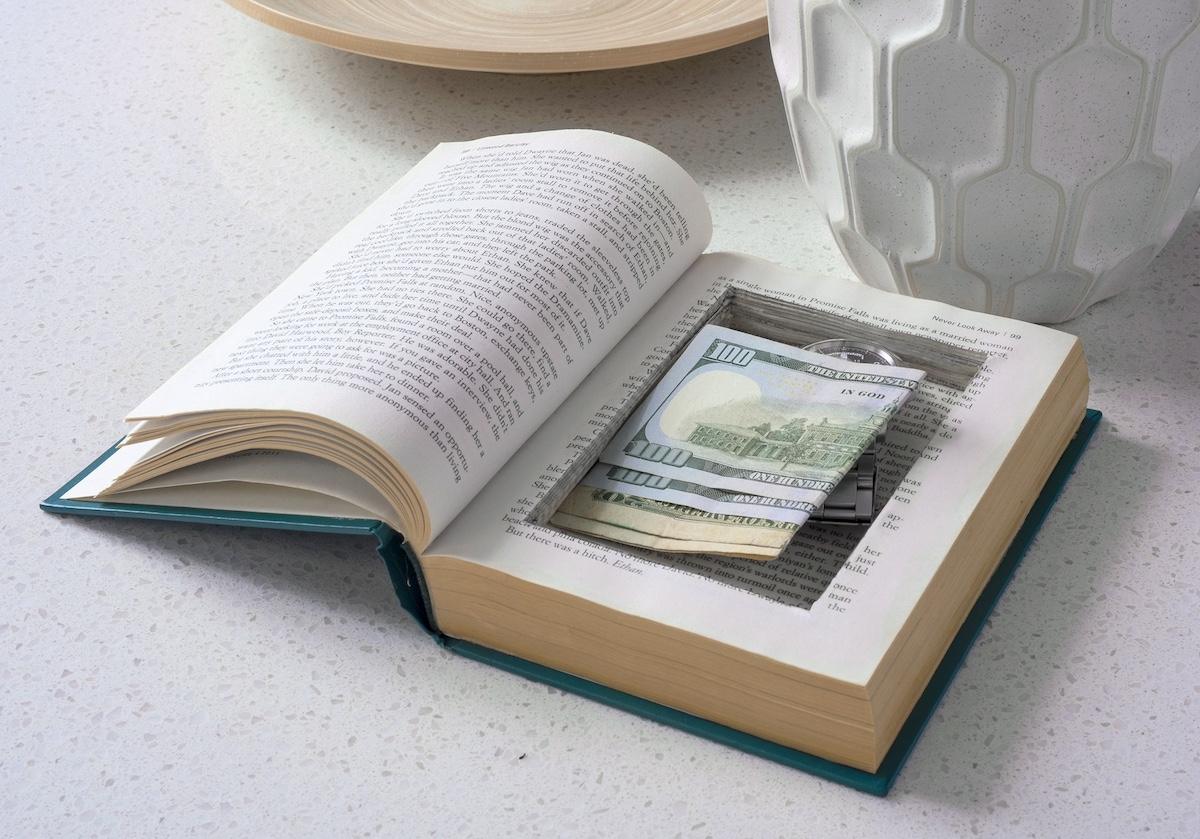
Learn how to make a DIY book safe using an old book and Mod Podge! It’s the perfect place to store your valuables. You’d never guess which book on your shelf is hiding something . . .
Skills Required: Beginner. You’re going to be cutting a book and then Mod Podging it. It helps to have previous experience with crafting, but this is a project anyone can do.
When I was little, I loved Nancy Drew mysteries. My mom had nearly the whole set, and I read them all.
This book safe is just the kind of thing that would have been in one of those mysteries! I firmly believe that solving a mystery needs to involve a hidden safe at one point or another, don’t you?
I personally would have loved one of these when I was younger. This is such a great craft for teens! Of course my valuables consisted of junk jewelry and about $.83 in change, but you have to start somewhere.
What was once a love of Nancy Drew has turned into a full blown adult obsession with true crime. I love mysteries. I love twists and turns. I love hidden stuff in bookcases. I think you see where I’m going with this.
Due to both my past and current obsessions with crime and mysteries, I’m all about hiding things in plain sight. That’s the best part. You’re creating hidden compartments right inside a book that blends seamlessly onto a shelf.
Tips for Making a Book Safe
Before jumping into the instructions, here are a few important tips that will make your project easier and cleaner.
Choosing a Book
Start with a thick hardcover book. You need enough depth to carve out usable compartments inside. Also, check the dust jacket – if your book has a removable jacket, take it off before working so it doesn’t get damaged.
You’ll want to think about what you’re storing before cutting. Different compartments can be made depending on depth and layout.
My book was 1 1/2″ deep, but you can go as deep as you like (that’s what she said!). But seriously, you might want to consider first what you are going to be storing in the safe before you select your book.
Another I wanted to address: I know some people get up in arms about cutting books. There are a lot of places to get old books that would otherwise be thrown away (check out Freecycle).
You can also visit the library and ask them about books they are planning on trashing/recycling. That way you are cutting up an item that would go into the garbage anyway.

Tools Matter
You can use either a X-acto knife or a box cutter for this project. I’ve used both, and they each work well.
The key is sharpness. Always have extra blades on hand. Dull blades tear pages and create uneven compartments. Seriously, don’t skip this. Fresh extra blades make a huge difference.
Mod Podge vs. White Glue
Traditionally, most tutorials use white glue to seal the pages together. And yes, white glue works.
But I prefer using Mod Podge because it acts as a glue and sealer in one step. It dries more evenly, gives a cleaner finish, and holds the pages together more securely than standard white glue.
If you’ve ever used white glue, you know it can sometimes dry unevenly or leave pages slightly warped. Using Mod Podge as your brush glue helps avoid that and creates stronger compartments.

Can you tell which ones are the real books and which one is the book safe? What if there are multiple book safes on this shelf? You just never know . . .
Are you ready to get started making your safe? Learn how below!

DIY Book Safe
Equipment
- Clamps or clothespins
- Pen or pencil
Materials
- 1 Book
- Mod Podge Hard Coat
- 1 roll Painter’s tape
Video
Instructions
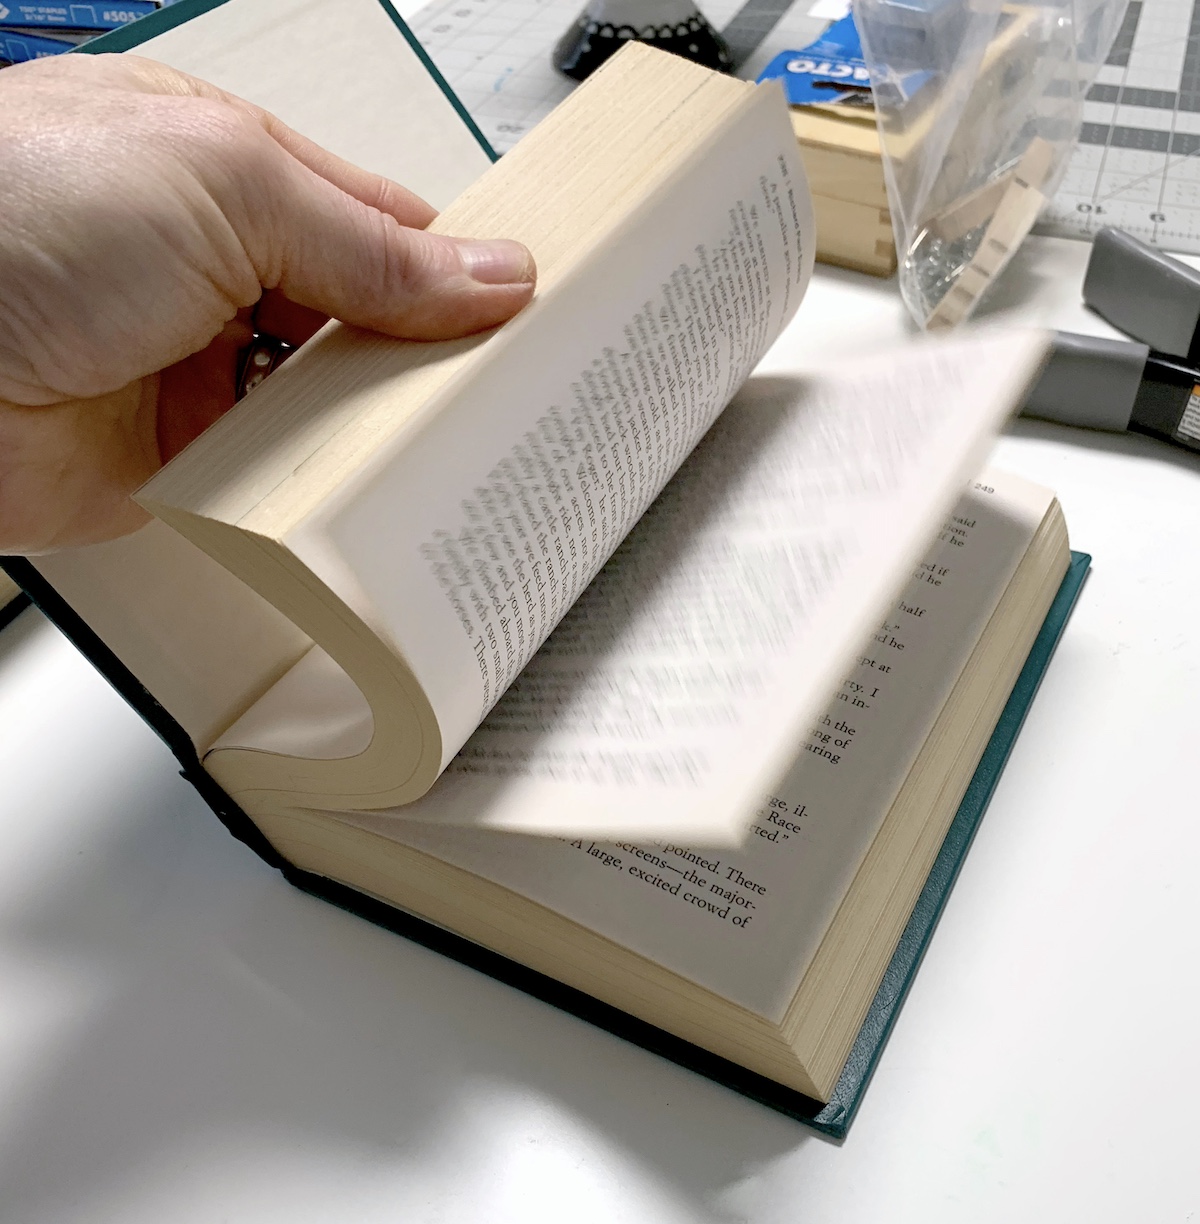
- Decide how deep you would like your safe to be. I mentioned there was about 1 1/2" inches worth of pages in my book. I held about 1/4" worth of pages at the front of the book and then 1/4" worth of pages at the back to be the bottom.
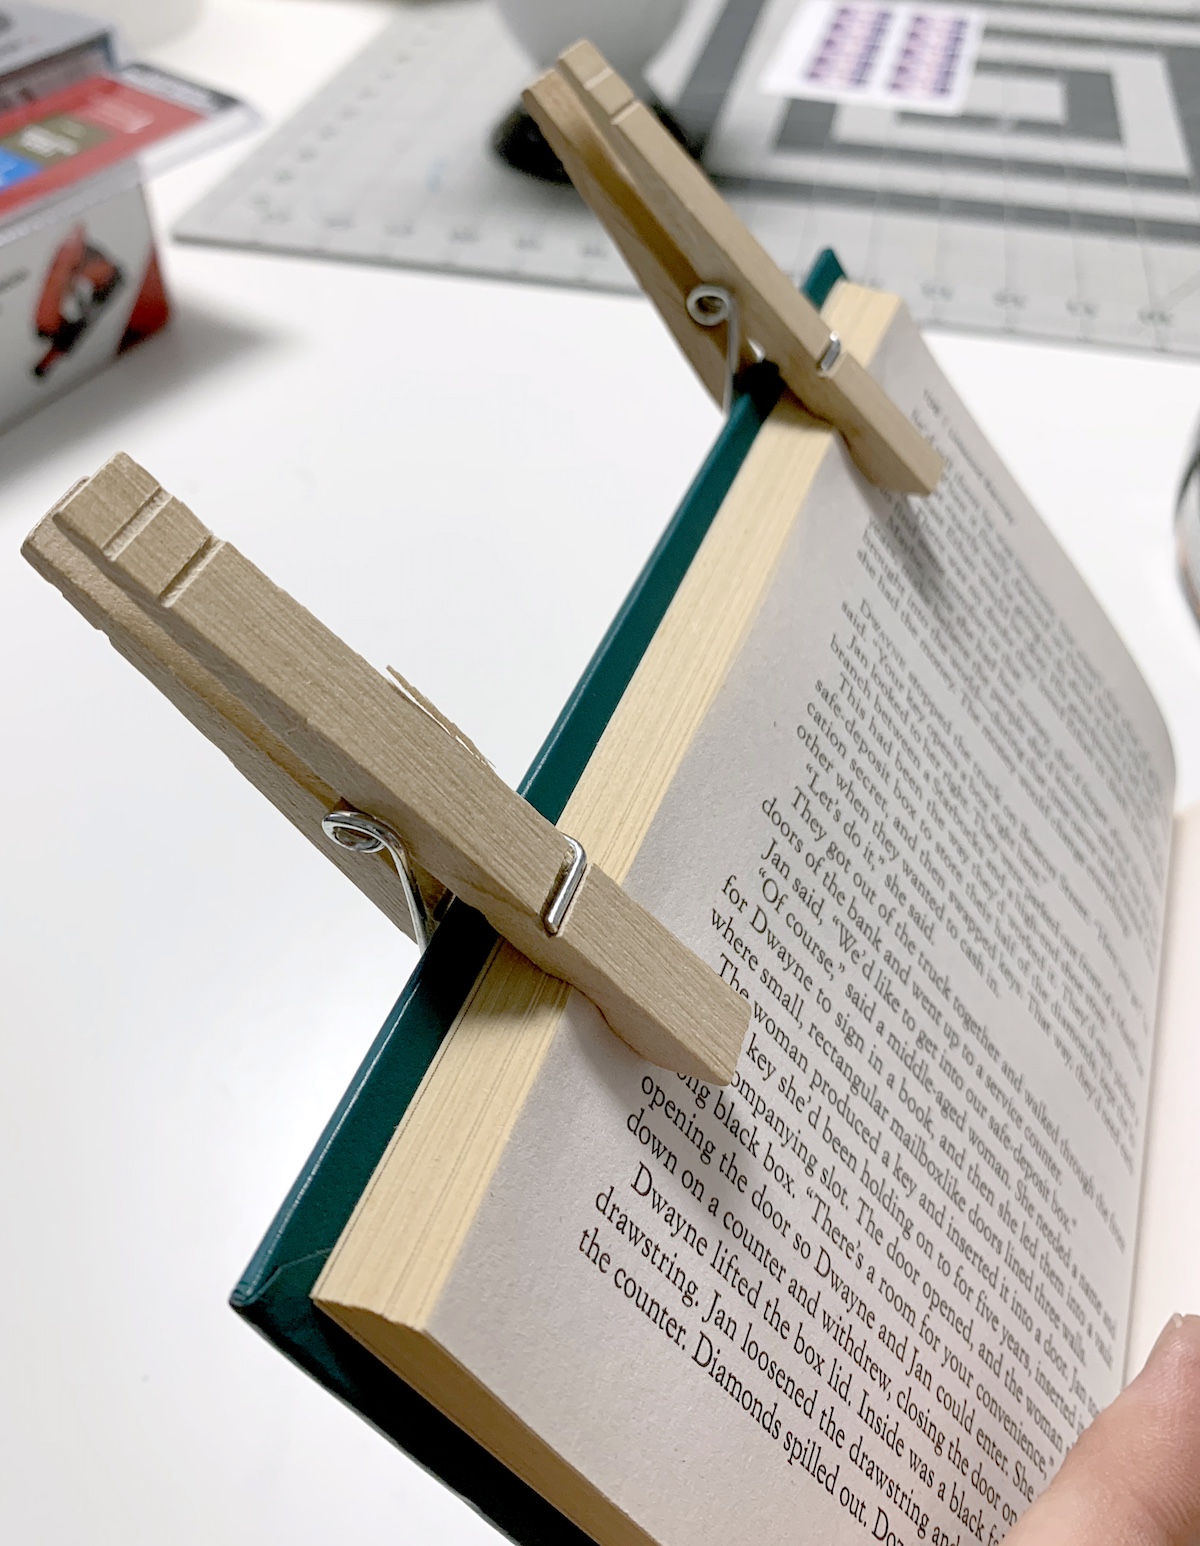
- Clip approximately 1/4" of pages to the front cover of the book using clothespins or clamps.
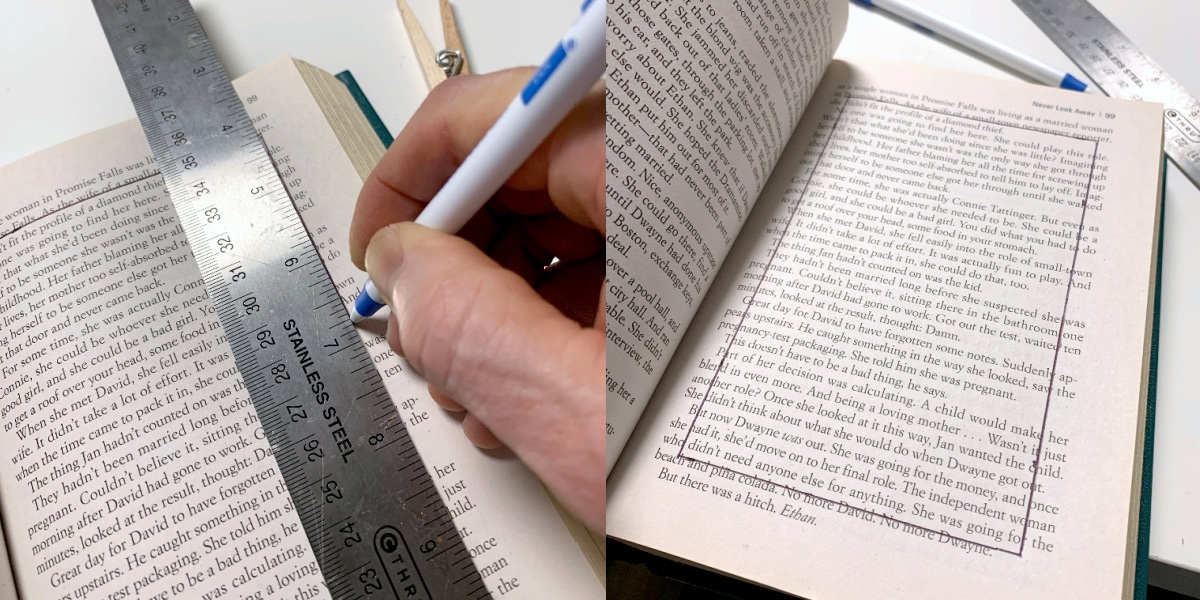
- Using a ruler and pen or pencil, draw a rectangle that will be used as your cutting template. Leave at least 1/2" around all sides that will serve as the edges.
- Clamp the pages down that you'll be cutting.

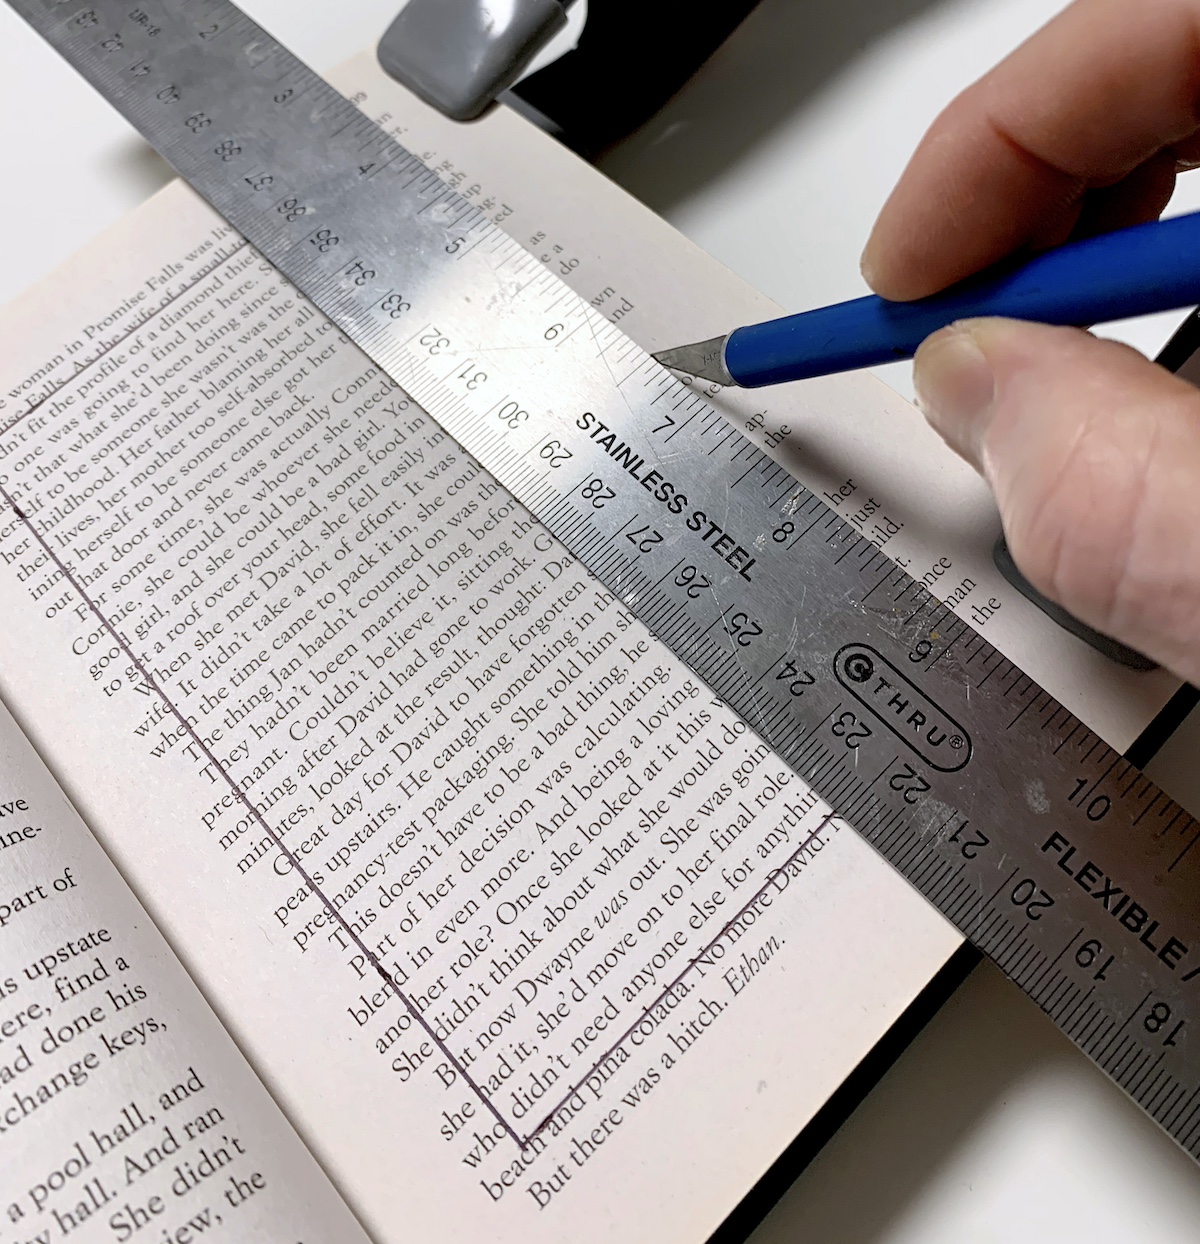
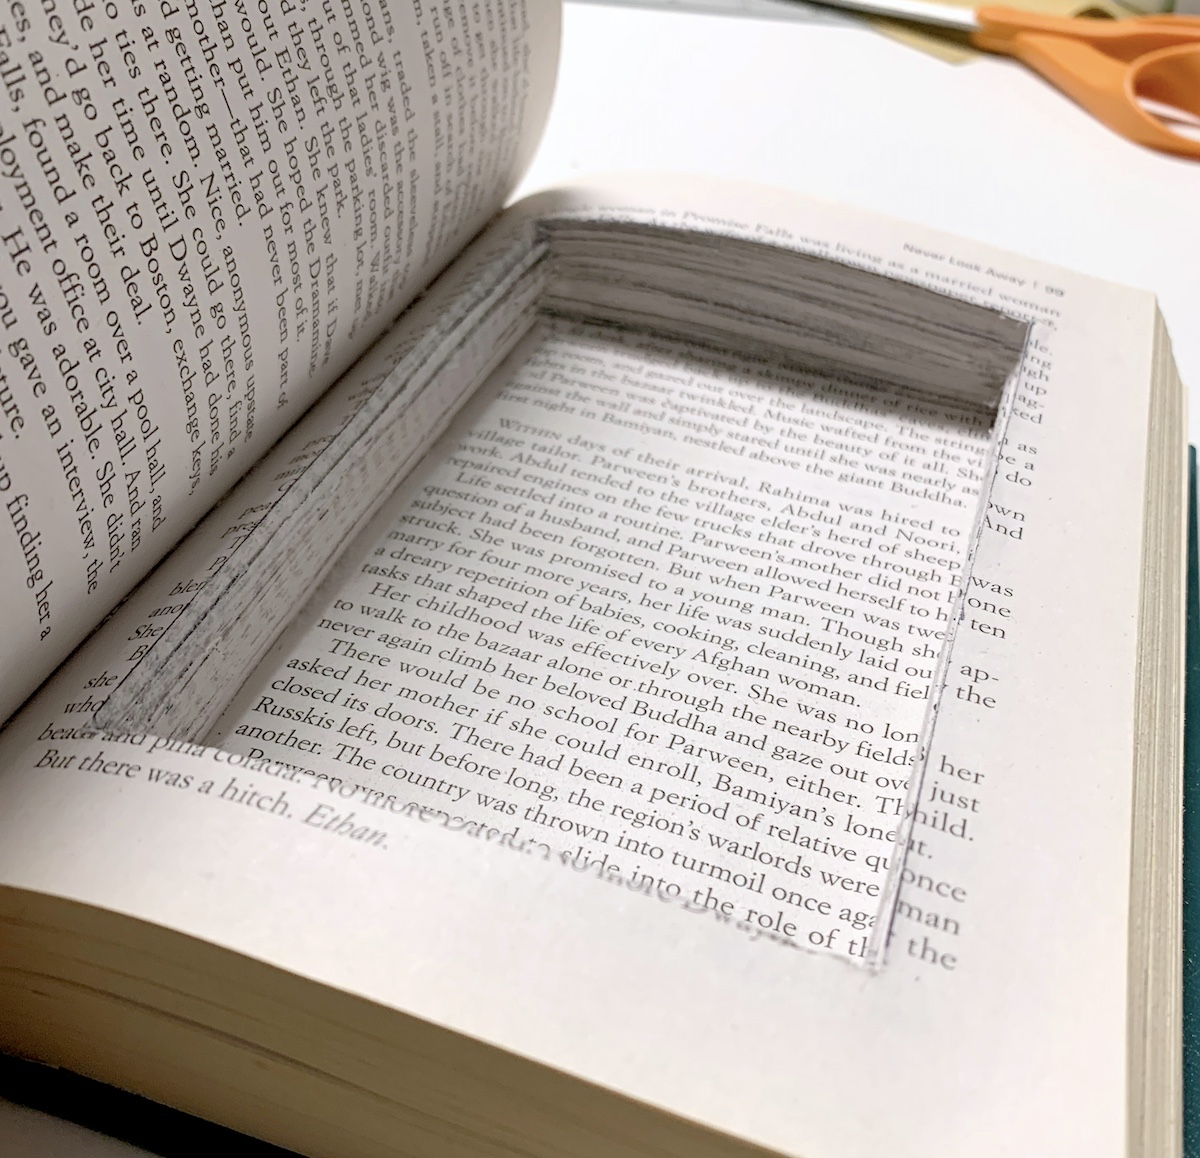
- Using the ruler and craft knife, make cuts on the lines you drew. Go as deep as the knife will let you go; don't try to do too many pages at once.
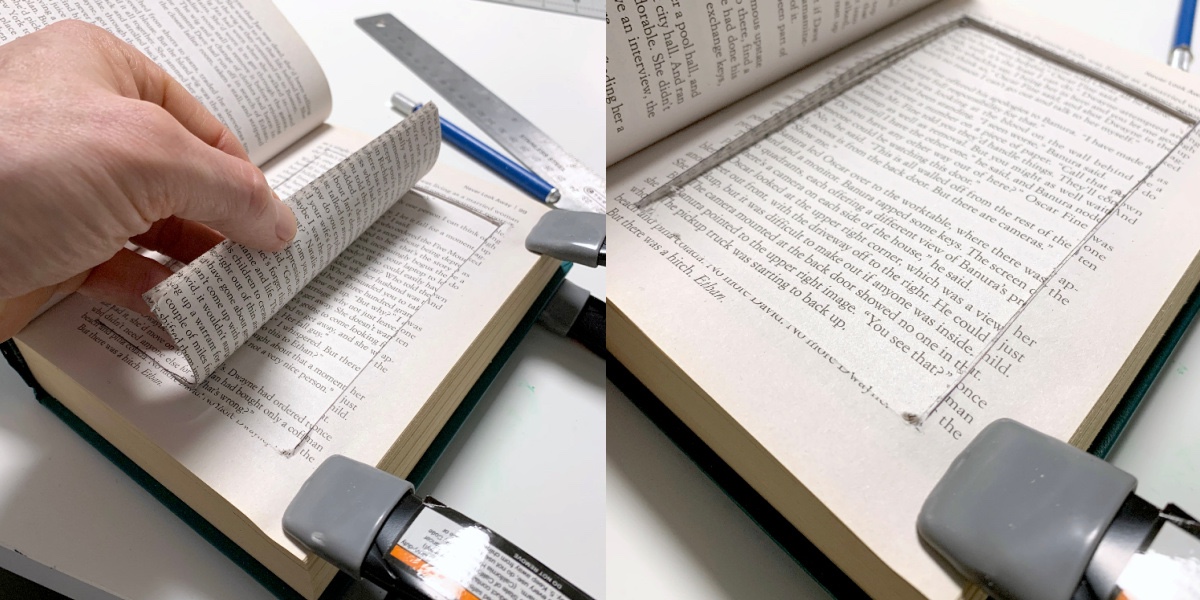
- You'll be cutting out 10 – 20 pages at a time with a craft knife. Once you've cut out several pages worth, remove them.
- Before flipping the pages of your book safe to make additional cuts, use the previous cuts as a template – draw another rectangle with your pen just inside the rectangle.
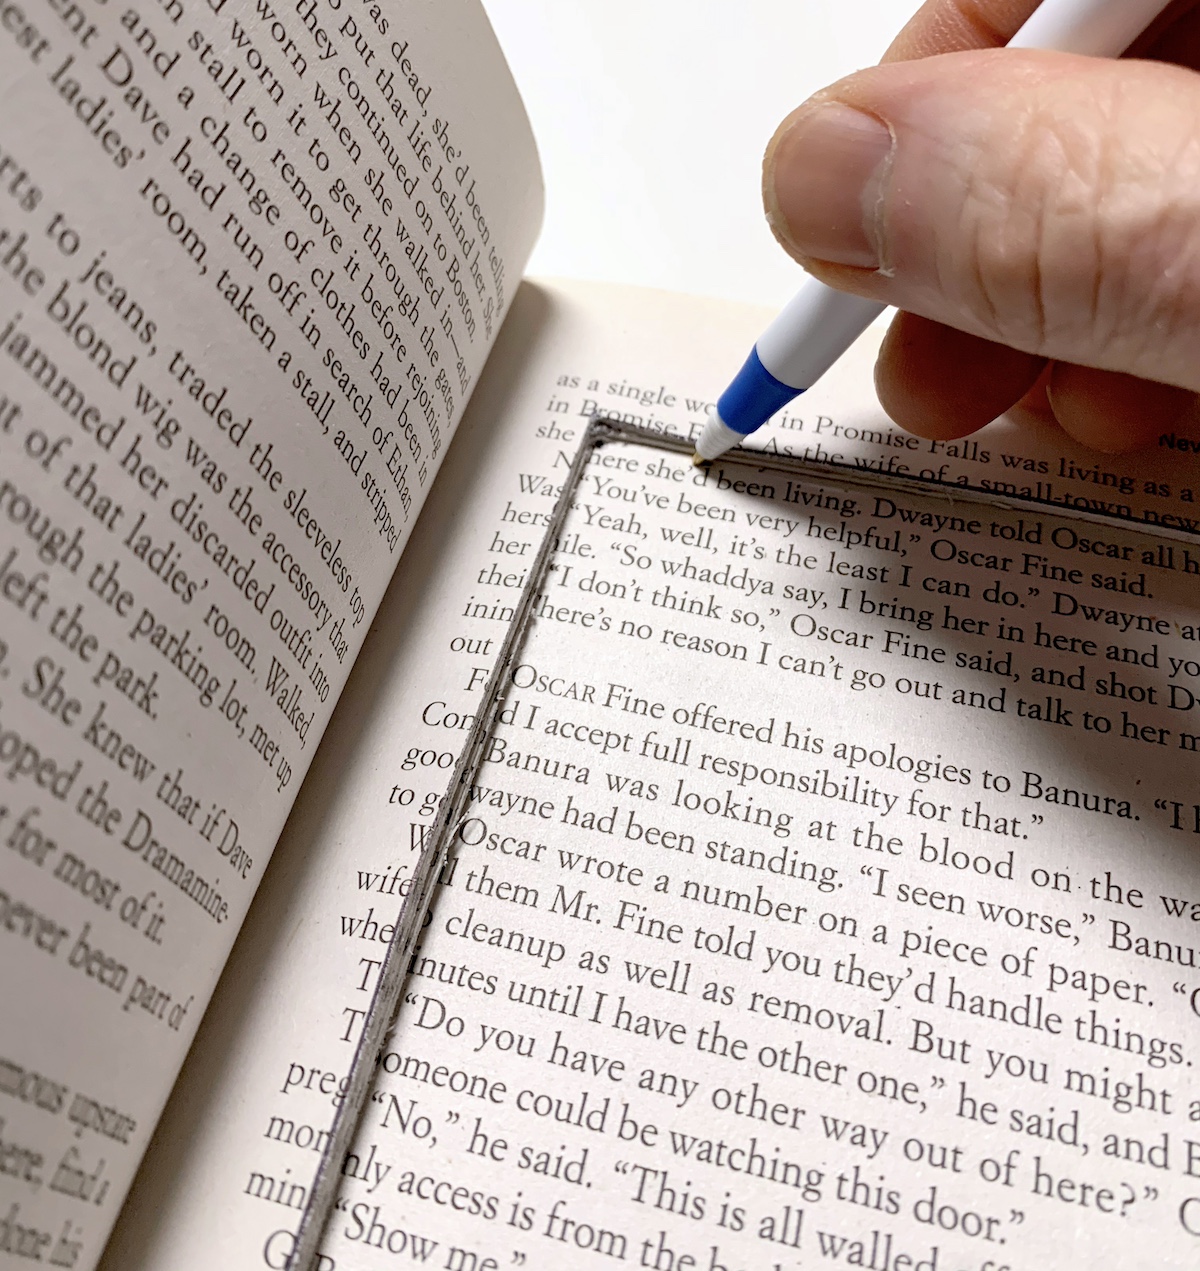
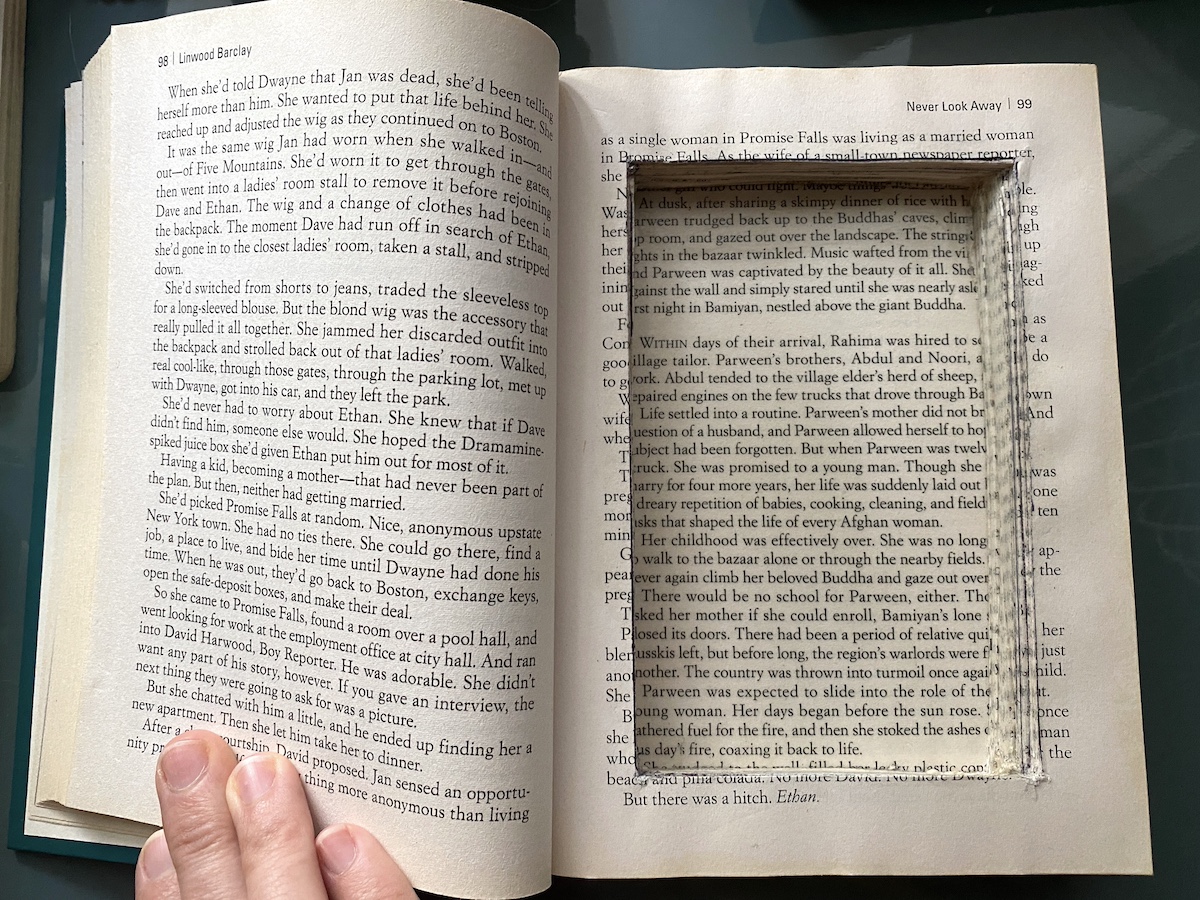
- Flip the pages you've already cut and reclamp the book. Use the ruler and craft knife to cut additional pages. Complete this process over and over. Repeat cutting and removing pages until the recess is as deep as you would like, leaving at least 1/4" of pages at the back of the book.
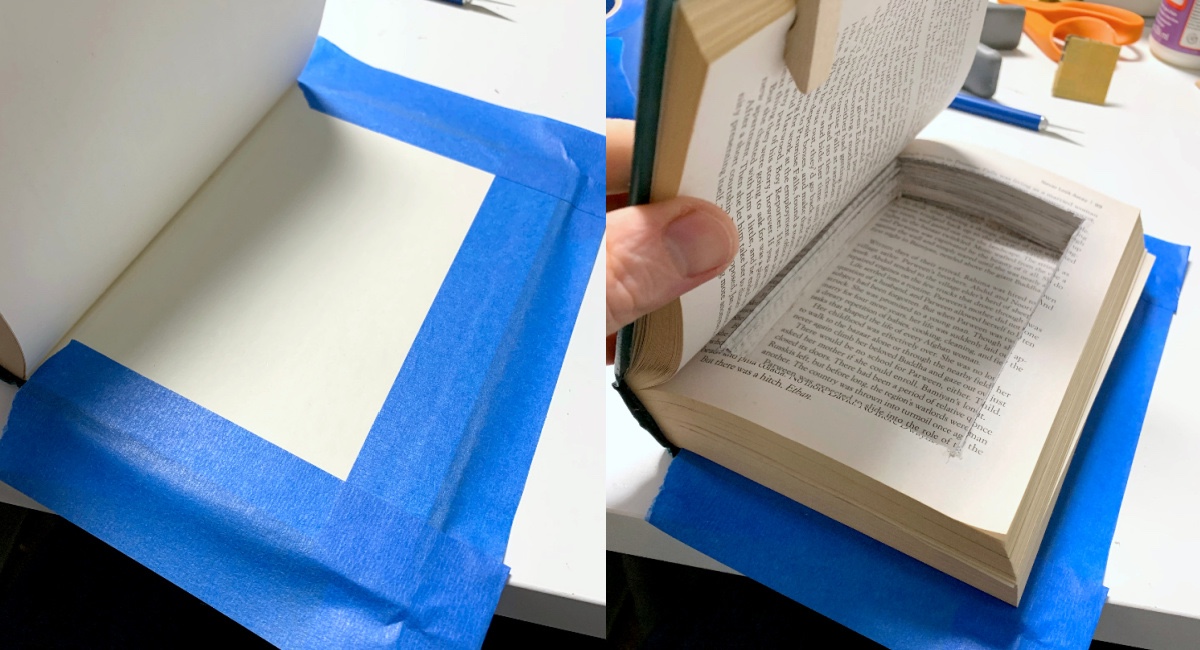
- To prevent the Mod Podge from seeping into the back of the book, use painter's tape to tape down the back cover. Hold up the front pages of the book in front of the recessed portion.
- Apply Mod Podge around the pages of the book using a paintbrush. Apply one coat all the way around, let dry. Repeat.
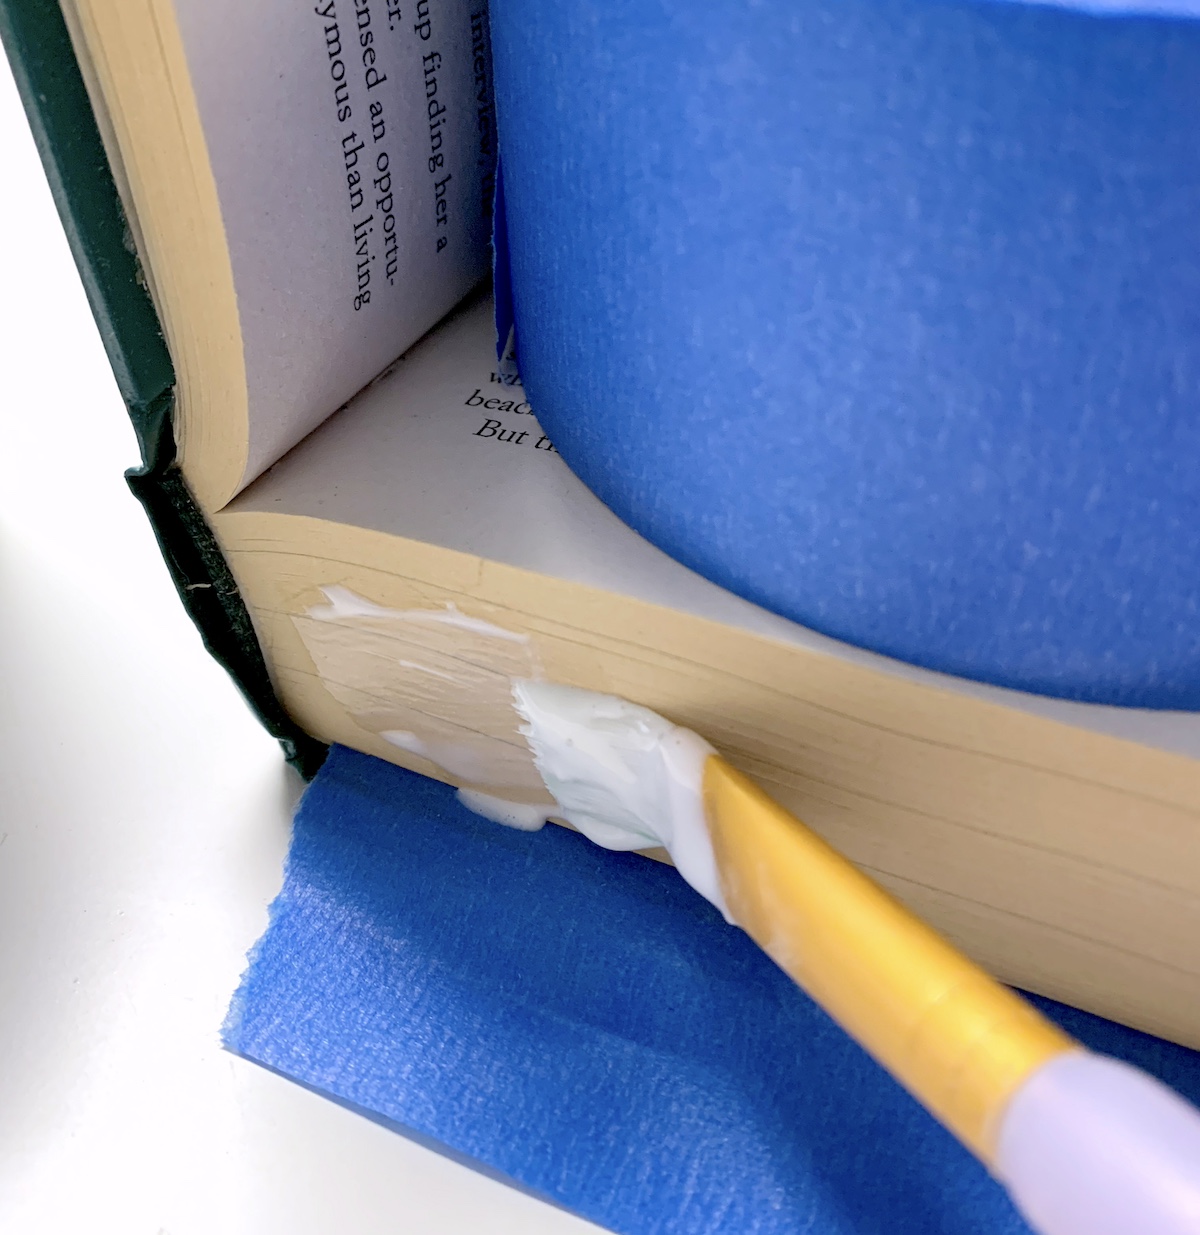
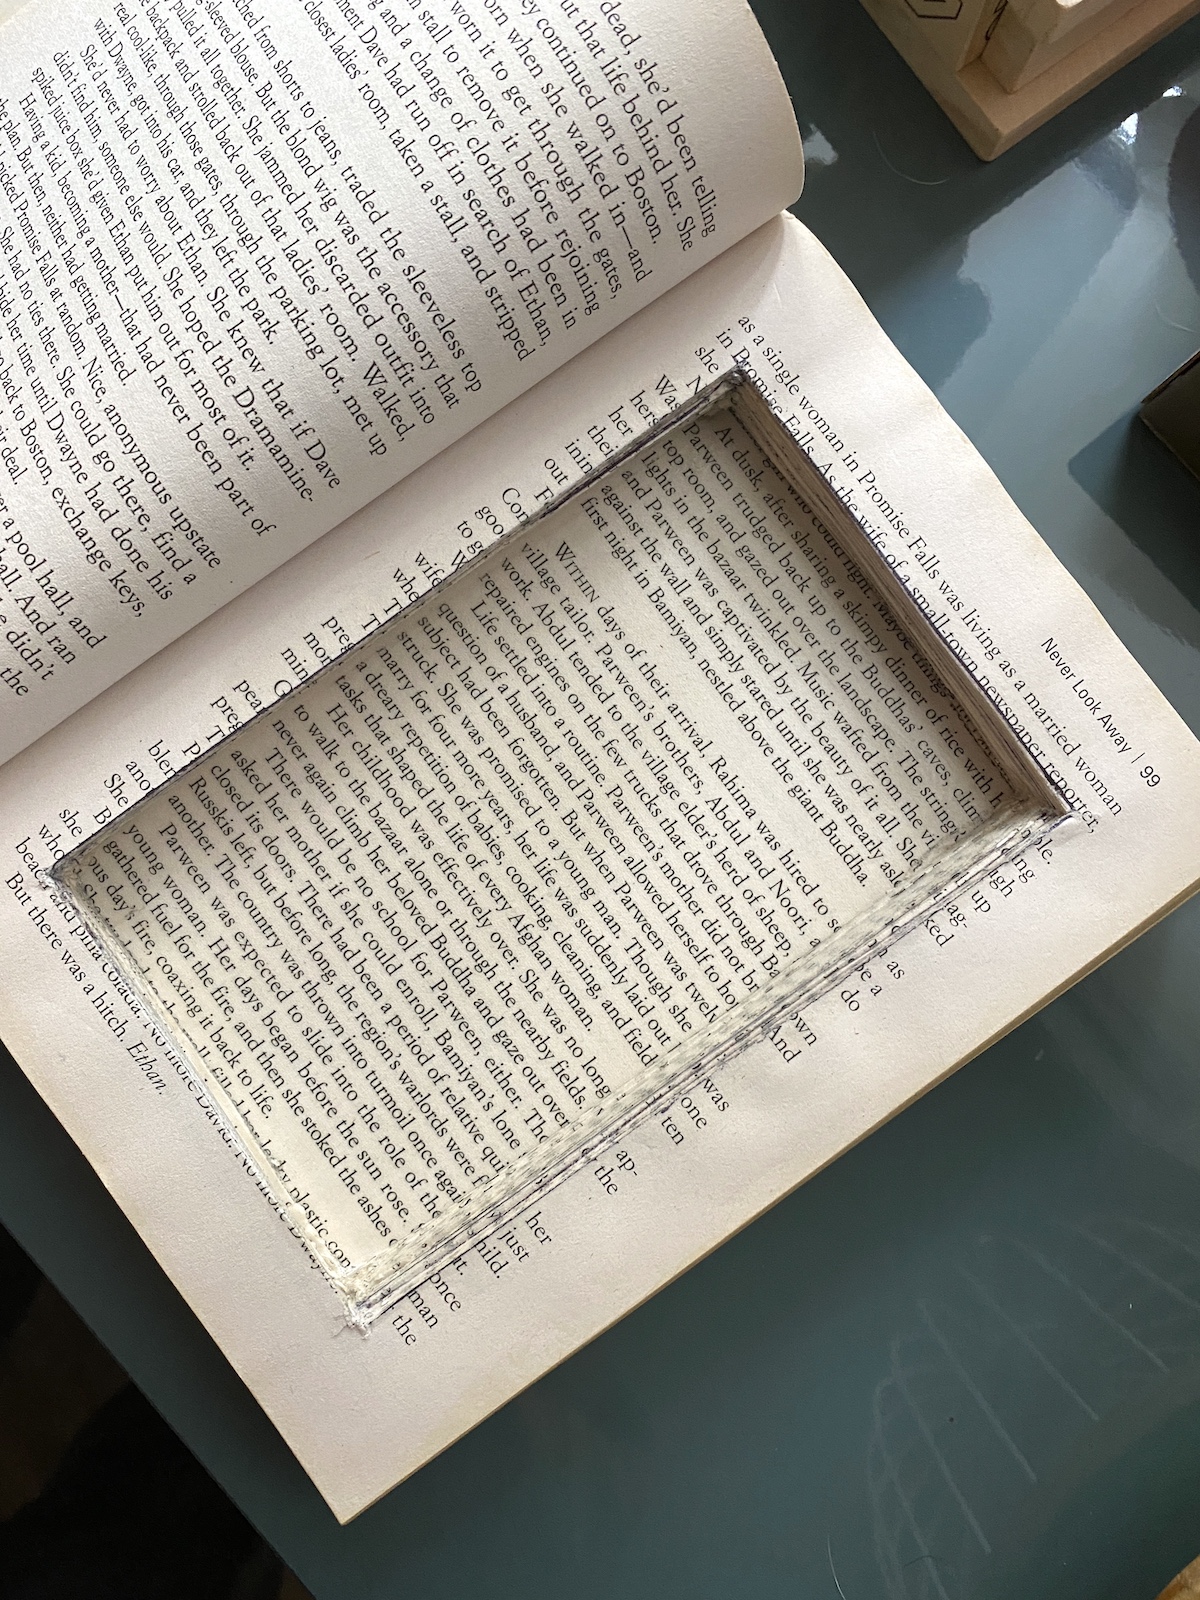
- To finish, apply Mod Podge to the inside rim of the recess as shown. Go around the rim with the paintbrush and let dry. Repeat. You don't need to go on top of the pages.

- Let dry completely – leave open – before using.
If you enjoyed this project, you’re going to love these other ideas with books and book pages. Check out these other crafts you can do at home:
Baseball Bookends • Book Page Trees • Book Page Wreath • Comic Book Coasters • DIY Doorbell Cover • DIY Notebook • Fabric Covered Books • Rolling Pin Bookends


My family loved this!
Nice. You can go to goodwill outlet and get a hardcover book for .50
Some very old!
Then you don’t have to feel bad about cutting up a new book
This is a really cool idea! I already tried starting a book safe, and I think this gave me the motivation to finish it.
Thank you so much! I love mine. I use it regularly!
Thank you for this fantastic post. I’m going to buy Mod Podge because of this website!
I have lots of my old Nancy Drew books. I still like them. I don’t think I could give up one of them for a book safe, though it would be very fitting, wouldn’t it? I keep forgetting to say I like the new blog design.