Learn how to make a DIY doorbell chime cover with simple supplies including Mod Podge! It looks like a piece of personalized wall art.
I can’t even tell you how many times I have stared up at my ugly doorbell box on my wall. It is such an eye sore and up until now, I had no idea how to hide it or make it less noticeable.
This idea to make a canvas and just cover that ugly thing up is a great one! Now my wall will be free from the dreaded “white box” and instead house a cute new canvas!
Here’s how it’s made.
DIY Doorbell Chime Cover
There are two main parts to making your artwork: first, building the frame; second, decoupaging the frame with fabric.
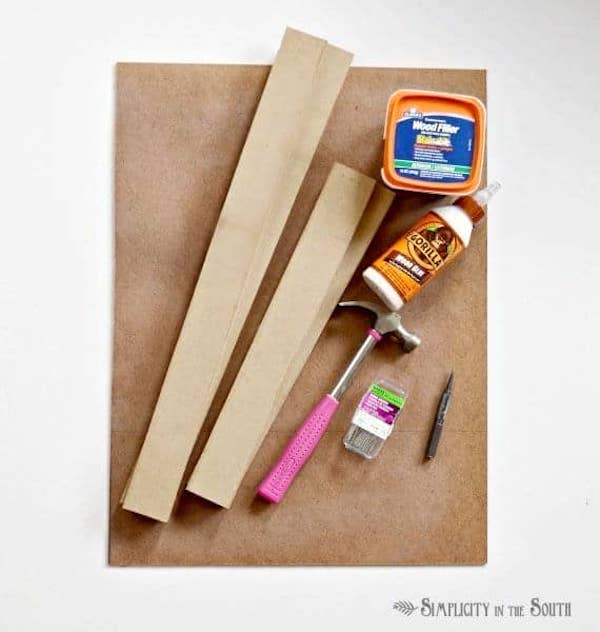
Gather These Supplies
- Fabric that is cut large enough to wrap around the sides of the frame plus 2 inches on all sides. Iron out the wrinkles
- Mod Podge Matte
- Staple gun
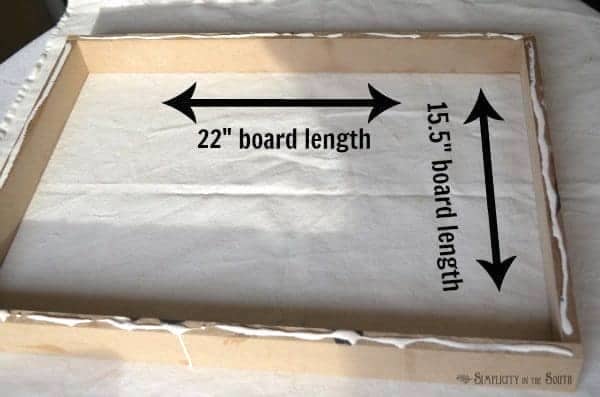
- Tempered hardboard or Lauan plywood cut down to 22″ x 16.5″
- MDF strips – 1/2″, two cut to 22″ and two cut to 15.5″ lengths. You’ll want the width to be whatever covers your doorbell box!
- Wood glue
- Wood filler
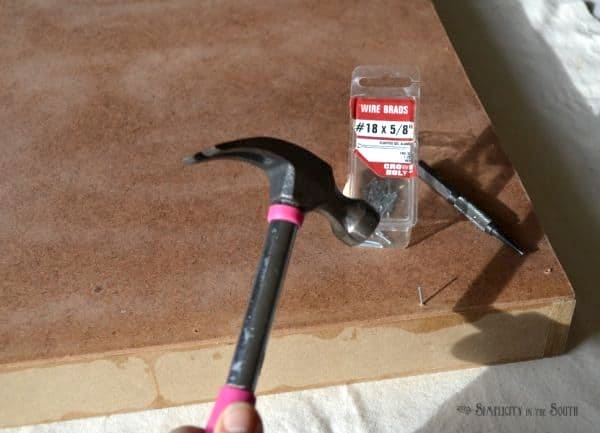
- Hammer
- Brad nails – 5/8″ and 1″
- Nail punch
- Primer (optional) – if you are using a lighter colored fabric, I recommend priming the frame so the wood does not show through.
Build the Frame
Nail the four MDF boards into a box as shown below. Put a thin strip of wood glue along the top edge of the strips of wood.
Lay the tempered hardboard on top and nail it down with 5/8″ brad nails. Nail the corners with 1″ brad nails. Countersink the nails and fill the holes with wood filler. After the wood filler is dry, give the frame a light sanding. Prime the frame if you are using a light-colored fabric.
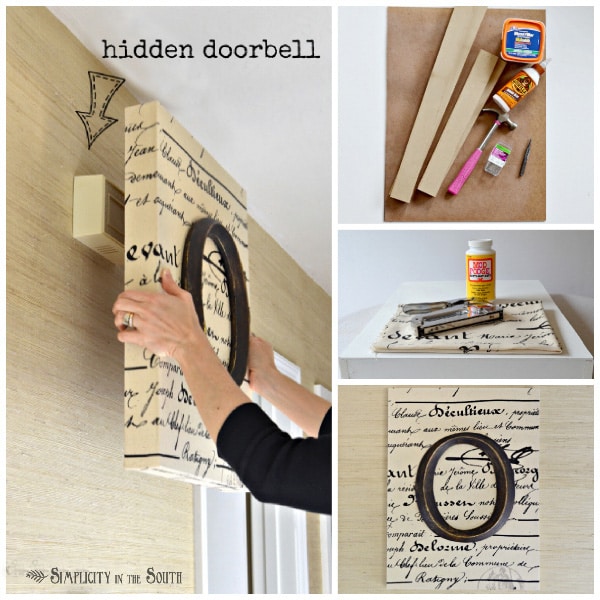
Cover the Box
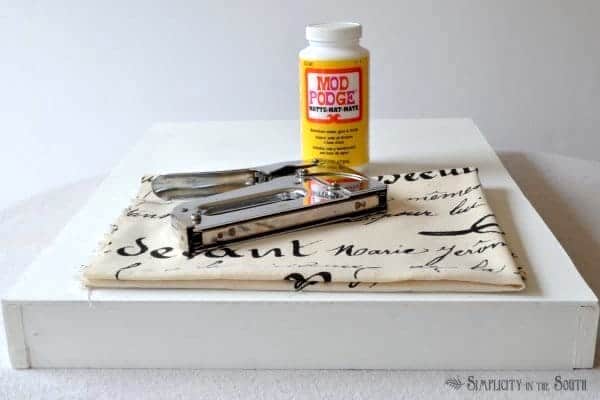
For this step, you’ll need the fabric, the Mod Podge, and the staple gun.
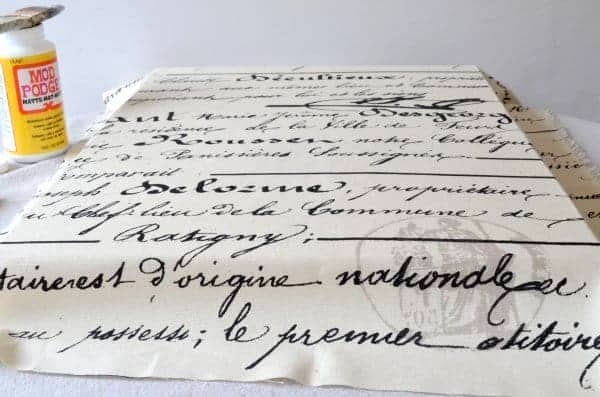
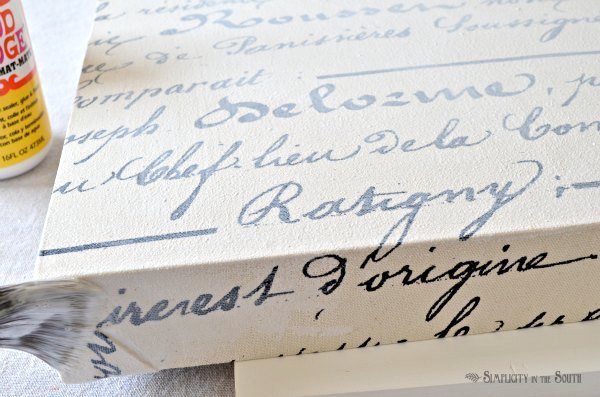
Put a coat of Mod Podge on the front of the frame and smooth the fabric down.
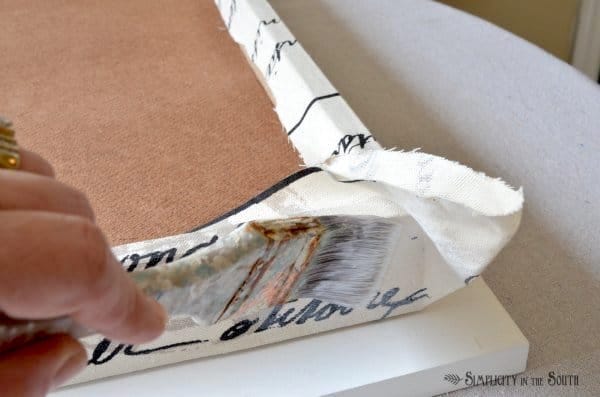
Flip the frame over and coat the top edge and sides of the frame. Smooth the fabric down, making sure it is taut. Then, staple along the inside edge.

For the corners, add some Mod Podge before you fold and staple your corners like you’re wrapping a gift.
Finish it off by coating the fabric with a thin layer of Mod Podge.
After the frame dries overnight, you can hang the letter with a couple of screws. The letter that I purchased from Hobby Lobby has keyhole hangers on the back. They only letter “O” in stock was gold, so I brushed on a mix of brown and black craft paint and then sanded it down to let a little of the gold peek through.
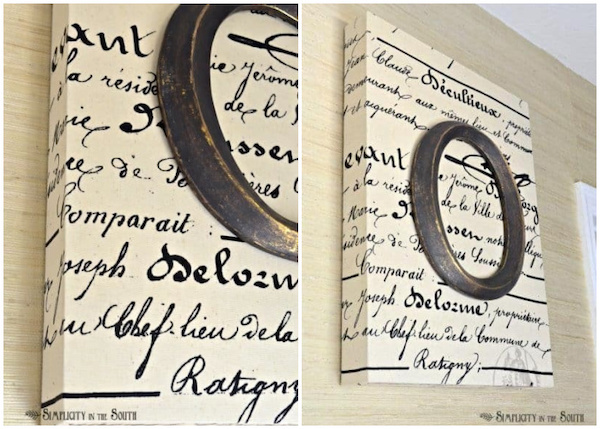
Not only do I now have a piece of personalized artwork to fill that empty space, but I can also sit it on top of the doorbell to hide it.
If you enjoyed this doorbell box cover post, I’d love for you to check out these other project ideas: