
Learn how to do wrapping paper decoupage on a dollar store TV tray table! This is a simple way to decorate a table top with a pretty print.
Skills Required: Intermediate. Wrapping paper can have a tendency to wrinkle, so you’ll need to read my tips carefully. Otherwise, you should have some experience with Mod Podge before trying this project.
Are you ready to turn the ordinary into the extraordinary with just a bit of wrapping paper and Mod Podge? If you’ve ever glanced at those foldable TV tray tables at your local dollar store and thought, “Well, they’re handy but kind of bland,” you’re in the right place.
Today, I’m walking you through a super accessible DIY project that’s going to change how you look at those utilitarian pieces forever. Welcome to the fun and crafty world of wrapping paper decoupage!
This project is all about upcycling a simple dollar store find into a chic, personalized TV tray (or craft table) that reflects your unique style.
This tutorial is designed to guide you through the process of transforming a folding table or lap desk into something you’ll be proud to display in your home—or even give away as a thoughtful, handmade gift.
We’ll start by choosing wrapping paper that you absolutely love. From there, it’s a matter of applying the Mod Podge to the table top, smoothing out the paper, and adding a few personalized touches with vinyl for that custom look.
So, grab your decoupage medium, scissors, and that wrapping paper you’ve been saving for a special occasion. It’s time to create a portable craft table that’s not just practical but also a true reflection of your personality and style.
Let’s jump into this project together and turn that dollar store find into a masterpiece of your own making! But first – some tips.
Decoupage with Wrapping Paper Tips
I will say that there are definitely some tips and tricks for working with gift wrap and decoupage medium. It’s easy to wrinkle. So here are a few frequently asked questions! If you want to scroll past to the project instructions feel free!
Can gift wrap be used for decoupage?
Yes it can. All types – from the thin to the thicker types. Two things to note though:
- the thinner the wrap, the more likely it is to wrinkle (see below for solutions)
- metallic or cellophane wrap aren’t great for decoupage, because while Mod Podge dries clear, you’d be able to see some serious brush strokes more than likely
What formula should I use?
For this decoupage table, I’d use Hard Coat for indoor and then Outdoor for outside. Having said that, wrapping paper works with any formula. Use the formula guide to select the best one for you.
How do I smooth out wrinkles?
This is the big question! So if it’s a little thicker, you can use a brayer to smooth out the wrapping paper. Then let it dry before the top coat goes on (15 – 20 minutes).
If it’s thinner paper, there are two options. First you can use the method I use with this coat rack. You’ll want to wet the wrapping paper before applying it to the surface, and then roll it out. You don’t need to soak the paper, but you do need to get it damp.
The second is to use the iron on method that is used with paper napkin decoupage. You’ll Mod Podge the surface, let it dry, then iron on the wrapping paper. Check out both of these posts to see what might work for you.
Are you ready to learn how to decoupage with wrapping paper? Here’s what you’re going to need.
Gather These Supplies
- Folding table or lap desk
- Wrapping paper
- Mod Podge – you can use Gloss with a sealer or Hard Coat
- Paintbrush
- Squeegee or brayer
- Scissors
- X-Acto knife or box knife
- Acrylic spray (optional)
- Die cutter and vinyl (optional)
- Measuring tape
Tips and Thoughts for This Project
Is there a pattern on the top of your tray? Use a thicker paper as opposed to dollar store ones if you don’t want to paint the surface. Otherwise you’ll be able to see the pattern through the thinner paper.
If you want to make the project waterproof, I recommend using a clear, outdoor (or Enamel) acrylic sealer when your project is complete. You can also use resin on top of the paper.
You can also use fabric for this project! Get the how to for a table top here.
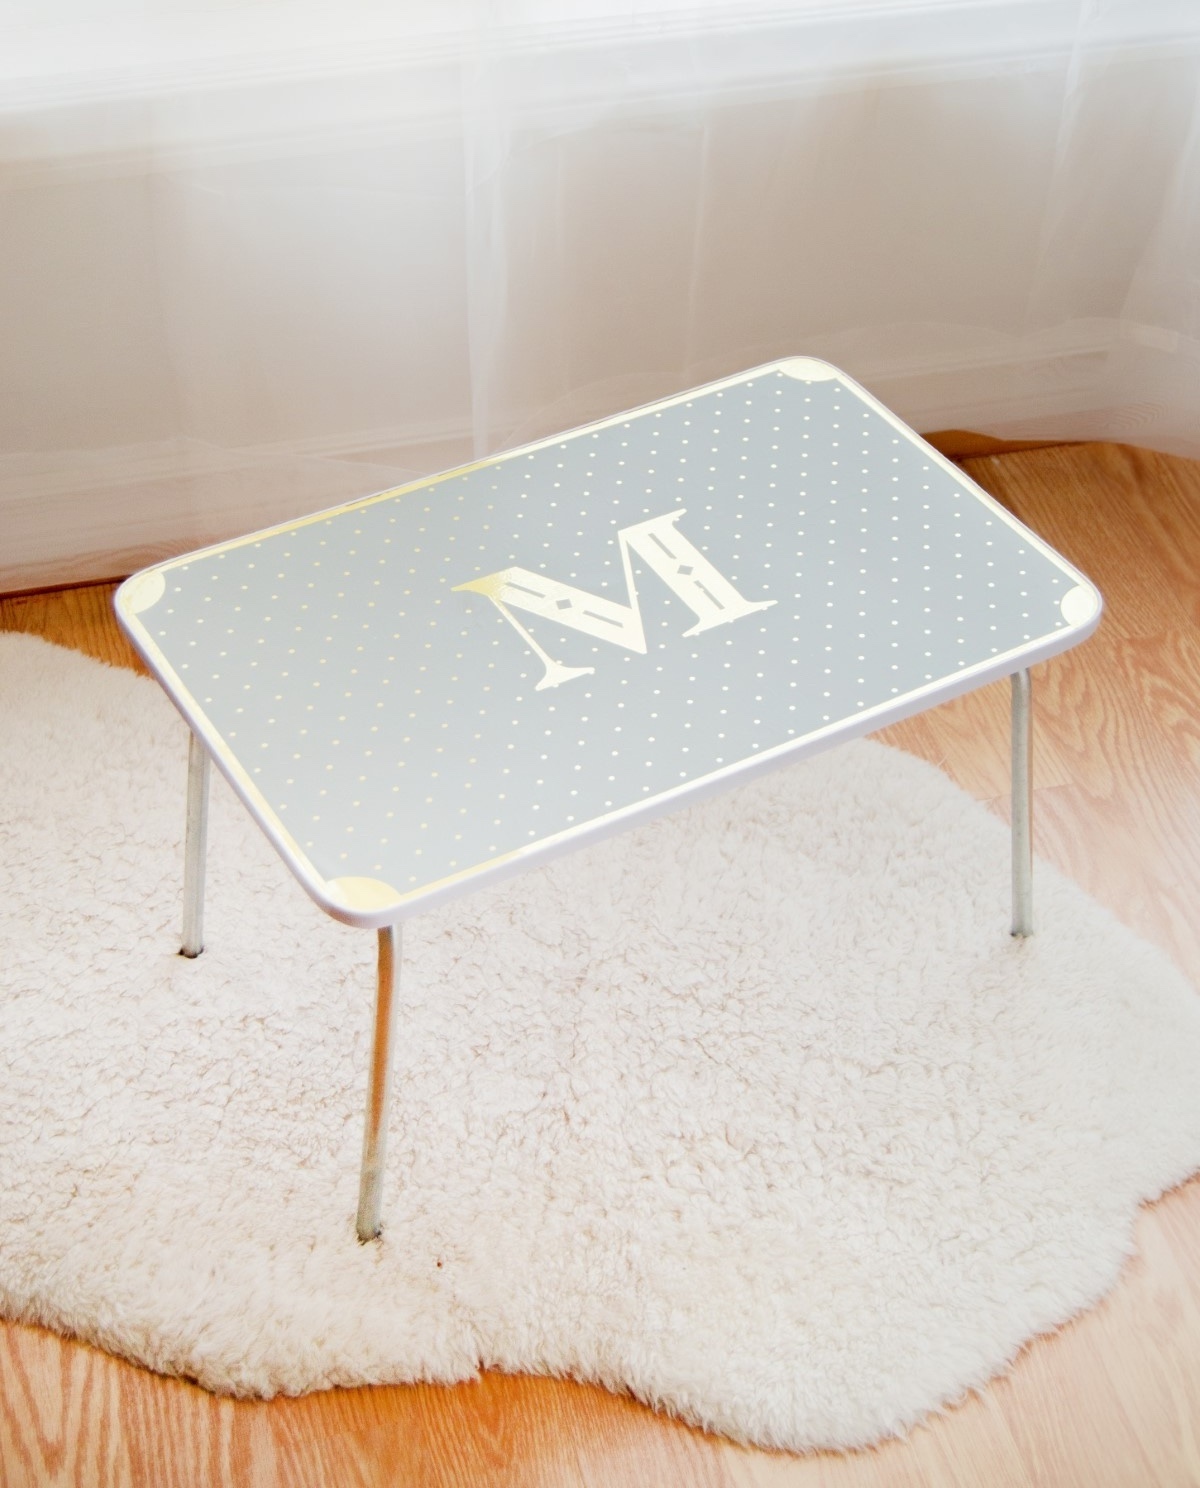
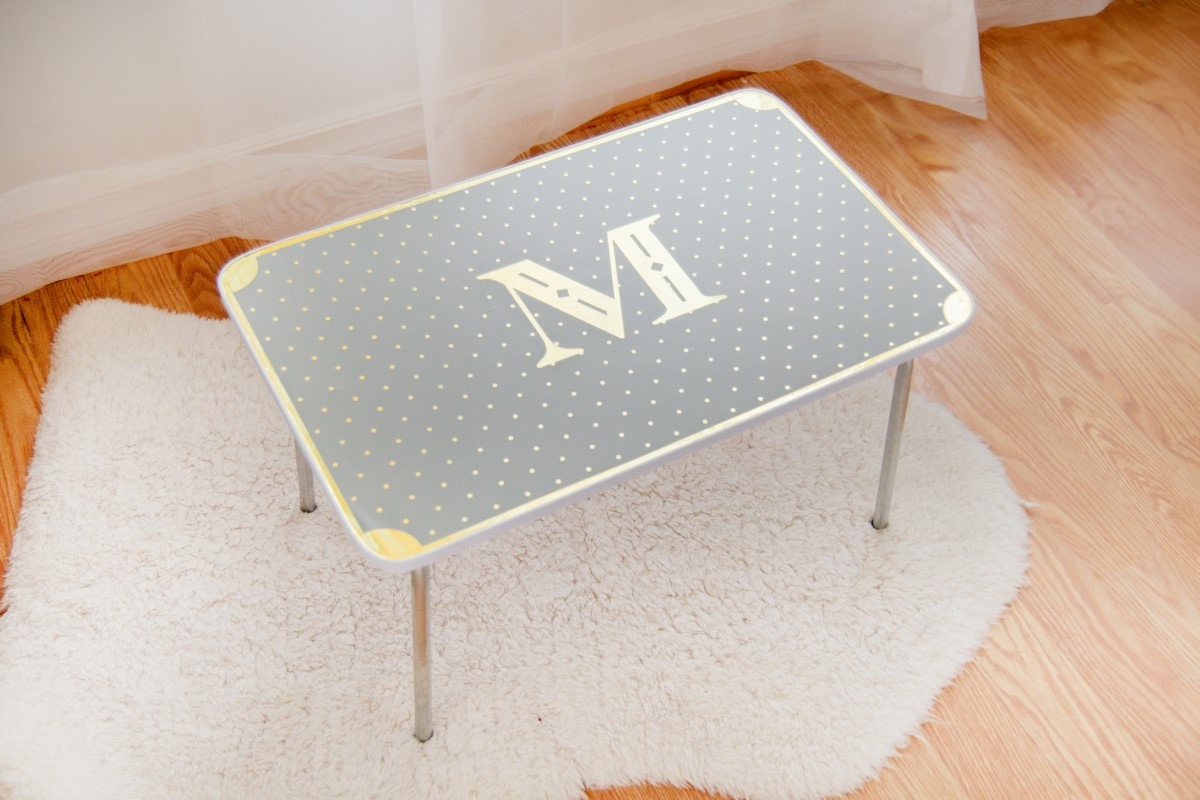
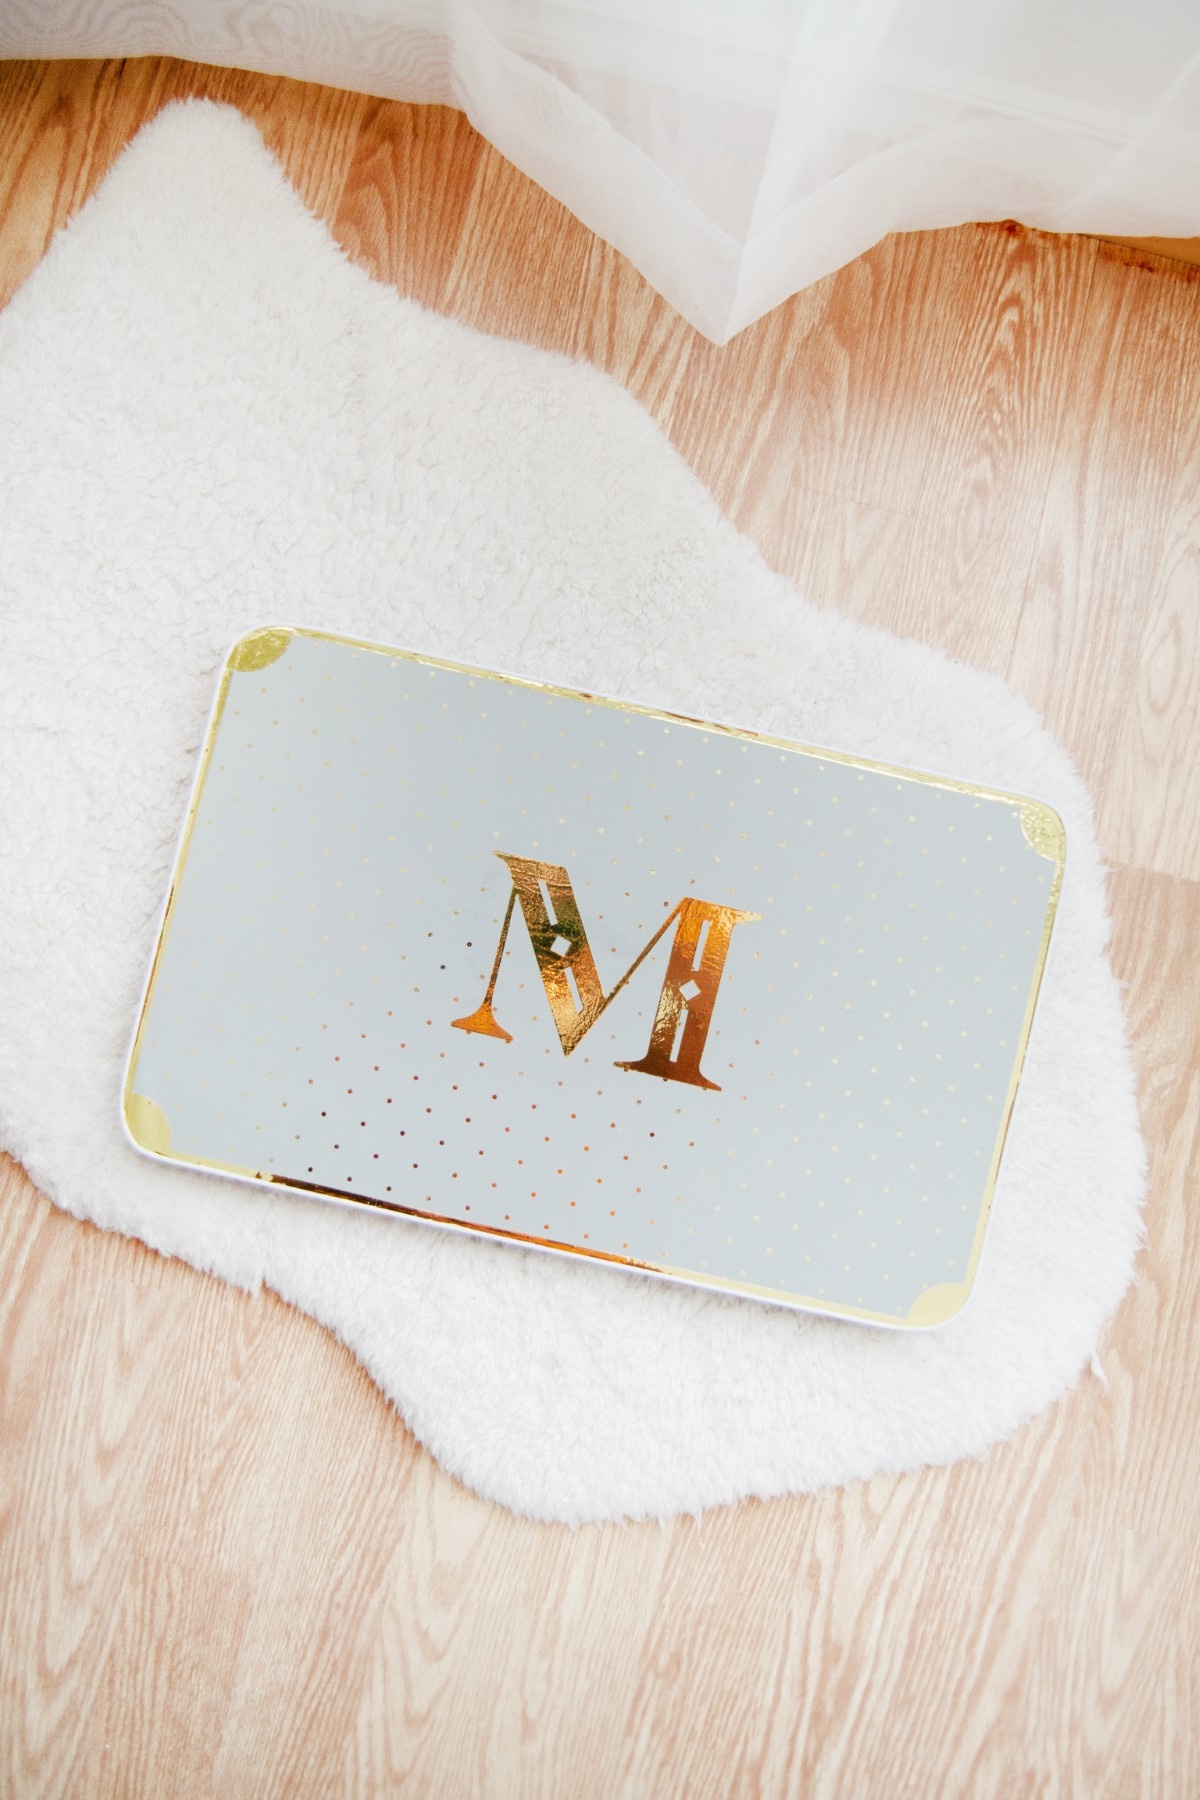
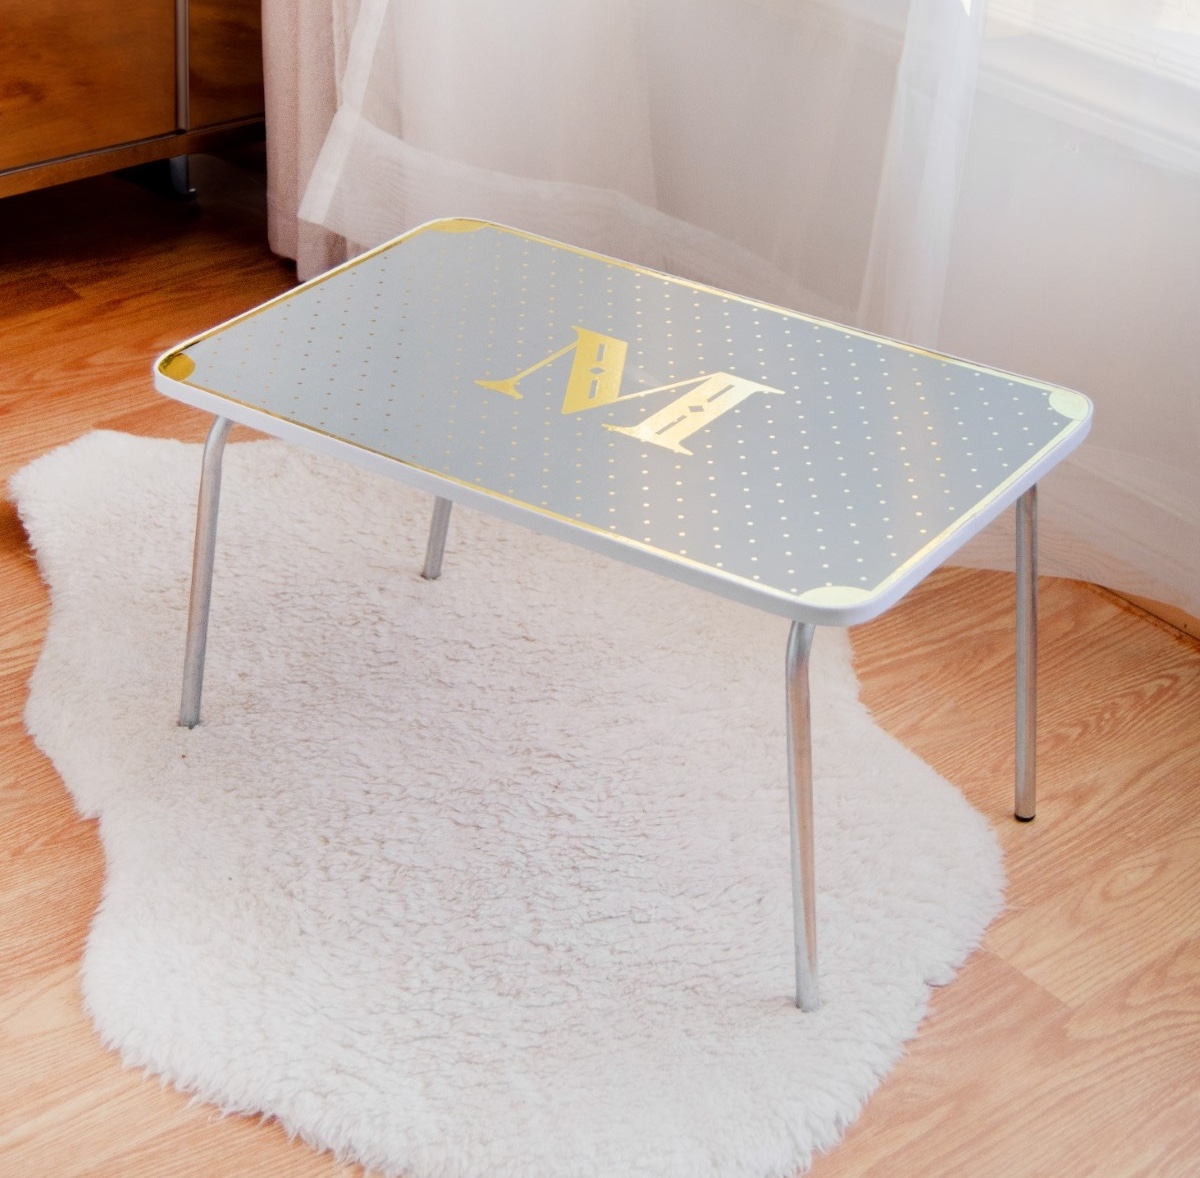
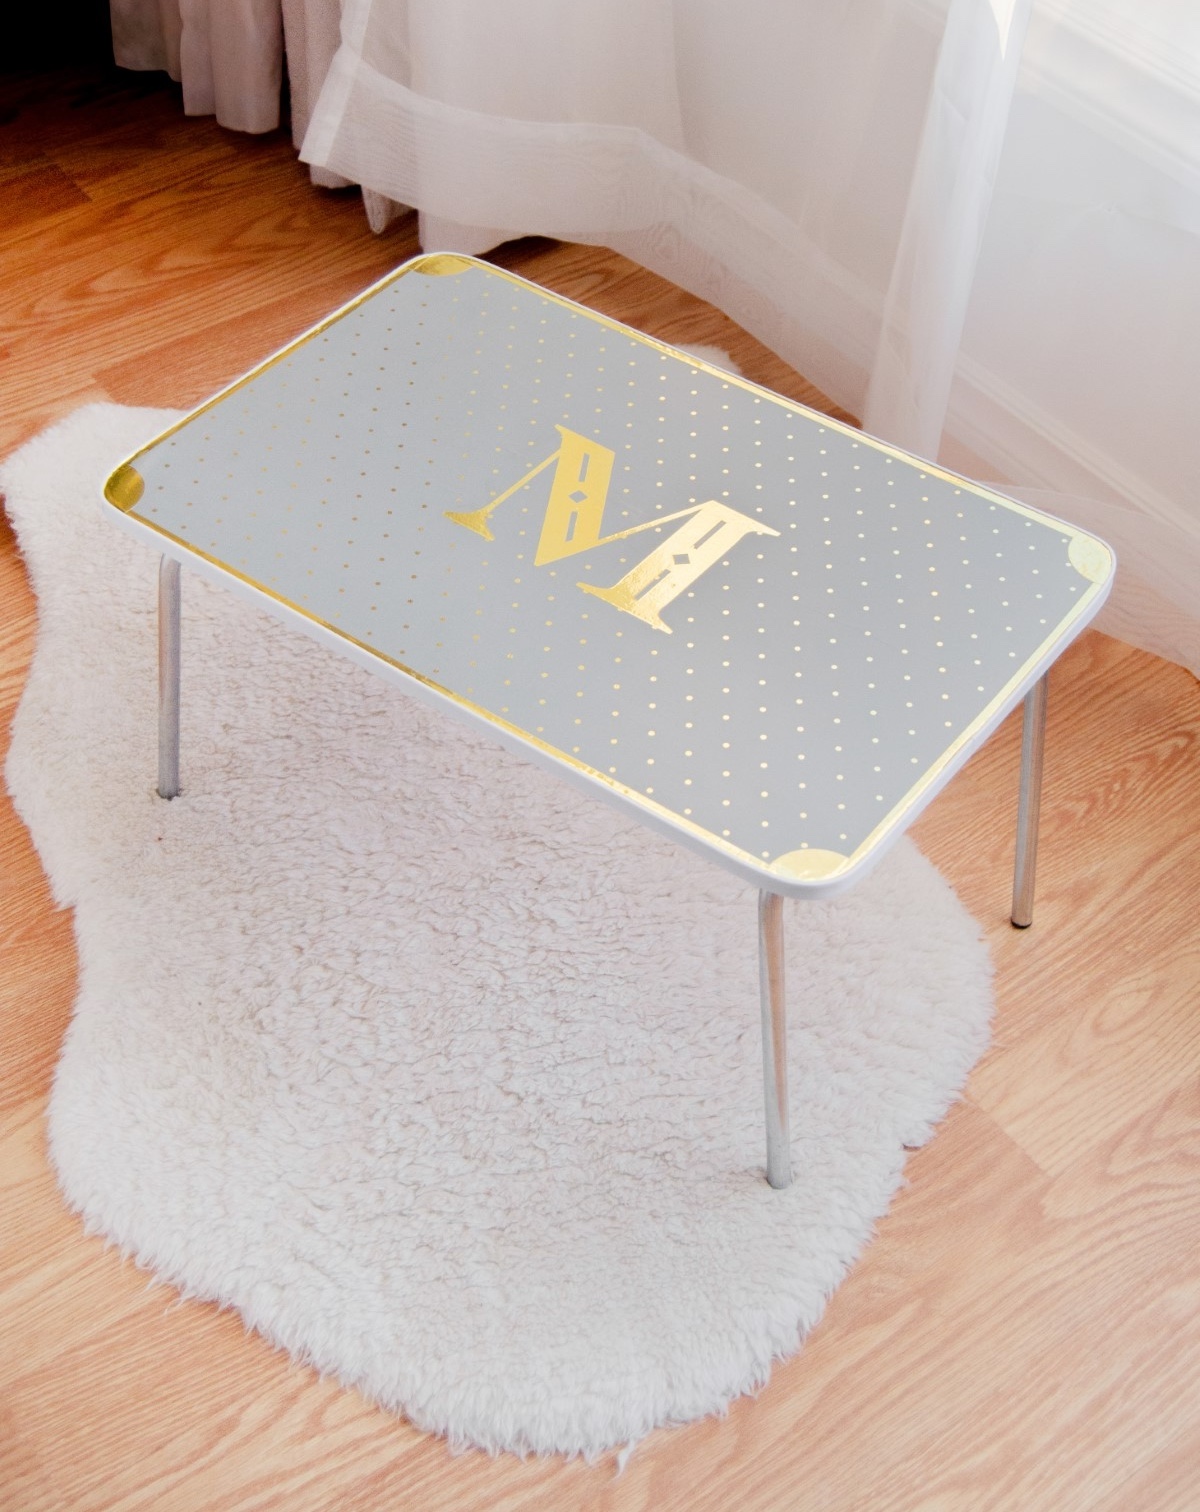
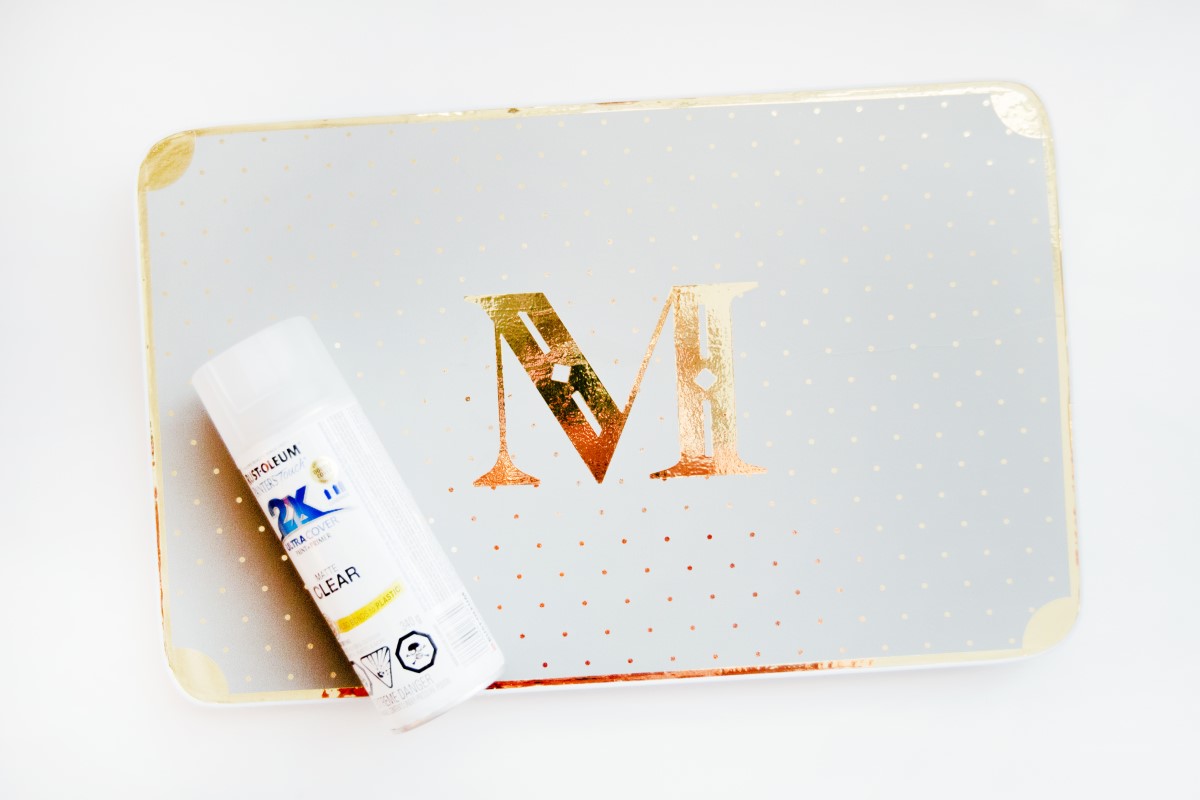
So what do you think of my lil’ table decoupaged with wrapping paper?! Personally, I love how this turned out, and the metallic monogram with the trim is such a nice touch.
Get the printable how to for this project below:

Decoupage with Wrapping Paper
Equipment
- Brayer or squeegee
- X-Acto Knife or box knife
- Measuring tape
Materials
- Folding table or lap desk
- Wrapping paper
- Mod Podge
- Clear acrylic spray sealer optional
- Die cutter and vinyl optional
Instructions
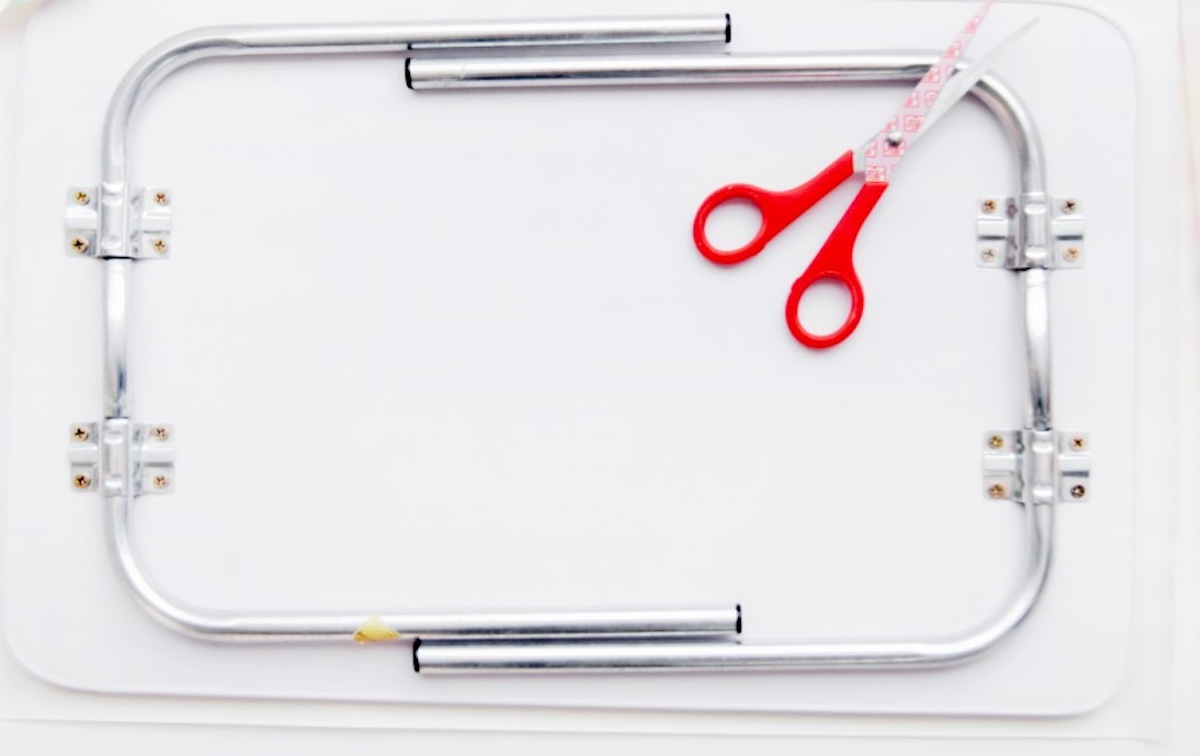
- Measure your tray or table top. Select your wrapping paper and cut it to size.
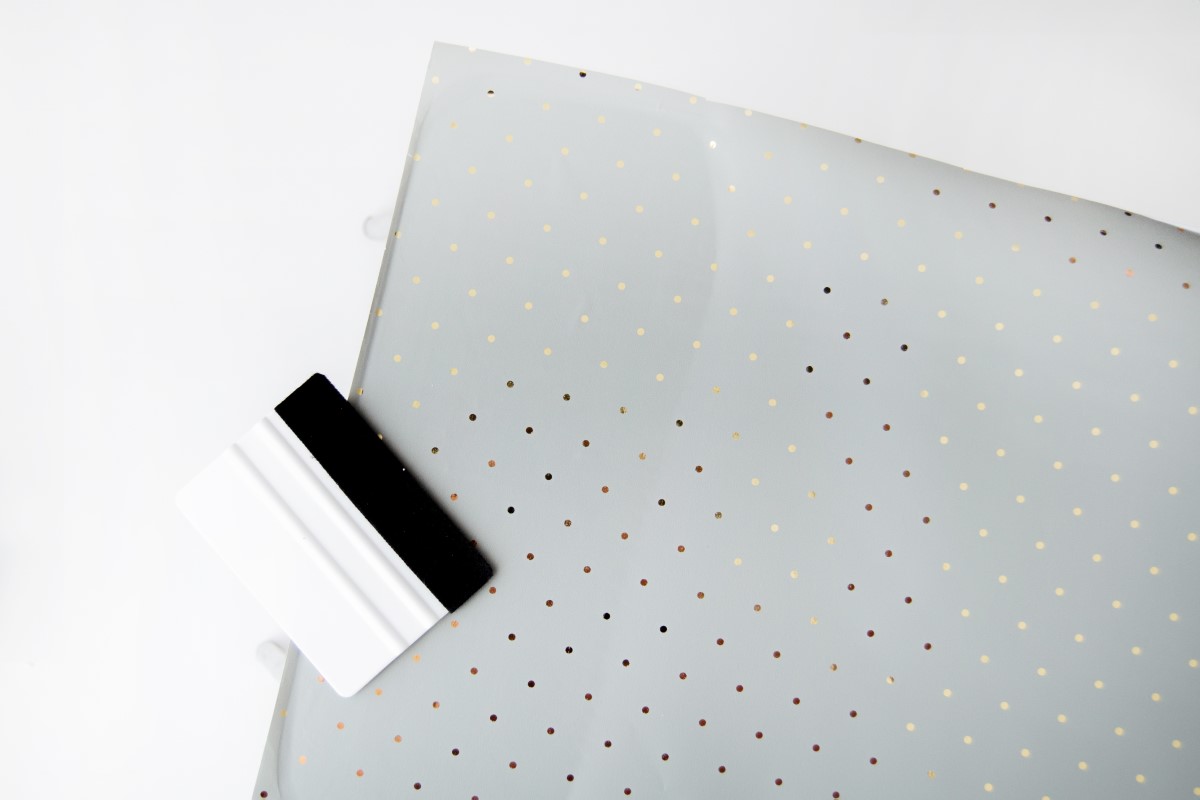
- Clean your table surface if needed, and then use Mod Podge and a paintbrush (or sponge brush) to carefully adhere the wrapping paper or fabric to the surface of the table. Work in sections to lessen bubbles and imperfections on the surface.

- Use a brayer or a squeegee tool to help push down and flatten the paper or fabric and squeeze out any excess Mod Podge trapped underneath. Wait for the Mod Podge to dry.
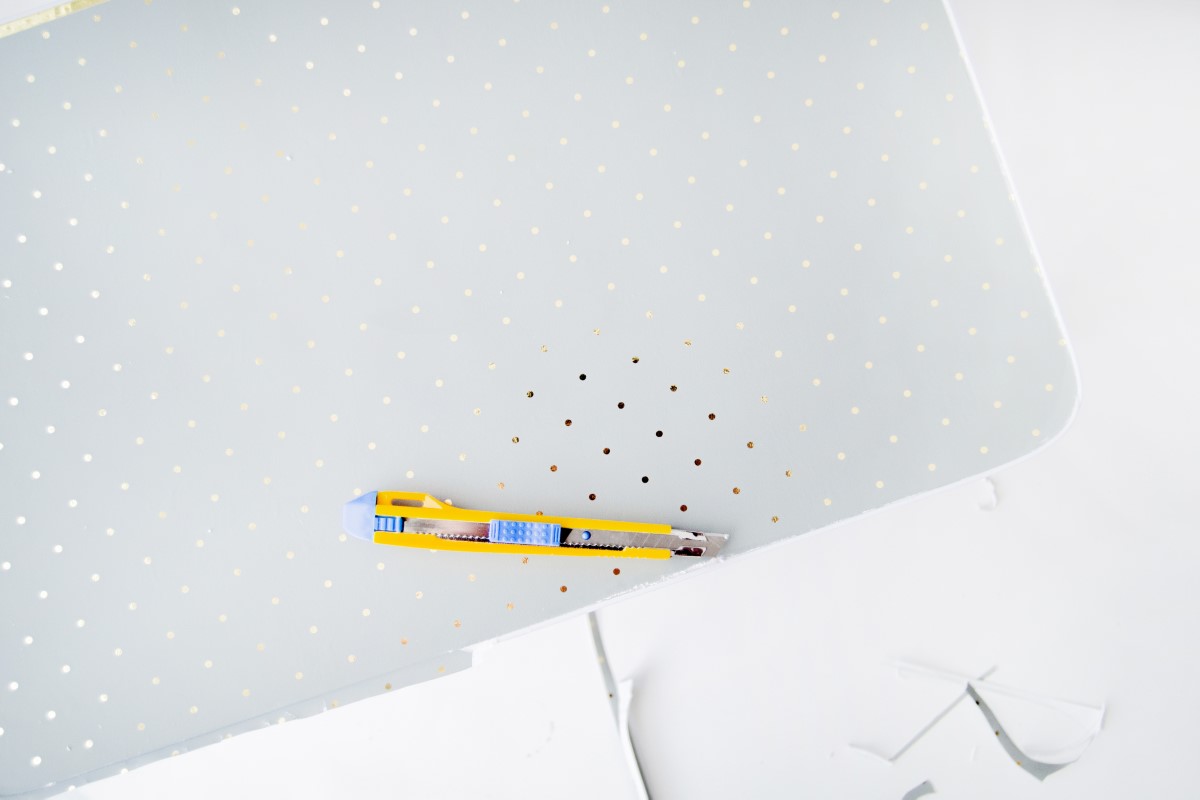
- Once the Mod Podge is dry (about 30 minutes to 1 hour), use an X-acto or box knife to trim any excess paper and overhangs. It’s very important to wait for the Mod Podge to dry, or you’ll get jagged edges.
- Have imperfect edges? No problem! Cut strips of vinyl to line the border of your table. I added strips of vinyl for the border of my table and cut and trimmed circles for the corners.
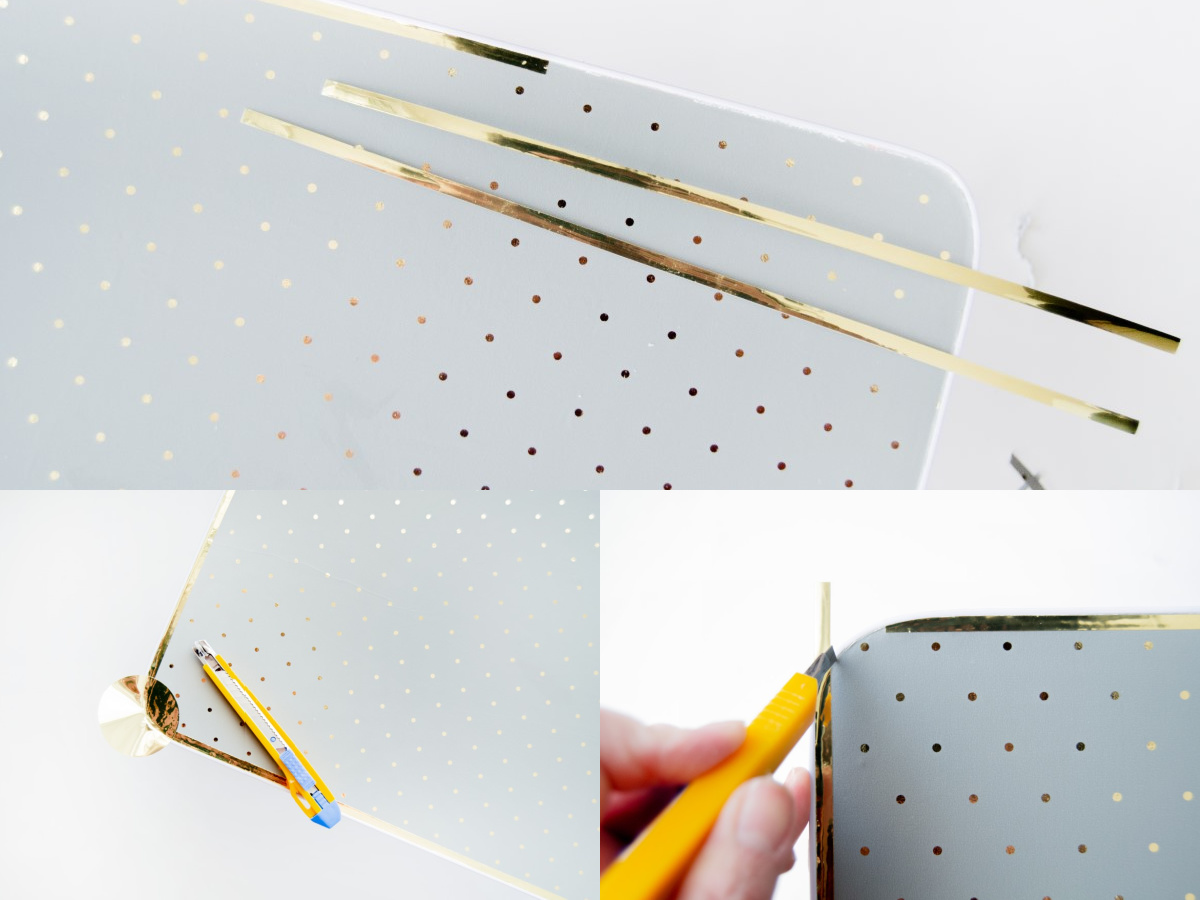
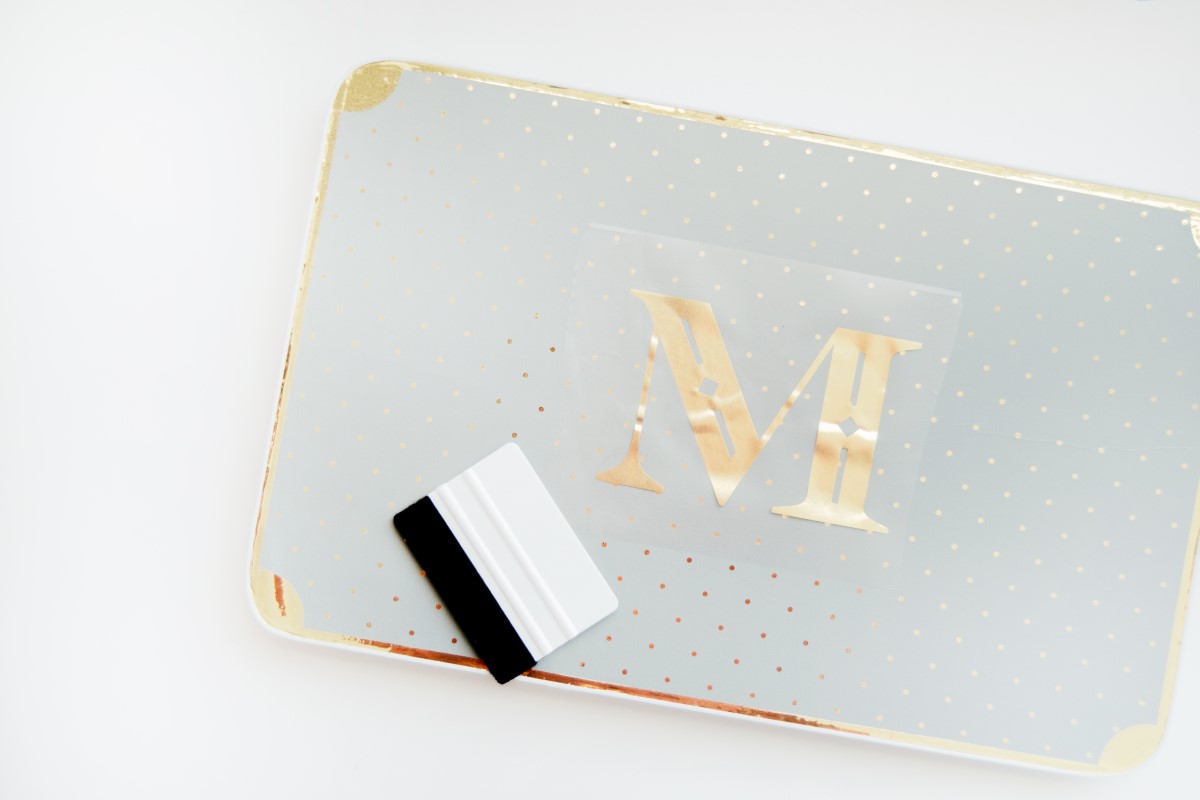
- Add your embellishments – in my case, I used gold vinyl and cut a letter for a monogram. Weed the monogram and apply transfer tape, or use a pre-made die-cut letter (or even stickers) to embellish your table.
- Apply another coat of Mod Podge to seal the paper and wait to dry. Once dry, apply a few coats of acrylic spray and wait for that to fully dry as well.
Thank you so much for letting me share this decoupage furniture with you all today! If you’d like to see other tutorials with Mod Podge Outdoor OR wrapping paper, check out the following posts:


This is life saving thank you 🙏.
I am in the process of decoupaging unicorn wrapping paper on to the top of a large toybox. I was going to give up as it is really crinkled. Am going to give it another go 🤞. Just a quick question tho if I may? Do I put the mod podge on in stages as the surface is quite large? Thank you so much in advance ☺️
If it’s huge I would put it on in stages for sure! This post will probably help too: https://modpodgerocksblog.com/floral-diy-coat-rack/
I want to cover my old battered desk top with a beautiful wrapping paper I found. I found your article and was thinking of using mod podge hard coat. But here in this article, you say you did the whole project in an hour. You mention using a sealer on the mod podge after it “dried”.
However, in the article on hard coat linked from this page, you say to wait 4 weeks before applying the acrylic sealer on top to let the mod podge fully cure. Which should I do?
If I wait 4 weeks on this, my only work space, I’m afraid I will spill water on it or something before then. I paint, craft with clay, everything on this surface. But if I apply a top coat before the mod podge is finished curing, will it mess it up?
Also, I have varathane polyurethane and also spray paint clear coat. Would those work for a top coat or is there something better I should aim for? Thank you!
Would newspaper work for this project? Would it change any of the steps?
Newspaper works a lot of times. But you need to test your newsprint with Mod Podge to make sure it doesn’t bleed, since all these newspaper companies use different printers and so therefore a little bit different paper/ink. It should work fine! Test and see if you can see the backside of the pages and if that bothers you. If it does, you can make laserjet copies. And nope, same steps!
For the wrapping paper decoupage project, do you have to iron the creases in the wrapping paper or do you just use the type on a roll?
The way Linda used it was in the roll, though you can also buy big sheets at some art stores. Otherwise I would iron it 🙂
Beautiful job and I love the coordinating pillow!
You said to wet the wrapping paper to get it ready for Mod Podge-do you spray the bottom or top of the paper? Also, if it’s a thicker wrapping paper, is spraying with water necessary?
Either side is fine to spray the wrapping paper if it’s thin – it soaks through to the bottom. I just spray the top. Some people dip in a plastic container of water which is fine too! And if it’s thicker, no it’s not necessary. Well . . . depending on your Mod Podge skill level. If you’re working with a large piece of wrapping paper, and it’s medium thickness, I’d still wet it. Just because the bigger the paper, it’s just harder to manage without wrinkles. If you can do a test first without the water on a scrap piece of wood to see if you can do it without wrinkles, that would be ideal.
Thanks do much for your input your s great help thank you do muvh
I love the blue color! Did you also mod podge or seal the bottom?
(My previous reply didn’t get posted, I’m not sure why – are the comments moderated or is there an automatic filter?)
Fun project..
Hi. I am new to MP. I made coasters for gifts and used outdoor MP, but it feels tacky weeks after letting it dry! Am I doing something wrong? What should I do to finish these coasters and make them waterproof? Can I spray them with a clear protectant? Will that fix the tacky feeling? Thank you for your help!!!
Christy
Hi Christy! No, you aren’t doing anything wrong. You’ll want to use something like Minwax Polycrylic over the top (waterproof version) for coasters and to remove stickiness. Learn more here:
https://modpodgerocksblog.com/learn-how-to-mod-podge/