
Make easy DIY initial wall art on a budget! This simple and personalized craft is the perfect way to add style and charm to your home decor.
Skills Required: Beginner. This is a relatively easy project even if you don’t have much crafting experience. You’ll be using acrylic paint and Mod Podge.

I really love personalized crafts. When I see the letter “A” I get really excited. Maybe because it represents both my first and last name – so it’s doubly awesome? And is doubly a word? I especially love the letter “A” as part of my home decor.
If you also like letters as part of your decorating, you’re going to enjoy this DIY initial wall art.
I actually didn’t make it for myself but as a gift for a friend. I used a frame and mat that I got from a craft store on heavy discount (I love doing that). As an extra something special, I added Mod Podge Pearlized Sealer for added “she-bang.”
It gives a really nice sheen without being overwhelming. This is really easy wall art to make! Here’s how it’s done.
Gather These Supplies
- Recycled frame with removable back – just make sure the letter fits
- Fabric of your choice – enough to cover the back of the frame
- FolkArt acrylic paint – Yellow Citron, Teal
- Primer, white
- Mod Podge Gloss
- Mod Podge Pearlized Sealer (optional)
- Wood letter
- Craft glue
- Scissors
- Paintbrush
- Wax paper
- Sandpaper
You can leave your wall art as-is and not do the pearlized sealer, but I highly recommend adding for some sheen. It’s pretty cool and I think you are going to like the effect in person. I know my friend will love it. Yay!

Get the printable how to below:

Initial Wall Decor
Equipment
Materials
- Frame with removable back
- Fabric of your choice – enough to cover the back of the frame
- Acrylic paint
- Spray primer white (optional)
- Mod Podge Gloss
- Mod Podge Pearlized Sealer optional
- Wood letter(s)
- Craft glue
- Wax paper
- Sandpaper
Instructions
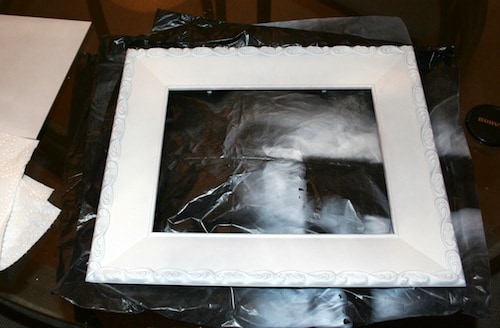
- Sand the frame and spray with white primer if necessary. Let dry.
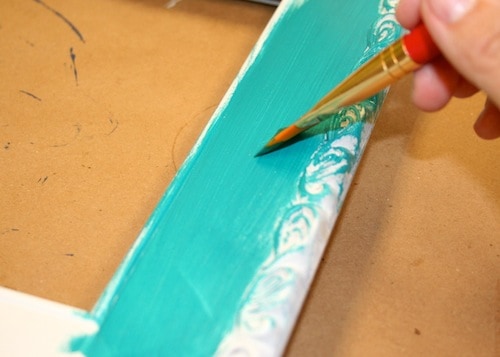
- Paint the entire frame with the acrylic paint color of your choice.
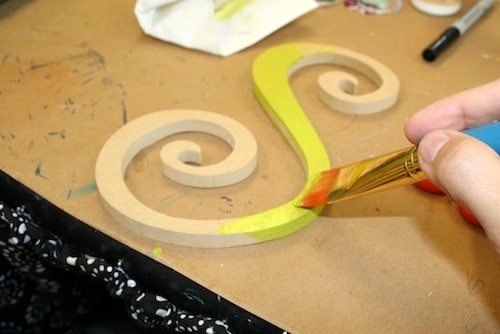
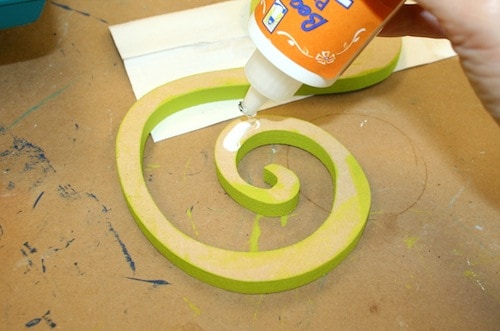
- Paint the wooden letter with the color of your choice.
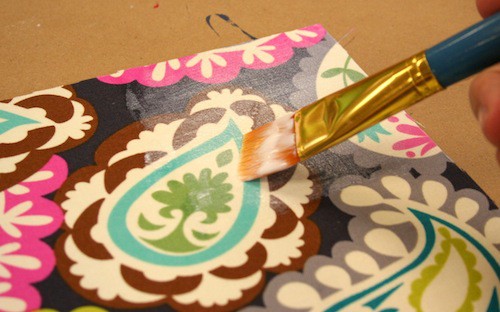
- Add Mod Podge to the top of the back of the frame insert. Add a medium layer and smooth the fabric down. Let dry and trim around the edges.
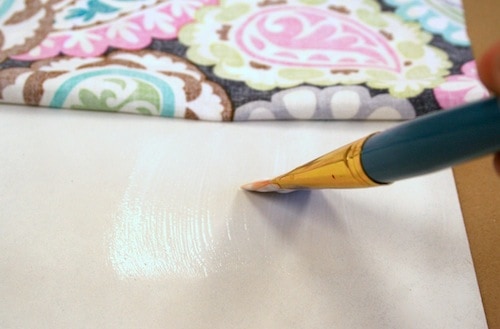
- Paint a coat of Mod Podge over the top of the fabric and let dry.
- Glue the letter on and spray a coat of pearlized sealer on top. Let dry completely before displaying.
Are you interested in more easy wall art to make? Just click on one of the projects below:
Button Wall Art • Comic Wall Art • Decoupage Napkins on Canvas • Doily Wall Art • Dollar Tree Wall Art • Fabric Canvas Art • Image to Canvas • Instagram Mini Canvases • Junk Mail Art • Magazine Collage • Map Canvas Art • Mosaic Art • Mount Pictures on Canvas • Paint Swatch Art • Photo Booth Canvas • Photo Transfer to Canvas • Photo Wall Collage • Plastic Animal Canvases • Scrapbook Paper Art • Ticket Wall Decor


That should of read “Pearlized Spray”
What is it?
Where to get it?
This one works also: https://www.amazon.com/Mod-Podge-Iridescent-Acrylic-Sealer/dp/B087MYB6ZX/
I can’t find Pearline’s spray anywhere, not even Amazon. Can you show exactly what it is please.
I’m in Canada btw
Hello! This is it: https://www.amazon.com/Mod-Podge-Pearlized-Sealer-11-Ounce/dp/B007QNI3AI
@Amy, it is “unavailable”
😟
These colors are just the right amount of pop. I am going to try this little project with a letter I picked up on clearance. Thanks for sharing!
I love your blog! So many incredible ideas, so little time! I have some mod podge crafts that you might be interested in. I don’t know how you get them but if you want to hear more let me know how to get them to you.
I am going to make these for my 3 grandchildren to hang at their homes! TFS!
this is so cute! I love how this turned out