
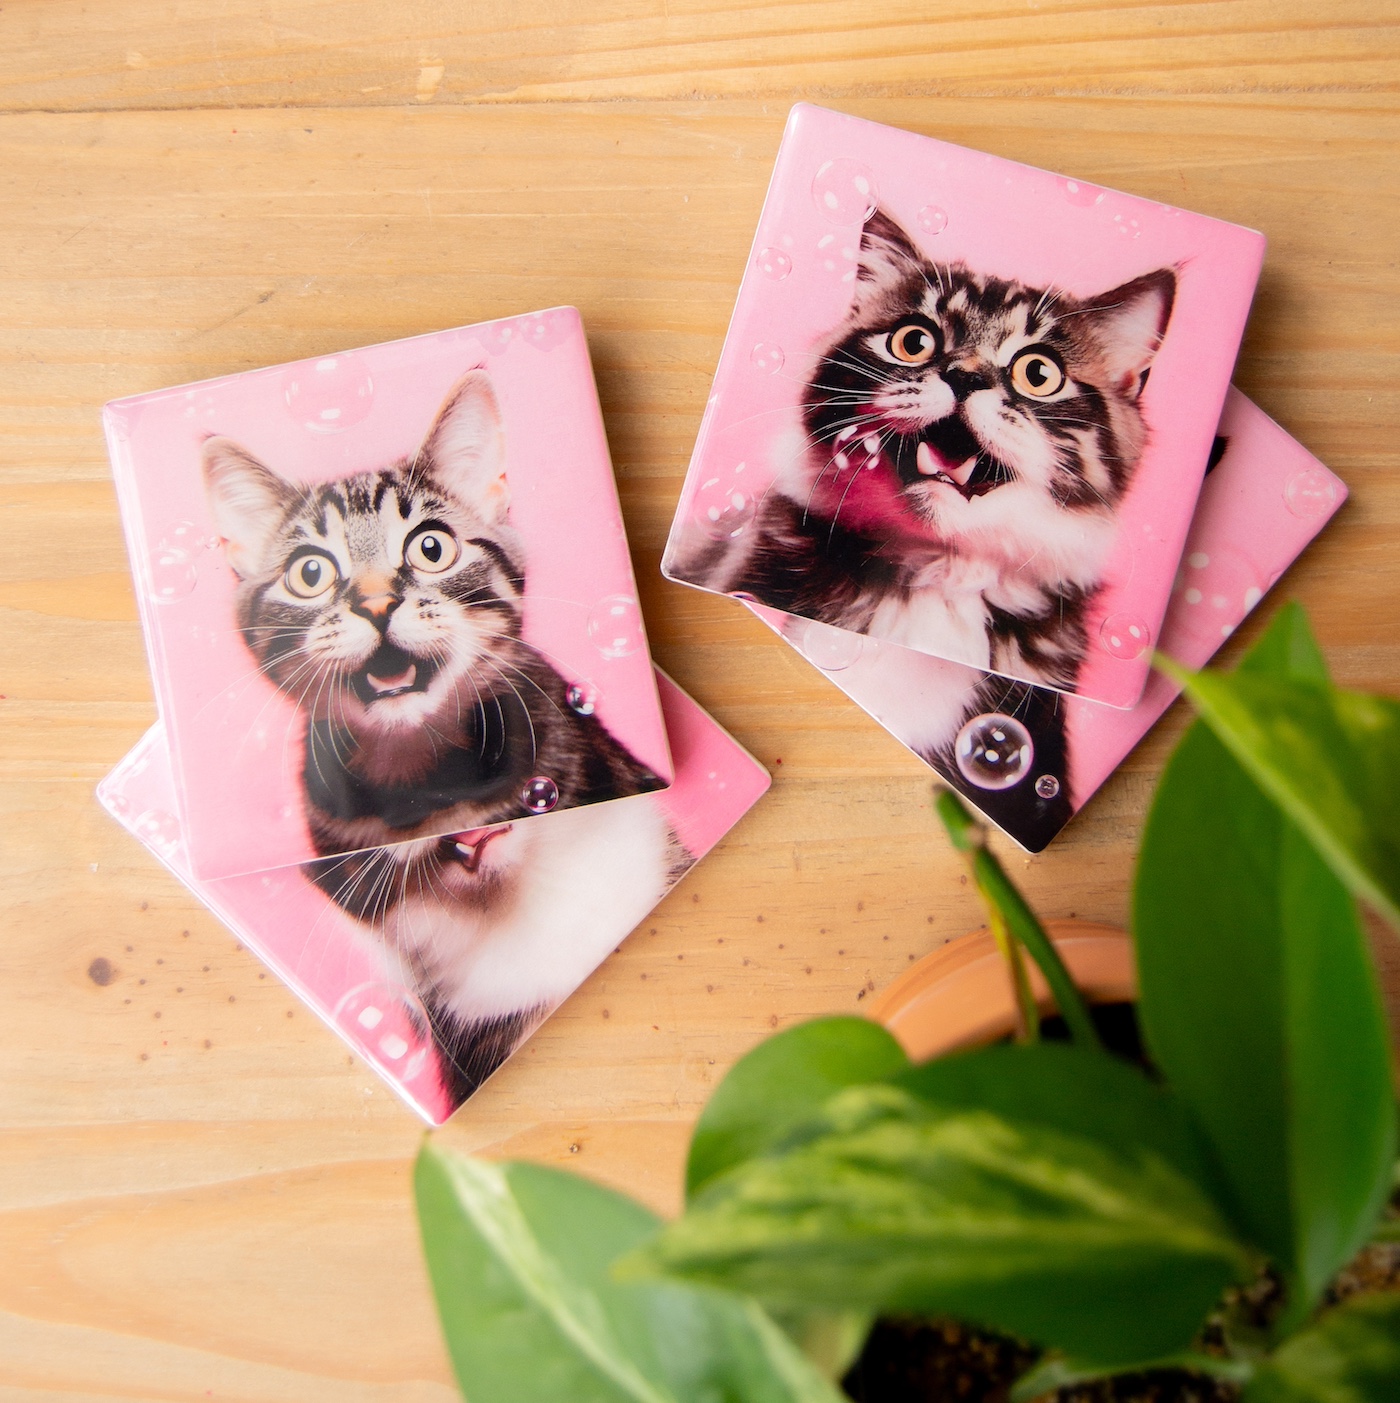
Learn to make your own DIY tile coasters with this simple guide. Perfect for beginners, using Mod Podge, photos, and resin for a custom look!
Skills Required: Beginner to Intermediate. You will be using Mod Podge to make coasters out of tiles, and using resin (or your sealer of choice) to make them water and heat proof. I highly recommend you read my tips in this post for success.

Ever find yourself staring at those plain, uninspiring coasters that barely make a statement on your coffee table? Well, why settle for mundane when you can create something spectacularly personalized?
It’s time to roll up your sleeves and try a new project: DIY tile coasters. Perfect for beginners and those with a bit more crafting muscle, this project isn’t just about making coasters – it’s about making your coasters.
Whether you want to immortalize your pet, a memorable vacation, or simply add a splash of color to your decor, this project is your ticket to creative expression. And let’s be honest, who doesn’t love a little bit of creativity sprinkled through their day?
Here’s what makes this project a blast: you get to play with Mod Podge and resin – two materials that guarantee your coasters aren’t just decorative but durable too.

No more worrying about water rings or heat marks; your new coasters will handle those like a champ. Plus, the personal touch of using your chosen images makes each coaster a mini masterpiece.
Don’t worry if you’re thinking, “But I’ve never even held a paintbrush!” The beauty of this DIY ceramic coaster project is its simplicity. You’ll start with a trip to grab some tiles, which are surprisingly affordable.
Then, it’s just a matter of cutting and pasting your images, and sealing them under a clear, glossy resin that’ll make your coasters look professionally made.
Ready to transform your average tabletop into a personal gallery of functional art? Grab your scissors, photos, and a bit of enthusiasm – let’s turn those bland tiles into bold statements.
By the end of this, not only will you have snazzy new coasters, but you’ll also have the bragging rights to say, “I made these!” Read on to find out how easy and satisfying this DIY adventure can be. Let’s get crafting!
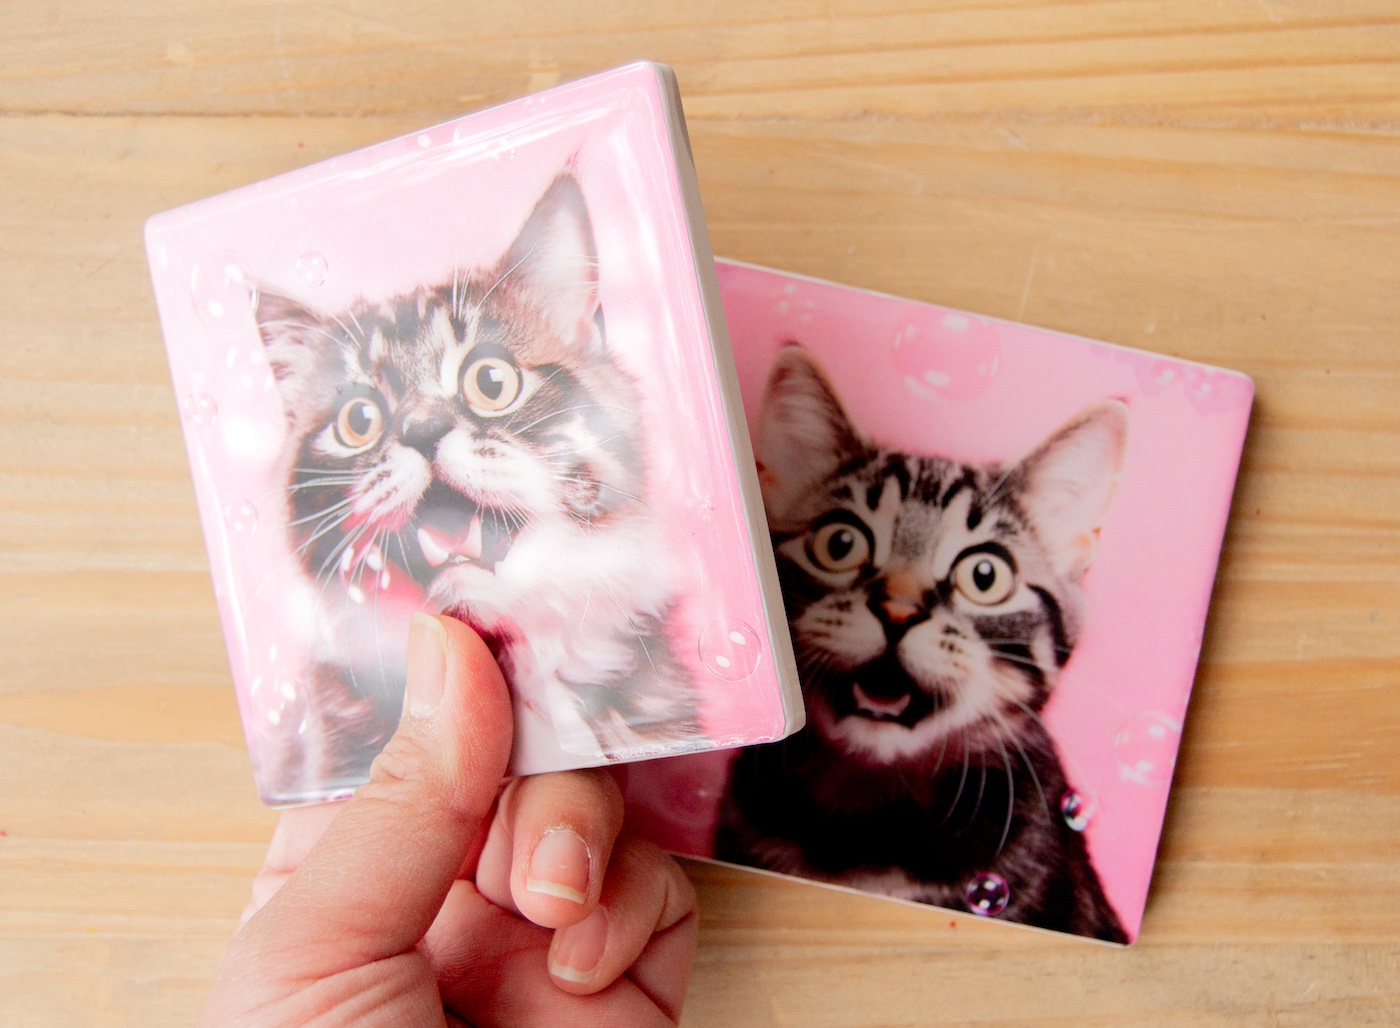
Here’s what you’re going to need. We also have a free printable set of cat photos if you’d like to use those, for personal use only.
Gather These Supplies
- Ceramic tiles
- Scrapbook paper or photos
- Mod Podge – any formula (I recommend Gloss, Satin, or Matte)
- Scissors
- Craft knife or box cutter
- Steel ruler
- Felt
- Resin
- Mixing cup and stick
- Gloves and PPE
- Hot glue gun and glue sticks
- Paintbrush
- Sandpaper (optional – to rough up the tiles)
Important Tips for This Project
You can grab tiles from Home Depot – they’re very cheap! You can buy any type of ceramic tiles you like. Even the smooth ones will work (you might need a piece of sandpaper to rough up the surface).
Tiles are also available at craft stores. Of course you can also use wood, cork, or some other surface for your coasters. The process is the same.
Note: Images printed with inkjet printer can smear. If you don’t have a laser printer at home, you can take your images to an office supply store to have them print it. Trim and cut them according to the size of your coaster.
Another workaround for this is to spray both sides of the inkjet image with hairspray or spray sealer before Podging. Learn more about it in our post about decoupage on wood. The process will be the same.
Mod Podge is not waterproof. It’s pretty close, but for really hot cups and then perspiration on wet glasses, you’re going to need something stronger. You can use resin or spray clear Engine Enamel as a final coat.
Get the printable how to card for this project below:

DIY Tile Coasters
Equipment
- Craft knife or box cutter
- Steel ruler
- Mixing cup and stick
- Gloves and PPE
Materials
- 4 Ceramic tiles
- Scrapbook paper or photos
- Mod Podge
- Felt
- Epoxy resin
- Sandpaper optional
Instructions
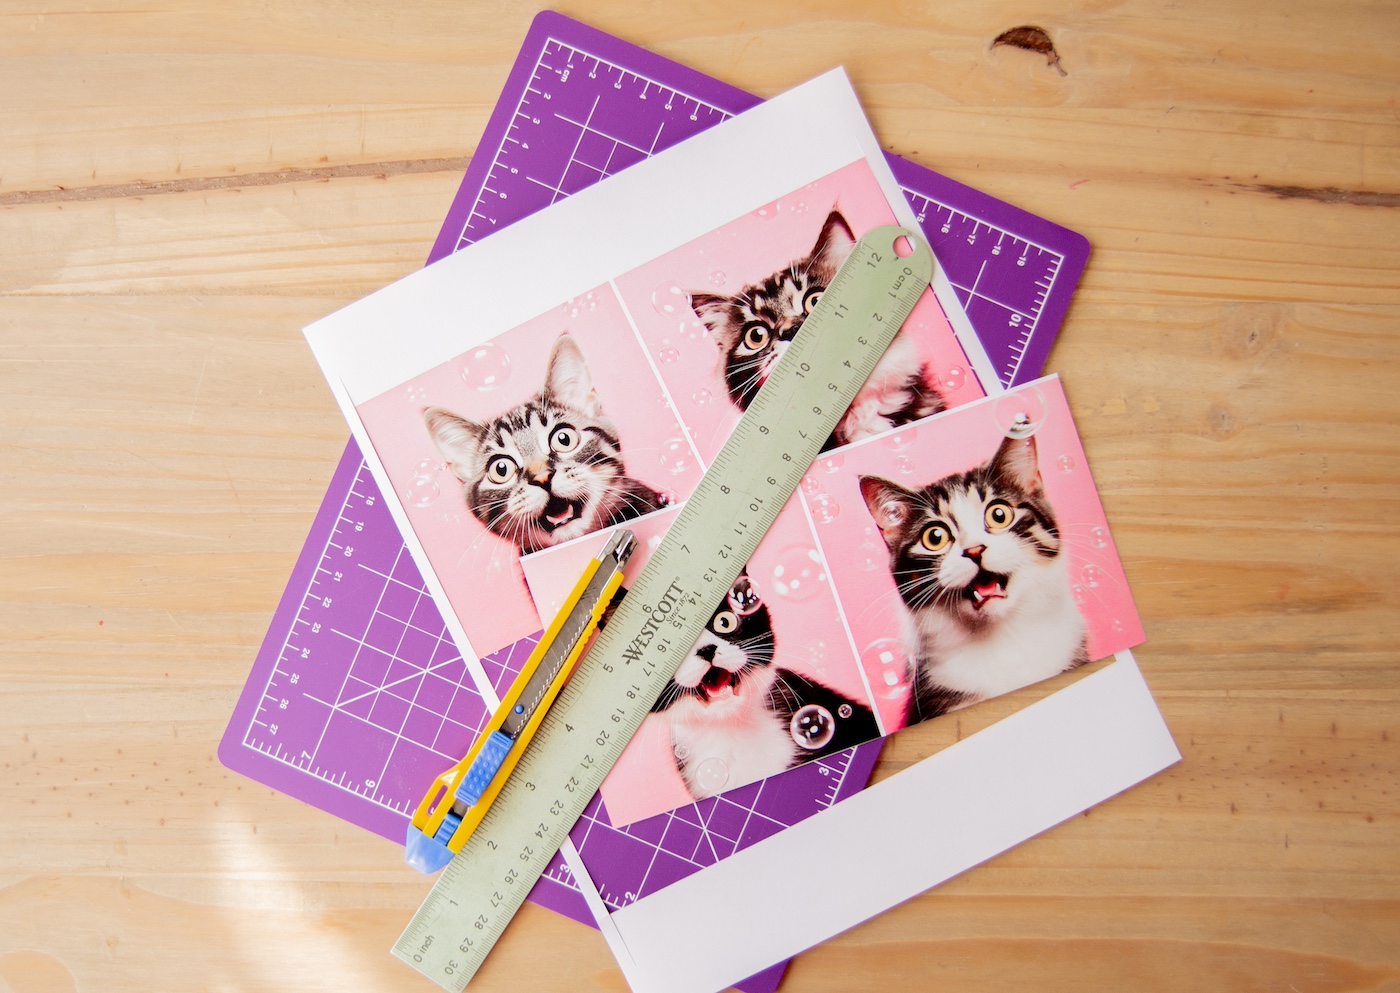
- Cut your scrapbook paper or print and cut chosen images to size. I used images of cats that I printed onto copy paper with a laser printer.
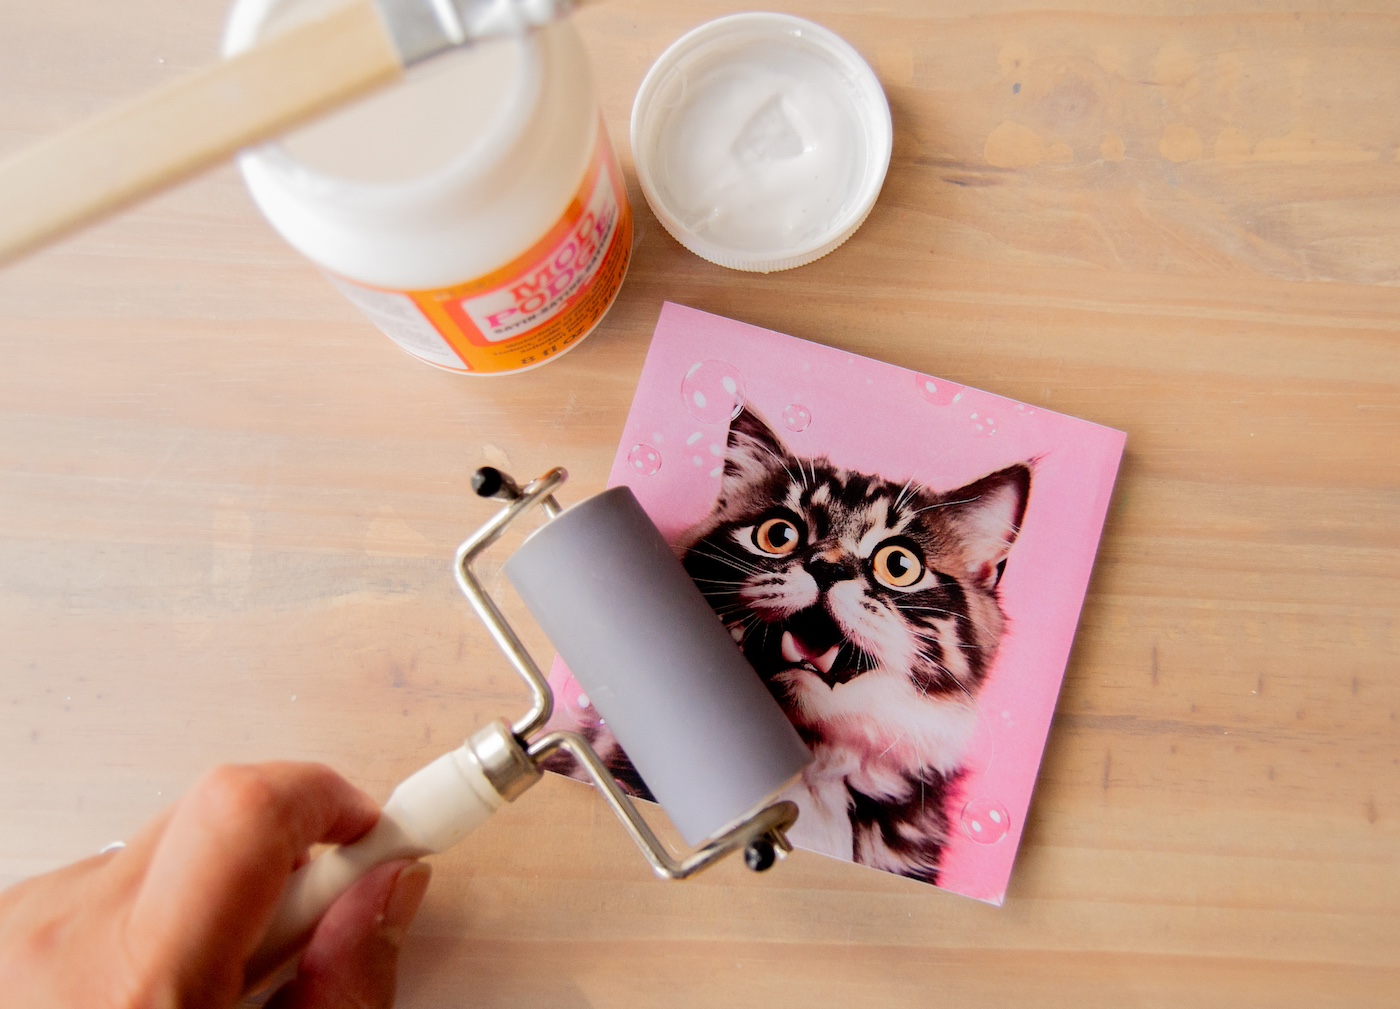
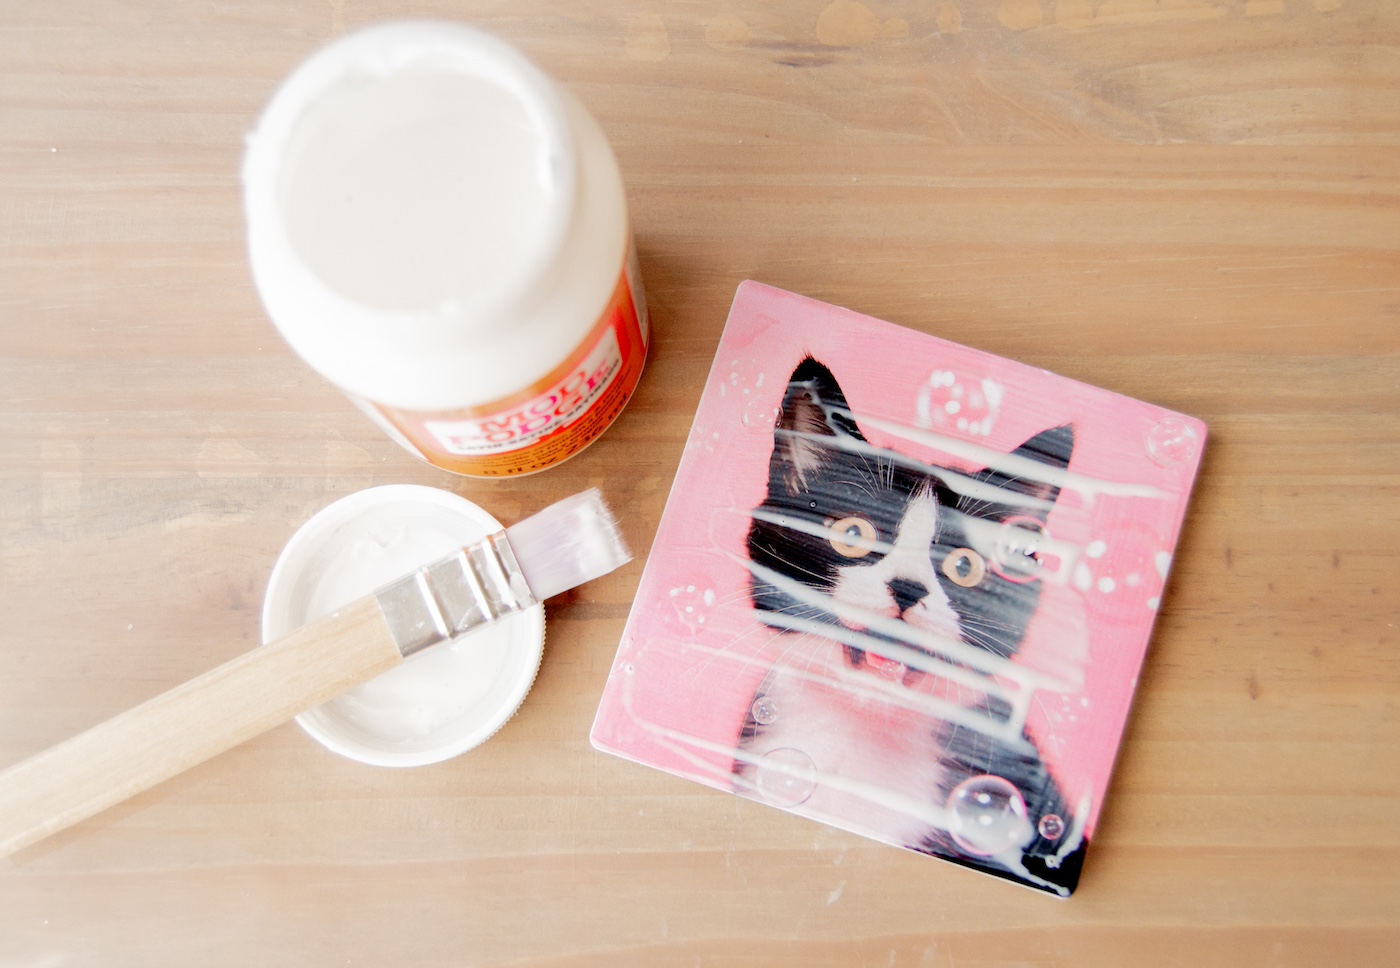
- Apply an even amount of Mod Podge onto the surface of your tile, and adhere your image, making sure it is centered. Use a brayer or a felt scraping tool to flatten your image onto the tile. Wait 15-20 minutes for this to dry (that’s how you avoid wrinkles!).
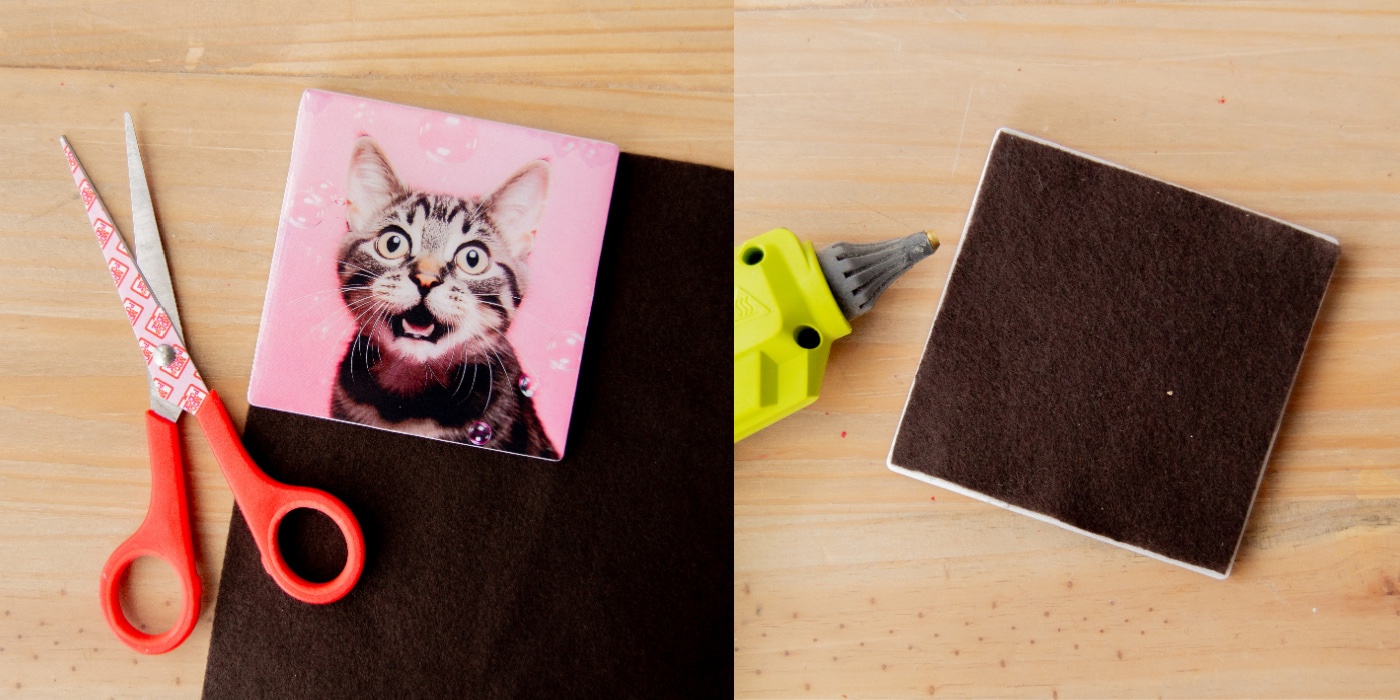
- Clean up the edges by trimming the excess paper once dry.

- Brush on a layer of Mod Podge onto your image. Wait for that to dry (15 – 20 minutes) and apply another layer. Make sure to get the edges of the image to seal it thoroughly. Let dry completely before applying resin.
- Mix the resin according to the instructions on the bottle. Make sure you are in a well ventilated area and that you are using gloves and proper PPE. Apply to the coasters. Wait for the resin to dry completely, or overnight.

- Cut some felt to size, and glue it to the back of your coaster to avoid scratching your table surface.
Notes
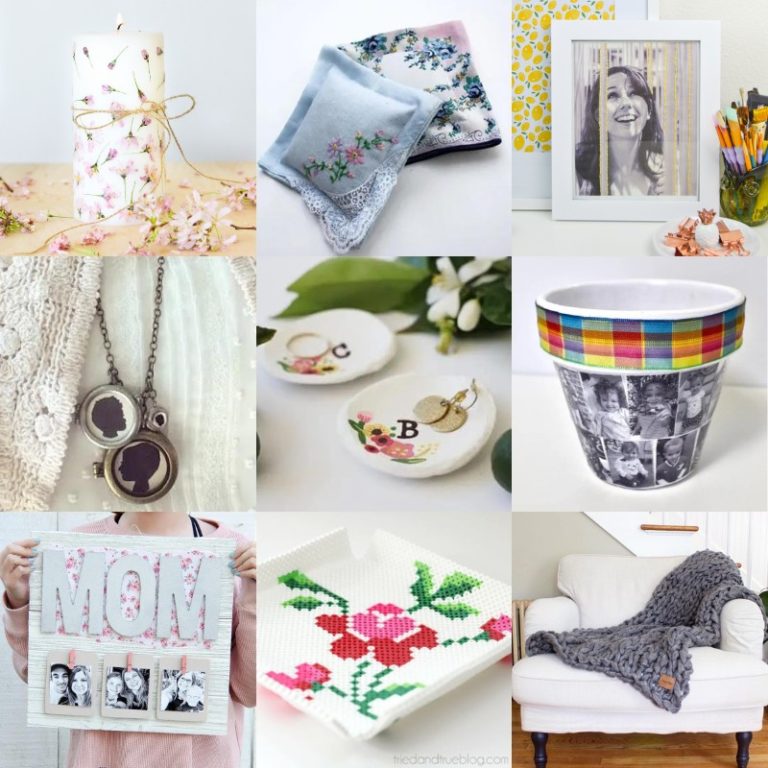
Thank you so much for letting me share my coasters made out of tiles! Let me know what you think in this project. I’d also love for you to visit the following coaster posts:


Do you have to wait for these to cure for 30c days before selling them or giving them as gifts to people? Is there going to still be condensation with these?? Thanks!
Love the stone tiles! I normally make coasters using the cheap plain white ones, but I’m definitely going to have to give this a try next time, great effect!
Pretty cool!