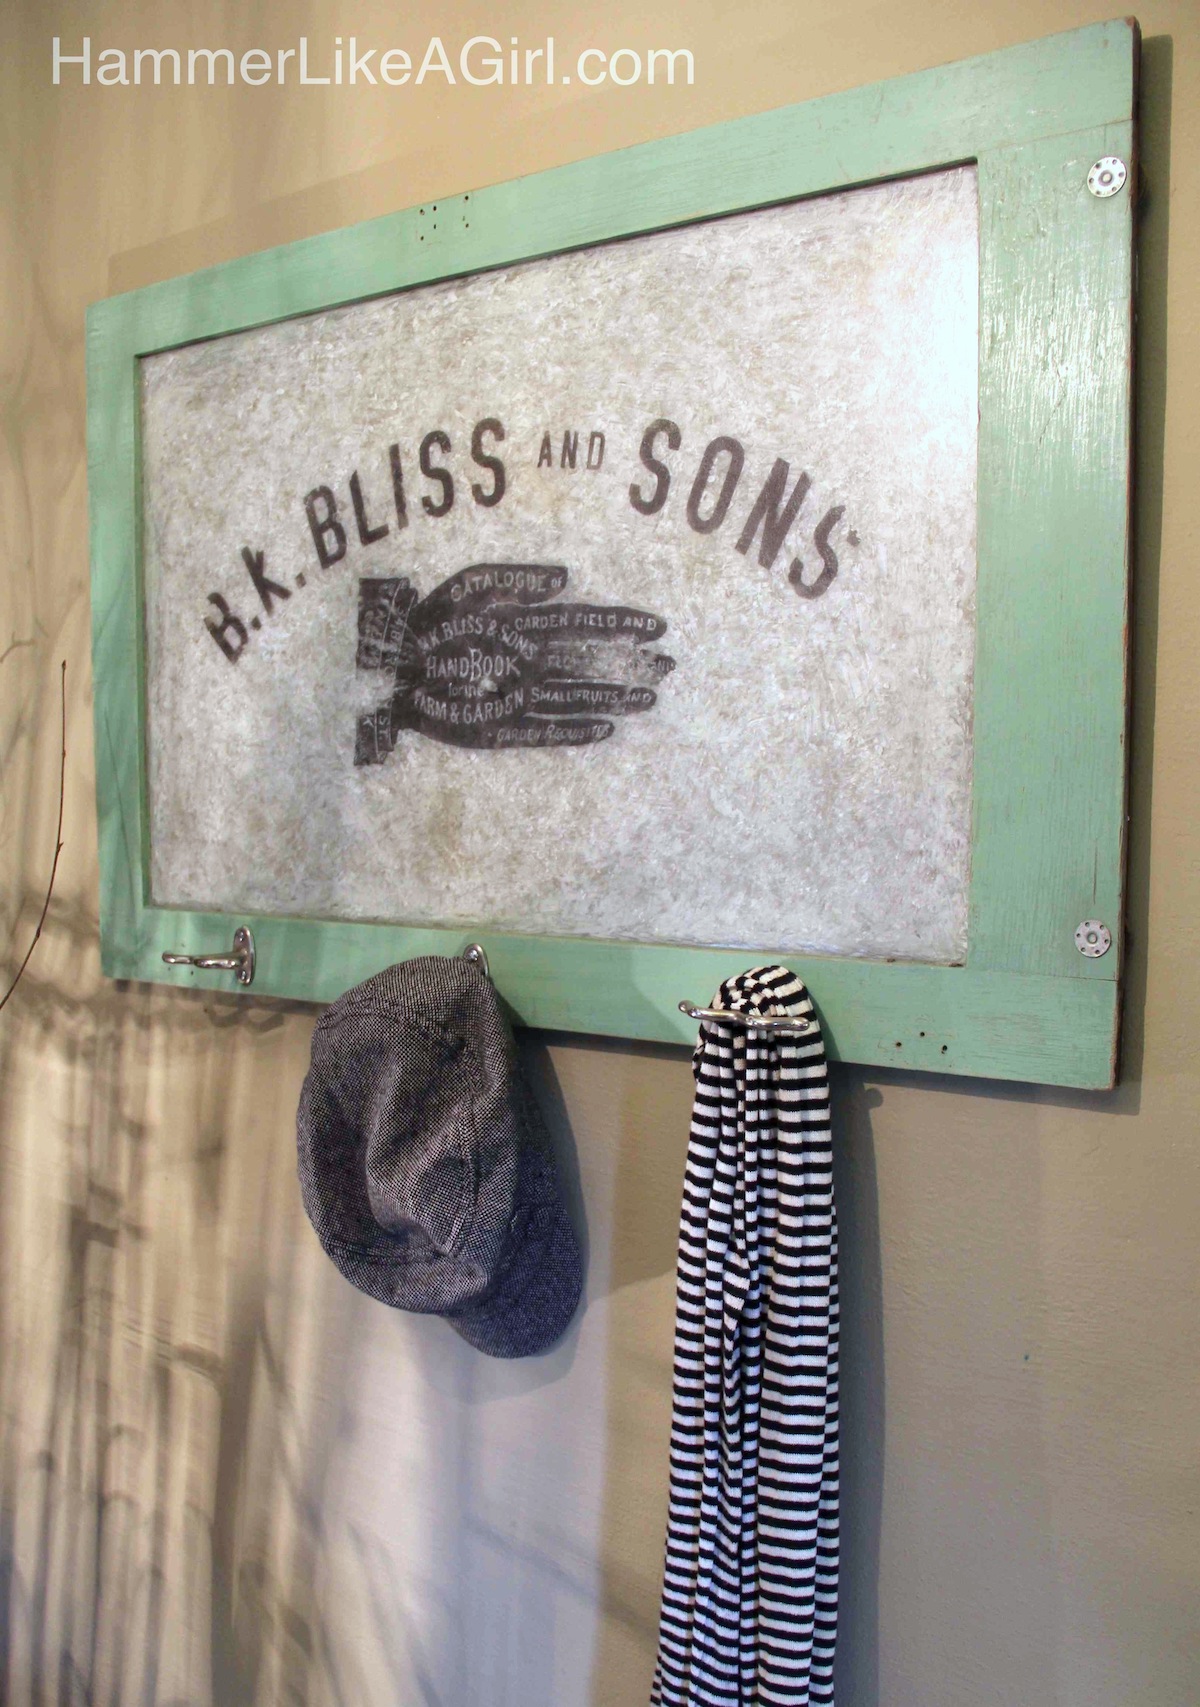
This awesome coat rack started out as a vintage window – but with a little paint and a photo transfer to glass, it got a whole new life!
Hello! We are the women behind the blog Hammer Like a Girl, here today with a project you’ll enjoy: our vintage window with a photo transfer to glass.
We always see cool, old, beautiful windows – whether in salvage yards or being given away along the curb. It is hard to know what do with these great old relics – a person only needs so many greenhouses! We wanted to use it as part of our farmhouse decor, so we decided it needed to become a DIY.
Vintage Window Decor
We found a way to re-purpose a window into a “vintage” sign with coat hooks, using Mod Podge (of course!) for a photo transfer to glass and clip art.
The Idea: We got a pair of windows from my friend who had saved them for many years, thinking they were cool. We were lucky enough to be on the receiving end when she was purging her basement! Yay us!
(Moral of the story: hang around other people’s houses when they are cleaning.) We thought it would be interesting if the windows were made to look like they might’ve been old transom windows above a shop door, complete with vintage signage.
This was the first time we’ve attempted to transfer a graphic onto glass (or to any other material for that matter!) so we searched a bit online to see about a process, but there wasn’t too much out there.
This is a very helpful tutorial on transferring an inkjet print onto wood, using Washable Elmers Glue and Mod Podge, so that is where we started.
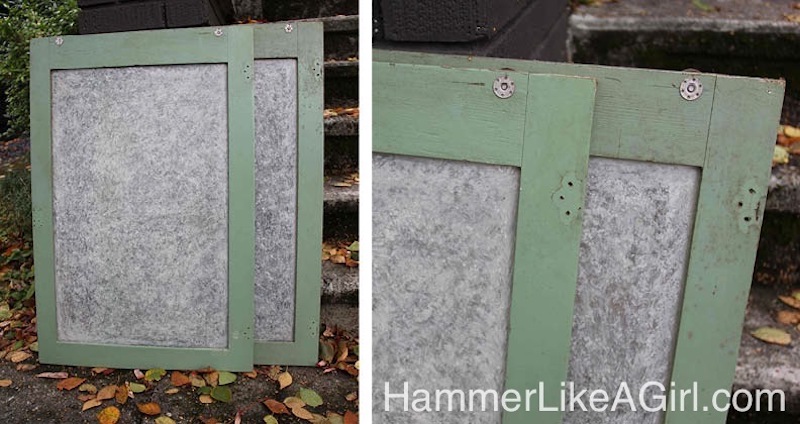
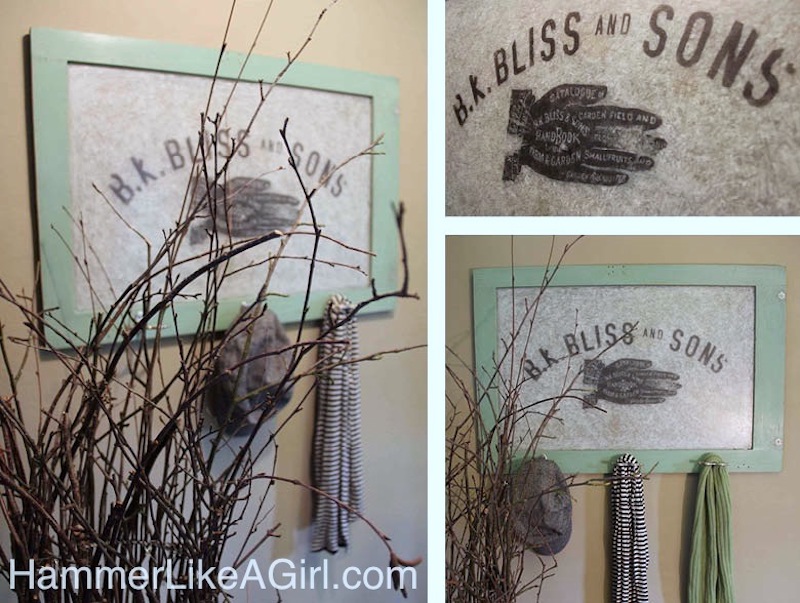
These particular windows had a texture on the glass, which you can see in the photo above. This texture is one of the reasons this project works – it creates a “tooth/texture” for the Mod Podge to stick to and the texture hides any edges you may see left behind by the glue and Mod Podge.
Preparing Your Surface
You can re-create this painted texture on a plain glass window this way:
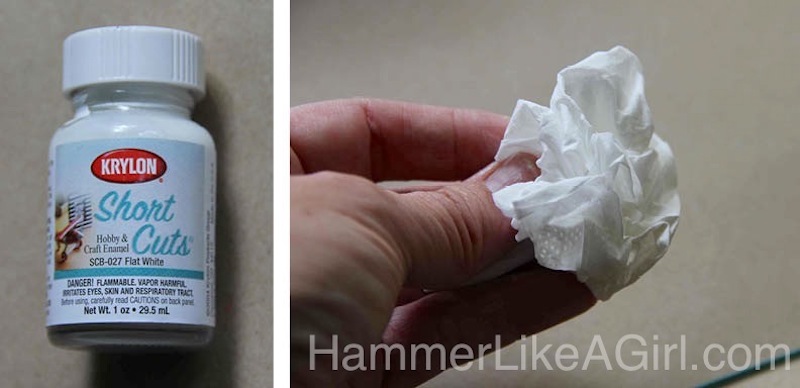

Using enamel paint (oil-based) and a crumpled tissue, lightly dab the paint on your clean glass window. Apply paint to both sides of the window.
Let it cure/dry for a couple days. We would recommend a coat of satin Verathane on top to further seal the paint.
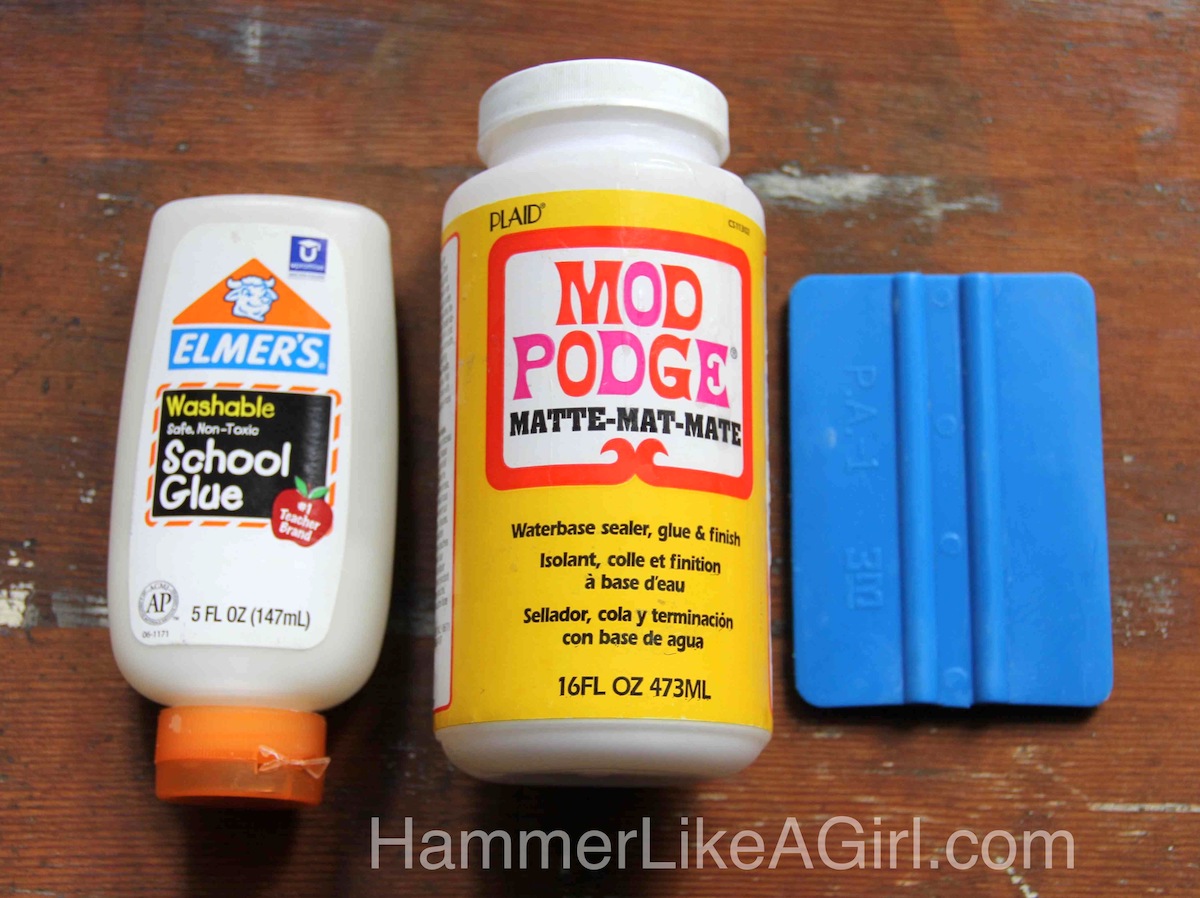
Supplies: Elmer’s Washable Glue, Matte Mod Podge and a plastic squeegee (available at art/graphic stores or online.) You could also use an old credit card.
Preparing Paper
We used the process on the matsutake blog. We coated several pages of cover stock with Elmer’s Washable Glue, let it dry and then flattened the paper between pages of a book.
Then we designed and sized our graphic – we used an image of a hand advertising a seed company from a Dover clip art book, a copyright-free source.
Using an old looking font, we set “B.K.Bliss and Sons”, the name of the seed company, in an arch above the top of the hand in Adobe InDesign.
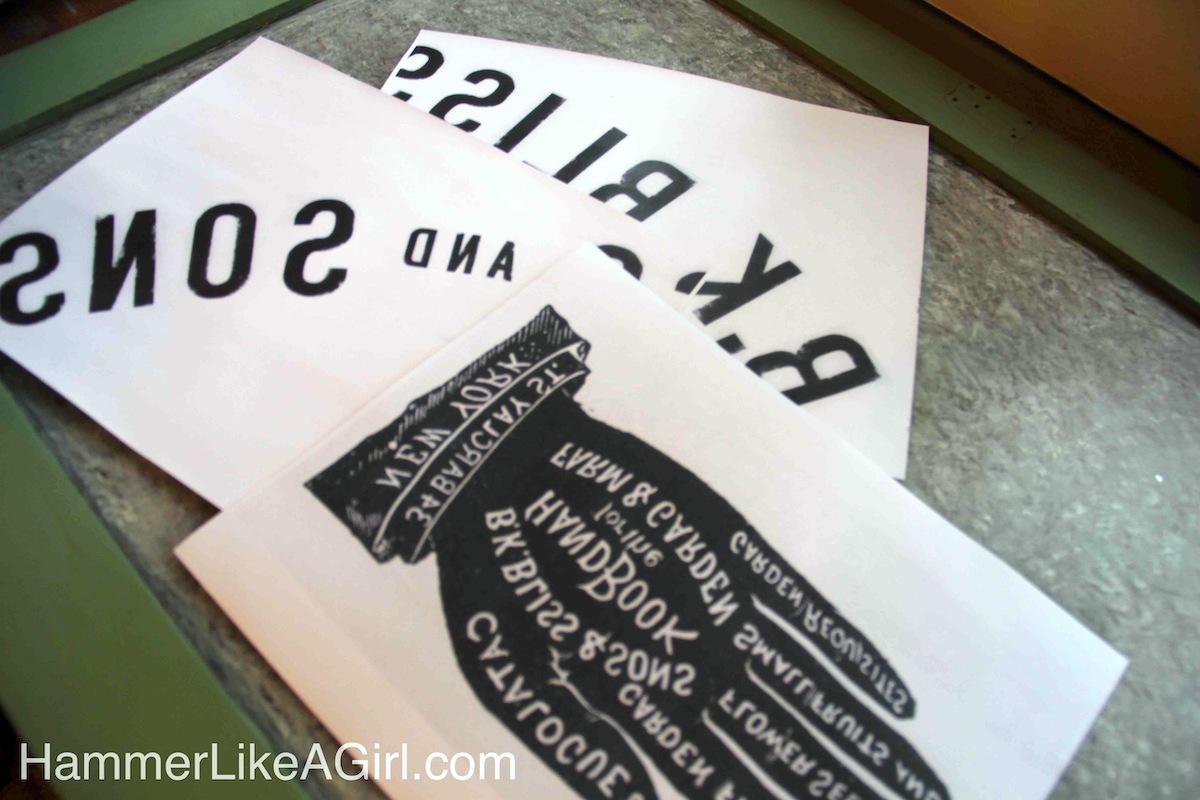
Using an ink jet printer, with water-proof inks, we printed out a reversed image on to the glue-coated cover stock. We let the prints dry for a few hours.
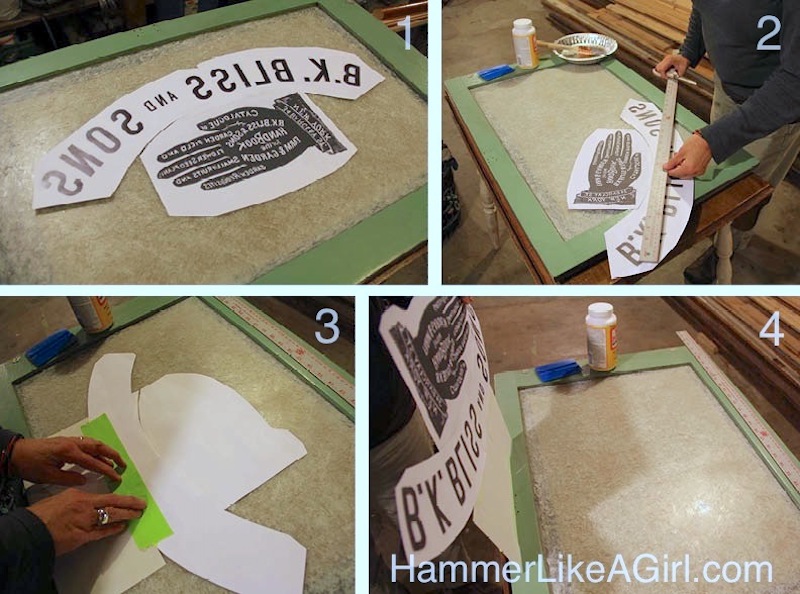
Prepping For Transfer
- Trimmed and pieced together graphic. It is important to trim the paper neatly and tightly around the art (as opposed to this photo, where it is catty-wampus and messy – we later fixed it) because those edges will show in the final product.
- Finding the center of the graphic and window for placement.
- Once art is positioned on the window correctly, we connected a “hinge” onto the art and attached it to the window frame so art would be in correct position when we needed it.
- Hinged art, up and ready for next step.
Photo Transfer to Glass
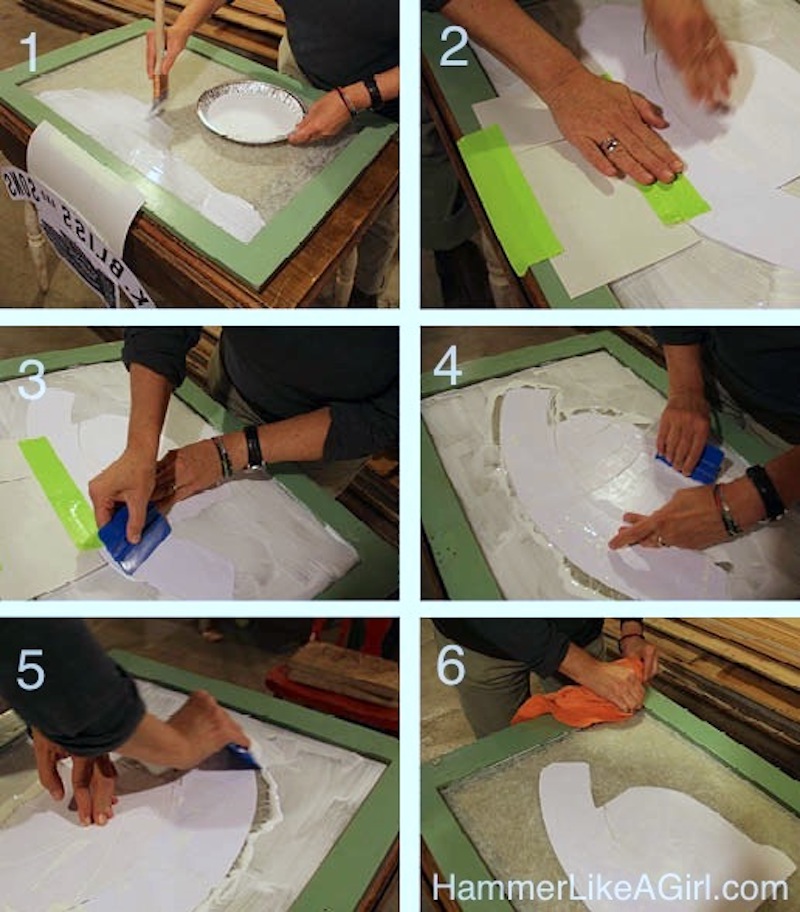
- Applying medium/thick layer of Mod Podge. You can learn from our mistakes – you do not need to apply the Mod Podge to the entire surface of the glass, only to the area where the image will transfer (you could also spread it on the image instead).
- Flipping the hinge and pressing the image down onto the Mod Podge.
- Using a burnishing tool held at a angle, (you could also use a credit card), working from the center out, squeezing out excess Mod Podge and pressing image firmly onto glass.
- Continuing to press image.
- Did we mention you need to press down the image?
- Cleaning up excess Mod Podge with a dry rag. If you only put the Mod Podge where the image is, you won’t have to clean up as much as we did. We had a lot of excess.
Let it Dry
Be patient and let it dry – overnight preferably.
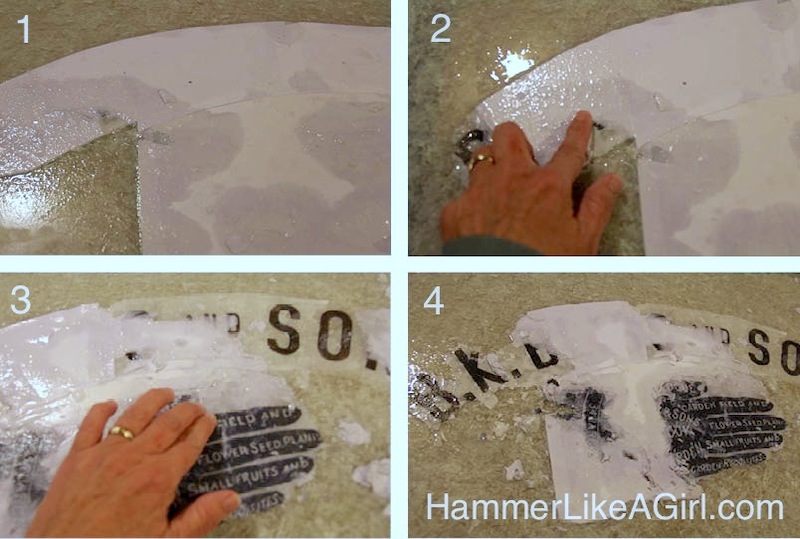
Removing the Backing
This part is tricky and requires patience and blind faith that everything will look ok after it dries. Also, remember the key is that this is intended to look vintage, aka not perfect.
- Completely wet the paper, with wet sponge or spray bottle, letting it soak in.
- Gently rub off the paper with your fingers, working from the center out. We found if you start at the edges, the image peeled off (oh crap).
- Keep rubbing gently across image, removing paper bits as you go, re-wetting as necessary – a messy process.
Step Back and Let it Dry
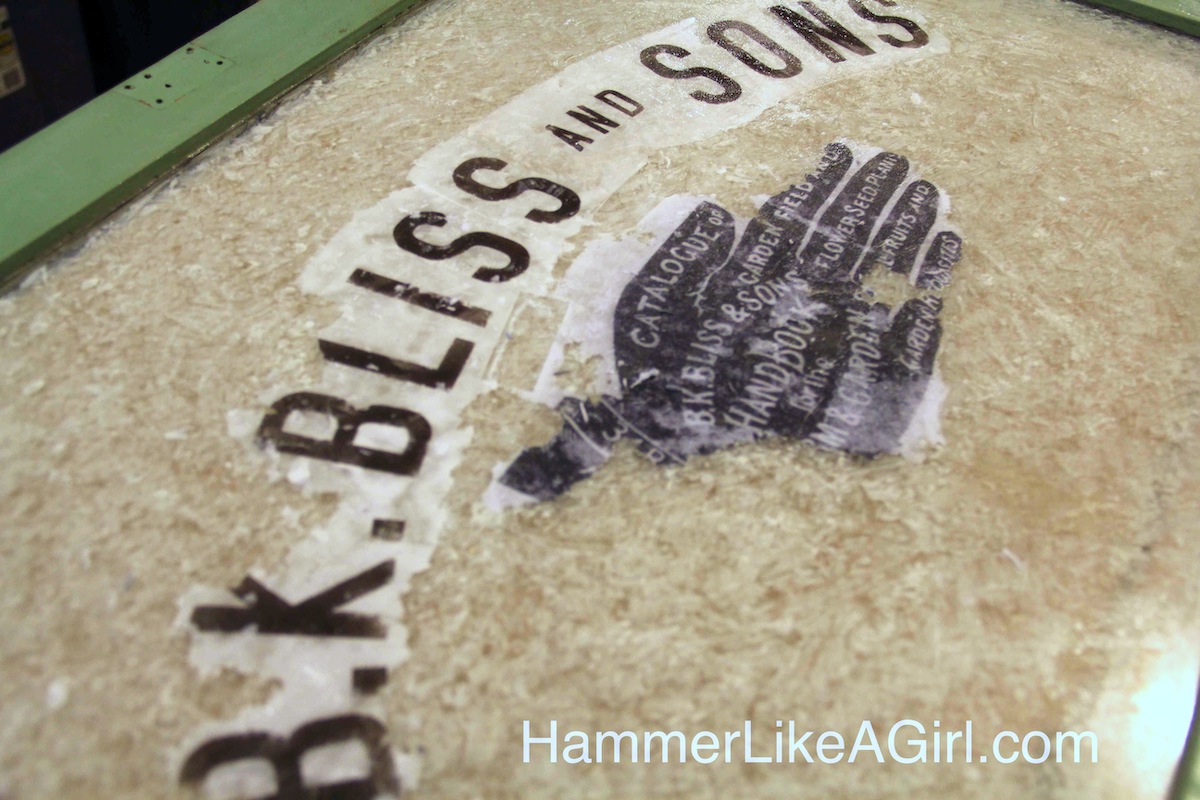
After we removed all the bits of paper and excess glue this is what it looked like. We still thought it really hadn’t worked, but that we would let it dry just in case.
After giving it a chance to dry, it actually looked really good, although the edges were still slightly visible. We were a little/lot disappointed with how much of the hand came off, so decided to re-do that part.
Re-Doing the Hand
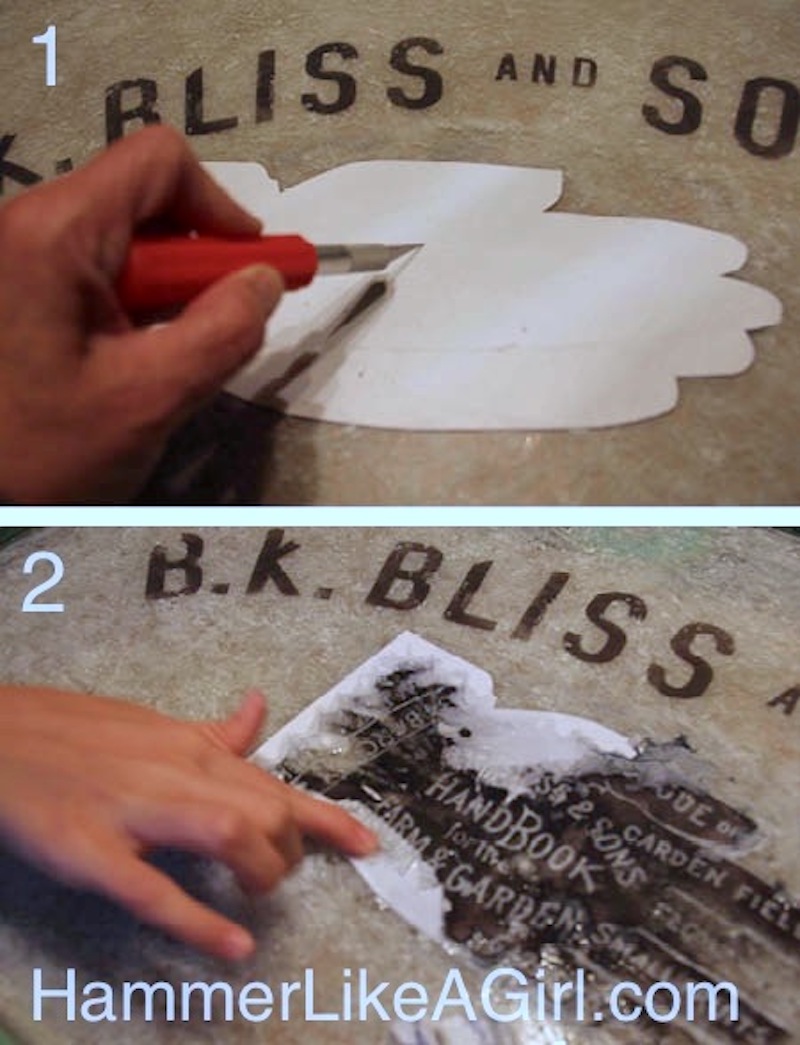
We re-wet and gently rubbed off the hand, printed out another, trimmed it carefully, and re-did that area.
This time, we gently cut through the top layers of paper stock in tic/tac/toe patterns with an X-Acto knife (1) so the water could better soak in. Again, we worked from the center out, carefully rubbing off the paper bits (2).
Applying One Last Coat of Verathane
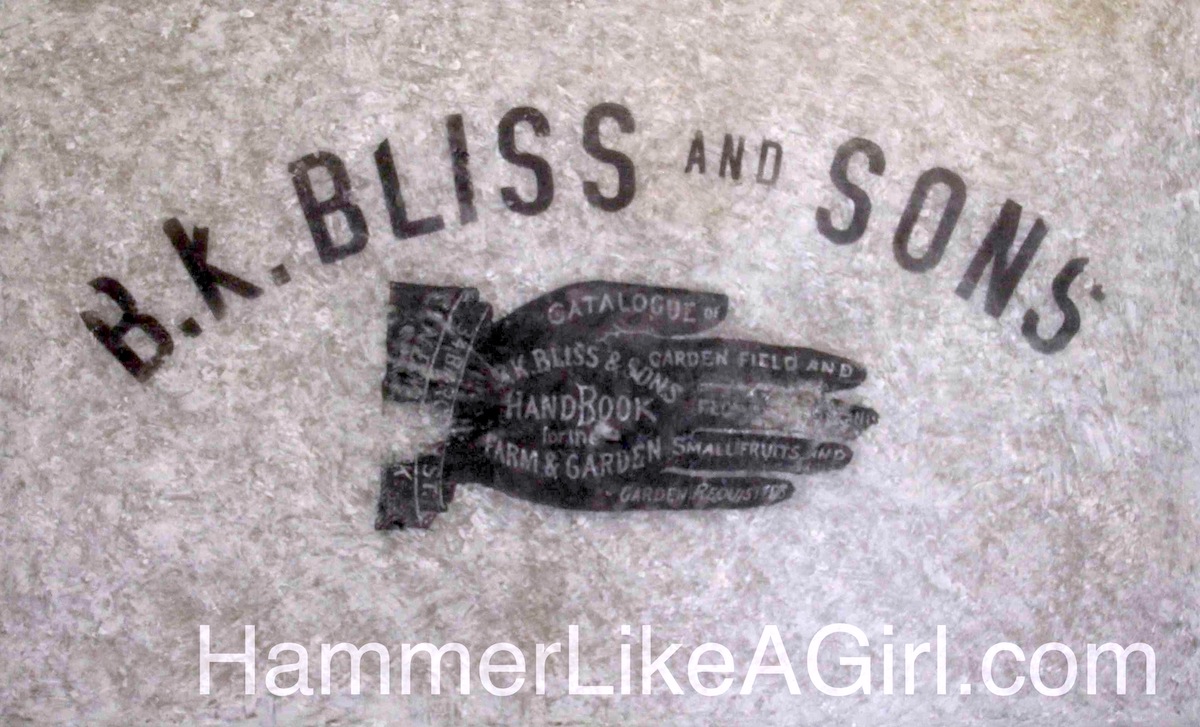
After letting it dry, we sealed the entire photo transfer to glass, coating it with satin Verathane, using a foam brush. It hides the imperfections of the edges and unifies the entire surface.

After it dried, we added three old hooks to the bottom edge. We are so happy with the way our photo transfer to glass turned out! It has the look we were looking for – imperfect, old and funky.
Makes a person look at old windows and think “hmmmm, what could I Mod Podge onto that one?”
Things we learned transferring photos to glass:
- Don’t rub too hard in painted areas, you could rub the paint off. If this happens, don’t worry, you can just re-apply more paint after the whole thing is dry – either on the front of the glass or the back. Again, adding the final coat of Verathane covers up a multitude of sins.
- It wouldn’t hurt to do a little test on an extra piece of glass just to get the hang of it.
- Support the underside of the glass with cardboard (or something similar) when you are pressing down your image so the glass doesn’t break.
- Just for fun, we tried a test using regular printer weight paper (instead of cover stock) and no glue, and it seemed to work ok. You don’t have to deal with a slimy glue residue on top of the image and the lighter weight paper is much easier to rub off, although you have to be very careful while you are pressing down during the transfer process – the thinner paper is very delicate.
If you like this photo transfer to glass, you may also like these projects that we’ve done:
Don’t forget to come visit us at Hammer Like a Girl for more projects!


