Create a faux stained glass look with Mod Podge tissue paper stained glass. This is one of the easiest decoupage projects you’ll ever do.
Skills Required: Beginner. Tissue paper can wrinkle (though it’s part of the character!) so it helps to have some experience with Mod Podge.
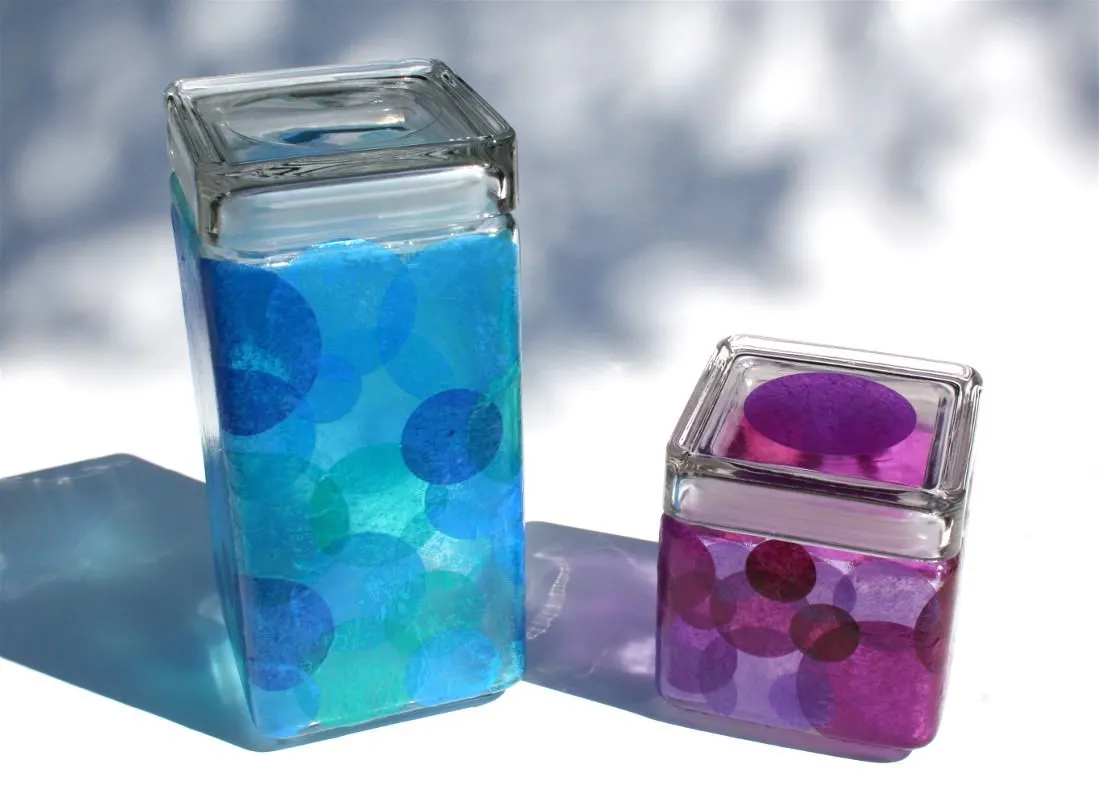
I get asked quite frequently how to Mod Podge tissue paper without wrinkles. Honestly, I feel that for most people (including myself) it’s pretty difficult. Especially when the tissue paper is in large sheets!
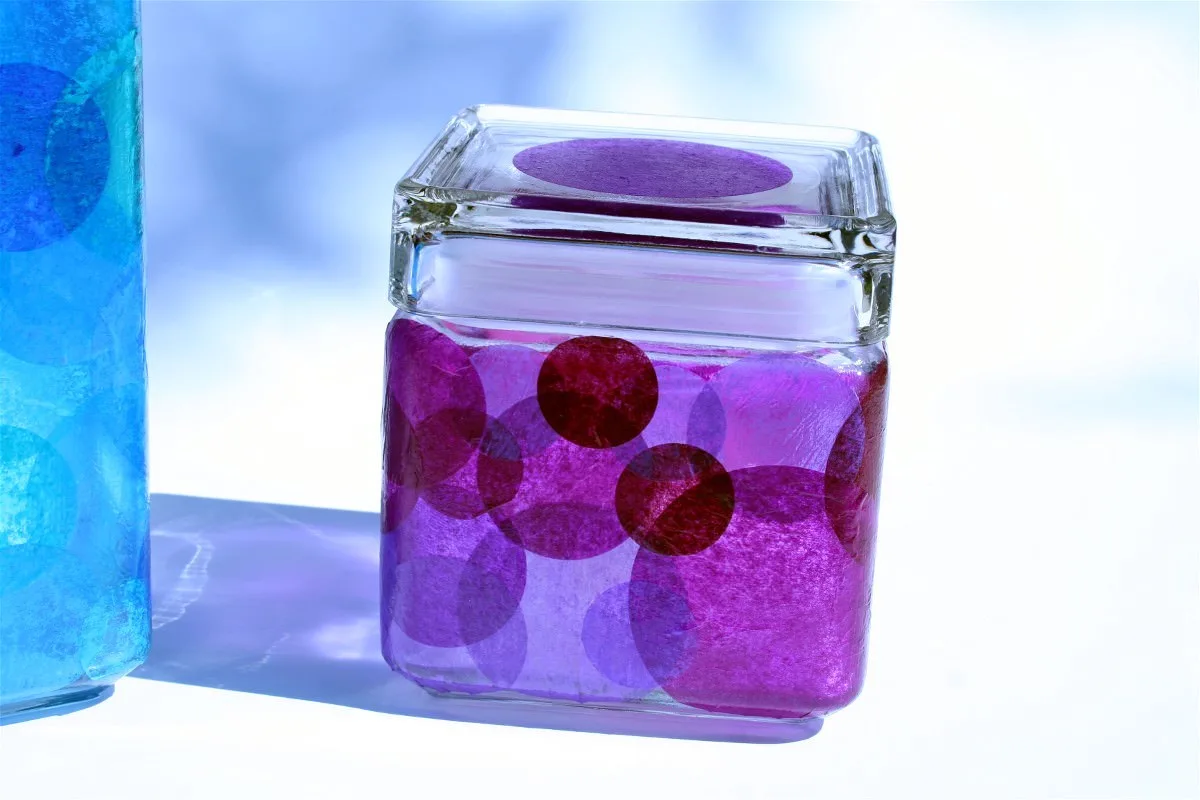
Tissue Paper on Glass
But there IS a way to Mod Podge tissue paper on glass to get a faux stained glass effect WITHOUT wrinkles! You’re going to cut that tissue paper down from big sheets into shapes. Let me show you what I did.
At one point in my life I got ahold of some cool glass jars with fitted lids:
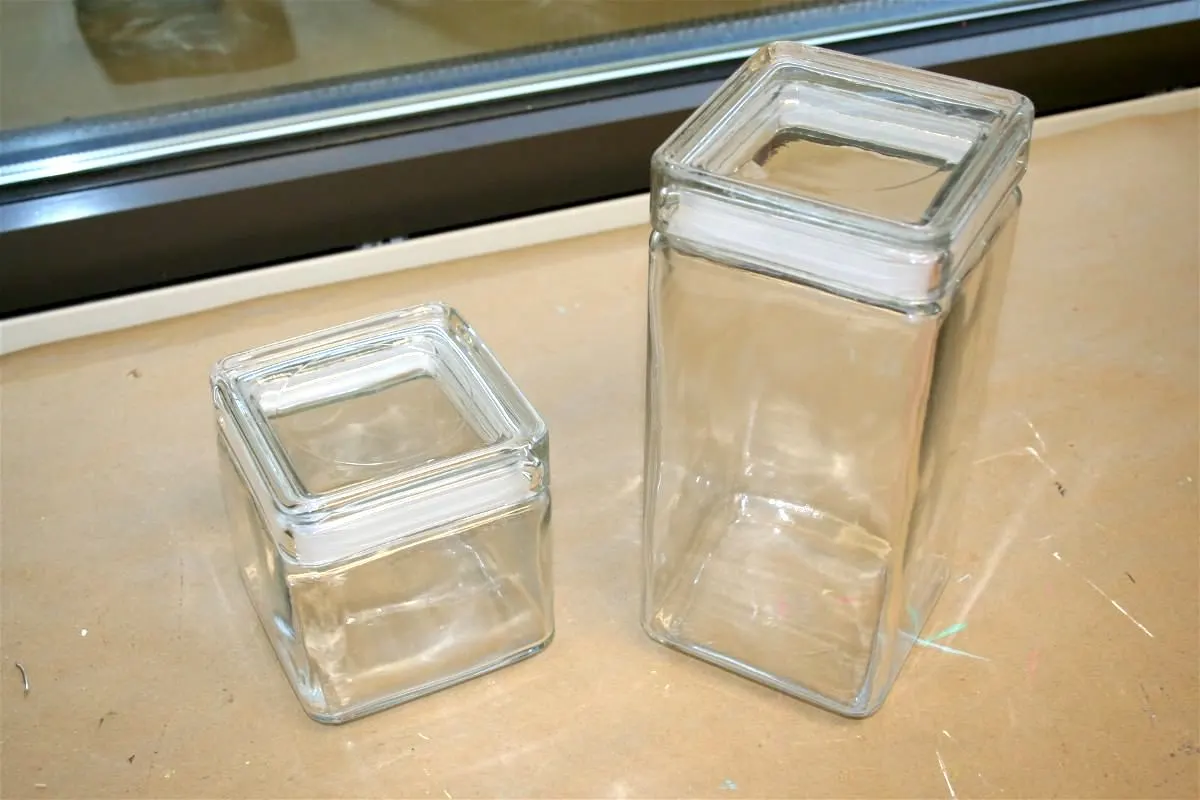
I liked them but not plain – I wanted to spice them up a bit. So what is a Mod Podger to do? Well, of course, decoupage them with tissue paper.
I love tissue paper on glass because with the light, it gives a bit of a faux stained glass look. As you can see from my first pictures. So how did I do it?
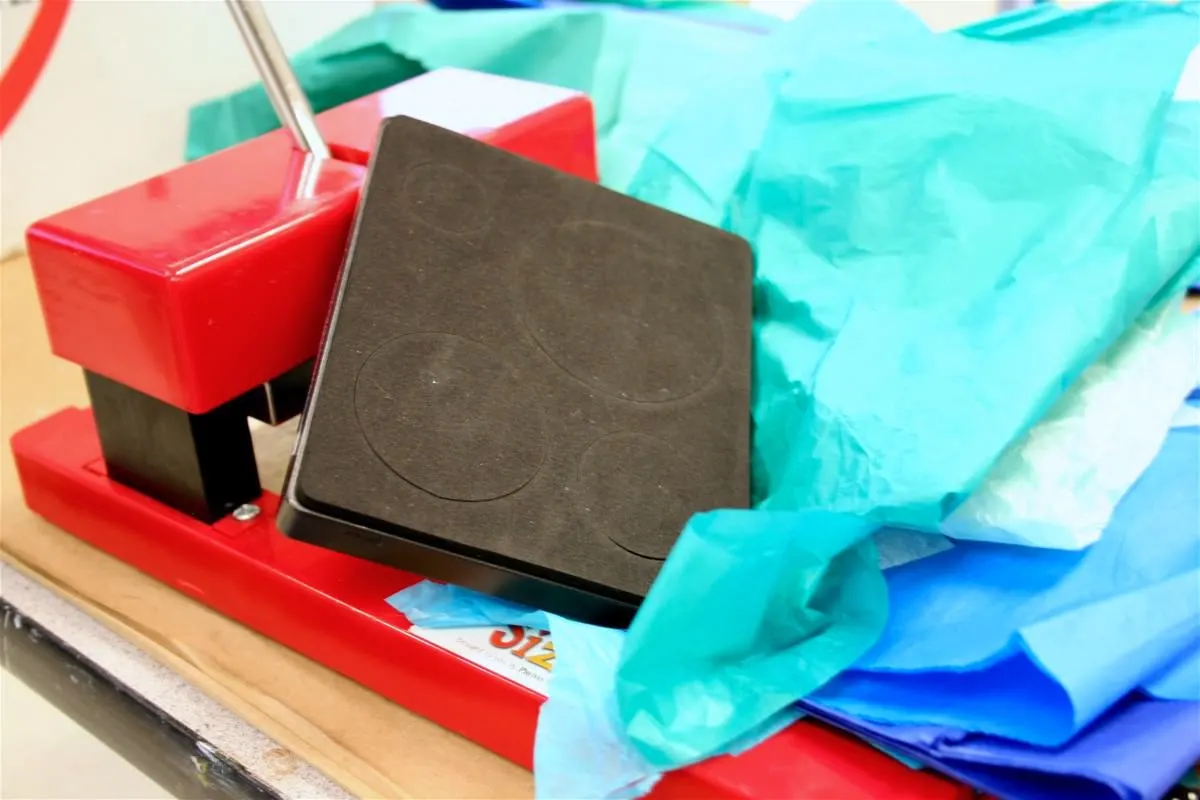
All I used was tissue paper, a Sizzix machine with a circle die and Mod Podge Gloss. If you don’t have a Sizzix, you can use a circle template or a punch.
I find that I can only use a punch with tissue paper if I punch multiple pieces of paper at a time AND include a piece of regular paper. Otherwise the tissue paper just kind of folds into the punch. Keep that in mind!
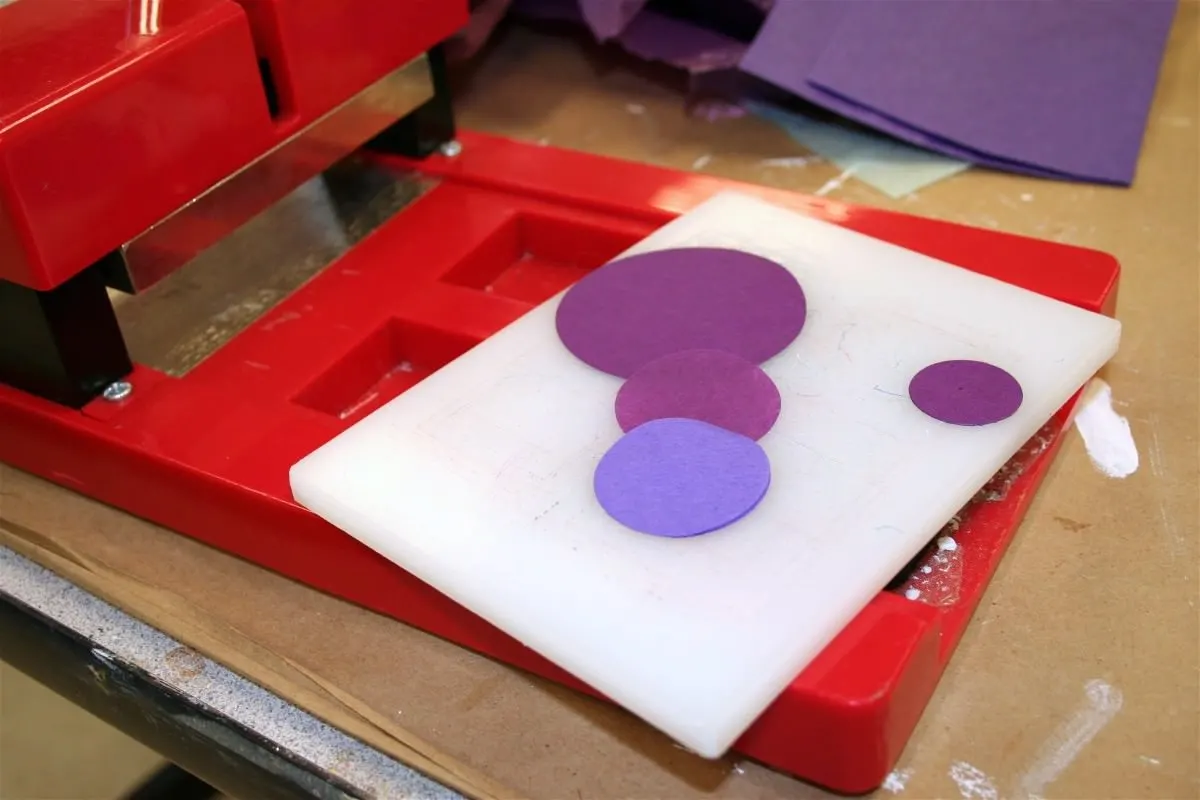
The Sizzix is nice just because it cuts out a lot of tissue paper at once. In various sizes.
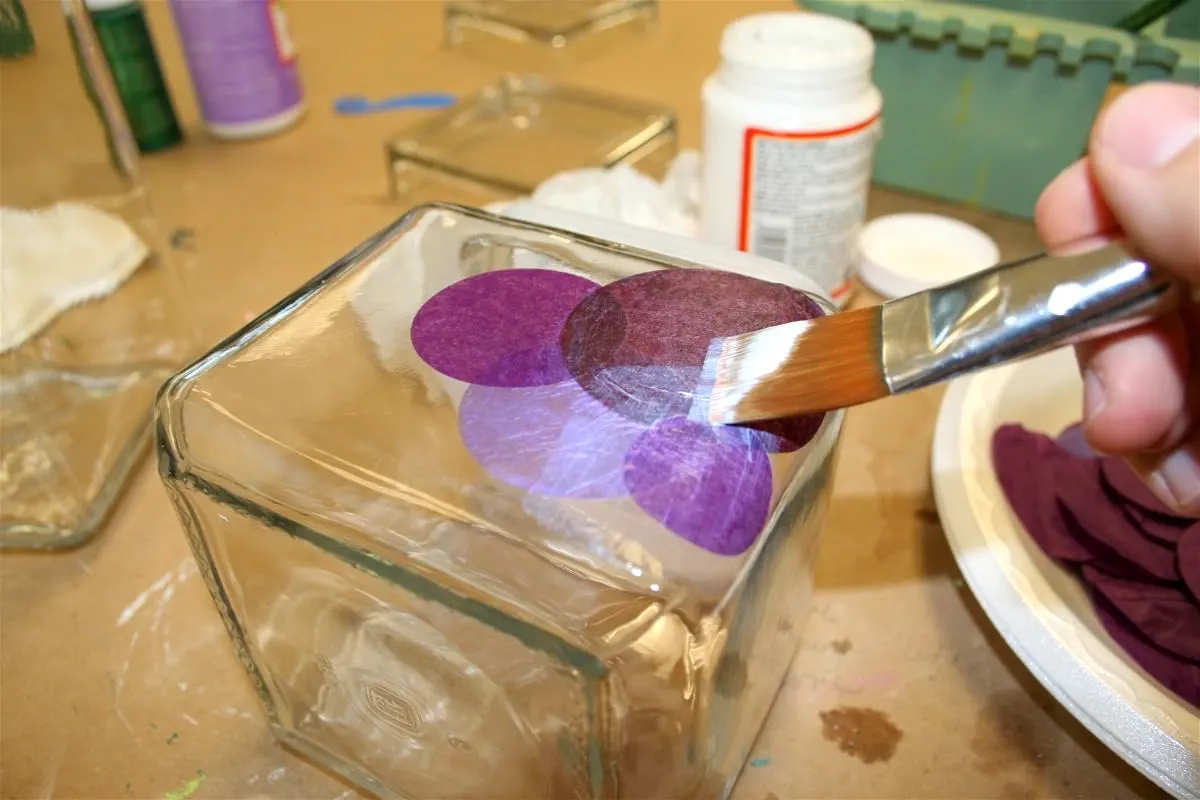
Once you have the circles, Mod Podge them down (very carefully so they don’t tear).
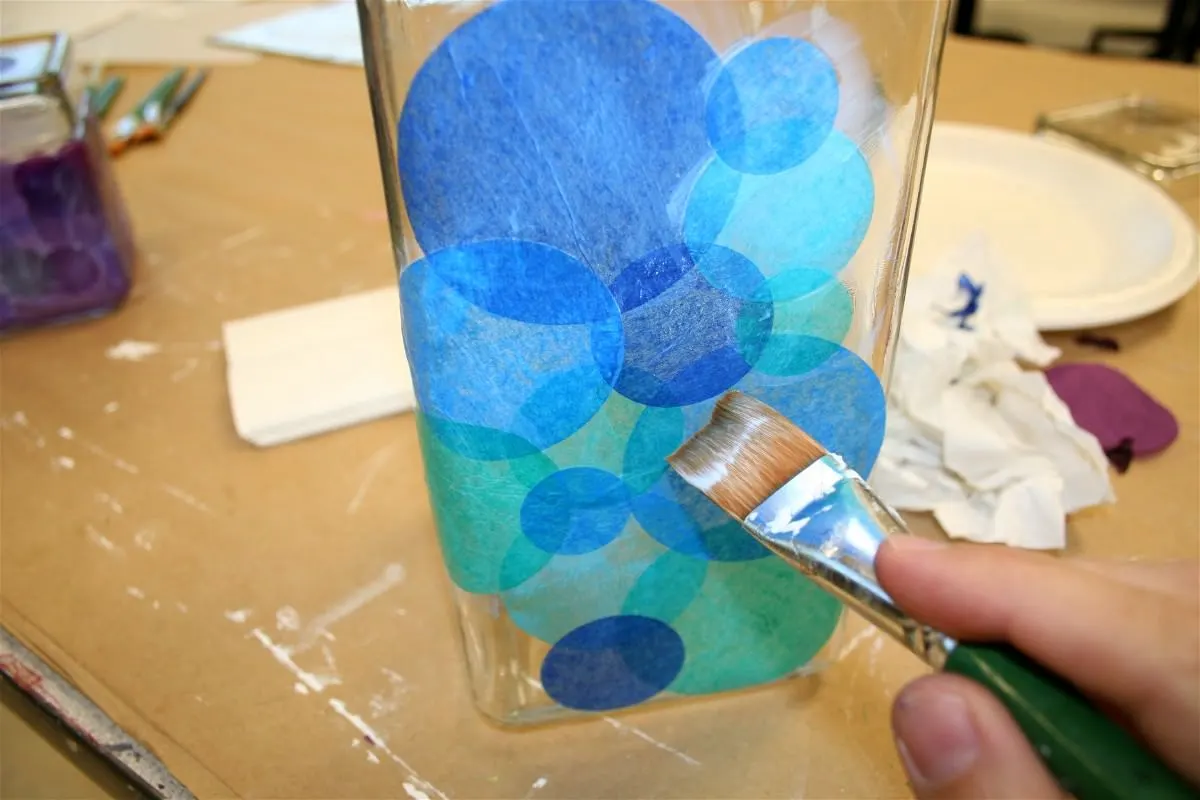
Layering circles of different colors of tissue paper gives them a cool effect.
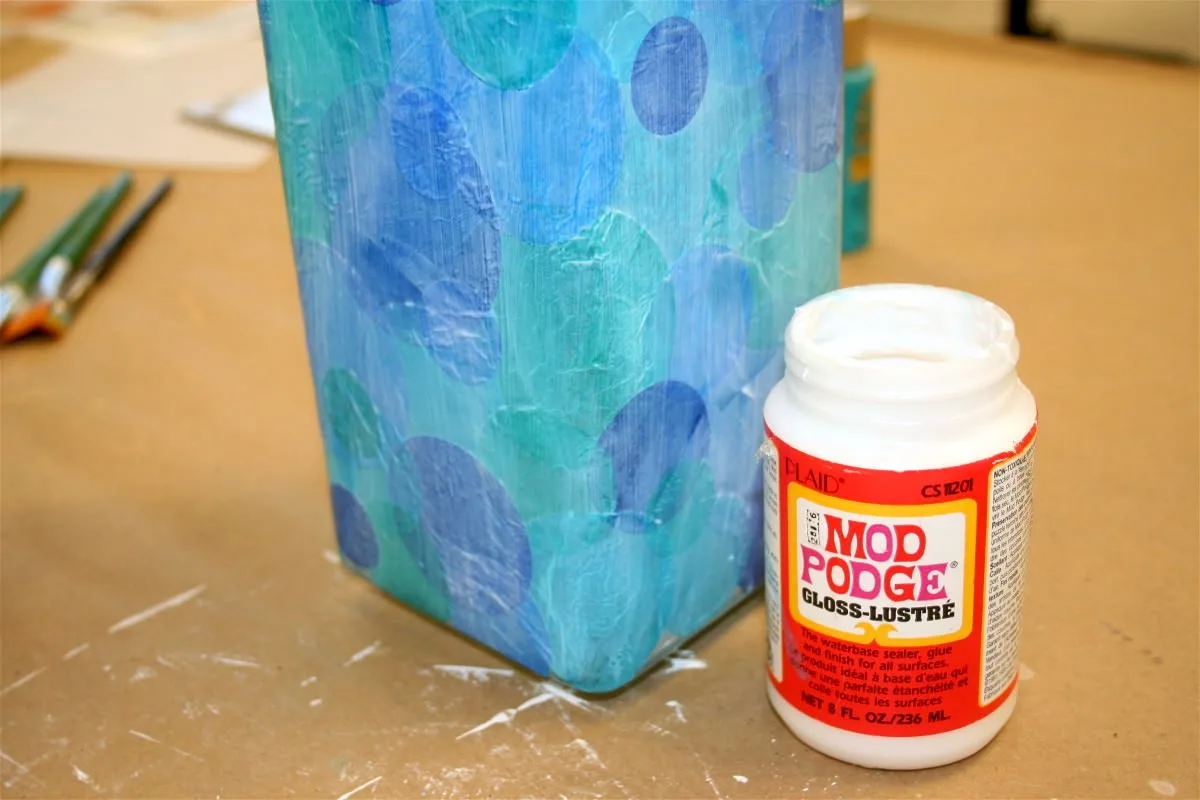
Once you are done layering, apply a final coat and let both containers dry.
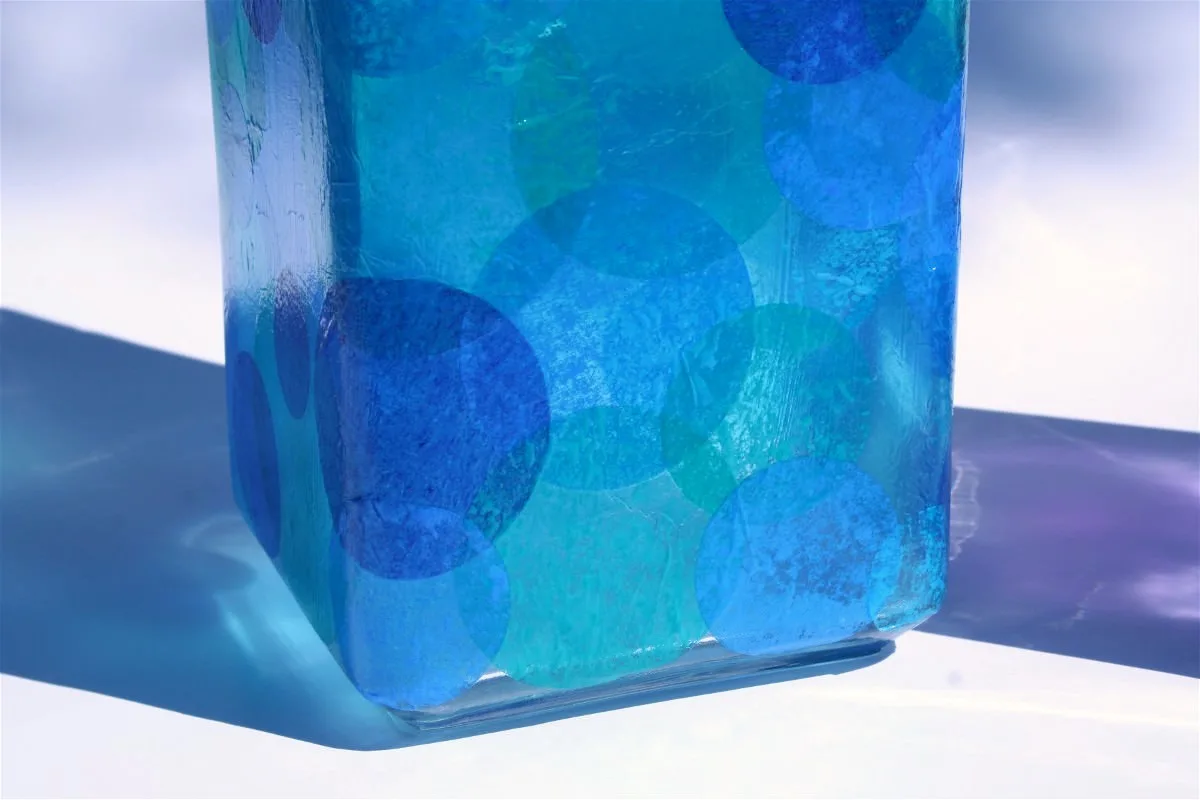
The Mod Podge tissue paper on glass creates a beautiful effect when the light shines through!

These updated containers are so colorful, and you can make them with any shades of paper and shapes that you like. I’m partial to the blue . . .
Tissue Paper Stained Glass
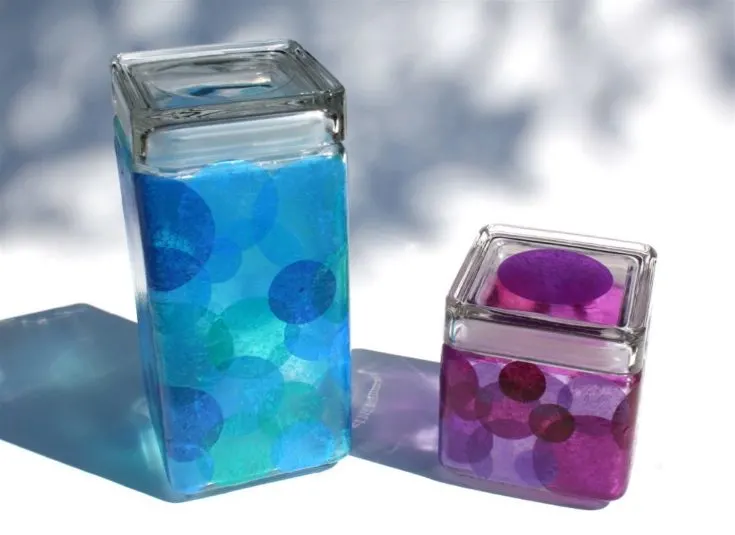
Learn how to apply tissue paper to glass with Mod Podge - for the coolest stained glass effect! It's really easy.
Materials
- Tissue paper
- Glass jar
- Mod Podge Gloss
Tools
- Sizzix machine and circle die or circle template
- Paintbrush
- Scissors or craft knife
Instructions
- Wash your glass with mild soap and water or rubbing alcohol; let dry.
- Cut circles of various sizes from the tissue paper using either a die cutter or a template. Cut out enough to cover the jar(s).
- Place a thin layer of Mod Podge down on the jar in a small area. Place one circle down on the top and smooth lightly with your brush. Don't overbrush or you'll tear the circle.
- Repeat with additional circles, overlapping as you go. Wipe away excess Mod Podge when necessary.
- Once the entire jar is finished, let dry. Then apply two coats of Mod Podge over the top of the jar, letting dry between each.
- Trim the edges of the jar with a craft knife before using.
For additional Mod Podge projects that I think you’re going to like, check out these other ideas:

Jean
Thursday 10th of February 2022
Having a week~end with my grandaughter. This should be a great craft to try with her. Thanks, Amy.
Anonymous
Tuesday 18th of September 2012
I love these! We did these with our daisy girl scout troop to learn about recycling and reusing items. They all brought a jar from home and saved tissue paper left over from Christmas.
Anonymous
Thursday 2nd of August 2012
I saw some mason jars coated w/ MP. They were clear but had a rustic look I would like to copy for my storage jars in the kitchen which sit on an open shelf. (i store cornmeal, brown sugar, etc. in them)This will be my first ever craft so any advice would be appreciated.
Kristin Glas
Tuesday 29th of May 2012
My kids like to mix up bath salts, those would be great to store it in. We'd have to use glitter ModPodge of course.
Debra Kapellakis
Monday 7th of May 2012
Those are very pretty. I wish I had mod podge here.