
Learn how to make faux stained glass with Mod Podge glue and acrylic paint! This colorful DIY window art looks beautiful in sunlight and is easy to customize.
Skills Required: None. You don’t need any prior crafting experience to make this project. That’s what makes it so fun!
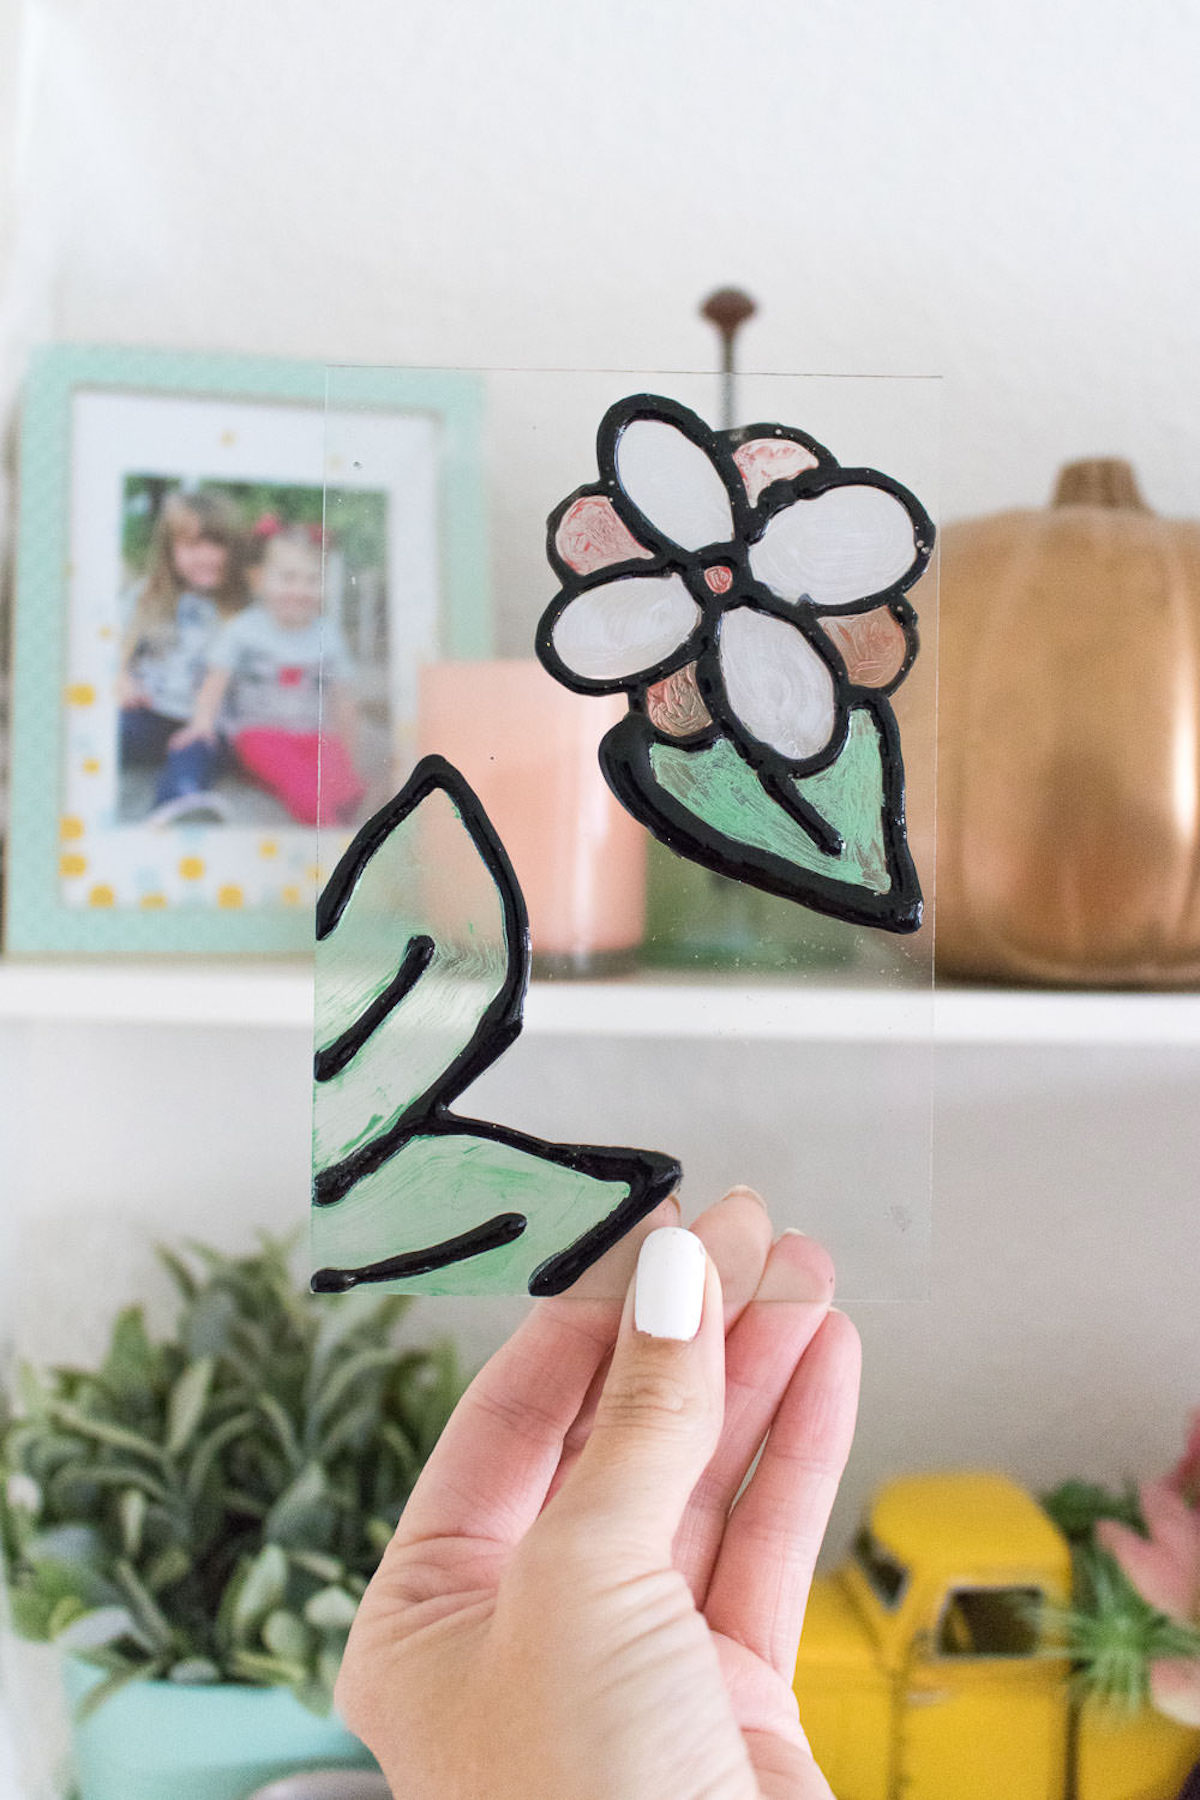
I’ve always loved the look of stained glass.
There’s just something about sunlight coming through colorful glass that instantly makes a room feel prettier and more interesting. Unfortunately, actual stained glass also involves cutting glass, soldering things together, and possessing a level of coordination I absolutely do not have.
So naturally, I became obsessed with faux stained glass instead.
Because honestly? This project gives you a very similar look using Mod Podge, acrylic paint, and a thrift store frame for a fraction of the cost and stress.
That’s my kind of crafting.
What I especially love about this project is that it looks impressive without being difficult. You don’t need special artistic talent, expensive supplies, or a dedicated craft studio. If you can squeeze glue from a bottle and hold a brush reasonably steady, you can make this project.
And unlike real stained glass, this technique is forgiving.
Tiny mistakes disappear once the sunlight starts shining through the colors. Slightly uneven leading lines actually make the project feel more handmade and artistic instead of machine perfect.
That’s part of the charm.
For this version, I used a floral design because flowers work beautifully with translucent color. Petals, leaves, and curved lines naturally mimic the look of traditional stained glass windows once the paint dries.
And the colors are honestly half the fun.
Soft pinks, golden yellows, emerald greens, rich purples, warm amber shades, or even touches of deep blue all look gorgeous depending on the mood you want. You can make your faux stained glass bright and cheerful or dark and dramatic.
I also love that you can customize the frame to match your decor style. Black feels modern, metallics feel vintage, and distressed finishes make everything look wonderfully thrifted and artsy.
Plus this project is weirdly relaxing.
There’s something incredibly satisfying about outlining the floral pattern, mixing colors into the Mod Podge, and slowly filling each section with a brush while pretending you’re a highly skilled glass artist instead of someone crafting at the dining room table in sweatpants.
Not that I would know anything about that.
Another thing I appreciate about this technique is how inexpensive it is compared to specialty glass paints and tools. Most people already have acrylic paint and glue sitting around the house, which makes this project feel approachable instead of intimidating.
And yes, sunlight completely transforms the finished piece.
Once the light shines through the colors, the entire project suddenly glows in a way that looks much fancier than it actually is.
Why This Imitation Stained Glass Technique Works
The magic comes from mixing acrylic paint (or even glass paint) with Mod Podge or clear glue.
Instead of creating solid opaque paint, the mixture stays translucent so light can pass through it. That transparency is what gives this project its signature look.
The raised black outlining is important too because it mimics the leading used in traditional stained glass windows. It also helps separate the colors and makes the floral design stand out beautifully once placed back into the frame.
Honestly, the stained glass effect is surprisingly convincing for such simple supplies.
Tips for the Best Results
Clean the Glass First
Before starting your project, wash and dry the glass thoroughly so the paint adheres properly.
Take Your Time with the Outlines
The lines of your pattern create the structure for the entire design, so slower is definitely better here.
Use Thin Layers of Color
Several lighter layers usually look better than one super thick coat of paint and glue.
Let Everything Dry Overnight
The outlining and color sections both need plenty of drying time before moving to the next step.
Use a Small Brush
A small brush gives you more control around flower petals and curved details.
Can Kids Make Faux Stained Glass?
Actually yes — with supervision and simpler patterns.
Large flowers and basic shapes work especially well for kids because the sections are easier to fill without smearing colors everywhere. Adults will probably enjoy making fake stained glass just as much though.
Possibly more!

Faux Stained Glass
Equipment
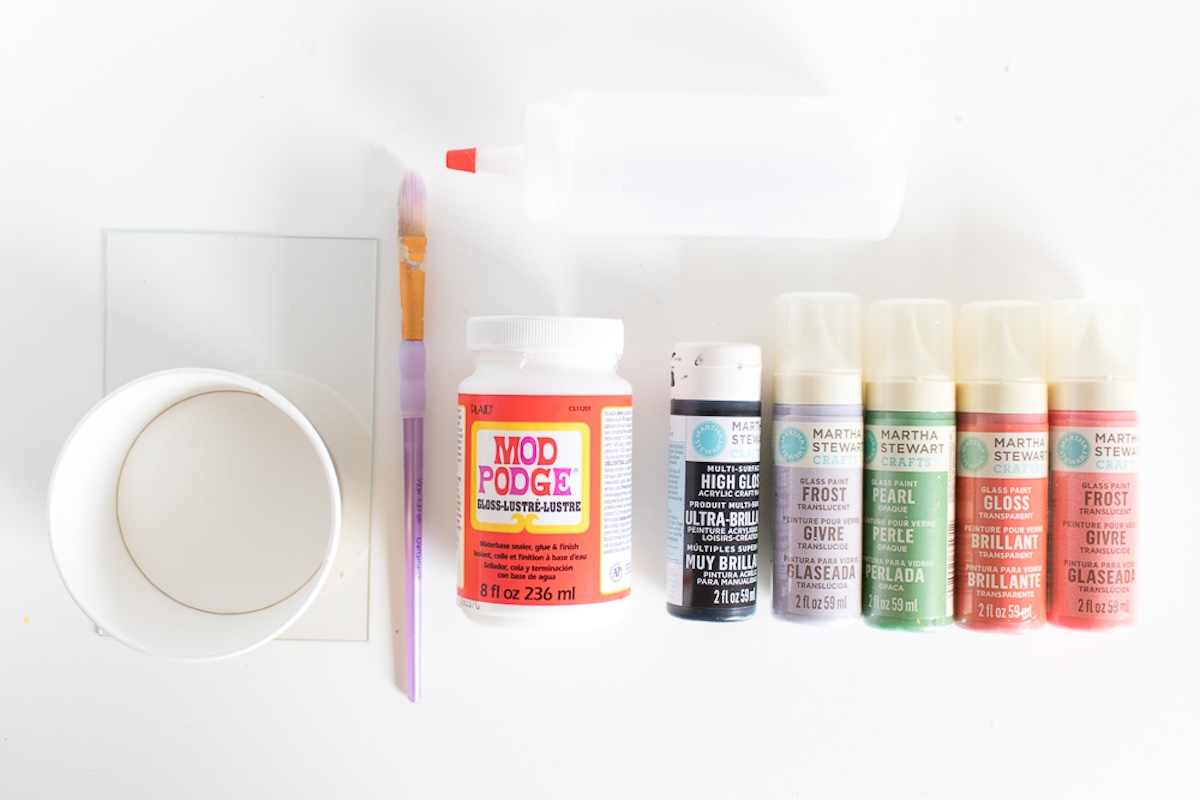
Materials
- 1 piece glass any size
- Mod Podge Gloss
- Acrylic paint black, and other colors for your design
- Glass paint low opacity
- Disposable bowl/cup
Video
Instructions
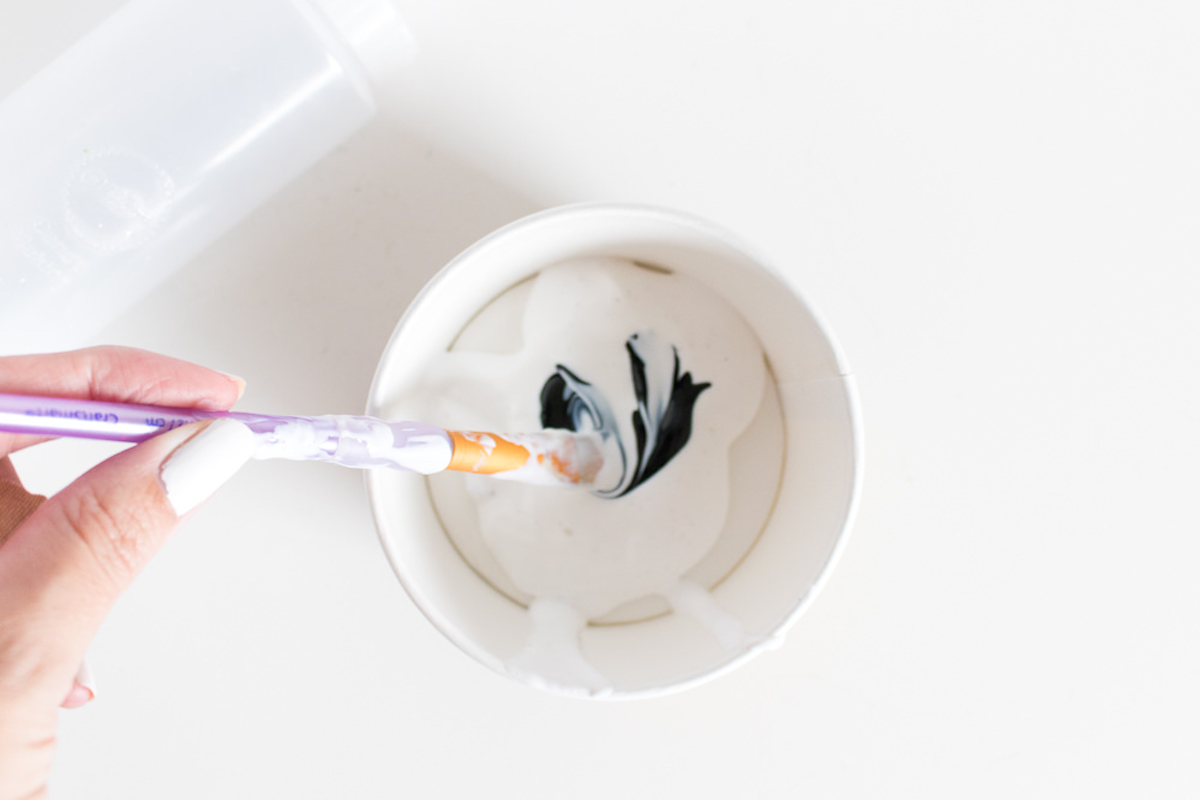
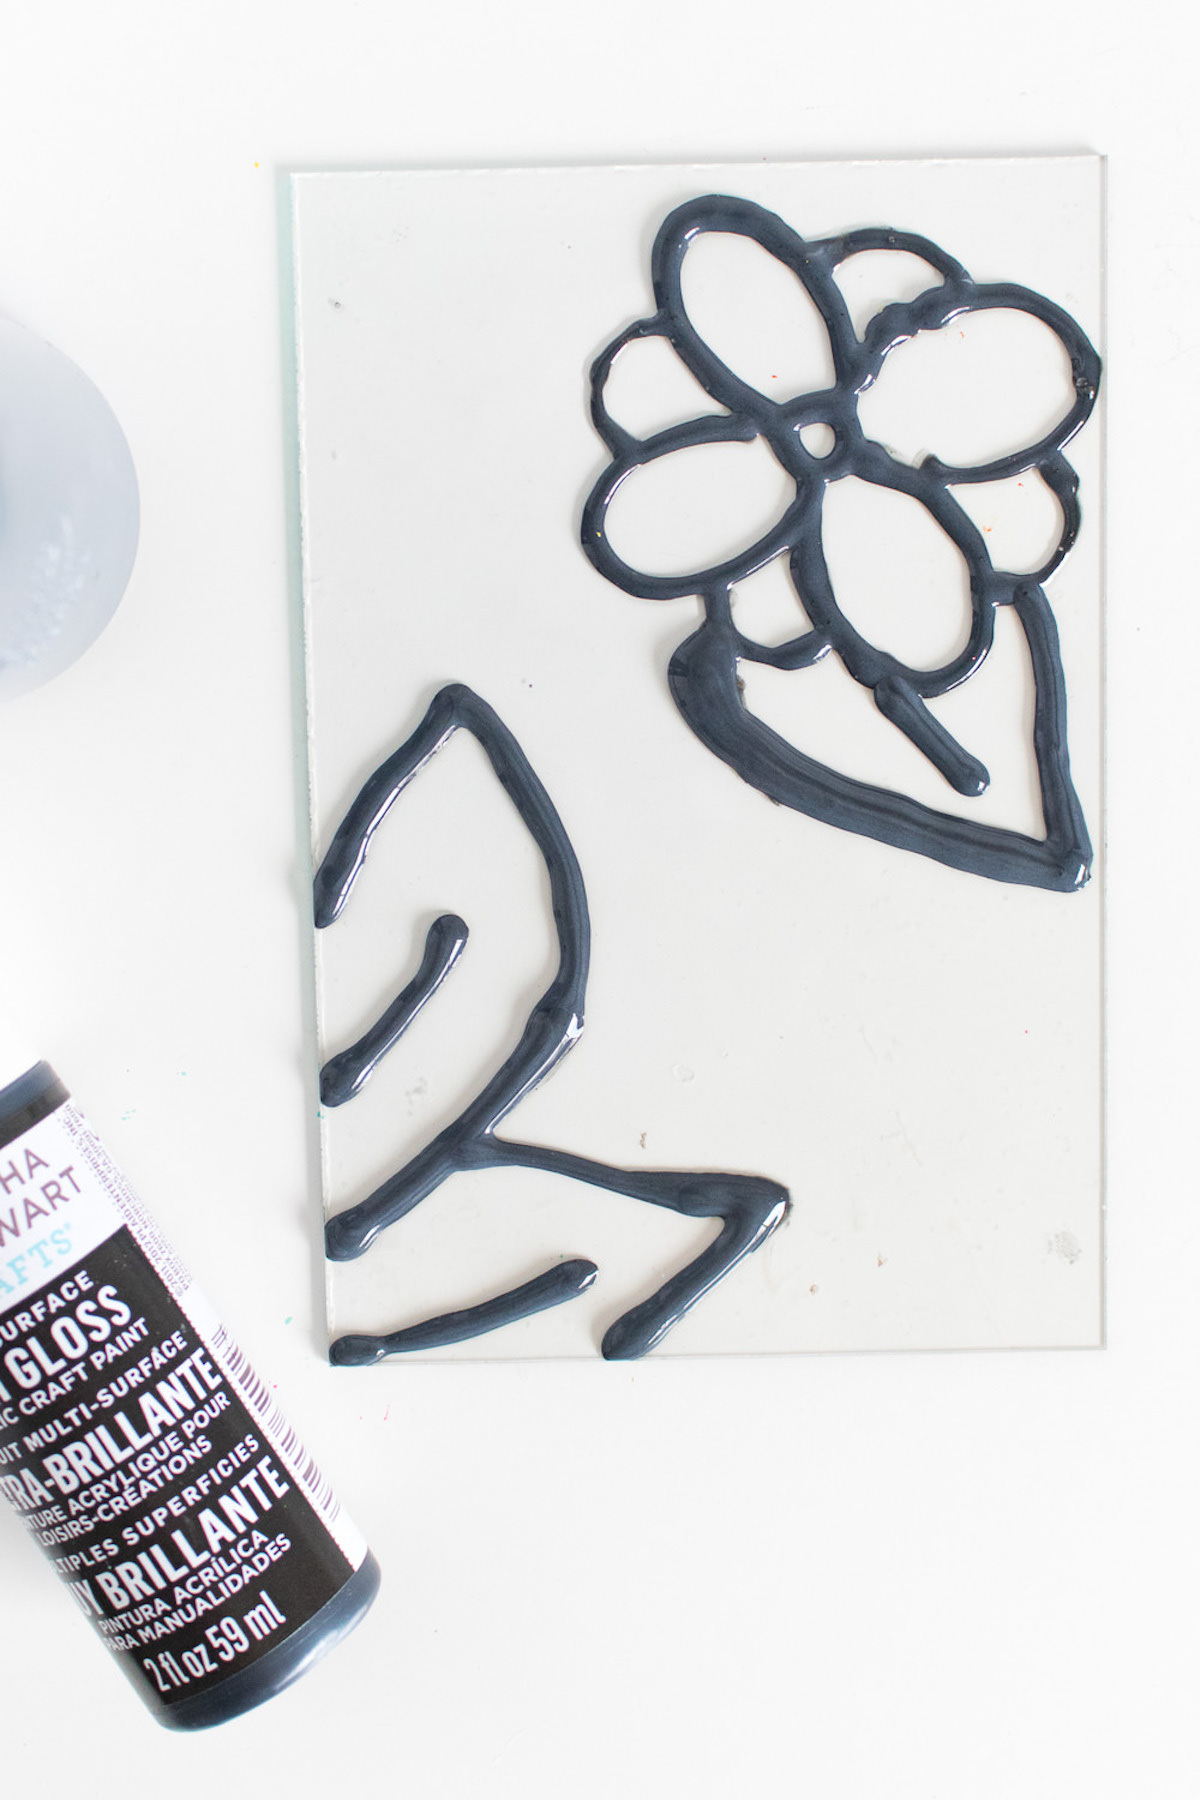
- Combine 1/2 cup of Mod Podge and several drops of black paint in a bowl and mix well. Add to a squeeze bottle.
- Place the glass on a flat surface with the pattern below it. Gently squeeze the bottle to draw the outline of the pattern.
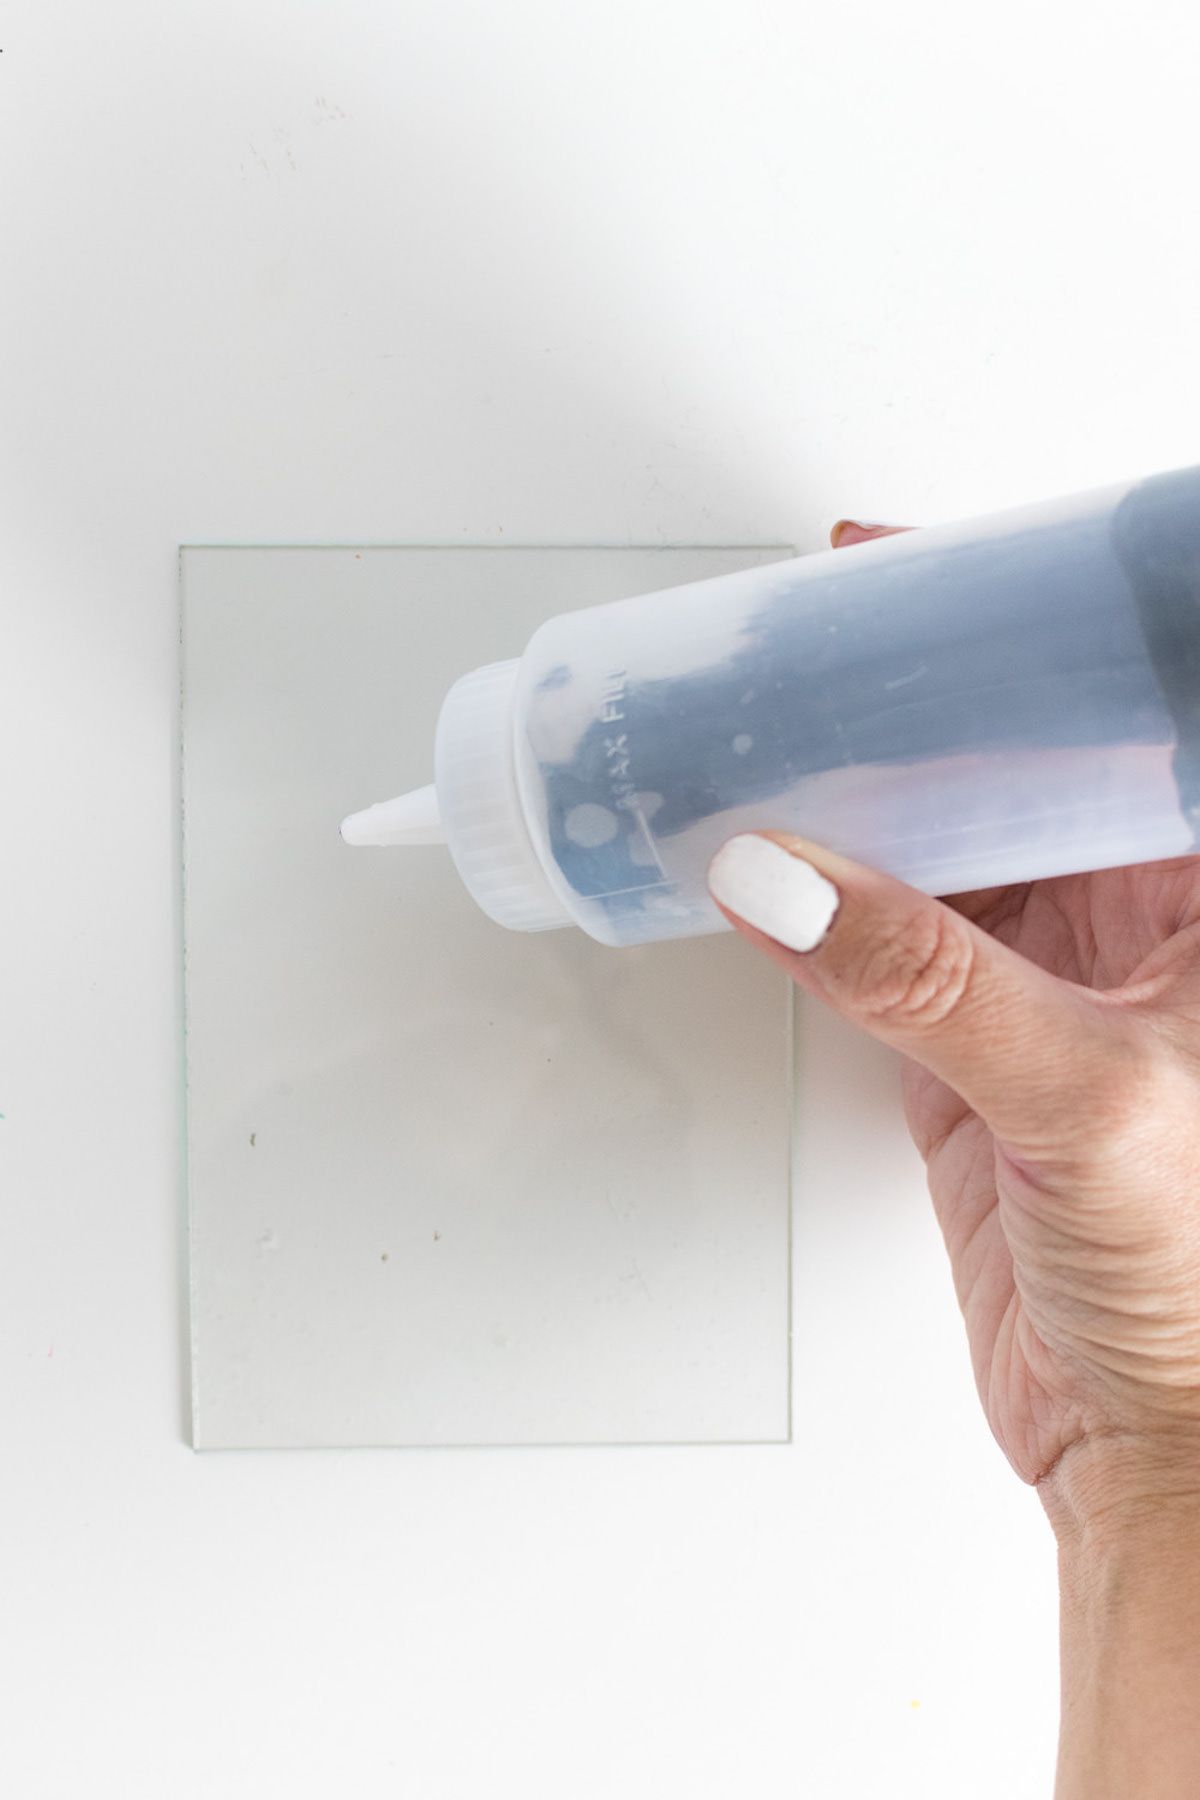
- Set aside to dry completely. Note, if needed, set the glass aside to dry in sections to avoid smudging as you draw. Simply cap the squeeze bottle so that it does not dry out.
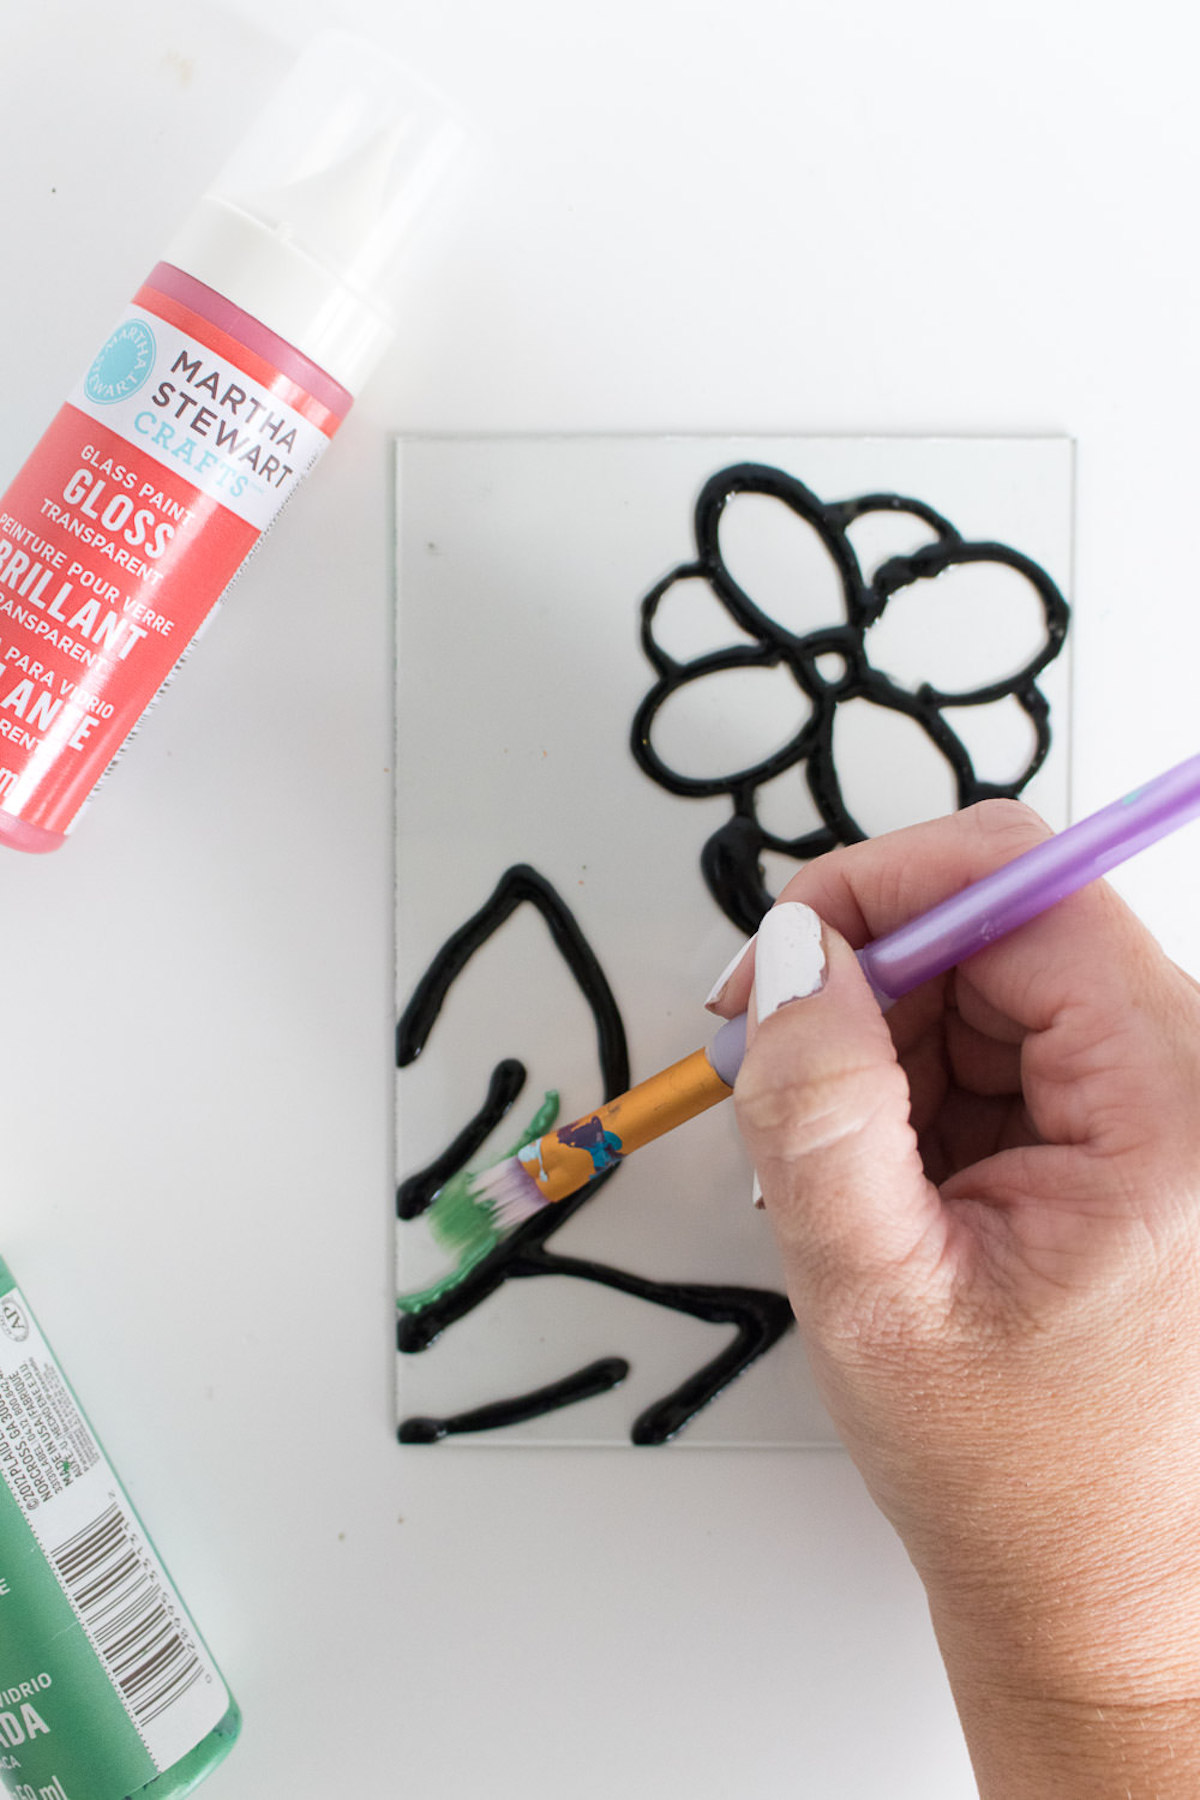
- For each stained glass color, mix 1/2 cup glue with a few drops of the paint color. Mix until you get your desired transparency level.
- The final step is to use a small brush or spouncer to add these colors to the glass. Paint in between the black lines and let dry. You might need a second coat. Let dry completely before displaying.
Notes
- This technique looks especially beautiful displayed in bright windows or sunny rooms.
- If bubbles appear in the paint mixture, pop them gently with a toothpick before drying.
- Layering colors slightly creates a marbled stained glass appearance.
- Floral patterns work particularly well because the curved shapes resemble traditional stained glass designs naturally.
- Seal the finished project with clear acrylic spray for extra protection.
I honestly think DIY stained glass is one of those crafts that looks dramatically harder than it actually is — which makes finishing it even more satisfying once sunlight starts shining through the colors.
Faux Beach Glass • How to Color Glass • Mod Podge on Glass • Photo Transfer to Glass •
Recycle Glass Bottles Into Vases • Tissue Paper Frame • Tissue Paper Stained Glass •
Tissue Paper Wine Bottles



Maybe this is a silly question, but does this work on an acrylic sheet rather than glass?
Is this water proof?
Can you use ‘plexi glass’ for this project? I’m looking to do as a craft project for kids at a summer camp and thinking real glass might be a little to much for a ‘group setting’ of middle school and high school students? Thoughts
Very good, I love this.
I’ve done this project with great success. It was easy, fun and quick. Another great idea for little ones.
So pretty. I would love to do a large one for my bathroom window to allow for more privacy but still let in sun light. Thanks for the idea!!
It would work perfectly for that! 😀