
Learn how to make DIY resin coasters in your favorite design! These colorful resin projects are fun, glossy, and surprisingly easy.
I’m going to warn you right now: once you start making DIY resin coasters, it becomes a little bit of a problem.
At first you think, “Oh, I’ll just make a cute little set for my coffee table.”
Then suddenly you’re buying glitter in seventeen shades, watching resin videos at midnight, and wondering whether every surface in your house could benefit from epoxy resin.
Ask me how I know.
The good news is that this tutorial is actually much easier than people expect. Resin looks intimidating because the finished projects are so glossy and professional-looking, but the process itself is surprisingly beginner friendly once you understand the basics.
And honestly? That’s why people get obsessed with it.


There’s something ridiculously satisfying about pouring colors together, watching swirls form naturally, and peeling the finished project out of a silicone mold the next day. It feels like opening a tiny art surprise every single time.
Another thing I love is that no two coasters ever turn out exactly alike. You can make:
- glitter versions
- galaxy-inspired designs
- rainbow pours
- beach themes
- dried flower-filled pieces
- geode-inspired looks
The possibilities are honestly endless once you get comfortable working with epoxy resin.
For this tutorial, I’m focusing on three colorful styles: glitter resin, galaxy, and rainbow.
The glitter version is the easiest beginner starting point, then the other designs build from there once you feel more comfortable.
And before anybody panics: yes, resin can feel overwhelming the first time.
But honestly? If you can measure carefully, follow directions, and resist poking the project while it cures, you can absolutely make beautiful DIY resin coasters.

Before You Start Working with Resin
If this is your first time using epoxy resin, there are a few important things to know before jumping in.
First: always read the instructions included with your resin kit carefully. Every epoxy resin formula behaves slightly differently, especially when it comes to cure time and working time.
Most products use a 1:1 ratio of resin and hardener, but always double check your directions before mixing.
Second: prep your workspace FIRST.
Seriously. Don’t skip this.
You’ll want:
- gloves and a respirator
- measuring cups
- stir sticks
- disposable plastic cups
- a silicone mold in your favorite shape
- a torch, straw, or heat gun
- a protected work surface
Because resin absolutely loves dripping onto places it shouldn’t.
You should also work in a well ventilated room and wear gloves while handling epoxy resin.
And now we need to discuss the thing everybody worries about: bubbles.
Bubbles are just part of the resin experience.
The good news is there are several easy ways to deal with them.

A heat gun works beautifully for removing bubbles from the surface after pouring. An open flame (like from a long lighter) also works really well if you keep it moving continuously above the resin. DO NOT touch the resin with it.
Some people even blow gently through a straw across the surface to help bubbles rise and pop. Even exhaling onto the resin works pretty well.
Honestly, it’s weirdly satisfying watching them disappear.
Another important tip: stir slowly.
Fast stirring creates more bubbles, and that means more work later trying to remove them from the project.
You’ll also want to cover your project while curing because dust somehow senses fresh resin from approximately three counties away.
Not scientifically proven. Emotionally true.
How Much Resin Do You Need?
This is one of the biggest beginner questions.
Generally speaking, each coaster takes about 2 oz of resin depending on the thickness and size of your mold.

So if you’re making four pieces, you’ll probably need about 8 oz of resin total.
Your resin kit instructions should help confirm the exact amount needed, but honestly it’s always better to mix slightly extra than run out halfway through pouring.
Running out mid-project is deeply upsetting.
Common Resin Questions
How Long Does Resin Take to Cure?
Most epoxy resin projects harden enough to de-mold within 24 hours, but full curing can take several days depending on the product.
Why Is My Resin Cloudy?
Usually this happens from incorrect measuring, poor mixing, trapped moisture, or temperatures that are too cold.
Can I Fix Uneven Edges?
Yes! You can lightly sand rough edges after curing if necessary.
Why Are There Still Tiny Bubbles?
Tiny bubbles happen sometimes even with careful mixing. A heat gun or even exhaling on the resin usually removes most of them.
Can Beginners Make These?
Absolutely. I honestly think coasters are one of the best beginner resin projects because they’re small, manageable, and hard to completely ruin.
And even when something goes slightly wrong? The swirls and movement usually end up looking artistic anyway.
Which honestly feels very generous of resin.

Are you ready to get started on your first project? Let’s go!

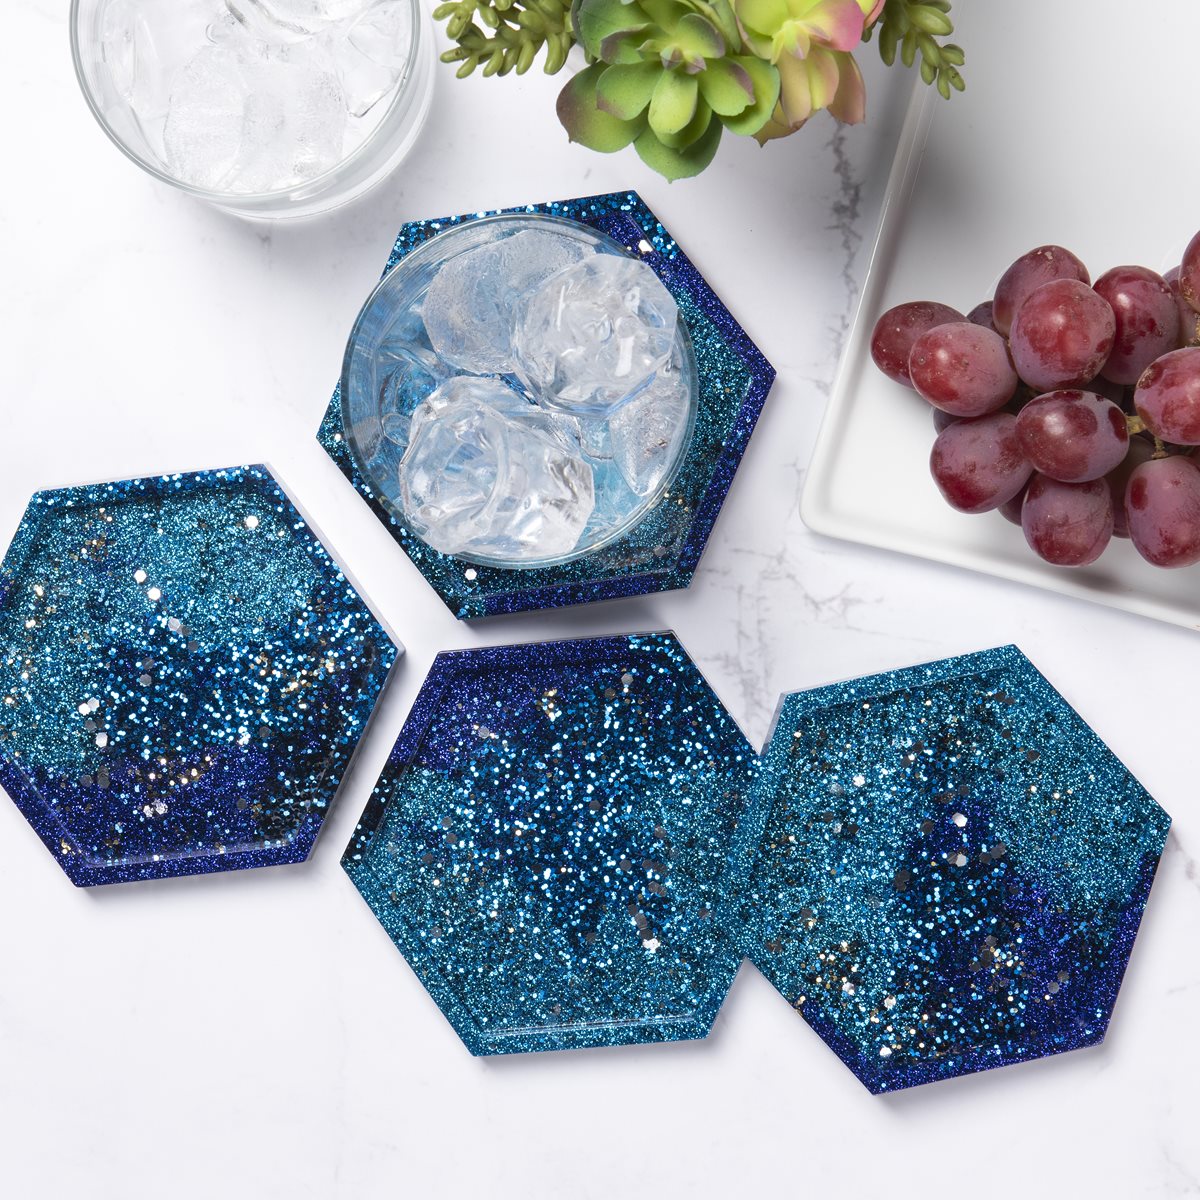
Glitter DIY Resin Coasters
Equipment
- Measuring cups
- Stir sticks
- Gloves and other protective equipment
- Heat gun or torch
Materials
- Epoxy resin
- Glitter in several colors
- Clear bumper feet
Video
Instructions
- Protect your workspace and prepare the coaster mold (this is for a single).
- Mix 2 oz of resin according to package instructions using the proper ratio of resin and hardener. Divide the epoxy resin evenly into disposable plastic cups.
- In one cup, add a pinch of a blue glitter, in the second, add a pinch of a different blue glitter, in the third, a pinch of another blue glitter. Stir each cup slowly until glitter is combined.
- Pour each resin mixture into the mold slowly, in a swirling motion, only pouring a little of each color at a time. Layer the colors and use a craft stick to gently swirl the colors together. Let set for two minutes.
- Use a straw, heat gun, or torch to carefully remove bubbles from the surface. Alternatively, you can exhale on the epoxy resin or blow through a straw. Leave for five more minutes, see if any additional bubbles appear, and repeat.
- Let the project cure for 24 hours before removing from the silicone mold. They will be fully cured in 7 days. At this time you can add clear bumper feet to them if you like.
Notes
The finished result catches light beautifully and honestly looks much fancier than such a simple tutorial should produce.
Do you want to see some different versions? Check out these two additional projects below, with the listed variations in supplies and instructions.
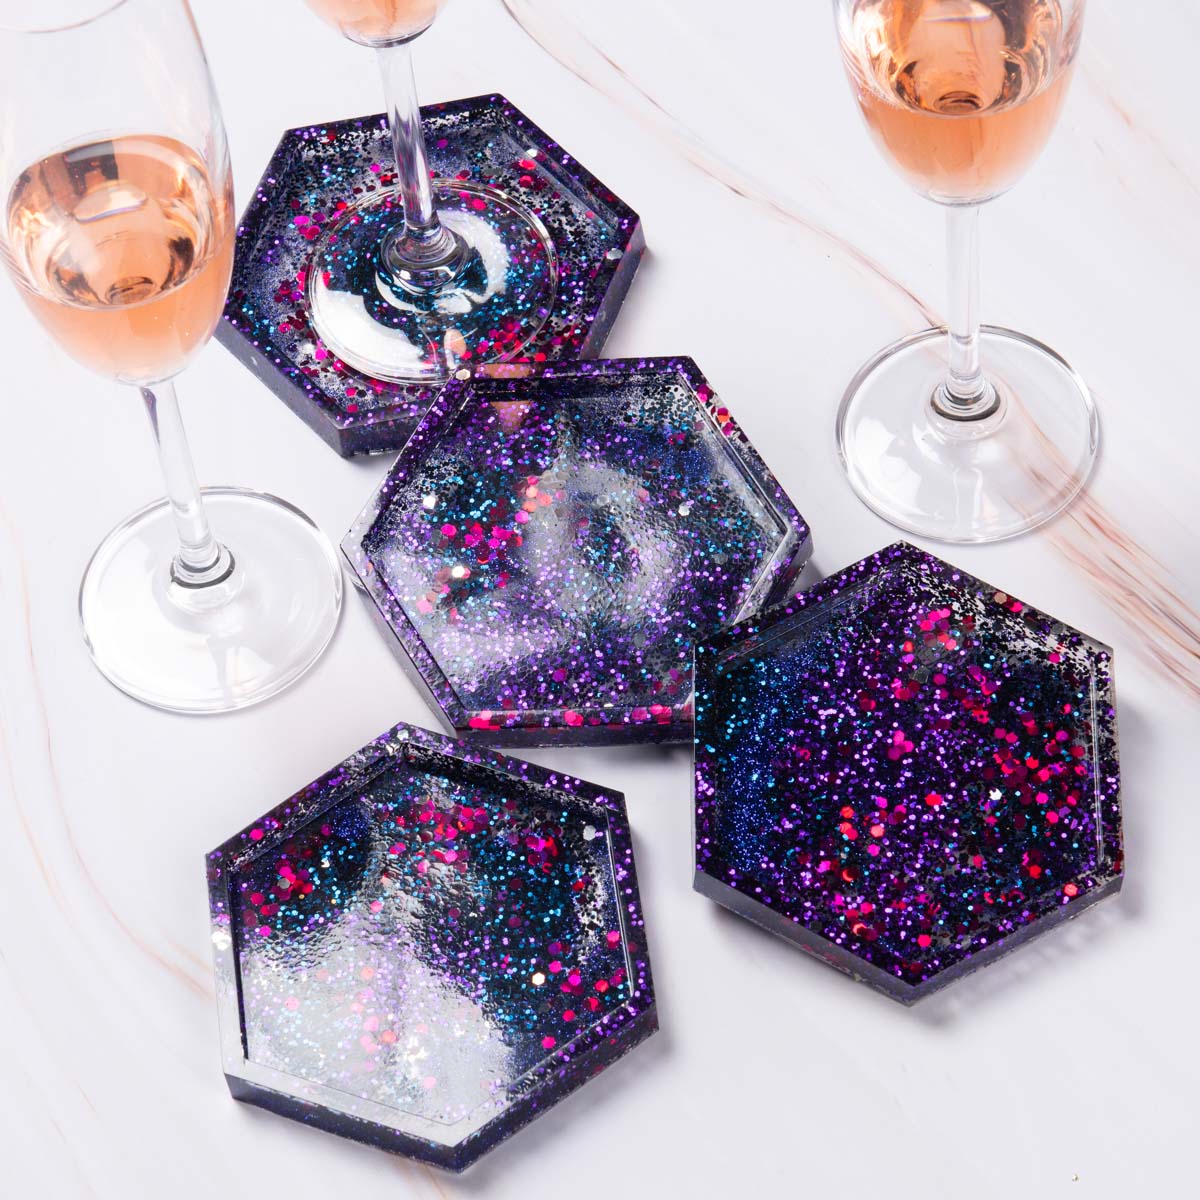
Galaxy Coasters
Okay, these galaxy coasters might actually be my favorites.
The dark glitter combined with blues, purples, magentas, and black creates this dramatic swirled look that feels like outer space trapped inside resin.
Which is objectively fun.
For this version:
- mix 4 oz of resin
- divide the epoxy resin into cups
- add blue, purple, magenta, and black glitter
- pour slowly in layers
- remove bubbles carefully using heat
The black glitter makes SUCH a difference here. It gives the finished project depth instead of looking like regular glitter pours.
You can also swirl the colors lightly using stir sticks if you want more movement throughout the design.
And honestly? No two galaxy pours will ever look exactly alike. That’s part of what makes this tutorial so addictive.
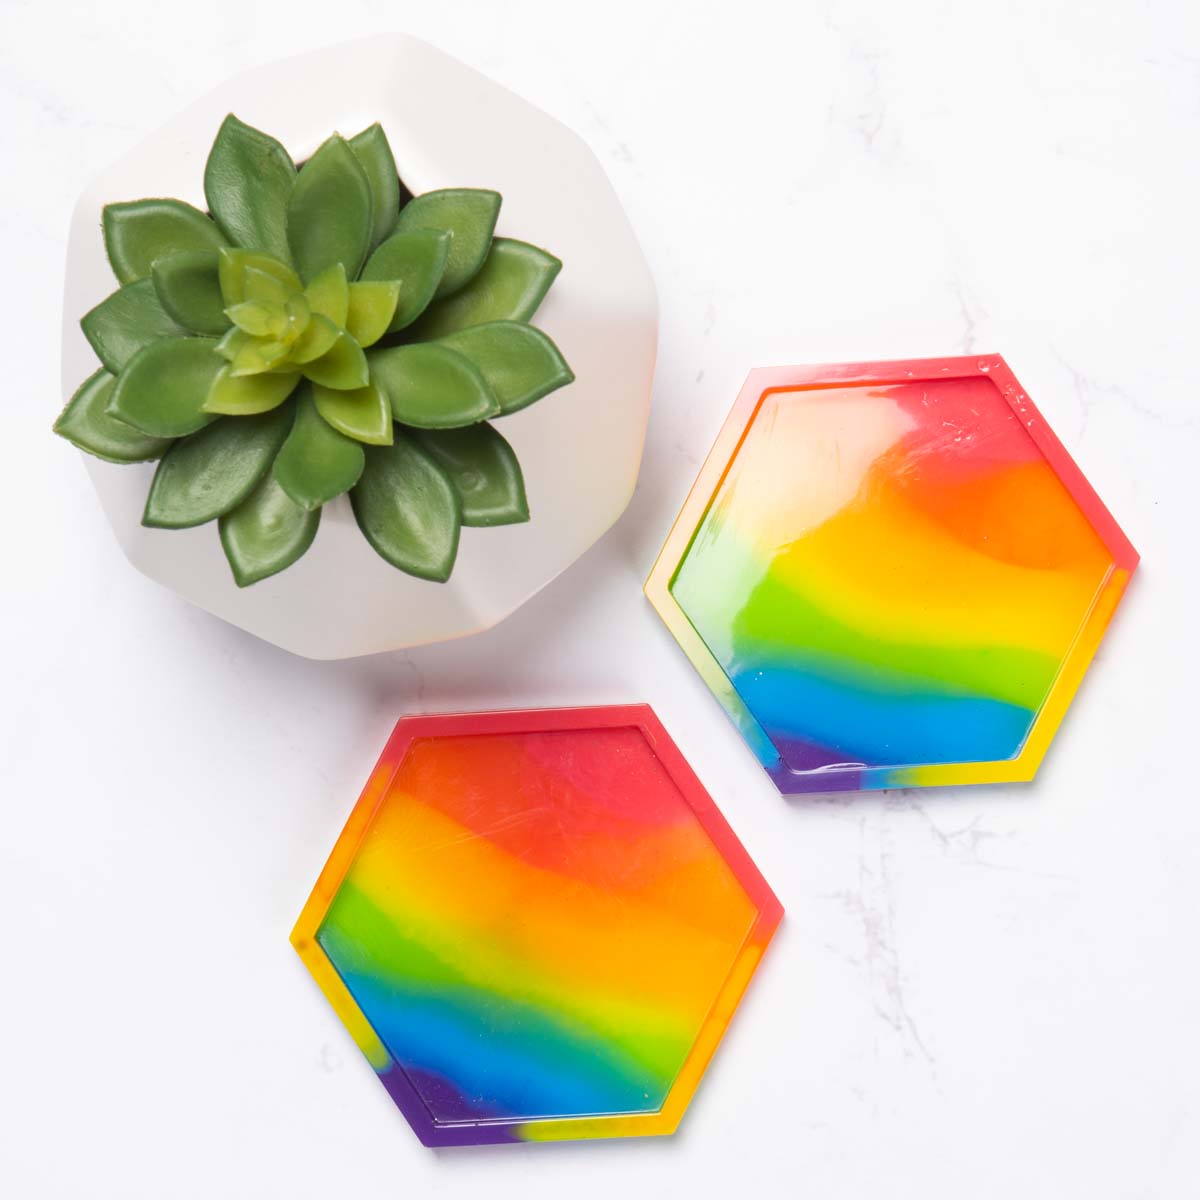
Rainbow Coasters
If the galaxy version is dramatic, these rainbow coasters are pure happiness.
This project uses acrylic paint mixed directly into epoxy resin for bright colorful pours that almost look like melted candy once cured.
For this version:
- mix 2 oz of resin
- divide into measuring cups
- tint each cup a different color
- allow the resin to sit briefly
- pour carefully in rainbow order
The trick is not overmixing once the colors hit the mold. A little swirling looks pretty, but too much blending can turn everything muddy surprisingly fast.
Learn from my mistakes.
This colorful tutorial is especially fun for gifts, dorm decor, craft rooms, or cheerful home decor.
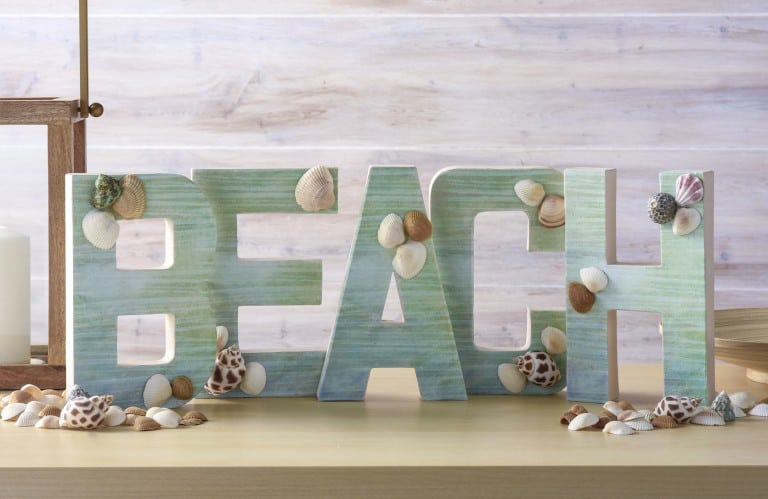
Don’t forget to check out our wood slice or geode versions! I’d love to hear your questions about making these in the comments! Let me have it. Happy crafting!


I cant wait to try making these! I’m a little confused tho. In some areas you say to you casting resin, and in other parts, you say epoxy resin. Which one am I supposed to use? Thank you 🙂
It’s the same thing!
Can you use Plasticine for making moulds?
Apparently you can! I never have but check this out: https://www.youtube.com/watch?v=Q99Ywx31HK0
Should you wipe the mould with something before a pour?
If it’s not silicone, use a mold release agent! Check out this post (and the comments): https://modpodgerocksblog.com/how-to-use-resin/
Love these ideas
Thank you so much!
I messed up making my coasters. I bought round molds that would have a lip so that any drink condensation would be contained. Well when I popped them out of the molds they had all these holes in the surface of what should be the top of my project, but was the bottom of the mold. I tried fixing it but it made it worse. Is there anyway to get the artwork I placed in the resin out, so I can try again?
Even if you broke the resin the artwork would rip. So unfortunately no. For the future if you want to post pics here: https://www.facebook.com/groups/craftywithmodpodge/ and get feedback you can!