Learn how to decoupage wood trees with painted book pages using Mod Podge! This sparkly decor is perfect for a scene on your mantel or table.
Skills Required: None. You’re going to be painting, then decoupaging torn up book pages with Mod Podge. This is actually a great project for a beginning crafter because the pieces are small.

Creating magic out of the mundane is something I aspire to, especially during the holiday season. There’s something about Christmas that encourages me to transform the ordinary into something extraordinary.
And what could be more ordinary than the pages of an old book? I have an old, broken book I’ve used for some other recycling crafts, and I’m going to use them again today.
I’m going to make a fun holiday craft with a festive twist using 6″ wooden trees, a bit of paint, Mod Podge, and a sparkle of creativity.
I know, I know – it sounds almost sacrilegious to rip pages out of a book. But you have options, like going to the library and asking about broken books or making laserjet copies.
You need to be brave, because we’re about to embark on a DIY adventure that will breathe new life into those pages, transforming them into whimsical Christmas decor.
We’re going to take those book pages and paint them with four shades of green. It’s like giving a second life to the words and stories that once lived on these pages.

Next, we’ll tear these painted pages into pieces. And here comes the magic wand – the Mod Podge. It’s the glue that holds our story together, literally.
As you layer these pieces onto the wooden trees, watch as a unique pattern emerges, each tree becoming a one-of-a-kind masterpiece.
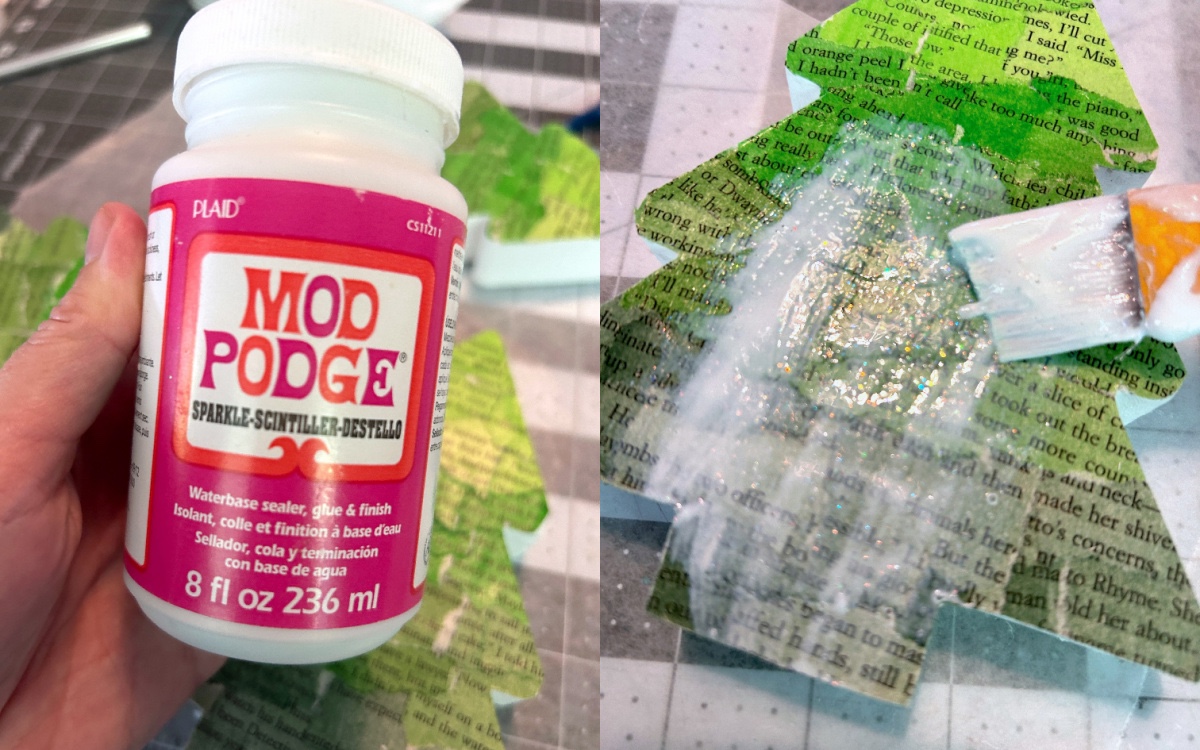
But wait, there’s more! To top it off, we’re adding a sprinkle of Sparkle Mod Podge. Because what’s Christmas without a bit of sparkle?
Each tree you decorate tells a story, your story, in colors and textures. It’s a personal touch to your holiday decor that can’t be bought in a store.
So, are you ready to turn the page and start this crafting adventure? Scroll down to see the full tutorial. It’s easy, fun, and the results are spectacularly festive.

Let’s create some holiday cheer, one page, one brush stroke, and one sparkle at a time. And remember, this isn’t just crafting; it’s creating memories. Let the fun begin!
Gather These Supplies
- Chunky wood trees – mine are 6″
- Craft paint – white, and four shades of green
- Mod Podge – any formula
- Mod Podge Sparkle
- Book pages – enough to cover the surface of your trees
- Paintbrushes
- Craft knife and mat
Tips and Thoughts for This Project
You can use Sparkle Mod Podge to apply the book pages, but I always use my basic formulas for that. That’s simply to make my Sparkle Podge last longer.
Wouldn’t shades of blue be fun for winter also? You can use just about any color variations that float your boat – for any holiday.
Get the printable how to card for this project below:

Decoupage Wood Trees with Book Pages
Equipment
Materials
- 3 Chunky wood trees 6"
- Craft paint white and four shades of green
- Mod Podge any formula
- Mod Podge Sparkle
- Book pages
Instructions
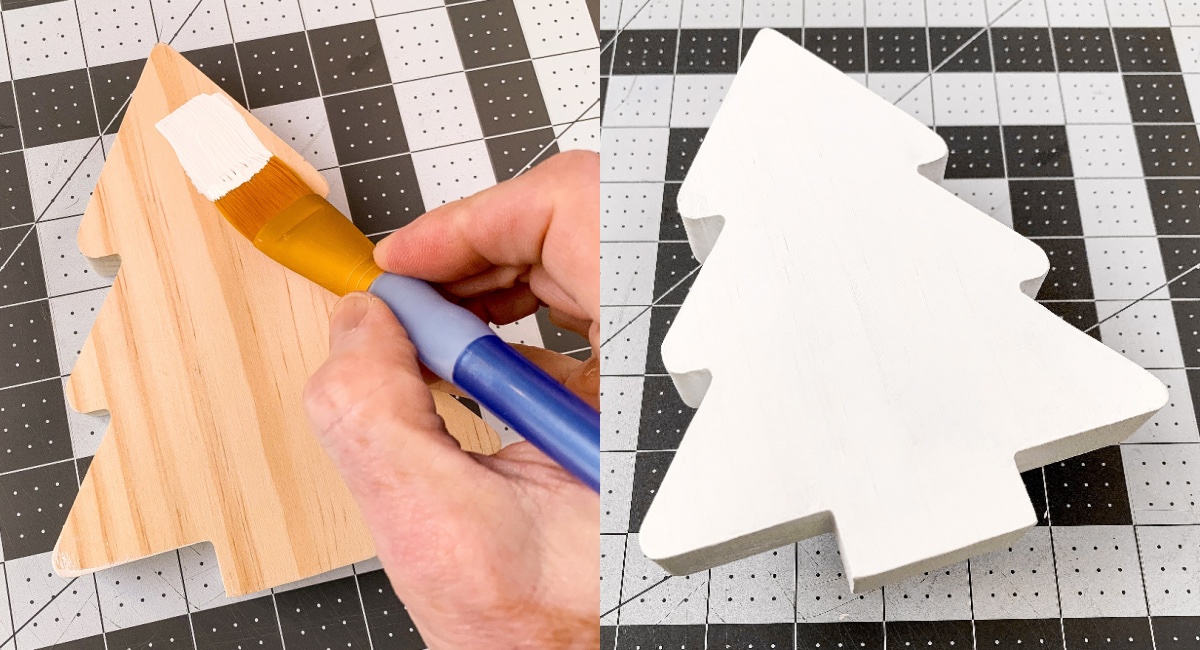
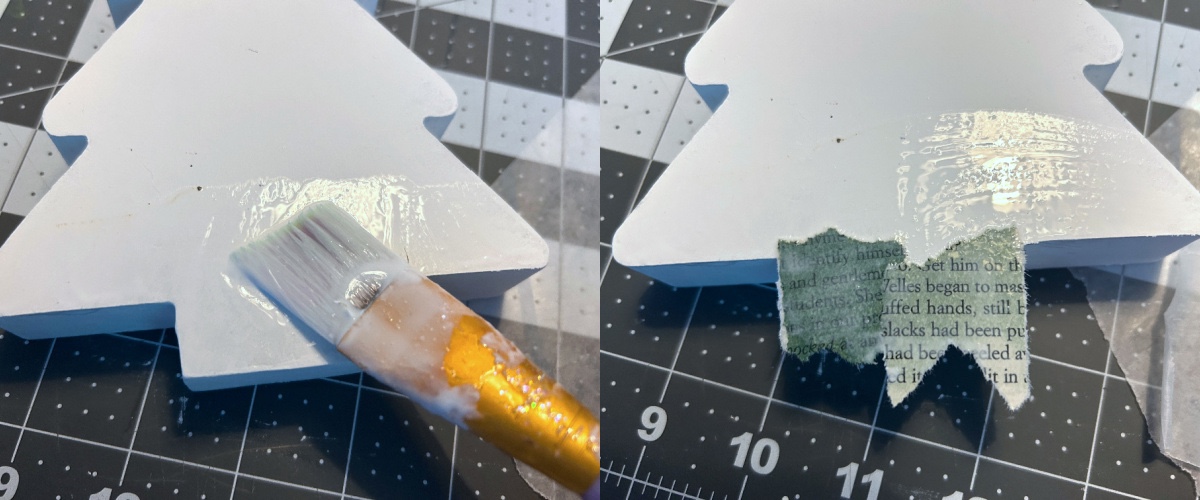
- Paint the wood trees with several coats of white craft paint on all sides. Let dry.
- Tear out two book pages and place them on a paint proof work surface (like wax paper).

- Place a small blob of your first paint color on wax paper or in a palette. Add some water to thin the paint down to a wash. Paint the two pages with the first color and let dry.
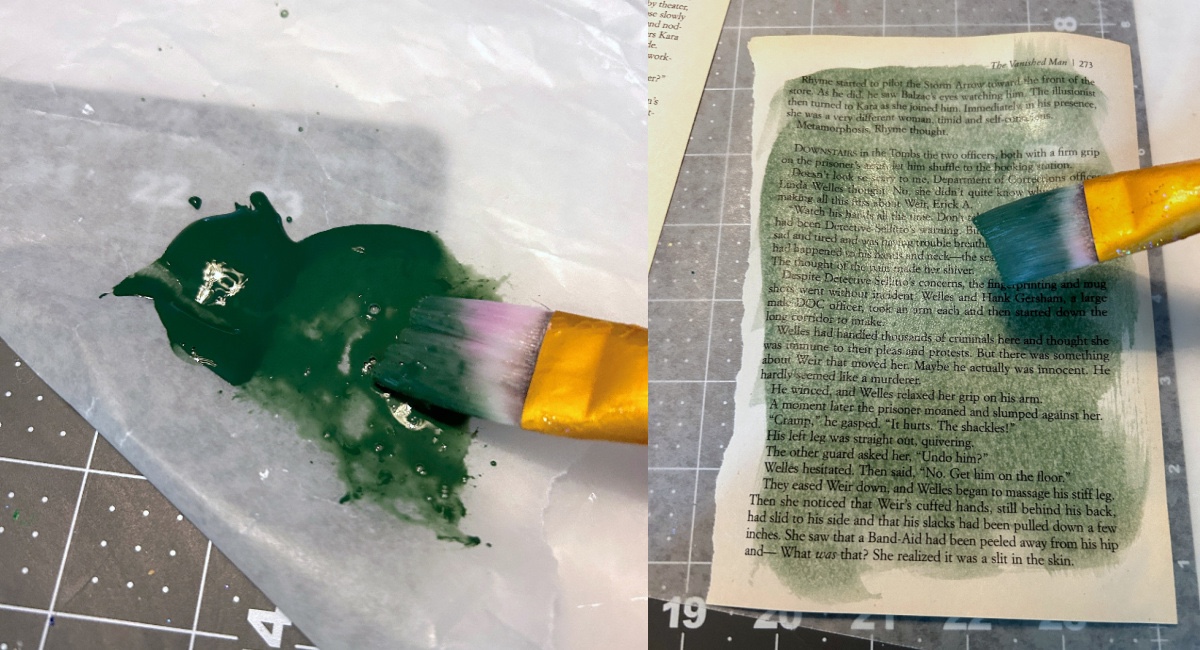
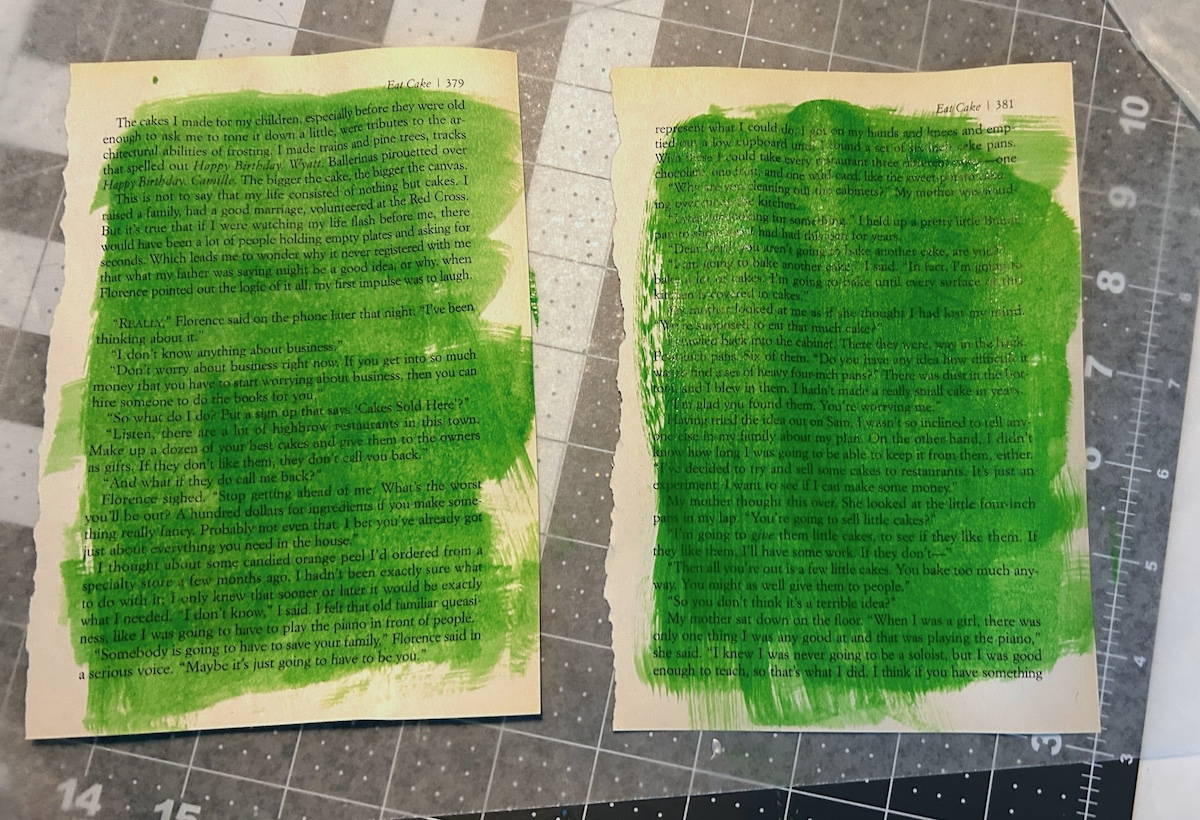
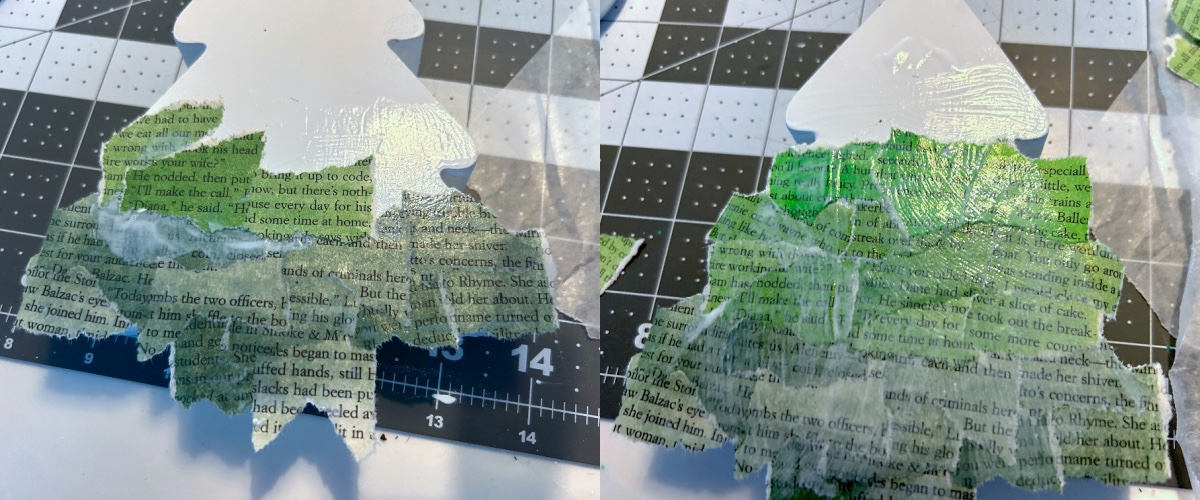
- Repeat this process with the remaining paint colors, I painted two pages each of four colors, for a total of eight pages. Let dry completely.
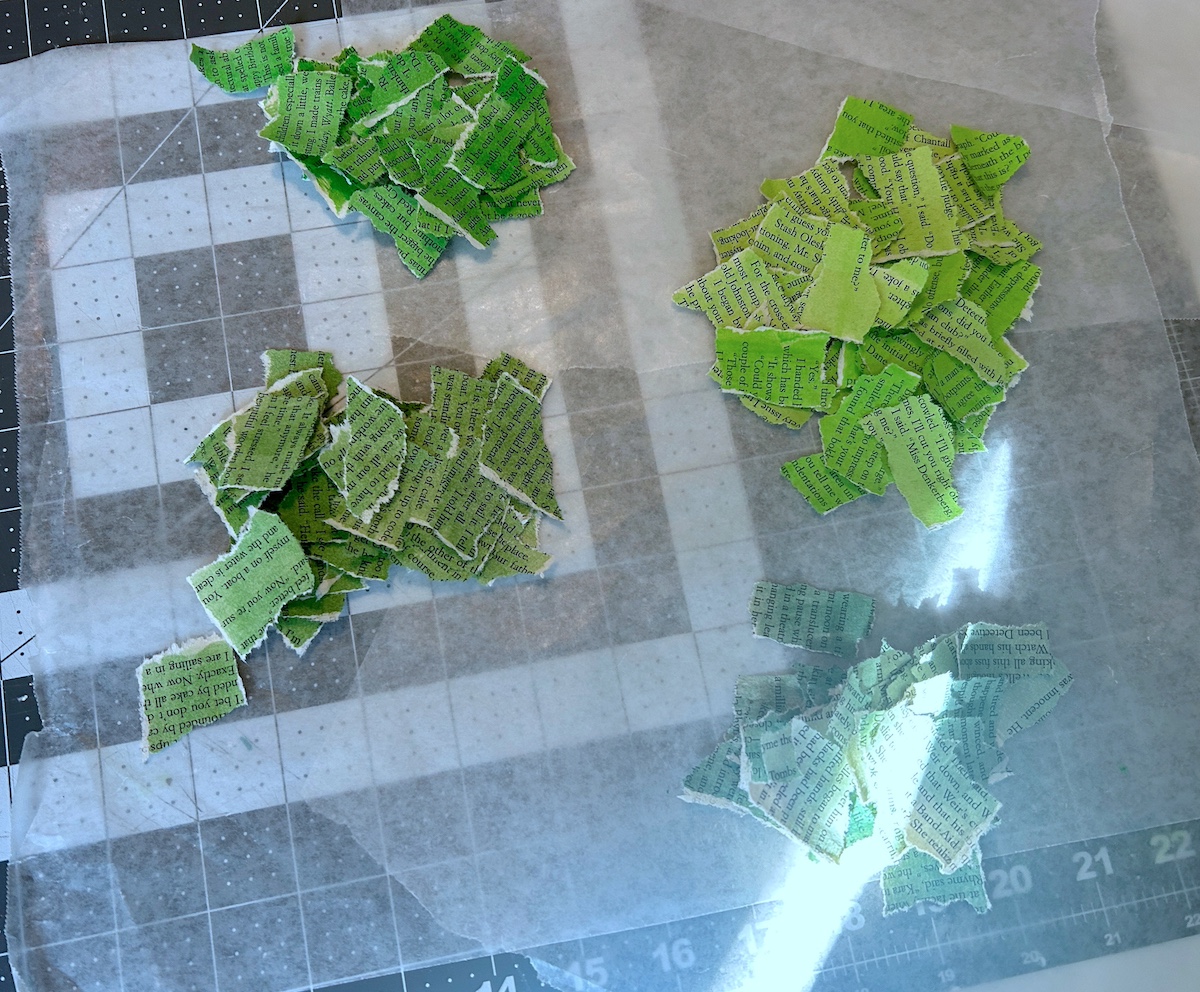
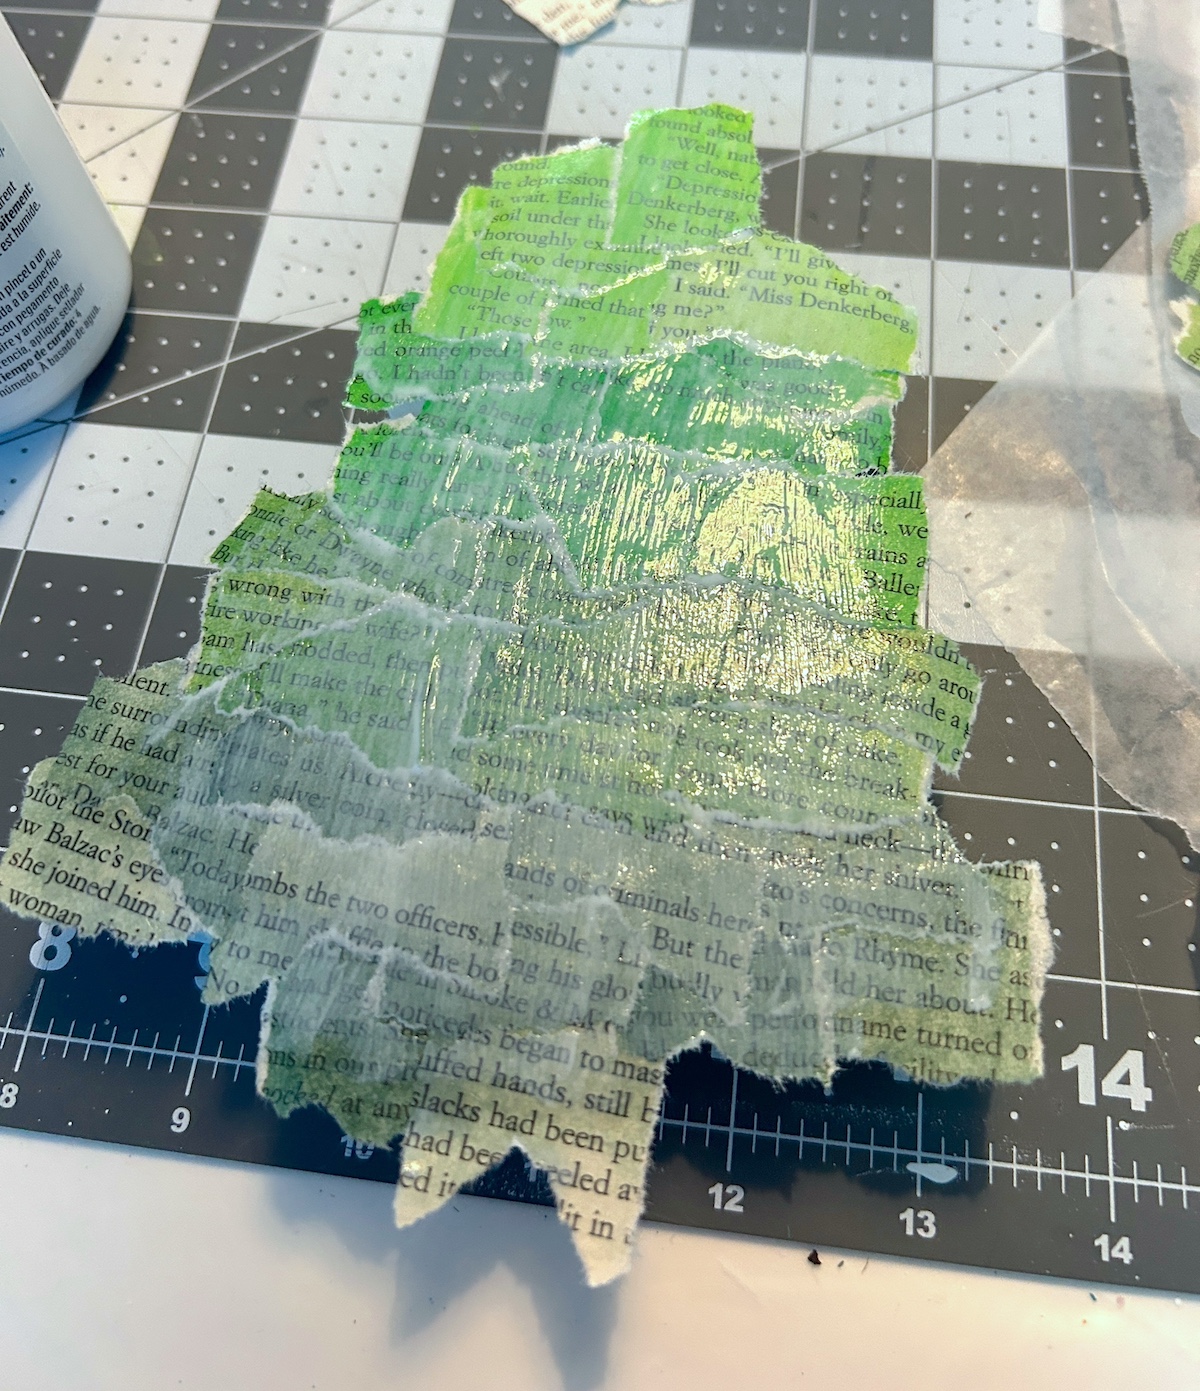
- When the pages are dry, tear them into pieces. Tear off the non-painted edges first, then begin tearing the pages into pieces. Sort them into piles.
- Starting at the bottom of one tree, place some Mod Podge down with your brush, then place some of the dark green book page pieces down. Mod Podge over the top and smooth. Continue adding the first color until you've covered the bottom quarter of the tree.
- Repeat the process with the next color, overlapping the pieces as you go.
- Cover the entire tree with the remaining colors. Let dry. Repeat adding book page pieces to all trees.
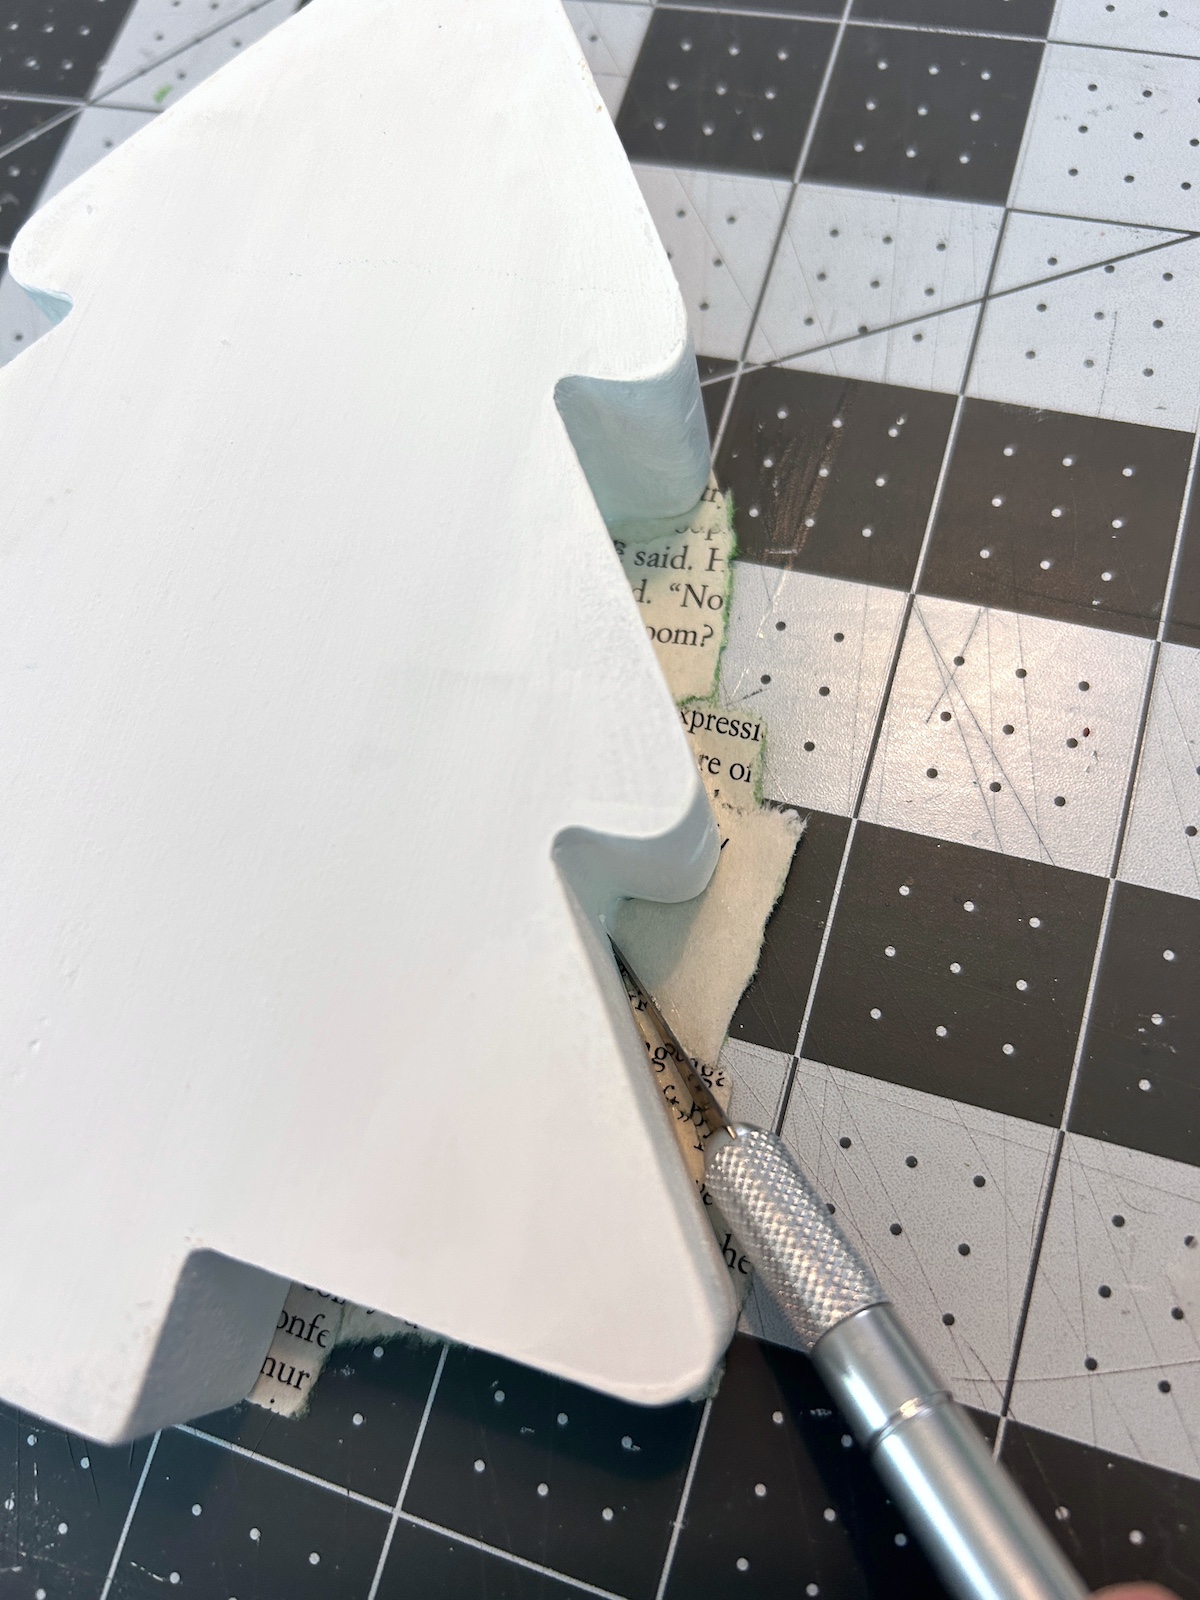
- Add a second coat of Mod Podge over all the trees, making sure to get the edges. Let dry.

- Once dry, turn the trees over on a craft mat and trim with a craft knife. Repeat with all trees.
- Add a coat of Sparkle Mod Podge to the top of each tree, if desired. Let dry before displaying.
If you enjoyed these decoupage wood trees, I’d love for you to let me know in the comments! Also please check out these other Christmas decor projects: