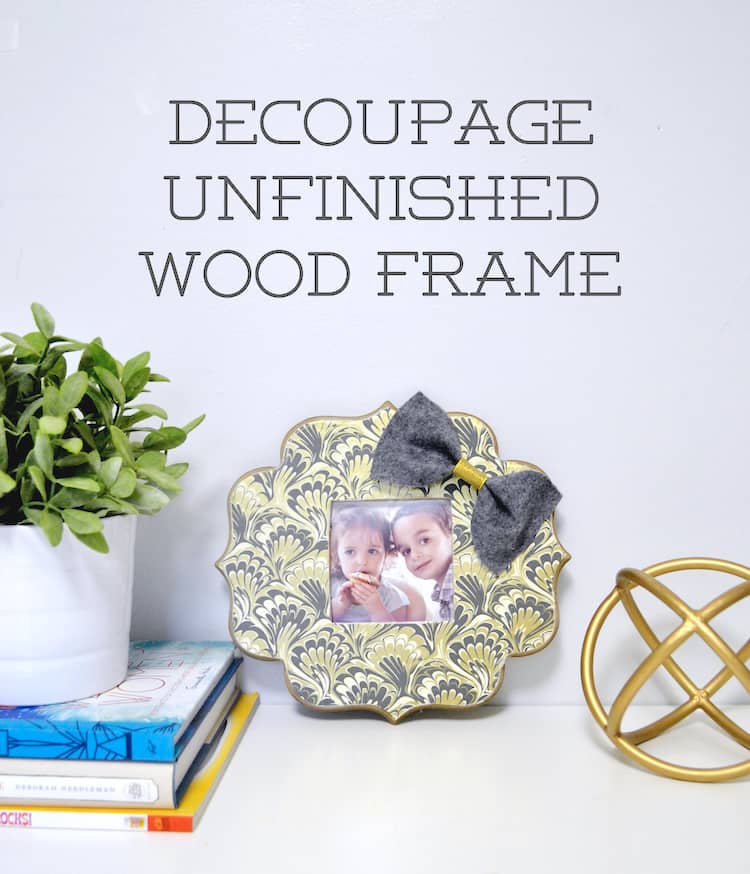
If you’ve ever found a beautiful piece of paper begging to be used in a craft, this decoupage picture frame is perfect – so easy to make!
If you’ve ever in your life stepped into a craft store, then I know you’ve seen those inexpensive wooden frames in the unfinished wood section. Would you believe that this is the first time I’ve ever bought and decorated one myself?
It’s true. I don’t know why, but they’ve never appealed to me before . . . until I bought this gorgeous handmade paper from Paper Source.
This paper was just begging to be Mod Podged onto an unfinished frame . . . and I LOVE the results! Here’s how to make this DIY photo frame.

Decoupage Frame
Gather These Supplies
- Mod Podge Matte
- Unfinished Wood Frame
- Paper
- Scissors
- Pencil
- Fabric or felt for a bow (optional)
- Hot glue gun and glue sticks (optional)
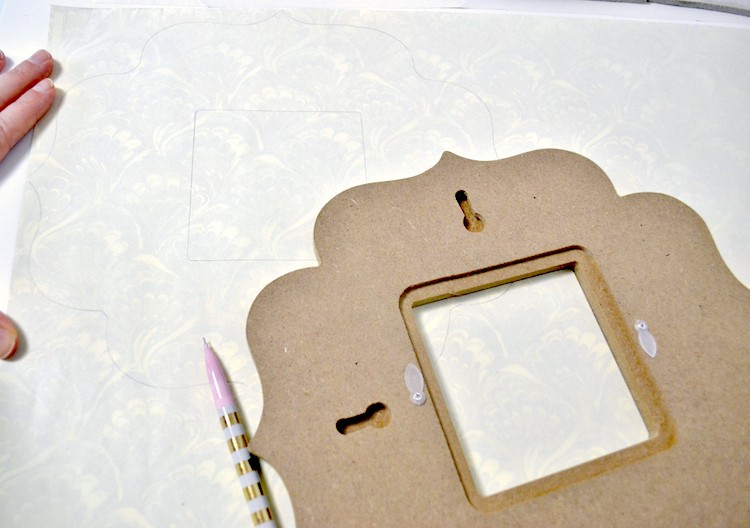
Step 1: On the back of your paper, trace your frame (both the outside and the opening where the photo goes).
I found this gorgeous metallic gold, cream and gold paper from Paper Source, but you can use any scrapbook or wrapping paper you’d like for this. Cut out your shape.
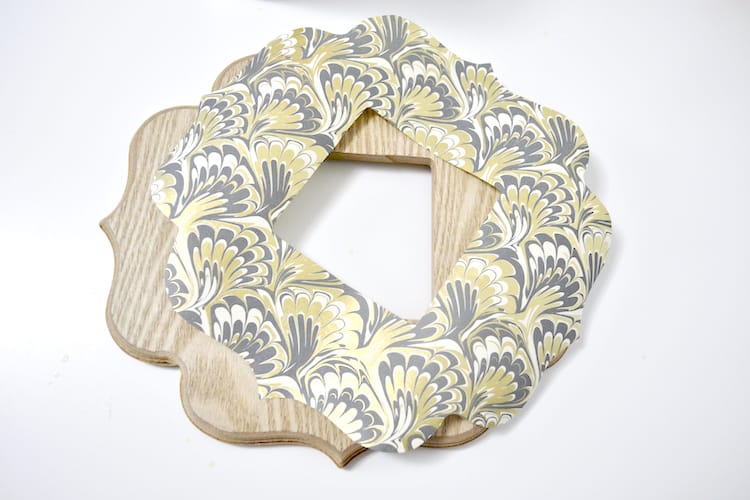
Step 2: Apply Mod Podge to your decoupage picture frame. Lay your paper over the Mod Podge and press to adhere.
It helps to use a brayer or even a credit card (something with a flat edge) to help press your paper onto your frame.
But even if your paper wrinkles a bit, don’t worry about it – it’s hard to see, and even helps add a bit of character to your finished product.
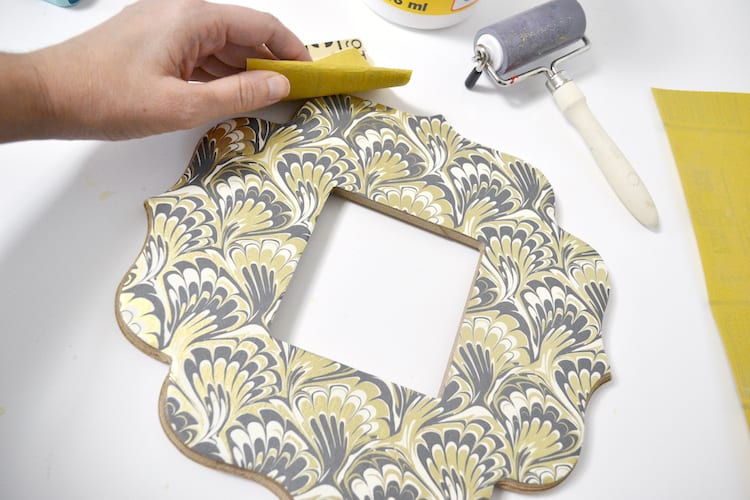
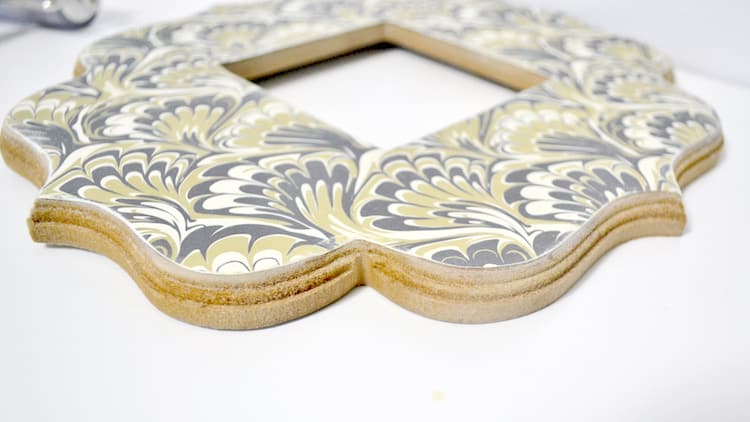
Step 3: Gently sand the edges of your frame. This step is optional, but I feel like it gives your frame a more finished look.
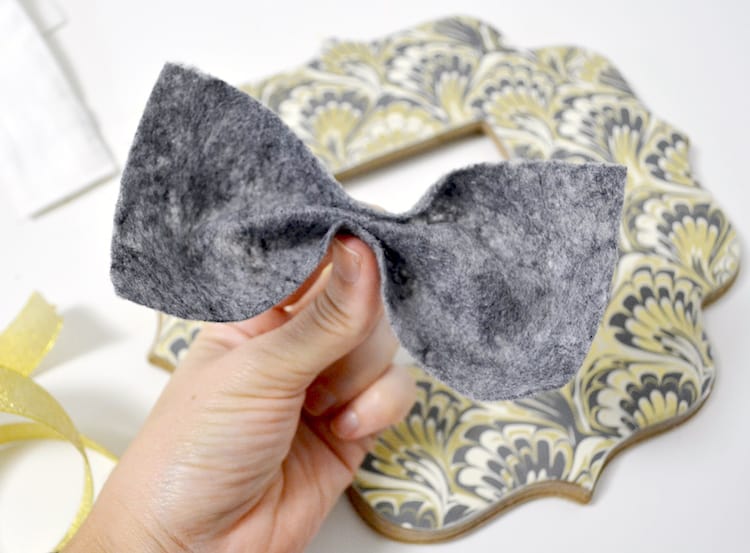
Step 4: You’ll see that I had a length of cream ribbon in the “materials” photo, but I wasn’t happy with how the cream bow looked with the frame, so I went for gray felt instead.
Sometimes you just have to try different items to see what you like best! My felt piece was 3″ x 6″, and I folded it accordion style and hot glued the ends together.
I then took a piece of gold ribbon and wrapped it around the middle. I hot glued the bow to the frame and that was it!
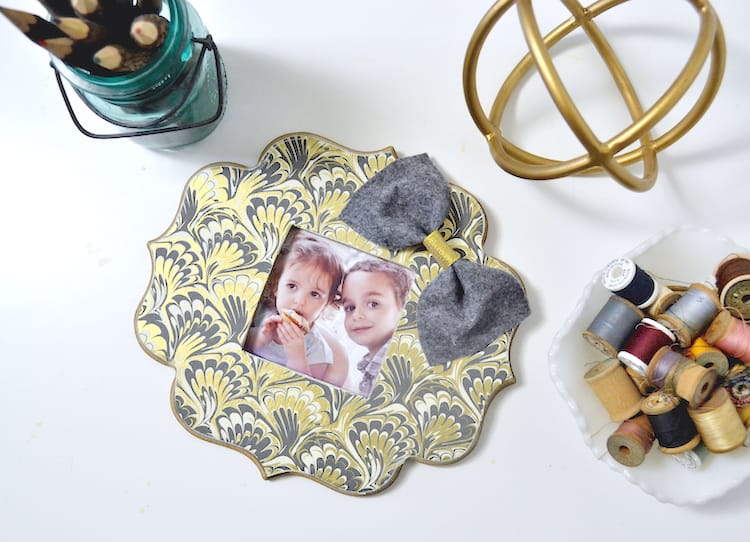
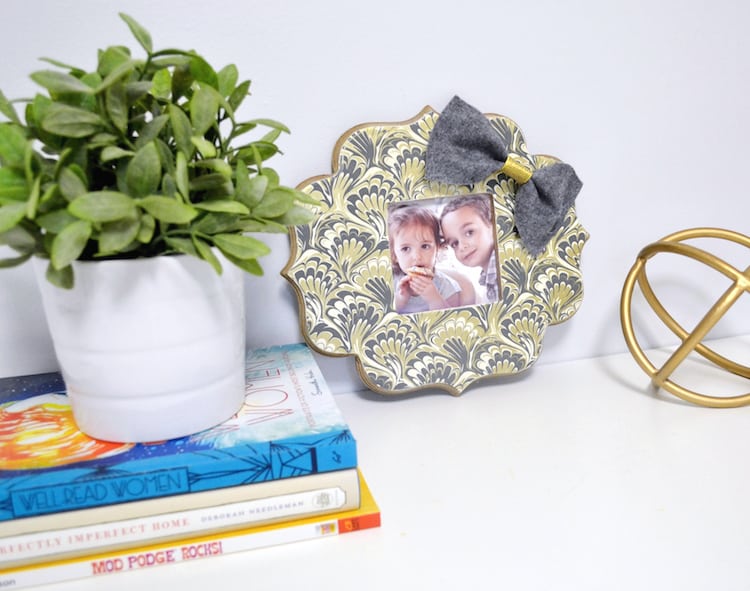
I adore how this DIY photo frame turned out . . . I think it’ll have a home in my craft room for now so I can keep my littles’ faces nearby while I create!
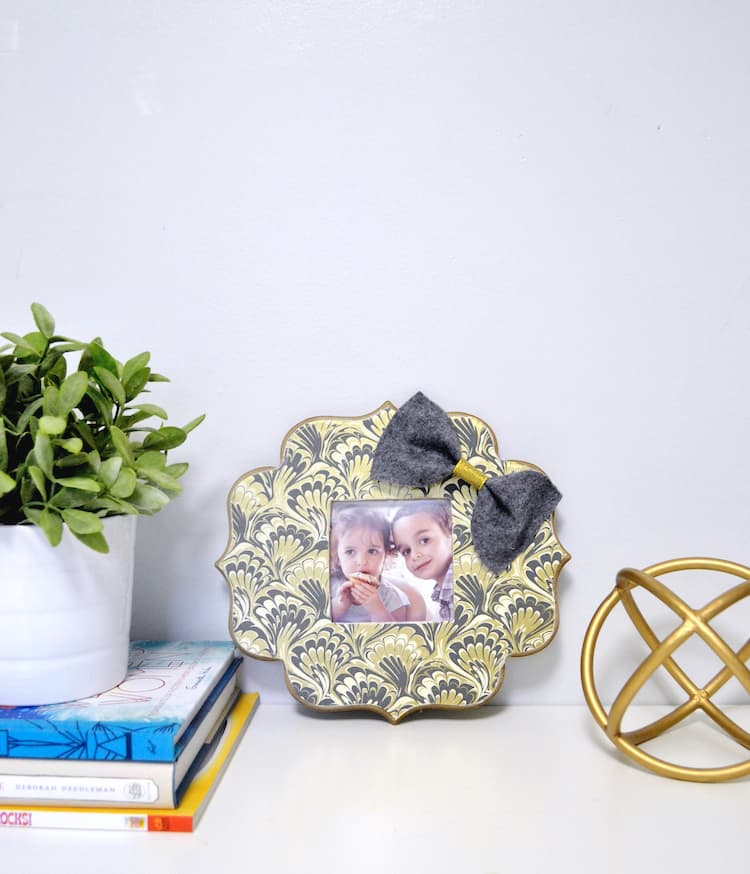
Honestly, I can’t believe this is the first time I’ve decoupaged a wooden frame, but I promise it won’t be my last!

Decoupage Picture Frame
Materials
- Mod Podge Matte
- Unfinished wood frame
- Scrapbook paper
- Fabric or felt for a bow optional
Video
Instructions
- On the back of the paper, trace the frame (both the outside and the opening where the photo goes).
- Apply Mod Podge to the frame. Lay the paper over the Mod Podge and press to adhere. It helps to use a brayer to flatten the paper to the frame. Let dry 15 – 20 minutes.
- Sand the edges where the paper meets to frame to smooth them and give your frame a more finished look.
- Paint two final coats of Mod Podge on top of the frame, letting dry between each. Let dry completely.
- If you choose to add a bow or embellishment, do it with the hot glue gun at this time.
Thank you so much for letting me share my decoupage picture frame with you today! I’d love for you to check out these other projects as well: