Learn how to make adorable clay pot gnomes for your garden using terra cotta and paint! These easy outdoor gnomes are whimsical, colorful, and surprisingly simple to create.
Skills Required: None! If you can paint and glue, you can make these little guys. This is one of those projects that looks fancy sitting in your flower beds but is actually really approachable — even for beginners and older kids.
I don’t know what it is about gnomes, but the second spring hits, I suddenly want them everywhere. In the garden. By the porch. Tucked into flower pots. Peeking out from behind herbs like tiny magical supervisors judging my weeding skills.
And these clay pot gnomes? They might be my favorite version yet.
I love this project because the gnomes are made specifically for outdoors. That means no fluffy yarn beard getting soggy after the first rainstorm and no fabric hats fading into sad little blobs by July. These are sturdy, weather-friendlier gnomes made from painted terra cotta, and they hold up beautifully in a garden setting.
The best part is that you only need a few clay pots, some paint, and glue to make them happen. That’s it. No advanced crafting skills. No complicated cutting machines. Just easy crafting with a big payoff.
I also love that these have a cleaner, modern look compared to some of the super shaggy versions online.
I looked at a lot of inspiration before making mine, and while I absolutely love the cozy indoor gnomes with giant yarn beards and floppy hats, I wanted something that could sit outside in the rain without turning into a damp craft disaster.
That said . . . if your clay pot gnomes are going indoors, you can absolutely add a beard made from yarn.
A simple piece of yarn tied around wrapped strands works perfectly. You can wrap yarn around cardboard, tie it tightly in the middle with another piece of yarn, make a knot, then cut the ends of the yarn on both sides to create the beard. Some people even use pom-poms for the nose instead of wood beads, which is really cute for indoor gnomes.
To attach a yarn beard, place a line of hot glue underneath the hat area and press the yarn into place. Then add another line of hot glue inside the hat to secure everything together.
Once you trim the ends of the yarn, your gnomes have a completely different personality. Cozy and Scandinavian instead of sleek and garden-ready.
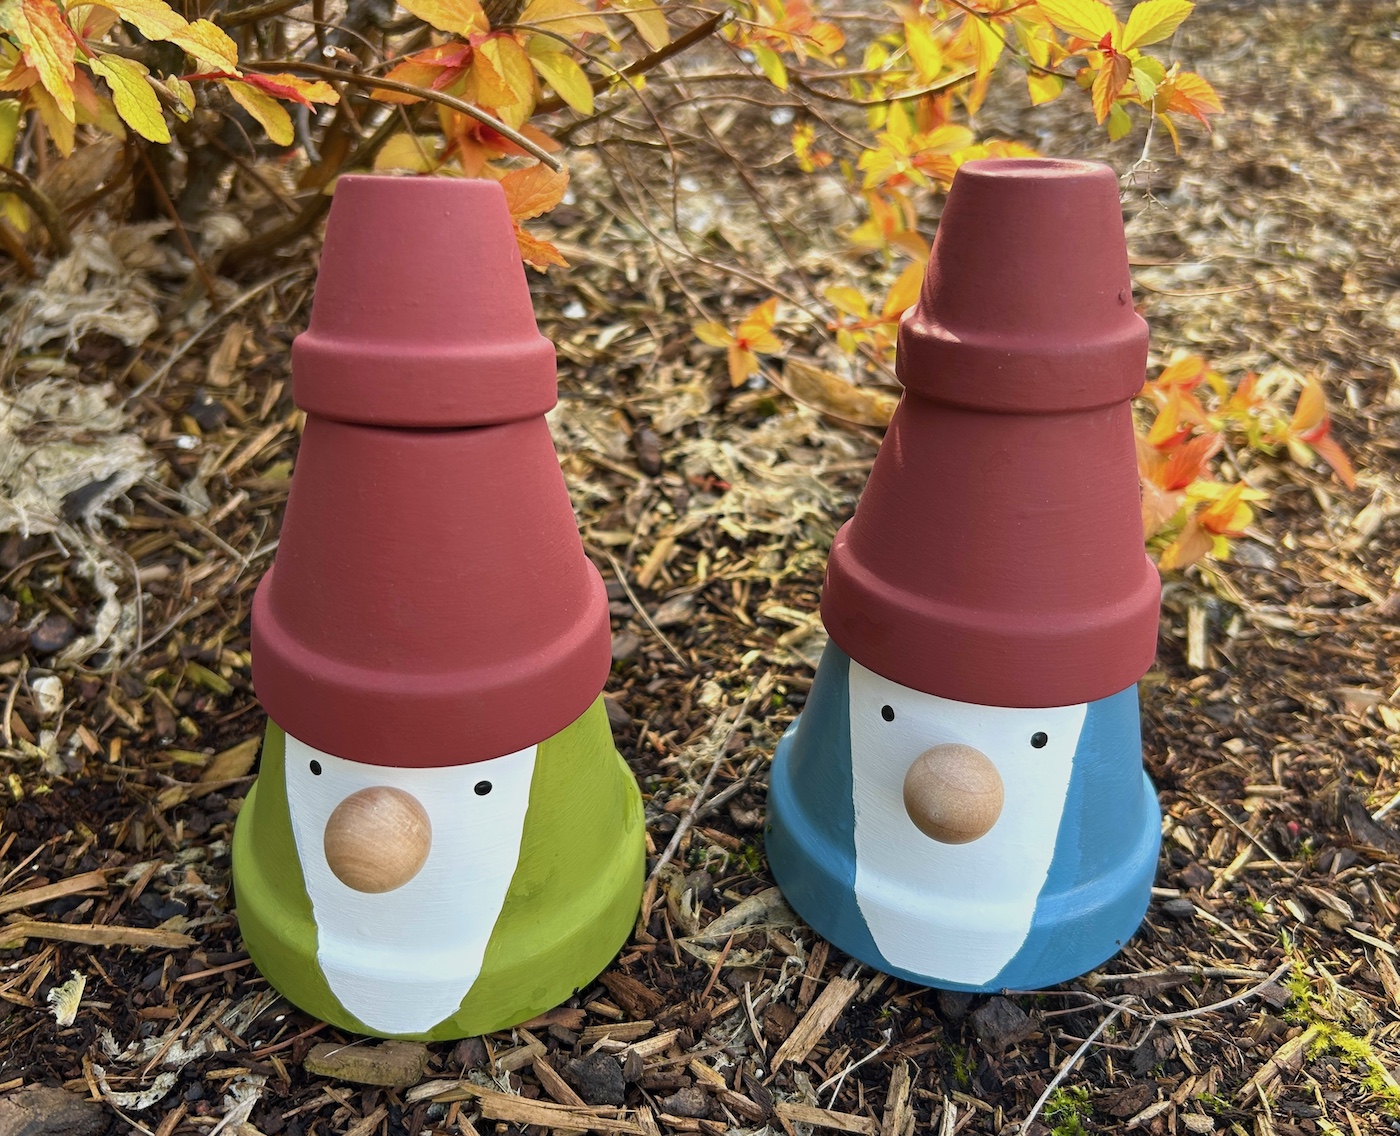
Personally? I still prefer these painted outdoor gnomes because they remind me of something you’d stumble across in a whimsical little woodland garden.
Another thing I love about using terra cotta pots for this project is how inexpensive they are. You can usually grab pots at the garden center for just a few dollars, and suddenly you’ve got custom decor that looks boutique-shop cute.
You can also customize this project in so many ways:
- Bright colors for spring and summer
- Neutral colors for farmhouse decor
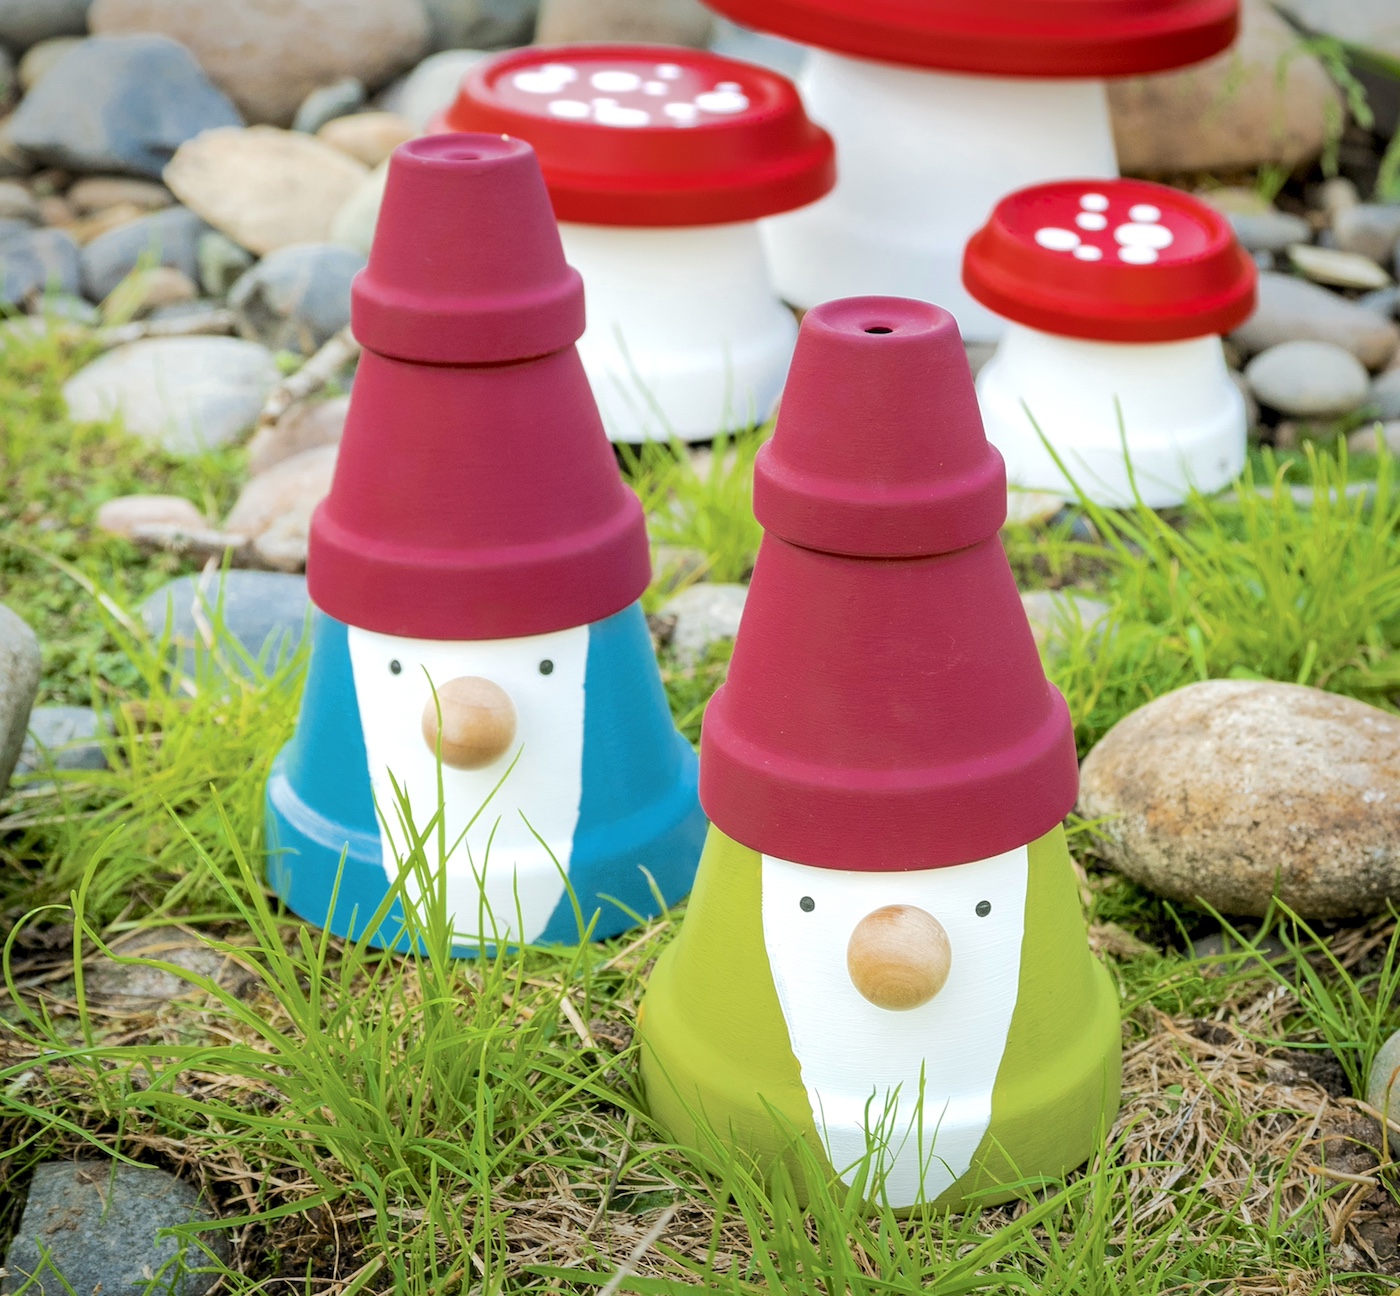
- Mushroom-inspired hats with dots
- Patriotic colors for July
- Tiny Halloween gnomes
- Christmas gnomes for the porch
Honestly, once you start making gnomes, it’s hard to stop.
And yes, kids can help with this project too. Younger kids may need help with the glue, but painting the clay pots is absolutely kid-friendly and fun. Older children can probably make the entire project on their own.
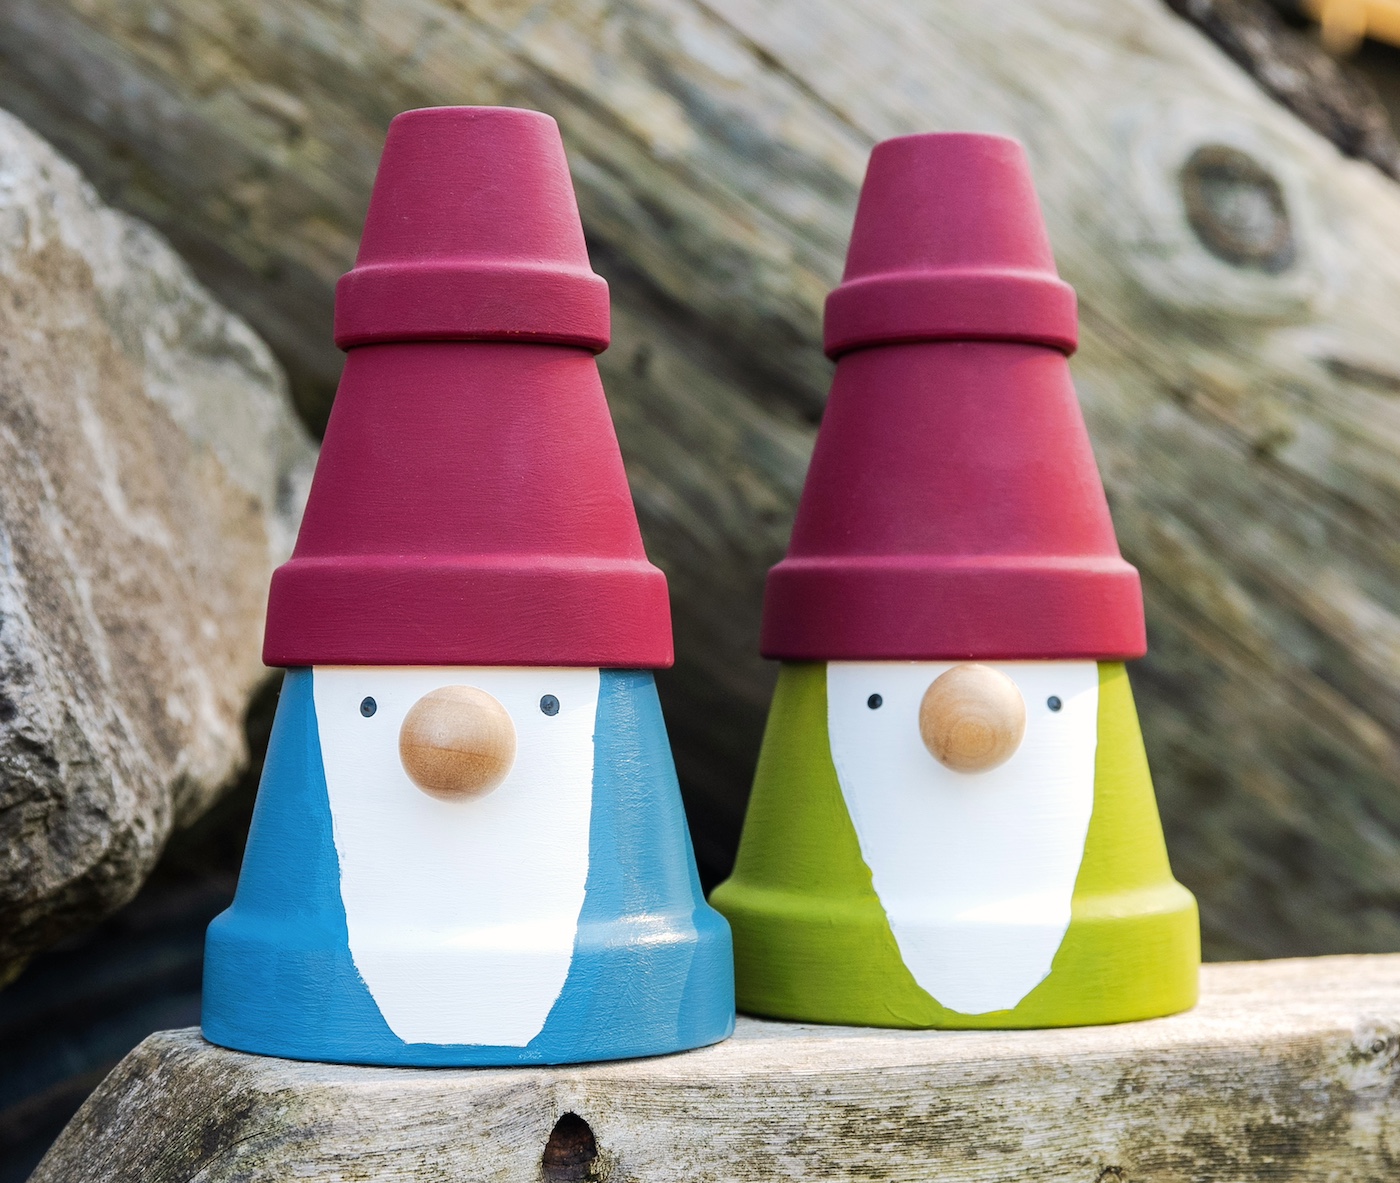
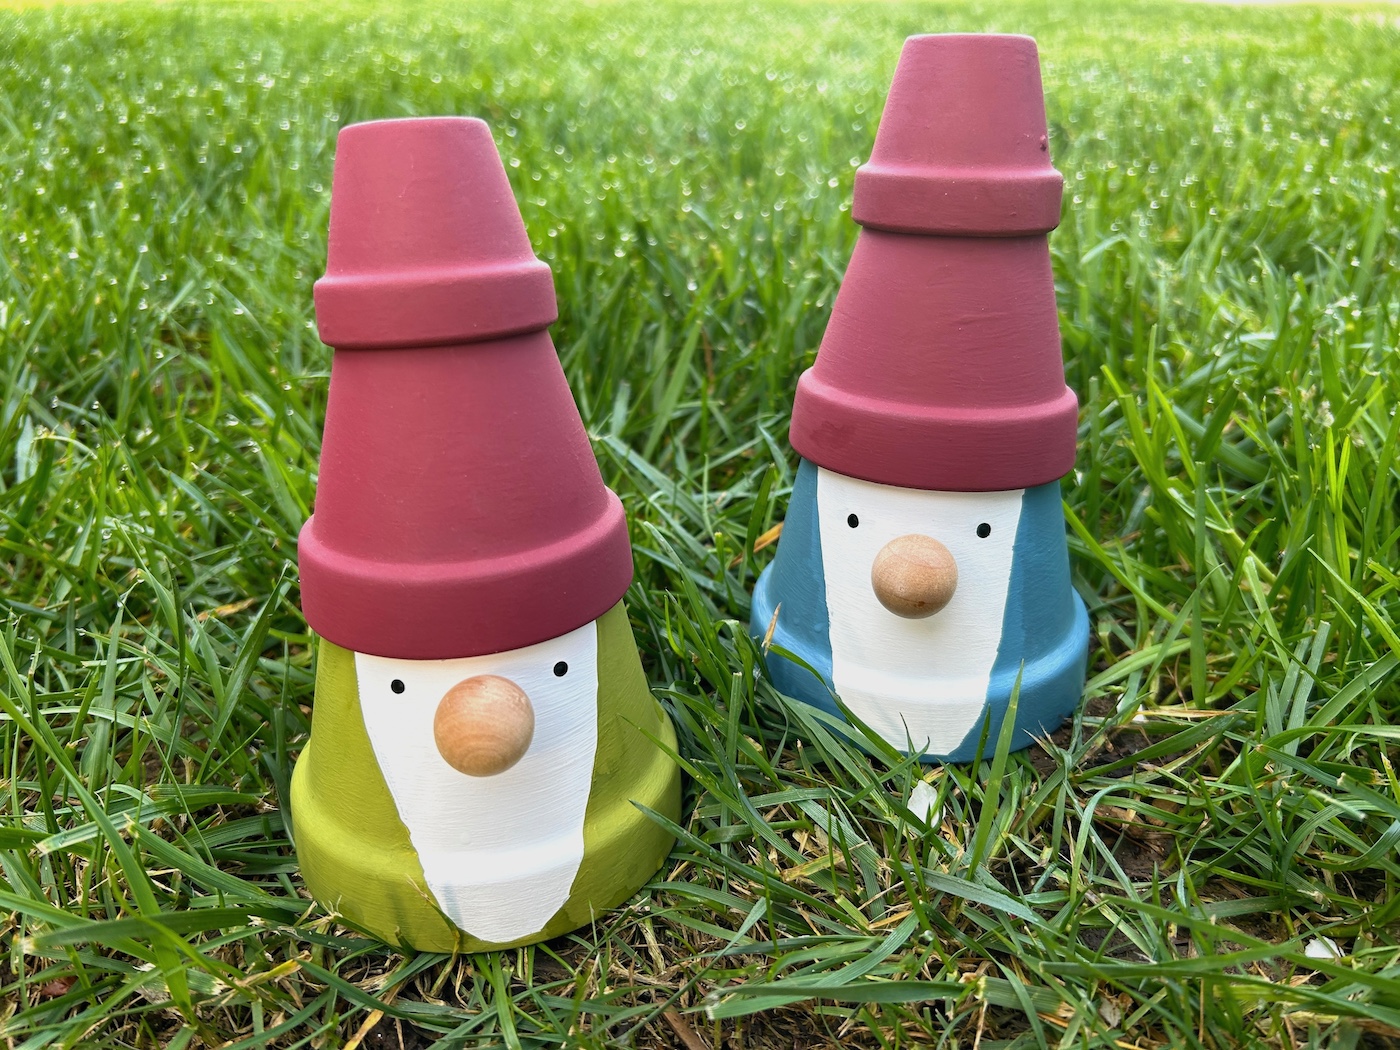
One of my favorite details is the beard shape painted directly onto the pot. It gives the gnomes that classic look without needing extra materials. I used white paint for the beard area and then added colorful paint around it for the body. The simple wood bead nose is the perfect finishing touch.
If you want to get extra creative, you could even dry brush the clay pots for a weathered finish or add tiny painted flowers, stripes, or polka dots to the hats. I’ve also seen people use pom-poms as noses or add braided yarn details around the hat brim for indoor versions.
For outdoor use, though, simpler is better.
I definitely recommend sealing your gnomes if they’ll live outside full time. Mod Podge Outdoor works great, and if you get a lot of strong sun or rain, a UV-resistant spray sealer is a smart extra step too. Terra cotta is durable, but paint always appreciates a little protection.
Where should you put these gnomies?
- tucked into flower beds
- sitting on porch steps
- grouped with clay pot mushrooms
- lined along a garden path
- hanging out near succulents
- beside fairy gardens
And because they’re made from terra cotta, they blend naturally into outdoor decor instead of looking overly plastic or manufactured.
I also think these make really cute gifts. Pair one with a small plant or herb for a fun handmade garden present. People go nuts for gnomes. It’s honestly kind of incredible.
So if you’ve been staring at stacks of clay pots wondering what to make this spring, consider this your sign. These little gnomies are easy, affordable, weather-friendly, and ridiculously charming.
And once you make one? You’re probably going to end up with an entire tiny village. Don’t say I didn’t warn you.
Get the printable how to card for this project below:

Clay Pot Gnomes
Equipment
Materials
- 3 Clay pots 1 3/4" and 2 3/4" for the hat, 3 1/2" for the base
- Multisurface craft paint white, burgundy, black, blue, moss
- Wood beads 3/4"
- E-6000 or other industrial adhesive
- Mod Podge optional
- Sandpaper optional
Instructions
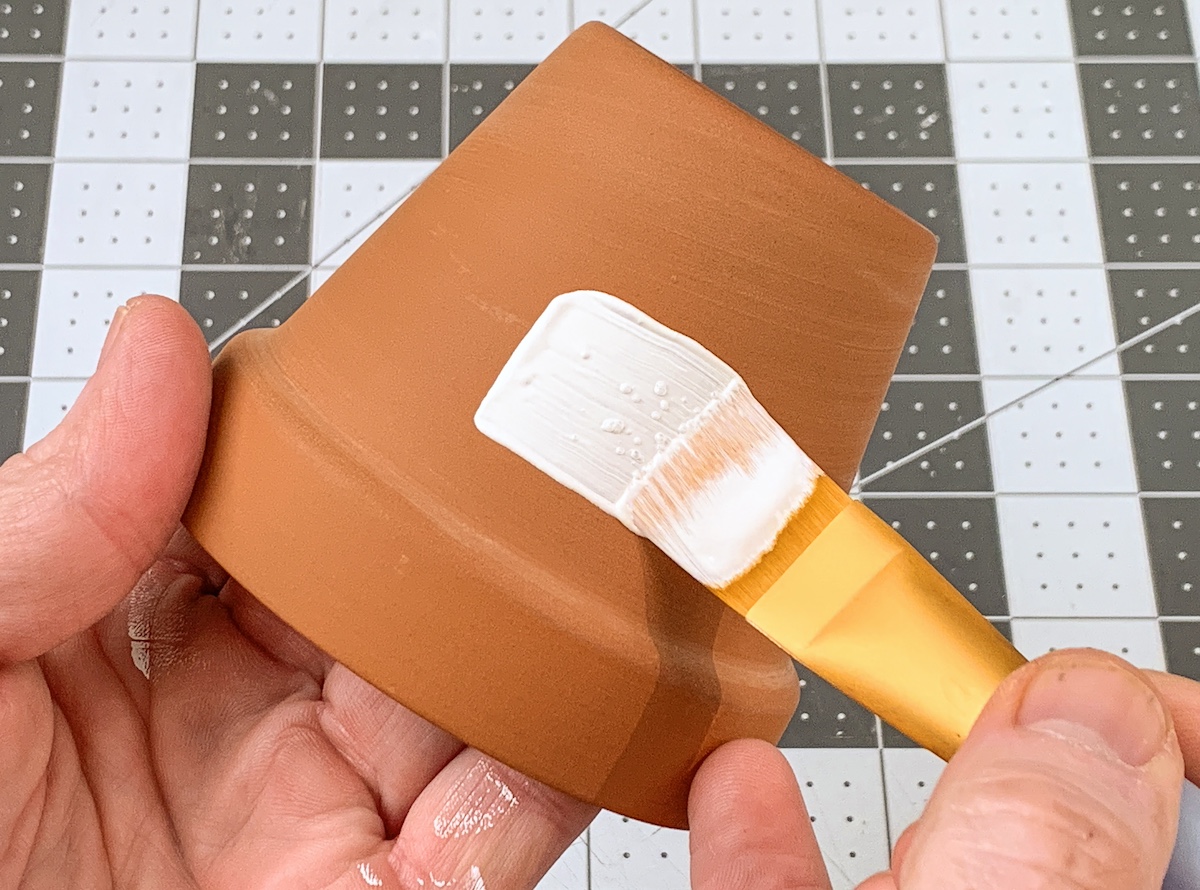
- Clean pots if necessary. Paint a layer of white paint on the 3 1/2" pots. Let dry and repeat for full coverage.
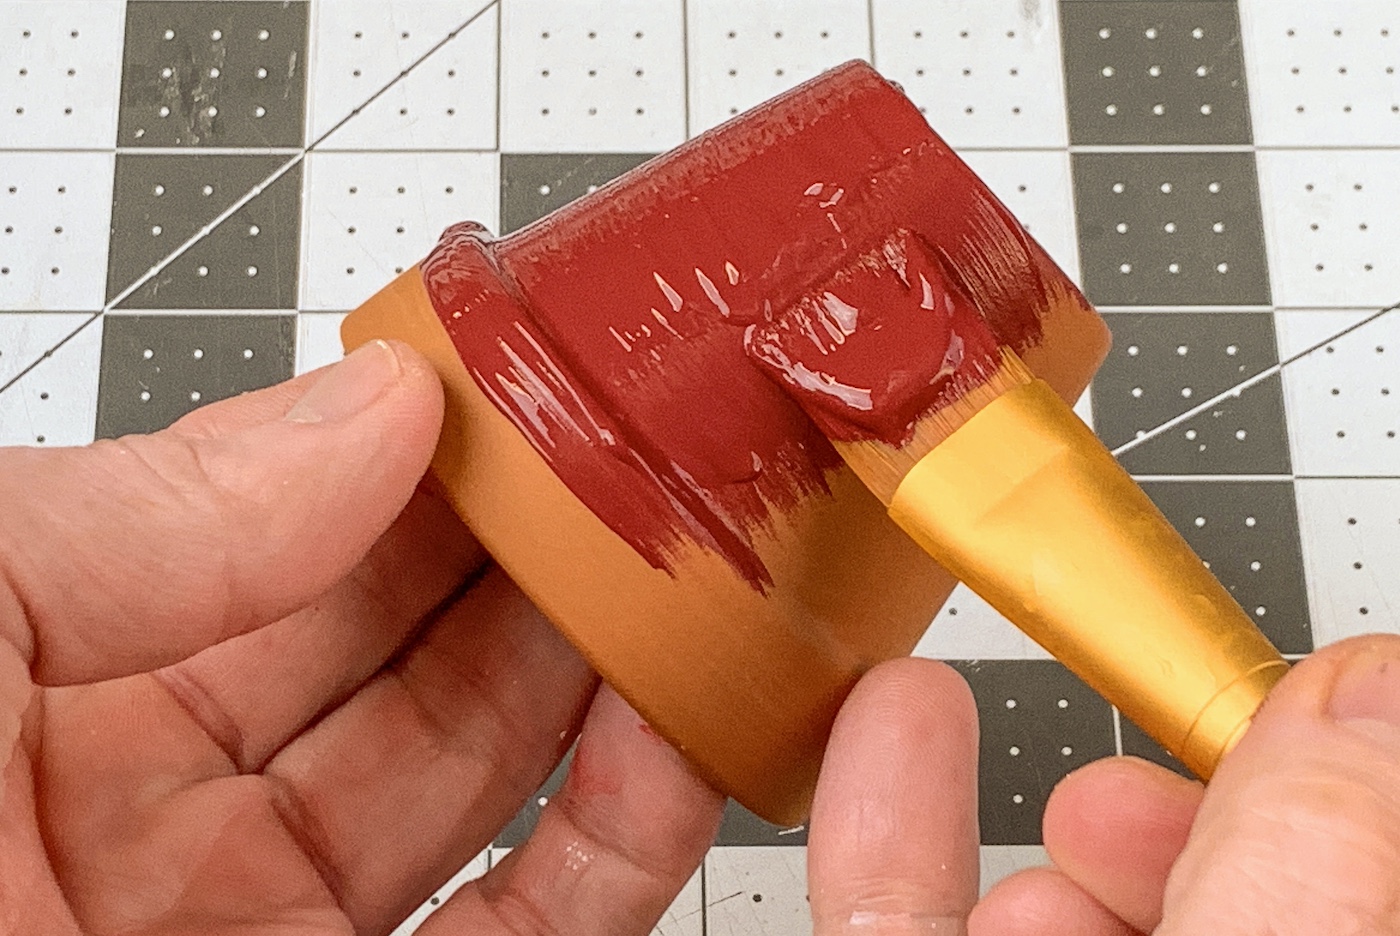
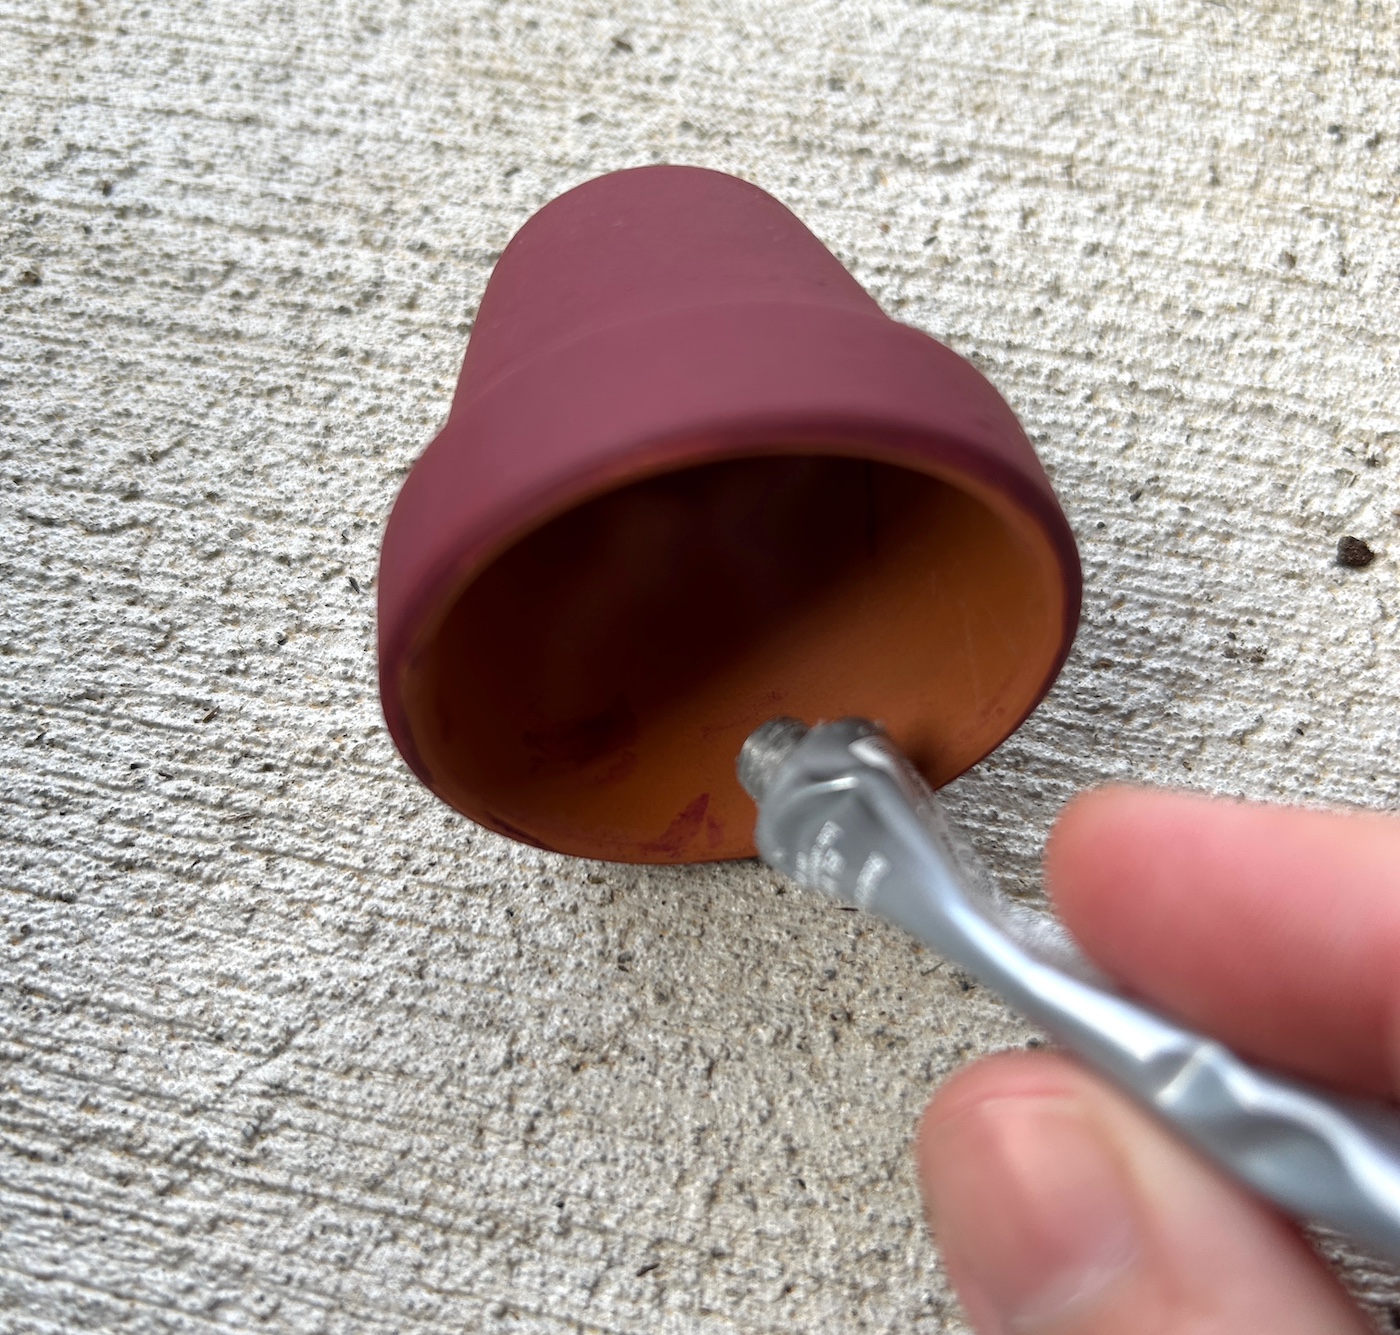
- Paint the 1 3/4" and 2 3/4" pots with the burgundy paint. Set aside and let dry.
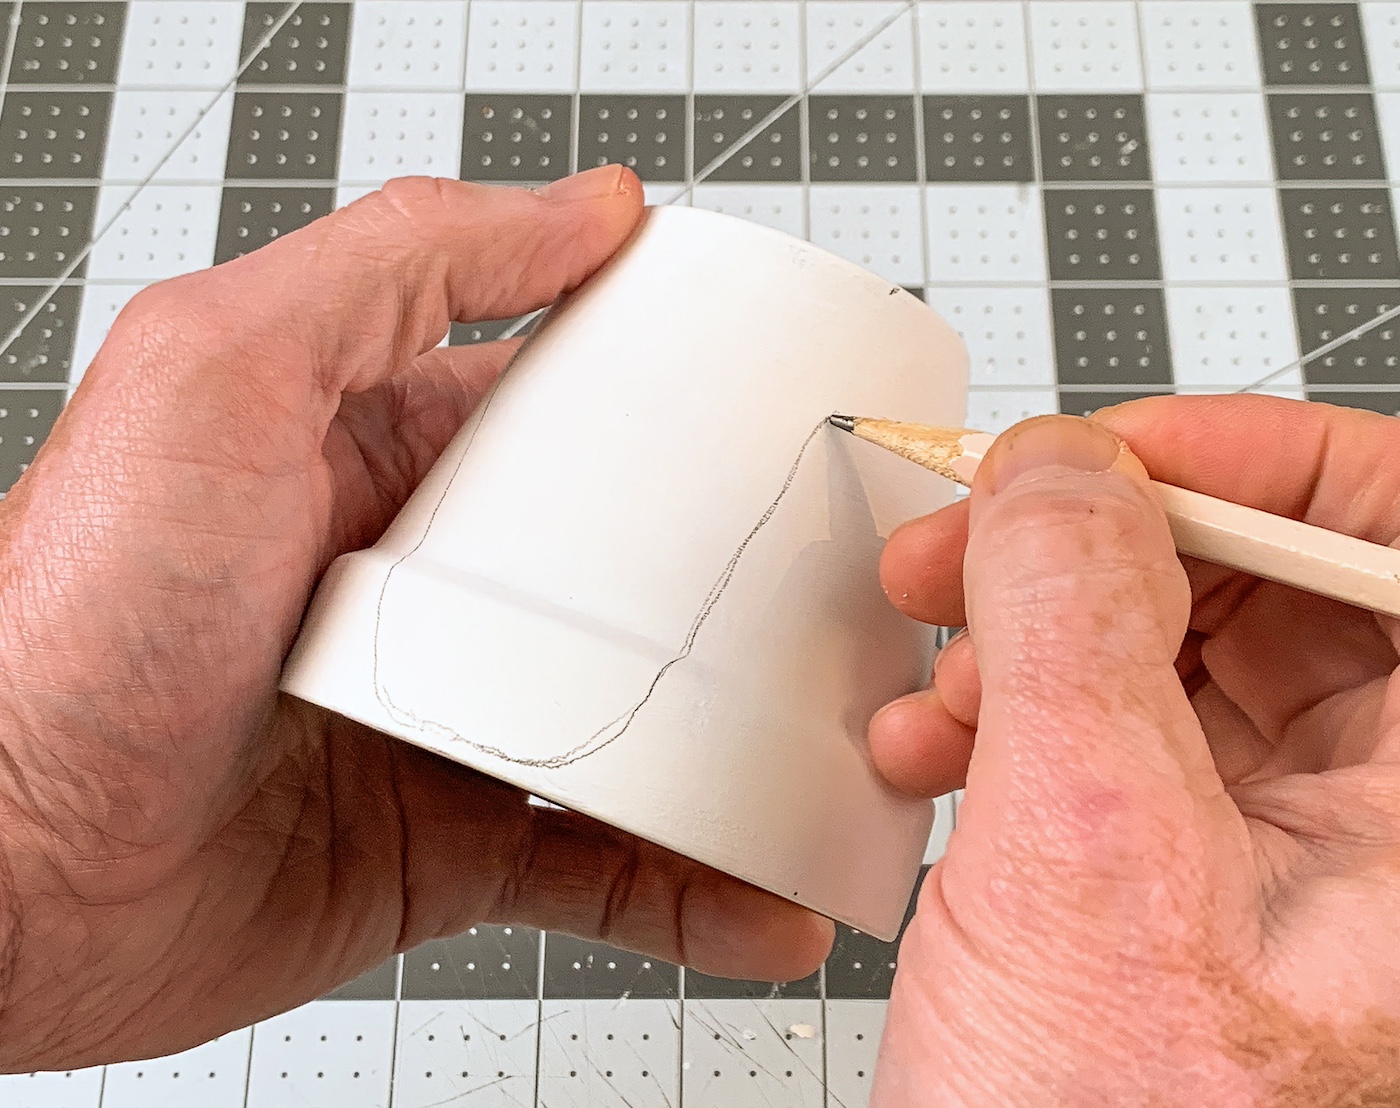
- Use a pencil to draw in where you would like the face and beard area to be.
- Paint the area outside the face/beard with blue or green, then repeat with the other pot. Cover the pencil lines. Let dry.

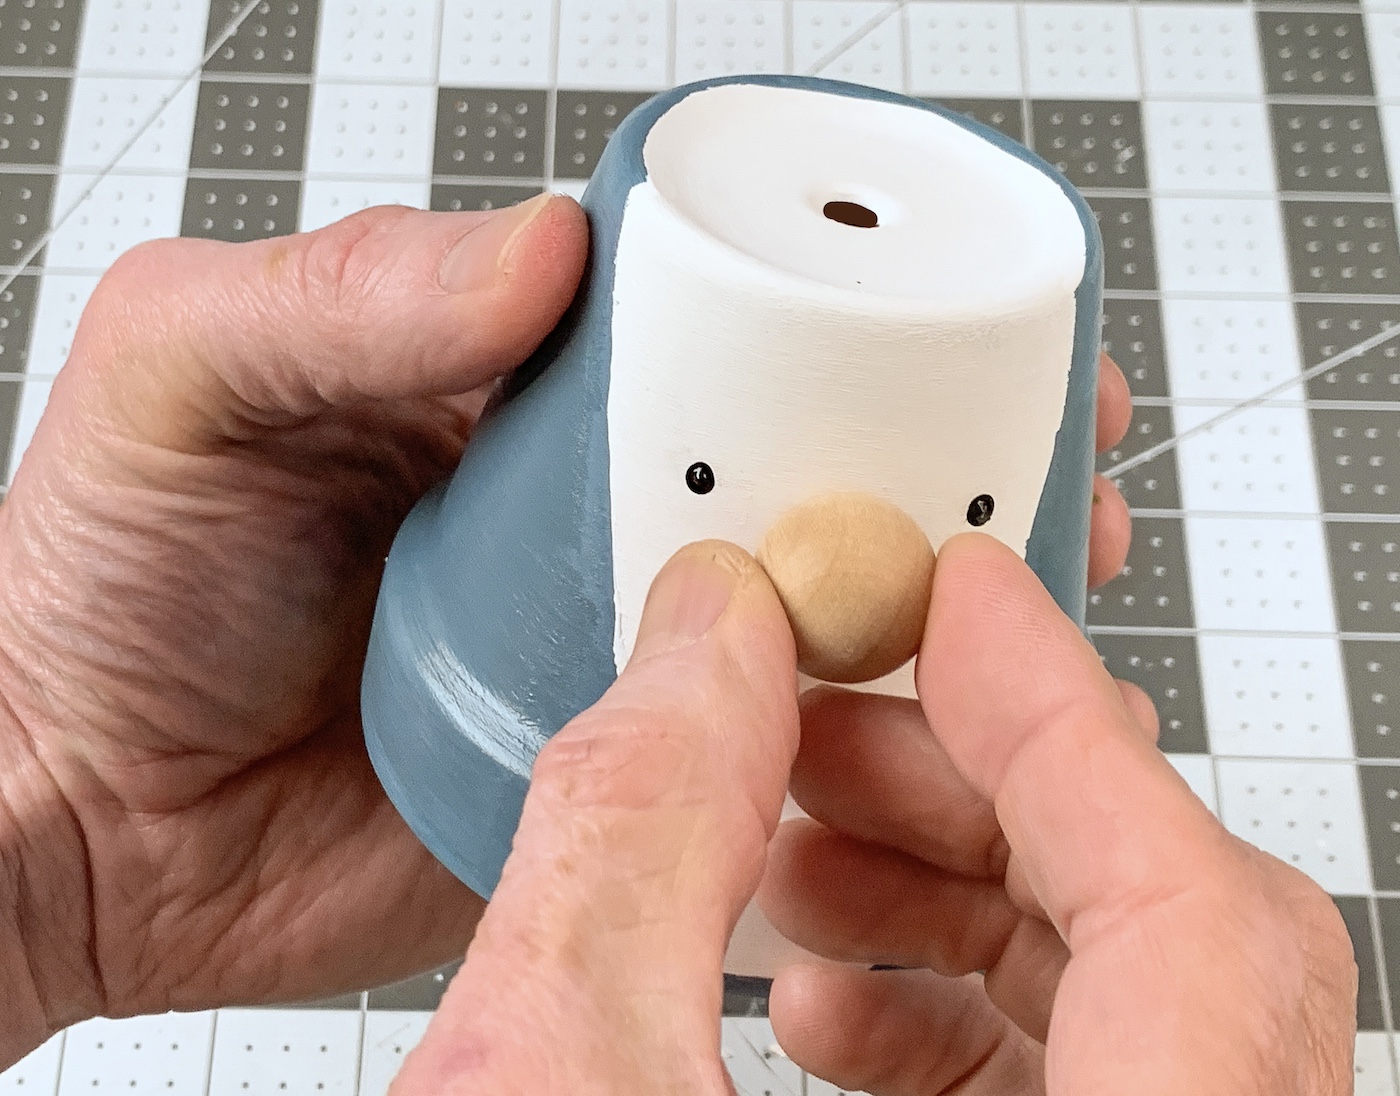
- Use the end of the paintbrush along with black paint to dot the eyes onto the base pot. Let dry.

- Glue the wood bead to the front of the pot underneath the eyes. If the bead isn't flat on one side, use the sandpaper to make a flat area. Glue down the nose and let dry.
- Use the E-6000 to attach the hat pots to the base. Let dry completely. Add Mod Podge if desired and let dry before displaying.
Notes
Did you enjoy this project? Let me know in the comments! I’d also love for you to check out these other craft ideas:
Beanbag Toss • Cactus Rocks • Clay Pot Lighthouse • DIY Flower Pots • Garden Markers • Gnome Birdhouse • Ladybug Rocks • Make a Fairy Garden • Painted Birdhouses • Painted Mailbox • Painted Rocks • Rock Mushrooms • Spoon Plant Markers • Strawberry Rocks