Create these unique Mod Podge plates your guests will love – use clear glass plates from the dollar store, fabric, and Mod Podge.
Hi guys! I’m Amy from My 3 Monsters and I’m thrilled to be here today. Mod Podge is one of my all-time favorite decoupage mediums. There is NO END to what it can do! Seriously, y’all – on my blog I have used it to make over everything from dressy shoes to a drink cooler.
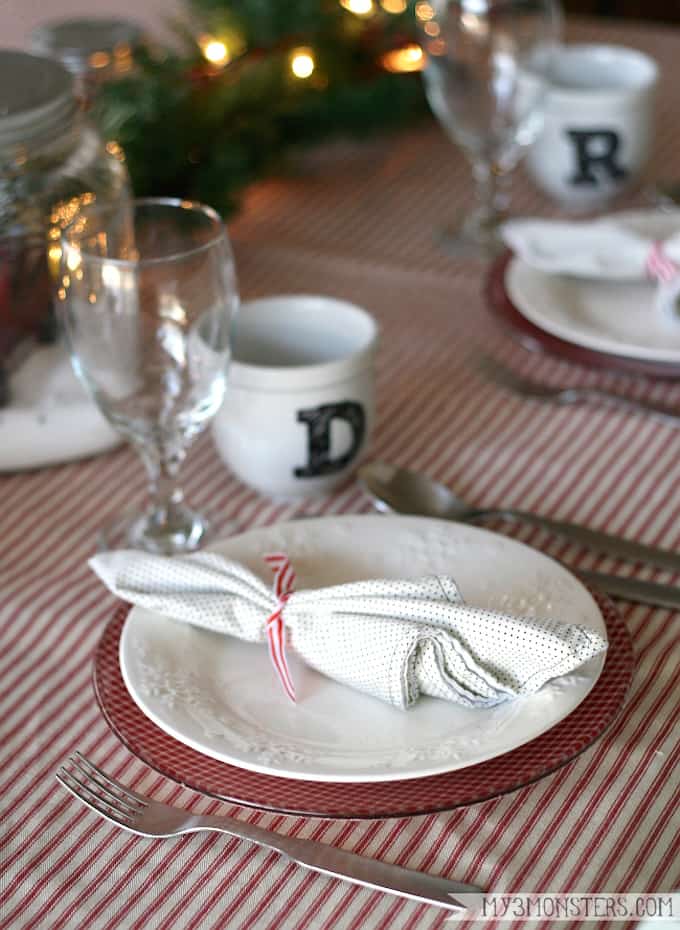
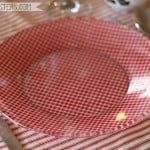
This holiday season, I really wanted some red plaid dinner plates to pair with the white embossed snowflake salad plates I use every year. The only problem is, I wasn’t able to find the plates I wanted for purchase anywhere.
At least not the kind I was dreaming of, or in my budget. Undaunted, I decided to make my own out of clear glass plates that are available at most dollar stores.
I can’t believe I didn’t think of this party craft first, especially with my Mod Podge obsession. Time to remedy the situation with a unique decoupage idea!
Mod Podge Plates
These plates are incredibly easy to make yourself. You can scroll down further to get the full tutorial, but before that I’ve got some tips for you. If you want to Mod Podge on glass plates, read these first.
Can I Use Fabric, Paper, and More?
I highly recommend using a cotton or cotton blend if you’re going to use fabric. The more pliable the fabric, the better. Silks don’t decoupage well and home decor fabric will be too think.
I’ve used tissue paper and napkins on the backs of plates with success. Like the fabric, the more pliable, the better. Cardstock isn’t going to work well on the back of a plate, unless the plate is completely flat (which most are not).
Where to Buy Plates
I get asked frequently where to buy glass plates, and luckily you have a lot of options. My favorite places for clear glass plates are Dollar Tree and the thrift store. You can also find plates on Amazon.
Sometimes you can find clear plates at Target, Walmart, Michaels, Hobby Lobby, or other craft stores – but it’s hit or miss as far as I’m concerned. If you’re impatient, go online for sure.
Are you ready to jump into the project? Keep reading to learn how to make these holiday plates.
Decoupage Dinner Plates
To decorate these plates, you will need:
- 10″ clear glass dinner plates – no embossing; flat glass dinner plates work best
- 1 yard of fabric
- Outdoor Mod Podge*
- Scissors
- Paintbrushes – use soft bristle taklon to minimize brush streaks
- Wax paper
- Pencil or chalk
*Note: this post was originally published in December 2014, before Dishwasher Safe Mod Podge existed. Dishwasher Safe is what you would want to use in place of Outdoor Mod Podge for this project.
Step 1: Lay one of your plates upside down on top of your fabric. Using a pencil or chalk, draw a circle about 1″ wider than the plate all the way around.
Cut out the fabric circle. You will need one circle for each plate. I was able to get 8 10″ plates out of 1 yard of fabric.
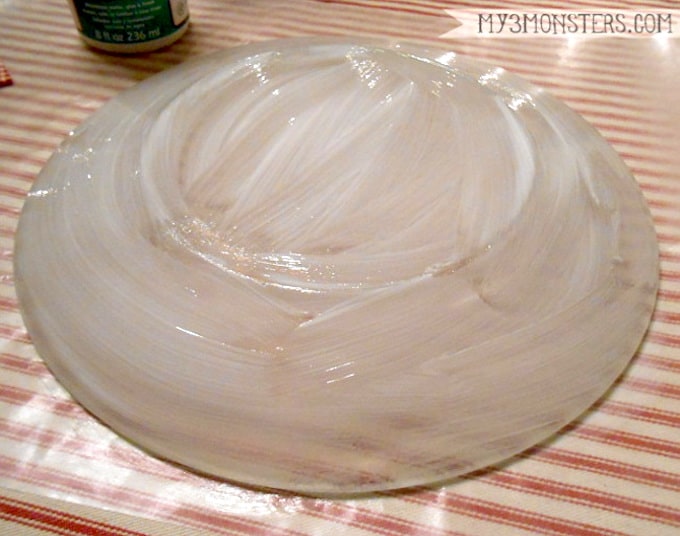
Step 2: Lay a plate upside down on a sheet of wax paper. Clean it well with glass cleaner and paper towels to remove any fingerprints from the glass, then paint a good, even coat of the Outdoor Mod Podge all over the back of the plate.
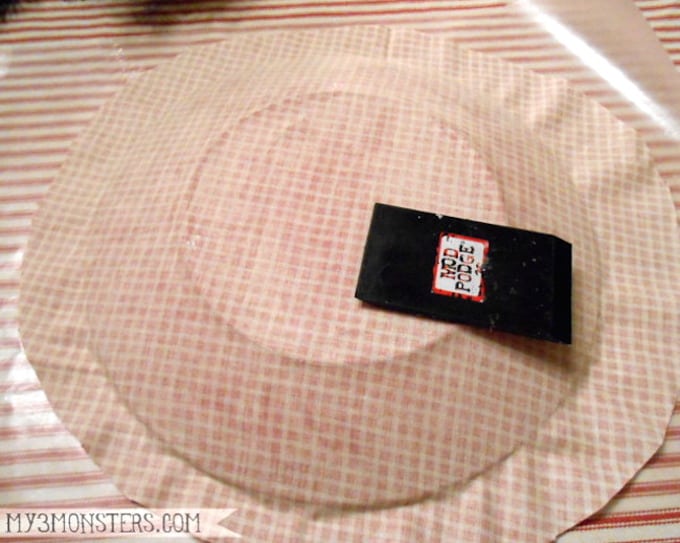
Step 3: Place a fabric circle right-side-down on top of the plate and gently smooth it out to cover the plate and remove any creases. Fabric is awesome for this project because it has a little bit of “give” so you can gently pull and stretch it a tiny bit to make it cover a rounded surface without creasing.
Using a “squeegee” type tool or a credit card, gently rub the entire surface to remove any air bubbles and make sure everything is stuck tight to the glass.
You can pick up the plate at this point to see how it looks from the front and make adjustments if necessary. Just remember that any white streaks of Mod Podge you see will dry clear.
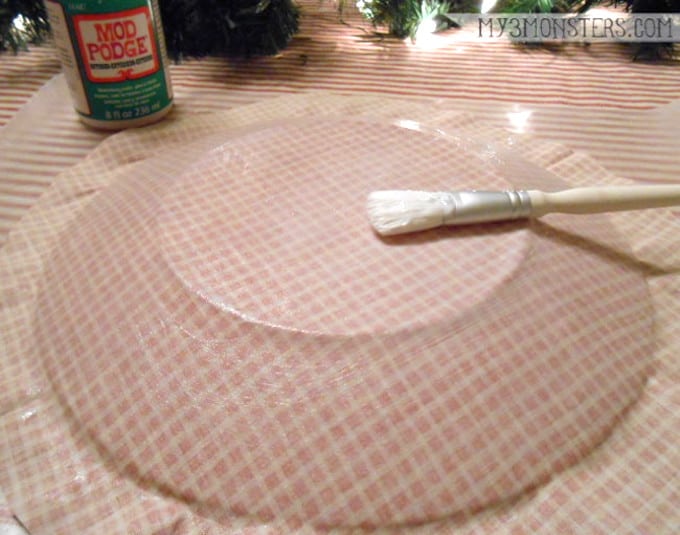
Step 4: Paint a light, even coat of the Outdoor Mod Podge over the entire back surface of the plate and allow to dry.
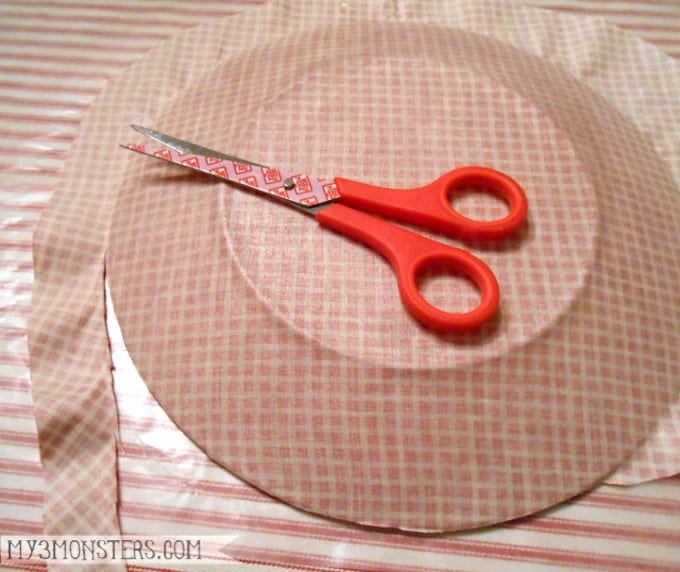
Step 5: Using very sharp scissors or an X-Acto knife, cut away the excess fabric around the edge of the plate as close to the edge as possible.
Paint 4 – 5 more light coats of Mod Podge onto the back of the plate, allowing it to dry 15 – 20 minutes in between coats. Wait at least 72 hours before using the plates to allow the Mod Podge to set up completely.
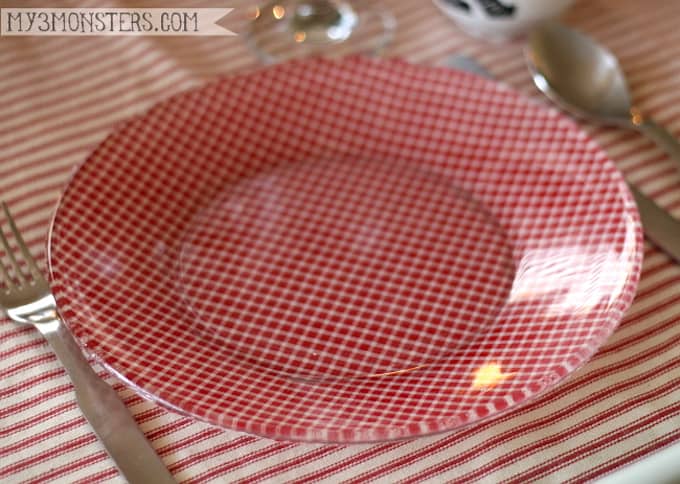
You will be able to eat off the plates since all the Mod Podge is on the back. To clean, hand wash them gently and avoid soaking them in water. Just rinse and scrub the front clean quickly, then lay upside down to dry.
These are definitely not every-day plates that you can throw in the dishwasher, but for special occasions like Christmas dinner I think they’re just perfect! If you don’t feel like making a whole set of dishes, your kiddos could help you make a special cookie plate for Santa.
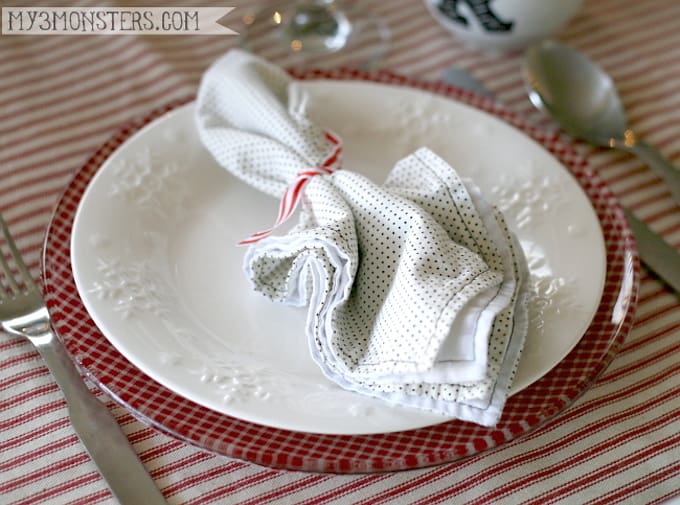
They are exactly what I was hoping for! Just a little pop of red and another fun layer of pattern in the mix for an interesting holiday table.
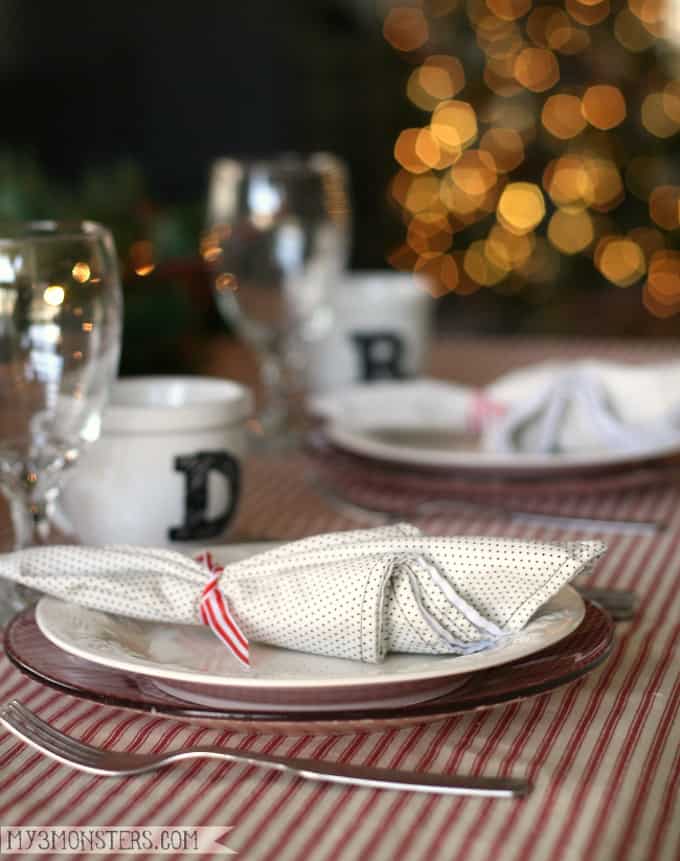
With a woodsy lighted garland down the center of the table and the Christmas tree glowing in the next room, you’ll have the warm and cozy effect of dinner by candlelight come Christmas Eve!
Mod Podge Plates
Equipment
- Pencil or chalk
Materials
- 2 10" clear glass dinner plates
- 1 yard fabric
- Dishwasher Safe Mod Podge
- Wax paper
Instructions
- Lay one of the plates upside down on top of the fabric. Using a pencil or chalk, draw a circle about 1" wider than the plate all the way around.
- Cut out the fabric circle. You will need one circle for each plate. I was able to get eight 10" plates out of one yard of fabric.
- Lay a plate upside down on a sheet of wax paper. Clean it well with glass cleaner and paper towels to remove any fingerprints from the glass, then paint a good, even coat of the Mod Podge all over the back of the plate.
- Place a fabric circle right-side-down on top of the plate and gently smooth it out to cover the plate and remove any creases. Gently pull and stretch the fabric a tiny bit to make it cover a rounded surface without creasing.
- Gently rub the entire surface with fingers or a squeegee to remove any air bubbles and make sure everything is stuck tight to the glass.
- Paint a light, even coat of the Mod Podge over the entire back surface of the plate and allow to dry.
- Using very sharp scissors or an X-Acto knife, cut away the excess fabric around the edge of the plate as close to the edge as possible.
- Paint 4 – 5 more light coats of Mod Podge onto the back of the plate, allowing it to dry 15 – 20 minutes in between coats. Wait at least 72 hours before using the plates to allow the Mod Podge to set up completely.
Video
Notes
If you like these holiday plates, I think you’re going to like these other projects that use glass and Mod Podge:



This is so awesome! Definitely want to try this!
Several years ago I made several plates and they turned out awesome. This year I decided to make a set of assorted Christmas plates. The material with the darker background turned out dull looking. It just wasn’t vibrant. I have no idea on how to have them turn out like the ones 20 yrs.ago. Do you have any suggestions?
Hi Joanne! I’m hoping you have a Facebook account and can join our group: https://www.facebook.com/groups/530673913743641/
Reason being, you can share pics and we can discuss back and forth, plus other people might have advice too!
Could you use the first layers with regular Mod podge and then use your very last layers with the dishwasher safe mod podge?
Not if you are going to wash the item in the dishwasher (top rack). That *might* work for something you’re spot cleaning or hand washing. Thanks!
Do NOT eat off this! Look it up!
The fabric is on the bottom . . . so you’re just eating off a glass plate. There’s no difference 🙂
I mod podged my first glass plate but the edges around the plate and the back of the plate are very rough. Its not smooth. What should i do? use sand paper? Just not sure. THANKS
If you used fabric it’s a little harder but you can use sandpaper or a sanding block! Make sure it’s very fine grit because anything with teeth with start to take fabric. Paper yes, you can just sand. A lot of people use nail files with paper around glass edges.
Can the finished plates be used in a microwave?
No, they are not recommended for microwave use.
Awesome craft …
Thank you!
I have had trouble with glittery streaks once it has dried. I used glossy modge podge and used a sponge applicatir. Help!!! Thanks