
Have a wooden stool that needs a makeover? I made this decorative step stool with pretty paper and Mod Podge. It’s really EASY to do!
Skills Required: Beginner. This is an easy home decor project, but you should have prior crafting experience/working with Mod Podge. Read the instructions before beginning, especially if your paper is thinner.
Happy spring, friends! I am sooo happy spring is finally here. It’s been such a long winter! And I especially love this floral paper I found at Dick Blick that reminds me of spring (and goes well with my farmhouse decor). I am definitely ready to craft some decoupage ideas with florals again!
I found this itty bitty wooden stool at an antique store a few years ago, and I am finally ready to give it a little makeover.
Before we dig into this wood craft, I wanted to give you some tips for preparing and decoupaging your wooden stool. These are my secrets to success so make sure to read them first!
Preparing Your Wood Stool for Decoupage
I have a complete guide on preparing furniture for decoupage, and in that article I get into the nitty gritty of getting something like a wood stool ready for Mod Podging.
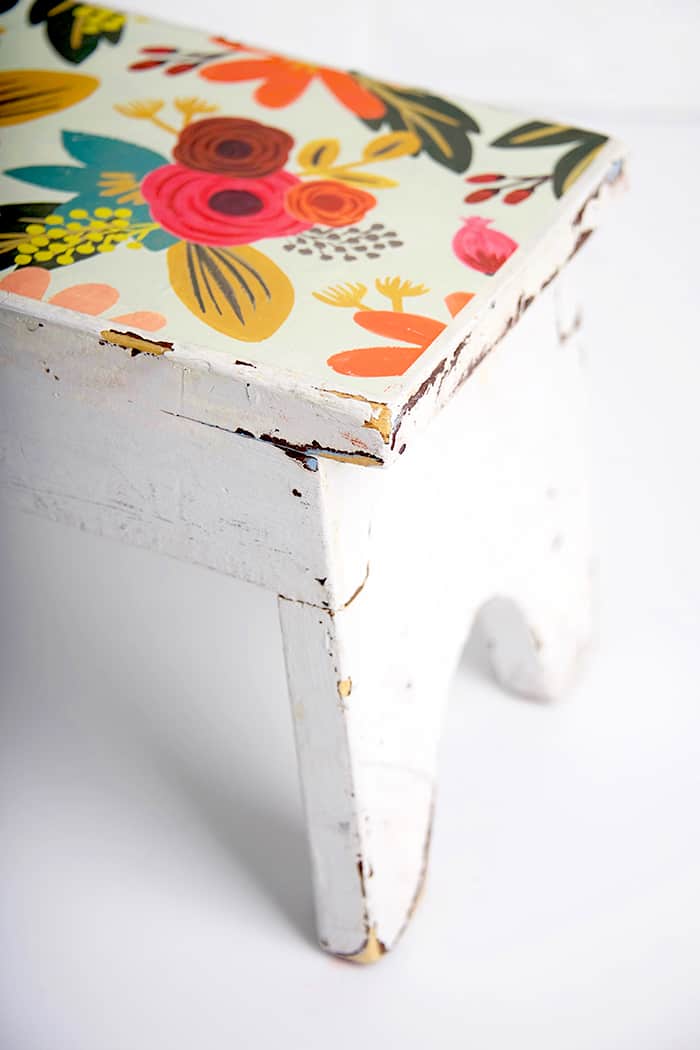
To give you the summary, you’re going to clean the dirt off, fill/sand any spots, and then paint it with acrylic paint if you like. This wooden stool was only cleaned up and the chipped looking surface was left as-is.
Adhering the Paper
On my floral DIY coat rack I used a very similar paper, and I’m suggesting you might use my spray bottle trick in this project as well. You’ll use a spray bottle to mist the paper before decoupage so that it is easier to apply with no wrinkles.
Mist the paper until it’s just wet. Don’t soak it or it will tear easily. After you mist the paper, then you can apply it with Mod Podge and I promise that it will smooth much easier!
Be careful with the paper and treat it gently . . . but you can still use a brayer to smooth and you’ll be fine. Remember that with Mod Podge and paper, practice makes perfect!
Where to Buy Paper
I have two favorite places that I purchase paper – Paper Source and Dick Blick. They have absolutely beautiful papers that they call “gift wrap.” I guess technically you could use them as gift wrap, but all I see are papers I can use for decoupage crafts! They are somewhat thicker than regular gift wrap which is why I like them (not to mention the beautiful patterns).
Are you ready to “beautify” your decorative step stool? Keep reading!
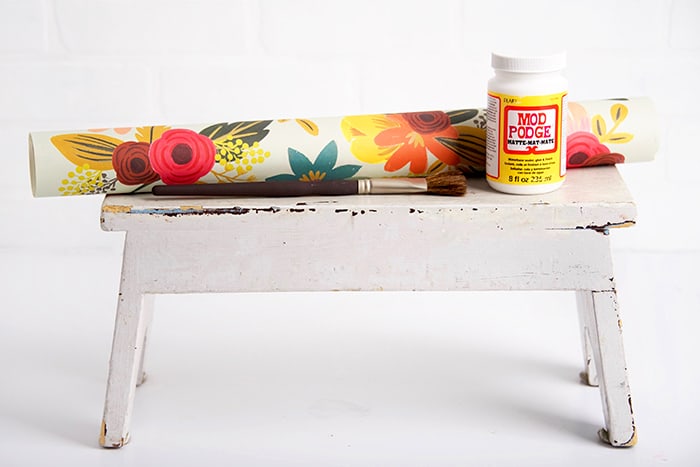
- Mod Podge Matte (Hard Coat Mod Podge is even better!)
- Paintbrush
- Patterned Wrapping Paper or Cardstock
- Pencil
- Scissors
- Brayer or Plastic Scraper

To get started, first turn your wood stool upside down and trace your patterned paper.
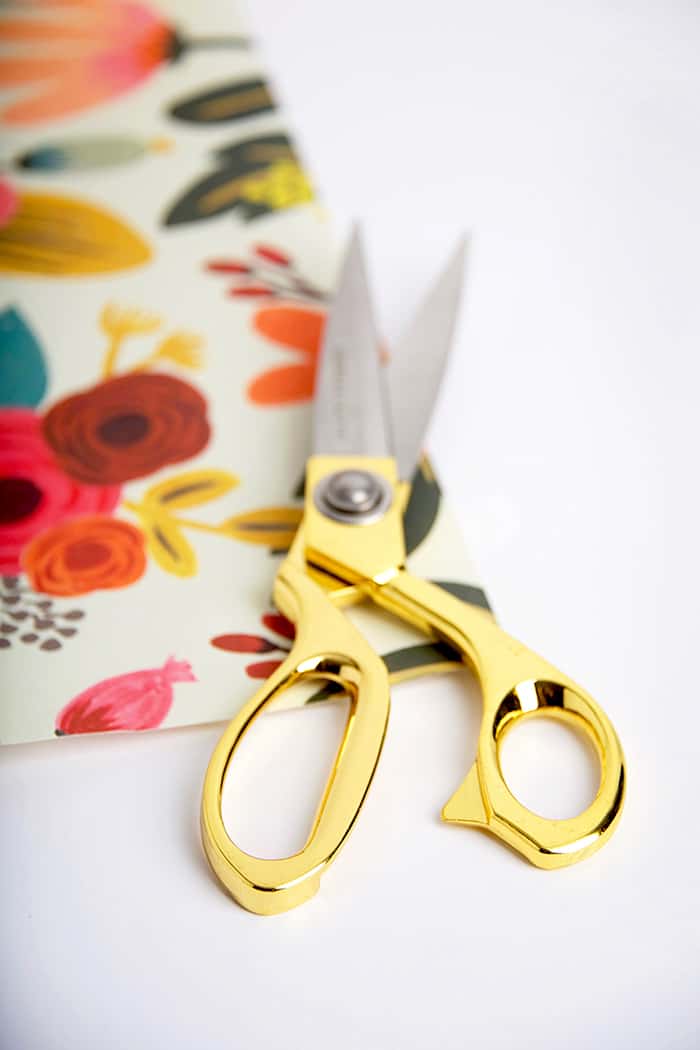
Using scissors, cut your paper down to the correct size. I cut an extra 1/4 inch off each side so I had a little bit of space between the paper and the edge, but you can cut it the full length if that’s what you want!
Do keep in mind if you choose to wet the paper, you might have a little overlap over the edge. That’s because the paper expands a little bit when it’s wet. It won’t shrink back down once it’s Mod Podged so you may have to trim the edges with a craft knife.
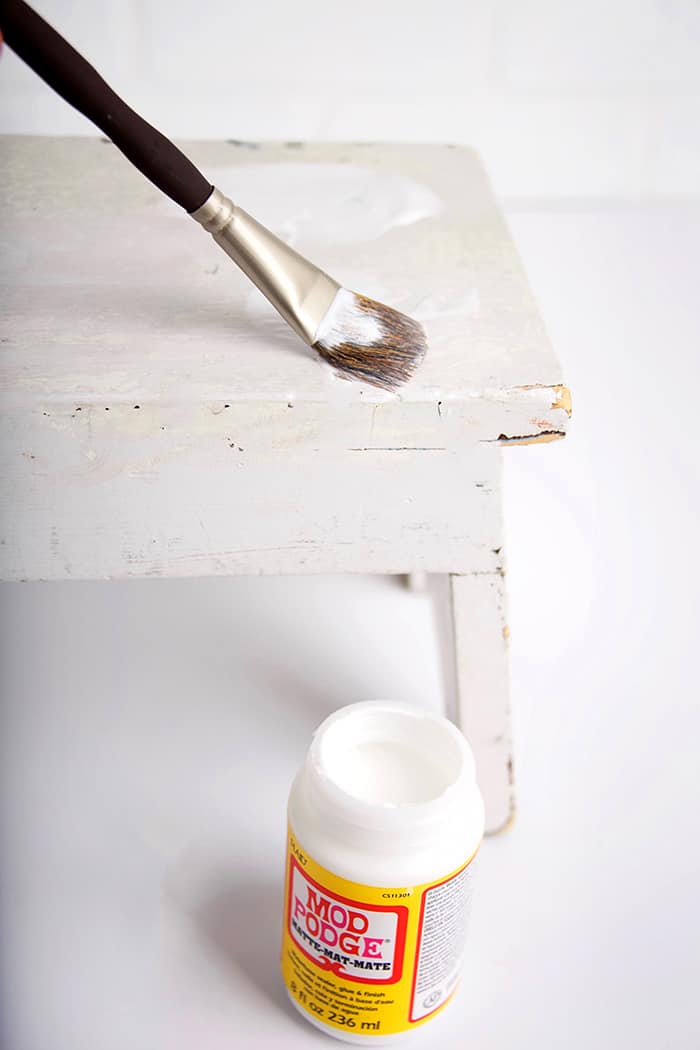
Next, use your paintbrush and Mod Podge Matte to put a thin coat along the top of your step stool. Do the same on the backside of your patterned paper, and then place the paper on your stool.
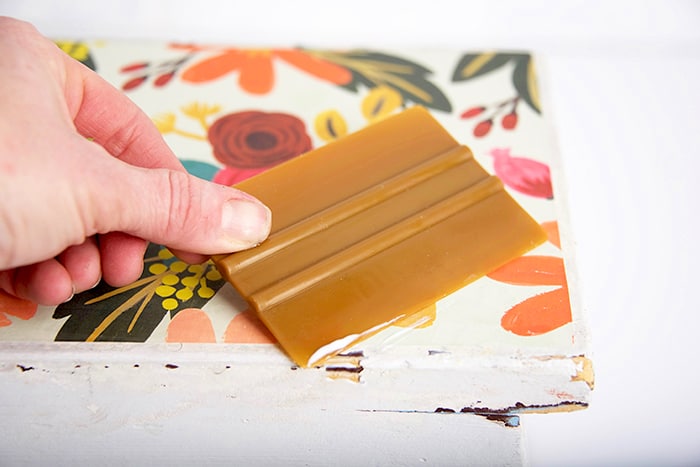
Use a plastic scraper to smooth out the surface to get rid of any air bubbles.
Add a coat of Mod Podge to the top of your stool and allow it to fully dry. Add a second coat if desired.
Because I want this wood stool to be functional and not just for looks, I added about three coats to the top, waiting for the Mod Podge to dry between each coat.
I used a Matte Mod Podge, but you can definitely use a gloss if you want a nice sheen on your project! If you find that you are going to be particularly hard on your stool, I’d use several coats of an additional sealer like Minwax Polycrylic.
In most cases, Mod Podge is good enough as a final sealer (especially Hard Coat Mod Podge). The only issue if you think you’re going to spill on it or get dirt on it – then you might need something additional as a top coat for clean-ability.

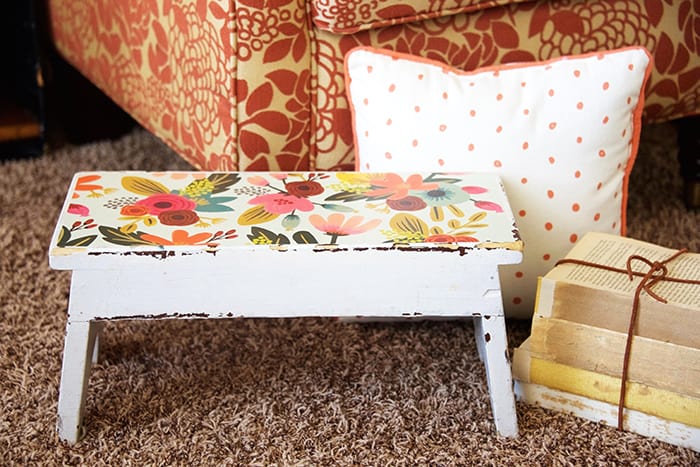
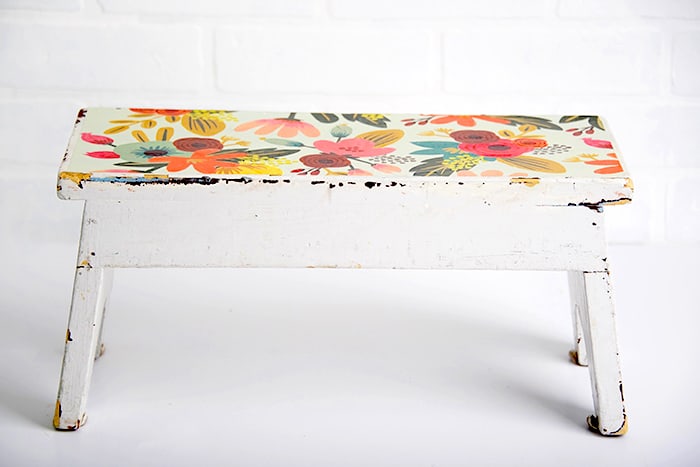
That’s it! Super easy, and I love how my wood stool turned out! Such a lovely reminder of spring, don’tcha think?
My little wooden stool is now happily hanging out in my living room. I also use it in my kitchen pantry whenever I need to grab something just out of reach. It’s cute and functional!
For more Mod Podge furniture projects and tutorials, visit our Home Decor category!

Decorate a Stool
Equipment
- Brayer or squeegee
Materials
- Wooden stool
- Mod Podge Matte
- Patterned paper or cardstock
- Clear brush on sealer optional
Video
Instructions
- Turn the stool upside down and trace onto the patterned paper.
- Using scissors, cut the paper down to the correct size. I cut an extra 1/4 inch off each side so I had a little bit of space between the paper and the edge, but you can cut it the full length if that’s what you want!
- Use a paintbrush and Mod Podge Matte to put a thin coat along the top of the stool.
- Do the same on the backside of the patterned paper, and then place the paper on the stool.
- Use a plastic scraper to smooth out the surface to get rid of any air bubbles.
- Add a coat of Mod Podge to the top of your stool and allow it to fully dry. Add a second coat and let dry.
- Because I want this wood stool to be functional and not just for looks, I added about three coats to the top, waiting for the Mod Podge to dry between each coat.
- To make this project extra durable, add a brush on clear sealer. This step is optional.
Are you interested in checking out more decorative step stool projects with Mod Podge? We’ve got a ton of them – here are the latest:


Talk about stepping into (onto?) spring! This is a wonderful low-cost way to spruce up just about anything old thing. I wonder if this look would work well on my car? Hmmm. Just kiddin’. But seriously this is a great idea! And now I want a spring flowers emblazoned step stool of my very own. Thank you for sharing Amy. By the way, YOU ROCK!
Hi! I love this look! Is that wallpaper that you used? If so, do you mind sharing the source/where I can find it for my own project? Thanks so much!
Love this too! The paper is from Rifle paper Co.
Find it here: https://www.papersource.com/gift-wrap/wrapping-paper/flat