
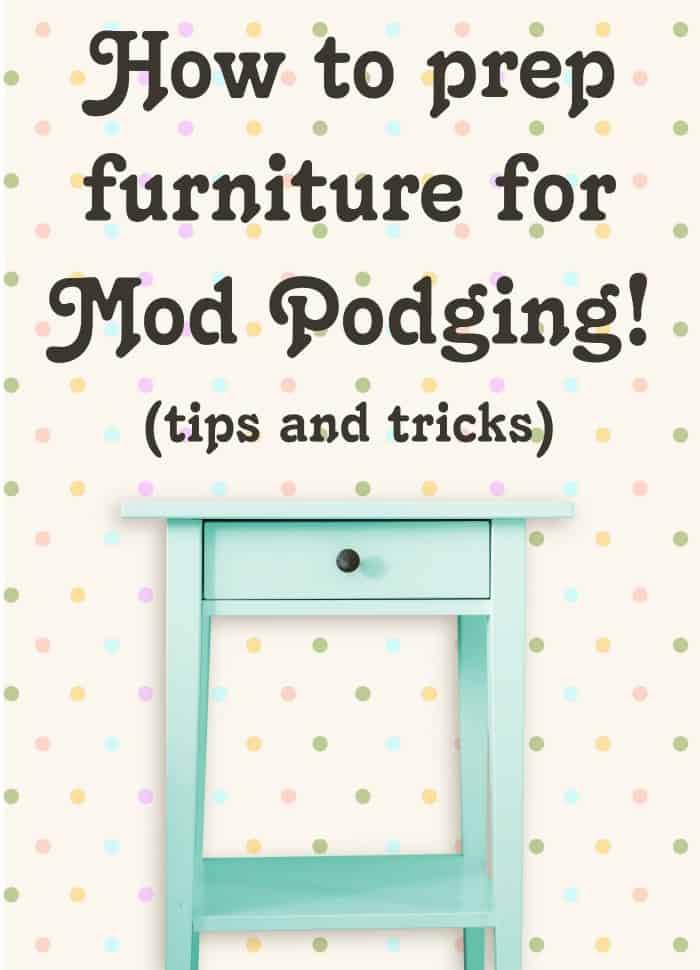
Want to decoupage furniture with Mod Podge? These are my tried and true methods for making sure your piece turns out perfectly!
Scroll down to the bottom of the post to get a bonus video of decoupage furniture – the project is Mod Podging napkins to a patio set. You’re going to love it.
Have you ever re-done a piece of furniture and Mod Podged it? I have – and I really, really enjoy it. I have a confession: I love to decoupage furniture. Especially wood surfaces. It’s so fun!
I’m excited to share my tips for how to prep furniture for Mod Podge so that you can be successful, and so that you will enjoy it too. Because no one wants to get to the end of a project, especially a Mod Podge furniture project, and end up with a craftfail in your hands. It sucks. I’ve been there too.
In this article, I’m going to assume that your piece is real wood. If it’s not, you can follow the steps in this article for painting laminate/wood veneer.
Desiree’s steps and my steps are very similar actually, you just need to make sure to use primer with laminate. But as I said, we’re assuming you are dealing with real wood in this post.
So here’s how to prep furniture – I’m going to give you my step-by-step process once you get the piece you want to revamp in your grubby little hands.
How to Decoupage Furniture
Step One: Decide what you want to do with your piece.
I typically choose from three basic options (and I’m sure there are others):
- Leave the piece with the finish it has on it (or leave it unfinished)
- Turn a painted piece into an unfinished one
- Paint the piece (including staining)
If you want to leave the piece with the finish it has on it, you’ll need to clean it with warm, soapy water – wash and dry. Then you’re basically done. Yep, that’s right – you don’t HAVE to sand your furniture!
A lot of people enjoy a vintage-style finish and want to decoupage right over it, and that’s fine.
My only recommendation is that if your paint seems to be latex or is shiny, do a test in a corner to make sure the decoupaging is going to work.
If the paint has cured for a while, it’s probably going to be okay, but I don’t want you to spend your precious time Mod Podging only to find out it isn’t going to work.
Please do a test by decoupaging a small square down in a place that isn’t as visible. If it sticks, you’re good – then you can peel it off and do the real thing.
Now if you are changing the finish, move on to step two.
Step Two: Remove the hardware from your furniture, if any.
Clean it with soap and warm water or rubbing alcohol, and set aside. Place the screws in a plastic baggy or plastic container and note the location. Trust me on this one. I have lost screws for my hardware. It stinks!
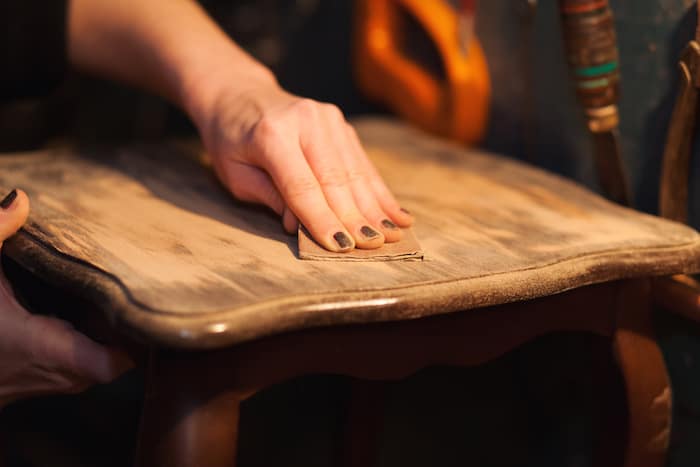
Step Three: Sand your furniture.
You can do this with medium-grit sandpaper by hand, or you can do it with a palm or orbital sander. I have the first DeWalt sander, but this Black & Decker one also has good reviews.
Keep in mind you are making a bit of an investment with a sander if you don’t already have one, so hand sanding with a sheet of sandpaper or a block works too.
I recommend a medium-grit (around 80) to start and then finishing with a finer grit. It does take awhile to hand sand – you will need some patience!
Once you’re done sanding, use a tack cloth to remove any dust. Or you can cheat like me and use a wet paper towel . . . :0 However, the tack cloth does work better.
Step Four: Fill holes in your piece.
Once you sand the paint off, any holes or gashes that you want to fill will be visible. Use a wood filler to do this – one that is stainable/paintable like these. Allow it to dry for the time recommended on the package, then sand and use the tack cloth to remove the dust.
If you want your piece to stay unfinished for decoupage, you are ready! If you are going to paint, move
Step Five: Prime (optional).
Depending on the color of your piece, you might want to prime. If you are going to paint a dark/black table a lighter color, you’re going to want to prime it first so that you don’t have to paint 20 coats of the lighter color. This Rust-Oleum Zinsser Bulls Eye 1-2-3 Primer is really good.
Primer provides coverage over darker colors and helps paint apply better. I love it for decoupage furniture.
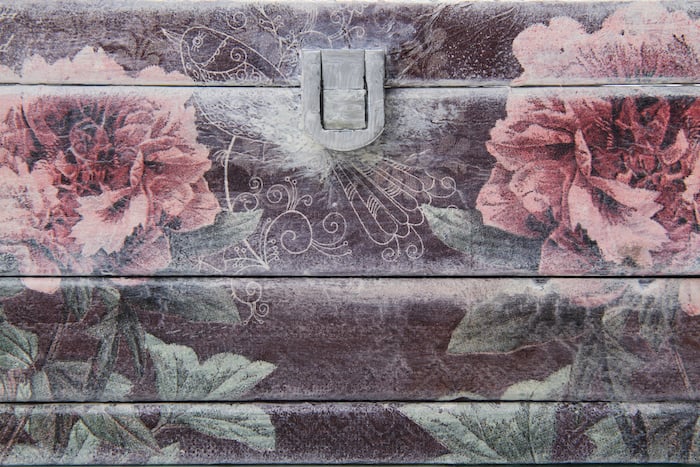
Can you stop here and decoupage? Absolutely. Let’s say you started with a black table and want to cover it with napkins. Well, you can’t do that over a black table since napkins are so thin – you need it white first.
That is when you would sand and prime, and then you could Mod Podge the napkins to the surface all over without any additional painting. It’s just that easy.
But you might want to paint . . . so then you’d move on to the next step.
Step Six: Paint.
Let me tell you something right off the bat . . .
Latex paint doesn’t work well with decoupage.
I haven’t done it myself, but I’ve heard the results aren’t good – bubbling, blistering, etc. What has worked well for me in the past and I have been able to decoupage over with success:
- Acrylic paint – like FolkArt or Apple Barrel
- Chalk paint – like FolkArt Home Decor Chalk
- Spray paint
- Watercolors
- Waterbase stain
Tape off your piece and paint as normal, with several coats. Then let dry for 24 hours before decoupaging. Now that you’ve learned how to prep furniture – you are ready for Mod Podge!
Are you ready to put your skills to the test? If so, check out the bonus video in this post!
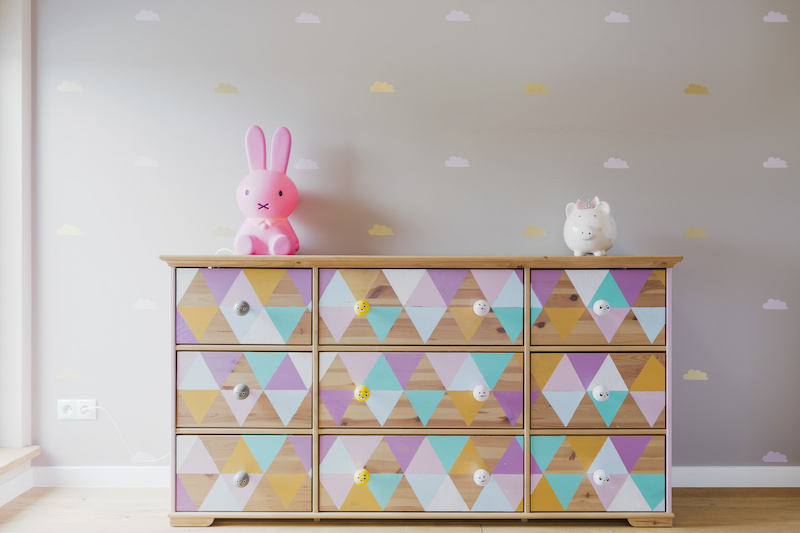
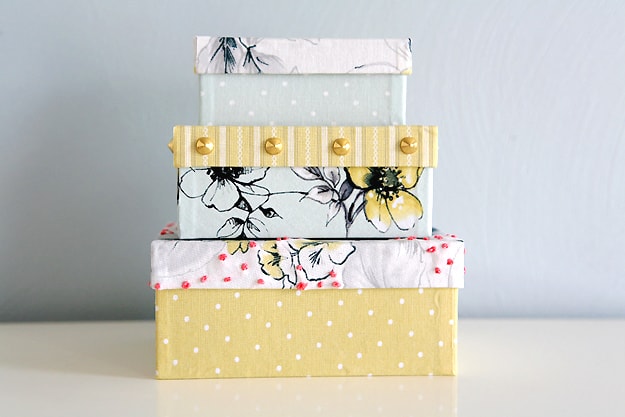
If you need any decoupage tips, visit my Learn How to Mod Podge article. And if you are ready to begin a decoupage furniture project, check out these posts:


I just wanted to add a few decorations on my mdf pine wood veneer yarn box should I sand it before decoupaging on the box?
Hi Karine! You should sand if there is already a sealant on it to rough it up a bit to “receive” the Mod Podge and help it better adhere. Otherwise, if it’s raw wood, you don’t need to – unless you want to smooth out the wood.
I have a wooden tissue box that I stained (not water base). I’m trying to Mod Podge (original matte)fabric leaves onto the box, but they’re not sticking. Help!
Hi Vickie! Mod Podge only works with waterbased products. It’s not going to stick to oil based product. You’d have to sand it off.
excellent project..
Thank you so much for the steps, and especially the tips about sandpaper and the latex! I was going to use some paint samples from Lowe’s to do some furniture, but I will definitely take a different approach now.
And, I never know what kind of sandpaper to get…usually when I get to that aisle, my eyes start to glaze over, and I just grab something. 🙂
Your process is very clear, simple, and easy to follow…now I’m not afraid to begin my furniture projects. Thanks so much!!! Mod Pod ROCKS!!!
Awesome project. I was waiting for something like that. Hope to start my project in about 4 to 5 weeks time.
Thank you for the tip on not using latex paint and mod podge! I have a project coming up involving painting furniture and then using mod podge for decoupaging on top of it and you’ll never guess what I planned to use for my white base… Latex paint.