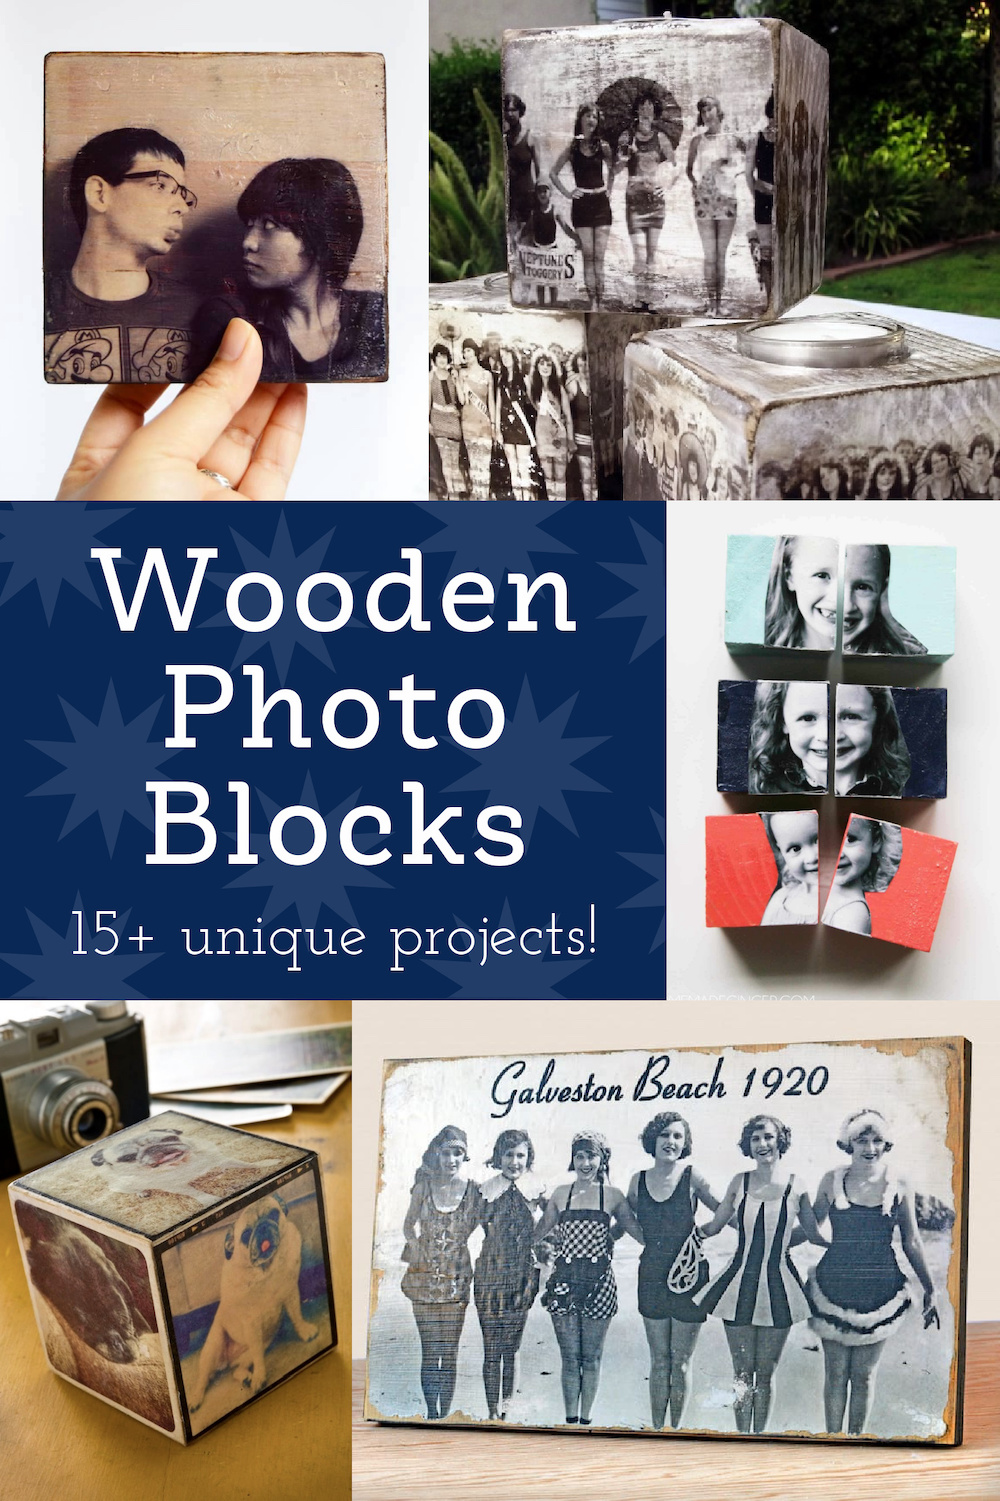
Make DIY wooden photo blocks for home decorating or for gifts! These crafts use a variety of techniques and are perfect for capturing memories. Choose your favorite tutorial to learn how to put photos on wood blocks the easy way.
I get asked about so many different styles of crafts on a regular basis, as you can imagine. Everything from making beads with paper to Mod Podging a pineapple. And I love all of it!
One of the most popular crafts that people are curious to try is photo transfer. They want to do it a multitude of ways: on glass, on metal, and on fabric. A photo transfer makes a great handmade gift.
Photos on Wood Blocks
In terms of transferring a photo, one of the easiest ways to do it is on wood blocks. The wood surface is optimal for adhering to the photo transfer medium, and the “vintage” style feel of the resulting project looks great with the wood grain.
The thing is, there are so many ways to create wooden photo blocks that the only limit is your imagination! Do you want to make them for decor or as gifts? No worries, I have DIYs for both.
Things to Remember
If you’re just getting started with wooden photo blocks, I’ve got some things for you to remember. I’ve done a lot of transfers over the course of time, and I want to make sure you observe these guidelines.
Hopefully they help you so that you minimize frustration and maximize fun!
Tip One – It’s always important to note whether a transfer was done with an inkjet or laserjet printer. The tutorial should specify, because different techniques require different types of printing ink.
Tip Two – If your transfer smears or the black ink turns brown or red, it means you used an inkjet image when you should have used a laserjet.
Tip Three – Some printers have ink that is inkjet, but it’s “dry” enough to use for a laserjet photo transfer. You’ll just have to experiment with your printer. If you want to try it, do a sample project on a small plaque. Let the inkjet printouts dry overnight before using them.
Tip Four – The background of Mod Podge Photo Transfer Medium is white. That means you don’t want to go over the edges of your photo on your background, because that will be white too. Not all of these projects use Mod Podge brand transfer medium, so this just applies to the ones that do.
Tip Five – During the rubbing stage, you may let the blocks dry and then find that the image looks fuzzy. In that case, simply re-wet the image and rub again (lightly). Repeat until it’s not fuzzy anymore.
Are you ready to see some photos on wood blocks? Whether you’re looking for a simple project or something more elaborate, this list has it all. You can’t go wrong with these 15+ projects!
How to Make Photo Blocks
Learn how to make picture blocks use craft paint, photos, and Mod Podge. This is really easy!
Get the Tutorial
DIY Photo Block with an Image Transfer
Use your Instagram images to create this easy wood photo block! You’ll use Mod Podge photo transfer medium to make it happen.
Get the Tutorial
Mod Podge Photo Transfer with Inkjet
This inkjet photo transfer to wood is easy with Mod Podge and regular school glue. Do it in five simple steps!
Get the Tutorial
Photo Christmas Ornaments
These DIY picture ornaments are easy to make with Mod Podge! Perfect for a personalized Christmas gift.
Get the Tutorial
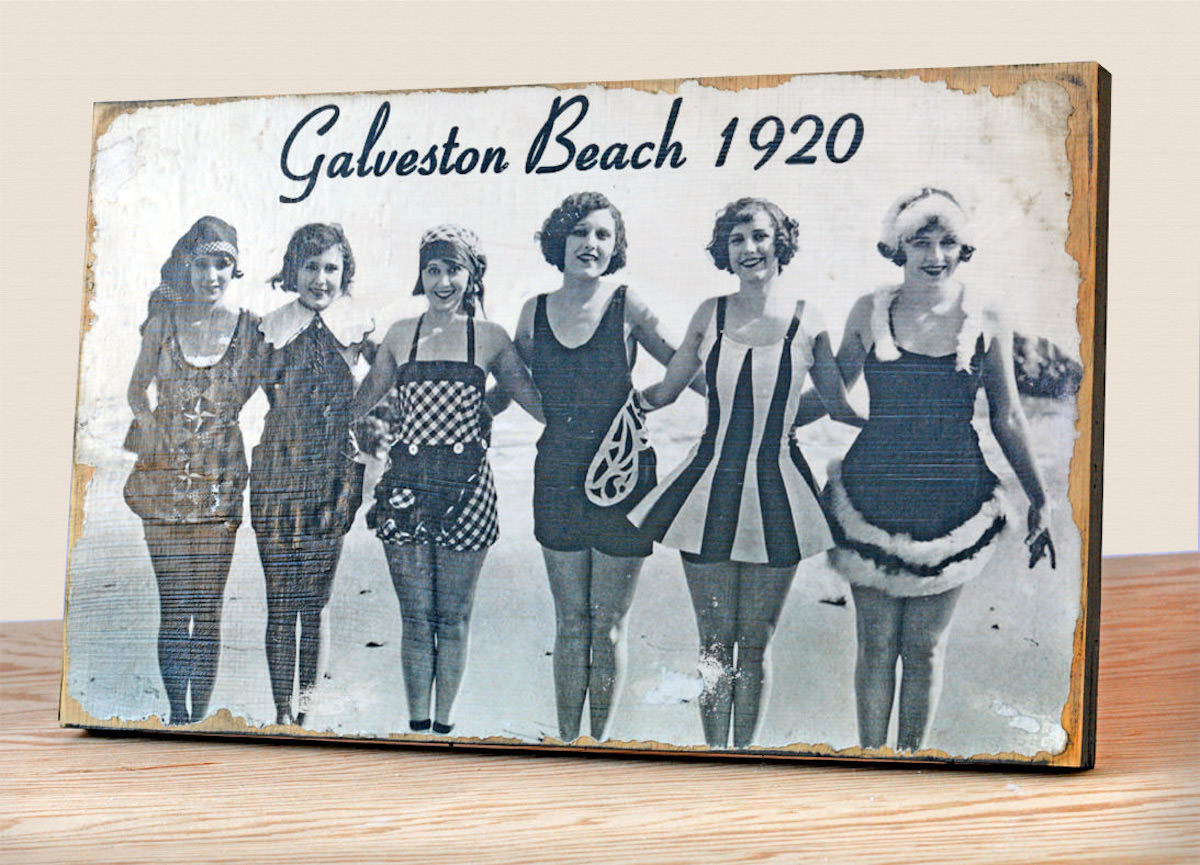
Photo Transfer to Wood
Learn how to transfer photos to wood in three simple steps! All you need is your favorite image and a medium.
Get the Tutorial
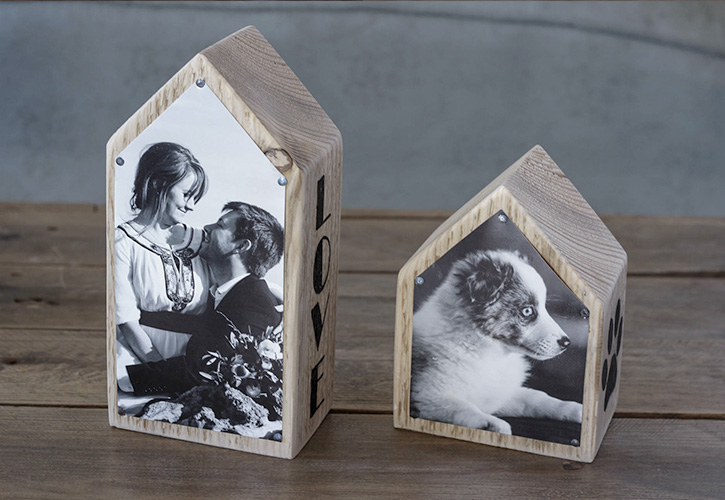
Cute DIY Photo Blocks With Lettering
Create your own rustic photo displays using recycled wood and a handful of favorite family photos. These wooden photo blocks make a great gift idea too!
Get the Tutorial
DIY Wooden Photo Blocks
These DIY photo blocks will be one of the most cute, fun, and practical crafts you will ever make! They make adorable decor and the kids can play with them all day long.
Get the Tutorial
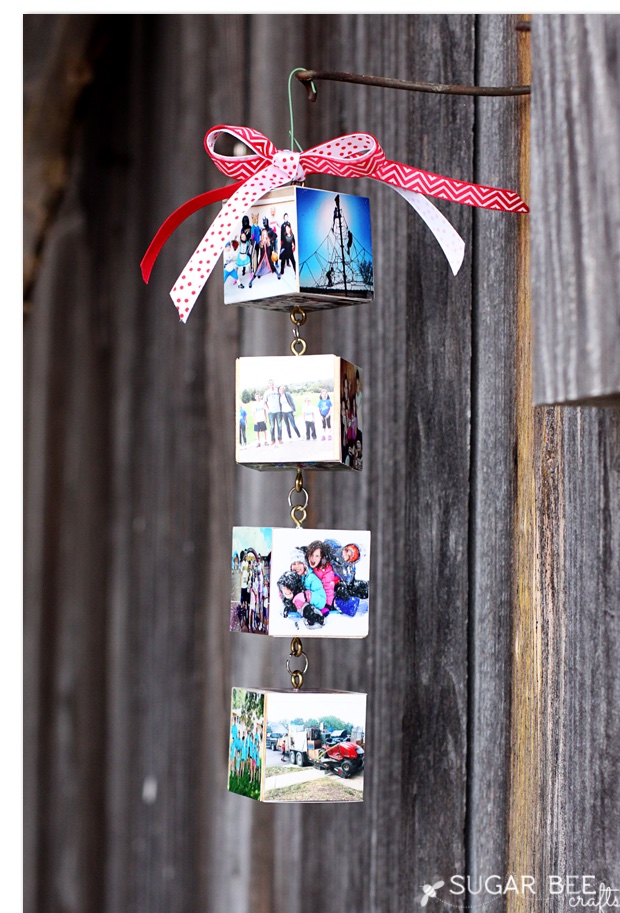
Instagram Block Ornament
Learn to make the cutest photo block ornaments for Christmas or just for decor! These are so easy to make, and I love that you can customize these and make them as long as you like.
Get the Tutorial
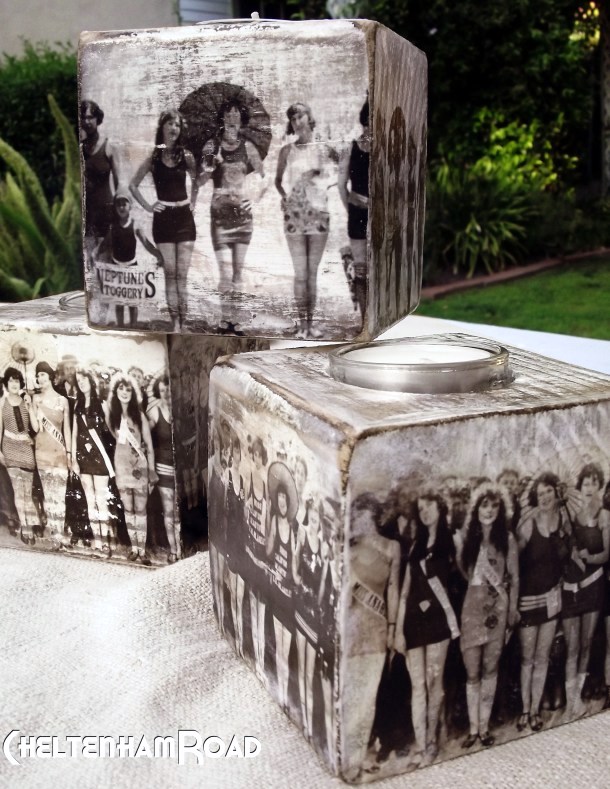
Photo Transfer Candle Holders
It's really easy to make wooden photo blocks – and these take that idea to the next step, and are candle holders! I love these for gift ideas and rustic decor.
Get the Tutorial
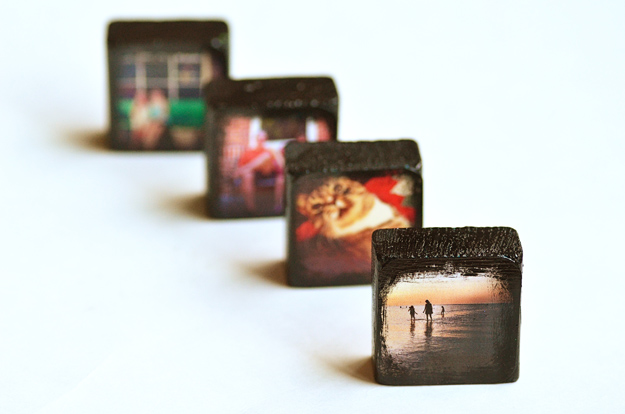
DIY Instagram Photo Blocks
Looking for a creative way to display your Instagram photos? Make photo blocks out of them! Display them on a mantel, at a celebration . . . turn them into magnets. There are so many options!
Get the Tutorial
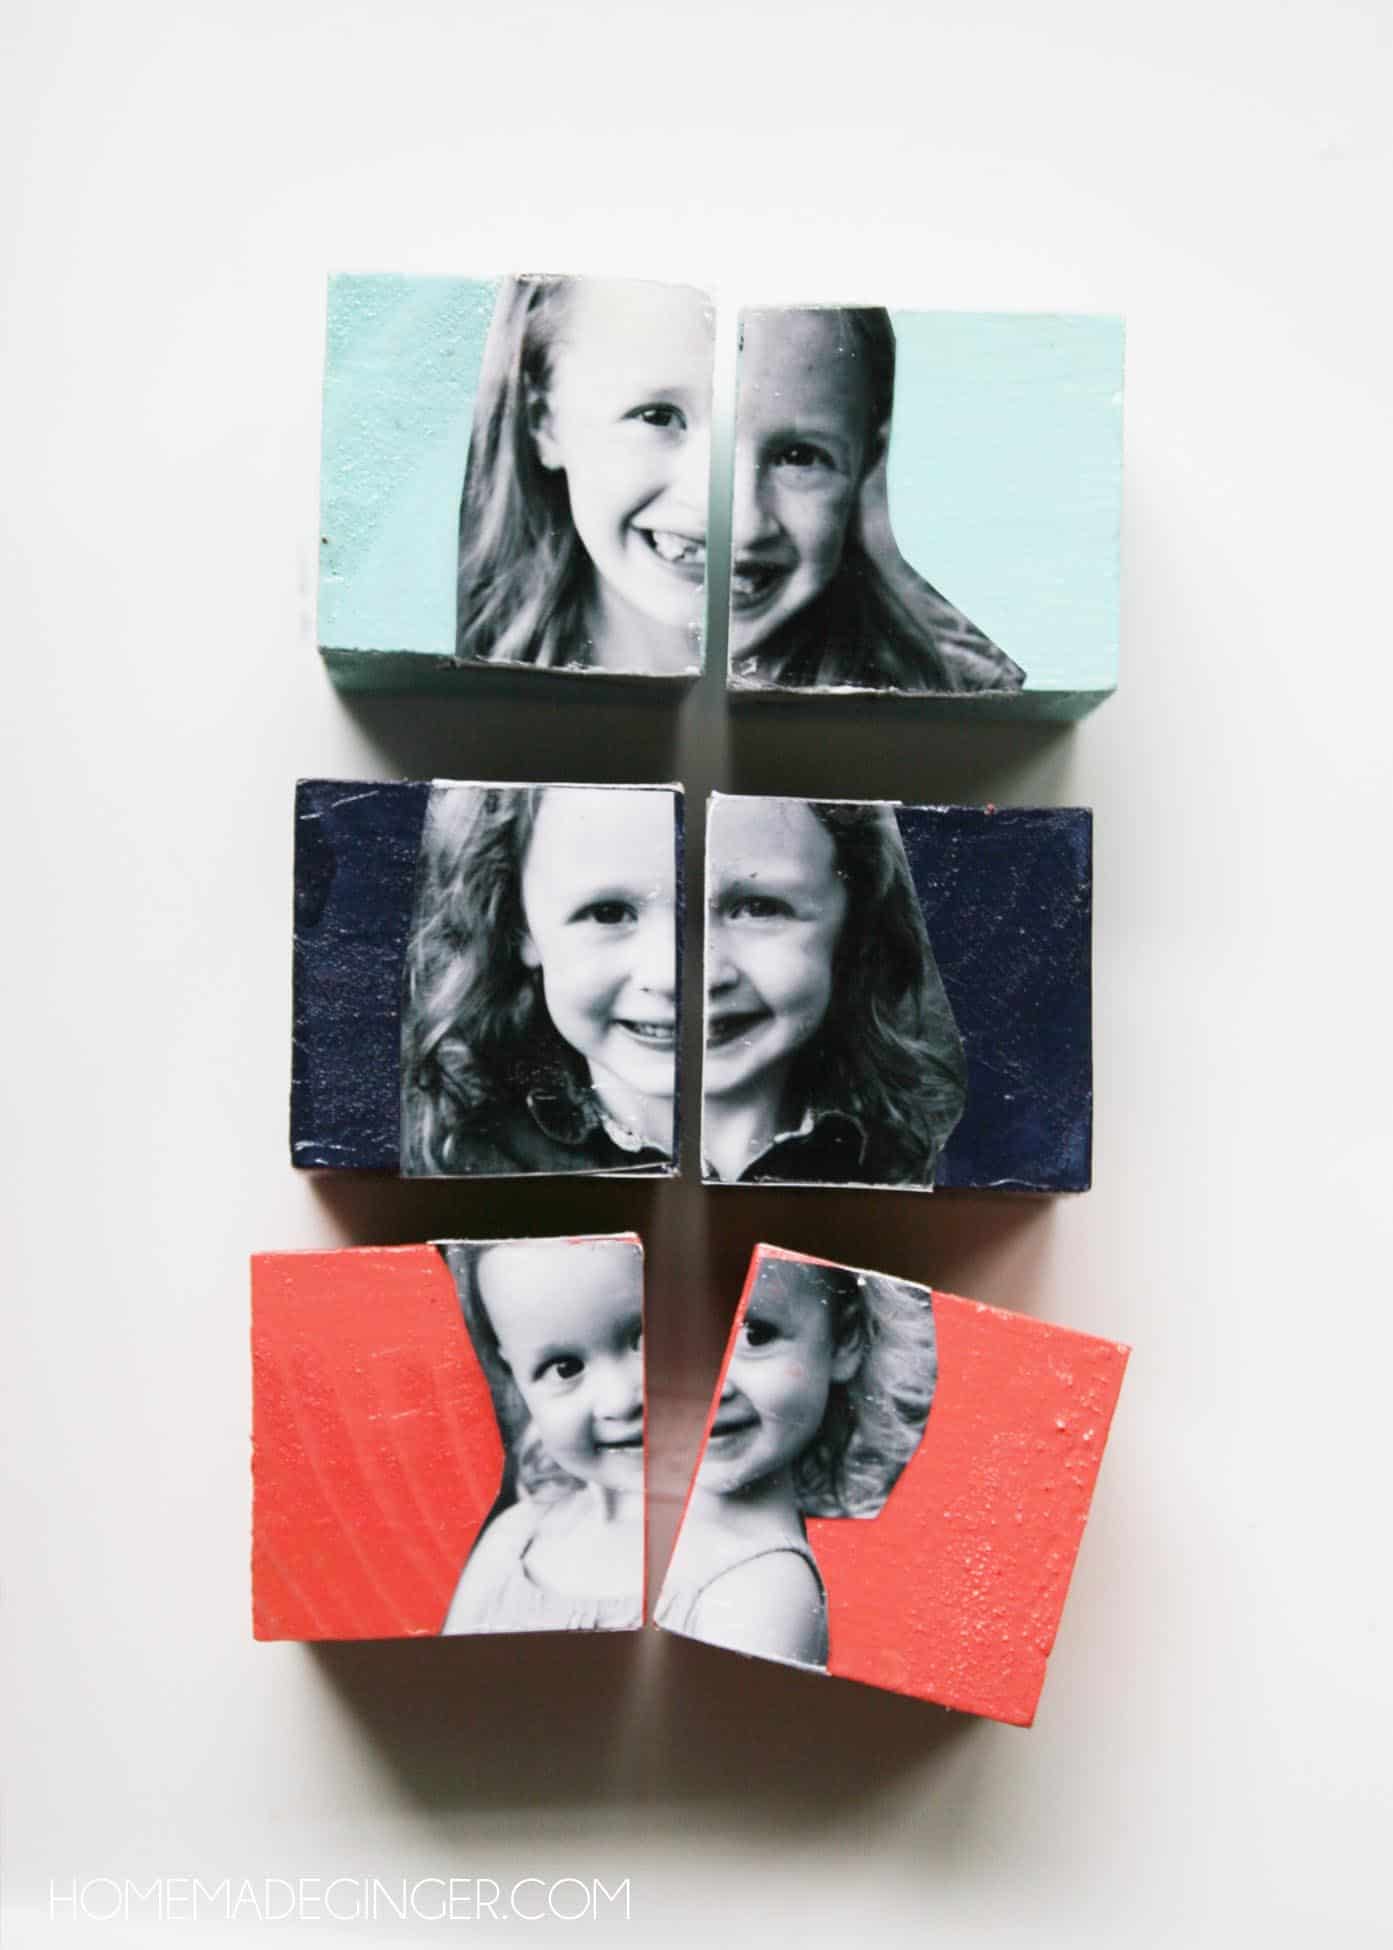
Wood Photo Block Puzzle
If you want to make a cute gift with photos on blocks, this block puzzle is a super cute idea! Great for a Mother's Day or Father's Day gift . . . and the grandparents love it too.
Get the Tutorial
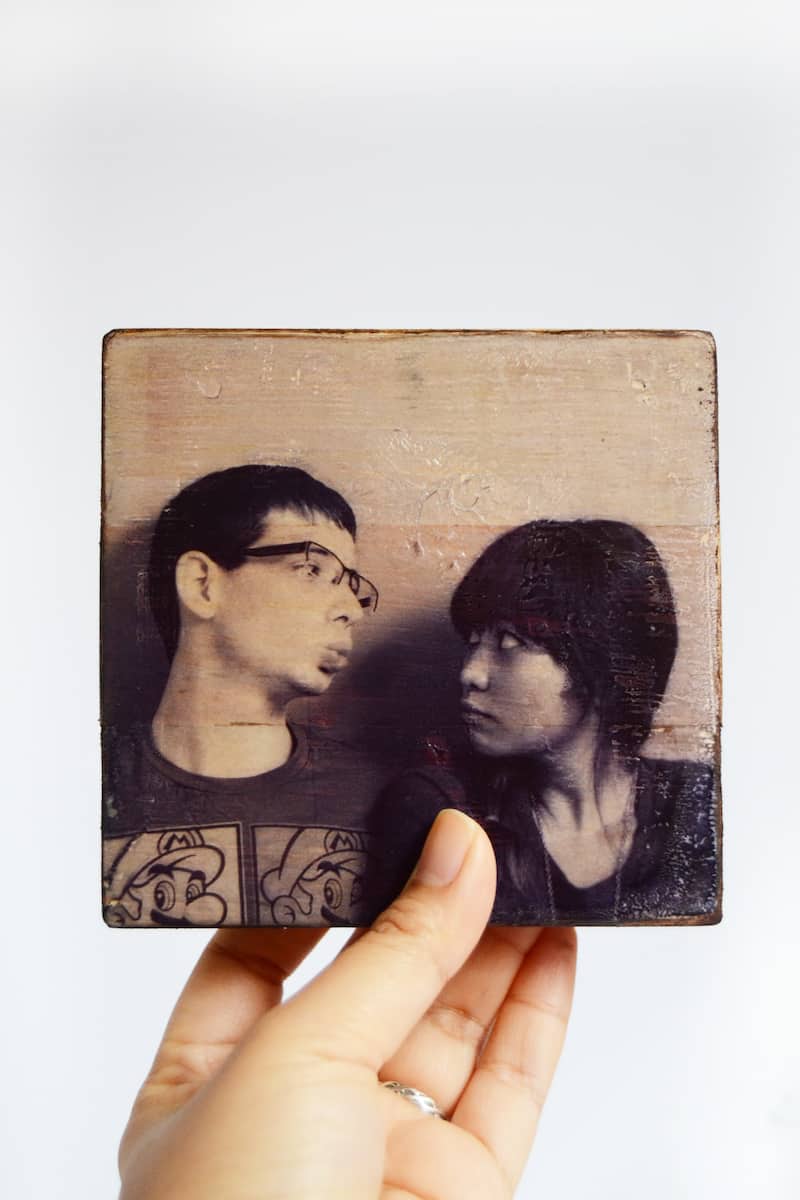
How to Make a Wood Block Photo Transfer
The image this photo transfer to wood creates is faded, vintage, wispy and gorgeous! It’s a very simple DIY that’s perfect to do at home because it doesn’t require lots of expensive supplies.
Get the Tutorial
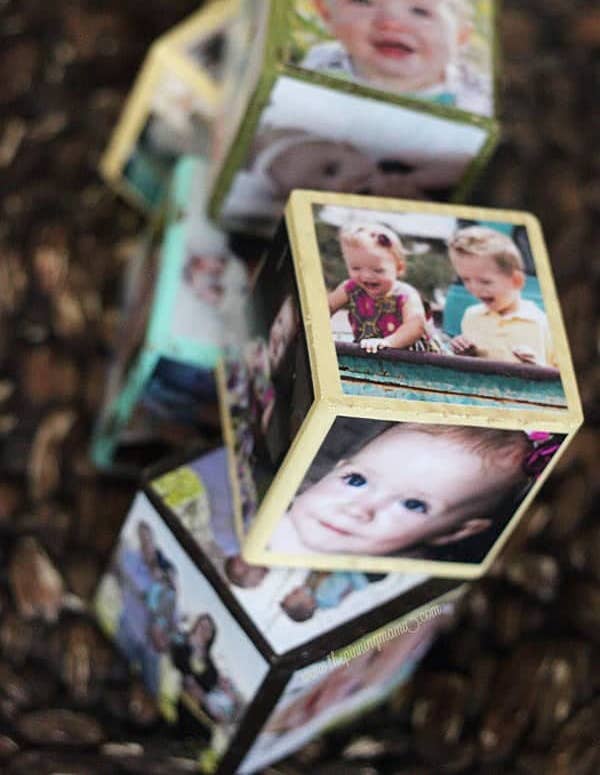
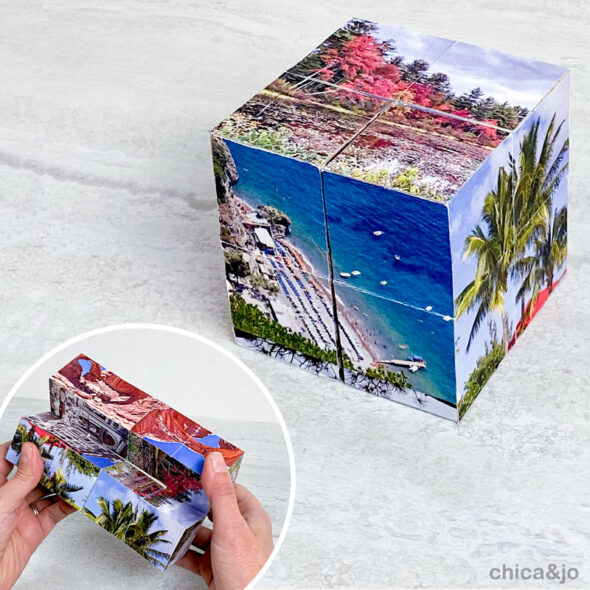
Make a Magic Photo Folding Cube
Have you ever seen those little desktop photo cubes that fold and unfold to reveal more and more pictures on each side? These folding photo cubes make wonderful gifts for just about any occasion, and they're fun! Also find an easier version here.
Get the Tutorial
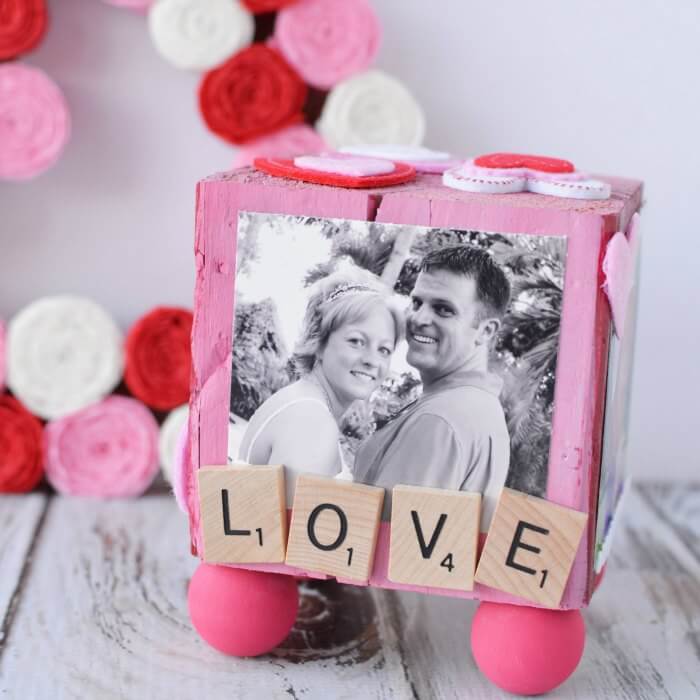
DIY Photo Block with Feet
This project can just as easily be made with different colors and embellishments for other holidays or just to use every day! Get creative, gather your pictures and make a cute wooden photo block.
Get the Tutorial
Do you have any other tips you’d like to share for putting photos on wood blocks? Let everyone know in the comments! I’d also love for you to check out these other project ideas: