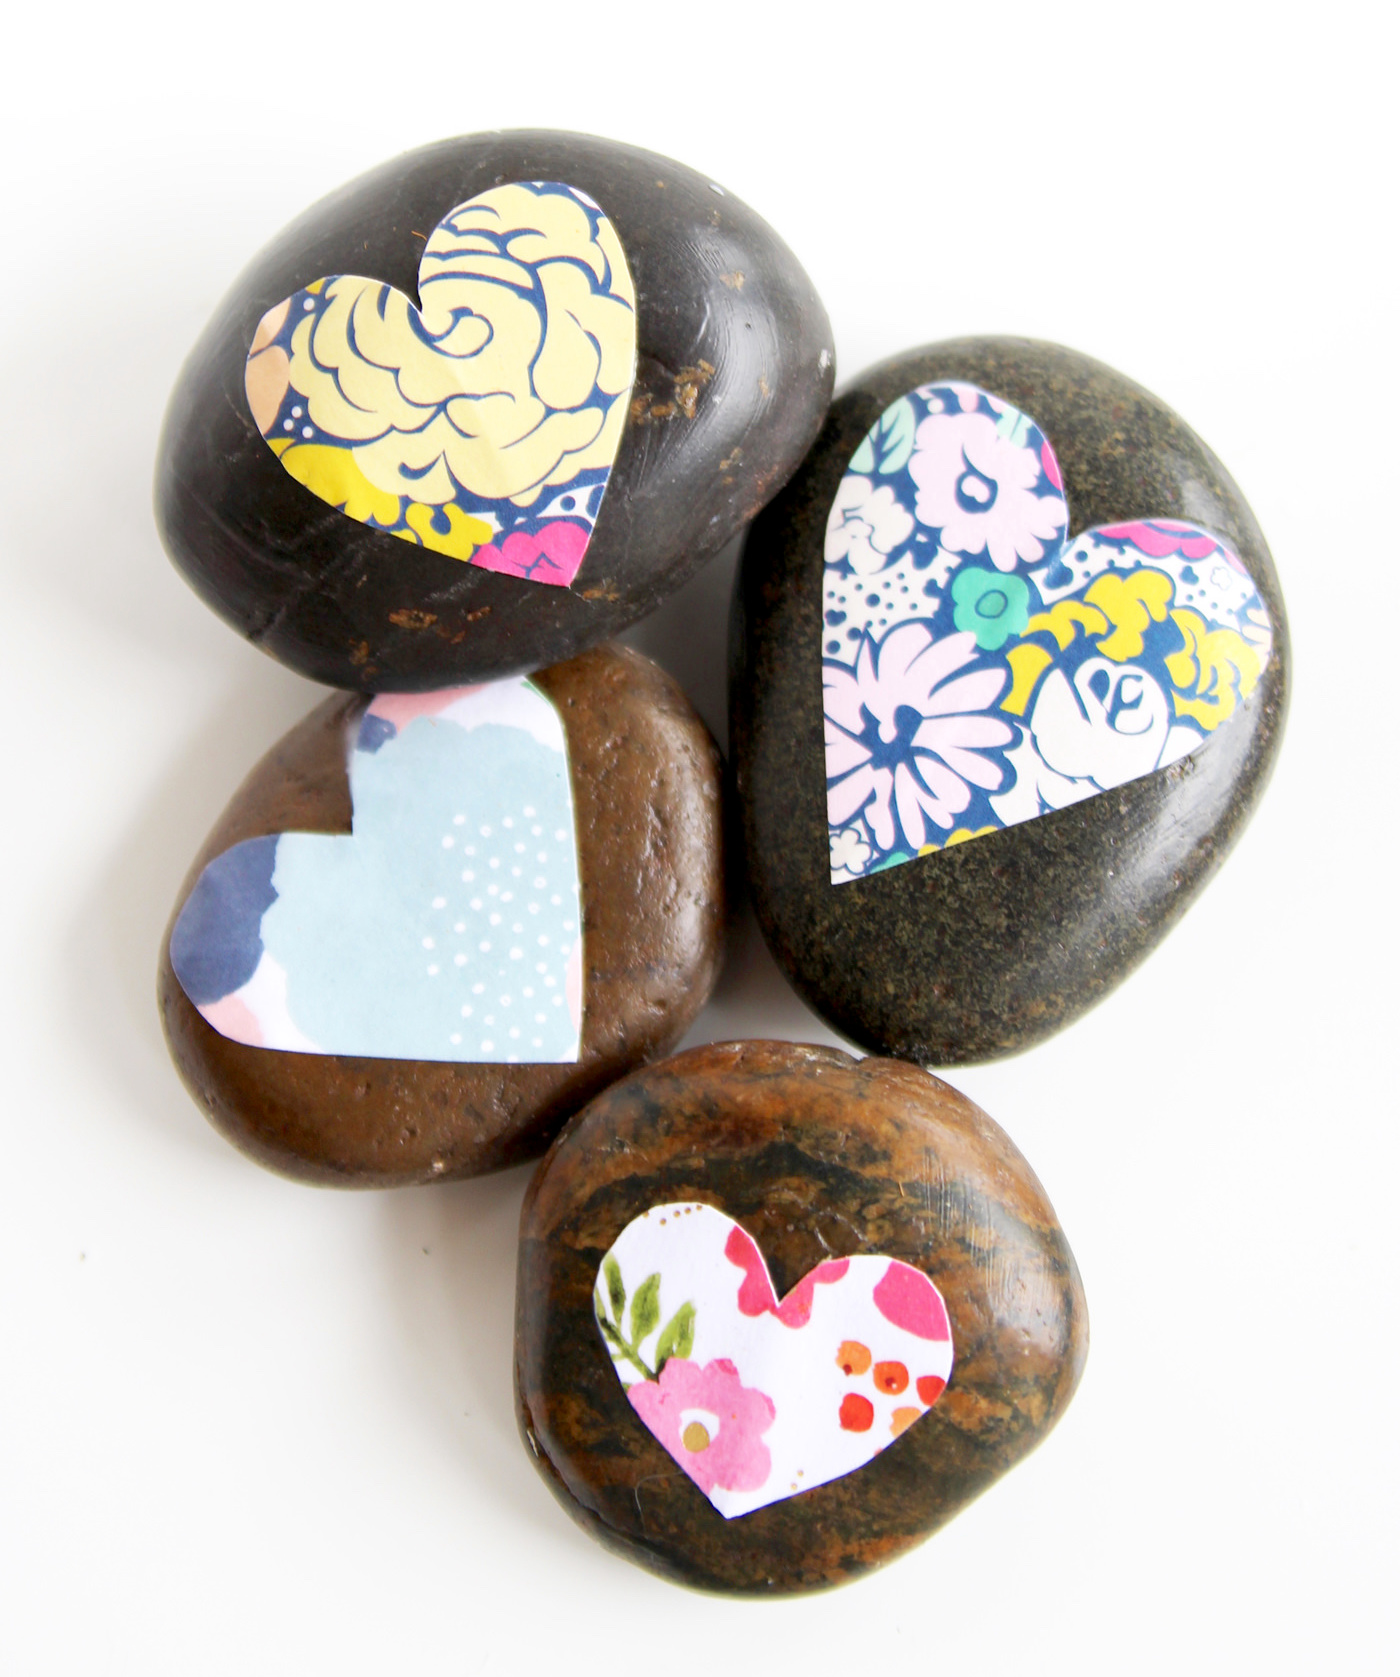
Decorate some pretty stones for your garden or desktop with a little bit of decoupage. It’s easy to Mod Podge on rocks and the results are so pretty!
Scroll down to the bottom of the post for a bonus video! You’ll learn the basics of painting and Mod Podging stones with a fun project. I know you’re going to love it.
With Pinterest available at our fingertips, crafting sometimes becomes all too complicated. There are so many great ideas and tutorials that the most simple crafts often get overlooked.
I am prone to fall into the trap of “bigger and better” when it comes to crafting. The more unique and complicated, the better it is! But I’ve learned that that’s not always the case.
Sometimes the most simple crafts can be the sweetest! These little rocks are one of those decoupage ideas that couldn’t be easier! They offer a big impact when grouped together in a bowl, given as a small gift or found hidden out in the garden.
This isn’t the first time we’ve crafted with rocks around here! We love painted rocks and also have a post with some rock painting ideas and tips. The difference between those posts and this one is that we’re going back to the basics – no paint is used in this project.
And the best part about this little spring craft is that it is so cheap! You probably already have everything you need on hand to whip these up in no time.
Grab some stones, some leftover paper or fabric and Mod Podge and you are ready to go! Such a cute gift for Valentine’s Day or any time of year.
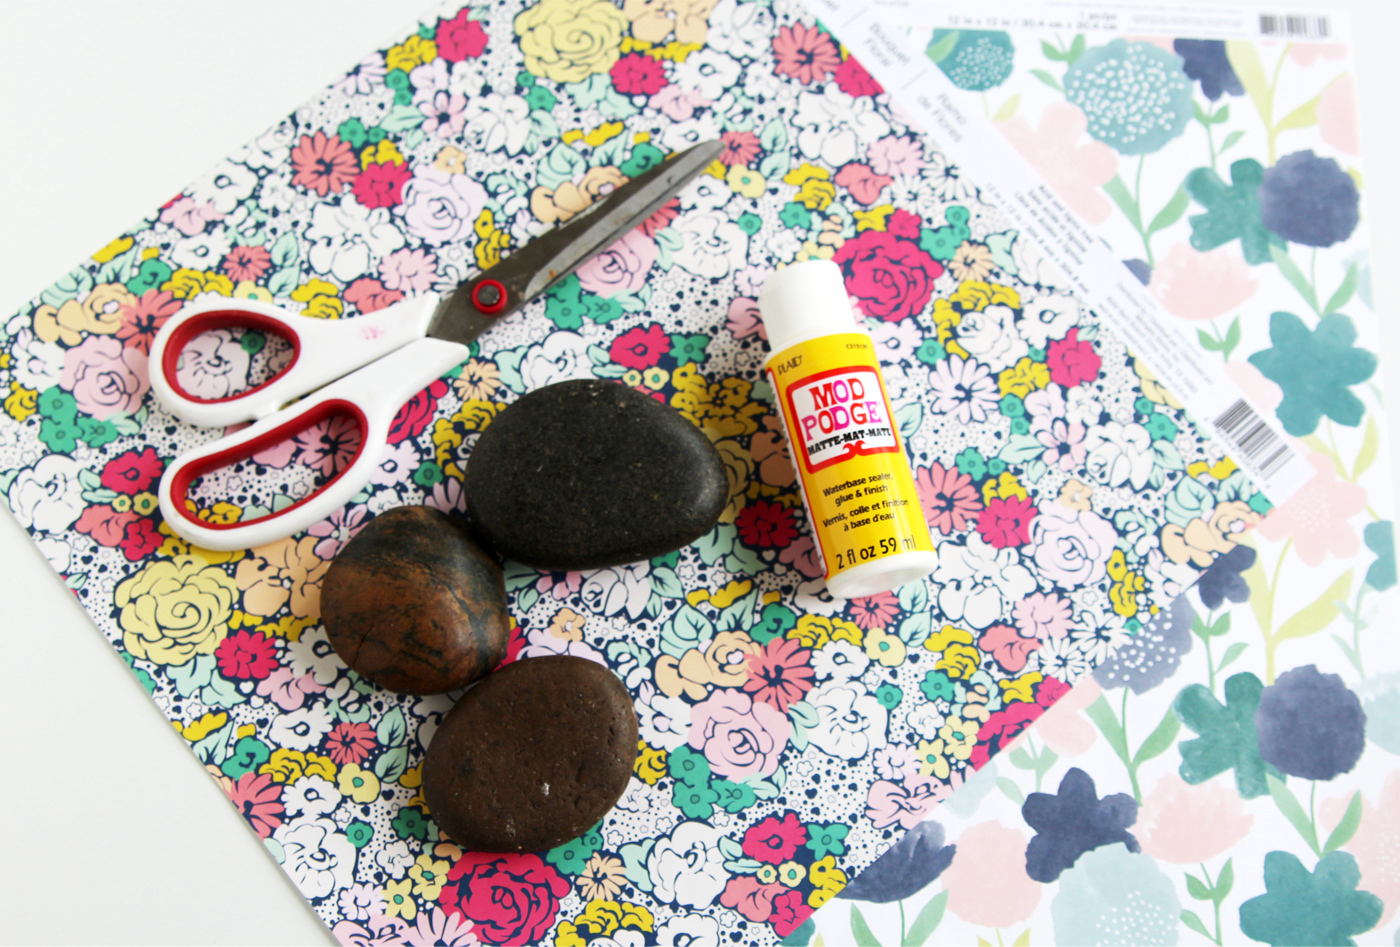
Mod Podge on Stones
Here’s what you will need:
- Smooth stones
- Mod Podge Matte or Mod Podge Gloss – OR if you want them water resistant for outside, Mod Podge Outdoor!
- Fabric or paper scraps
- Paintbrush
- Scissors
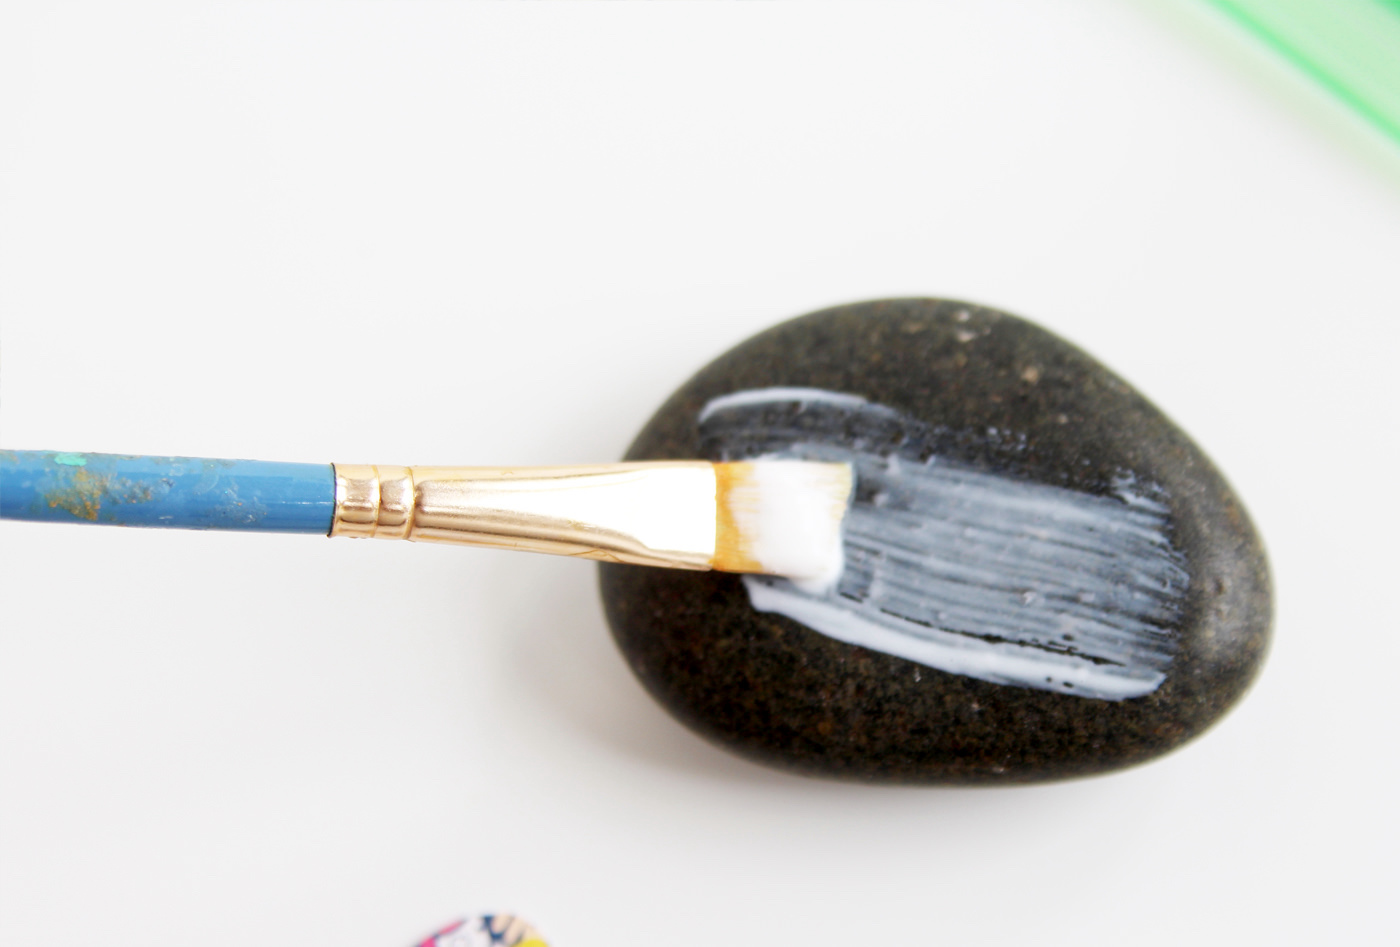
Brush a thin layer of Mod Podge Matte onto the stones.
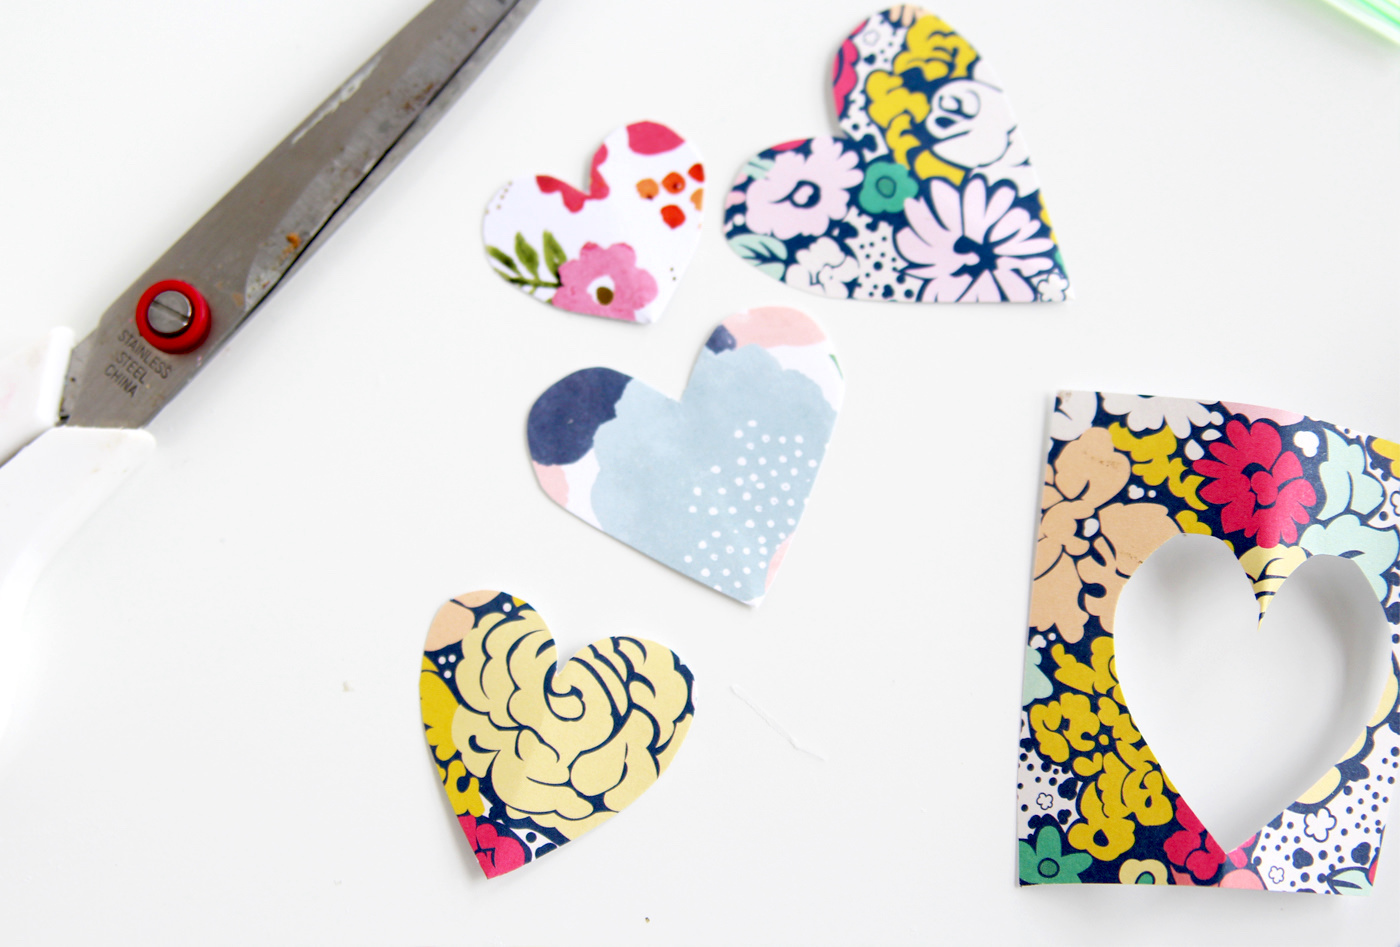
Cut some hearts out of fabric or paper scraps.
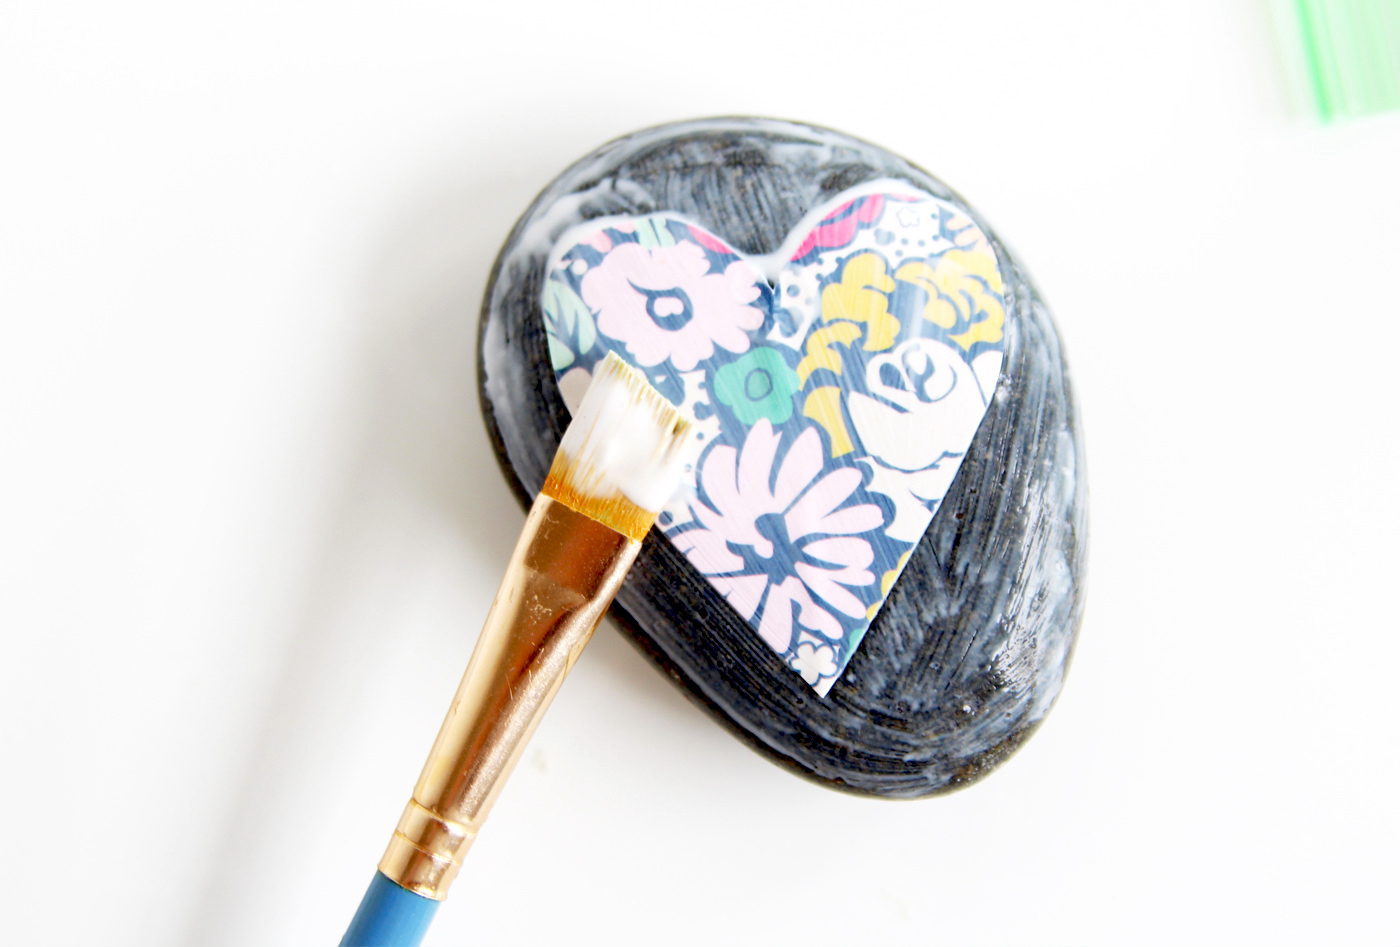
Place them on the stones and cover with another layer or two of Mod Podge.

Allow them to dry and you are finished! Aren’t they so sweet? What will you Mod Podge on rocks? Let me know in the comments!
Decorate Stones
Equipment
Materials
- Smooth stones
- Mod Podge Matte
- Outdoor sealer
- Fabric or paper scraps
Instructions
- Wash and dry the rocks to remove any dirt or residue.
- Brush a thin layer of Mod Podge onto a stone.
- Cut a design out of fabric or paper scraps.
- Place onto the stone and cover with another layer or two of Mod Podge. Allow to dry.
- If the stones will be outside, cover them with an additional layer of Mod Podge Outdoor or polycrylic sealer.
Video
Are you ready to see the bonus project? Make cute flip stones using the tutorial below. It’s really cute and easy – just press “PLAY” in the center of the video in this post!





your projects are great I enjoy all of it
This is a great idea. I wanted to make rock art for my garden but was having trouble finding weatherproof decorative markers. This seems like it would last longer than markers.
Will these be waterproof for outside?
They will be if you use Mod Podge Outdoor! 😀 I’ll update the post to reflect that.
I didn’t know there was a water resistant modpodge until i read this article! Yea!!! So happy to know that. I am going to modpodge my colored pages on to a old rolling metal tool chest. Then I am going to fill it with my (well some of them anyway) coloring and painting supplies Good to know there is a waterproof one. I would hate to do all that work and then a glass of some thing get spilled and destroy it! Thanks Modpodge!
Rhonda Hutchins
These are adorable!! I love this idea!! 🙂
Flower petals on rocks. leaves on rocks pictures on rocks.
Has anyone done a photo on a rock? Was going to use a rock and put pictures of grandchildren on them to give to their dad for Father’s Day. Will it work?
Yes, you can do it! Just get a laserjet print out to make it easier on yourself with no ink bleeding.
I love this site I have learned a lot of things to do with modpodge Thank you
What a great idea! Make some cute garden markers for vegetable starters (maybe using the seed package), identify herbs. Oooh, now I just have to get some nice flat rocks!
They look nice. When I do my rocks or stknes I paint them first. I find it makes whatever you decoupage on pop more!
Ooh – that’s a great idea Shelley!!
I did these with words on the rocks . I keep them for BOREING rainy days . The kids can see how many sentences they can make . They have fun & just think Their learning instead of watching tv for a change !!! They luv it & are learning !! Shhhhhh …..don’t tell them !????????????
I use guesso first to seal my rocks then i paint what i want to then finish with polyurethane
does work as well i,am new to this