
Create custom DIY photo blocks to display your memories in style. This simple craft is perfect for affordable home decor or unique handmade gifts.
Skills Required: Beginner. You’ll be painting and applying photos to blocks with Mod Podge. It’s relatively easy even if you don’t have much crafting experience.
Wood photo blocks are a classic DIY project that never goes out of style, and for good reason! They’re a creative, heartfelt way to showcase your favorite memories and make for a meaningful gift.
You’ve probably seen plenty of versions on Pinterest, but today, I’m giving this timeless craft a fun, modern twist.
When my three girls recently had adorable black-and-white photos taken, I thought, why not turn those sweet snapshots into something interactive and playful?
Enter these DIY photo blocks—perfect for little ones and stylish enough to display in any room.
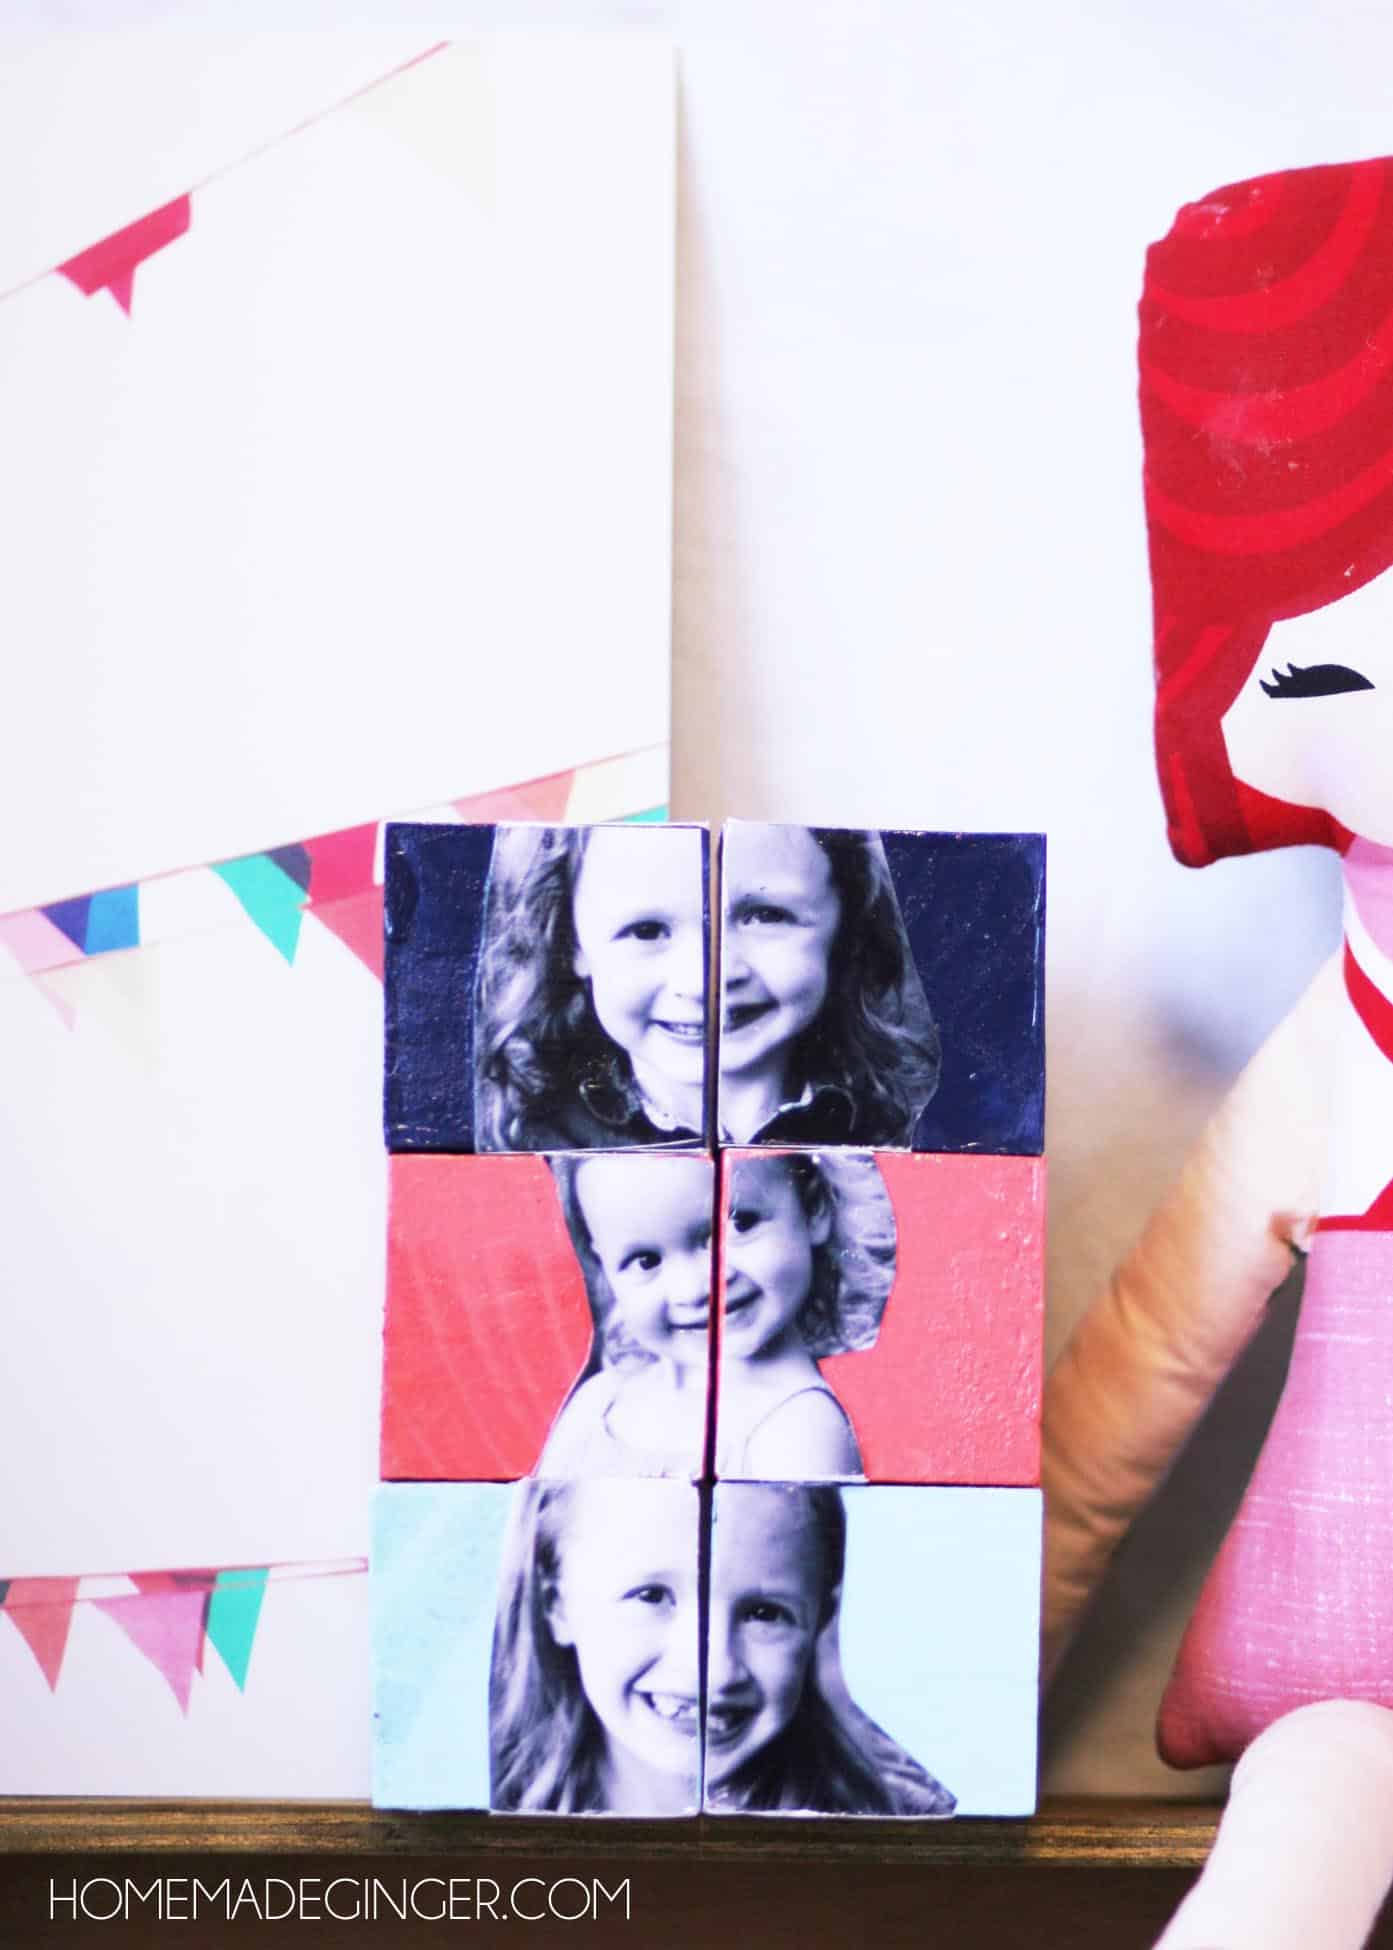
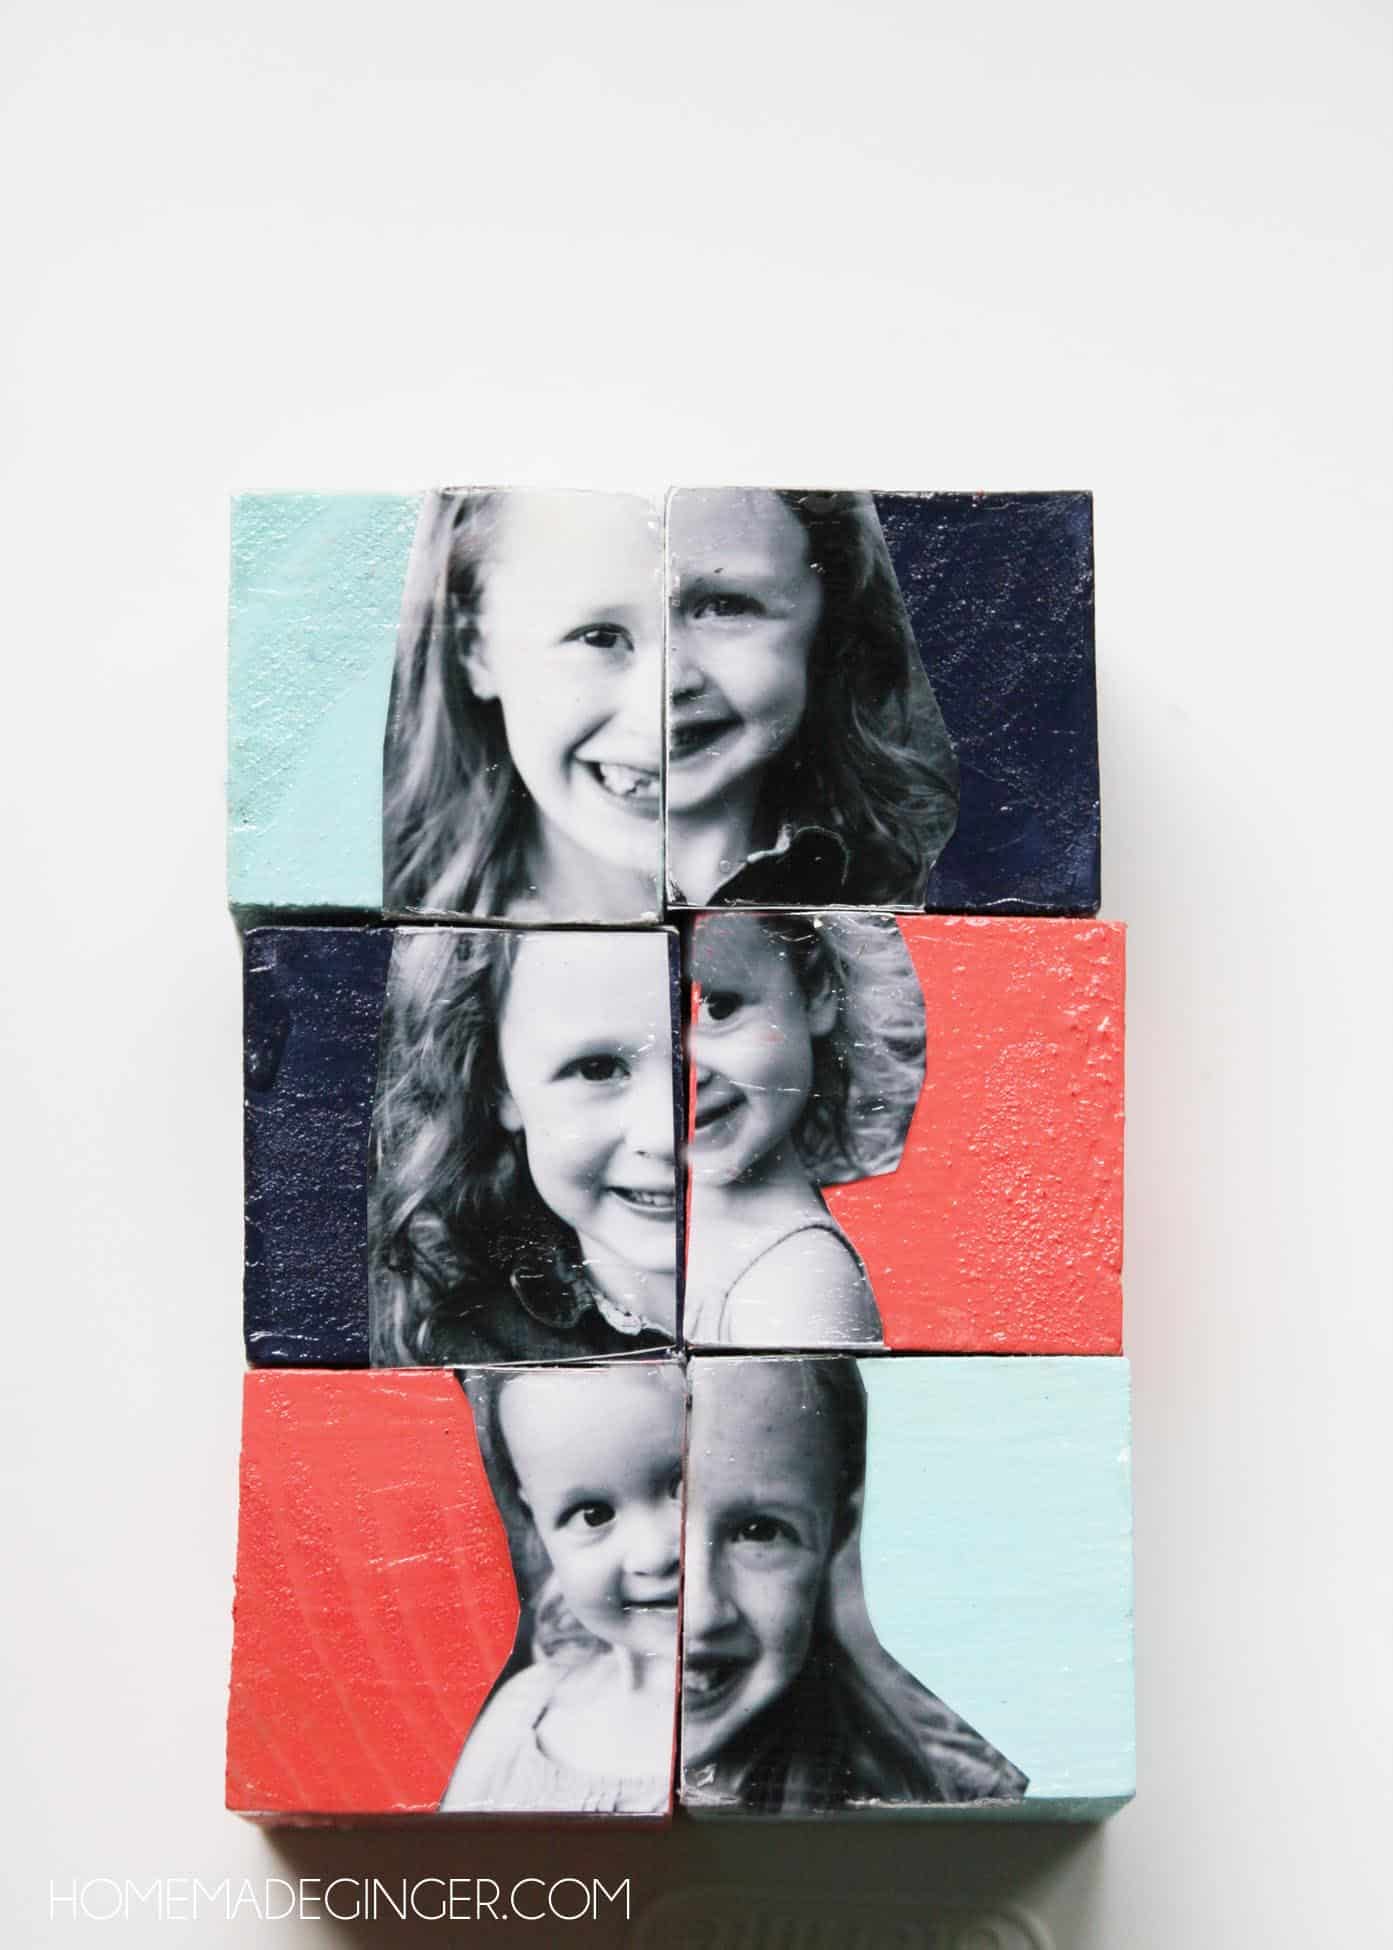
What makes this project unique is how versatile it is. These blocks aren’t just decor; they double as a toy!
Toddlers will love stacking and mixing the blocks, creating funny combinations of faces along the way. You can customize the colors to match a nursery or playroom, making them a beautiful addition to any shelf or space.
And let’s not forget about gifting! These blocks are ideal for so many occasions. Whether it’s a thoughtful handmade present for Christmas, a sentimental Mother’s Day gift, or something special for a baby shower . . . everyone loves them.
Ready to make your own photo blocks? Let’s get started with this simple, creative project. Here’s what you’ll need.
Gather These Supplies
- Black and white photos
- Wooden blocks
- Acrylic paint
- Mod Podge Matte or Gloss, depending on the finish you’d like
- Scissors
- Paintbrushes
Note: lots of photo papers have coatings on them, making them difficult to Mod Podge. You can test first with a corner of the photo on a sample piece of wood to see if your paper is easily decoupaged.
Ideally you make copies of the photos on laserjet – however, if you have an inkjet printer, you’ll want to make sure to follow the preparation instructions here so your photos don’t bleed. This is especially important for black and white photos (which tend to bleed red).
These turned out so cute, and even my 7-year-old was having fun mixing the faces.
Get the printable how to below:
How to Make Photo Blocks
Equipment
Materials
- Black and white photos
- 6 Wood block(s)
- Acrylic paint
- Mod Podge Matte or formula of your choice
Instructions
- Paint the wood blocks and let dry. Add enough coats to cover the blocks and let dry for several hours.
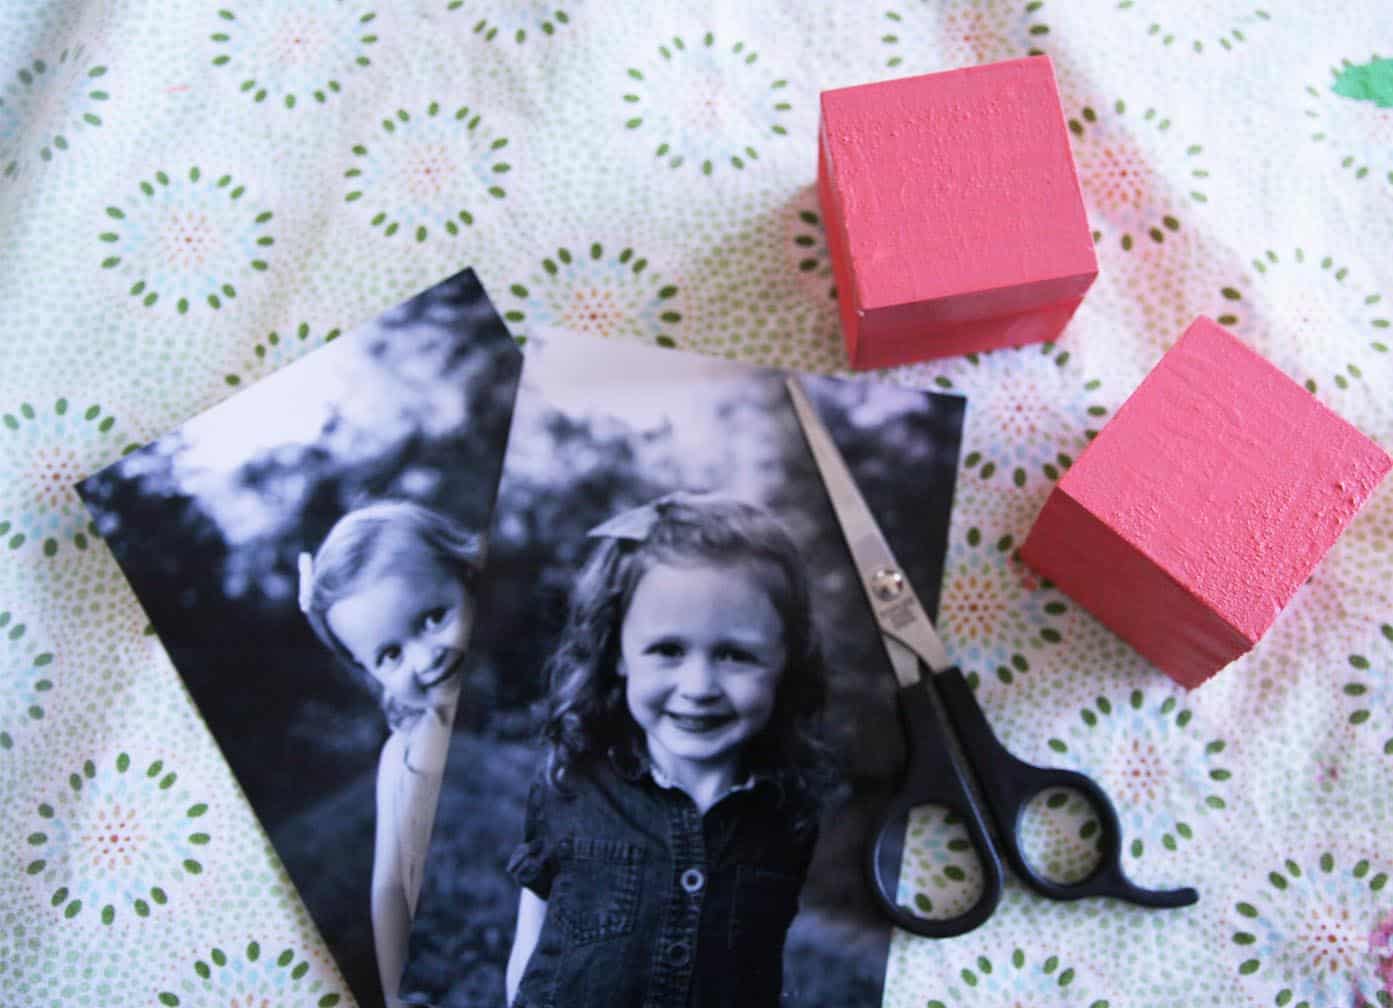
- Cut out the black and white photos with the scissors.
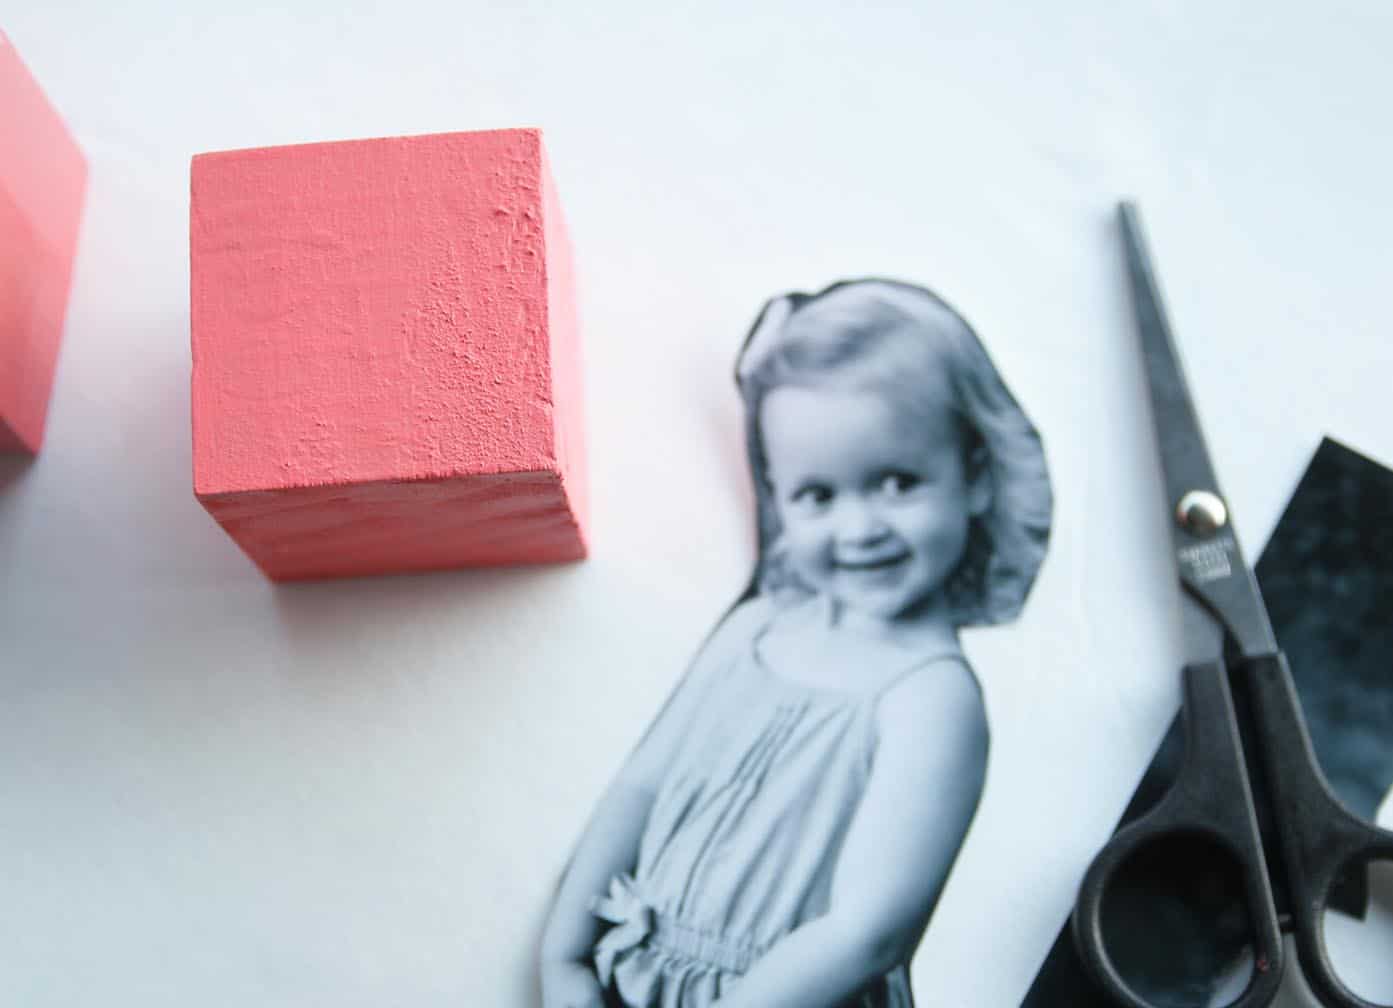
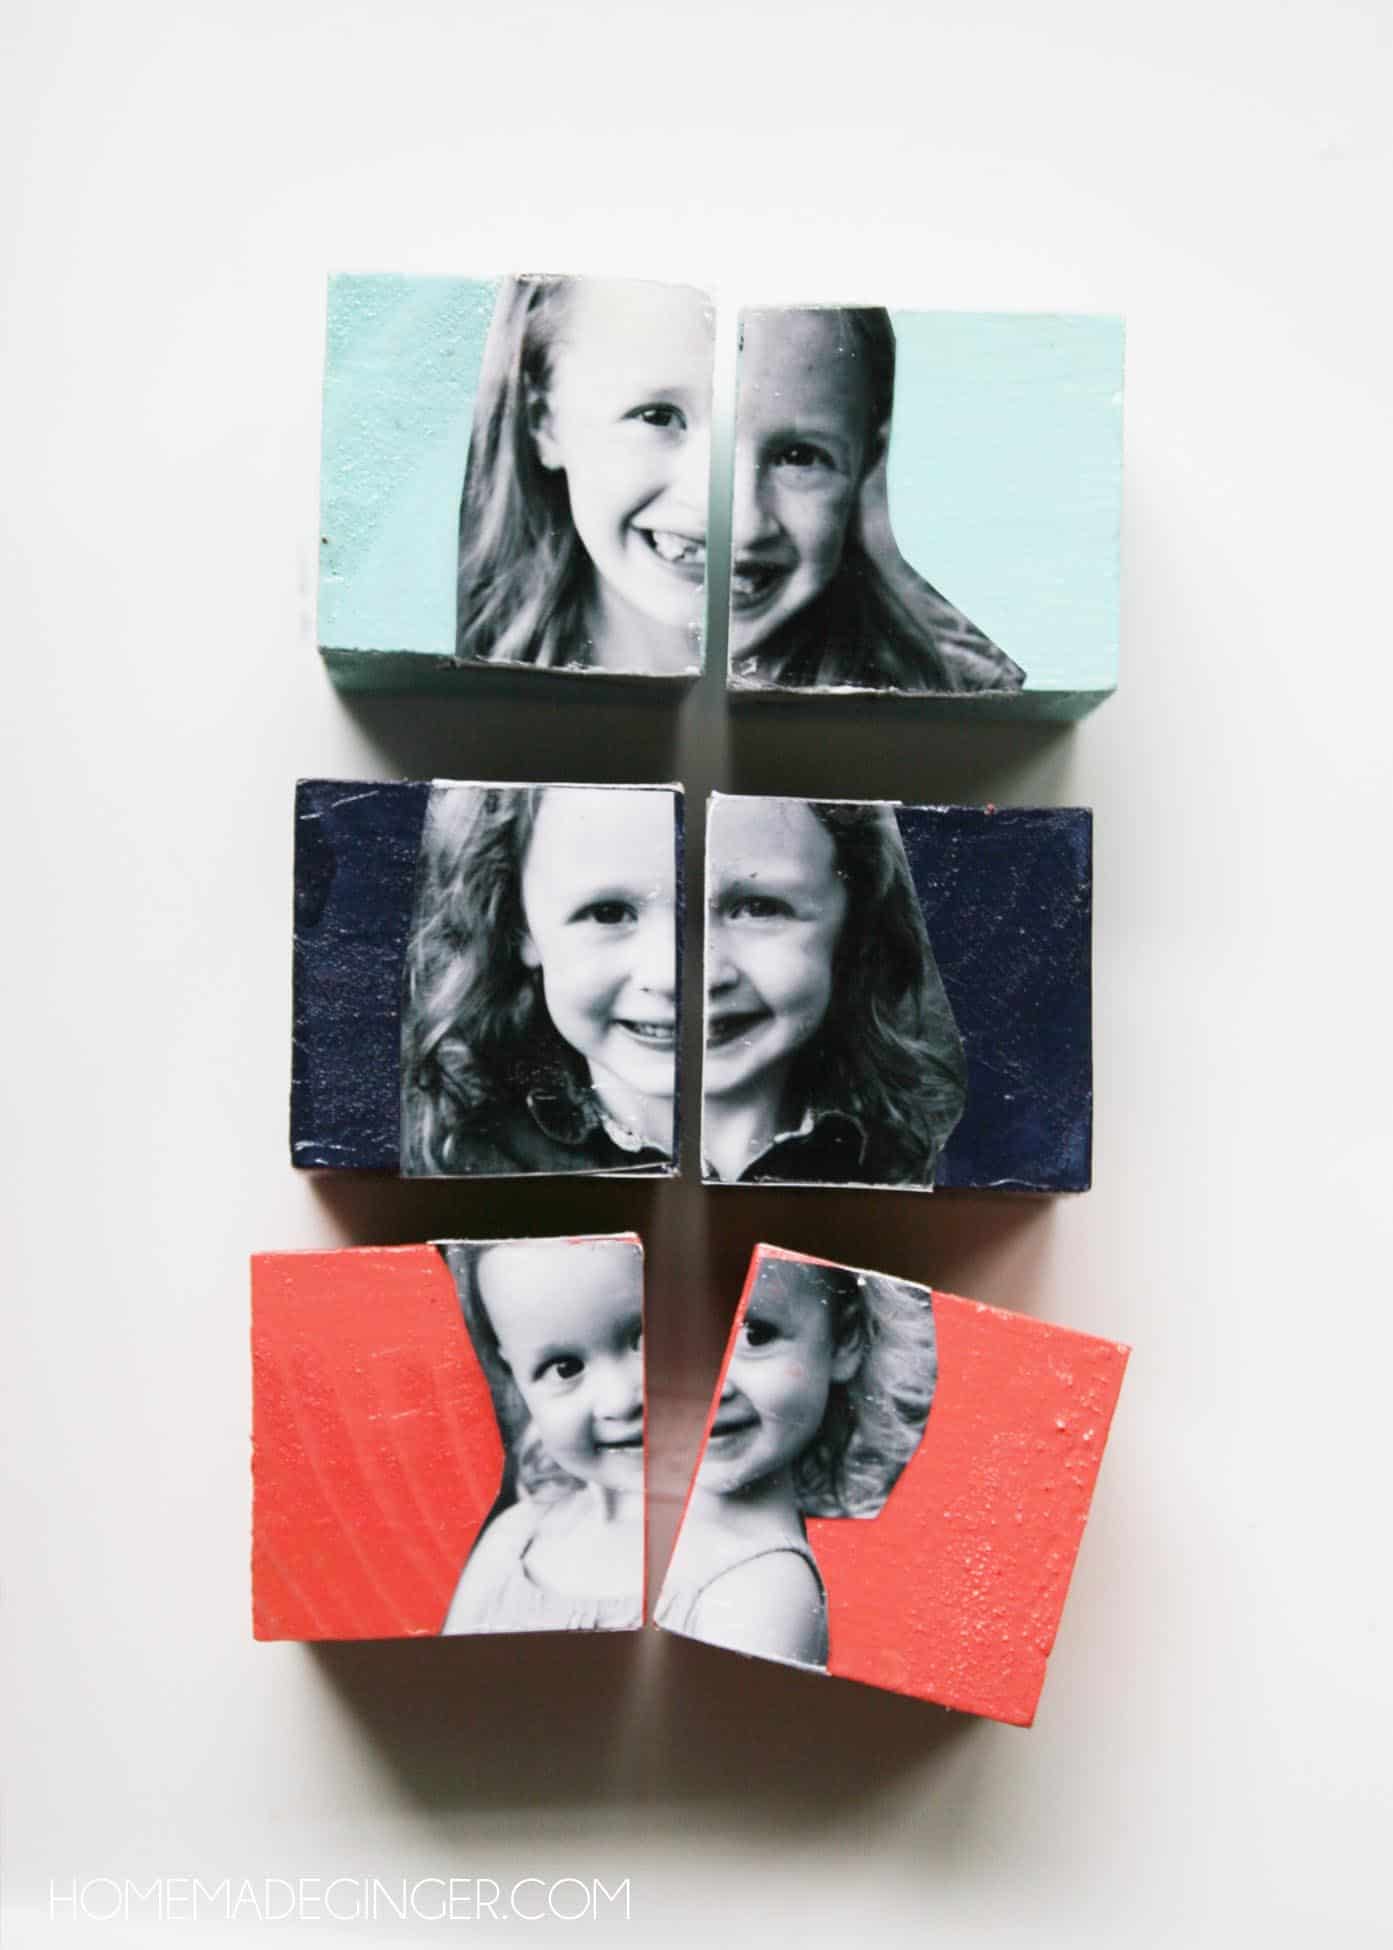
- Cut down the middle of each photo so that one half will fit onto each of two blocks.
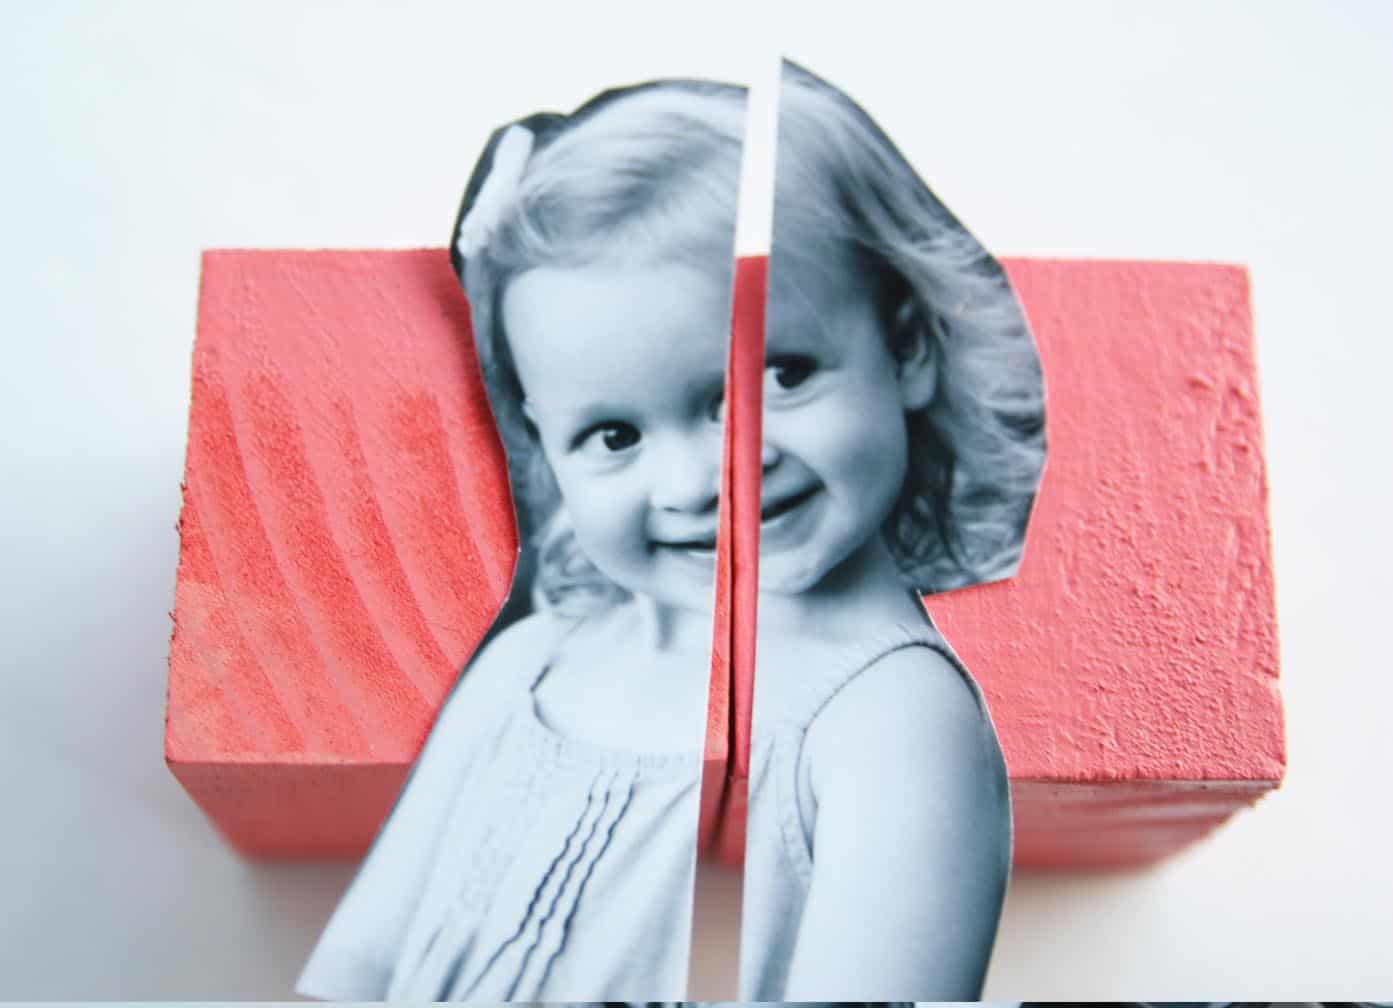
- Apply Mod Podge to the back of the photo and then onto the top of the block. Smooth the photo down onto the block. Repeat with the remaining blocks. Let dry and then trim off the excess.You can also cut and add the top and bottom pieces to the other sides of the blocks so that the photo looks like it wraps around the block.
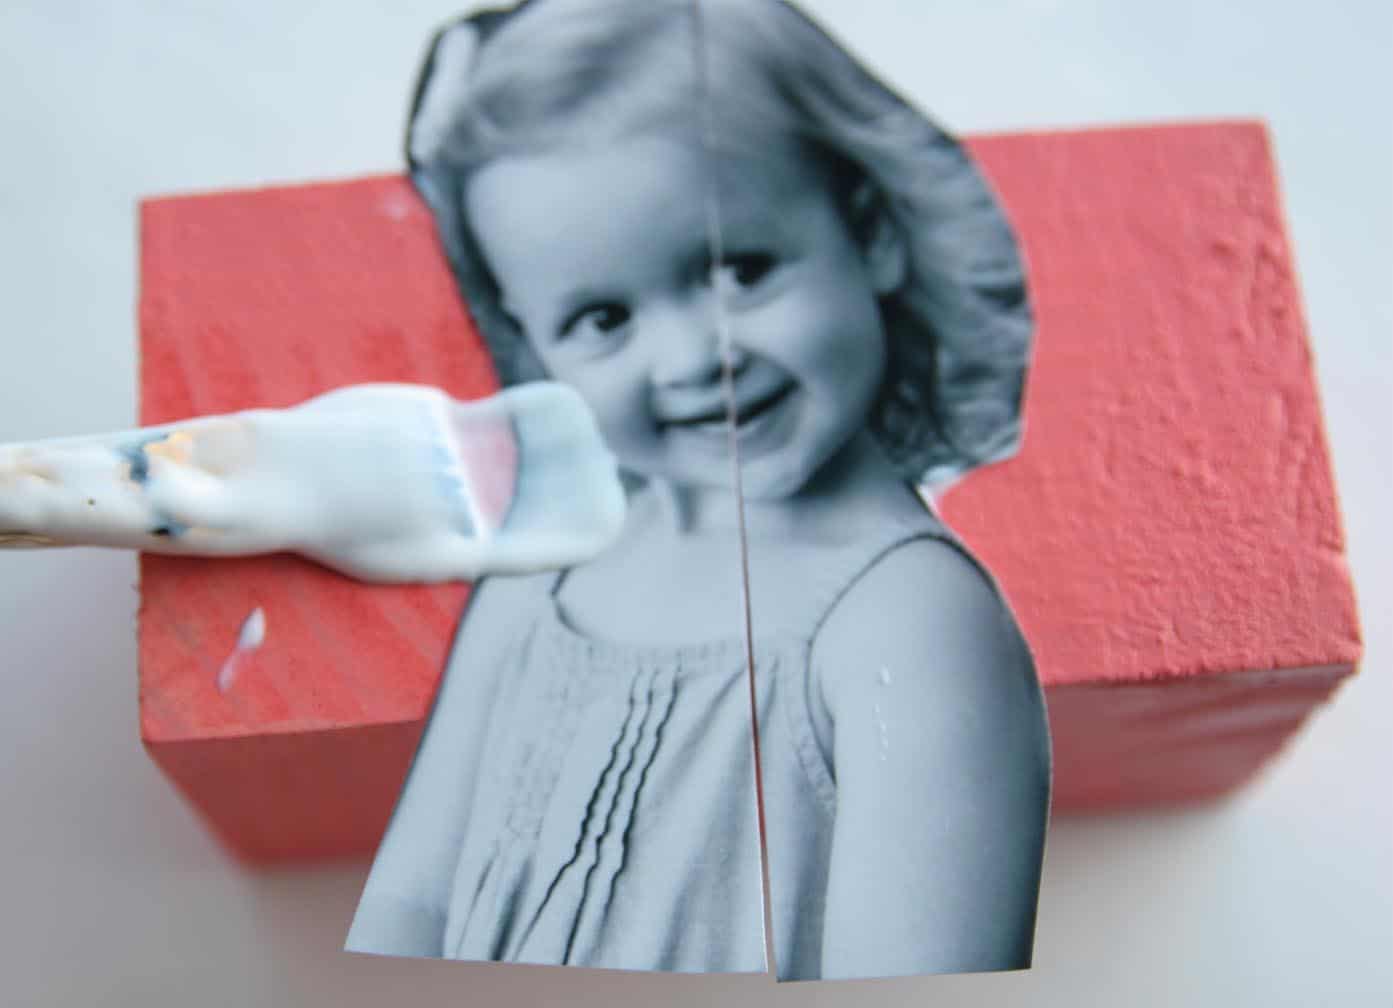
- Add a few coats of Mod Podge to the entire block(s) and let dry before displaying.
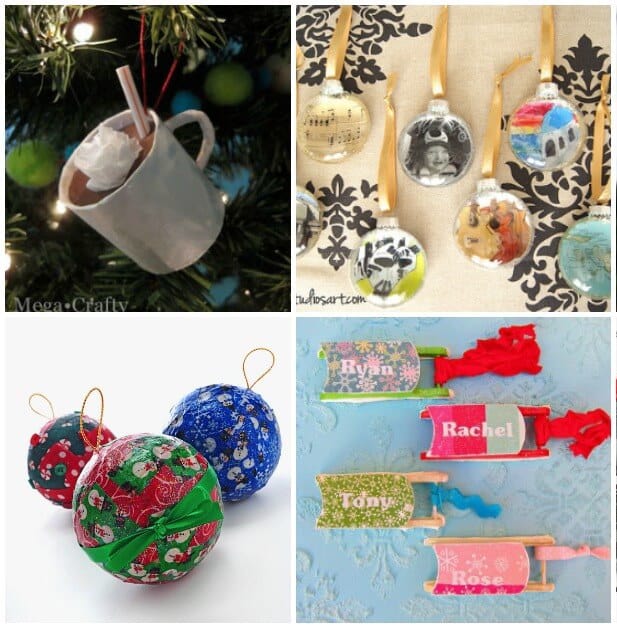
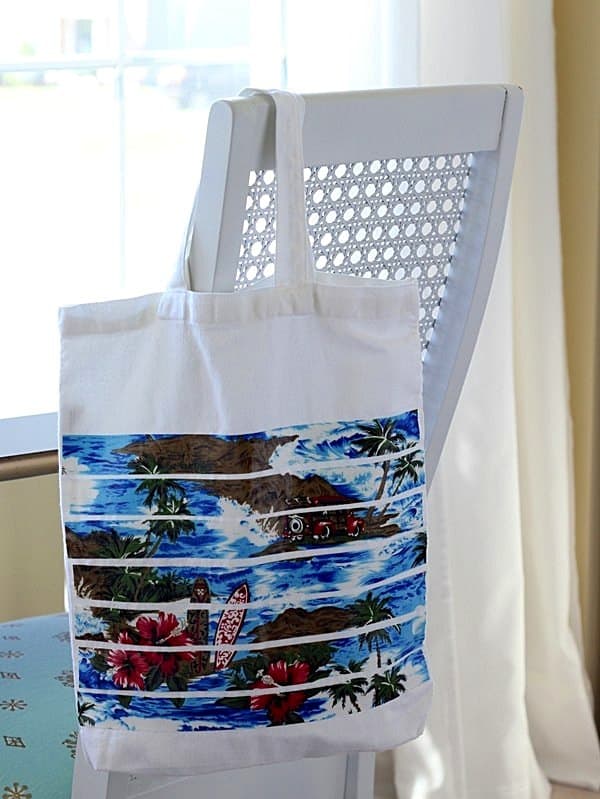
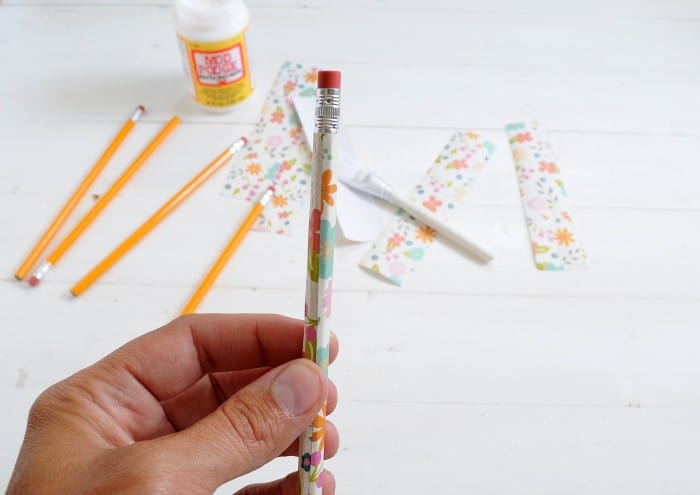
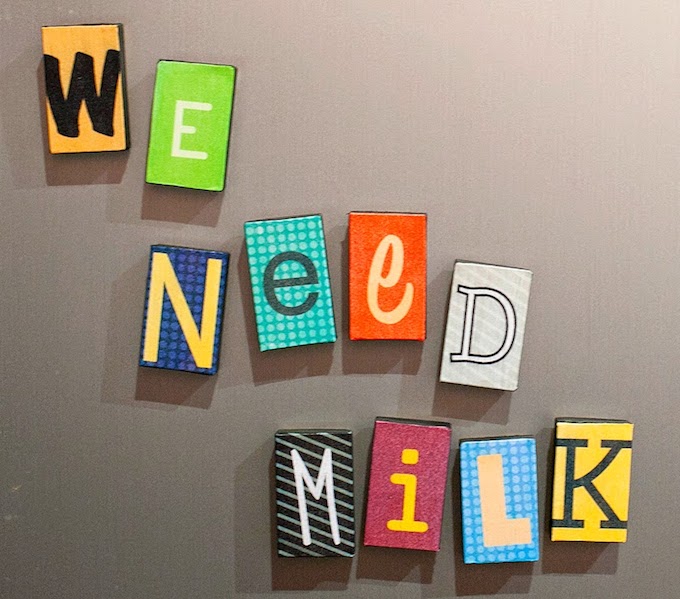
If you enjoyed making these DIY photo blocks, I’d love for you to check out these other photo crafts:


I made these for grands as Christmas gifts. They loved them.
What a neat idea! I love them 🙂