
Learn how to make this wood pallet heart decor for Valentine’s Day! This is the perfect easy project for rustic or farmhouse decor.
Skills Required: Beginner. If you are just getting started with Mod Podge, especially when it comes to using napkins, this is a great starter project. You’ll be using the iron on method.
With each new holiday that approaches, there is always decor that must be made. Well, at least for me. I go through the same process every year.
Let’s take Valentine’s Day for example!
I bring out my old Valentine’s Day decor and assess what I’ve got, and what I want to put out for the holiday. Do I want to give anything away? Do I want to make anything new?
I *try* to keep the number of decorating items pretty much the same, generally speaking. I don’t have a lot of storage in my home, so if I want something new, that means something has to go. This has worked well for me, especially when it comes to Halloween and Christmas.
Here’s the good news about Valentine’s Day this year. It turns out I don’t have that much decor at all, so there aren’t a lot of decisions to make! I get to make whatever I want without getting rid of something else.
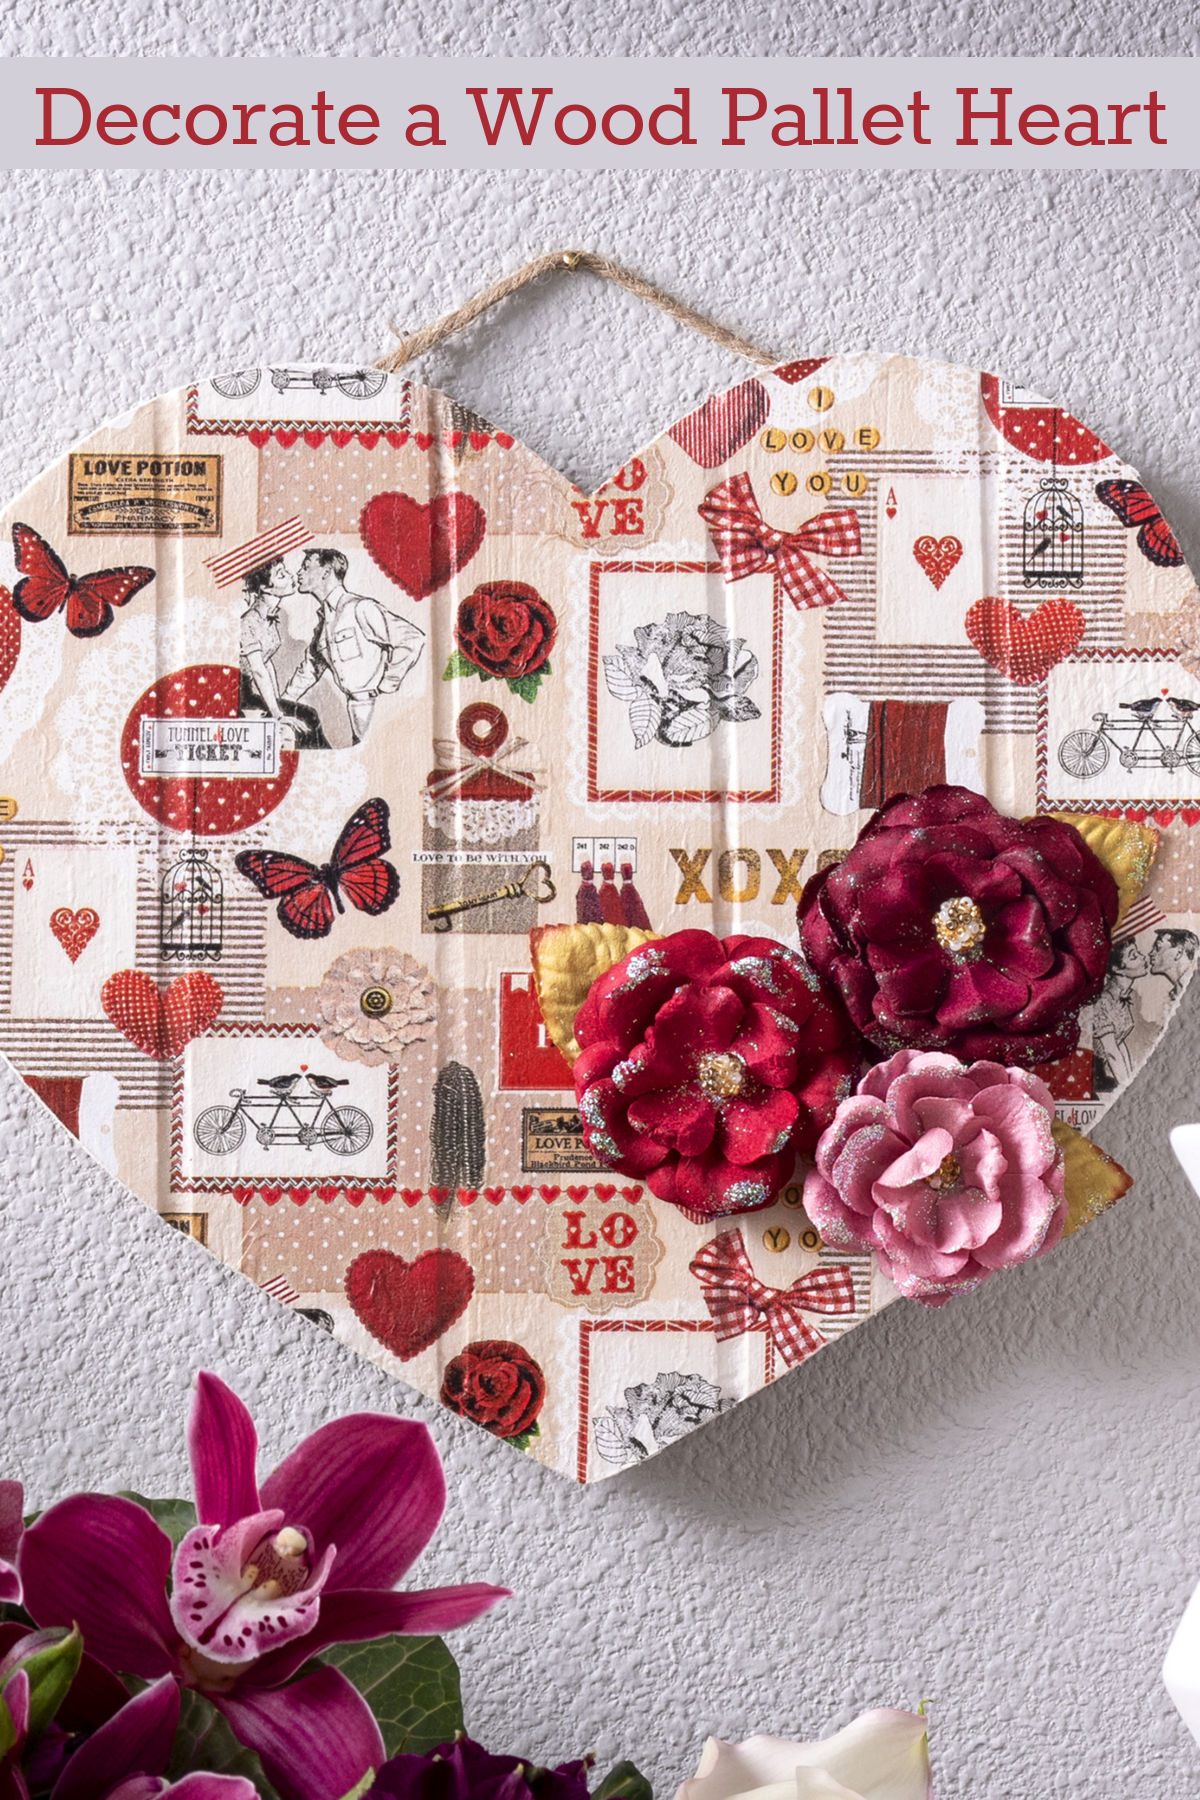
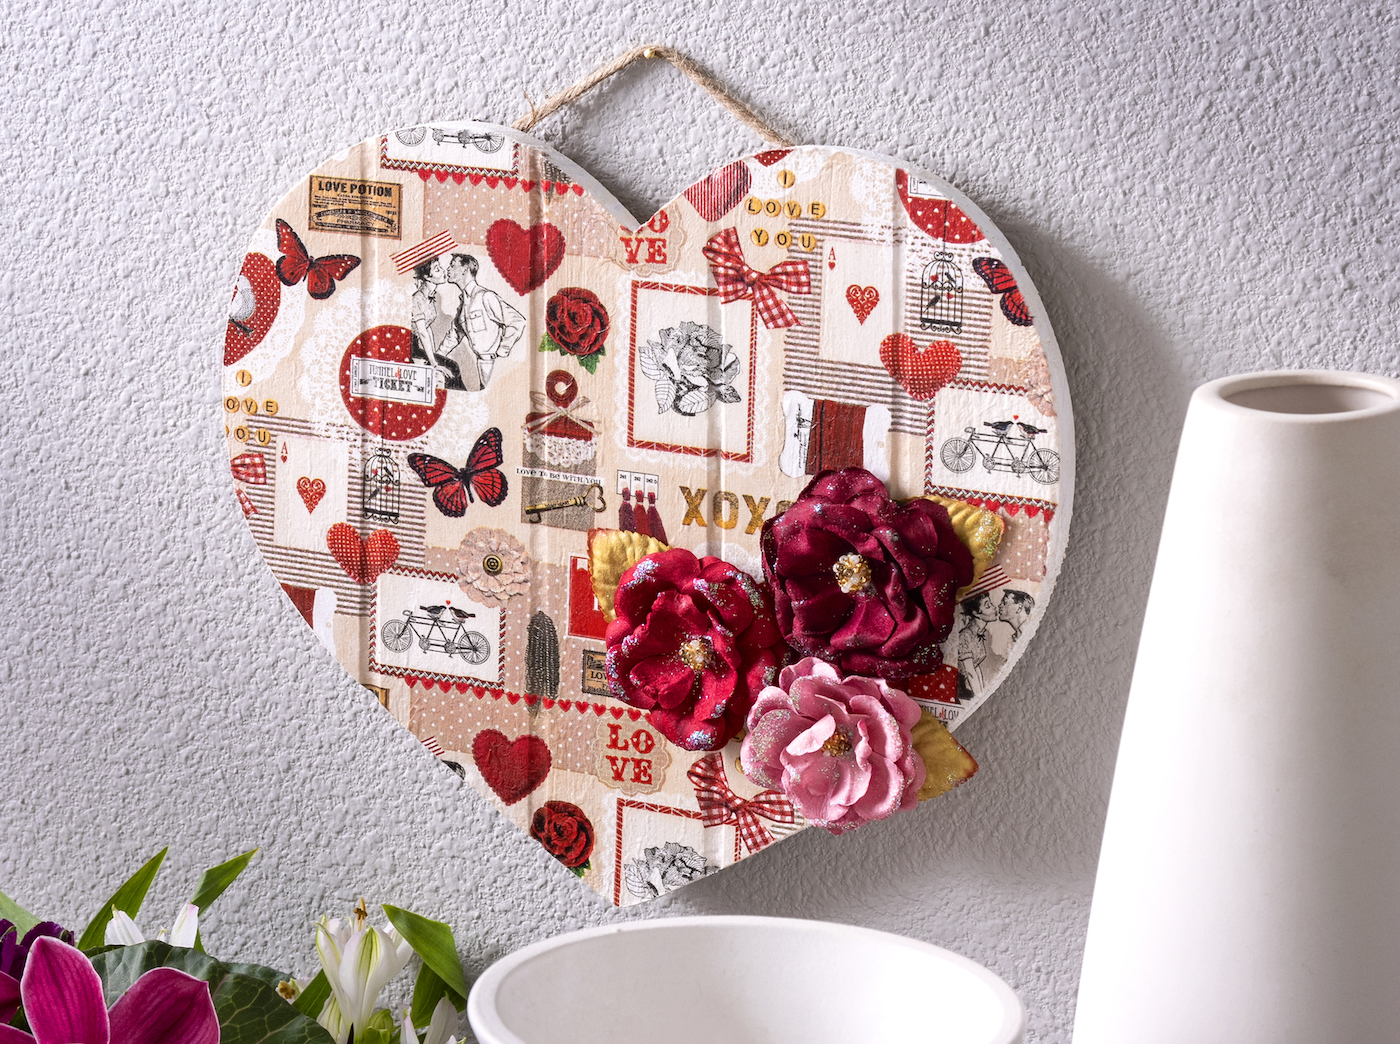
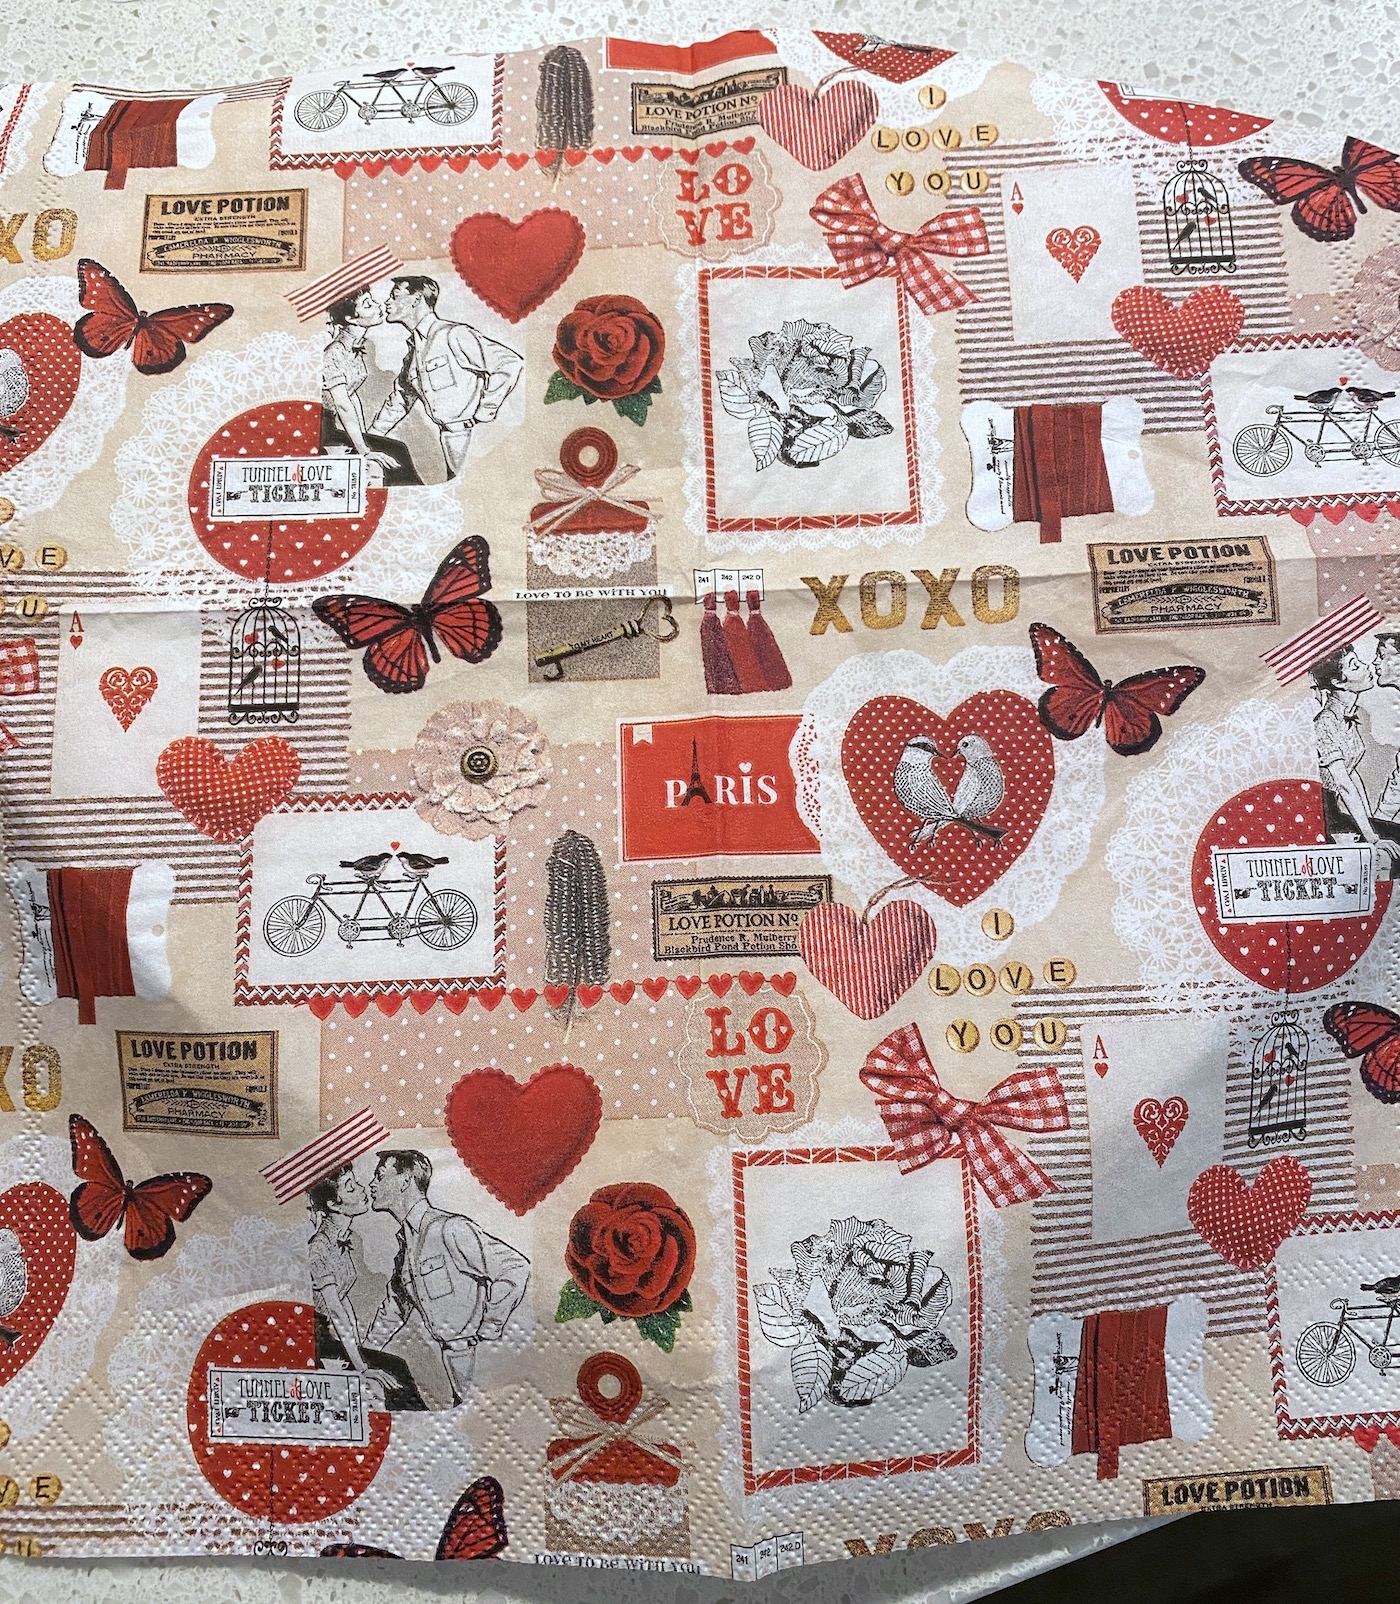
And that’s how this heart pallet came to be. I saw the surface at the craft store and knew that I wanted to use it to make something. I raided my stash and found a cute napkin to apply on top (and I’ll show you how it’s done).
Decorate a Heart Pallet
You’re going to make this wood pallet heart in a few easy steps. You will paint and Mod Podge the heart, then prepare your napkin. You’ll iron the napkin down, and finish by sealing and adding embellishments. It’s pretty easy!
Learn how to make it below.
Gather These Supplies
- Heart pallet shape – usually available during Valentine’s Day, also found on Etsy
- Valentine’s themed napkin
- Craft paint or chalk paint – White
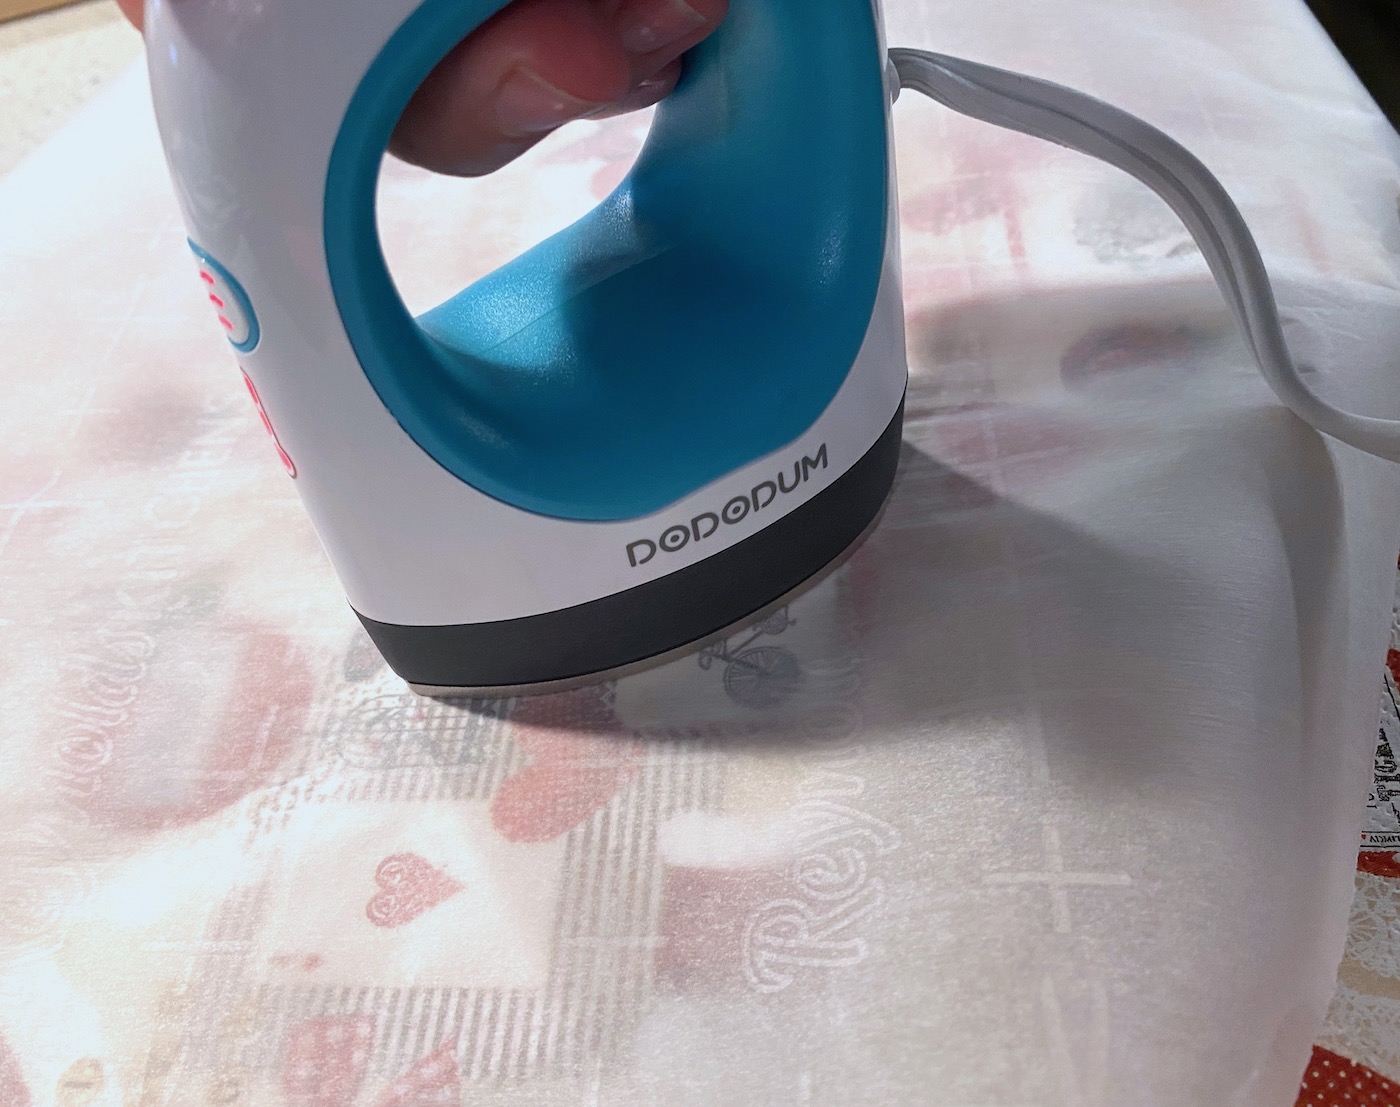
- Mini iron or heat press
- Parchment paper
- Scissors
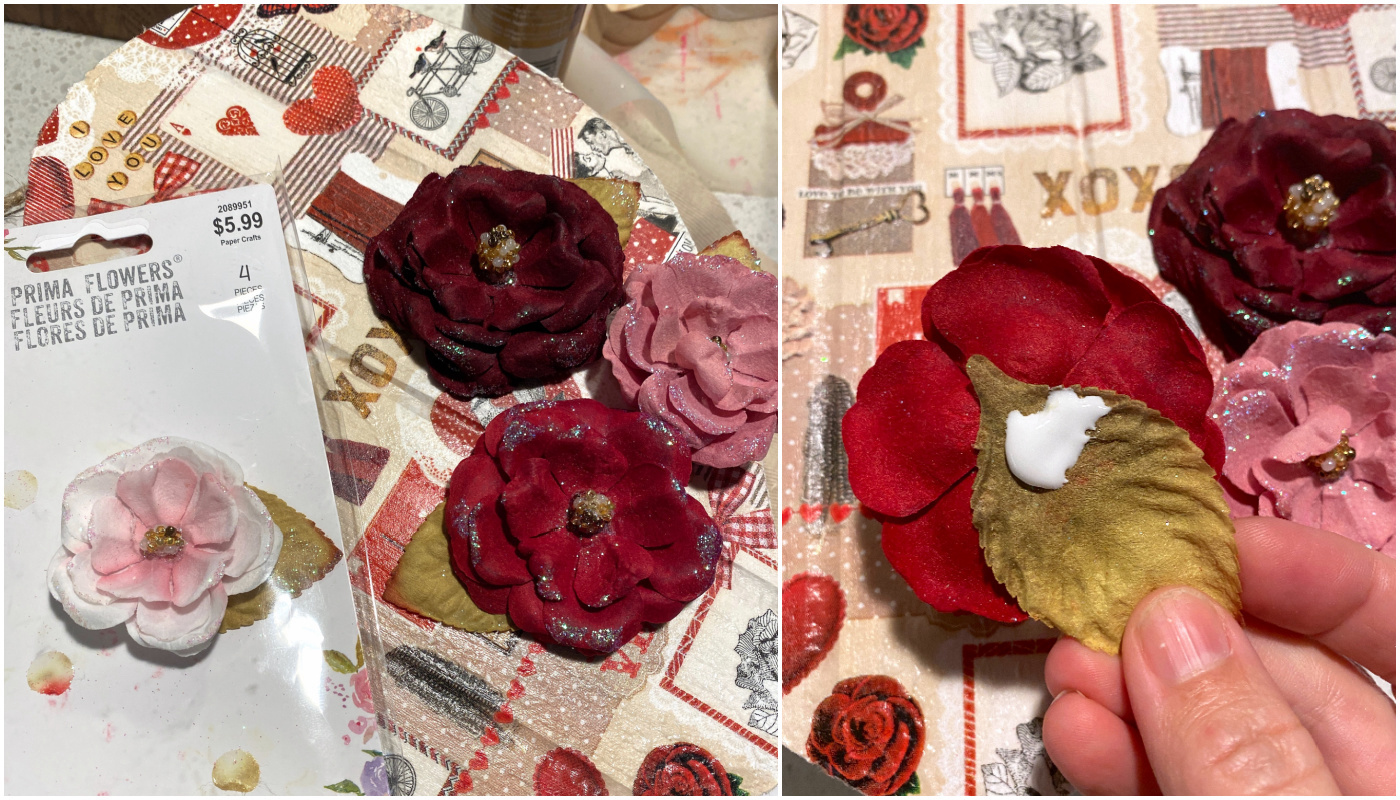
- Paper flower embellishments
- Craft glue
- Paintbrush
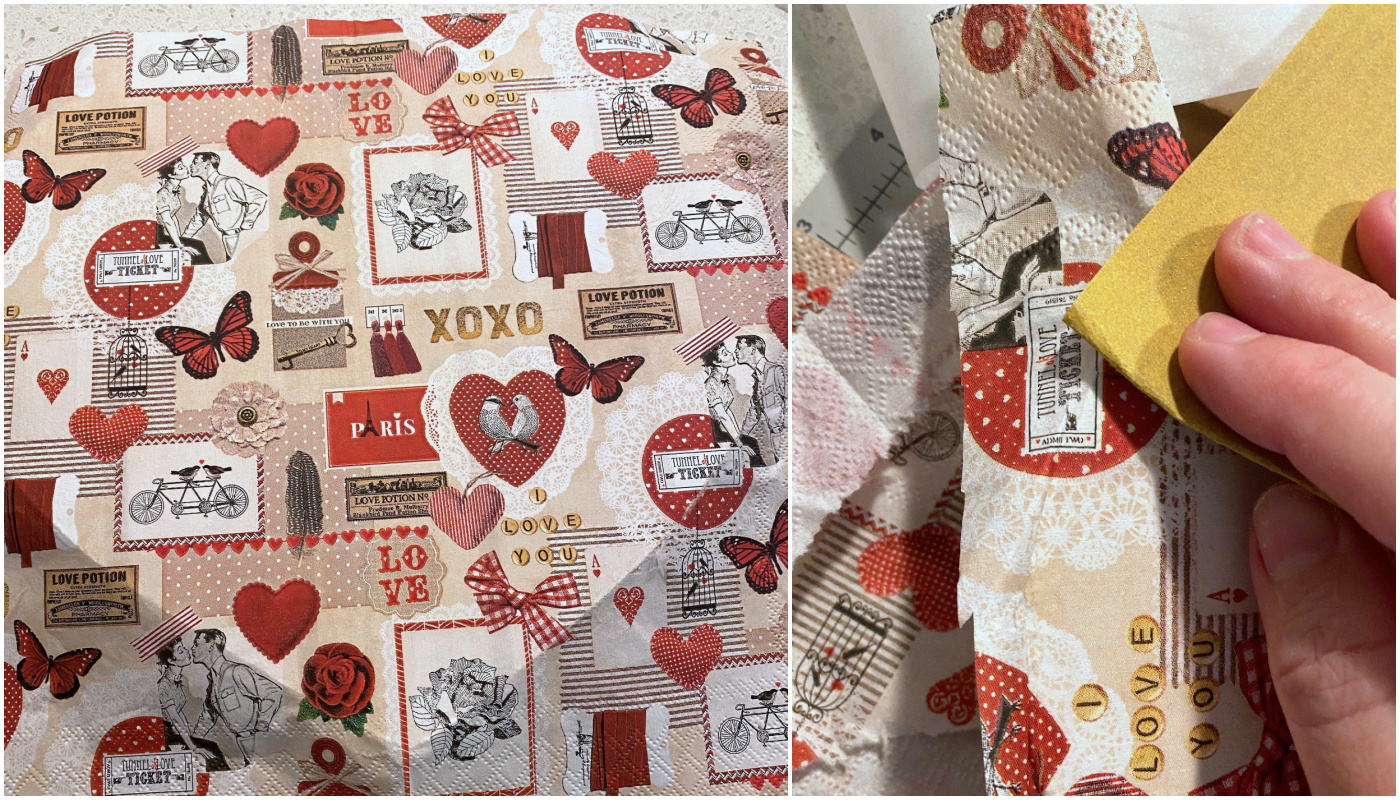
- Sandpaper
Paint and Mod Podge the Surface
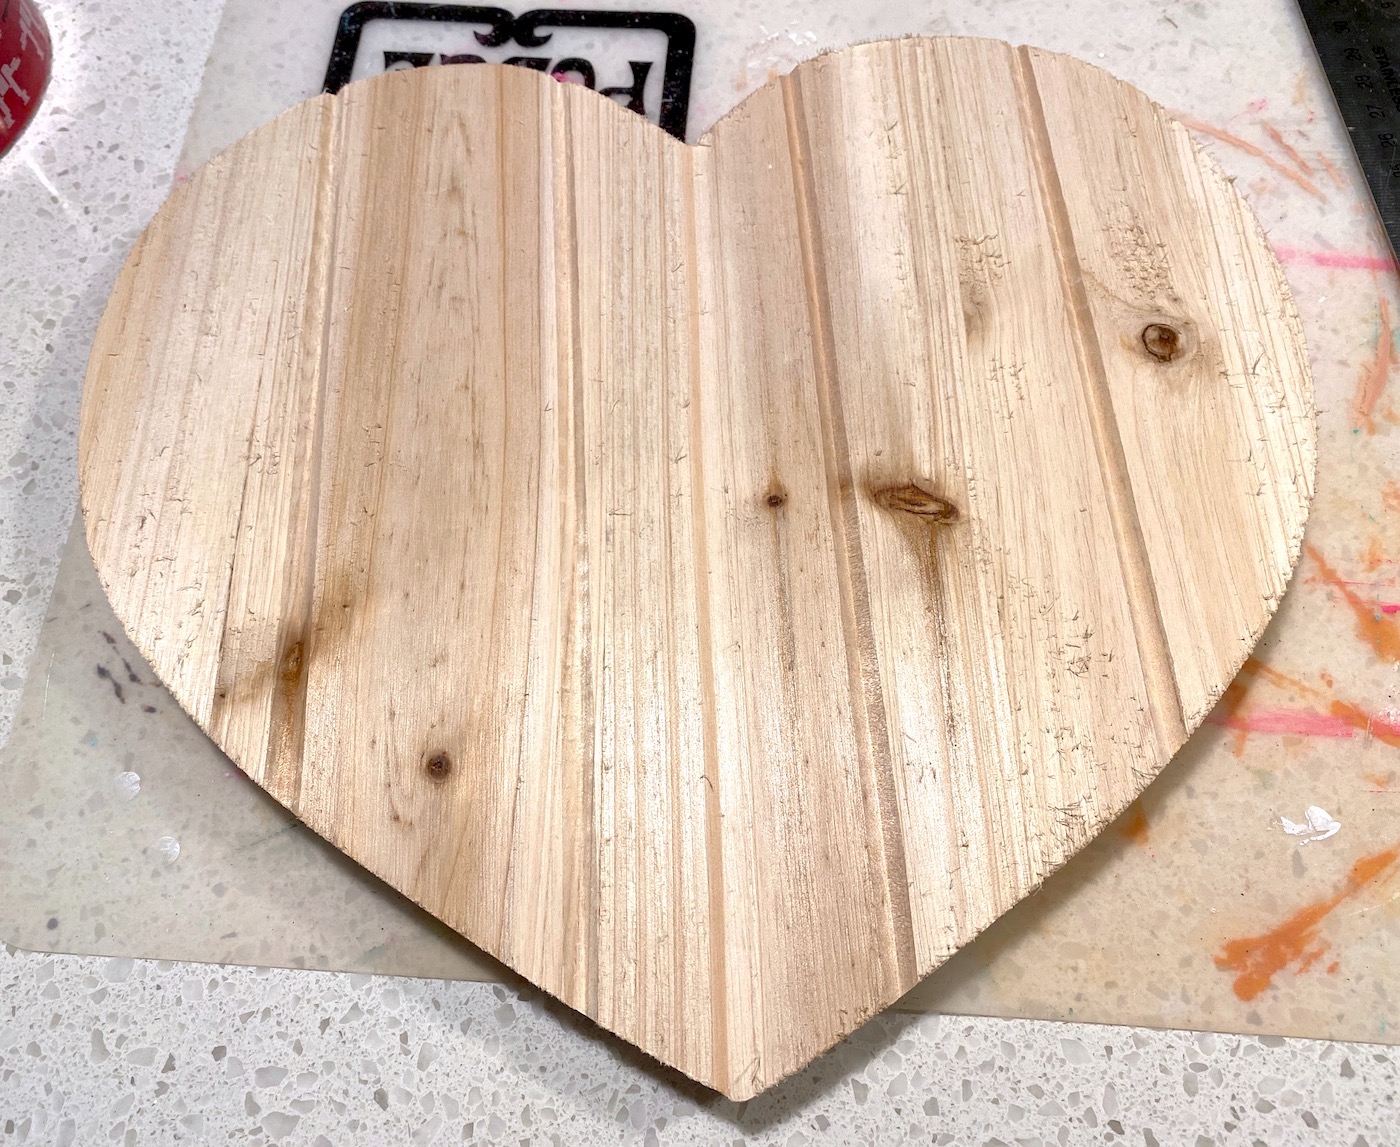
Start with a heart pallet. It can also be a solid wood plaque without pallet lines. It can even be a pallet circle. The tutorial I will show you works on any flat wood surface.
If you want to sand the edges of the wood because they are rough, you can at this time. I just left mine. It’s rustic, baby!
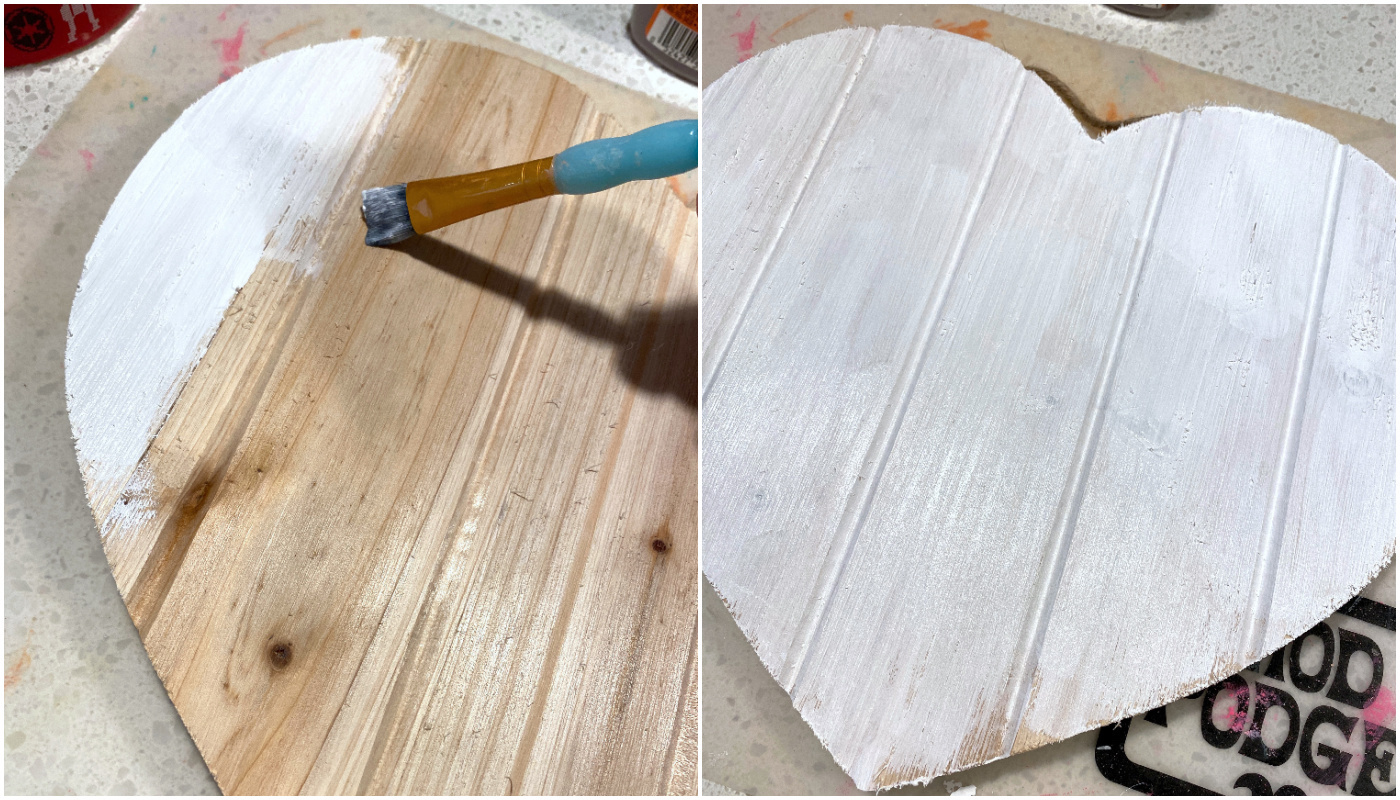
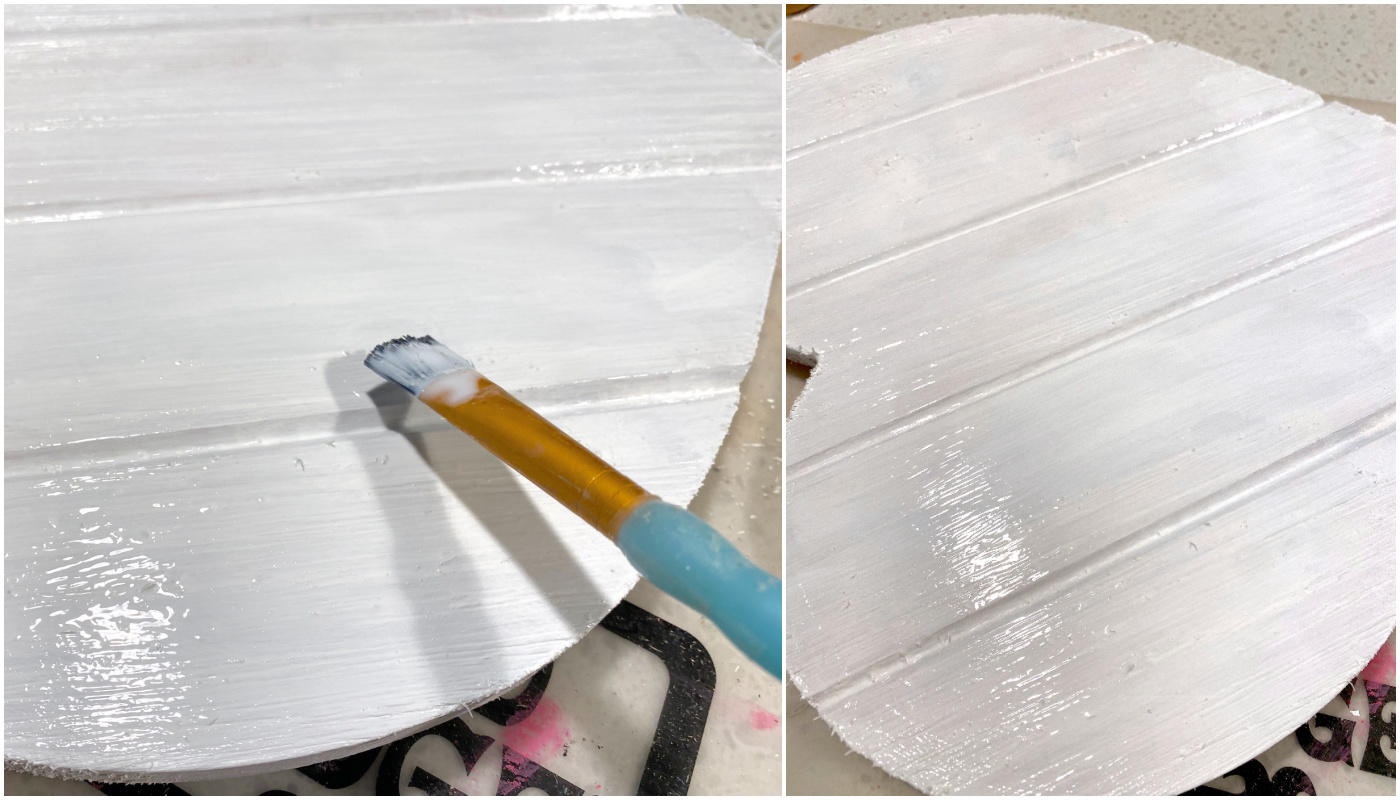
Using a paintbrush, add a coat of white paint to the front of the heart. The reason I selected white is because I’m going to iron the napkin right over the top, and I wanted the napkin design to pop.
When I iron on the napkin, it will be thin like tissue paper, and the background will show through. With a white or light background, your napkin design will look great on the wood surface.
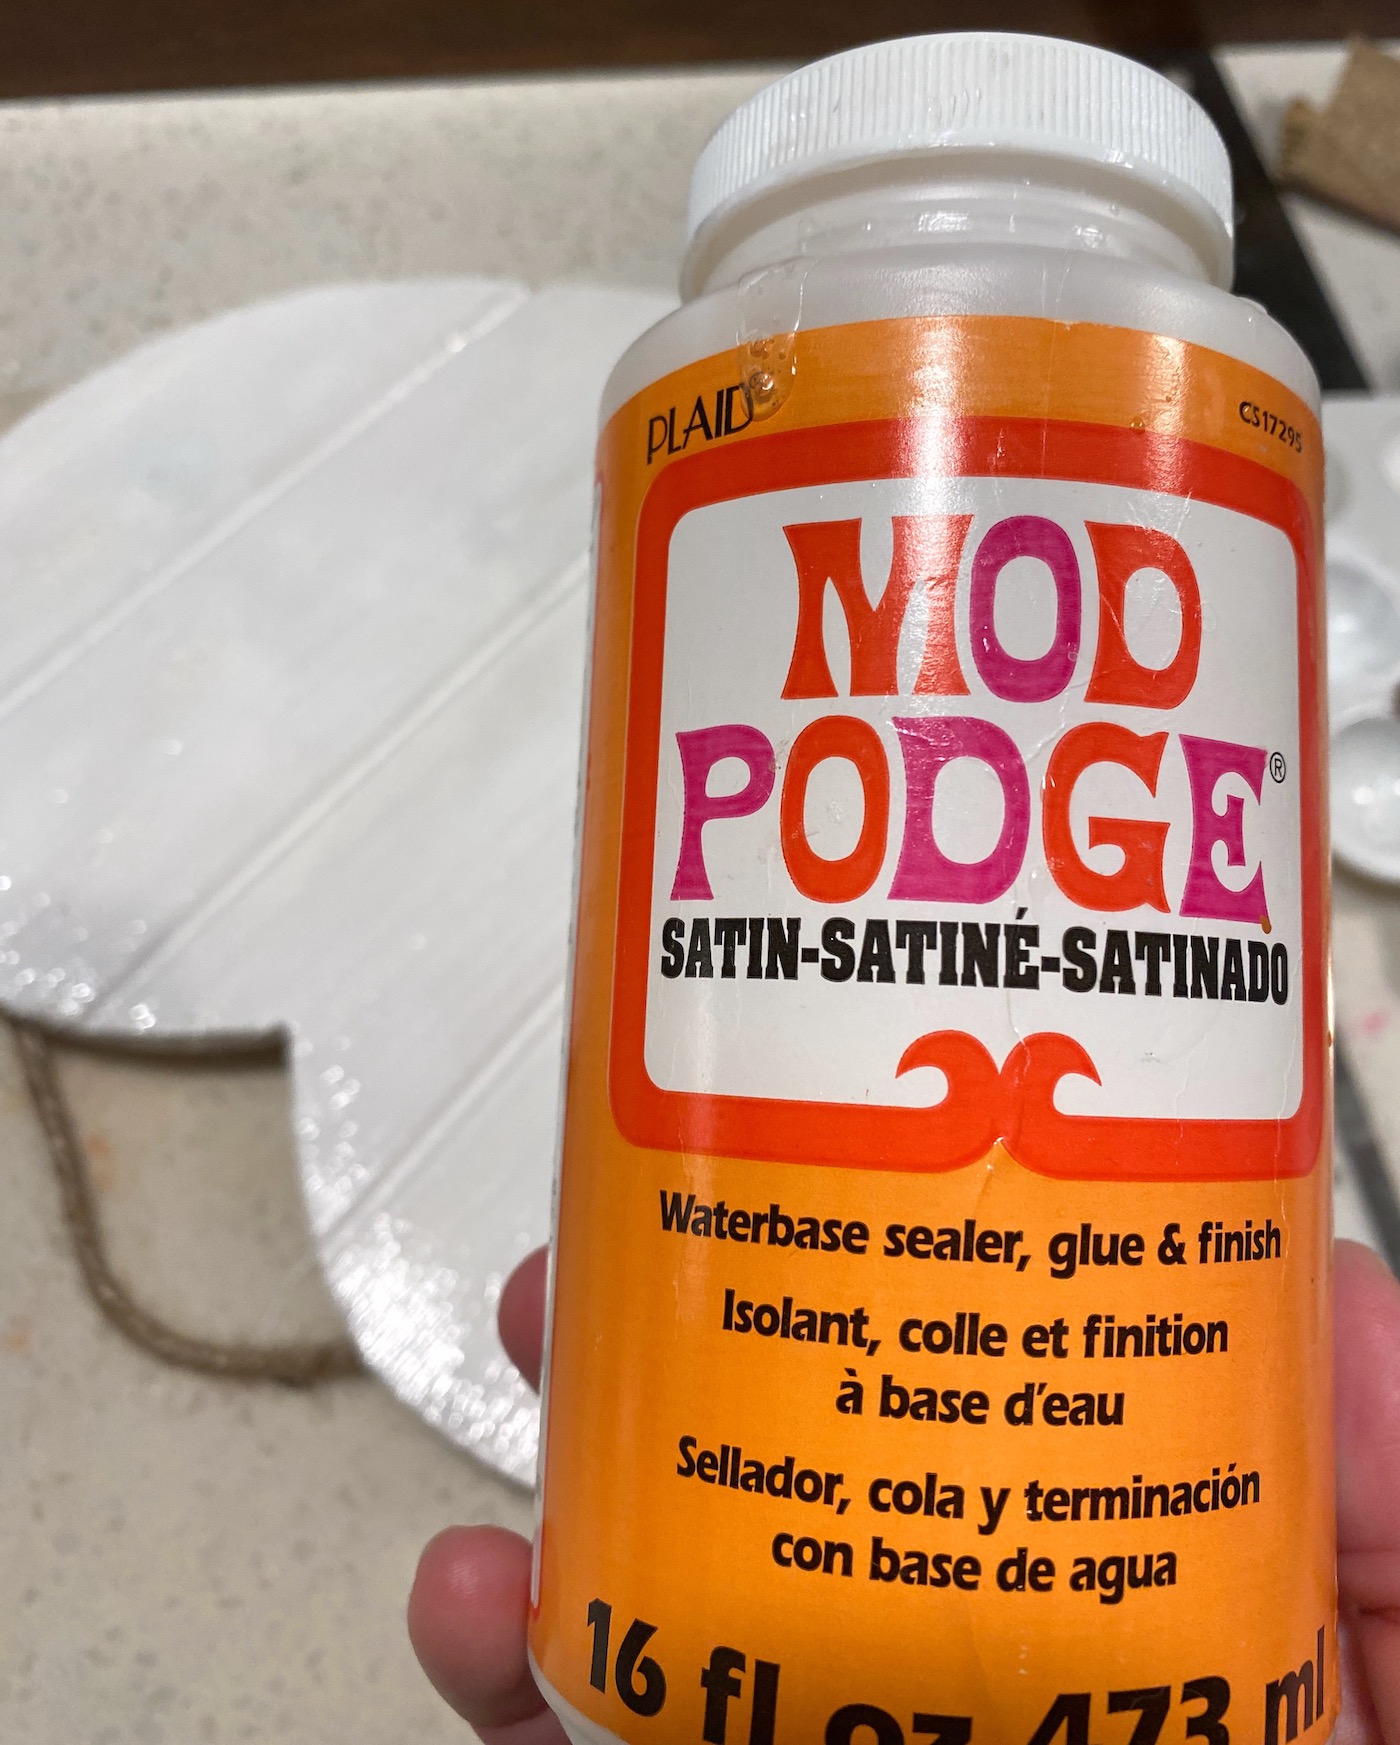
Choose a Mod Podge formula for your project. You can use Gloss, Matte, or Satin, depending on the finish you want on the top. I chose Satin because it’s in between glossy and flat.
Once the paint has dried, paint two coats of Mod Podge over the front of the heart. You will paint a coat, making sure to get close to the edges, and let dry. Then you’ll paint a second coat and let dry. Get down into the grooves too.
The next step is to prepare the napkin.
Prepare the Napkin
For the next step, you need to get your items ready for ironing. You’ll need the mini iron, the napkin, and parchment paper.
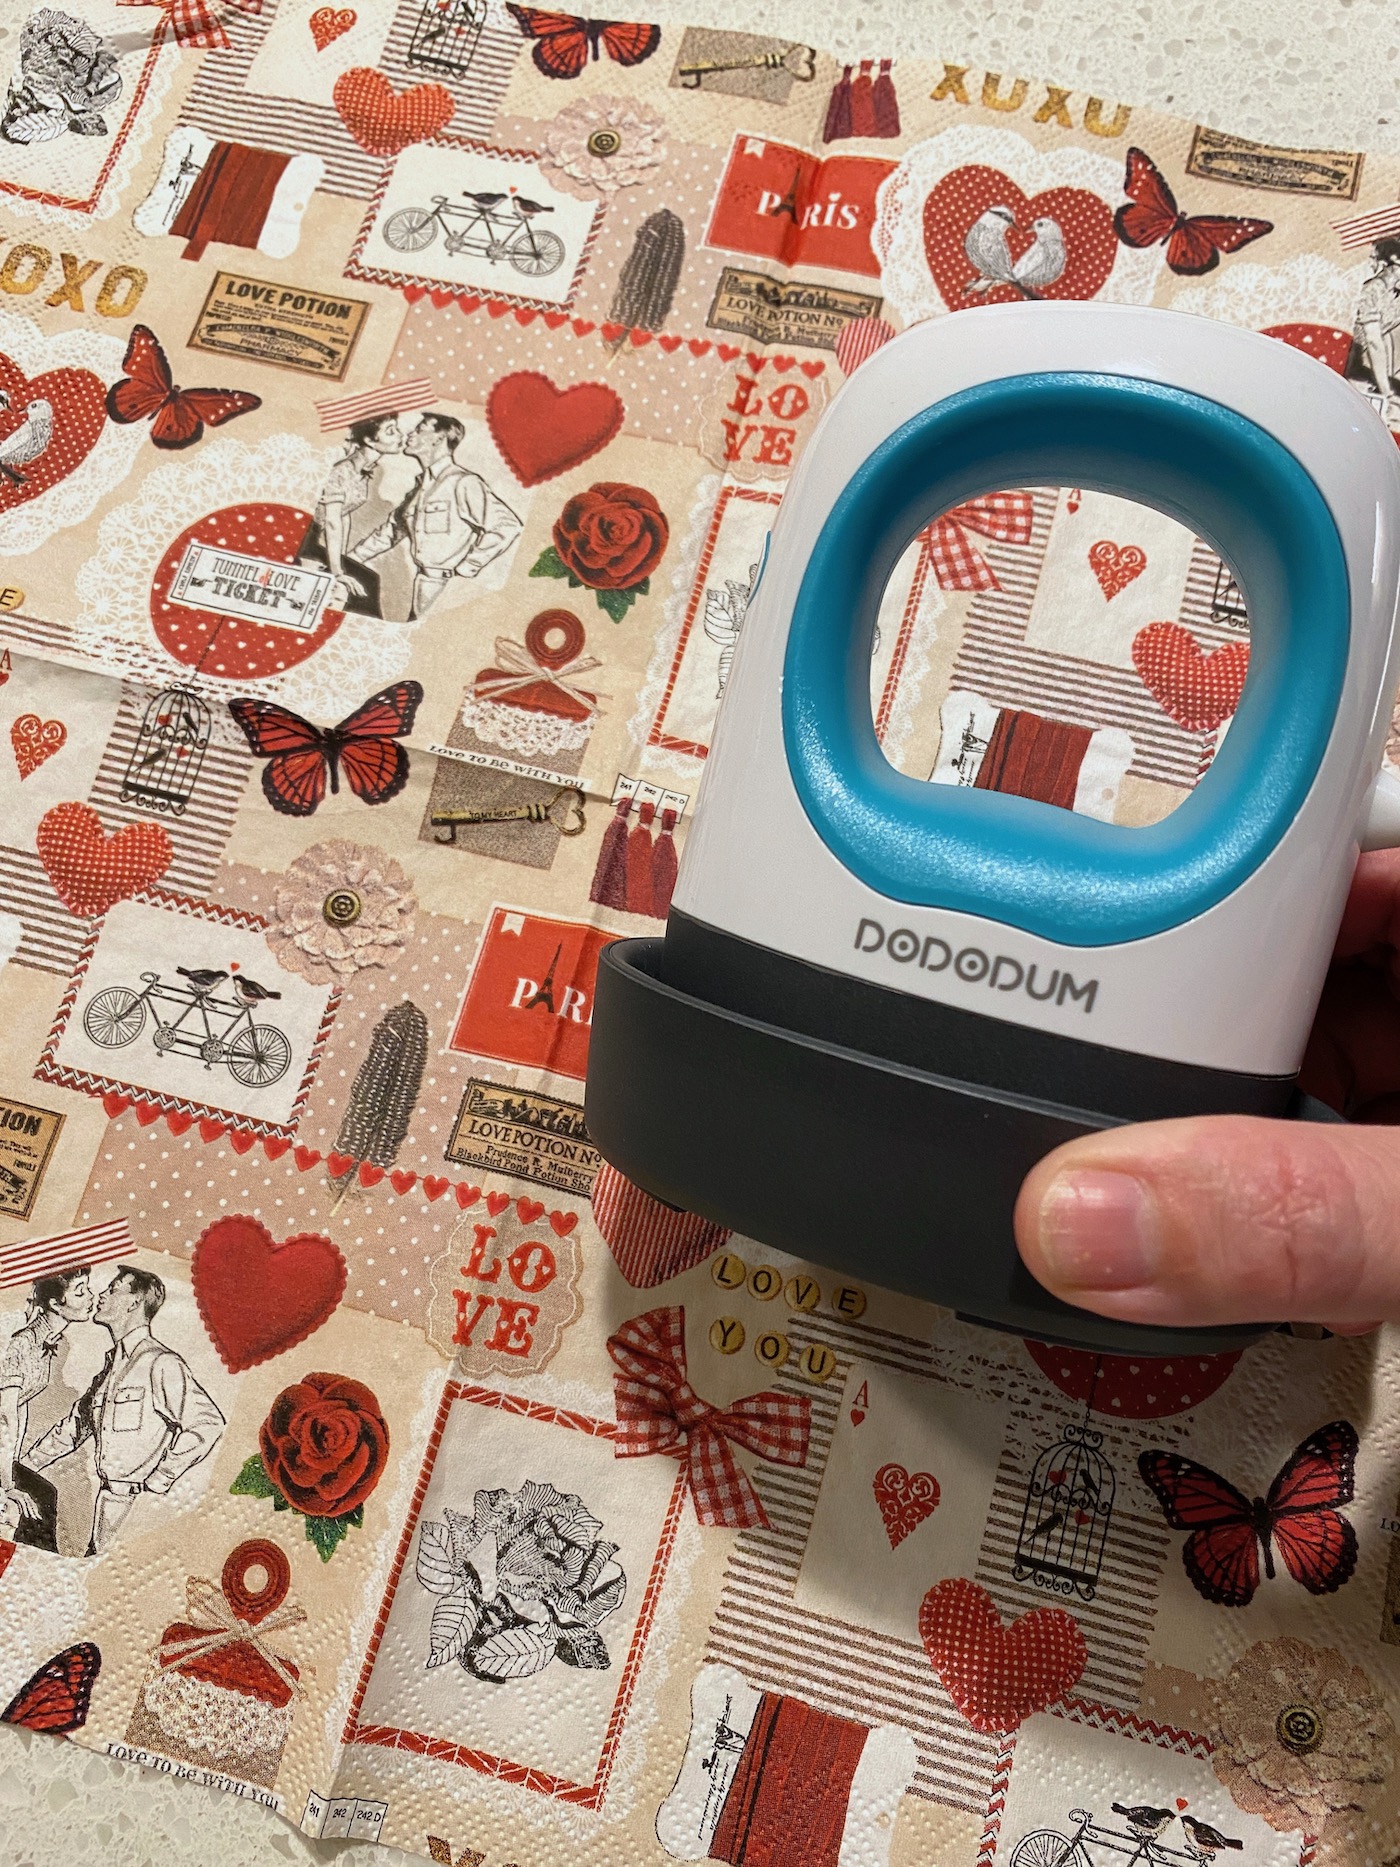
To prepare the napkin, you need to separate the layers. There are usually 2 – 3 layers of a napkin with the printed portion on top. All you’ll need is the printed portion.
If you use the napkin without separating it, it will wrinkle because the layers will operate independently of each other.
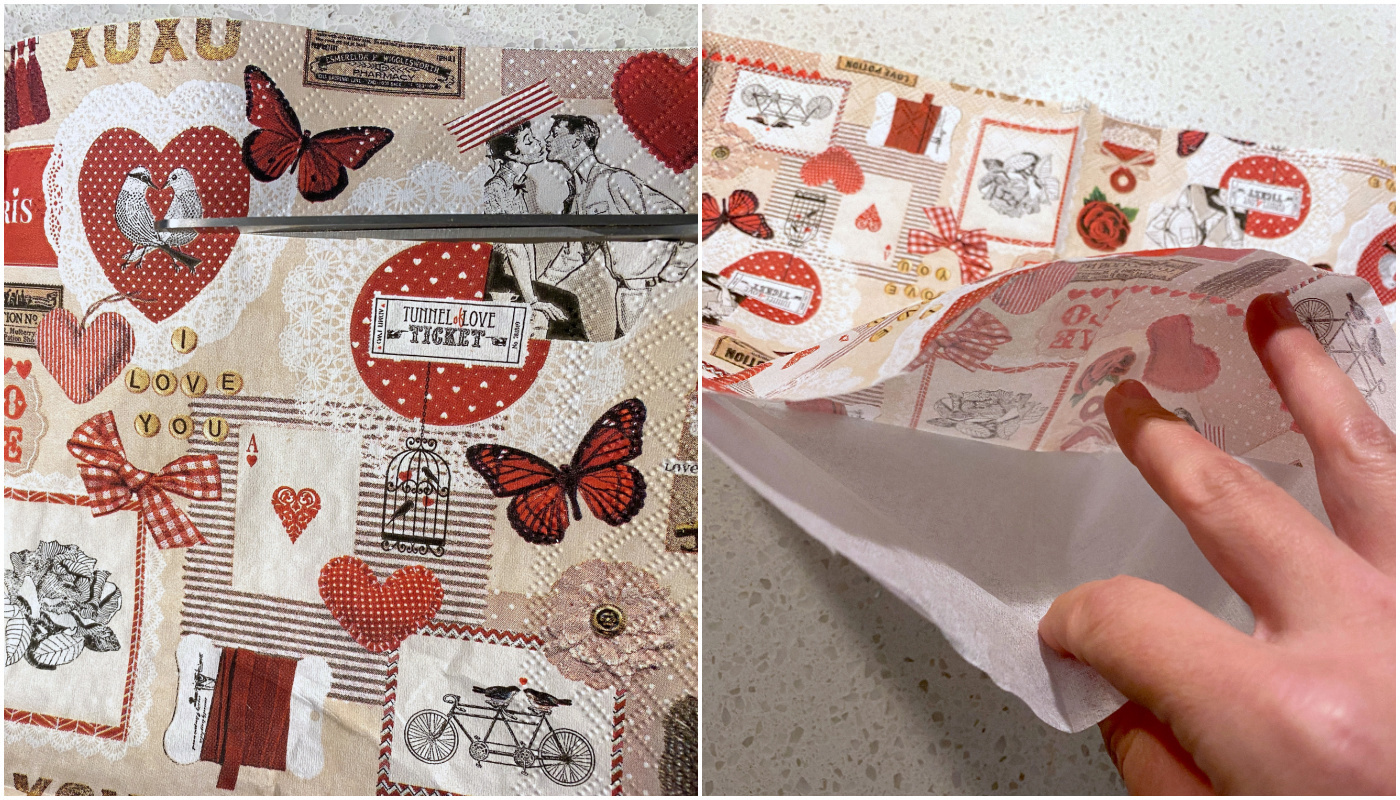
Cut the napkin slightly larger than the wood shape, and gently rub the layers together to separate. You can also use a piece of Scotch tape in one corner on the white portion and pull.
Iron the Napkin
Place the top layer over your wood pallet heart and heat up your mini iron to level 3 (which is mid-level heat on a regular household iron; no steam).
Place a piece of parchment paper on top of the wood, and run the craft iron across the top several times. While you are doing this, the Mod Podge is melting below the napkin, and the napkin is adhering.
Keep going until the napkin is fully adhered. It should just take a minute or two on a surface this small. Lift up and check under the parchment paper to see if you missed any spots.
Once you’re done, let the project cool and sand away the napkin on the edges of the heart. Just a little bit of pressure and the napkin comes off! It’s pretty awesome.
Seal and Embellish
Paint two coats of Mod Podge over the front of the napkins, and let dry between coats. HOWEVER there is a “con” to sealing.
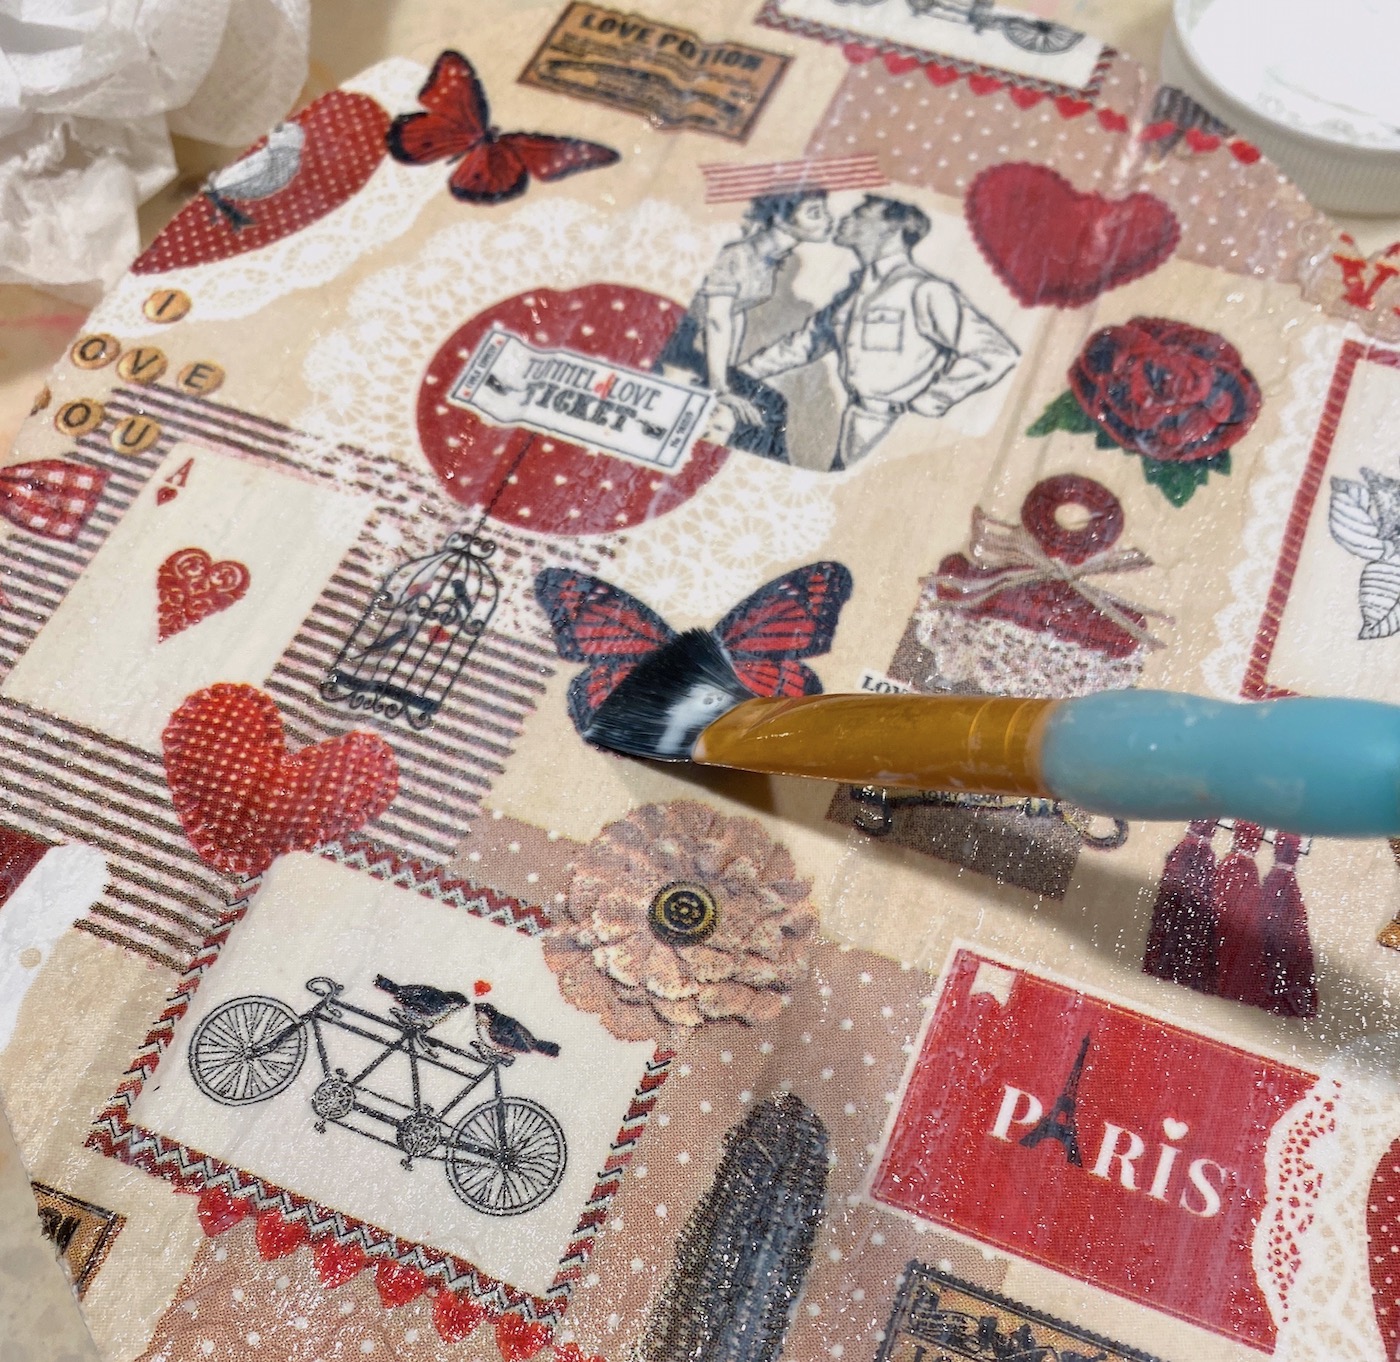
You might get a few bubbles or wrinkles popping up in the napkins. It doesn’t bother me. And it protects the front of the project, which is just napkin at this point (and can be stained or torn).
Let the Mod Podge dry and embellish the front with some paper flowers (from the scrapbooking aisle at Hobby Lobby). I just used craft glue to adhere them, but you can use hot glue as well.
Let dry before hanging! Mine came with a little twine hanger, but you could hang it with any kind of ribbon or string. Doesn’t it look cute?

If you enjoyed this wood heart project, let me know in the comments! I’d also love for you to take a peek at these other ideas:


I love this! I work with a group of after-school teen crafters-we will make this! Thanks for posting!
Thank you for reading!