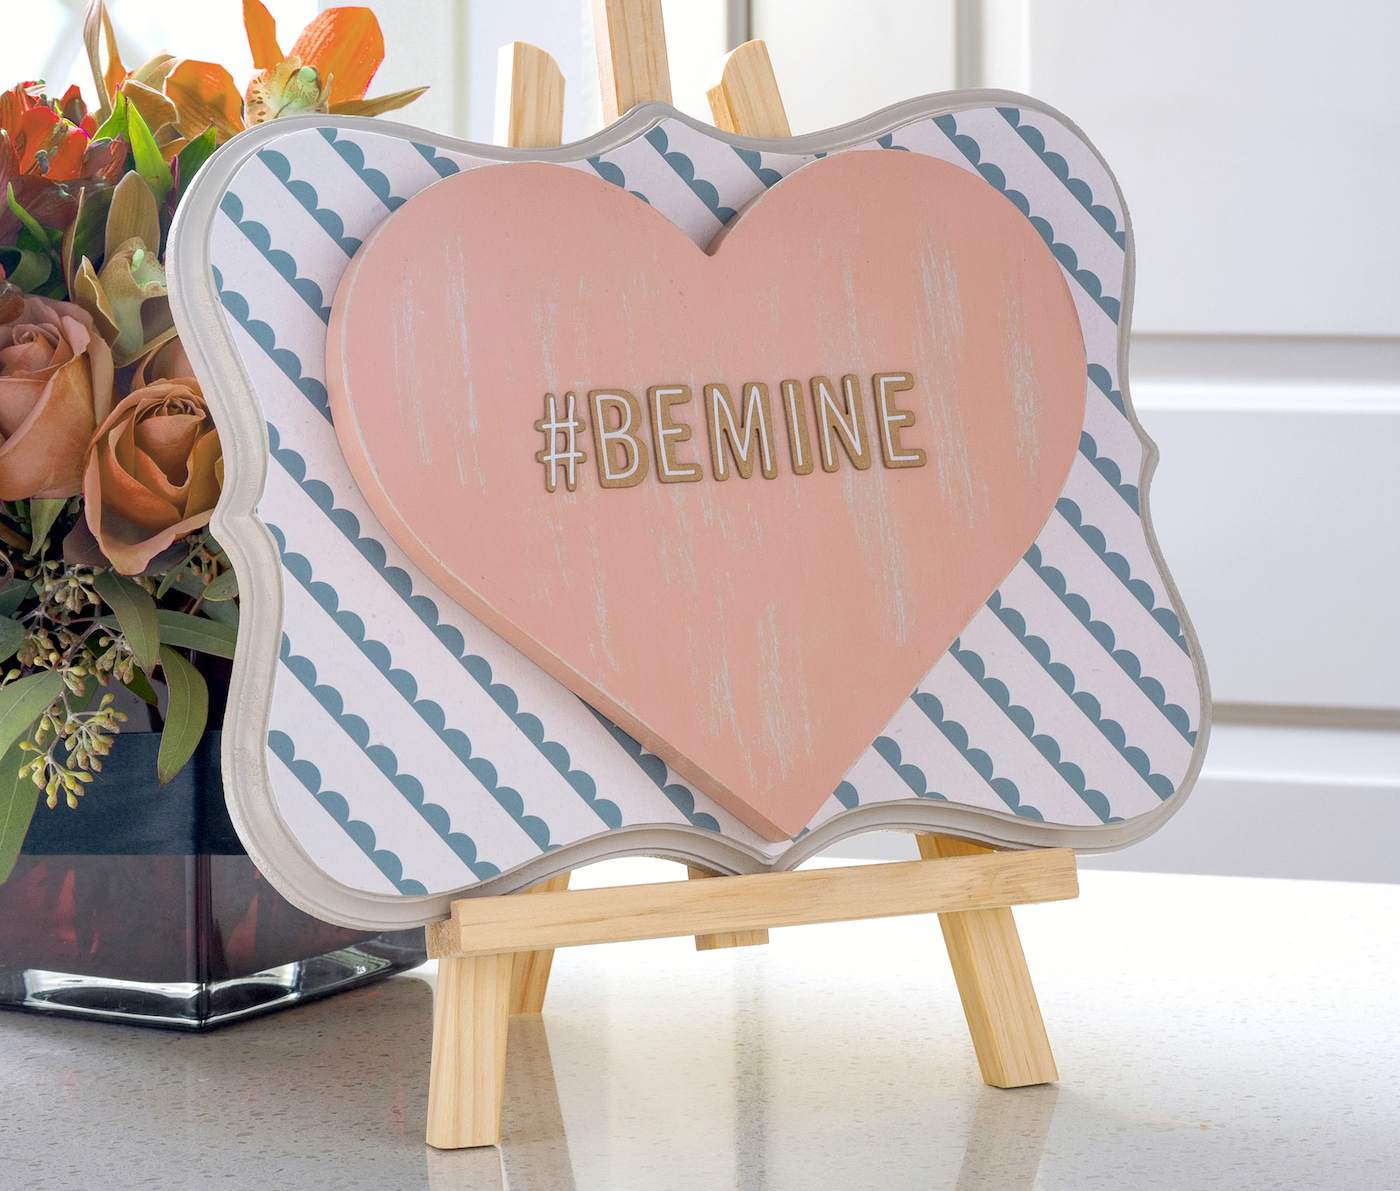
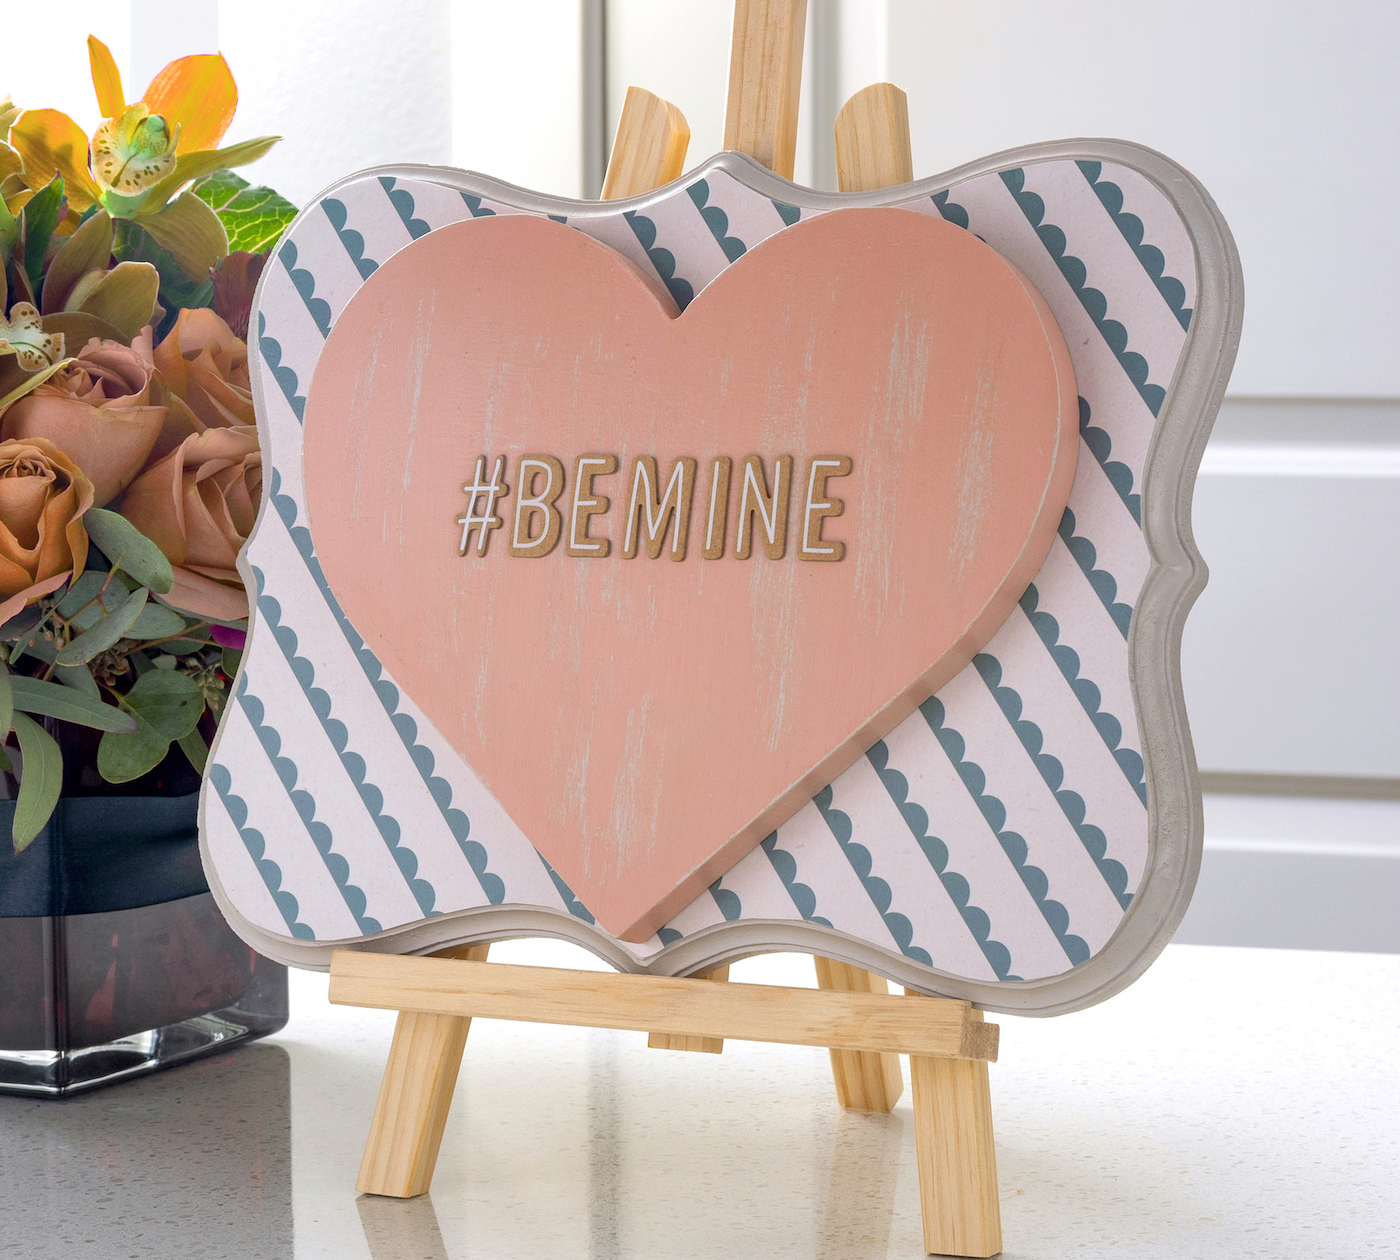
Learn how to use a heart cutout and plaque to make this Be Mine Valentine’s Day wood decor! This is an easy project made with Mod Podge.
Skills Required: Advanced Beginner. You’ll be making a pattern to cut the paper, painting, and decoupaging the paper to a wood plaque. If you have experience with Mod Podge it should be pretty easy.
I’ll be honest, I’m overwhelmed by my craft room right now. I have so many projects in the works (including Valentine’s Day crafts) that I’ve maxed out the storage.
Typically I can go into my craft room and spend a few hours sorting and cleaning out old goodies – and I’ll end up with a few bags to take to the Goodwill. It makes me feel ready to tackle outstanding projects as well as some new ones!
The most recent time I stepped into my room? There were so many things in it that I just ended up looking around and saying “okay” several times before shutting the door. Yep, totally overwhelmed.
When I get to that point, it’s time to finish up crafts that are in the works and start using things from the stash! The ideas need to become realities to make more room.
I’m sure you can relate.
One of the first items I decided to grab from my stash was a scalloped wood plaque. I loved the style and felt that it would look great in a Valentine decor project. The curves go well with hearts!
And that is the start of how this Valentine’s Day wood decor came to be.
This heart plaque is a simple way to decorate for the holidays, and easy to make with scrapbook paper. I’m going to show you how to create a template to cut the paper to fit the plaque. It’s easy!
I use the same process to create a template in my I Love You decor. Yep . . . I’m on a tear this Valentine’s Day. I want to make quite a few projects and give V-Day the attention it deserves.
I hope you’ll enjoy this project as part of your seasonal and holiday decorating. Here’s how you make it – and let me know what you think in the comments!
Wood Valentine’s Day Decor
Gather These Supplies
- Wood plaque
- Wood heart shape
- Scrapbook paper
- Chalk paint – light gray-ish brown and pink (you can use any craft paint)
- Mod Podge Satin
- Adhesive letters (scrapbook section of craft store)
- Scissors
- Candle
- Printer paper – 2 pieces
- Painter’s tape or washi tape (needs to be removable)
- Pencil or colored pencil
- Sandpaper – fine to medium grit
- Paintbrush
- Craft glue
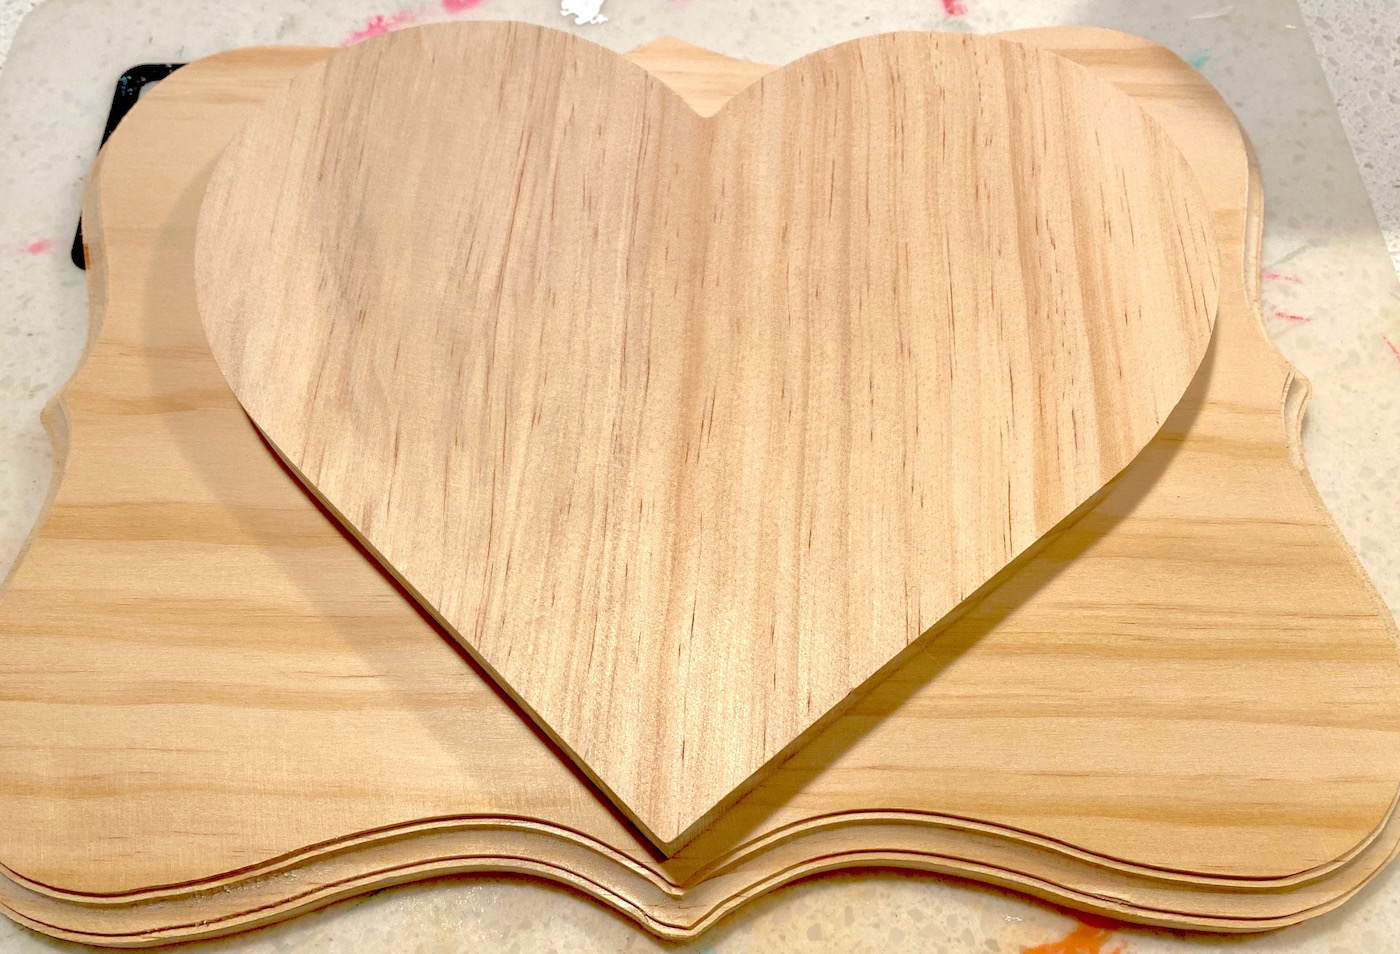
These are the shapes that I started with, and my shapes were purchased from Jo-Ann. There are wood plaques like this and hearts at every craft store. My plaque is around 9 x 12.
Make the Pattern and Cut Out the Paper
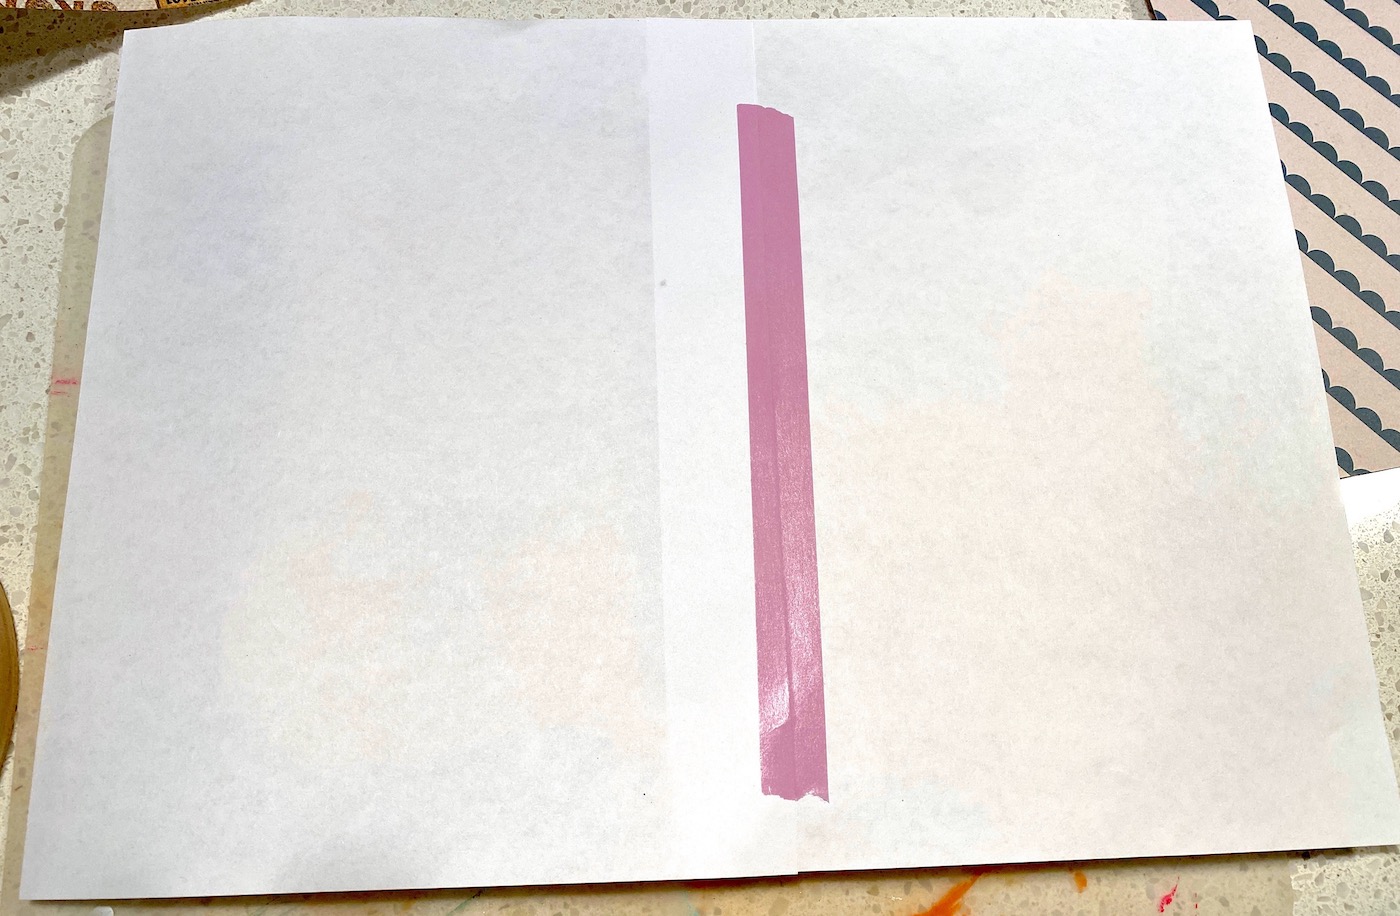
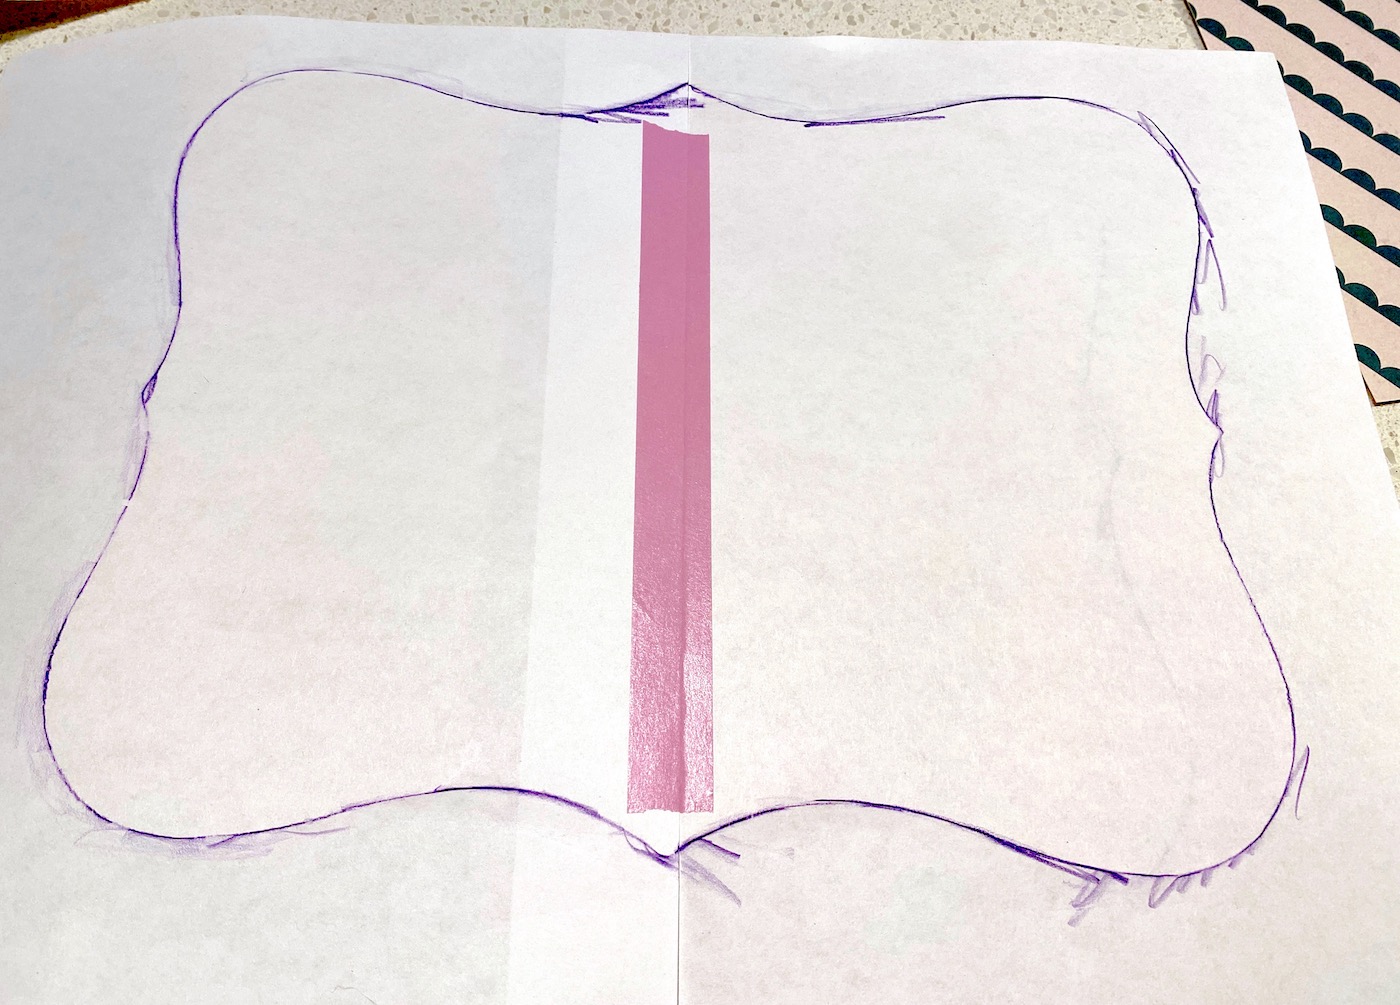
The first thing to do is make a template of your plaque with a sheet of paper and a pencil. It’s really easy. For this size plaque, I taped two pieces of regular printer paper together. You can use scrap paper or anything that works.
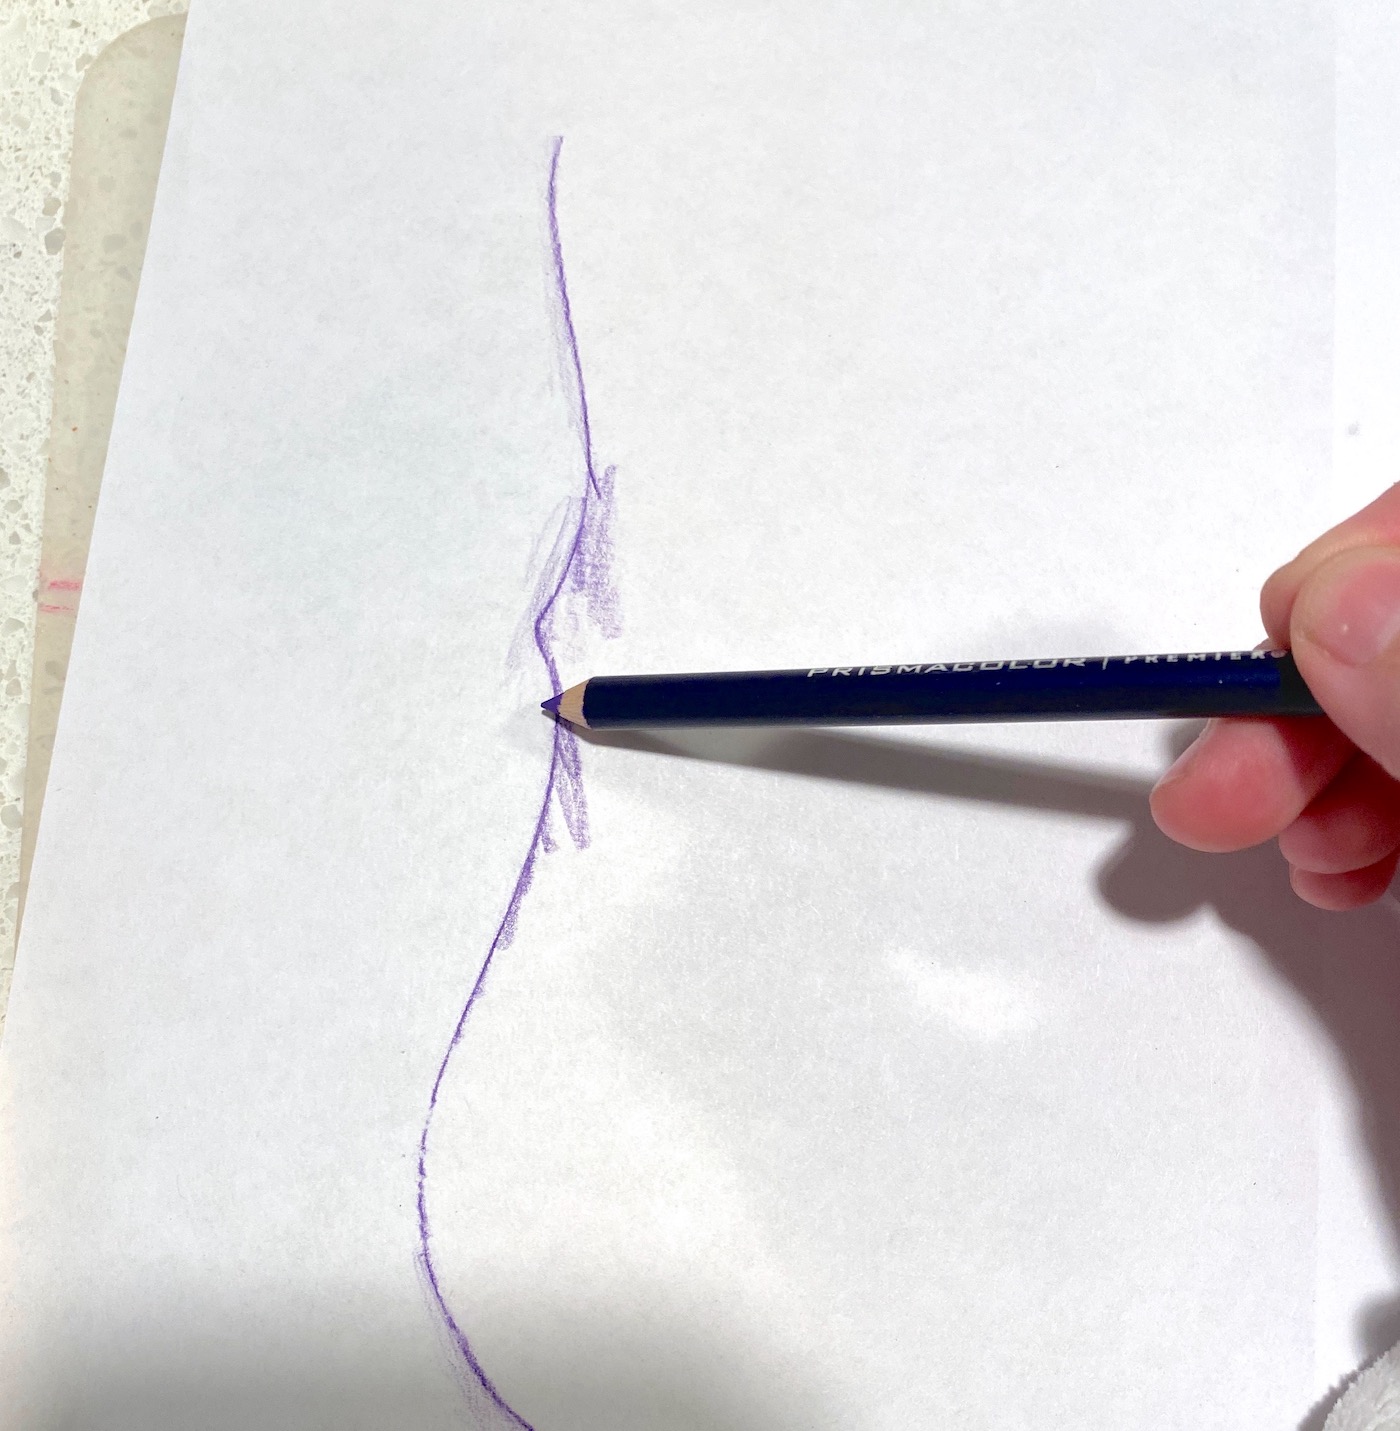
Hold the taped paper down and rub the pencil led on the edges of the plaque. The lead will make a line that you can cut on, making your paper the same size as the plaque!
Using this method, you can create a template for ANY wood plaque. This template allows you to cut the paper to the correct size.
Tape the template to the scrapbook paper. Use the scissors to cut on the lines.
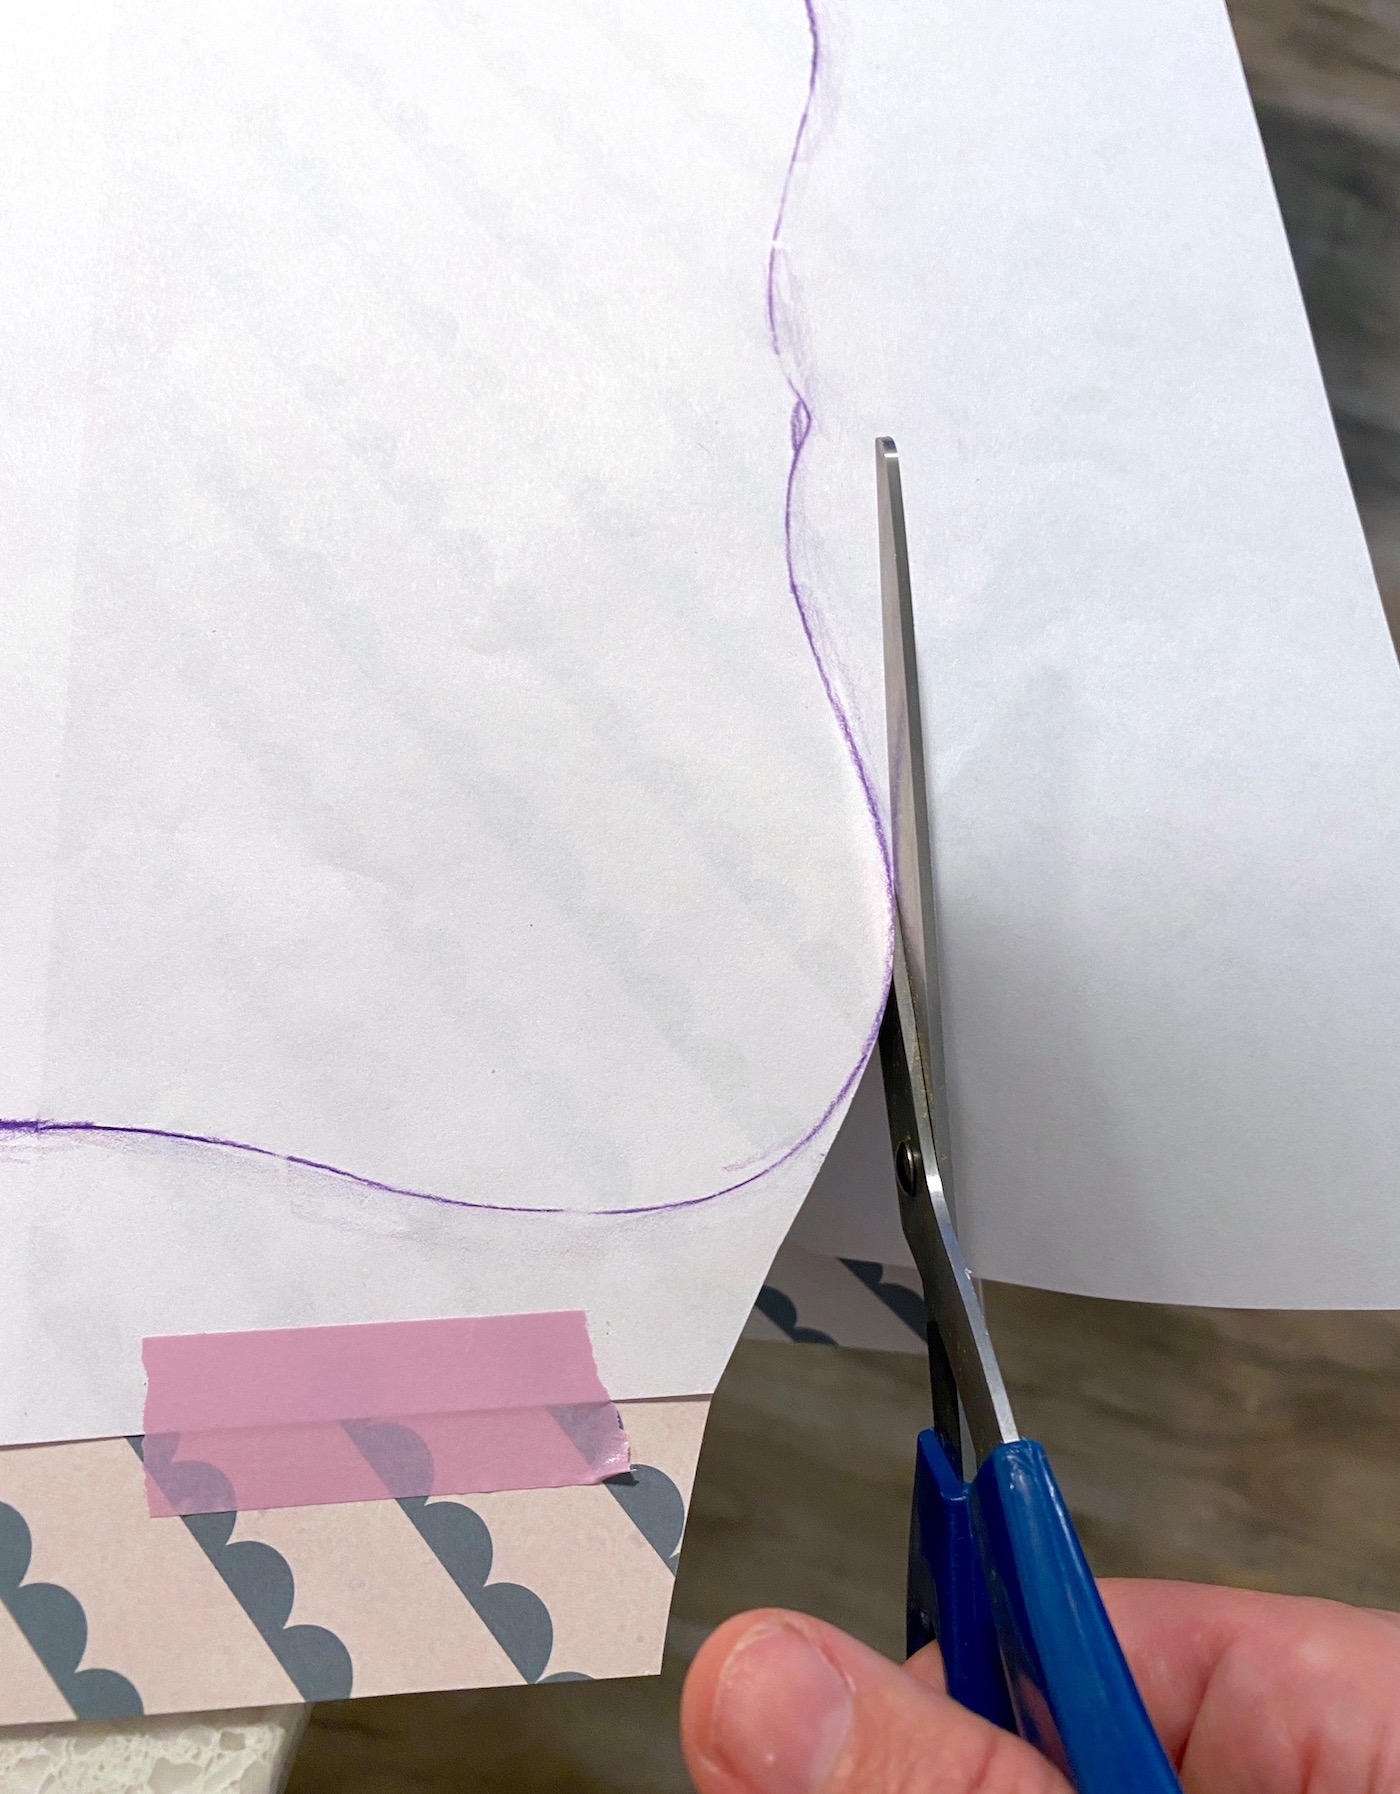
Check the fit of the paper on the top of the plaque and do any gentle trimming as needed. Set the paper aside for the moment.
Paint the Wood Shapes
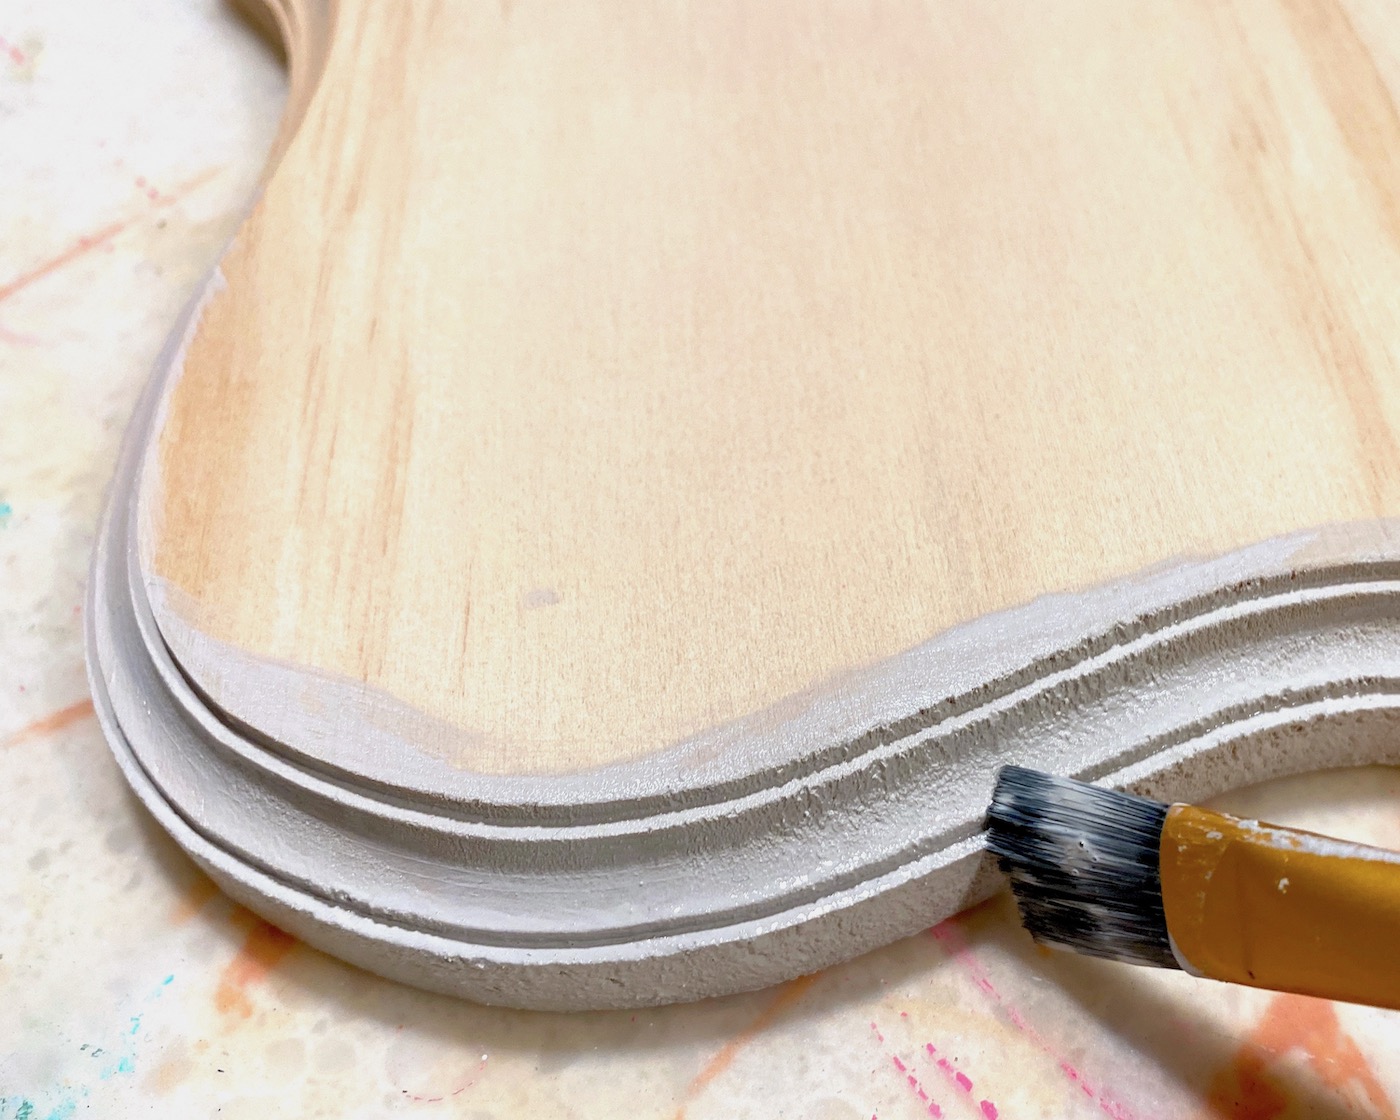
Time to paint all the wood. For the large plaque, you’ll only need to paint the edges with the paint color of your choice. I used the light gray for the main plaque. Add two coats (or as much as you need to cover) and let dry.
I decided to paint the heart shape with the same light gray-ish shade as a base color and distress it. Paint two coats of the color of your choice and let dry.

To prepare the wood for distressing, use a piece of candle wax. Rub it on all the edges and then randomly around the front of the plaque. Distressing isn’t an exact science and looks good messy, so no pressure here.
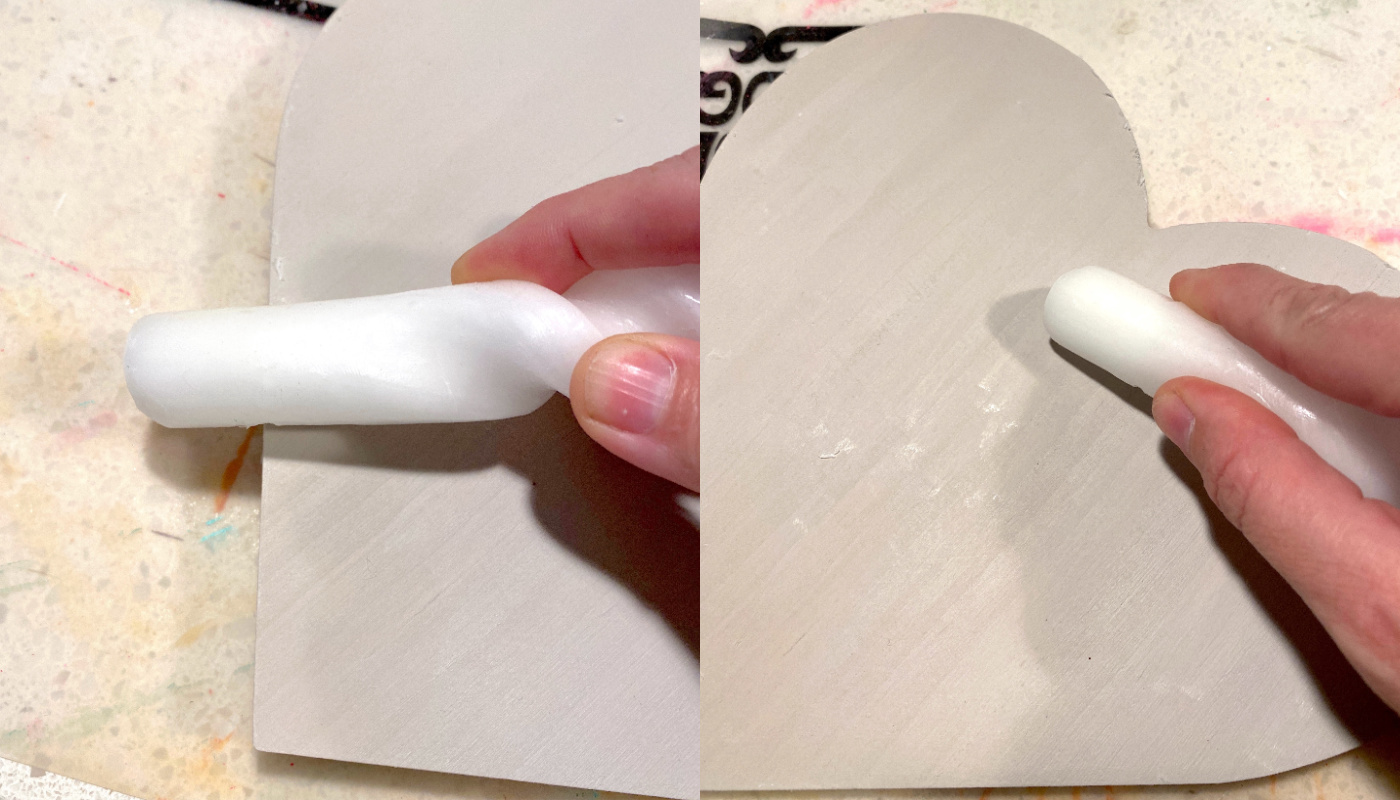
Brush away any excess wax chunks with your hand, if you see any larger ones. The wax will be raised and you can paint right over it. That’s how you get the distressing!
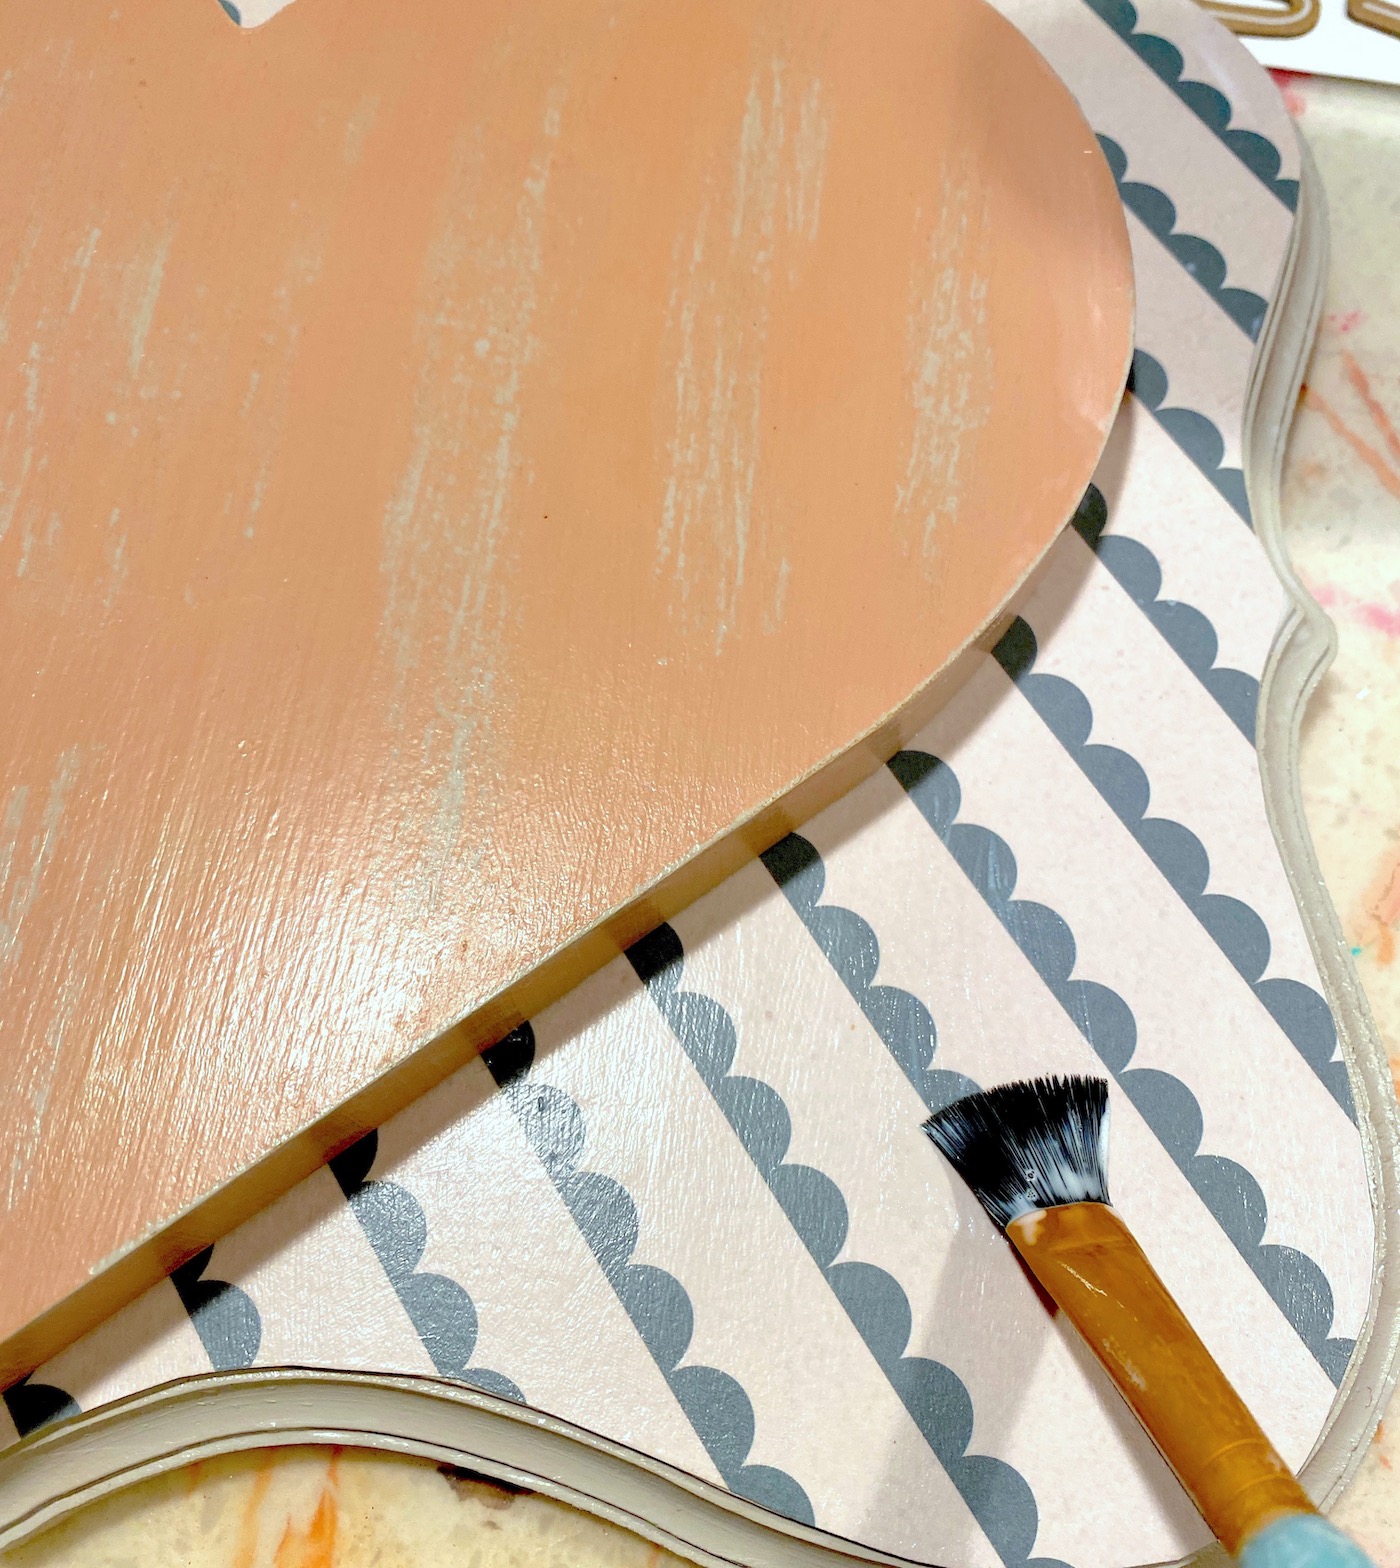
Distress the Heart
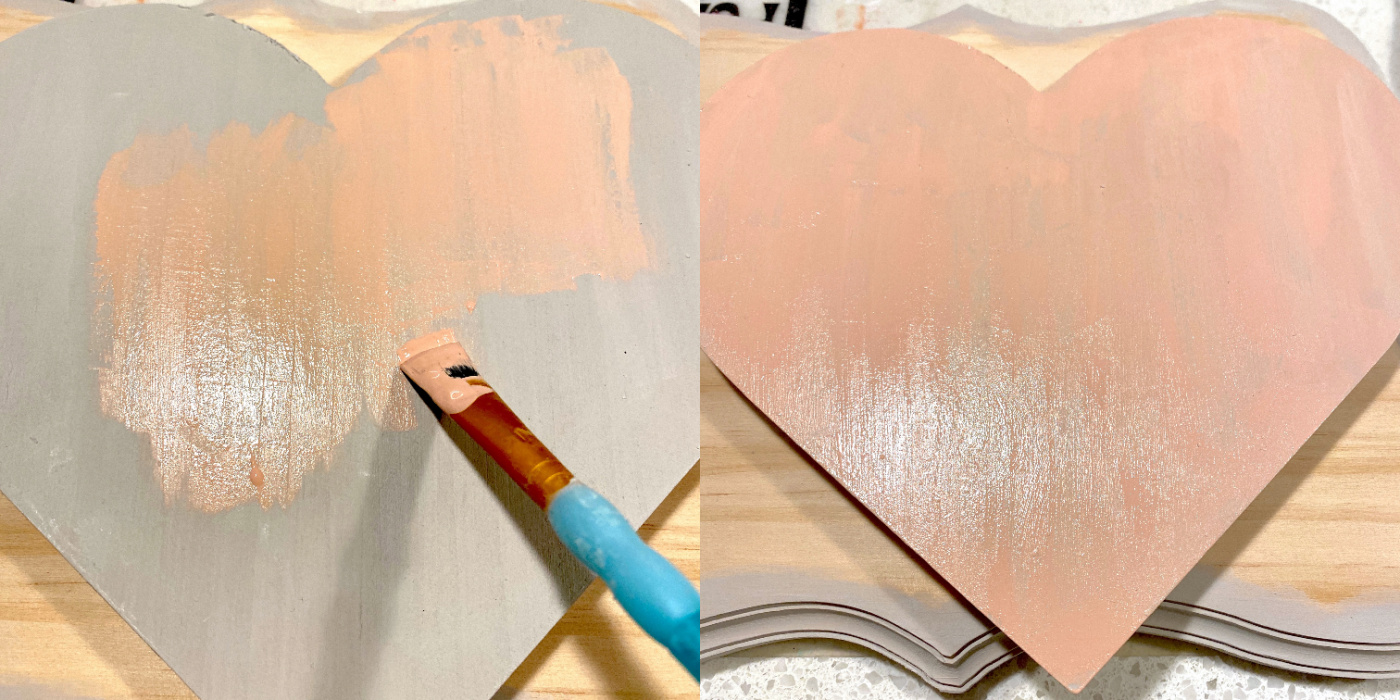
Paint the heart again with your second color. I used a chalk paint in a dusty pink. Paint one or two layers as needed. You are going to distress, so you don’t want to add too much paint.
If one layer looks like the photo on the right below, you’re good. If you require a second layer, do it. Let dry.
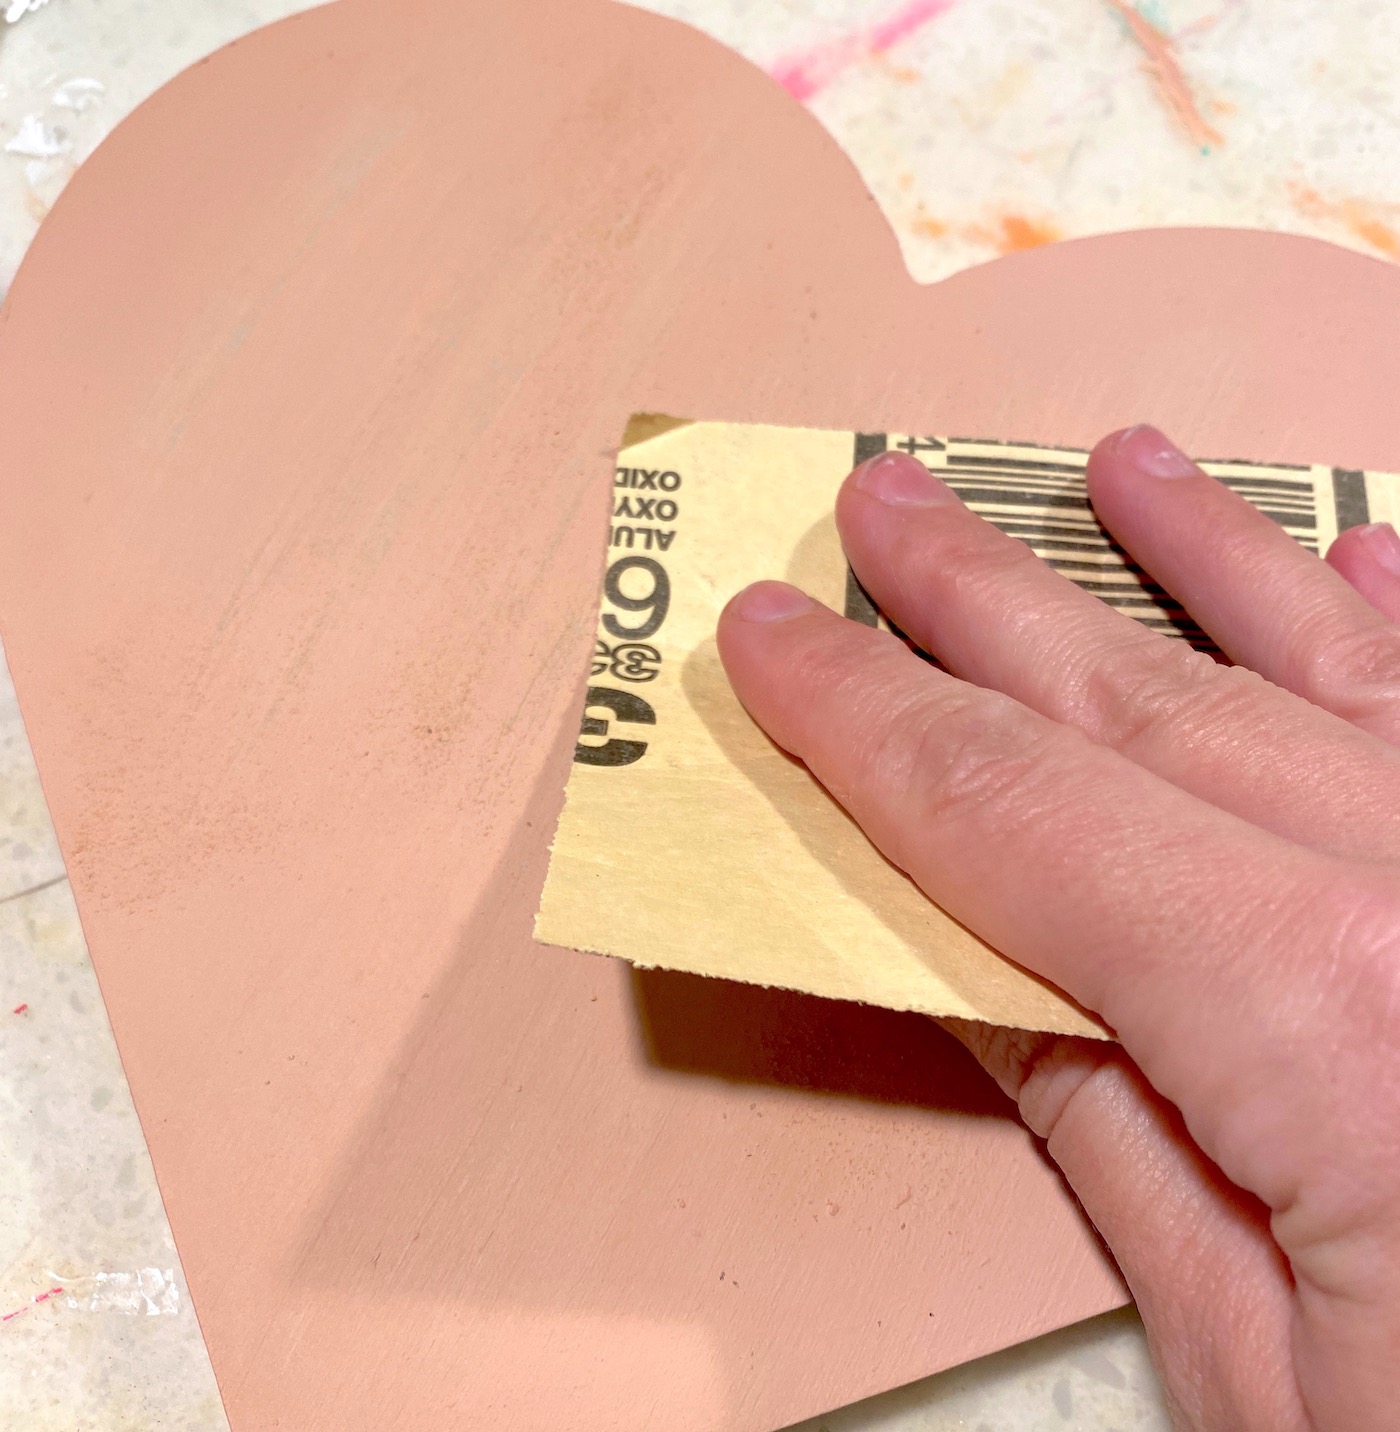
Once dry, use the sandpaper to sand the front of the heart and the edges. Sand lightly at first and you’ll see some paint remove (wherever the wax is acts as a resist).
Sand until you have achieved your desired level of distressing. Wipe away the excess dust.
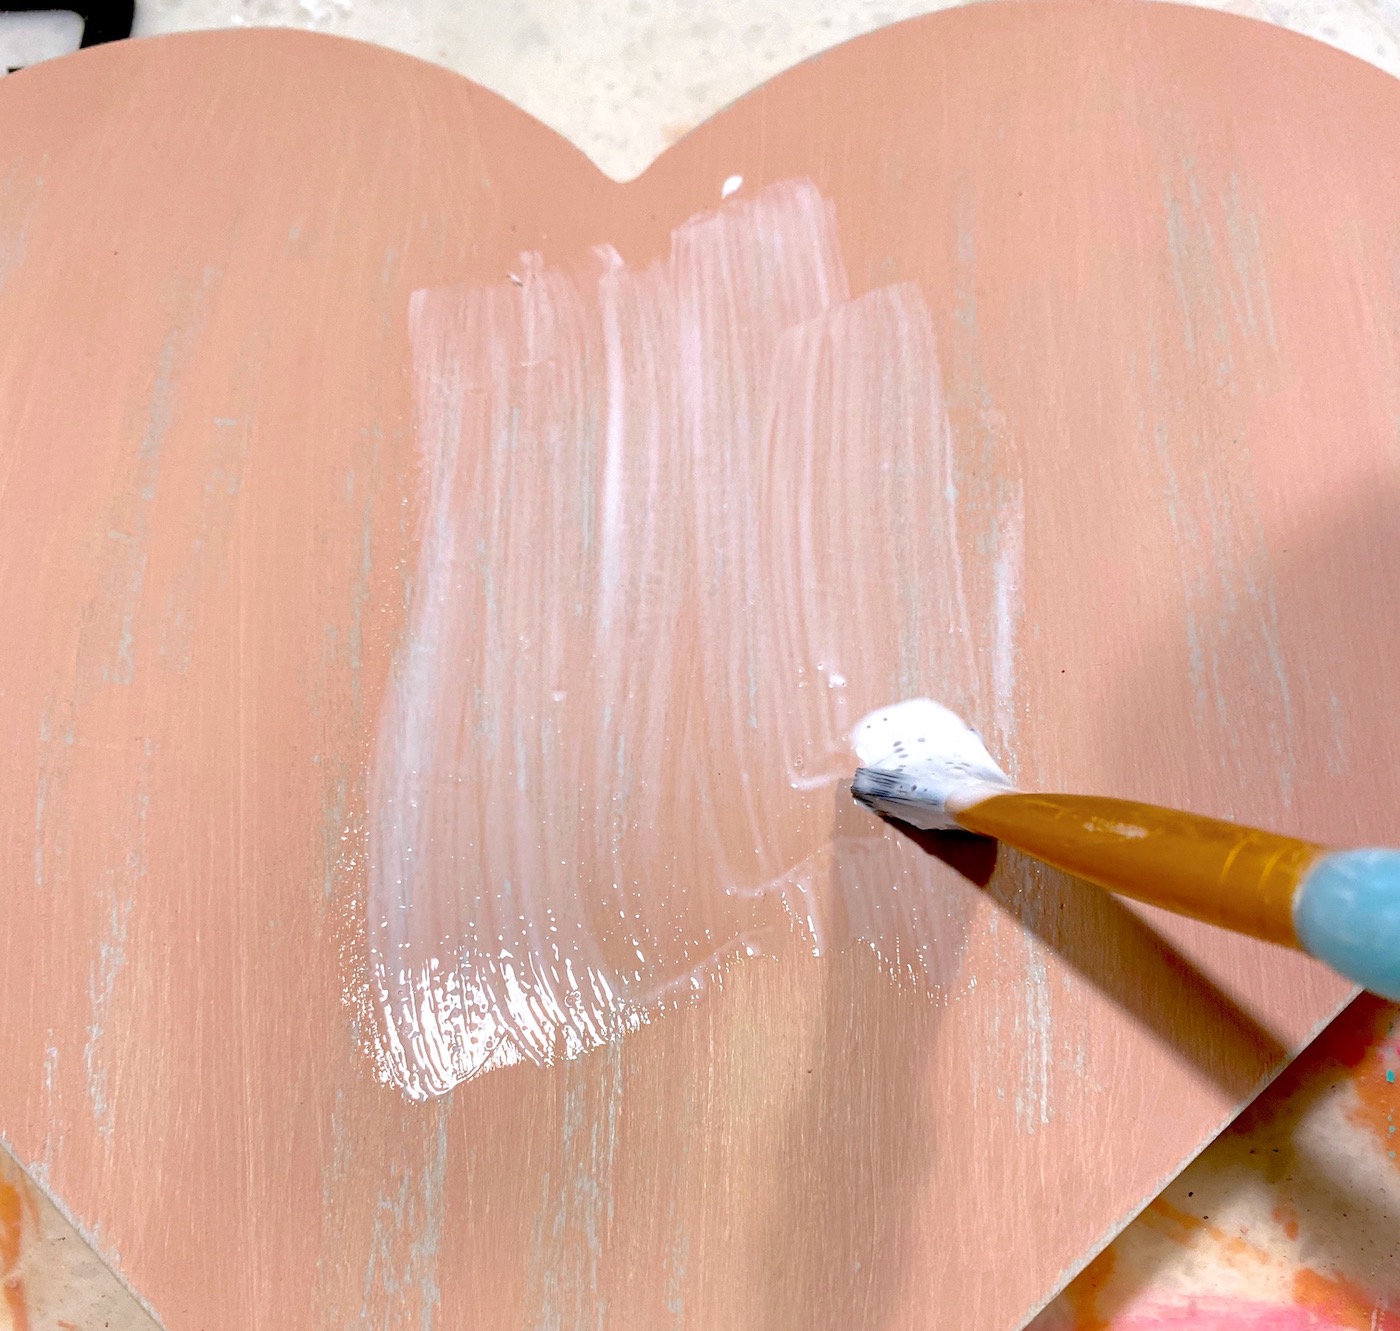
I love using Mod Podge to seal my distressing! Apply a medium layer over the top. This gives your project a consistent, even look and seals the top. Let dry.
Decoupage the Paper to the Plaque
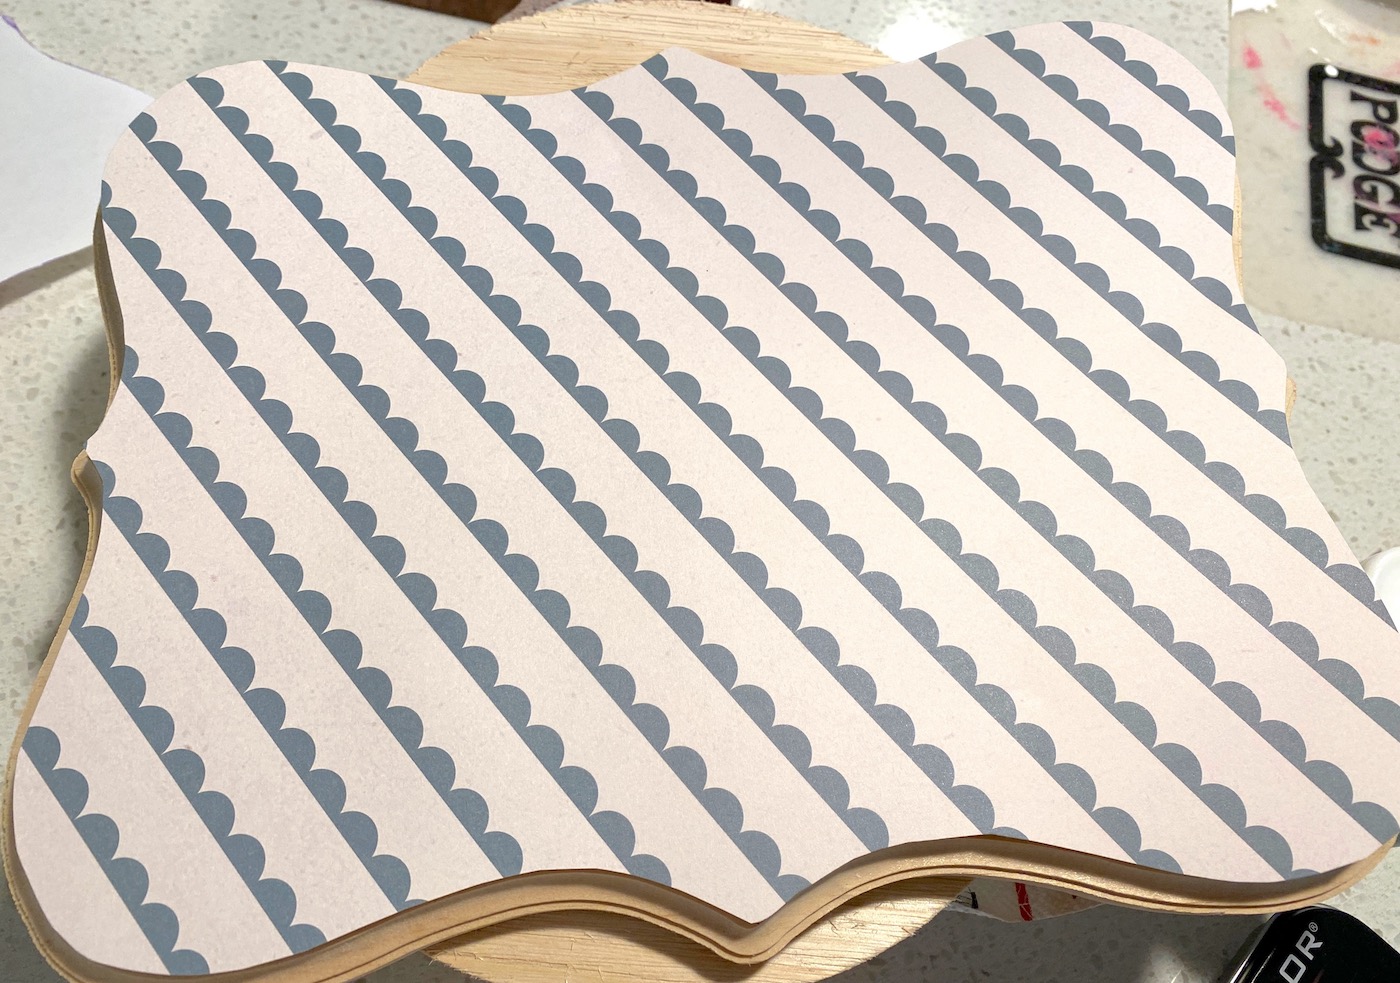
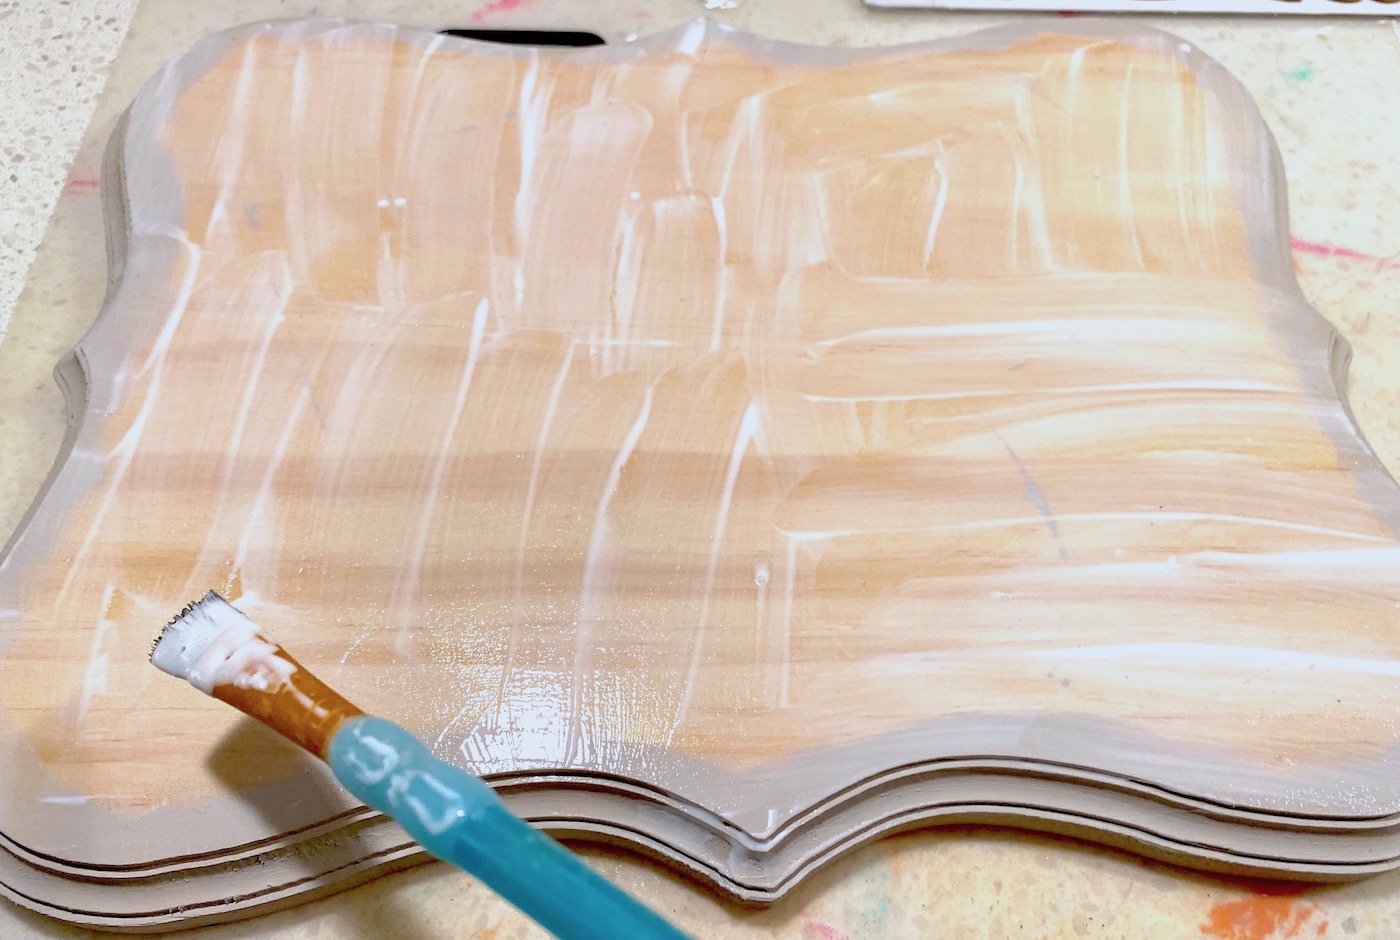
While the heart is drying, apply the paper to the plaque. Add a medium layer of Mod Podge to the plaque, as seen below. Work quickly because the Mod Podge dries quickly.
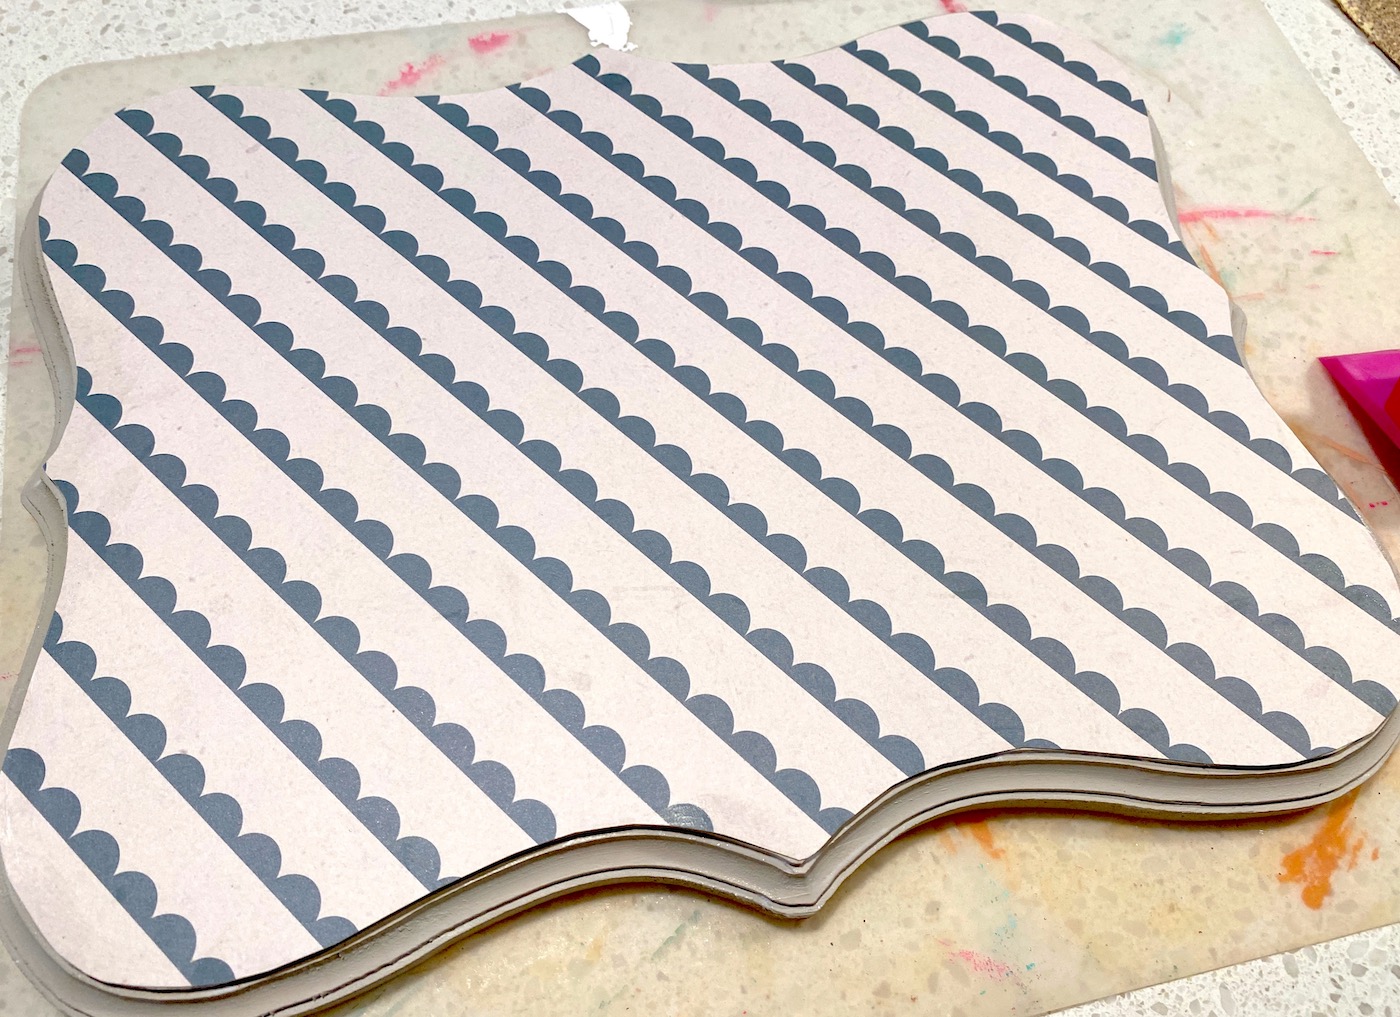
You’ll immediately want to place the paper down on top and adjust it into place.
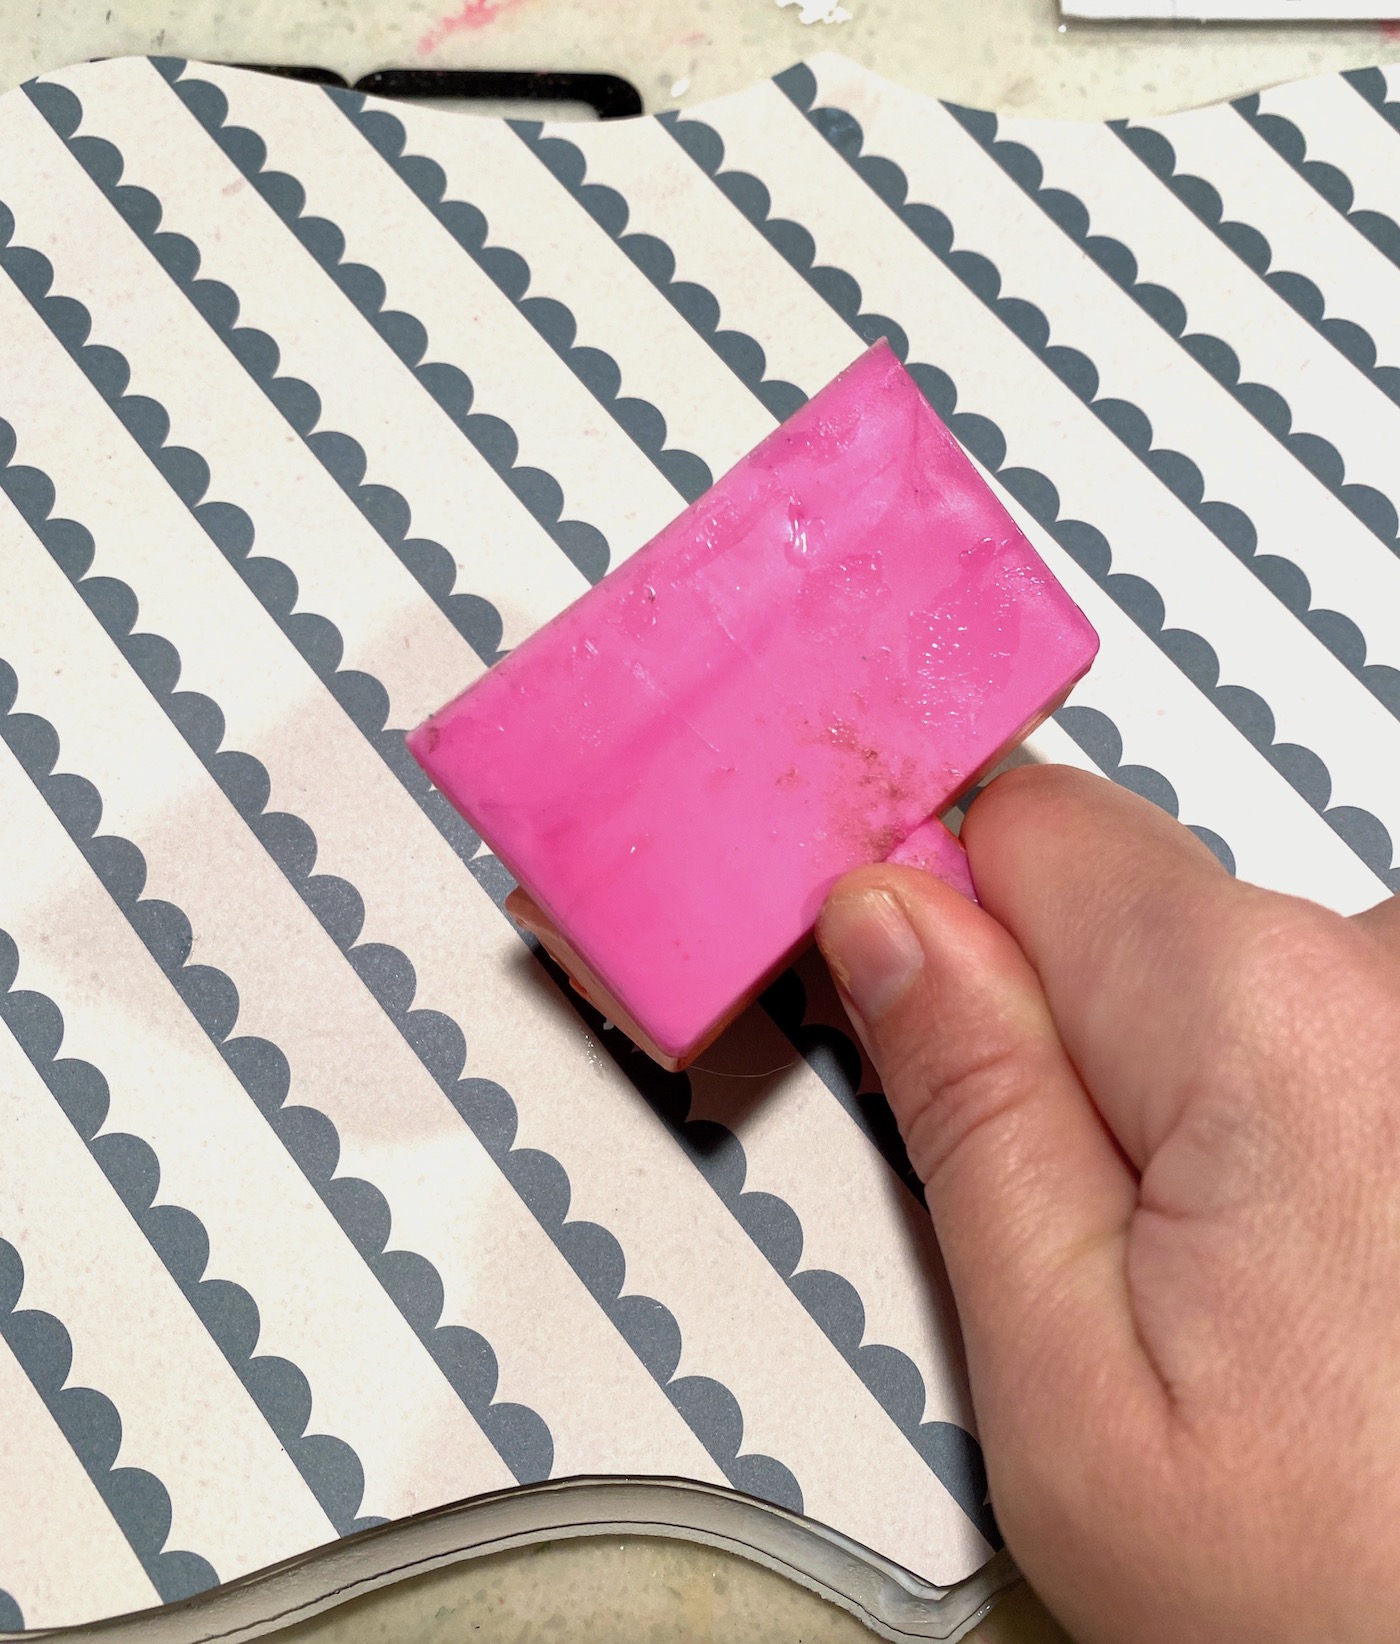
Use your hands to smooth OR a brayer (like you see below). The brayer rolls the paper out smooth. Once you’re done rolling, wipe away the excess Mod Podge that came out the sides (if any).
Don’t apply Mod Podge over the top yet. Just let the scrapbook paper dry for about 15 – 20 minutes.
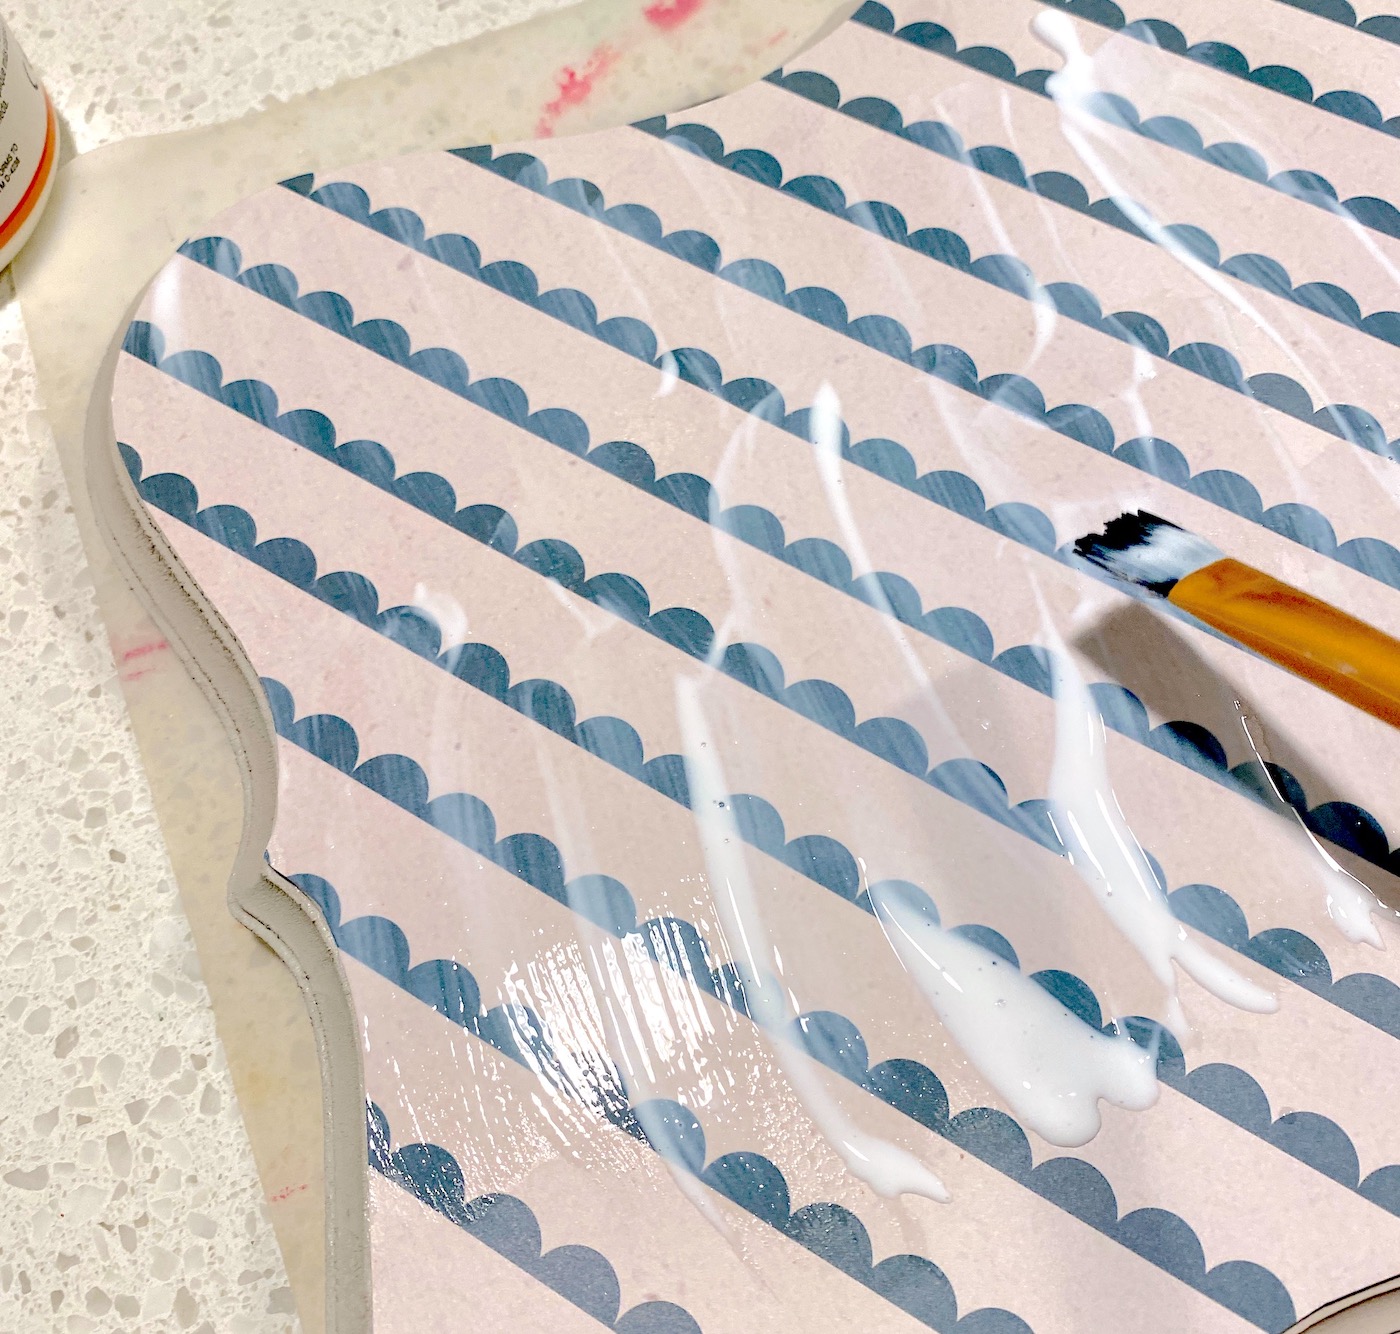
After the scrapbook paper has dried to the top of the plaque, then you can paint the Mod Podge over the top. Let that dry.
Glue the Heart and Letters
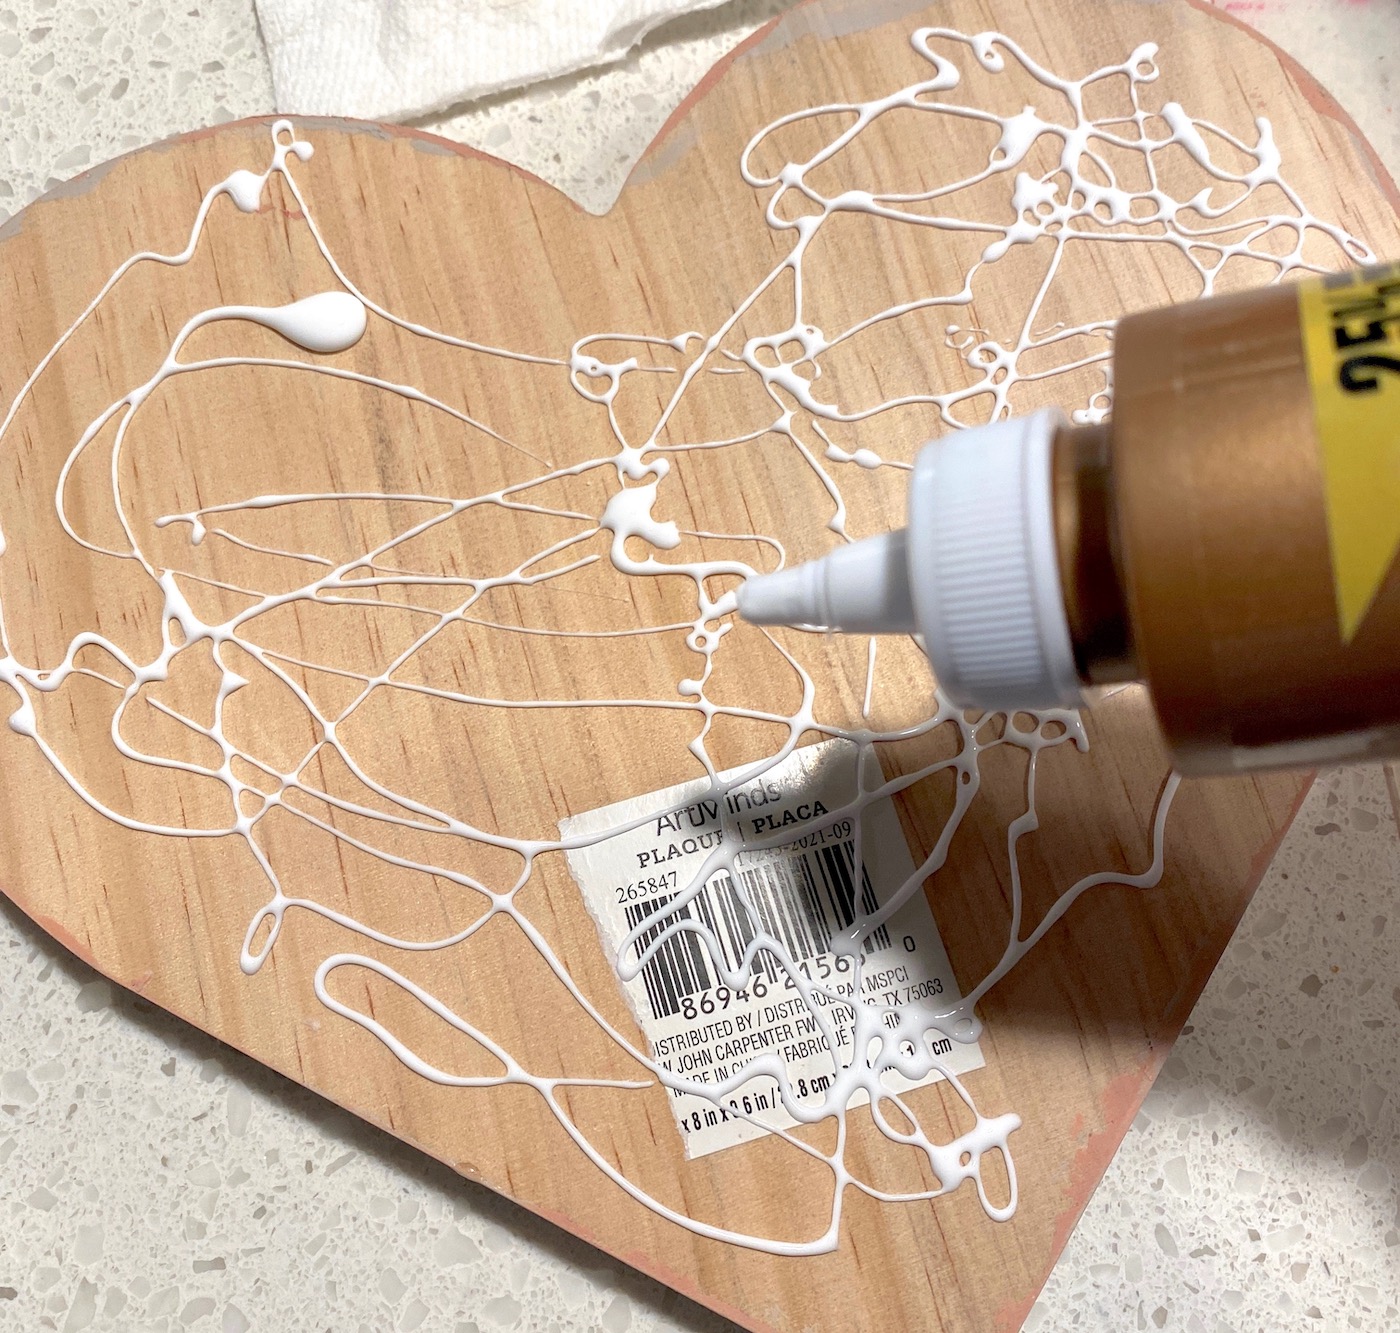
At this point you are in the home stretch with your Valentine’s Day wood decor! You’re going to glue the distressed heart to the front of the plaque.
You’ll need to use craft glue. It is stronger than Mod Podge because it’s sole purpose is gluing. Mod Podge is a decent glue but not for heavier items like this.
I gave the whole project another layer of Mod Podge once the heart was glued down, for good measure.
After everything was dry, I attached the adhesive letter stickers to the top. They didn’t need any additional glue. It depends on the strength of the adhesive of your letters as to how well they will stick. You might need to add a little craft glue.
Place your plaque anywhere you like – on a stand like I did below, or on the wall with a Command Strip.
OR you can hot glue ribbon on the back . . . prop up against the mantel. There are a lot of options with this Valentine’s Day project!
Now that I’m done with this project for the holidays, it’s onto the next! I’m not done until Valentine’s Day get the appreciation it deserves. What do you think? Let me know in the comments!