
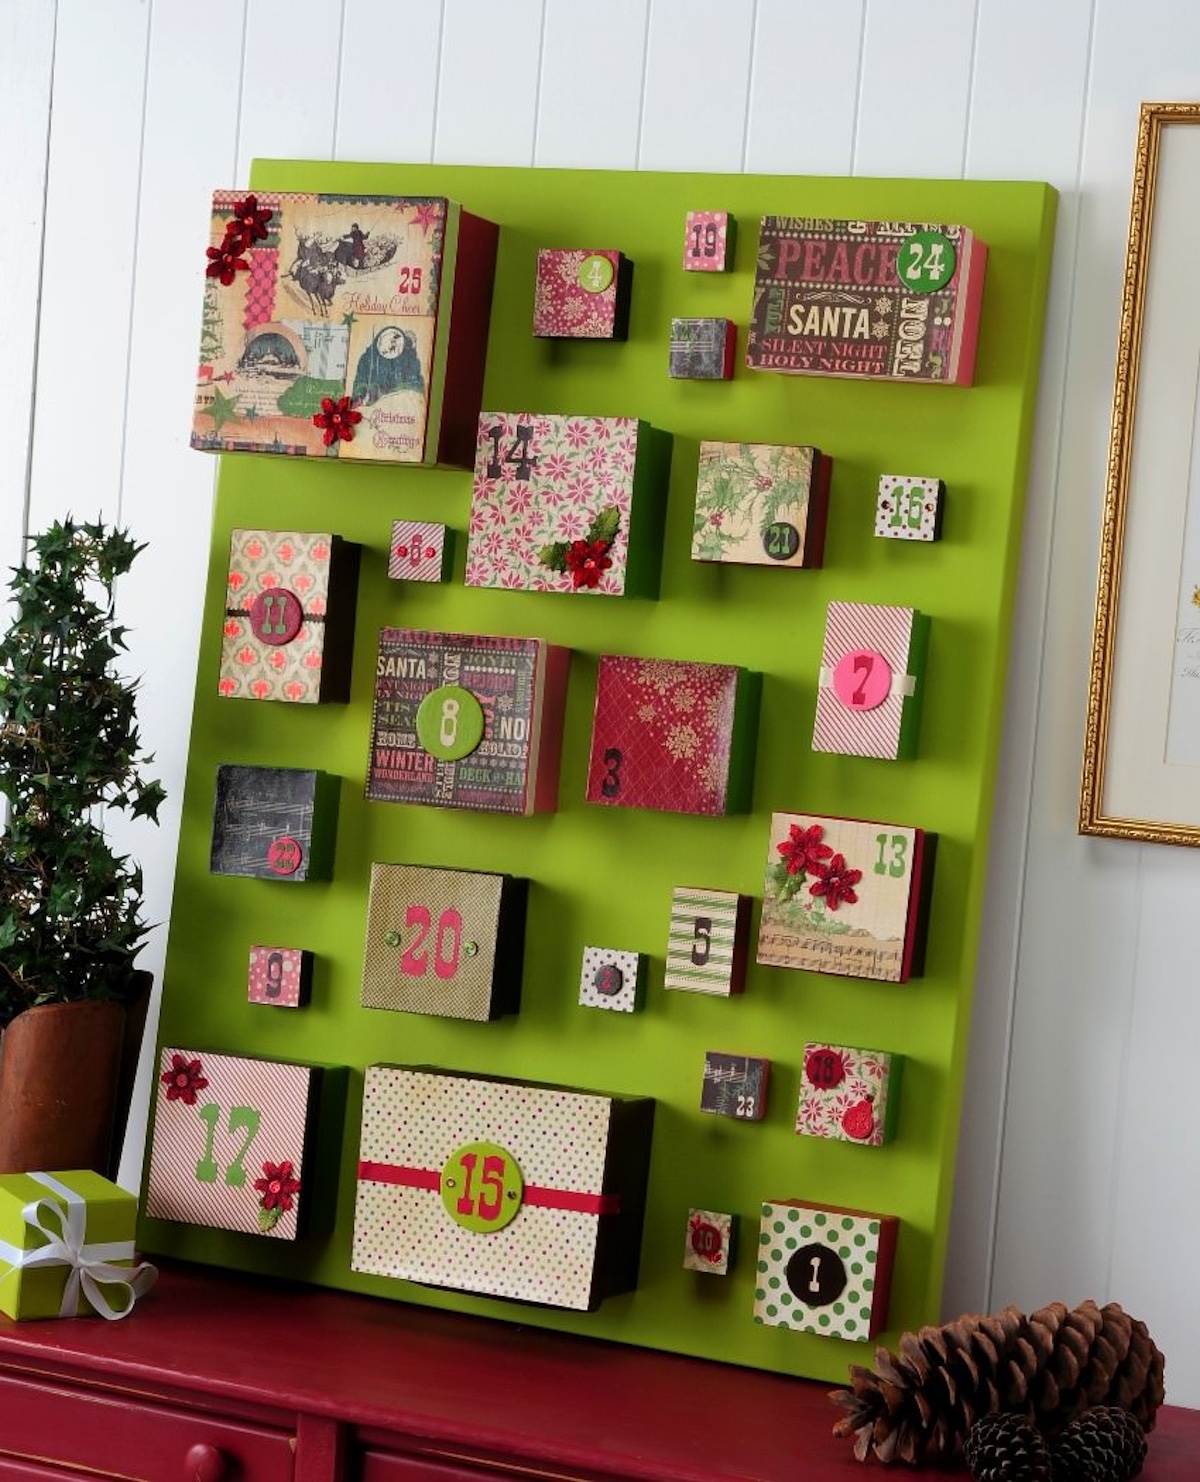
I wanted a DIY advent calendar that would make a huge statement, so I made this one using a big canvas. Kids will love this for Christmas!
Skills Required: Beginner. This isn’t a difficult Christmas craft, it’s just time consuming. You’re going to be doing a lot of painting and cutting of paper. But you’ll love the way it turns out; the work is totally worth it.
Imagine stumbling upon a treasure trove of paper mache boxes, tucked away in the corner of your favorite craft store. That’s exactly what happened to me on a fun afternoon at AC Moore no so long ago.
I decided I wanted to take these boxes on a festive transformation that would elevate them from simple craft materials to the centerpiece of holiday anticipation.
I decided I would use them to make a large DIY advent calendar – a project that promises to sprinkle a bit of magic into the countdown to Christmas.
As someone who dabbles in various crafts, I’ve always had a soft spot for the underappreciated art of working with paper mache.
It’s a material that begs for a brush of color and a dab of creativity. And yet, it had been ages since I last allowed myself the pleasure of painting and decoupaging with it.
This realization hit me as I laid out the boxes, their blank surfaces staring back at me, ripe with Mod Podge potential. It was as if they were whispering, “transform us,” and I was all too eager to comply.
The idea was simple: to create a DIY giant advent calendar that would not only count down the days to Christmas but do so with a flair of handmade charm and whimsy.
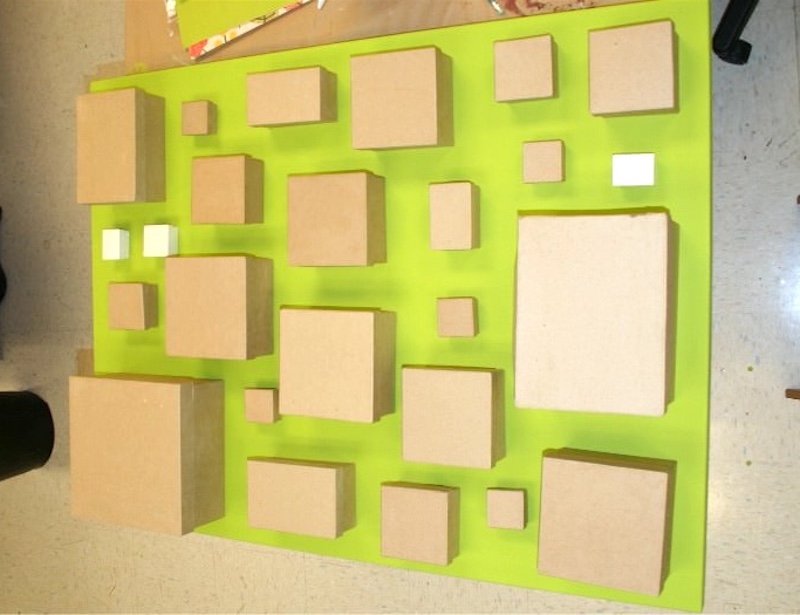
These individual boxes would then find their place on a large, painted canvas, coming together to form a mosaic of holiday cheer. I really love how it turned out
So, if you’re seeking inspiration for a holiday craft that goes beyond the ordinary, you’re in for a treat.
This advent calendar idea is not just a way to count down the days; it’s an invitation to create, to celebrate, and to cherish the magic that only this time of year can bring.
Let’s embark on this festive crafting adventure together, and who knows? You might just find yourself getting caught up in the holiday magic, too.
Gather These Supplies
- Large canvas – 30″ x 40″
- Paper mache boxes – 25 in various sizes, mine are from AC Moore. They come in some great sets!
- Mod Podge Gloss
- FolkArt Acrylic Paint – Asphaltum, Grass Green, Pink, Red Velvet, Yellow Citron
- Christmas themed scrapbook paper, enough to cover all of your boxes
- Cardstock in coordinating colors
- Die cutting machine (to cut your numbers, or buy the numbers pre-cut/as stickers)
- Prima poinsettias
- Wood or chipboard circles – various sizes
- Rhinestones – red and brown
- Buttons – pink and brown
- Paintbrushes – multiple sizes
- Craft glue
- Hot glue gun
- Craft knife and mat
- Ruler
- Pencil
- Mini sticky notes (optional)
Tips and Thoughts for This Project
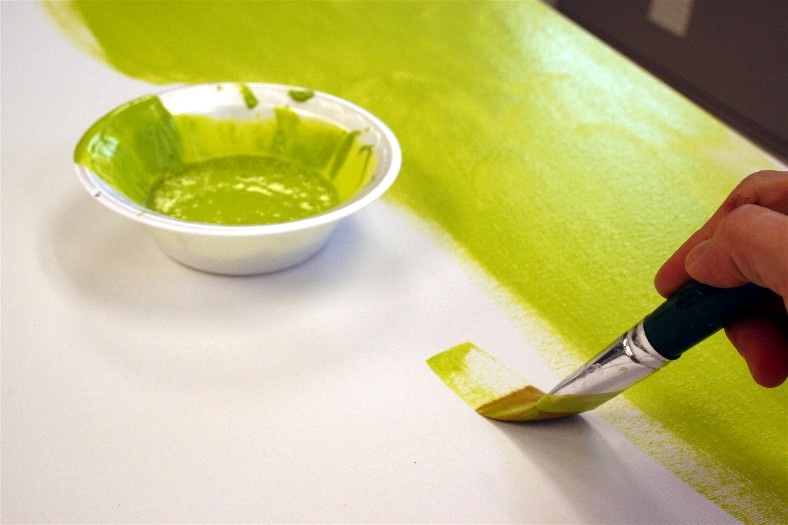
You have a big canvas to cover! What I suggest is to take your paint and create a wash. To do this, pour some paint into a bowl and add water until it’s soupy. If you do this, you’ll only have to use two bottles of paint rather than ten.
I would estimate that I used about 12 sheets of scrapbook paper for the boxes – remember that the smaller boxes only use small pieces, so you can use scraps for those. Organize the papers so that no two the same are right next to each other.
How did I use the mini sticky notes? When I was painting the boxes the different colors. I wrote down the color for each box on a sticky note, placed it on top and then checked to make sure I didn’t have all the pink boxes right next to each other.
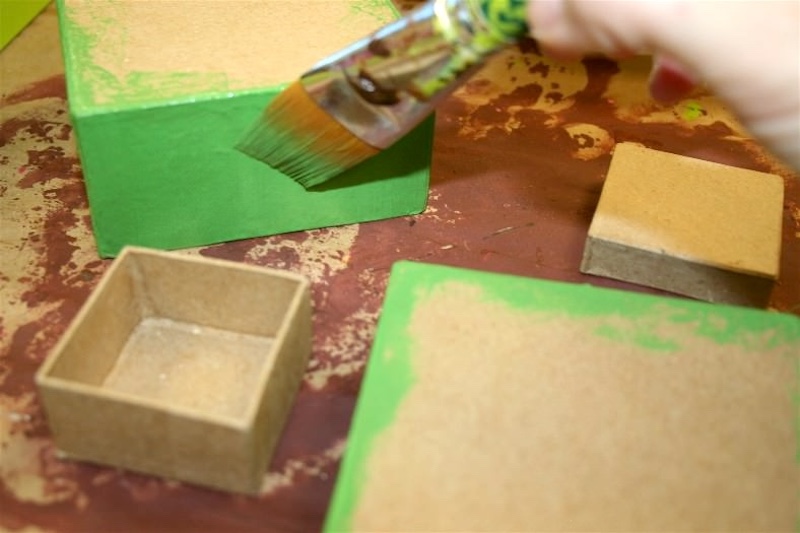
I made a few adjustments on color choices after I laid the whole thing out. When I painted the lids, I just went a little bit over the top edges and didn’t paint the entire top. There’s no need when paper will be covering it.
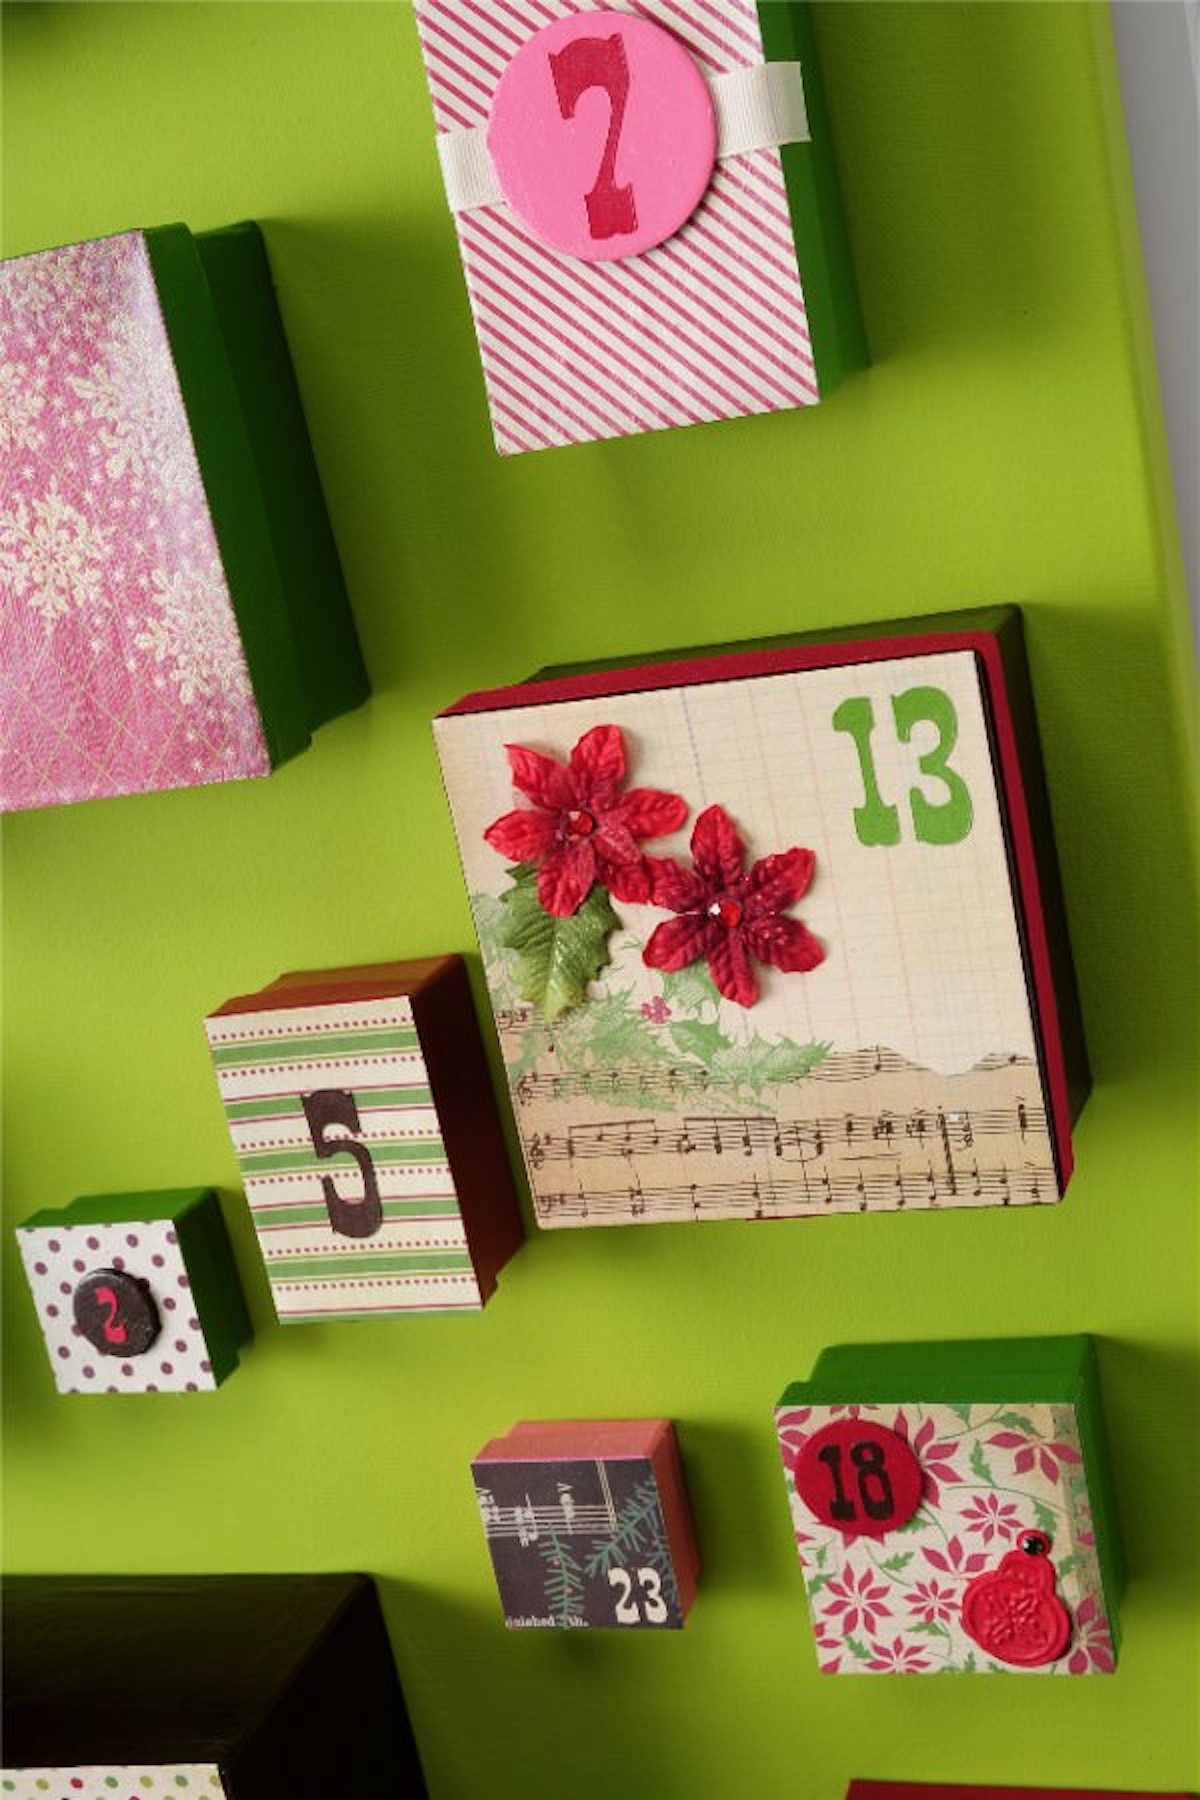
Why did I add wood circles? It gives the boxes some interest and texture, and also provided a place to put the numbers on some of the boxes with busier patterns.
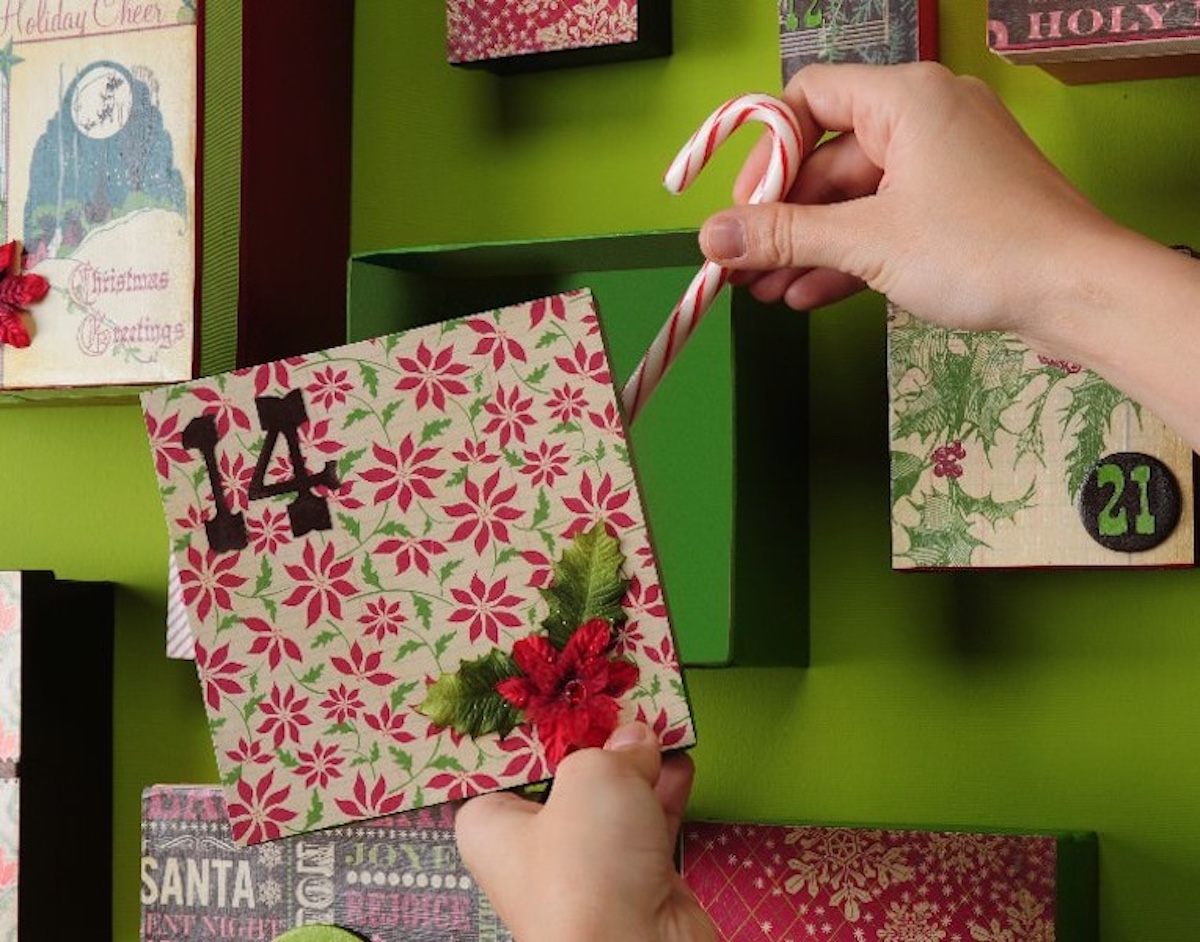
You can really have fun with where you put this advent calendar, and with all of the things you can put in it.
That’s why some of the boxes are big and some are small. Candy can go into the smaller boxes and fun gift items into the larger boxes. #25 is the biggest box for that reason!

Advent Calendar
Materials
- 1 Large canvas 30″ x 40″
- 25 Paper mache boxes in various sizes
- Mod Podge Gloss
- Acrylic paint
- Christmas themed scrapbook paper enough to cover all of your boxes
- Cardstock in coordinating colors
- Die cutting machine or adhesive numbers
- Embellishments poinsettias, rhinestones, buttons, wood circles
- Craft glue
- Mini sticky notes optional
Video
Instructions
- Paint the canvas with several coats of paint until fully covered. Let dry.
- Lay the canvas on a table and spread out the 25 boxes. Decide the layout and then take a picture with your cell phone so that you can remember where each box goes.
- Choose your scrapbook papers and cut to fit the lids of the boxes using the craft knife and ruler. Set aside.

- Paint the boxes with a variety of acrylic paint colors and let dry.
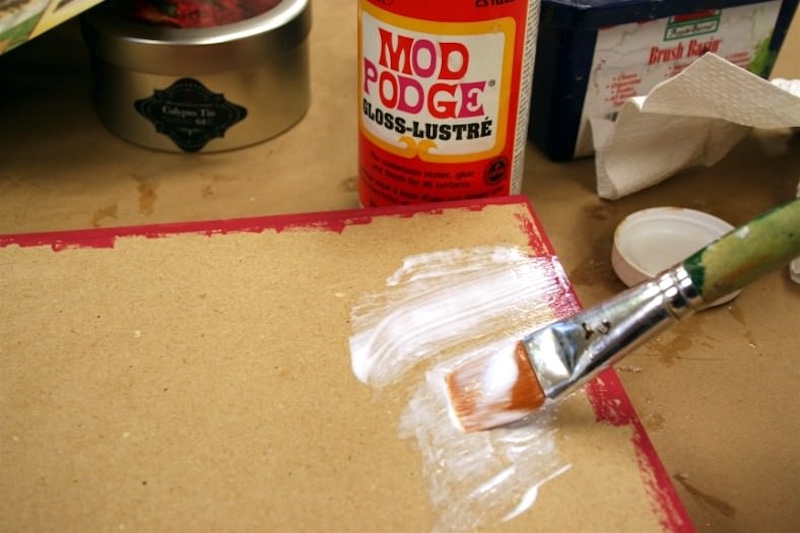
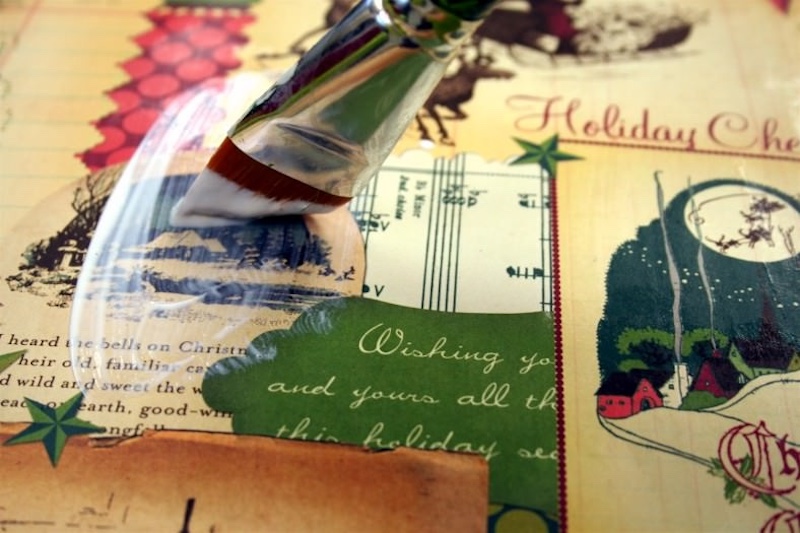
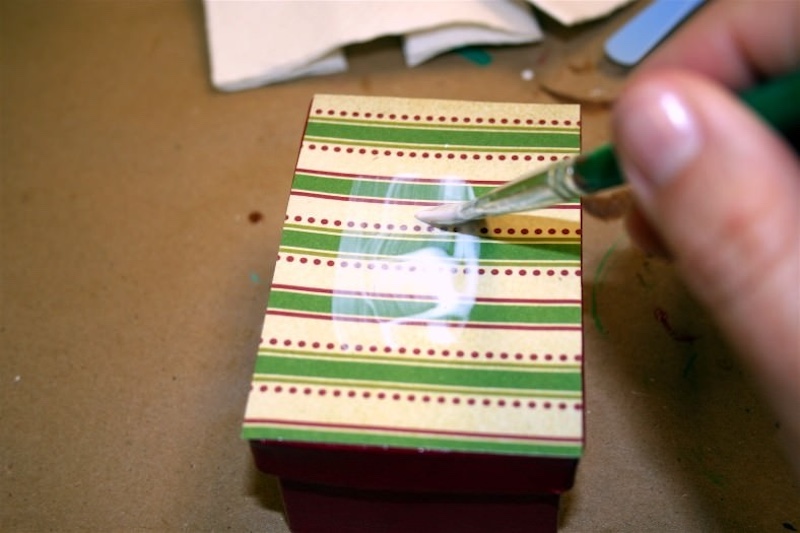
- Decoupage the papers down to the tops of the boxes. Work one box at a time. Spread a medium layer of Mod Podge on the top of the box and then smooth down the paper thoroughly. Wipe away any Mod Podge that comes out the sides of the paper with your brush. Allow to dry for 15 – 20 minutes.
- Mod Podge the lids of all of the boxes on top of the paper to seal. You can seal all the boxes too if you want. Let dry.
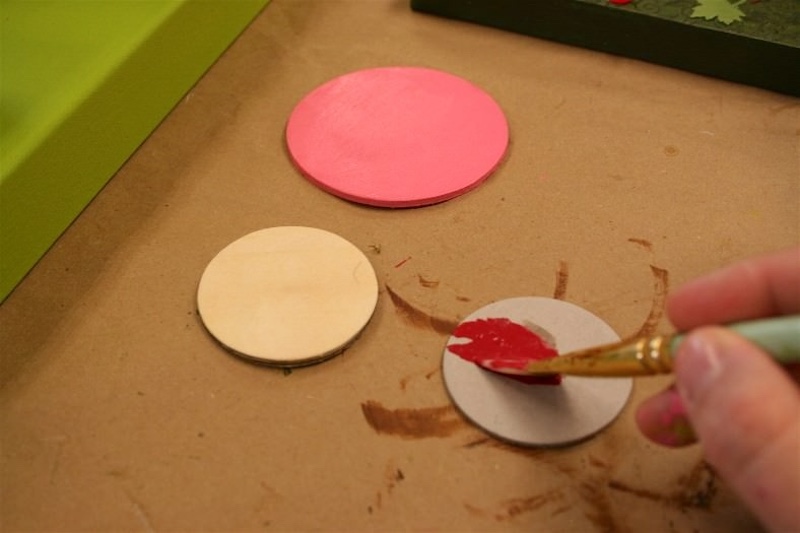
- Paint your wood or chipboard circles with your coordinating paint colors. Let dry.
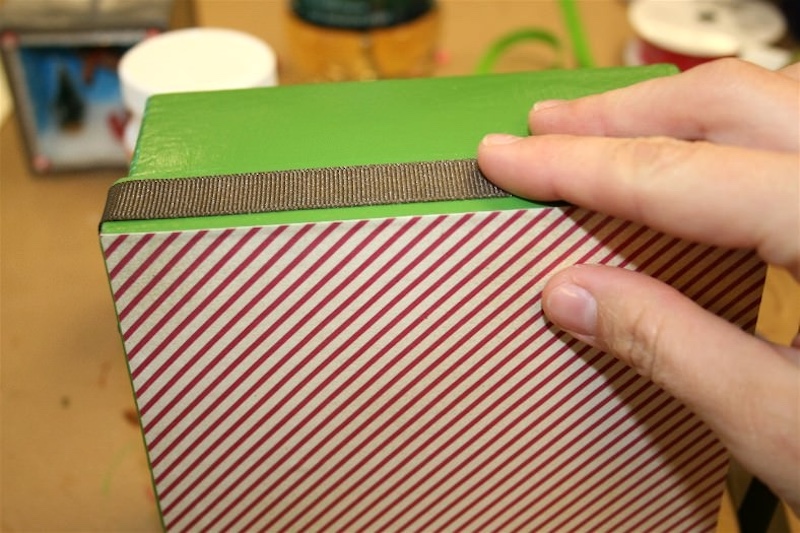
- Add embellishments with craft glue, including ribbons around the edges.
- Add adhesive numbers 1 – 25 on the boxes OR use a die cut machine and Mod Podge the numbers down.
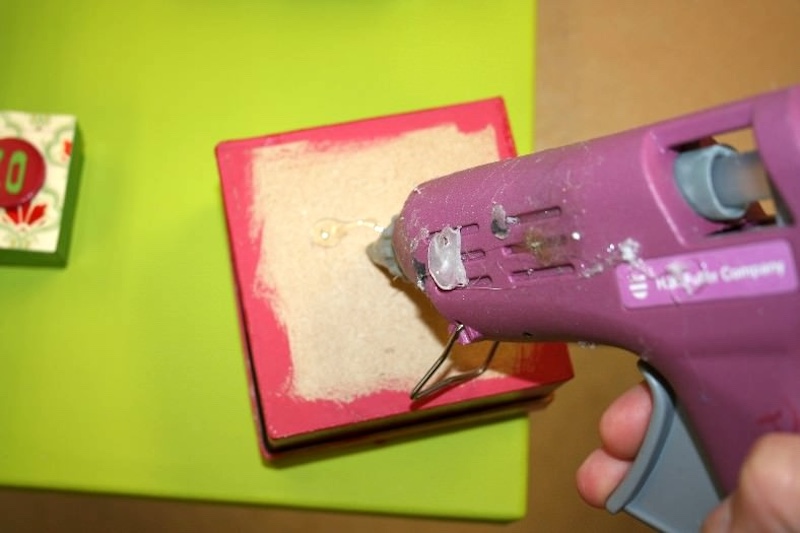
- Let the boxes completely dry, then glue down to the canvas. Let the canvas dry completely before using.
Did you enjoy this colorful (and big!) advent calendar? Check out our snowman advent calendar, chalkboard countdown, and our kids countdown chains too! Plus let me know what you think of this idea in the comments.


I made an advent calendar for my parents. I did use mostly already decorated boxes I had lurking in my Christmas storage bins! my decoupage skills aren’t the best! It was a great project. Thanks for idea!!
I’ve been looking for a extra large advent calendar with various size pockets and this is just amazing. Using a canvas as your backing was genius. I love this!!
Is there a way to subscribe to your blog by mail?
This is so wonderful! I would love to do something like this one day!
Bucket list!! 🙂
Thank you for sharing!
-Anna
shinelikeglitter.blogspot.com
This is really genius…and what a perfect idea for a advent!!! This is truly inspired and I absolutely adore your crafty brain! Plus I love that I could use the tiny boxes I always save for that someday usefulness I hoard things for.
I hope you will link this up to The cSI Project on Wednesday or Thursday. I know that it is from last year but inspiration never gets old, so link up.
http://www.thecsiproject.com
Thanks
Dee
that’s awesome. i want to have one!and i’m curious to know what surprises the boxes are hiding.I linked to your tutorial on my blog – thanks for sharing!doro K.
Hi Amy Lynn! Please send me an e-mail modpodgerocks at gmail and hopefully I can help!
I love this idea and have *almost* finished making my own, but I’ve run into a problem. My lids are sticking onto my boxes! I have tried sanding them down, but even so many lids are not fitting anymore and others are fitting very tightly. I’m holding off on gluing the boxes down for fear that the lids will never come off to reveal the surprises to be housed inside.
Thanks for visiting my blog Amy. Whenever I have doubts in usage of Mod podge, I visit your site for Mod podge projects. I love the tutorials you have.
Esther
http://www.craftoart.com/