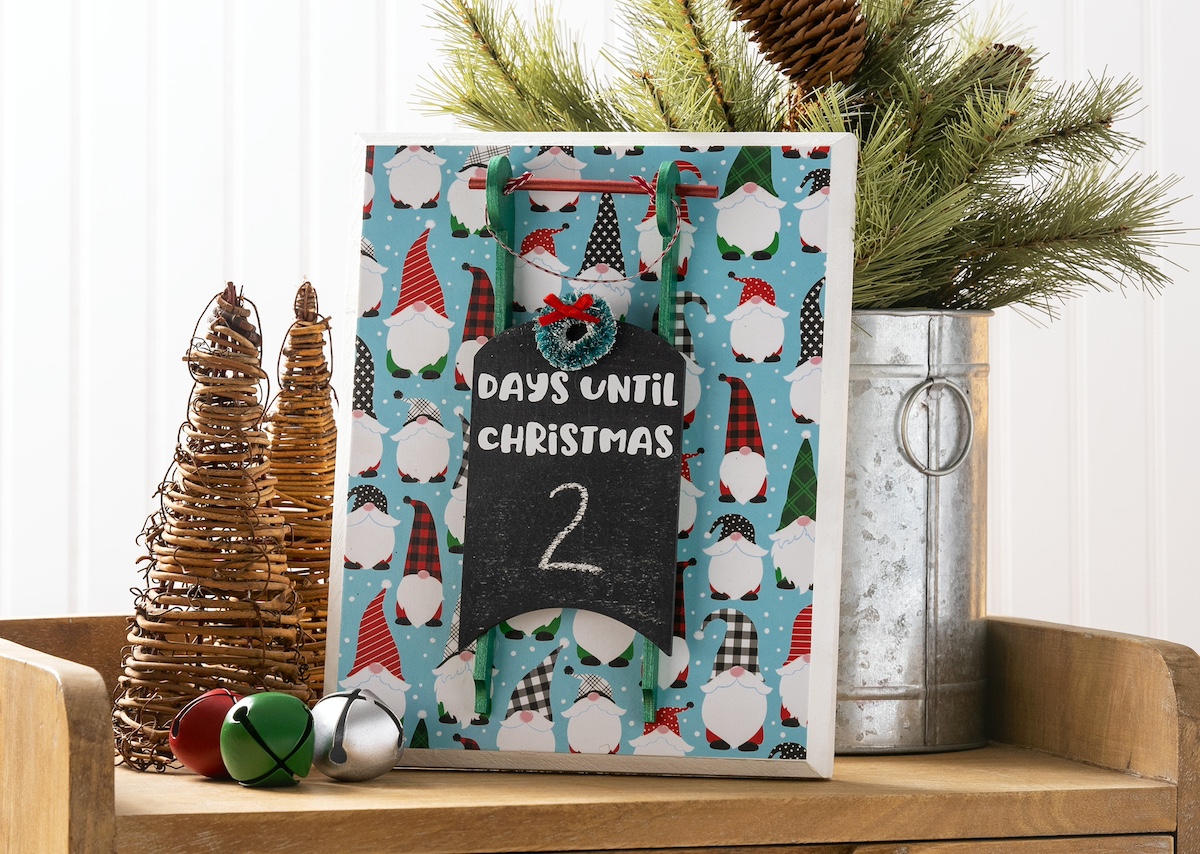
Countdown to Christmas in style! This easy DIY Christmas countdown chalkboard, made with dollar store finds, is a fun, reusable way to mark the days until the big holiday. Perfect for adding festive flair to your holiday decor.
Skills Required: Advanced Beginner to Intermediate. You will be cutting paper, decoupaging it to wood, painting, and using a Cricut (or adhesive letters).
I can be a persnickety person. We all have our quirks, and sometimes certain things bring them out. For me, it’s advent calendars and countdowns.
Of course the chocolate ones are easy to remember, especially because it’s the one time of year you get to pop chocolate in your mouth for breakfast. At least at my house.
But there are plenty of other kinds of countdowns, like our paper chains or snowman, that don’t have gifts attached, that require daily attention.
And sometimes we miss those in all the hustle and bustle, right? But not me.
As a child, I would get up every day in December with my first immediate thought being that the calendar must be switched. We’re one day closer. If I don’t change the calendar or cut the paper ring off, WHO WILL?

I stressed about it and always made sure it was done. Just as a mini fussbudget should. And some things never really change. I’m still similar in so many ways!
I thought about the old days a lot as I made this wood Christmas craft. The holidays are a season of anticipation, and what better way to mark the time than with a DIY Christmas countdown chalkboard?
This Christmas craft is a nod to those memories, a modern twist on the advent calendar. It not only serves as a festive decoration, but also as a daily reminder of the impending joy of Christmas.
The beauty of this project is its simplicity and the warmth it brings to your home. Made with just a few supplies – a wood plaque, Dollar Tree supplies, some chalkboard paint, and your trusty Mod Podge – it’s an accessible project for all.
And the best part? It’s customizable. Here’s what you’re going to need.
Gather These Supplies
- Unfinished wood plaque – I used 8 x 10
- Unfinished wood sled – Dollar Tree
- Scrapbook paper – 1 sheet
- Acrylic paint – white, metallic green, metallic red
- Chalkboard paint
- Mod Podge Satin
- Cricut and vinyl or adhesive letters
- Craft glue
- Paintbrushes
- Mini wreath and ribbon – Dollar Tree
- Chalk – don’t use a chalk pen; you want real chalk
- Scissors
- Ruler and craft knife
I used a Cricut to cut out the letters. I made it myself using the Blanket of Snow font, then simply sized it to fit my sled surface. You could also use adhesive letters, or even write it on with a paint pen.
You can attach a ribbon, picture hanger, or Command Strips to the back to make Christmas wall decor. OR you can display on a tabletop easel which makes it easy to pick up to change the number. This would also be fun as mantel decor.
Get the printable how to card for this project below:

Christmas Countdown Chalkboard
Equipment
- Cricut and vinyl (optional)
- Craft knife and ruler
Materials
- 1 Wood plaque(s) I used 8 x 10
- 11 Unfinished wood sled Dollar Tree
- 1 sheet Scrapbook paper
- Craft paint white, metallic green, metallic red
- Chalkboard paint
- Mod Podge Satin
- Adhesive letters optional
- Craft glue
- Mini wreath and ribbon Dollar Tree
- Chalk
Instructions
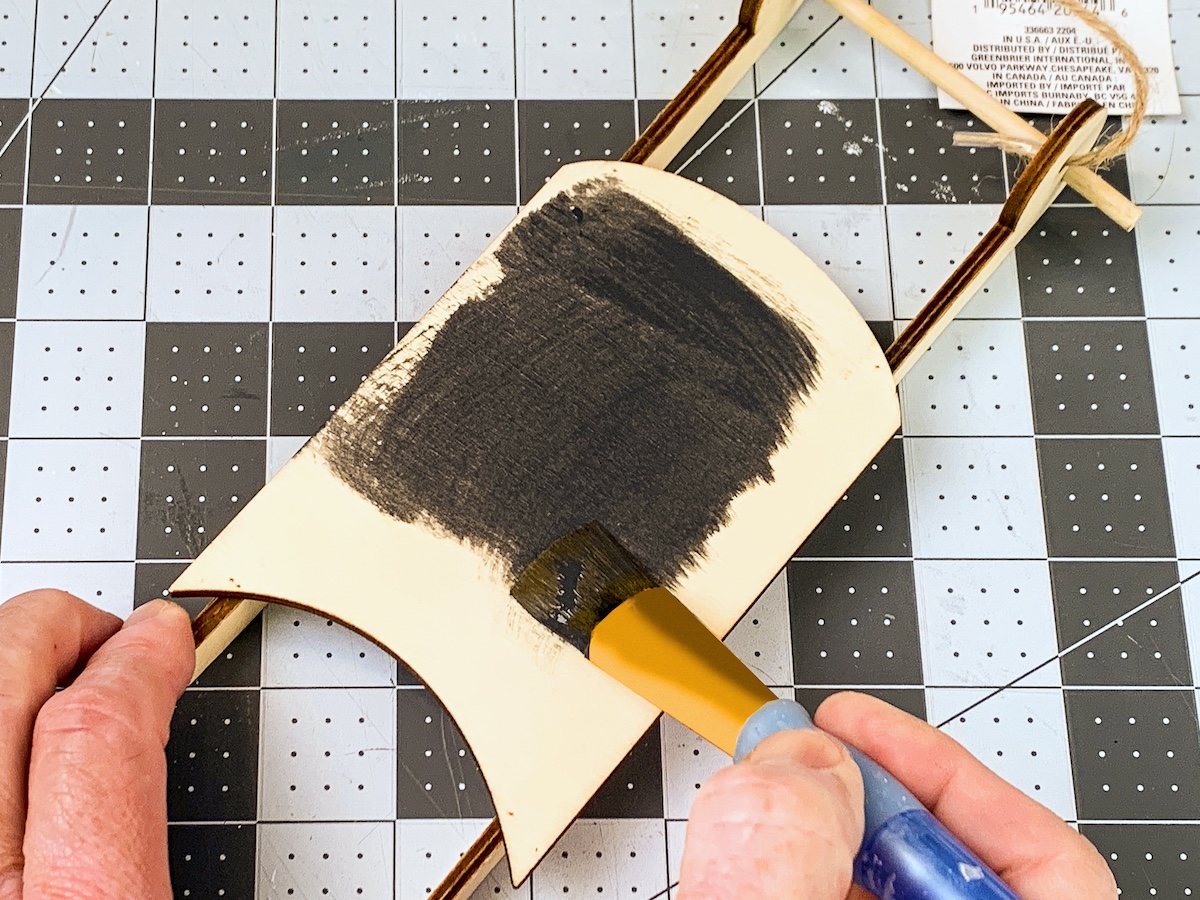
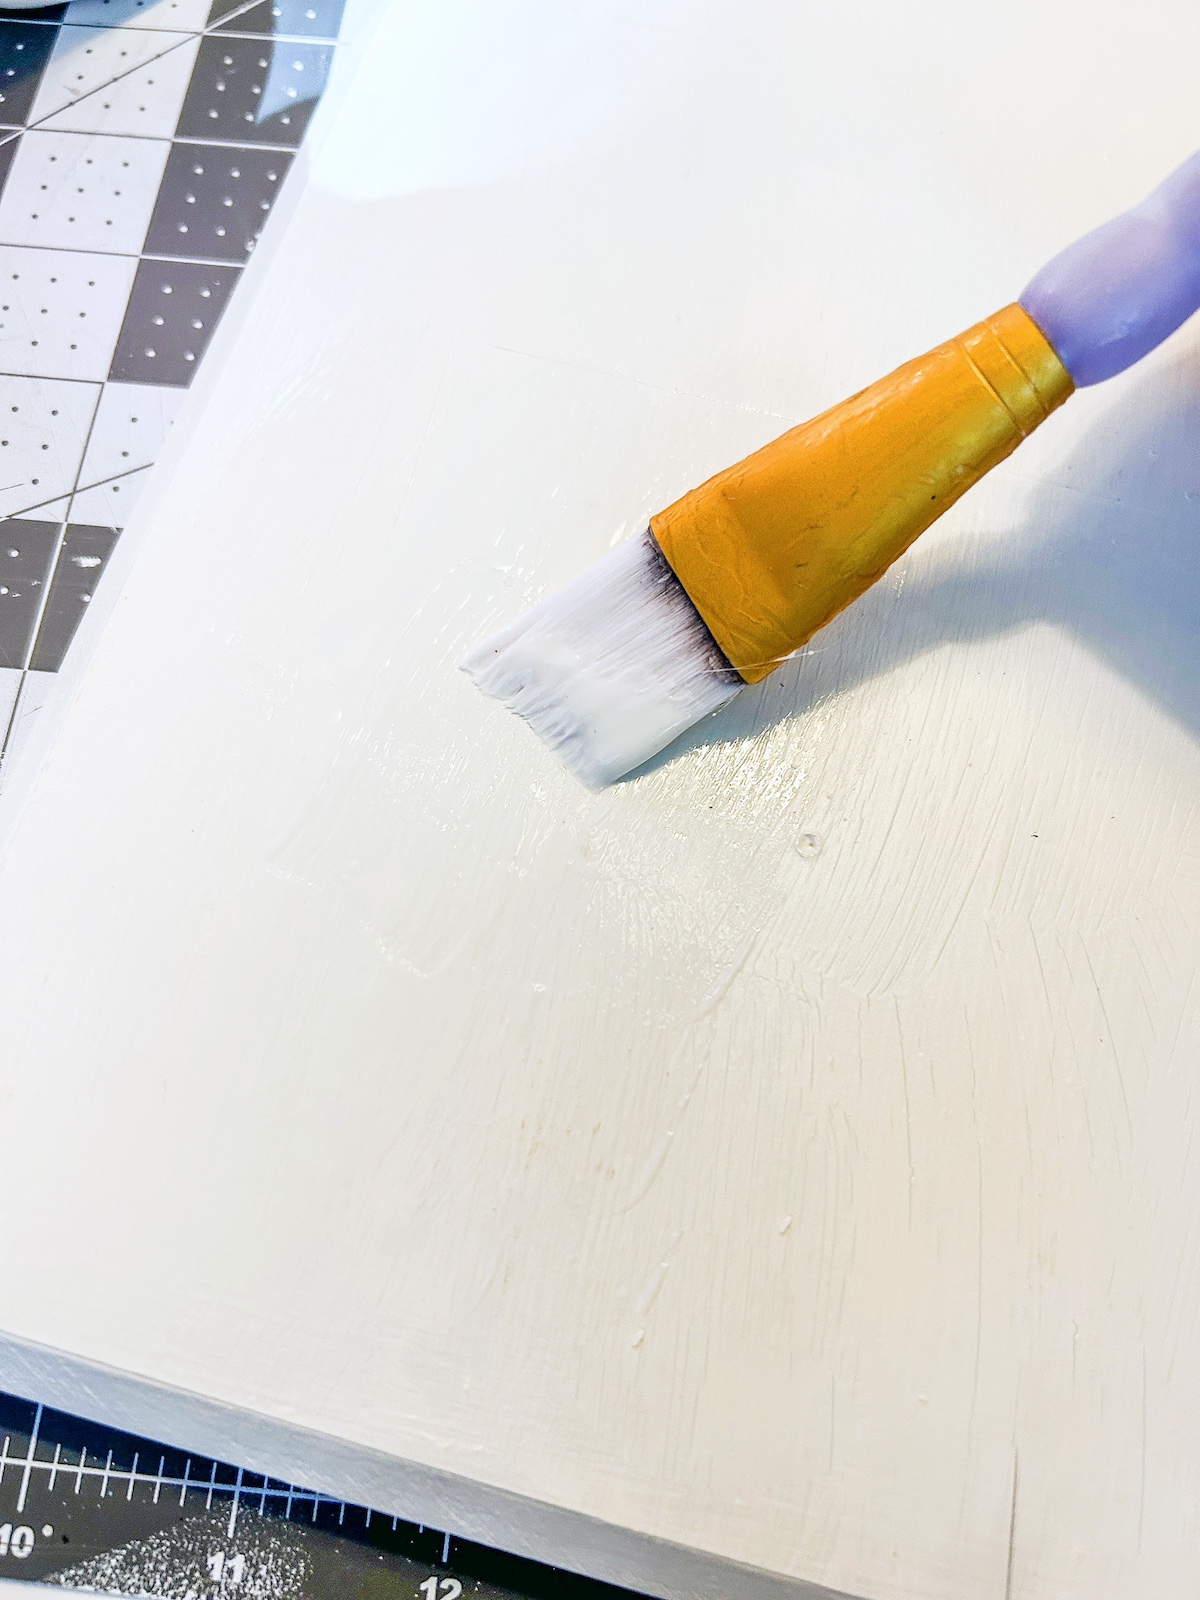
- Paint the wood plaque with white (or color of your choice). Paint the wood sled with your choice of colors on the rails, and then black chalkboard paint on the top. Apply two layers of paint and let dry (don't forget the small areas).
- Trim the scrapbook paper to fit the top of the plaque, using the ruler to measure the size. Cut with a craft knife and make sure it fits.

- Apply the Mod Podge in a medium layer to the top of the white plaque.
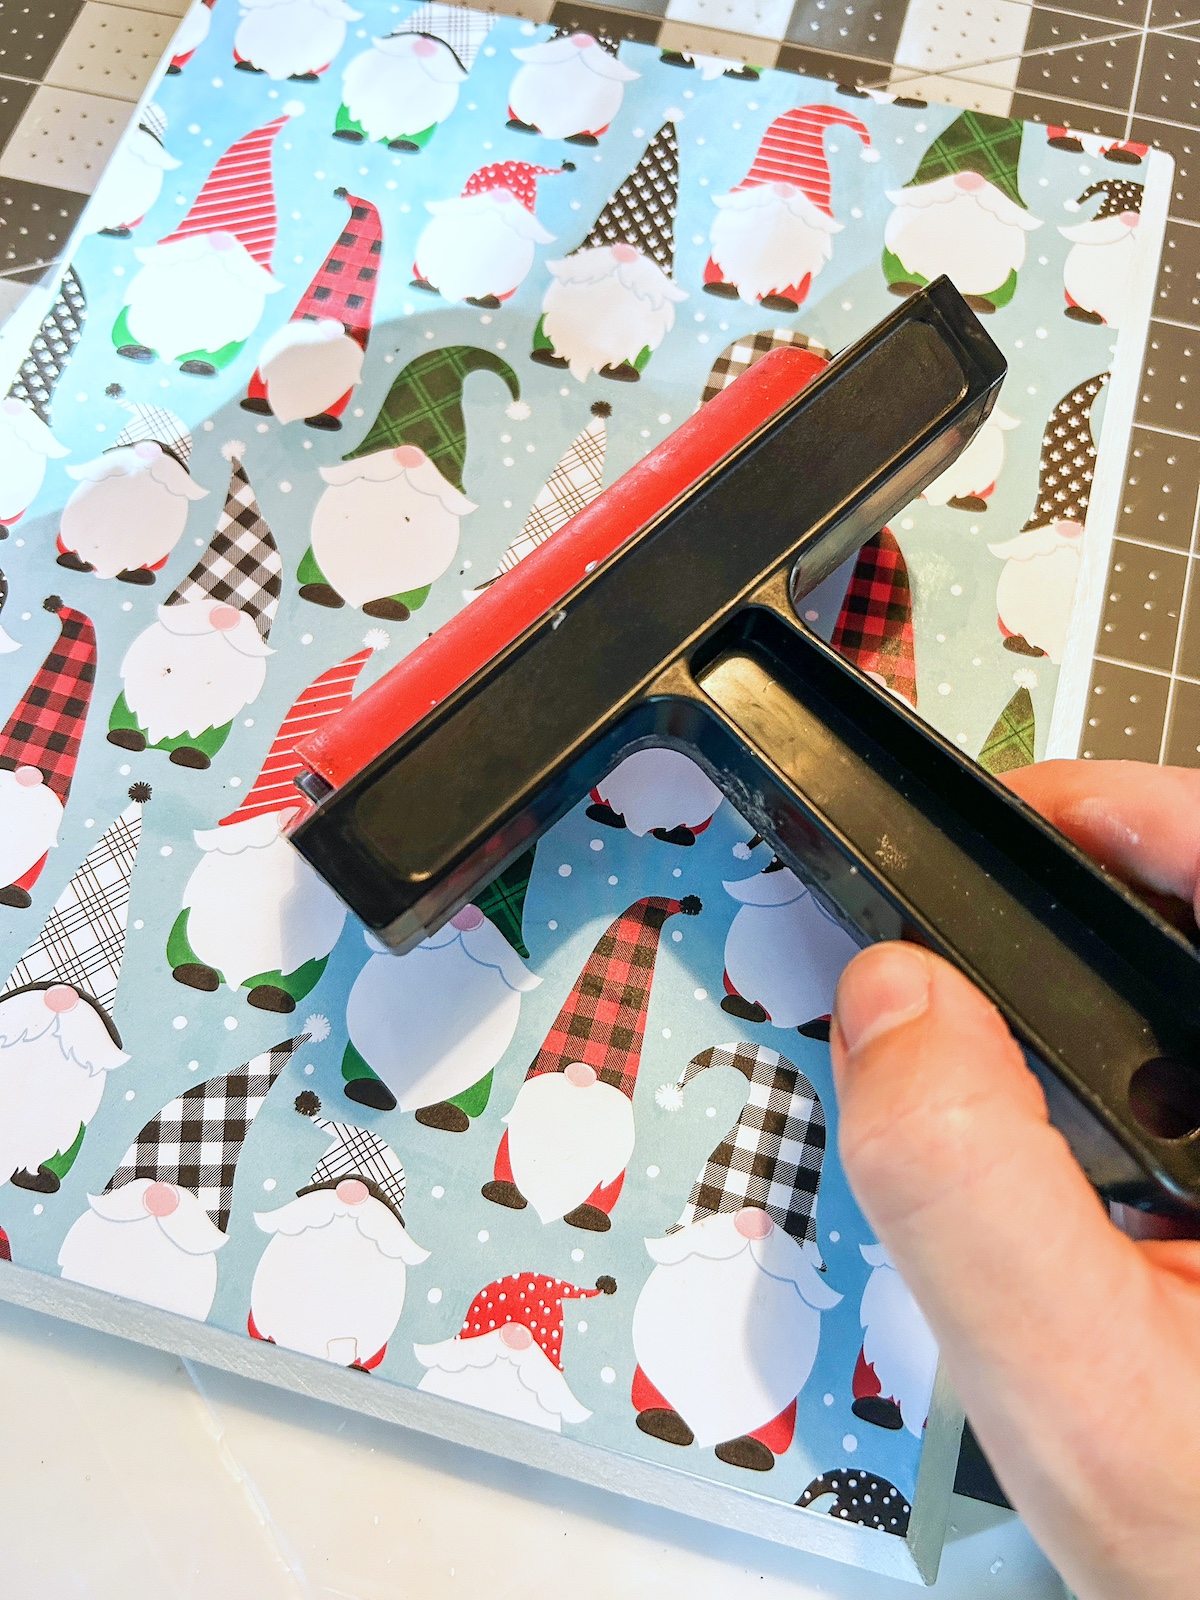
- Press the paper down on top of the plaque and smooth using your hands or a brayer. Smooth until all bubbles are removed, then wipe away excess Mod Podge around the edges and let dry for 15 – 20 minutes.
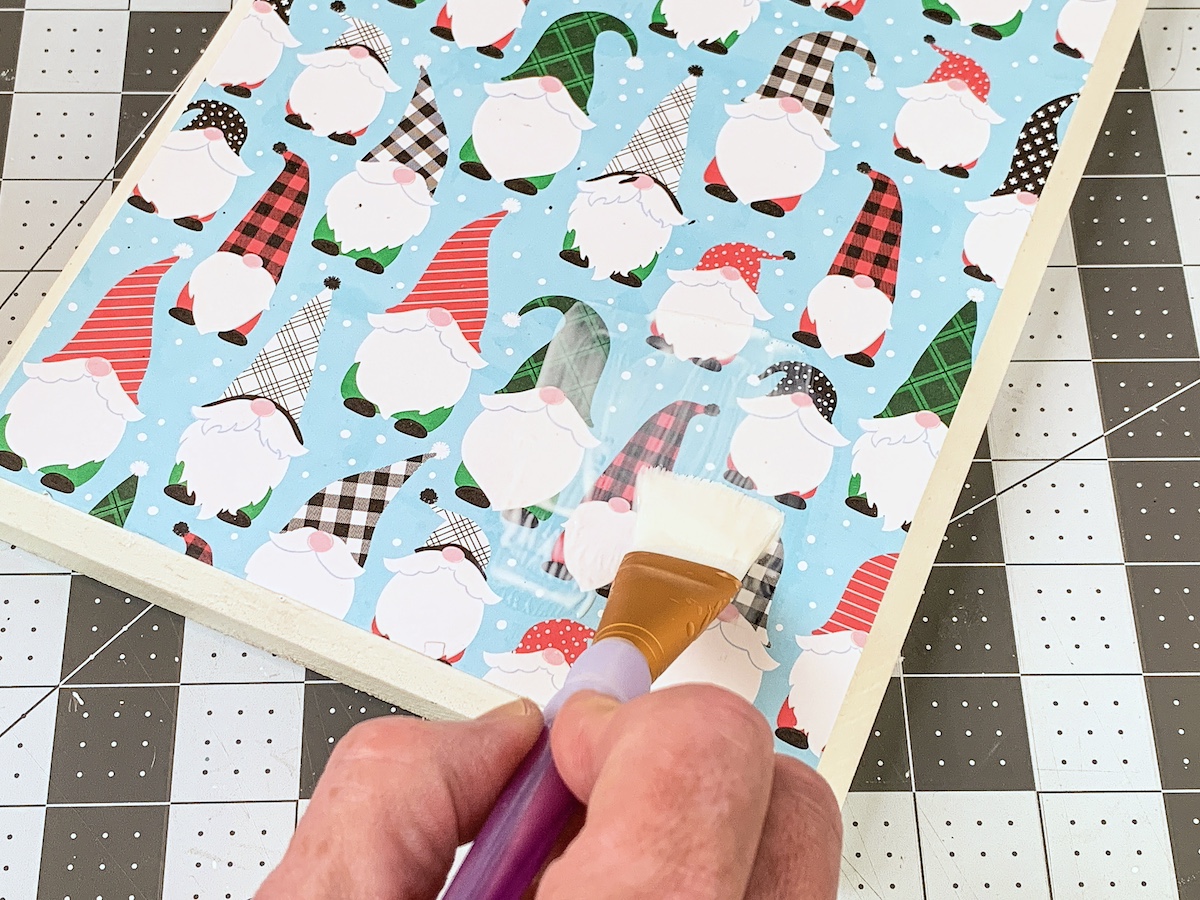
- Seal the top of the paper with Mod Podge. Brush on and let dry.
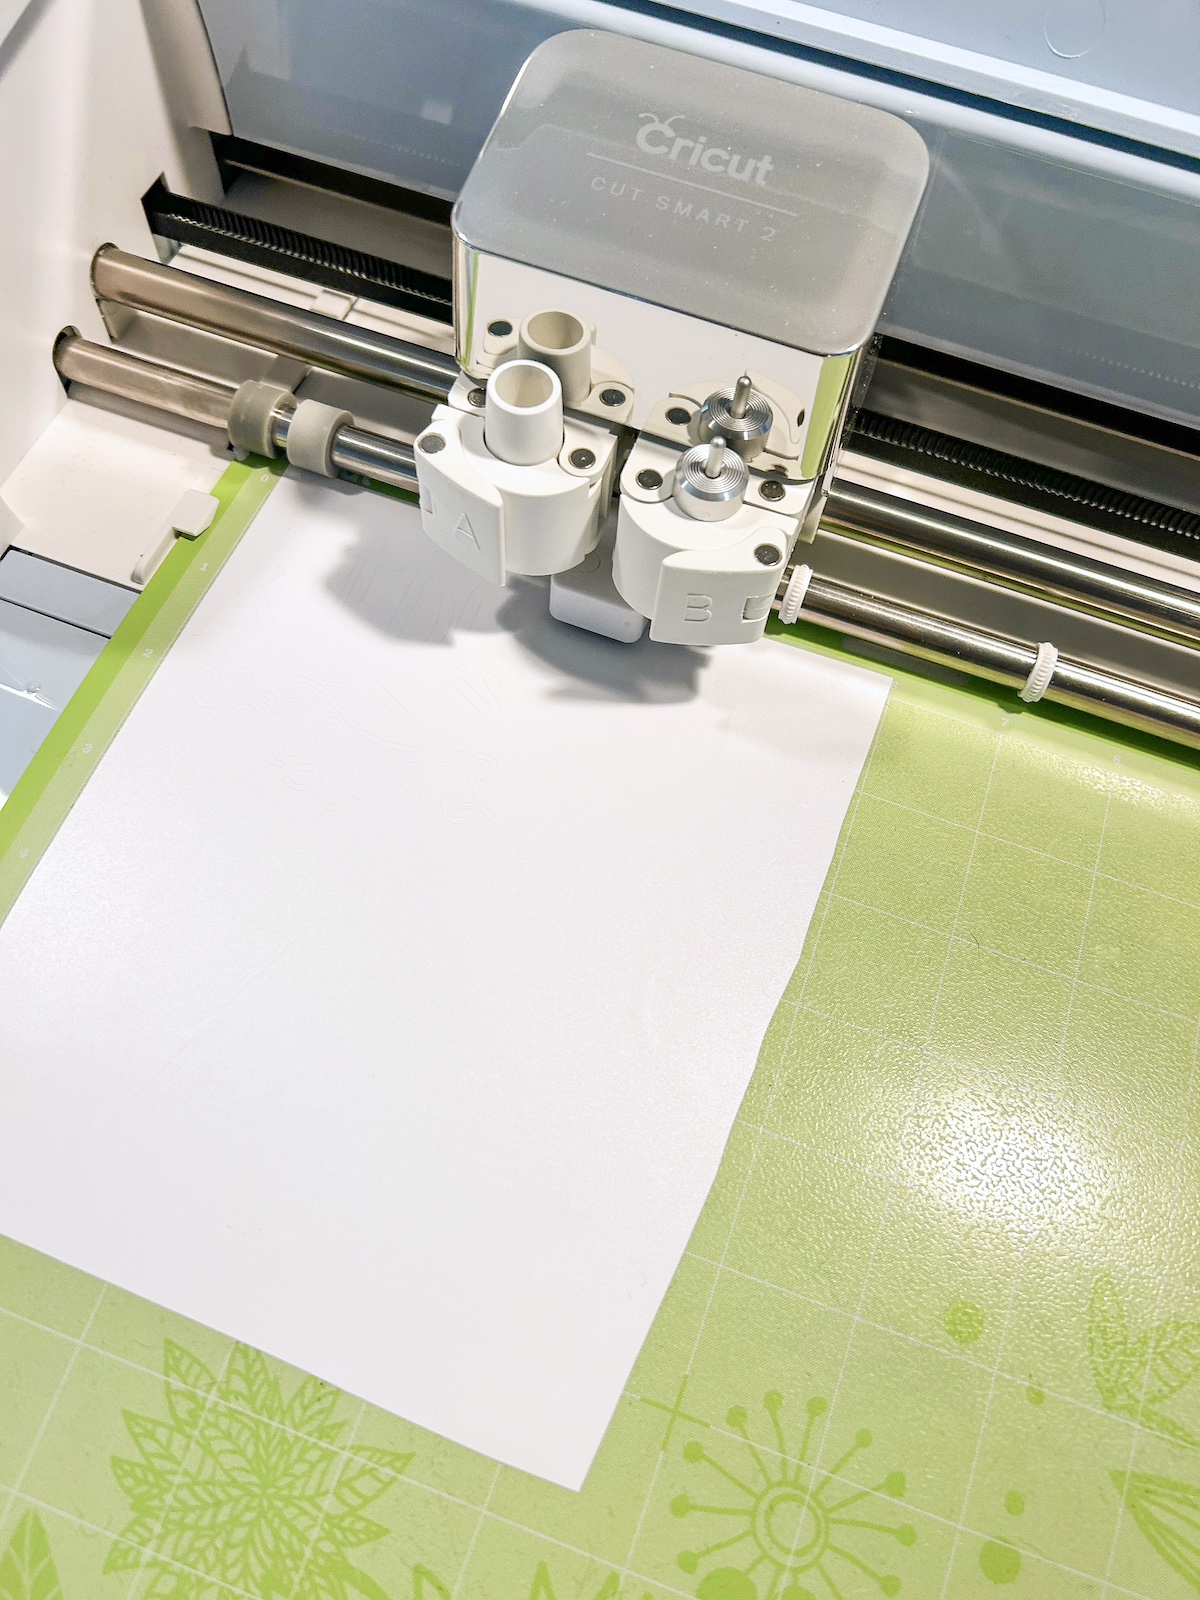
- Create your design on the Cricut (ensuring it fits your surface) and then cut out of vinyl.
- Weed the design using your tools. Add the design to transfer paper.
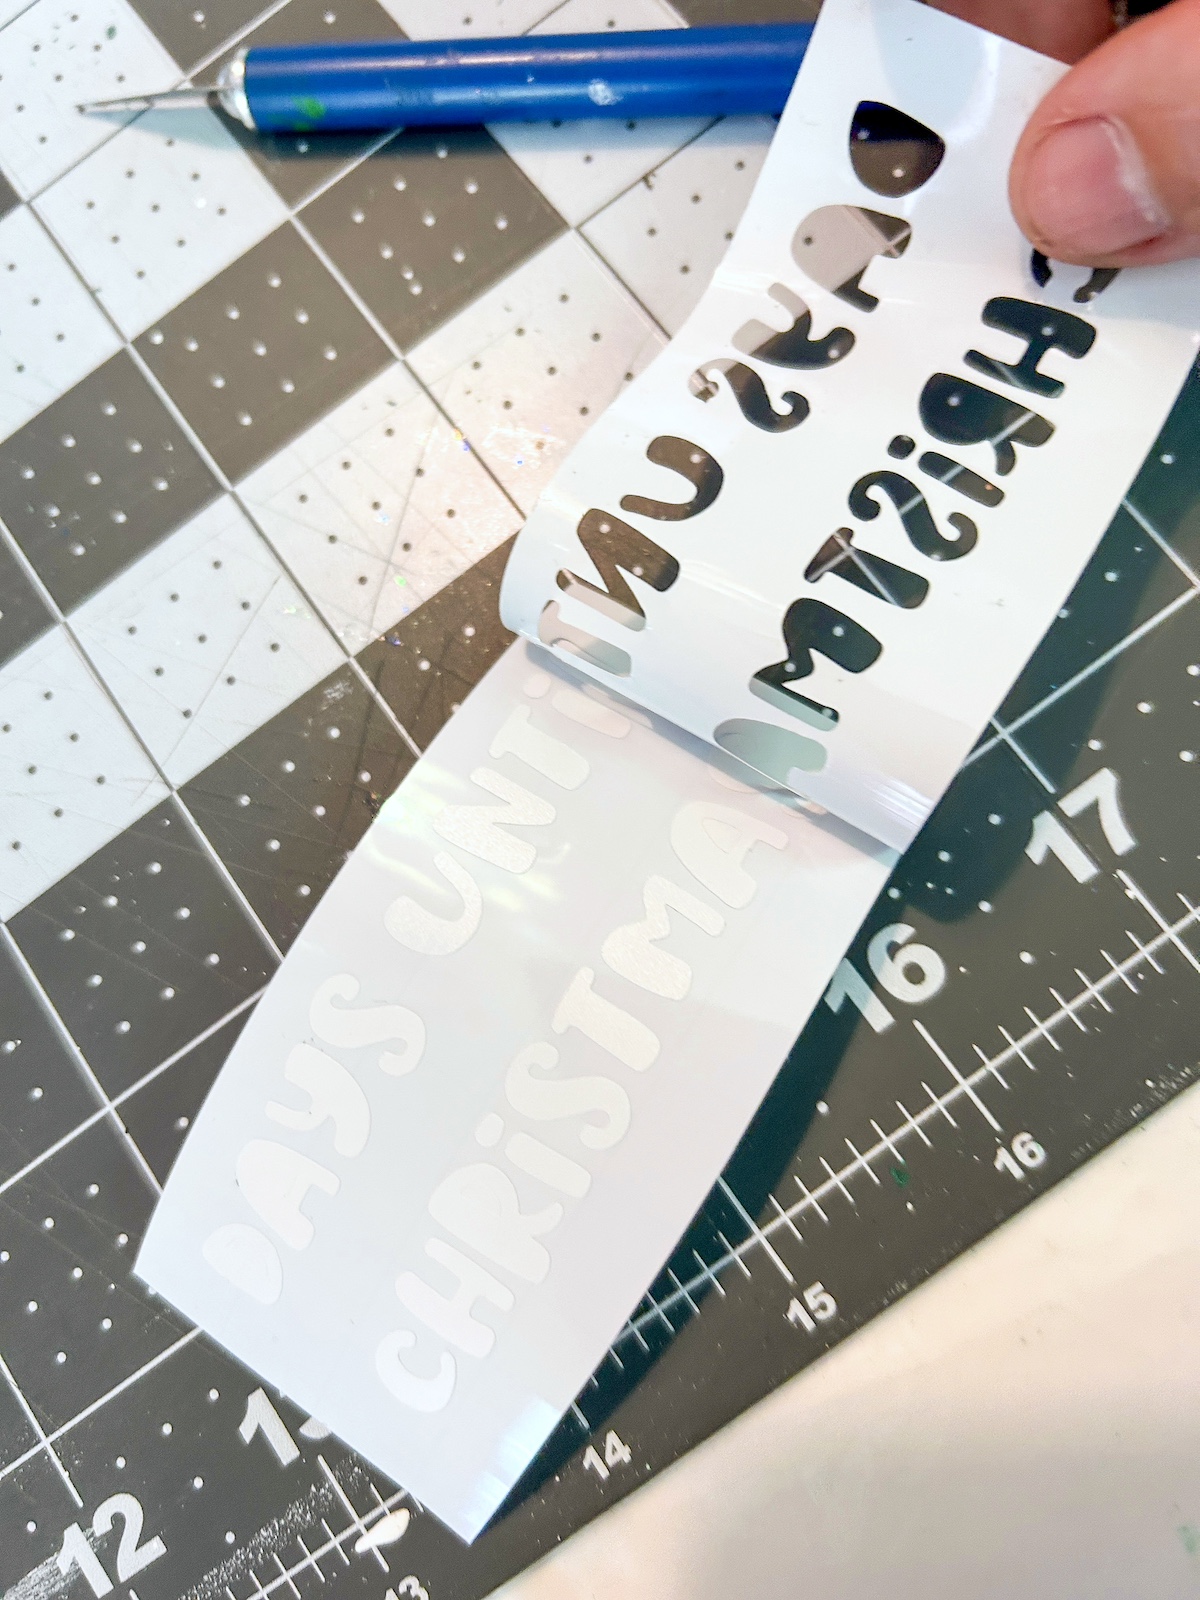
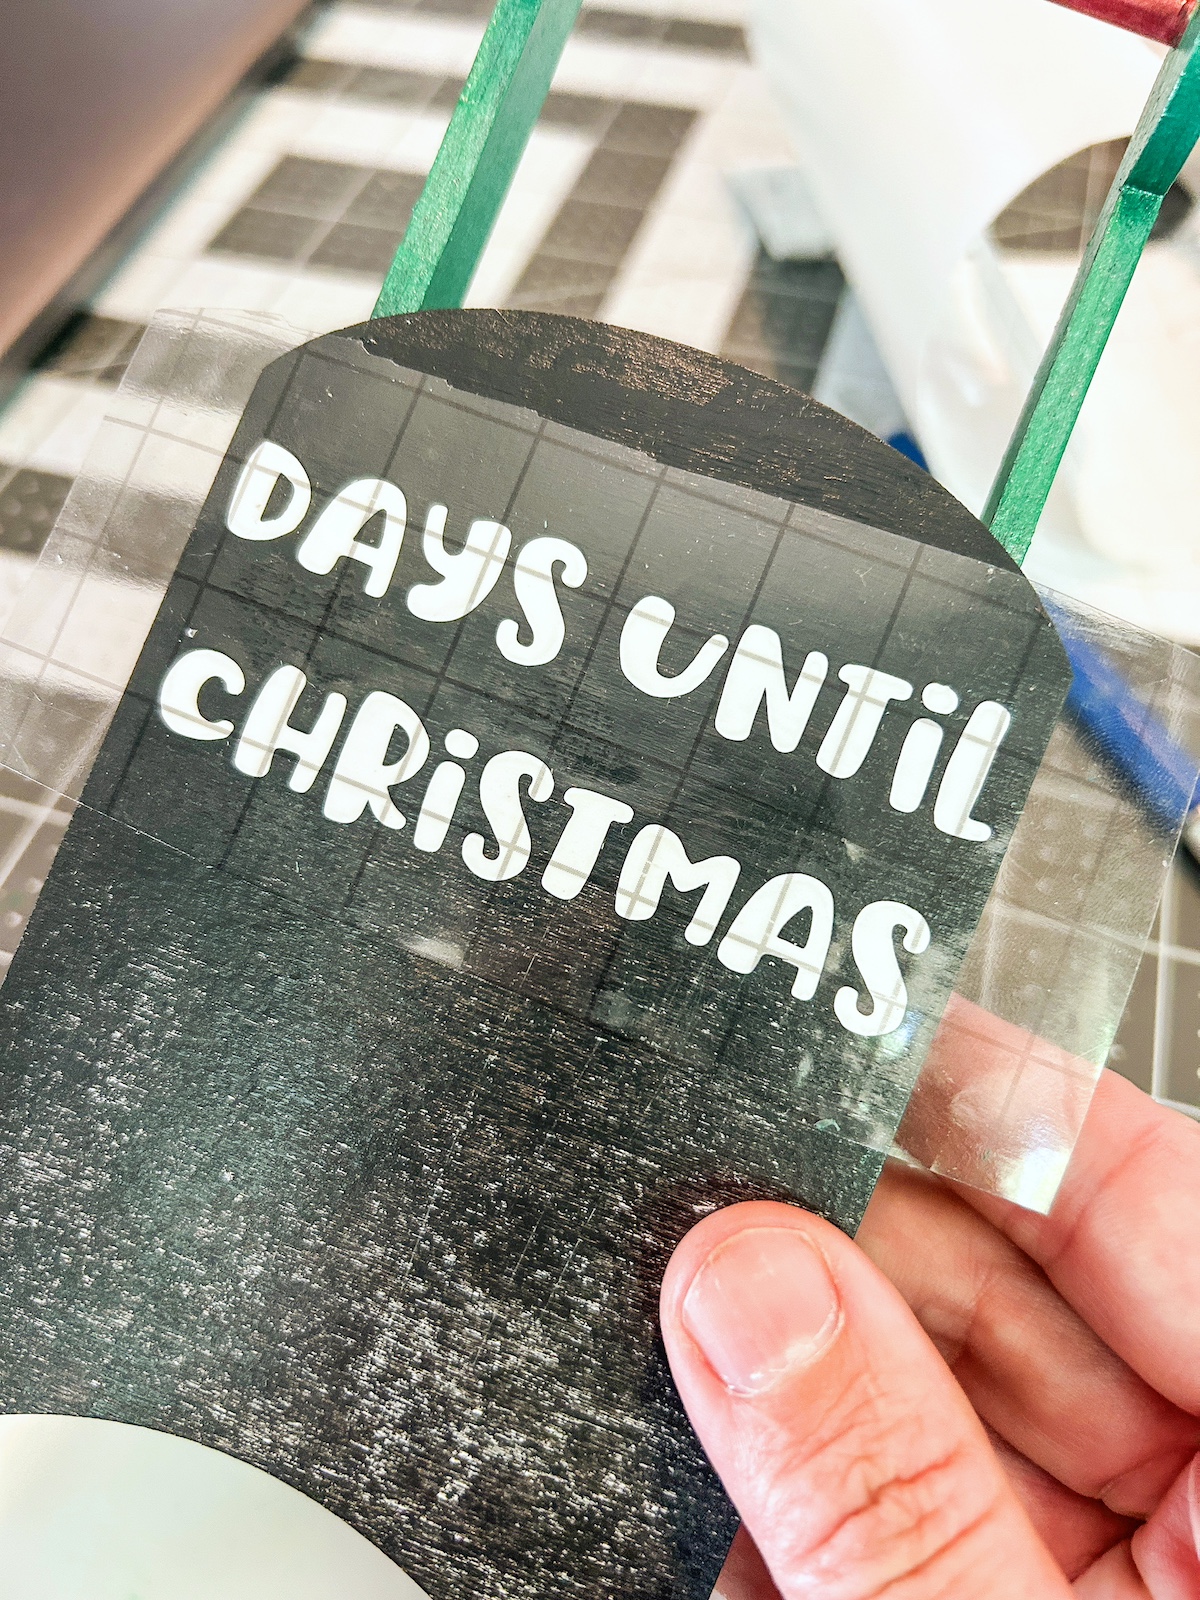
- Apply the vinyl to the sled towards the top. Smooth down and remove the transfer paper.
- Glue the sled down to the wood plaque. Glue the wreath onto the sled above the vinyl, then tie the ribbon around the top of the sled.
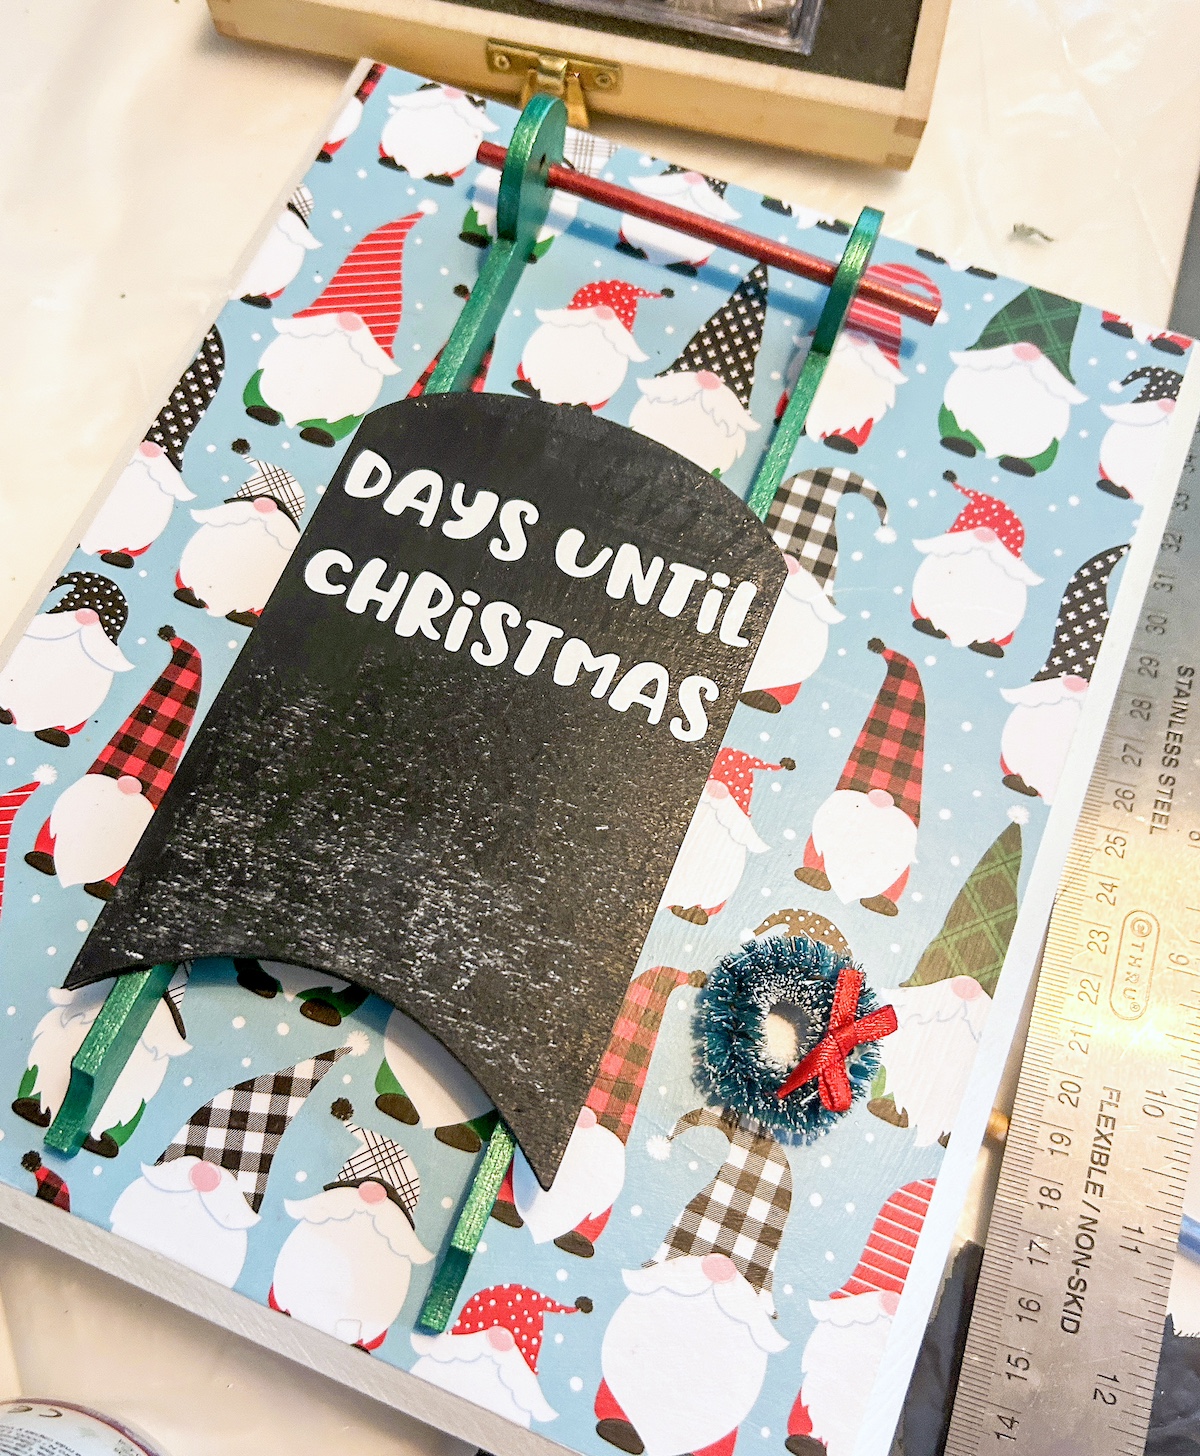
- Condition the chalkboard surface according to bottle instructions. Display on the wall or an easel.
Notes
If you enjoyed cute Christmas idea, I’d love for you to let me know in the comments. Also please check out these other posts:
Believe Wood Star • Busted Canvas • Chalkboard Trees • DIY Christmas Village • DIY Stocking Holders • Fabric Christmas Bowl • Farmhouse Door Decor • Farmhouse Sign • Frosted Mason Jar Luminaries • Gnome Wood Gift Tag • Holiday Door Hangers • JOY Plaque • Merry Christmas Decor • Peace Wood Decor • Salt Dough Ornaments • Tree Mantel Decor • Wood Ornament Decor • Wood Tree Centerpiece • Wood Trees with Book Pages