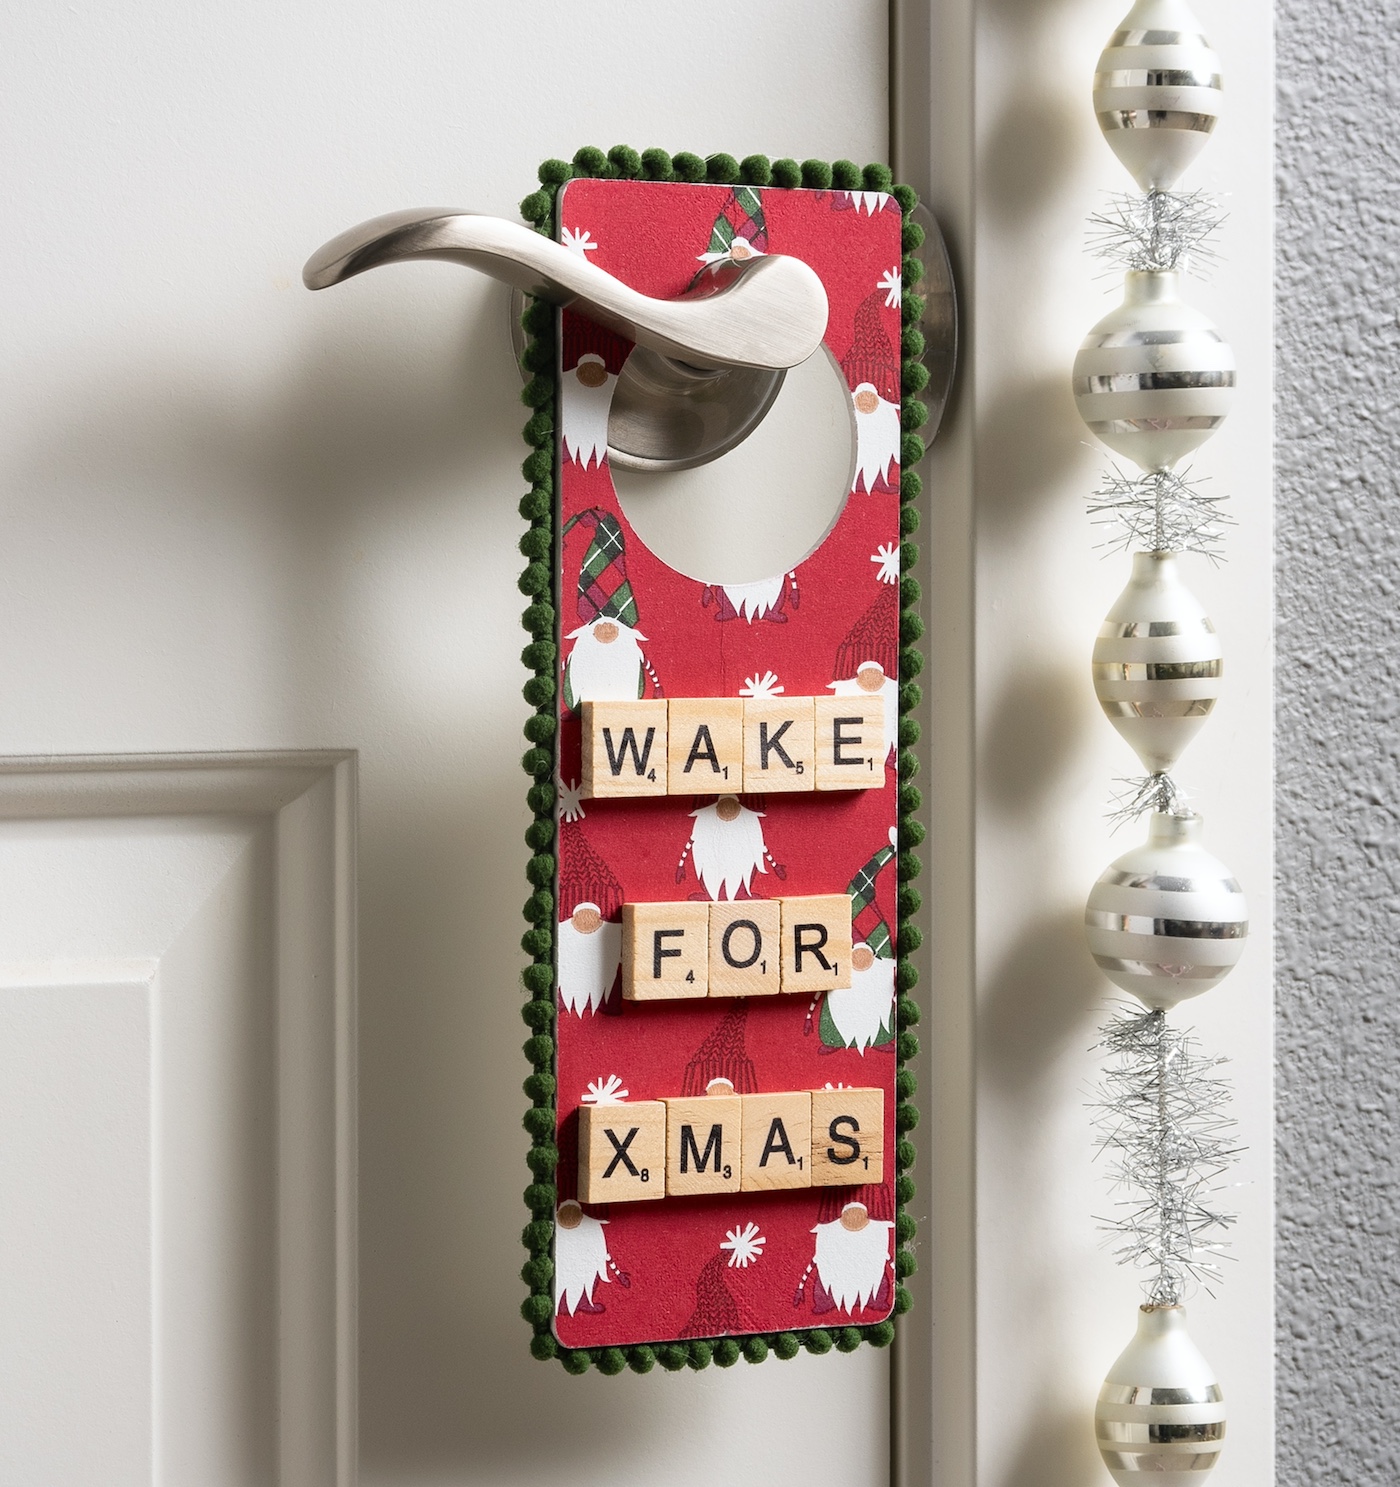
This DIY Christmas door hanger is so festive, and easy to make with basic supplies including napkins! You’ll love this budget friendly idea.
Skills Required: Intermediate. To make this Christmas craft, it helps to have experience with paint and Mod Podge. You’ll be applying both, ironing the napkin down, then adding embellishments.

Christmas is coming, and with it, the season of jingle bells, lots of gifts, and, of course, the all-important task of decking out our homes with festive cheer.
Now, I know what you’re thinking – another year, another scramble for decorations that scream ‘unique’ but end up being the same old tinsel and baubles.
But hold your reindeer, because this year, I’m going to show you how to create a DIY Christmas door hanger that’ll have your guests doing a double-take.
I’m going to show you how to decorate unfinished wood door hangers – and they’re as fun to make as they are to display. And the best part? You can say adios to cookie-cutter decor and hello to something that’s truly you.
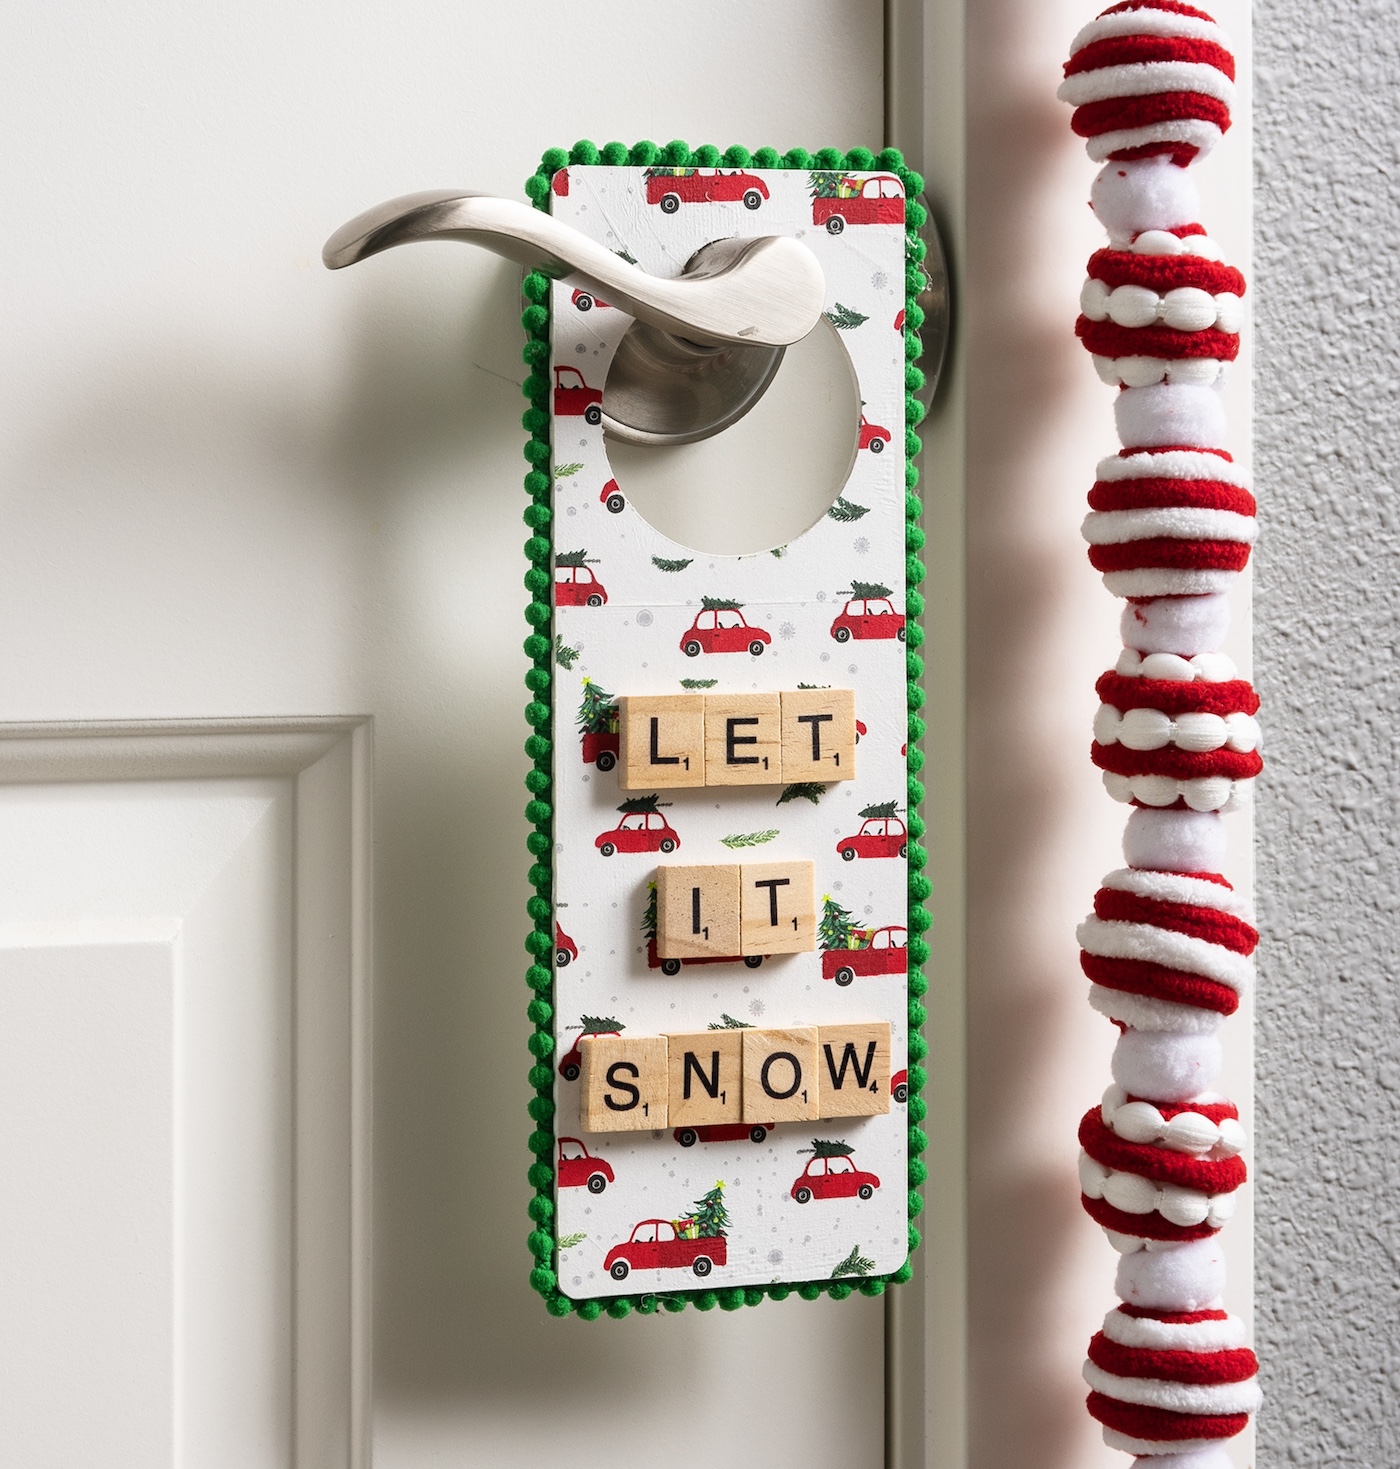
How will we transform the hangers? With the magic of napkins, the versatility of Mod Podge, the whimsy of pom pom trim, and the charm of Scrabble tile letters. That’s right, we’re pulling out all the stops.
This project is perfect for crafters of all levels, from the seasoned pros to the ‘I once glued my fingers together’ beginners.
I’ll guide you through every step, from separating the paper napkins (yes, those Christmas ones you’ve been saving for a special occasion) to the final triumphant hanging of your creation.
So, grab your glue, gather your trims, and let’s get to it. Scroll down for the full tutorial on how to create your very own DIY Christmas door hanger.
Trust me, by the time we’re done, your doors will be the envy of the neighborhood, and you’ll have a story to tell about the time you brought a little extra sparkle to the holiday season.
Ready to get started? The tutorial is below. Remember, the only thing we’re serious about here is having fun! First, here’s what you’re going to need.
Gather These Supplies
- Unfinished wood door knob hangers – 9.5 x 3.25 x 0.1-Inch were the size I used
- Christmas napkins – I got mine at Dollar Tree and Joanns (tissue paper works also)
- Mod Podge – any formula
- White craft paint
- Pom pom trim – at least 26″ per hanger
- Scrabble tile letters – sayings of your choice
- Craft glue
- Hot glue gun
- Emery board
- Paintbrushes
- Small iron
- Parchment paper
- Clear acrylic spray sealer (optional)
Tips and Thoughts for This Project
Yes, you can make your own door hangers with wood scraps. If you don’t know how to use a hole saw bit, see this video. Drill through the plywood where you want the hole. Sand away any rough edges.
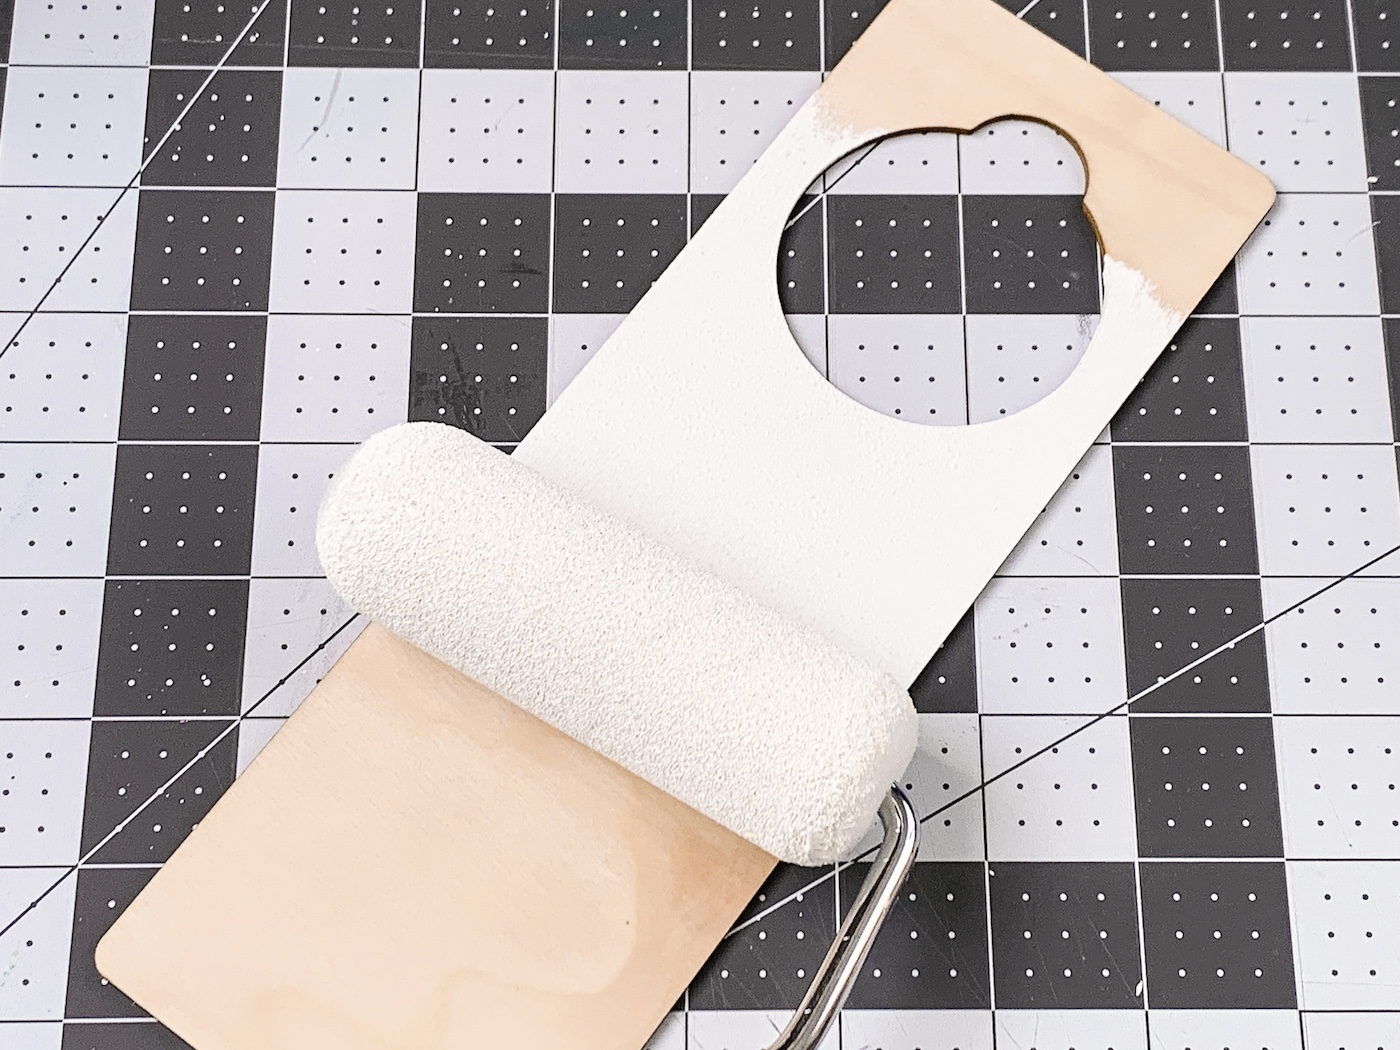
You don’t *have* to paint the door hanger white, however, it makes the colors of the napkin pop. It’s also easy to do, so I always do it. You can use spray paint, but craft paint is cheaper and just as fast with a roller.
I didn’t seal the top of the napkins with Mod Podge – it tends to make them wrinkle. If you do seal with Mod Podge and the napkins wrinkle, you can place parchment down and iron over the top again.
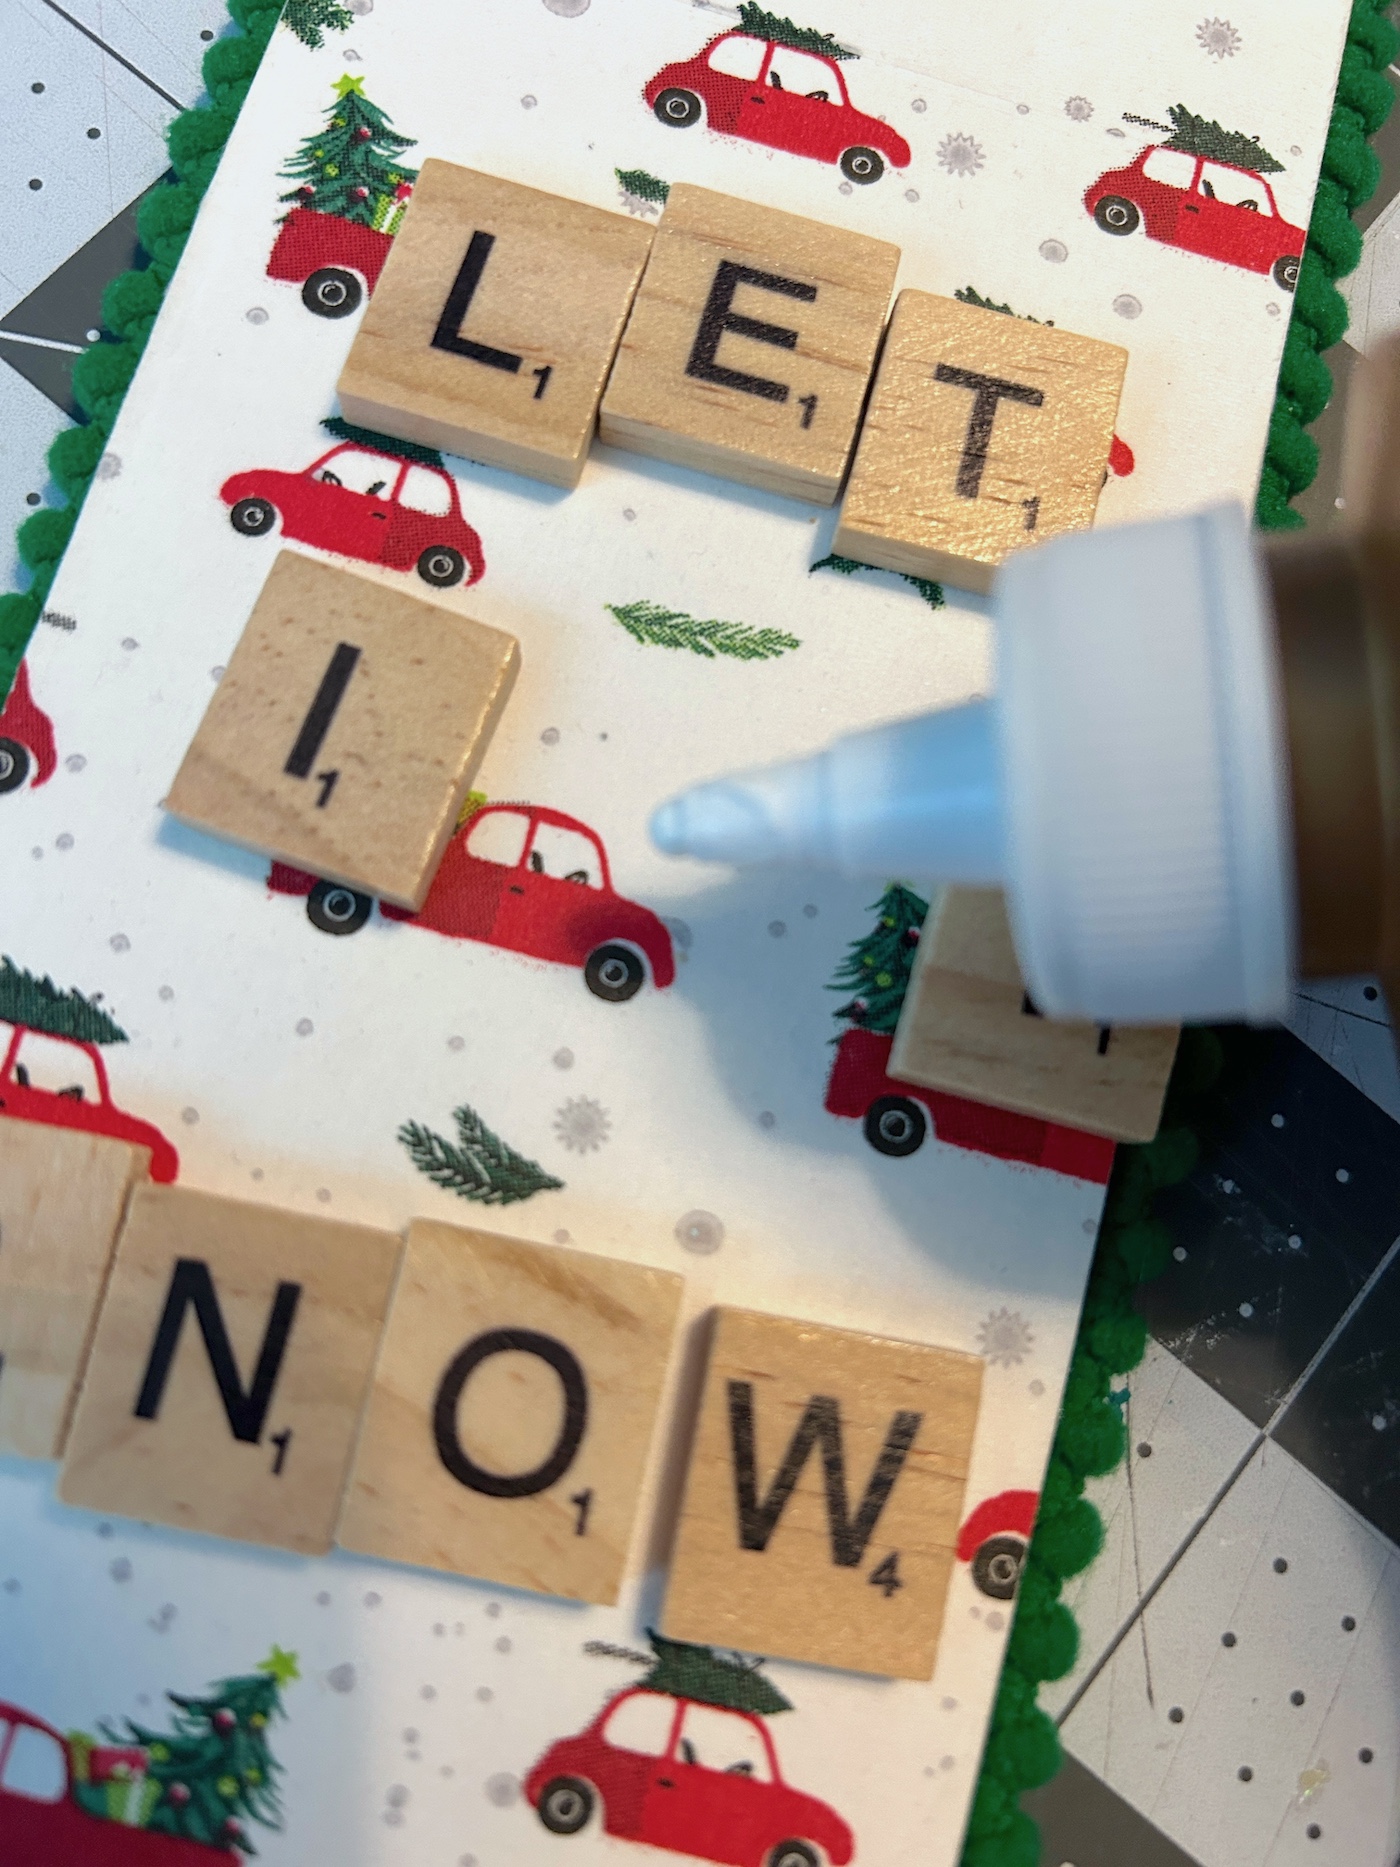
The reason I use craft glue and not hot glue with the Scrabble letters is because the craft glue doesn’t dry right away. You can move the letters around slightly after placing to make sure you’re happy before they dry.
Get the printable how to card for this project below:

Christmas Door Hanger
Equipment
- Paintbrush(es) and/or a roller
Materials
- Unfinished wood door knob hangers
- Christmas napkins
- Mod Podge
- Craft paint white
- Pom pom trim at least 26" per hanger
- Scrabble tile letters
- Craft glue
- Parchment paper
- Clear acrylic spray sealer optional
Instructions
- Paint the door hanger using white craft paint. Roll on one side, let dry, and flip over. Paint other side and let dry.
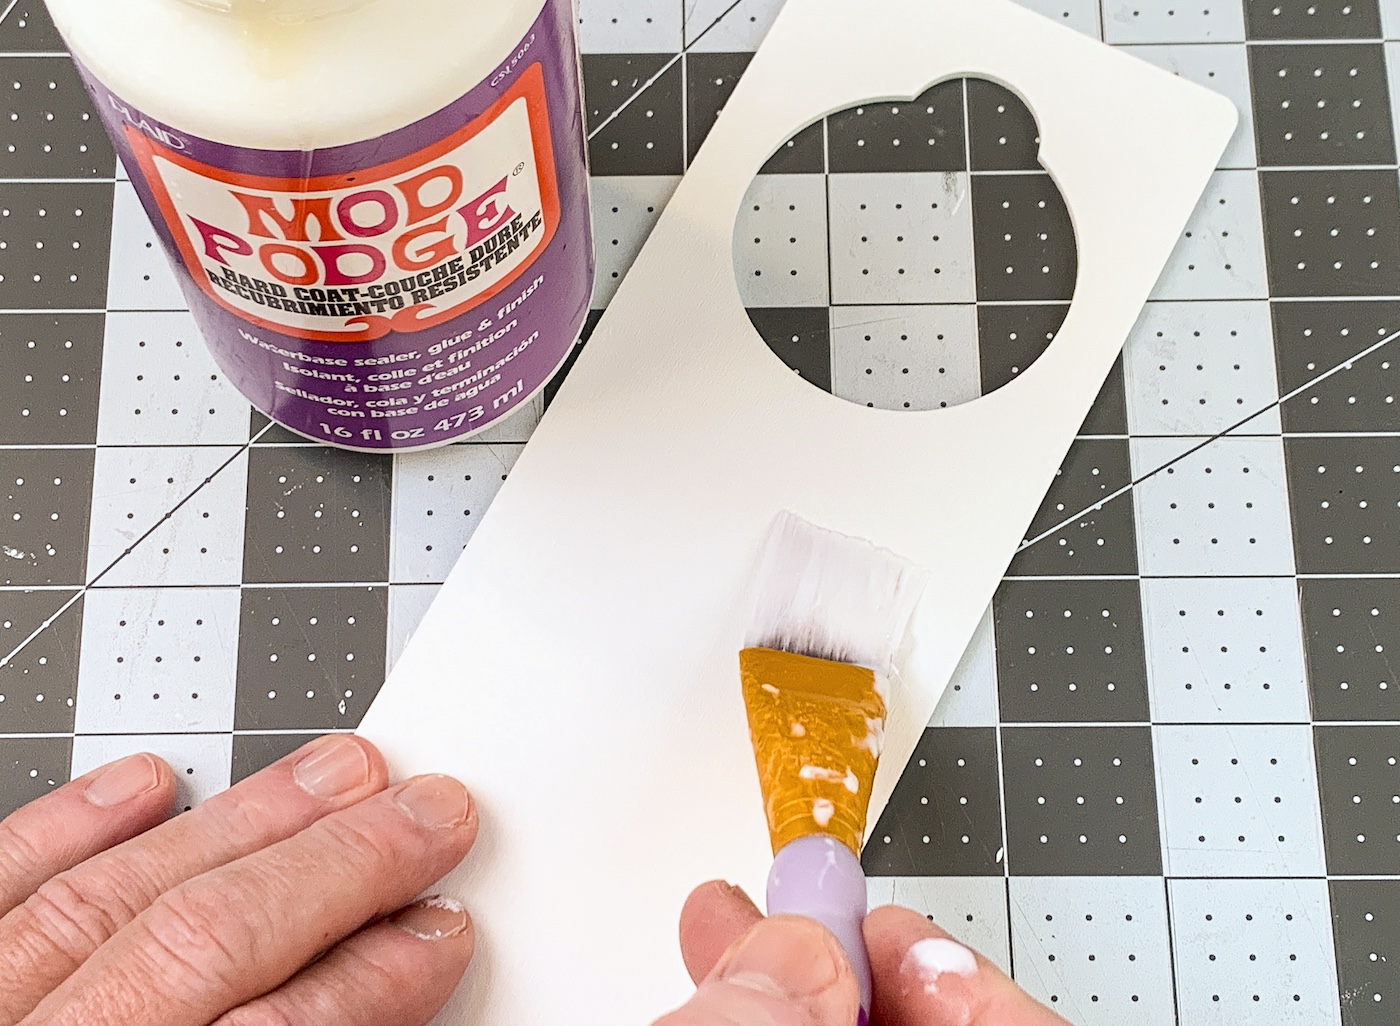
- Apply a coat of Mod Podge to the wood; don't do the edges. Let dry 15-20 minutes and repeat.
- While the Mod Podge is drying, separate the napkin from the bottom layers. You can use tape to help. You just want the top layer with the design.
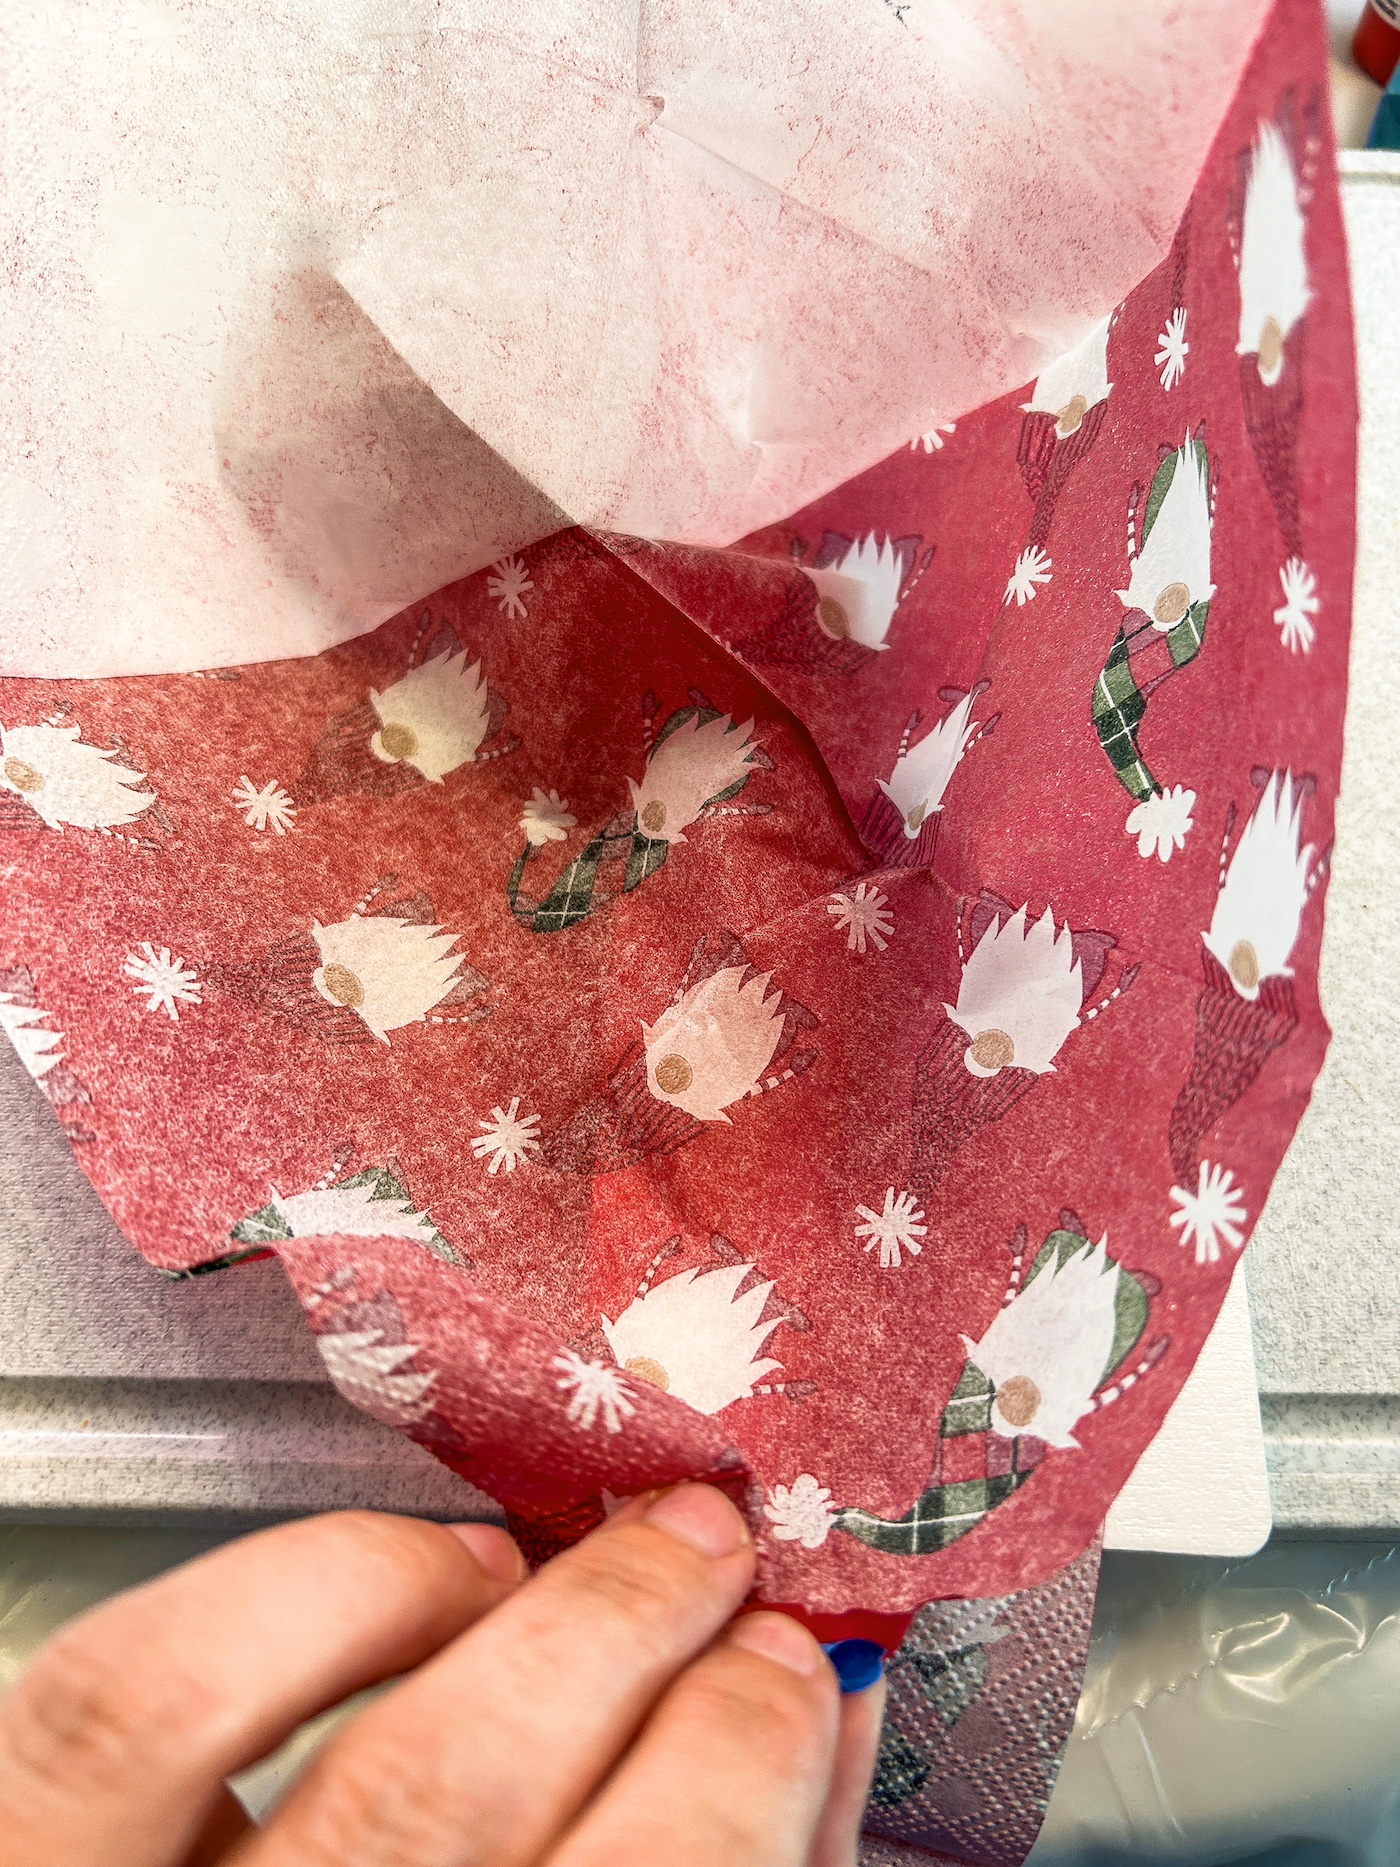
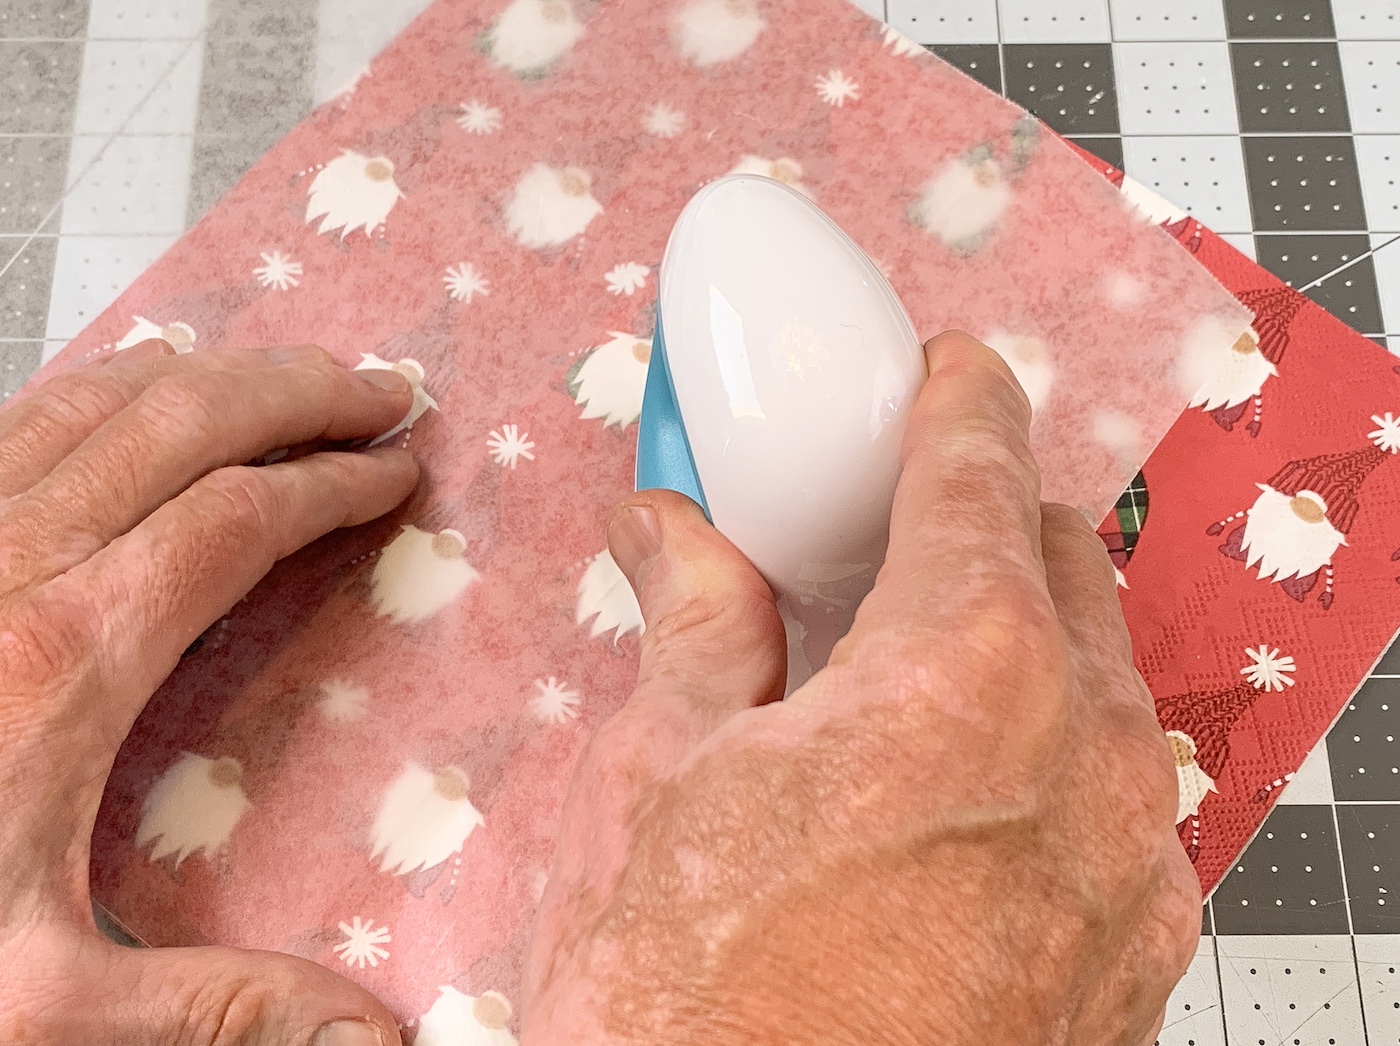
- Place the napkin down onto the door hanger. Place a piece of parchment paper on top of the napkin, and run the craft iron across the top several times. While you are doing this, the Mod Podge is melting below the napkin, and the napkin is adhering. Keep going until the napkin is fully adhered, including the edges.
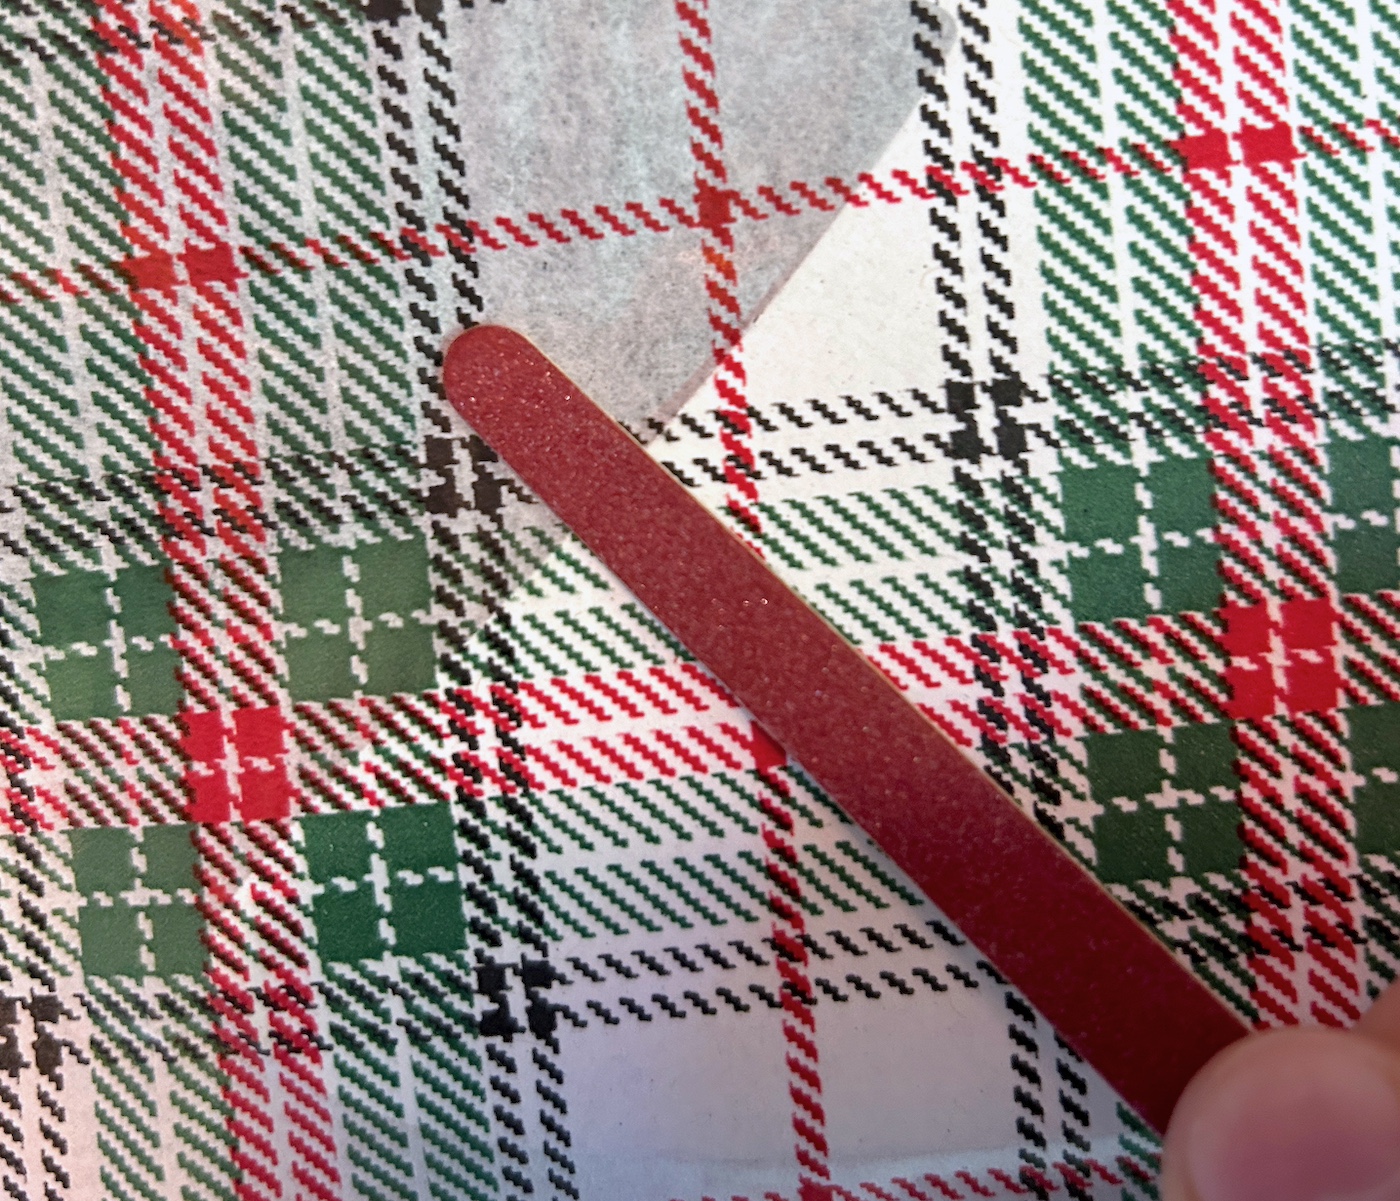
- Let the hanger cool after ironing. Use an emery board to gently sand away the excess napkin. Sanding at an angle works very well. Continue until all the extra napkin is removed.
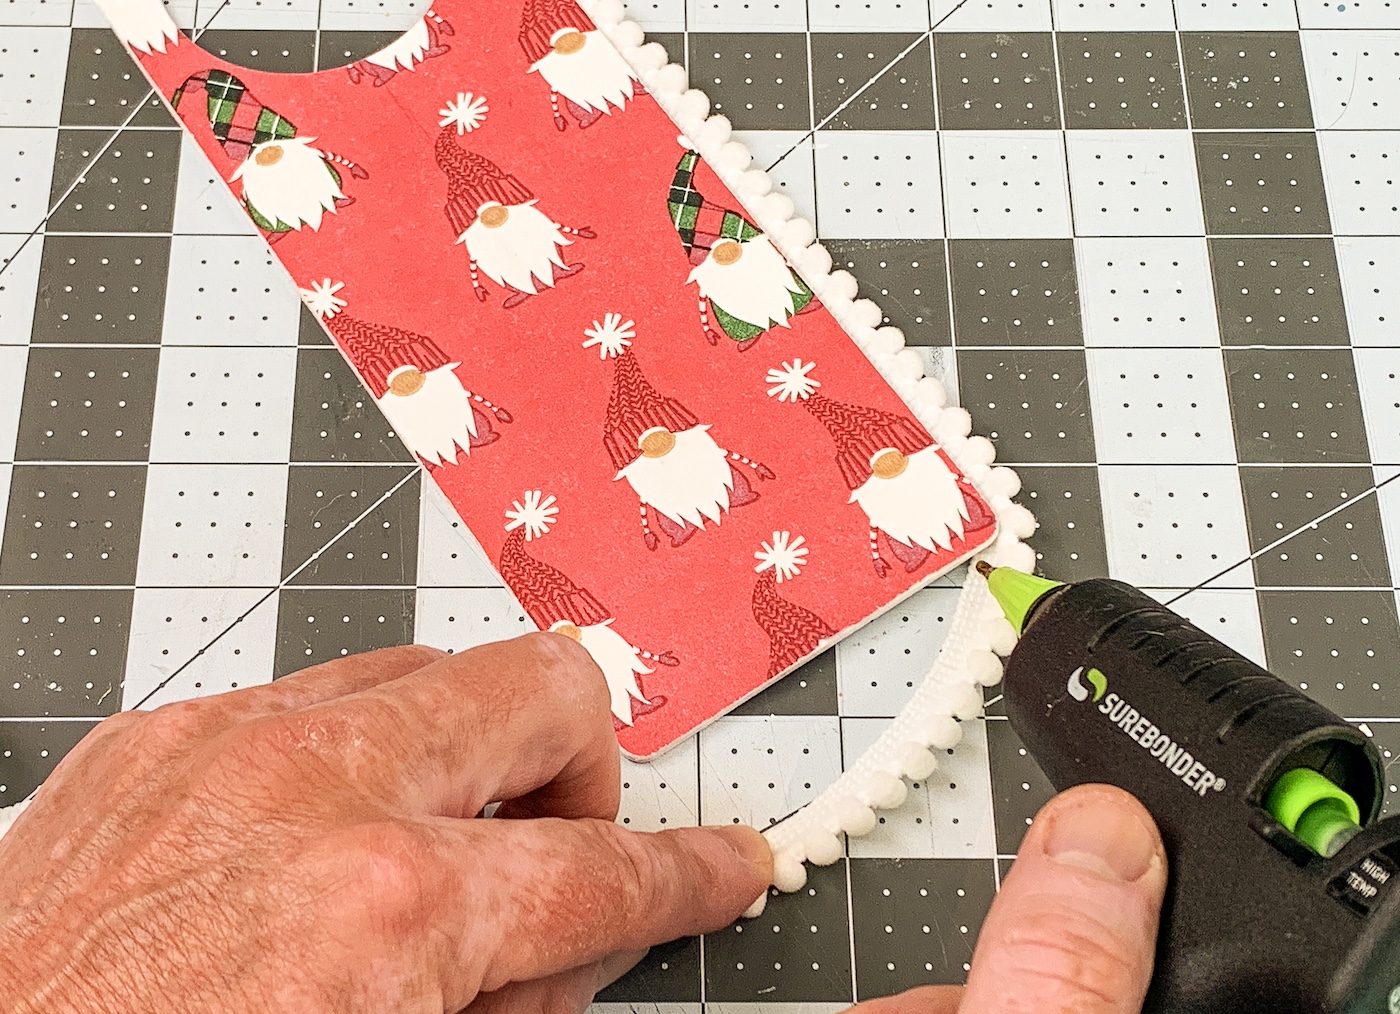
- Using the hot glue gun, glue the trim on the back of the hanger around the edges. I like to start at the bottom. Glue a few inches at a time. Let cool and trim the final length with scissors.
- Glue down the tiles onto the front of the project with craft glue. Adjust the letters until they are in the right place, and let dry completely before hanging.
If you enjoyed this Christmas door hanger DIY, I’d love for you to let me know in the comments. You can also check out these other projects: