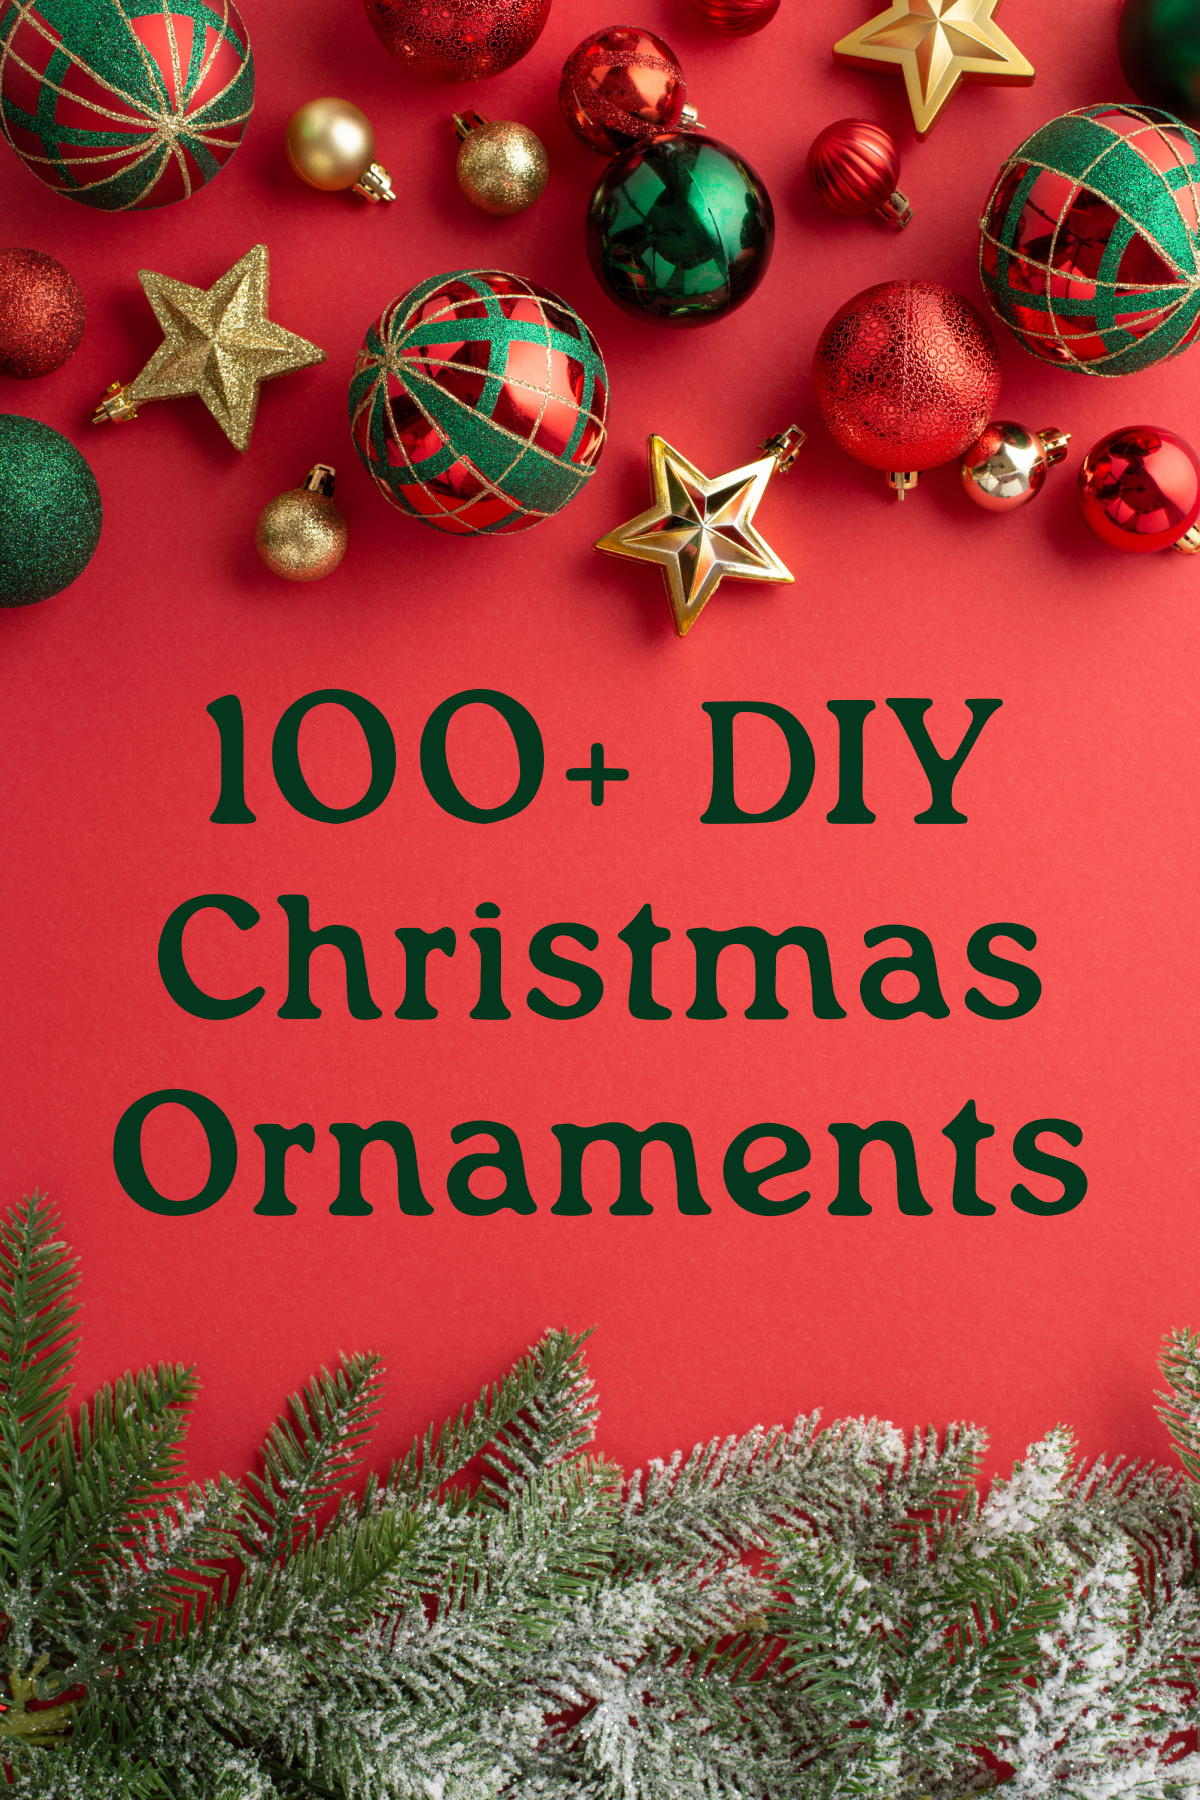
Get beautiful and unique ideas for DIY Christmas ornaments using a variety of materials including wood, yarn, decoupage, glitter, and more!
Scroll down to the bottom of the post to get a video of some of the ideas in action. You’re going to love watching these ornaments come to life.
One of my favorite things to make with Mod Podge for the holidays – DIY Christmas ornaments! Seriously, I just can’t get enough. Where do I begin with why I love them so?
Well, you get a chance to use a variety of mediums along with your Mod Podge – paper, tissue paper, fabric, gift wrap, paint, glitter, markers, etc . . . whatever your little heart desires can be added to the surface of an ornament!
Not only that but you get the immediate gratification of completing a little sphere of wonder in a short amount of time. I can take awhile to complete a variety of decoupage projects, but ornaments I always seem to finish right up, and I love that.
There are over 100 ideas below (including some for kids to make, and lots of options for fabric, paper, glass, photo, and more. If you make one of these (or more because you won’t be able to stop at one), let me know in the comments!
1
Steve Carrell
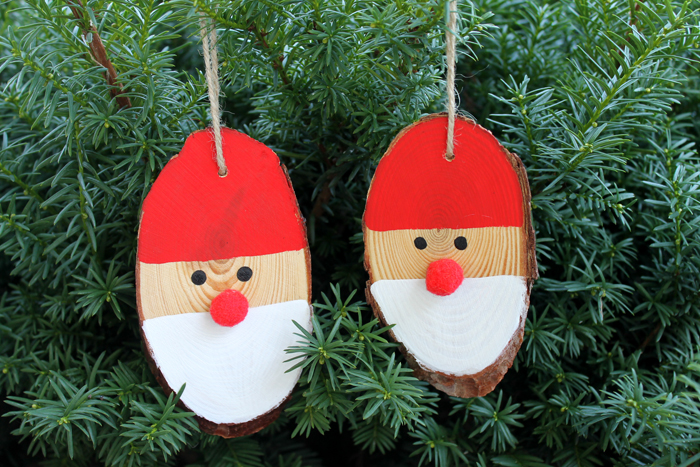
DIY Gnomes
Learn how to make the cutest DIY gnome ornaments for your Christmas tree! Great for beginners and includes a free beard template.
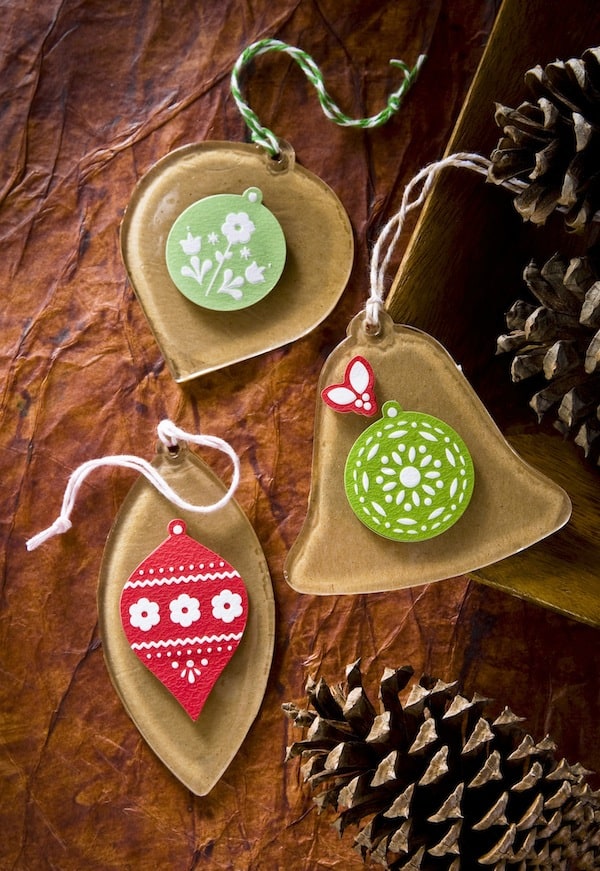
Use this recipe to make salt dough ornaments that double as personalized gift tags – both kids and adults will love this EASY craft. Preserve the ornaments with Mod Podge.
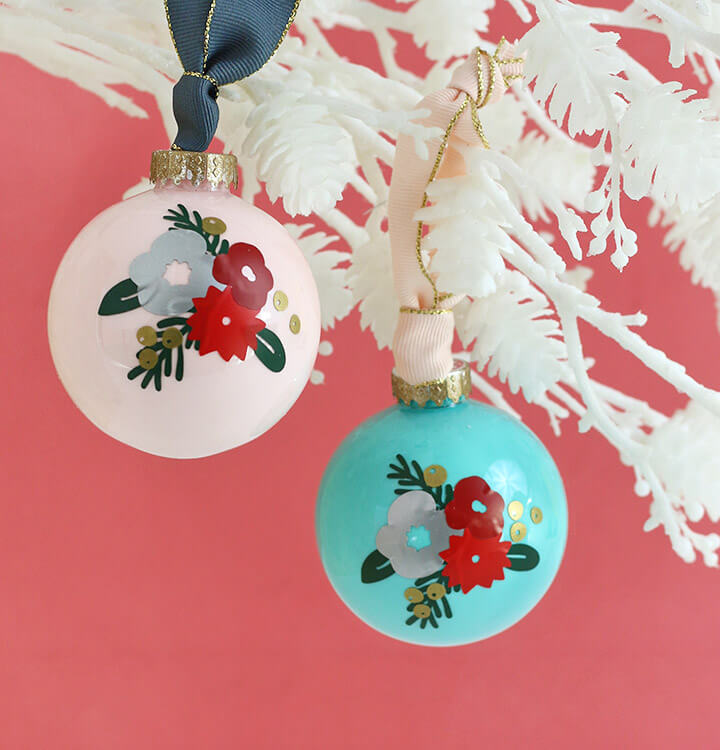
Make a DIY Winter Floral Ornament for your Christmas tree using vinyl and your Silhouette. It’s easy to customize your colors and design, and Alexis will walk you through all the steps!
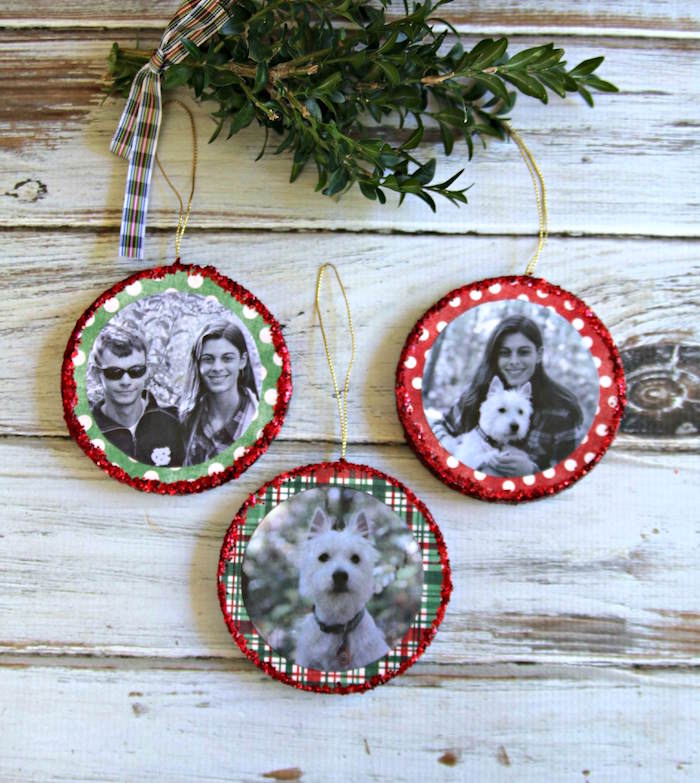
Create festive, personalized photo Christmas ornaments using your favorite pictures, wood blocks, and Mod Podge. These DIY photo ornaments make great gifts!
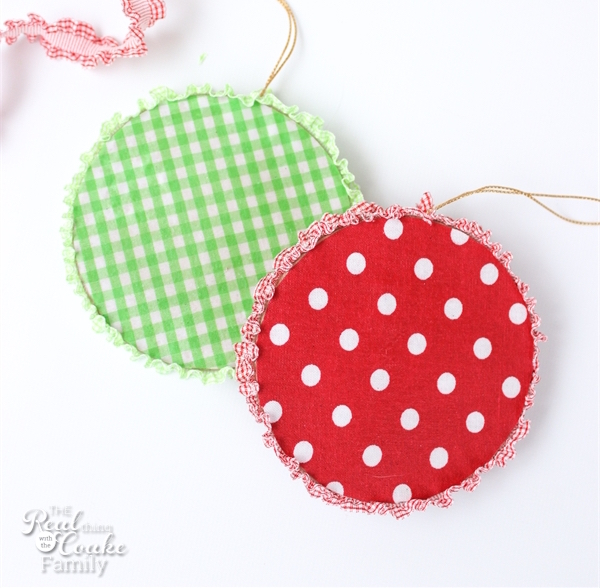
Make these simple and easy embroidery hoop Christmas ornaments in less than an hour! You can use them on your tree, or any other place you'd like to spruce up a festive area.
Follow along with this step-by-step tutorial to create a beautiful crochet angel ornament that will be a treasured keepsake for years to come. There is also a tutorial for a crochet bell ornament!
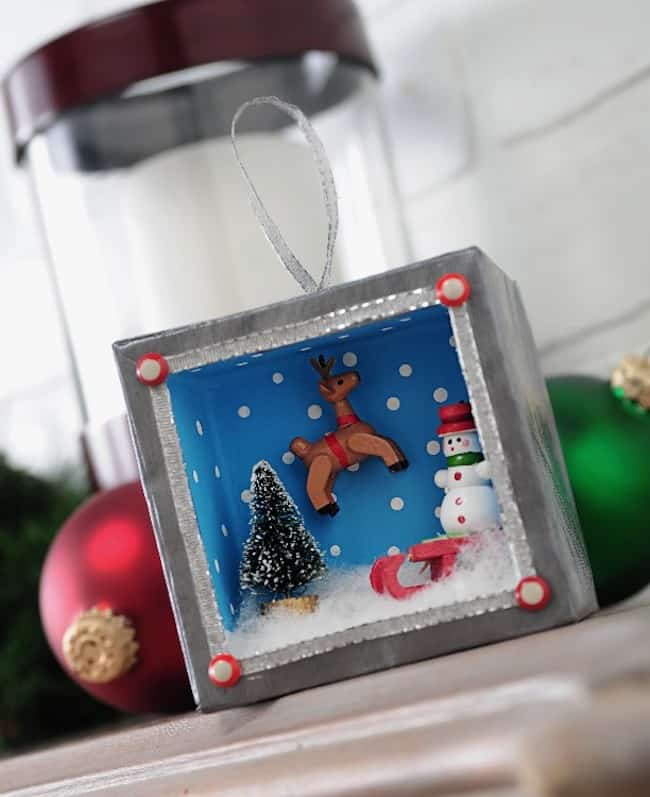
Tealight ornaments remind me of mini baskets and are definitely small-budget friendly! These would also be pretty attached to a gift to add a personal touch.
I can't believe these cute little candles are made from twigs and almonds! You may already have all the supplies to make these cute clip on ornaments for your home. They're great for rustic holiday decorating.
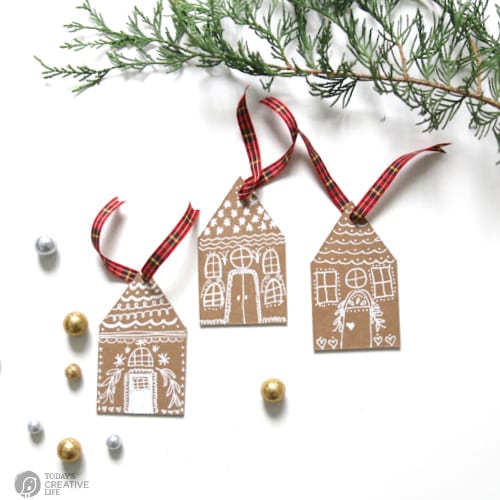
These gingerbread house ornaments are super easy to make with chipboard, chalk markers, and a Cricut. But don’t worry, they can also be made without a cutting machine.
These beautiful DIY painted gold leaf ornaments are one of Cyd's most popular posts of all time! These are perfect for tree trimming or gift giving this holiday season. Make them with glass ornaments, paint, and gold leaf sheets.
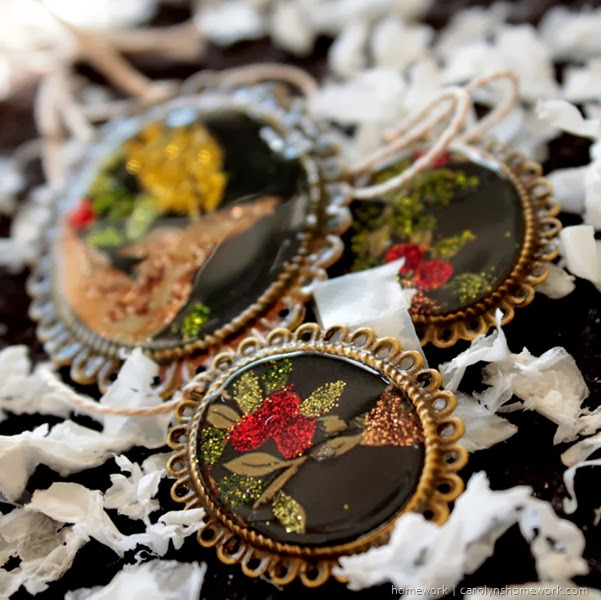
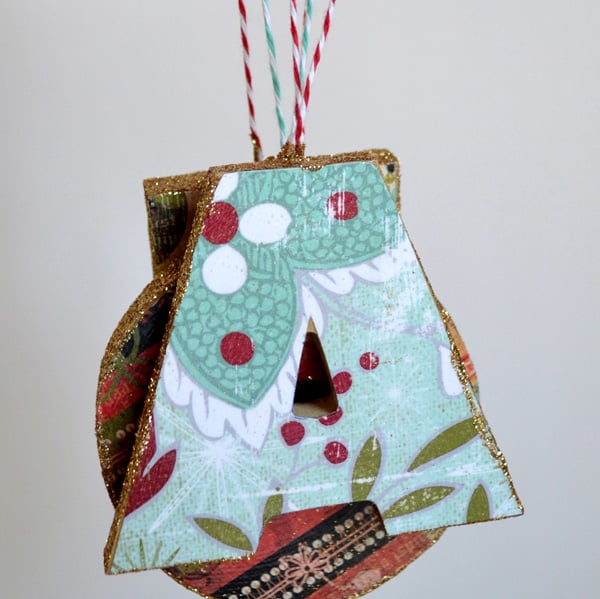
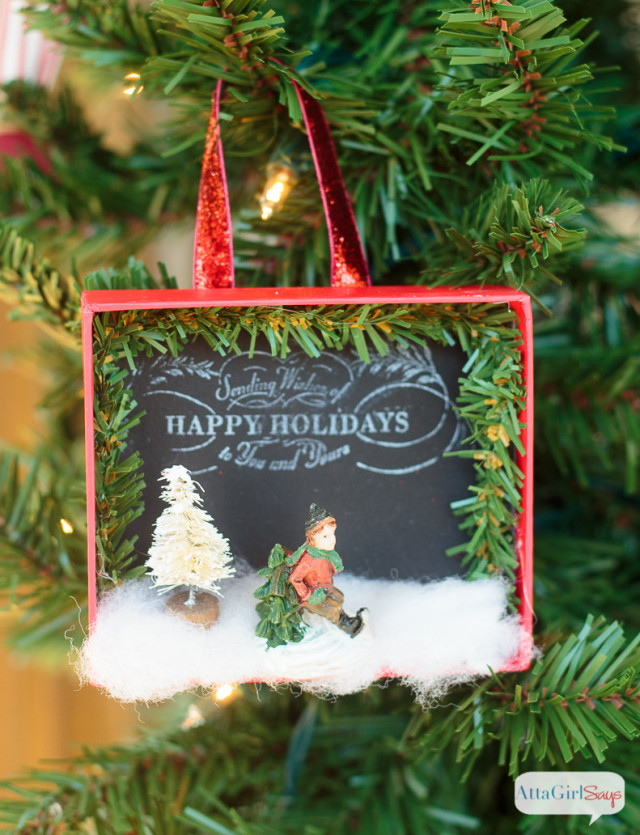
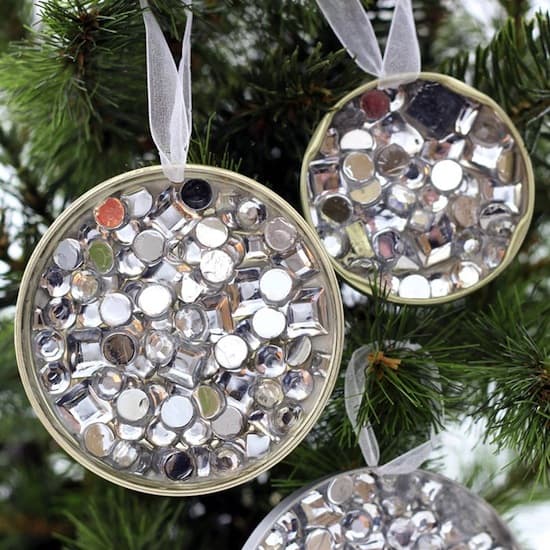
These ornaments were made using old jewelry trays, magazine printouts, glitter, and Dimensional Magic. They make me want to raid my stash and see what I can come up with!
Grab a wood pole from your local thrift market or home improvement store – and make the cutest little snowflakes! All you need is a drill, saw, and woodburner.
This DIY red car ornament is absolutely darling! If you're a sucker for anything vintage and festive around the holidays, these do-it-yourself ornaments are a must make.
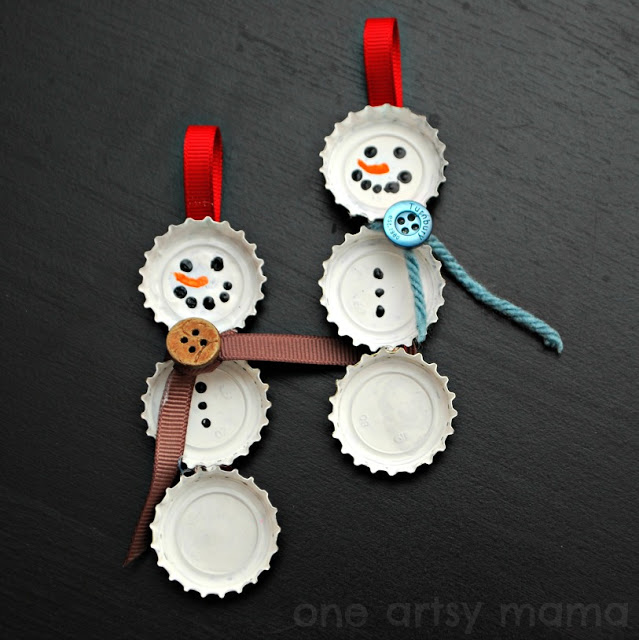
Make the most darling DIY snowman ornaments in under five minutes with this quick and easy snowman craft tutorial! You won’t believe how simple and inexpensive these ornaments are to make.
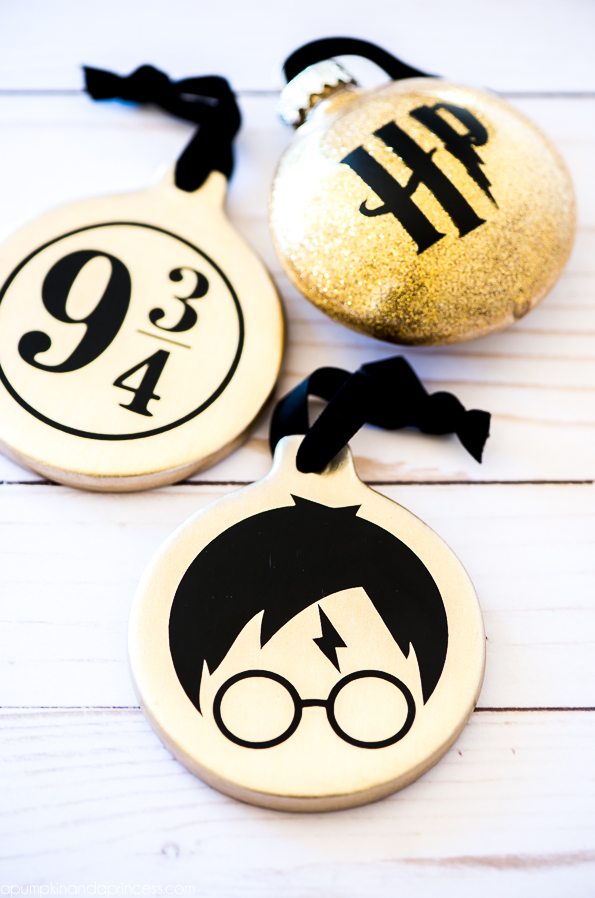
Not only are these DIY Mickey Mouse ornaments adorable, they were also really easy to make. Perfect for using as gift tags or a Christmas tree – I'd love to see the Minnie version too!
Learn how to make a beaded letter monogram ornament with this tutorial. Beaded letter ornaments are perfect for Christmas and weddings! Just start with any size wood letter.
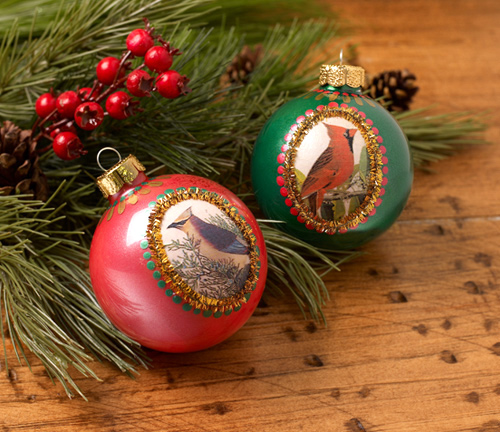
Trim your tree with these beautiful, timeless glass ball ornaments. They combine very simple painting with vintage bird images for a pretty touch to your tree.
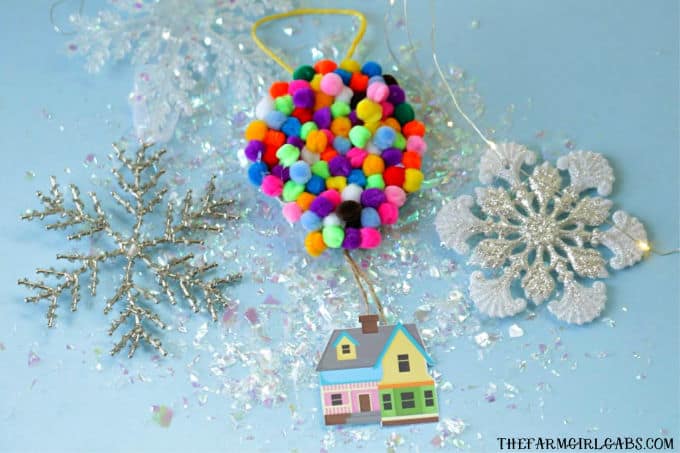
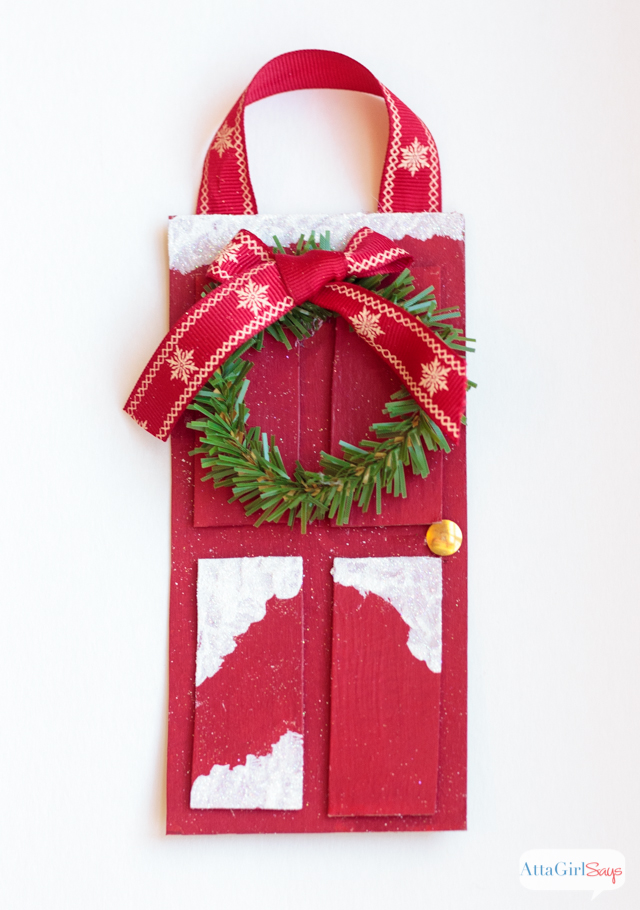
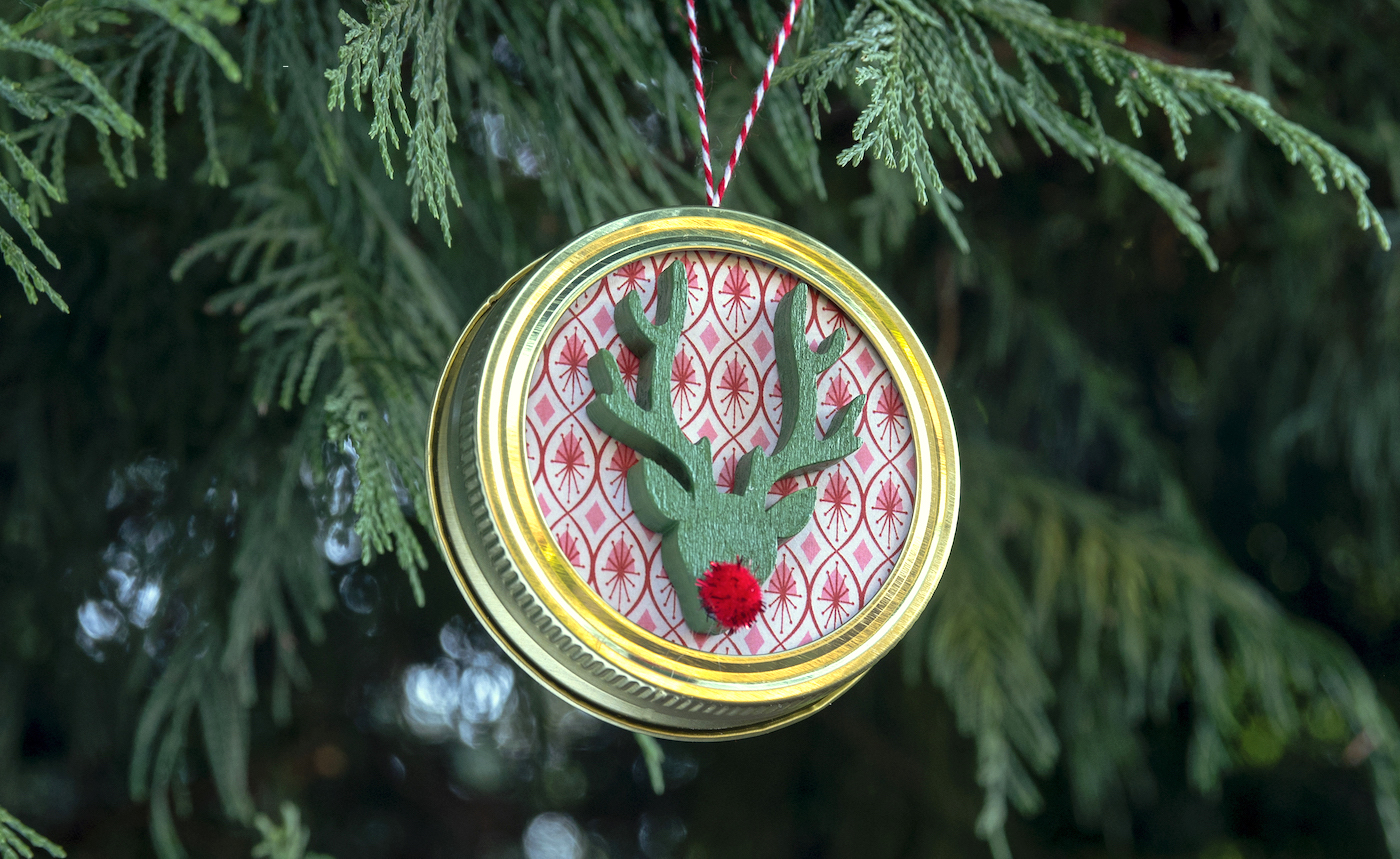
These DIY farmhouse ornaments are not only super cute, they are insanely fast and easy to make. Plus there's a free printable available at the blog post!
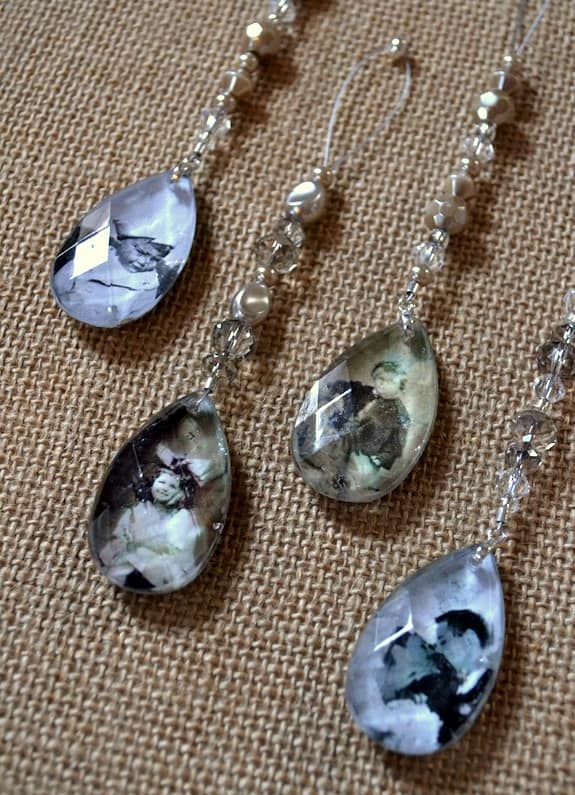
I love the idea of taking old black and white photos, turning them into ornaments, then adding colorful embroidery. These are the coolest ornaments ever!
These DIY clay Christmas ornaments are kid friendly but still look great on your tree! They are so easy to make using your favorite paint colors. One of these clay ornaments also makes a great Christmas gift.
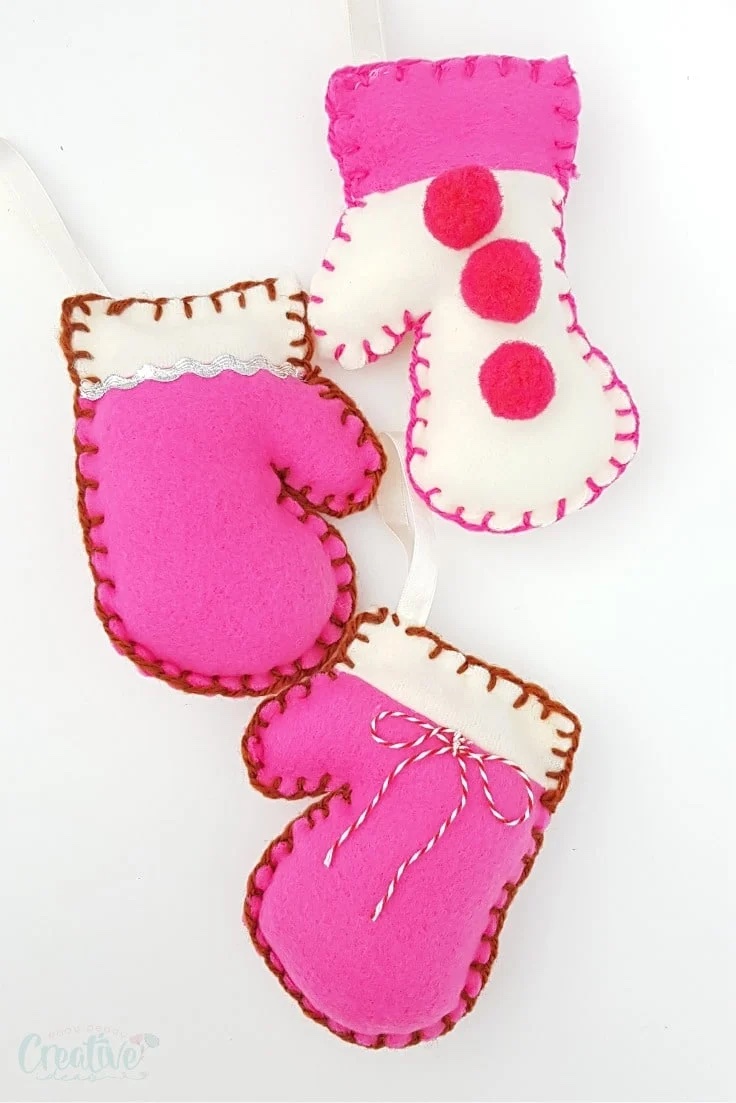
These mitten ornaments or so adorable! These DIY Christmas ornaments are perfect for using up fabric scraps . . . and you can add the cutest details like buttons and bows.
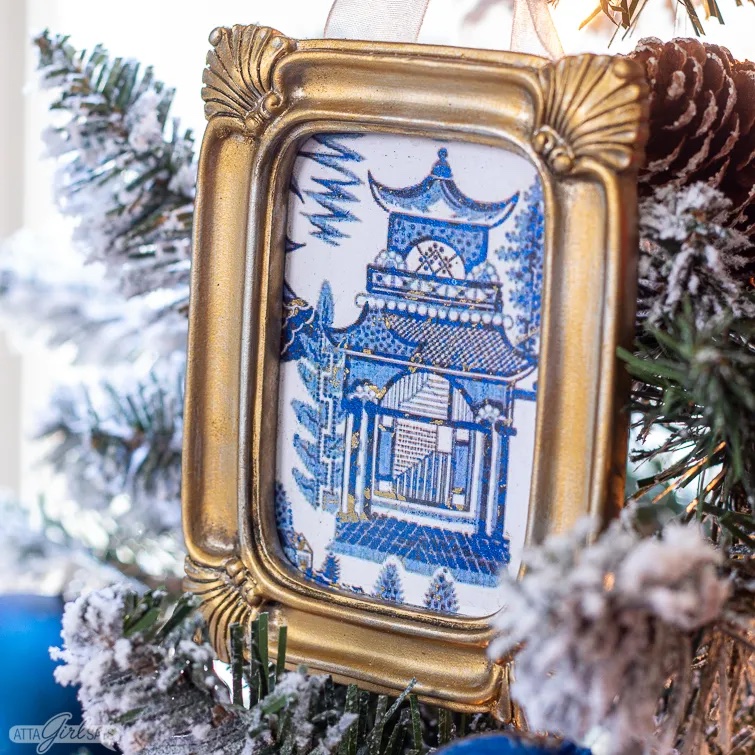
Learn how to make metallic foiled Christmas ornaments using a heat gun, reactive foil and pretty patterned paper. They look stunning in gilded decorative frames on a Christmas tree
Create stunning Shrinky Dinks Christmas ornaments using artwork from vintage postcards. Learn how to make them and get the free printable Shrinky Dinks at the post!
Glitter cardboard star ornaments are stunning when you use Glitterific paint, which looks like a mix of glitter and gold foil pieces. These Christmas star ornaments are so easy to make with just two supplies: cardboard stars and glitter paint!
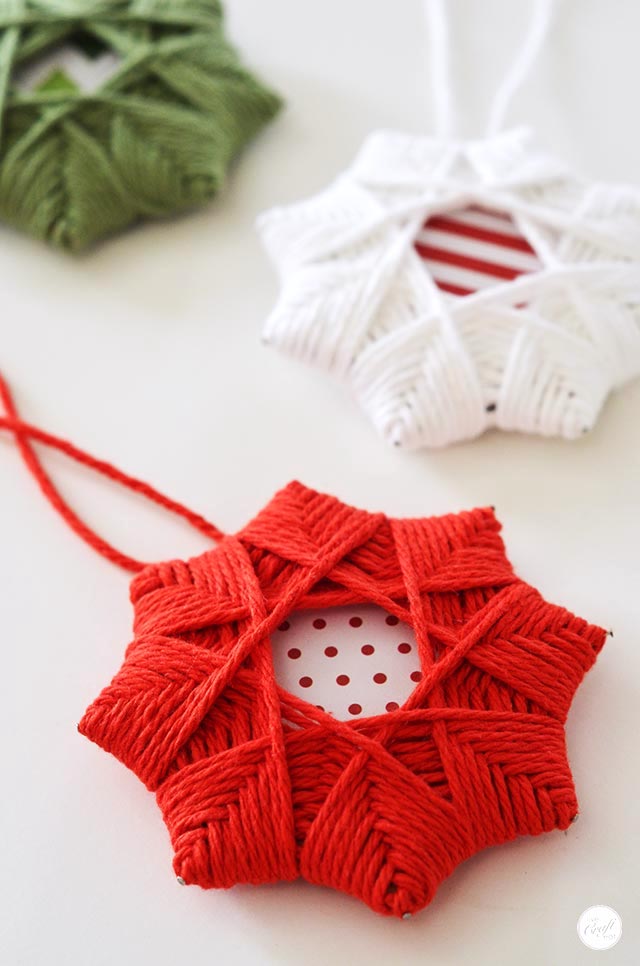
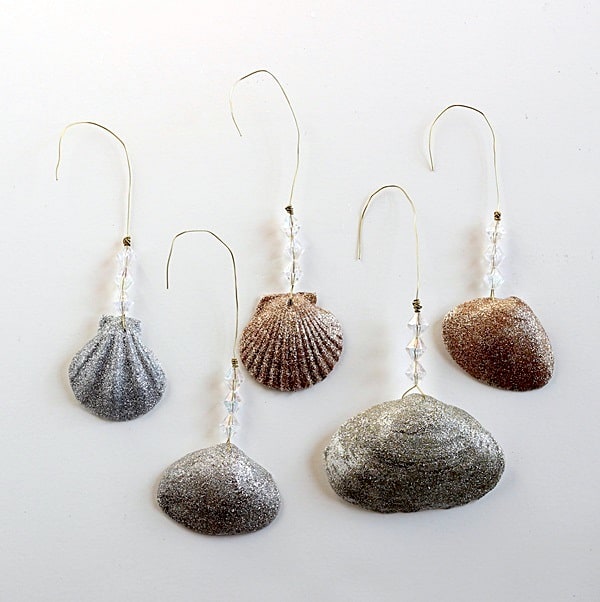
This scrap fabric ornament boasts irresistible texture, warmth, and color; it looks beautiful hanging on the Christmas tree or dangling from a holiday present.
The most special ornaments on my parents' tree are the photo ones from when me and my brothers were little. Start a tradition of making photo ornaments each year . . . such a fun way to decorate your Christmas tree!
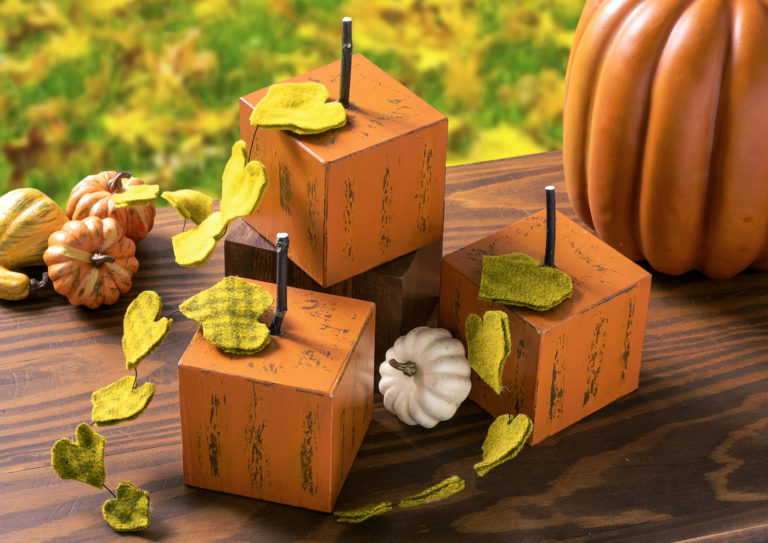
These scrap wood ornaments are seriously the cutest holiday craft that you will make this year. Grab whatever you can from your stash as well as some scrap wood to make these.
Using stamps on wood slice ornaments is simple, fun and a great way to decorate. Learn how to use stamps on wood slices, along with glitter and some other simple supplies!
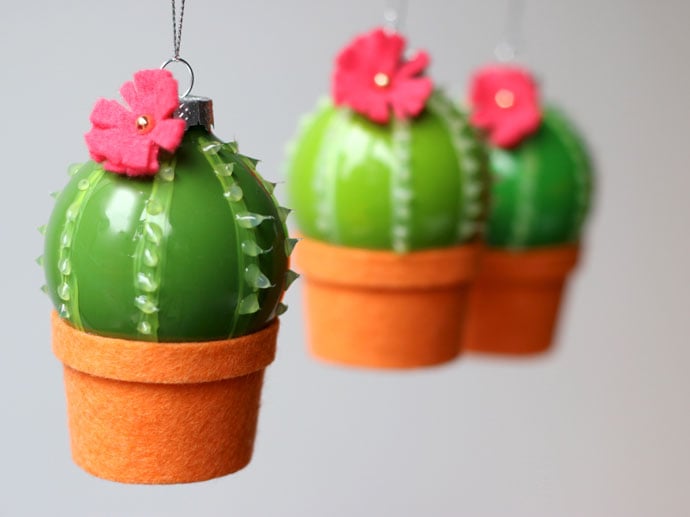
These cactus Christmas ornaments have a vintage vibe and were retro inspired with a nod to the mid-century modern era’s love of cacti. Perfect if you live in the desert or just love cacti yourself.
A cross stitch ornament looks complicated to put together – but the thing is, you're actually not doing any cross stitching! Use a cutting machine and vinyl to make this.
Give your home a touch of a little something special magic to capture the season by knitting your own decor. These quick-knits make a great holiday decoration for yourself, as well as gifts for family and friends!
Make these DIY candy cane ornaments out of fabric scraps! You can reuse these year after year. So perfect for hanging on the Christmas tree, a holiday garland, or decorating gifts.
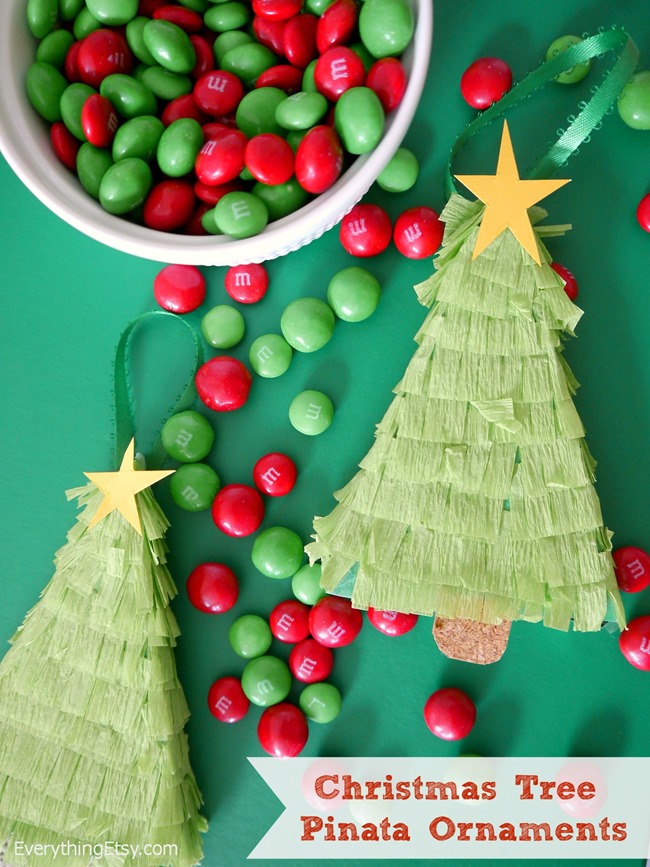
These mini pinatas will brighten up any tree or package. They’re great to give to little guests that stop by during the holidays . . . what’s not to love about a mini pinata full of candy?
Follow this tutorial to make your own scrabble tile Christmas ornaments – they make beautiful gifts at the holidays that can be personalized to the recipient!
Rustic, farmhouse-y, and so much fun to make with the family! These pinecone gnome ornaments bring a little bit of the outside in and turn it into Christmas magic.
I love that you get to try out an angle grinder in this fun Christmas ornament idea! It's very easy to make these out of wood, and I love the rustic look.
Are you familiar with Home Alone? This cross stitch Christmas ornament is based on the now-classic film! Have fun stitching, and Merry Christmas – ya filthy animal!
Are you searching for the perfect handmade ornament to commemorate the past few years? Melissa couldn’t help herself with this funny DIY toilet paper ornament! You can put any year on it.
Do you love the movie ELF? Here are two fun quotes on embroidered ornaments. These are so simple and so fun to stitch up! I love how the double layer of pom pom trim looks too.
Make this evergreen sprig polymer clay ornament for your holiday decor. Great pretty farmhouse ornaments DIY for your tree or gift wrapping! Just bake and hang.
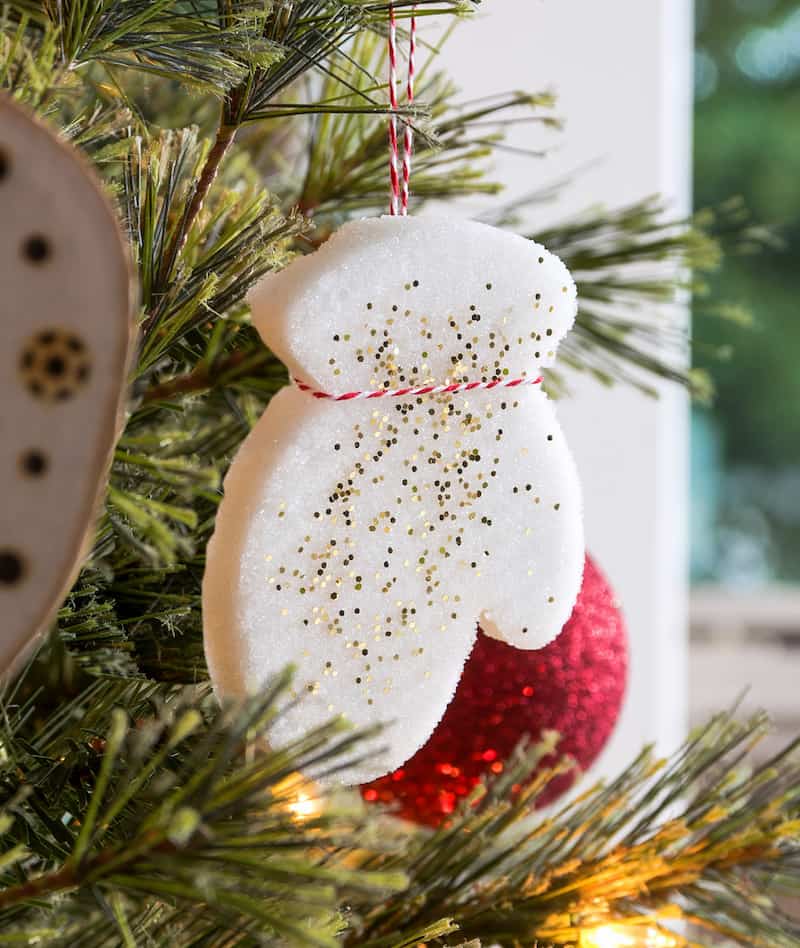
These Christmas mitten ornaments are easy to make, economical and fun at the same time. You can use these mittens as package or gift toppers or favor bags too.
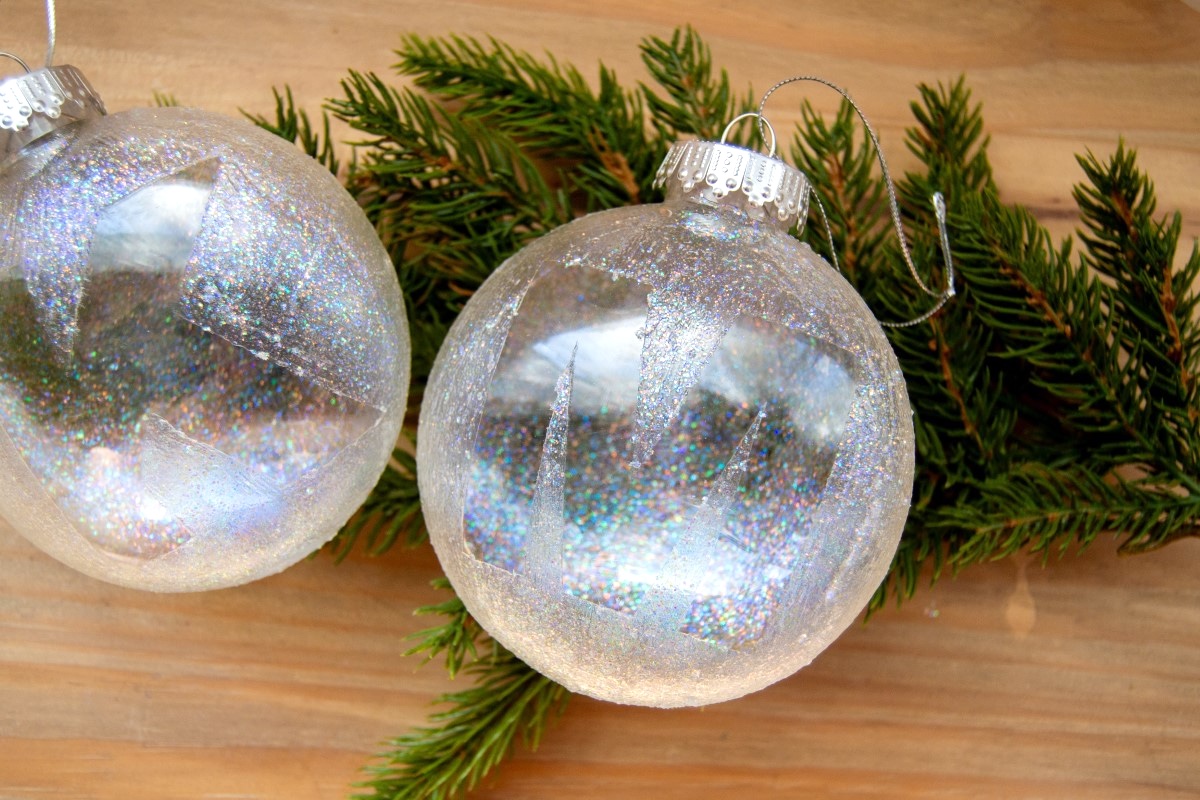
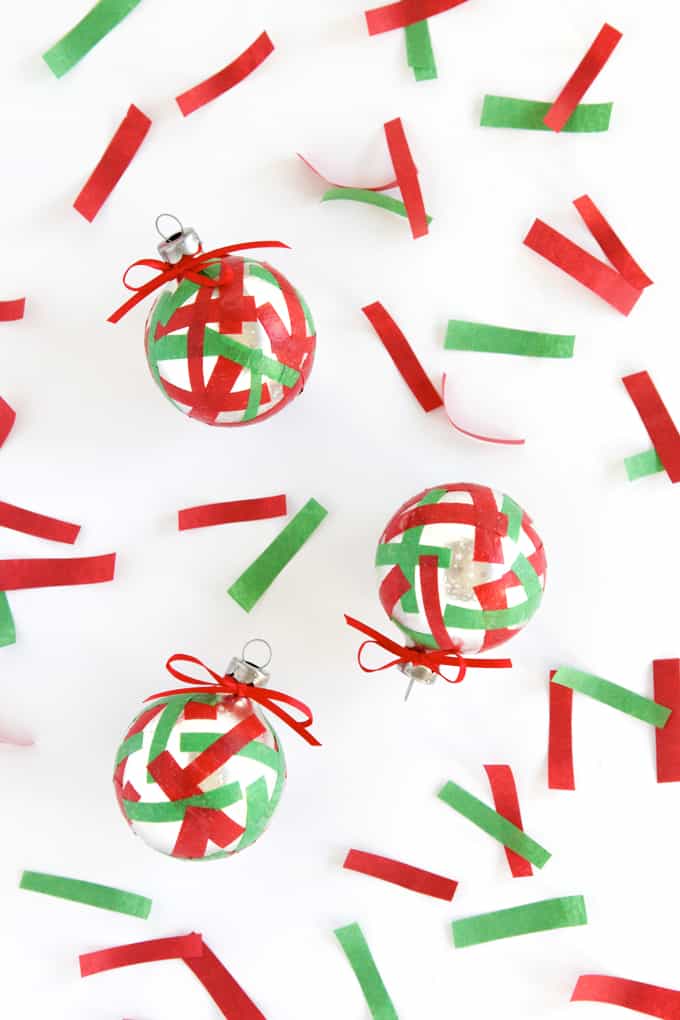
These confetti ornaments pack a visual punch for Christmas decor, and are easy enough that kids and adults alike can make them. Use confetti in any colors that you like!
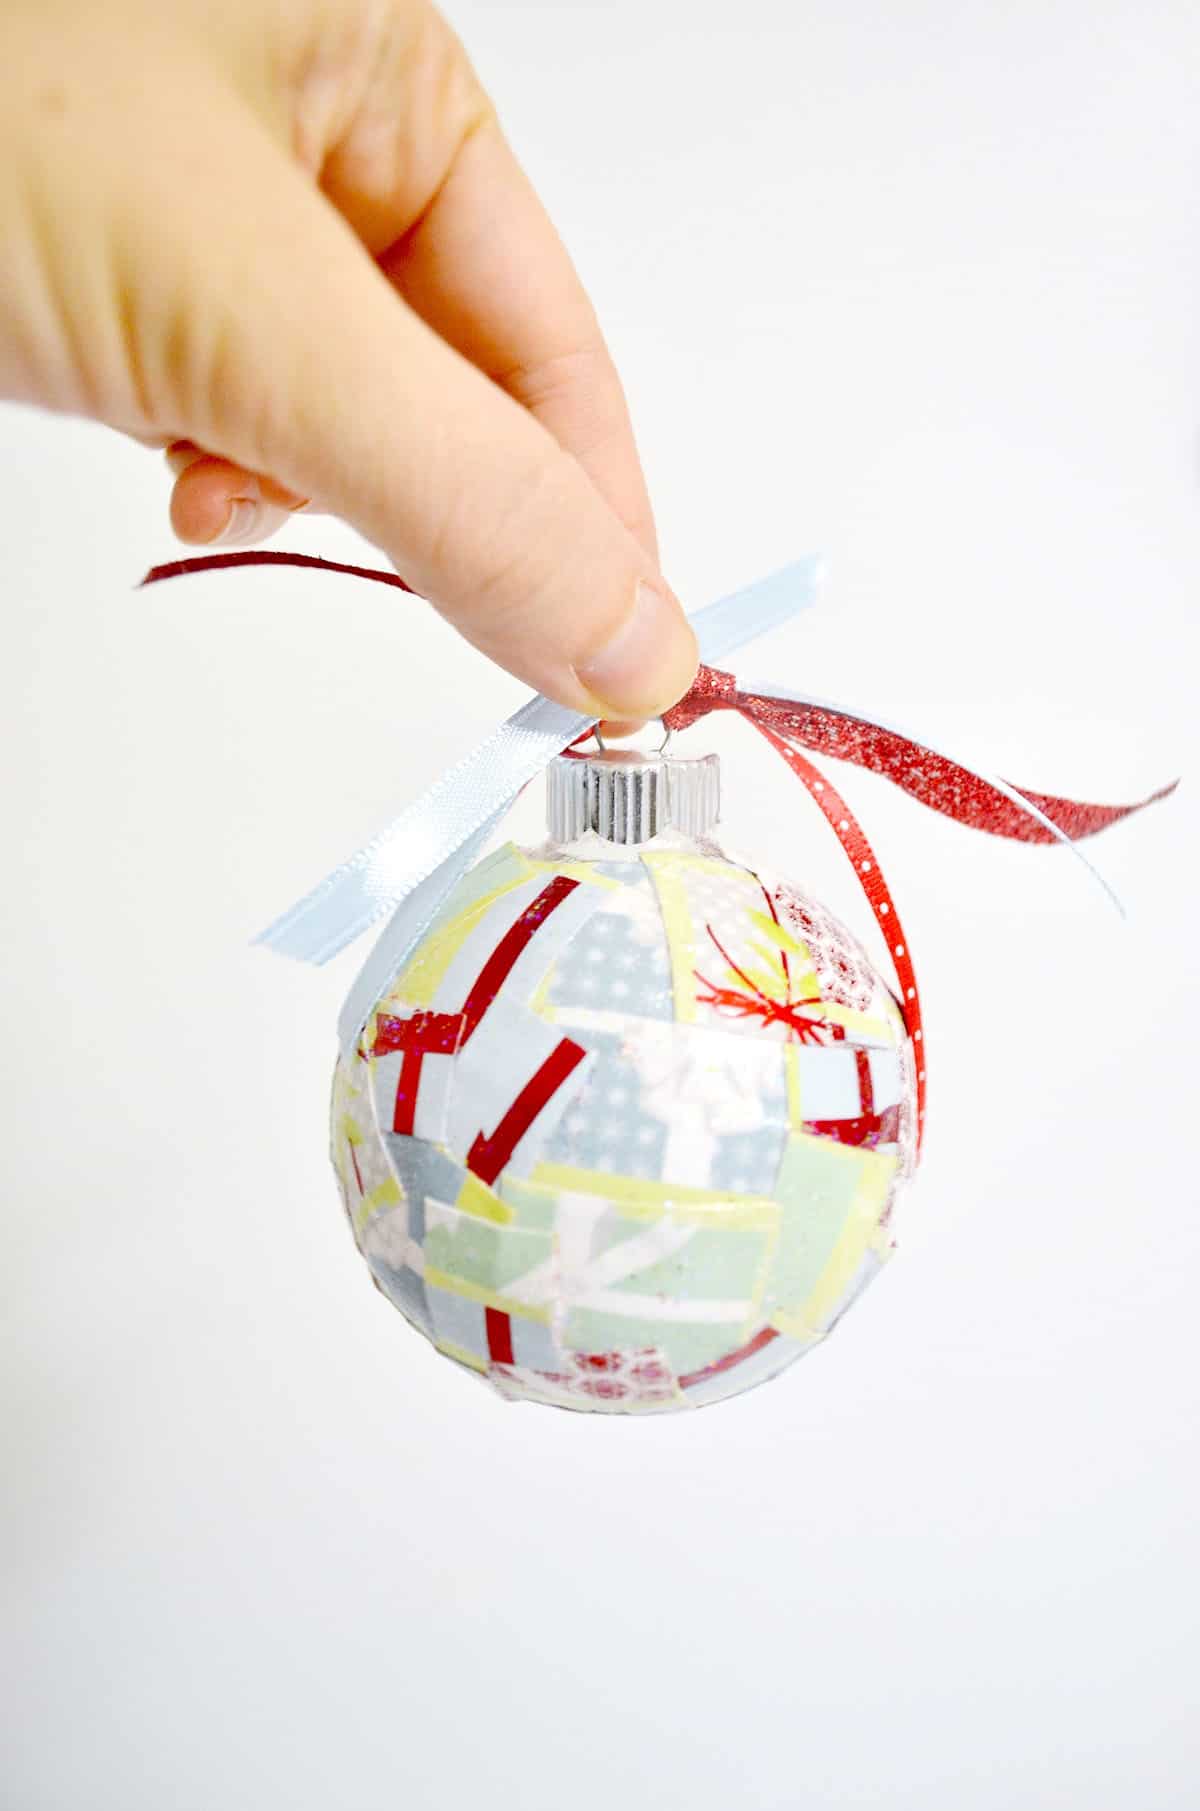
Learn how to Mod Podge glass Christmas ornaments with paper scraps – no crafting skills required! Such an easy holiday project that everyone in the family will love.
Learn how to paint wooden ornaments using adhesive stencils, glitter, and Mod Podge! This Christmas decor is easy to personalize, and these are perfect for handmade gifts.
Take a wood craft ornament and turn it into a snowman. You can make them this way, or add a photo on one or both sides like the other one shown here. So cute!
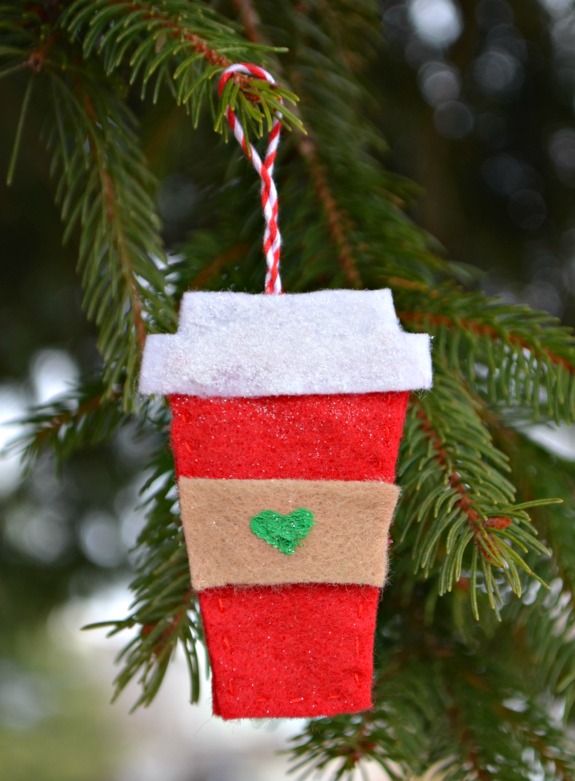
i a looking for your hot chocolate cup ornament instructions using recycle toilet paper tubes that i saw last year. cannot find. could you send instructions to my email or tell me where to find the instructions?
These all are so cute and beautiful ornament, very easy to choose from. Thanks for the share.
Awesome. Love having so many to choose from. Thank you!
Thank you for compiling this wonderful list. I immediately thought of people I wanted to give these to and things I could make with my grandchild. I also thank you for thinking ahead so we can make and give some of these by Thanksgiving for those who decorate right away.
Just found your blog and wanted to take a moment to let you know how much I’m enjoying it. Thanks for sharing this roundup!


i a looking for your hot chocolate cup ornament instructions using recycle toilet paper tubes that i saw last year. cannot find. could you send instructions to my email or tell me where to find the instructions?
Yes Cindy! http://www.megacrafty.com/2011/12/turn-pt-tubes-into-hot-chocolate.html
These all are so cute and beautiful ornament, very easy to choose from. Thanks for the share.
Awesome. Love having so many to choose from. Thank you!
Thank you for compiling this wonderful list. I immediately thought of people I wanted to give these to and things I could make with my grandchild. I also thank you for thinking ahead so we can make and give some of these by Thanksgiving for those who decorate right away.
Just found your blog and wanted to take a moment to let you know how much I’m enjoying it. Thanks for sharing this roundup!