
Learn how to make a DIY Christmas village that looks beautiful with a variety of decor styles! This is an easy holiday craft for beginners.
Skills Required: Beginner. It helps to have some experience with painting since you’ll be doing some stenciling, but even a beginning crafter can make this. Besides the painting you’ll be applying paper with Mod Podge.
Christmas villages hold a special meaning in my heart. Back in the day, it was a big deal to bring ours out. It wasn’t handmade; instead it was ceramic, and it had a special feature I loved – it lit up. Is it a female thing to be tickled by things that light up?
Anyway.
We also had one of those lighted ceramic Christmas trees with the little plastic ornaments, as well as some ceramic characters like a kid on a sled. For whatever reason, I was really attached to that village.
When it came out of storage each year, I had to be a part of the unboxing. I believe that my parents still have it. But over the years I forgot about it, due to multiple moves as an adult and general aging.
But I never lost my love of holiday villages, and it was time to make one to become a part of regular Christmas traditions.
It’s time for us all to make them.
And I’m going to give you the tutorial today! Maybe this is something you do once, but it could also be a family Christmas craft. Add another piece each year.
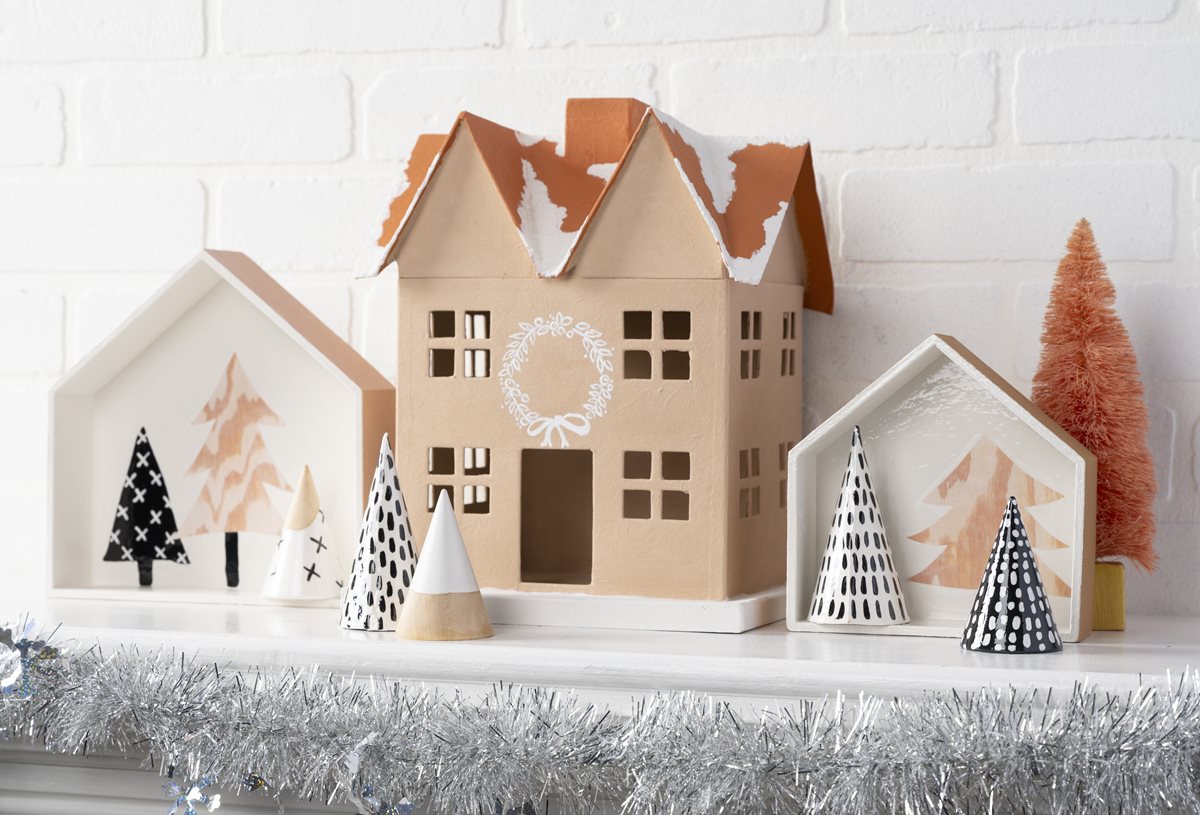
However you choose to incorporate this into your traditions is up to you! I think it looks great on a Christmas mantel.
PS – Did you know these were called putz houses? I had no idea. If you happen to know why, leave me a comment.
Making the Village
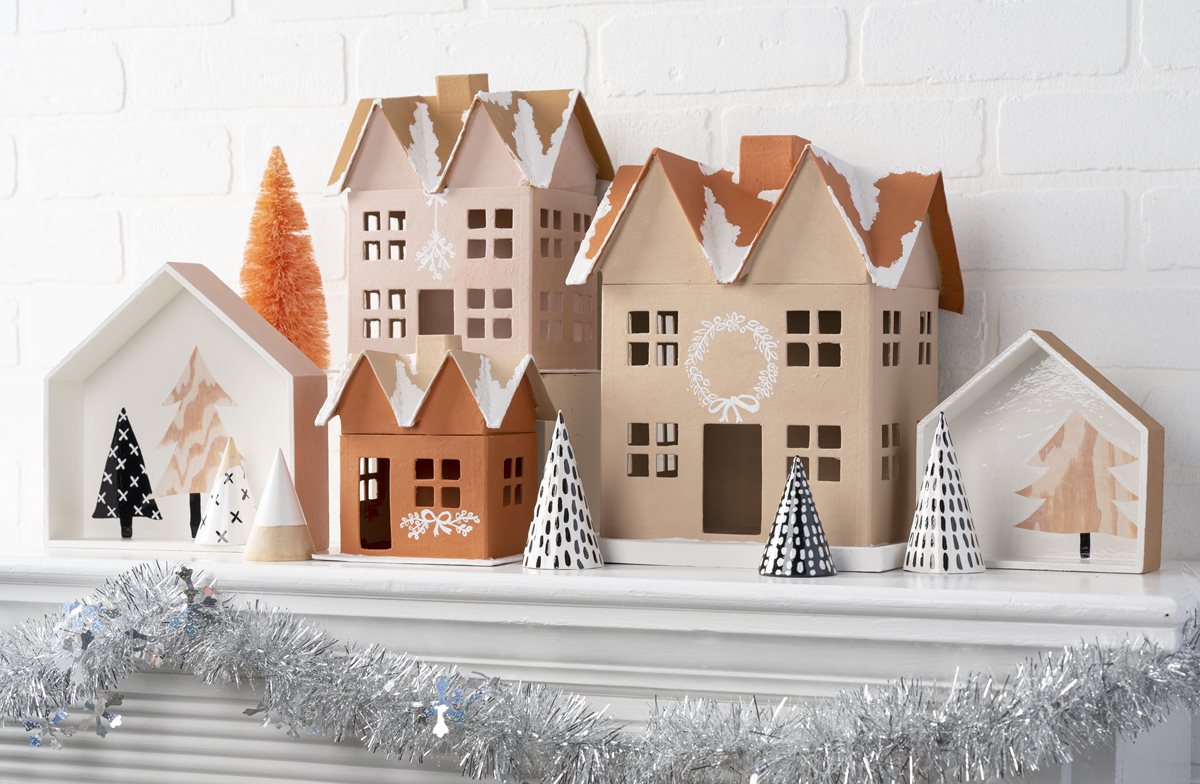
This village was made using a modern, neutral color palette, but you can use any Christmas color palette you like. The sky’s the limit!
This project is made up of three separate items. There are paper mache houses, shadow box trees, and then some dimensional cone trees. The instructions for all three are in the how to card at the bottom of this post.
You may have some questions about this Christmas craft, which I’ll try to answer below. Otherwise, just scroll down for the tutorial card!
What can I use for the houses?
The expense of this project really varies, and it mostly depends on the houses you use. Paper mache houses purchased from the craft store were used for this village, but I highly recommend checking out the Dollar Tree during the holidays. They have inexpensive surfaces!
Some people like to use birdhouses for this project – I’ve also seen wood scraps used. If you’re looking to go really budget friendly, you can make milk carton houses. This Christmas village doesn’t have to be expensive.
What Mod Podge should I use?
You can check out the formula guide, but I recommend either Gloss, Matte, or Satin depending on the finish you like.
I think Satin or Matte would be nice for a softer feel! But let’s not rule out Sparkle either. That’s a fun one for the holidays.
What paint should I use?
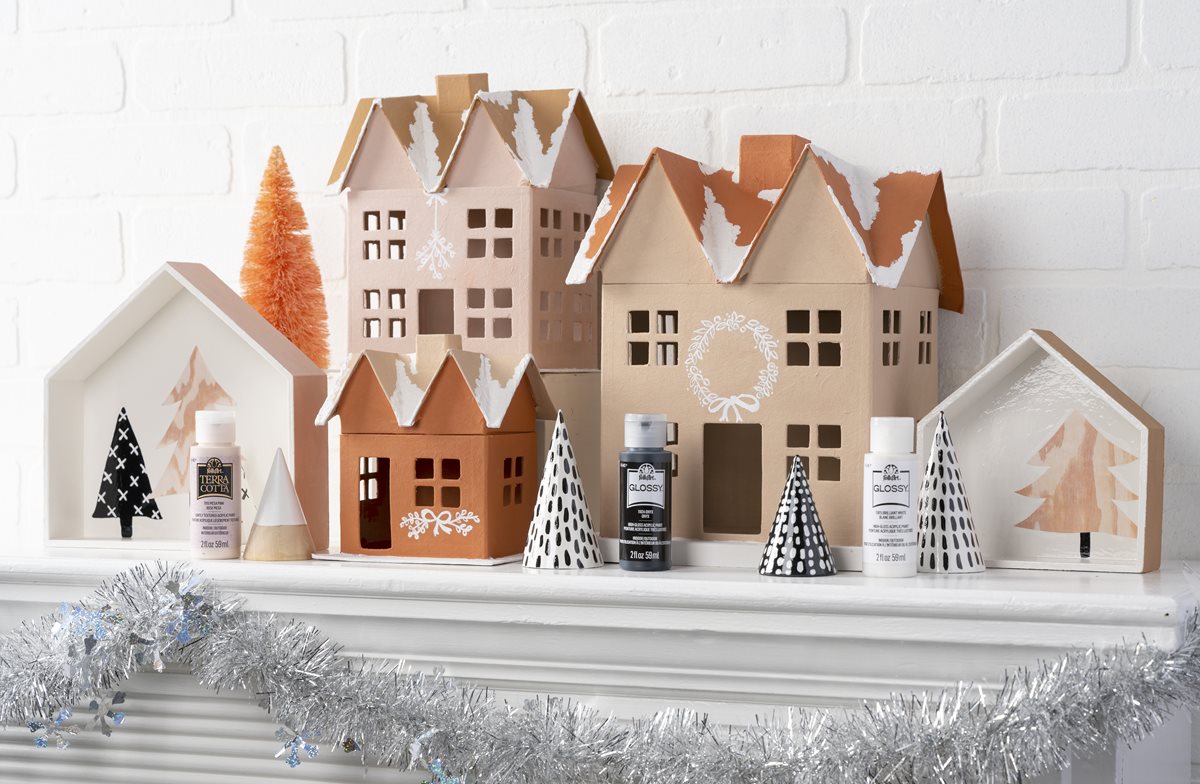
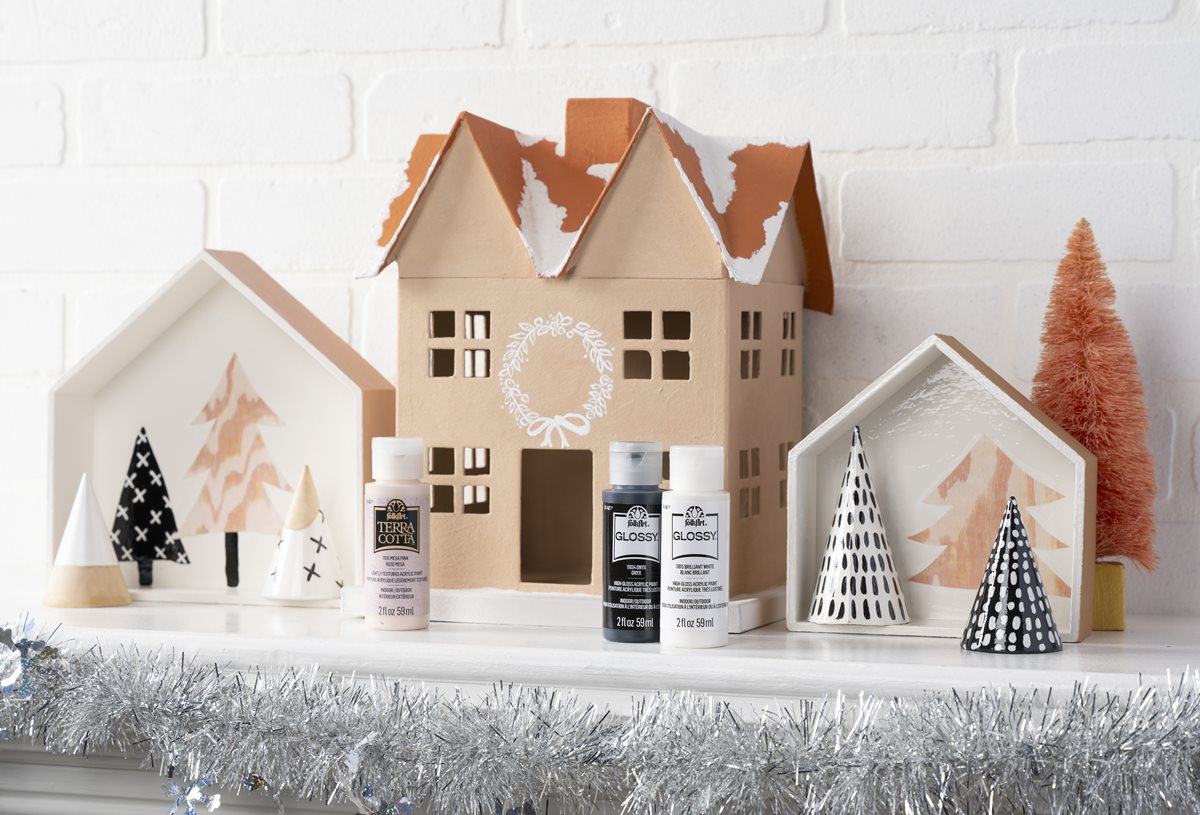
You can use any paint you like! I use FolkArt craft paint. This project specifically uses FolkArt Terra Cotta and FolkArt Glossy (which has a high shine).
I like to go with the higher end craft paint for a project like this that I want to last (plus it’s not that much more expensive).
Are you ready to get the tutorial for this mini Christmas village? Check it out below!

DIY Christmas Village
Equipment
- Adhesive stencil(s)
- Stencil brush
- Foam spouncer
Materials
- 1 set Paper mache houses set of 3
- Small paper mache or wood cone trees
- 2 Wood shadow box houses
- Mod Podge Gloss
- Acrylic paint colors of your choice
- Snow paste
- Scrapbook paper
Video
Instructions
Paper Mache Houses
- Basecoat all houses in your choice of colors. Let dry between coats.
- Using a spouncer, apply the snow paste to the roof of the house in a thicker application to resemble snow. Let dry.
- Using adhesive stencils, add designs to the front of the houses with white paint.
- Paint additional seasonal details with a small brush and white paint or snow paste. Let dry.
House Boxes
- Basecoat the shadow boxes with white on the inside and the color of your choice on the outside. Let dry.
- Cut out basic tree shapes from the patterned paper. Apply Mod Podge to the back of box, and smooth the paper down. Wipe away excess Mod Podge with the brush and let dry.
- Paint a layer of Mod Podge over the trees as well as the entire shadow box. Let dry.
Cone Trees
- Basecoat cone trees in colors of your choice. Cover completely and let dry.
- Using small brushes, add brushstroke patterns and details to trees as shown in contrasting colors. Just place a small brush tip down and pull away quickly, making small lines. Repeat and let dry.
Did you enjoy these miniature putz Christmas houses? I’d love for you to check out these other ideas:
Plus you need to check out this Buddy the ELF village . . . isn’t it cute??


