Make mason jar lid ornaments and add a rustic touch to your Christmas decorating! Perfect for farmhouse style and can be customized easily.
Skills Required: Beginner. It helps to have a little bit of crafting experience but not necessarily required. You’ll going to Mod Podge a mason jar lid, paint an embellishment, use an awl to punch a hole, then hang on baker’s twine. The results are so cute and easy!
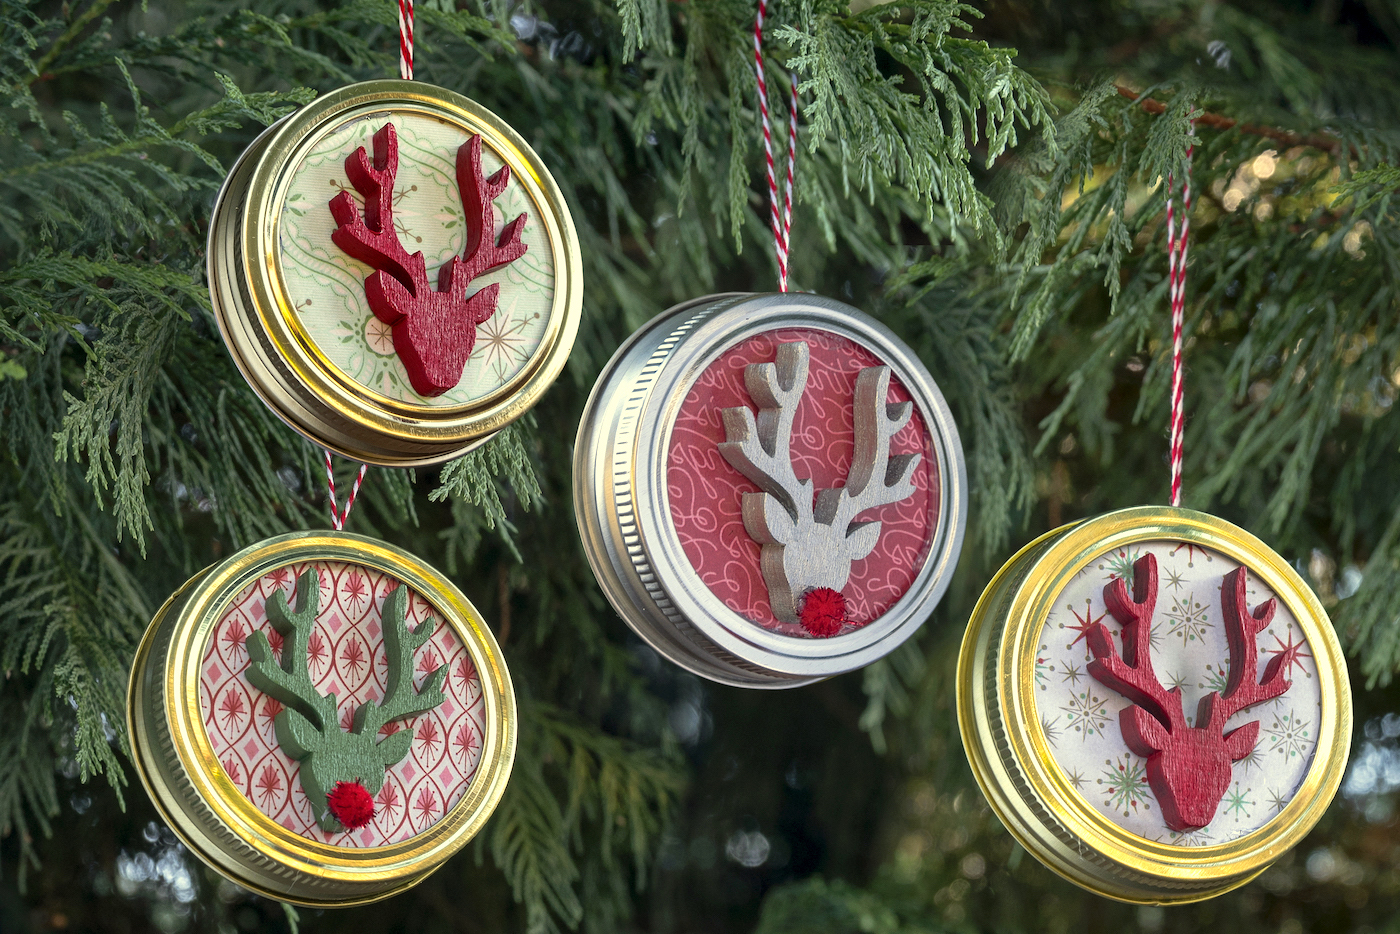
I had a very funny experience not so long ago when cleaning out my craft closet. I found a lot of random objects that I totally forgot about, and amongst them: mason jar lids and rings.
Where did these lids and rings come from? Where are the jars that go with them? And more importantly, how come I don’t have an equal number of lids and rings?
The world may never know.
My craft closet is a big mystery sometimes. But when I discovered said rings and lids, my mind immediately went back to the time last year that I hosted an ornament party with Plaid (makers of Mod Podge).
And one of the projects during that party? Mason jar lid ornaments!

The last time I made these, I did more of a whimsical feel with bright colors. This time, I decided to make them again using a little bit more of a modern rustic or farmhouse feel. I ended up having these wood deer embellishments in my stash that I thought went perfectly.
There are four steps to making these DIY Christmas ornaments. You’re going to trace the lids and cut out the paper, Mod Podge the paper down, paint the deer and attach, create the hole and attach the hanger.
Adults will enjoy this project as well as children. Old kids can probably make these on their own. If you’re ready to learn, scroll down for the simple tutorial!
Gather These Supplies
- Mason jar lids and rings
- Scrapbook paper – Christmas themed
- Mod Podge Satin – any Mod Podge formula will work
- Wood deer or other embellishments
- Acrylic paint – to coordinate with your scrapbook paper
- Baker’s twine
- Pom poms
- Glue gun and hot glue sticks
- Pencil or pen
- Scissors
- Awl
- Paintbrush
Mason jar lids and rings are sold on Amazon or separately in the craft store. I have seen them in Michaels. So yes, you can use them from mason jars, but you can also buy them.
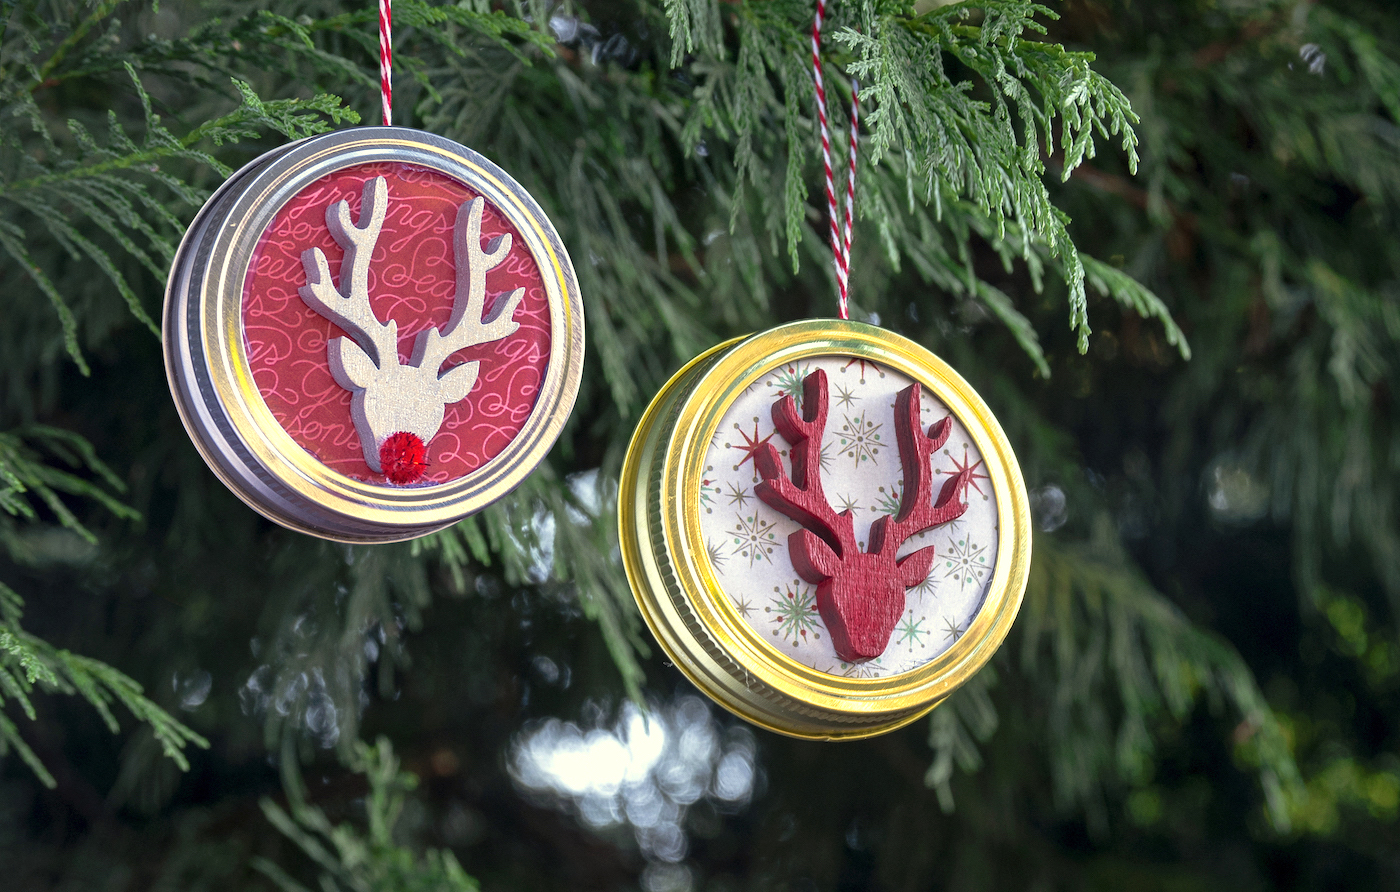
I challenge you to use different shapes, different color metal lids and rings (silver and gold for sure). Have a great time!
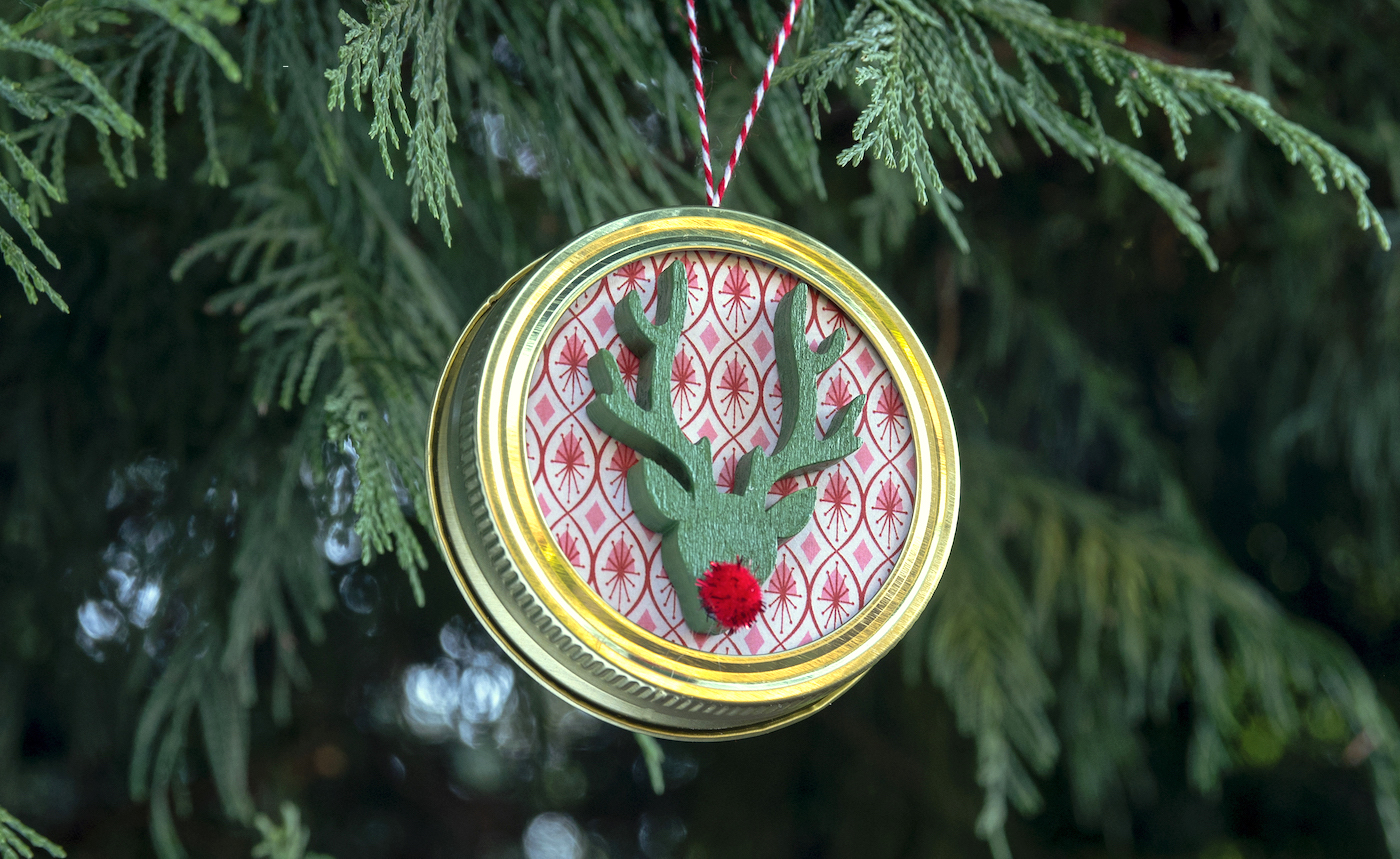
Get the printable tutorial below:
Mason Jar Lid Ornaments
Equipment
- Pen or pencil
- Awl or sharp object
Materials
- 4 Mason jar lid and ring one per ornament
- Scrapbook paper
- Mod Podge Satin
- 4 Wood deer or other embellishments
- Acrylic paint
- Baker’s twine
- Pom poms
Instructions
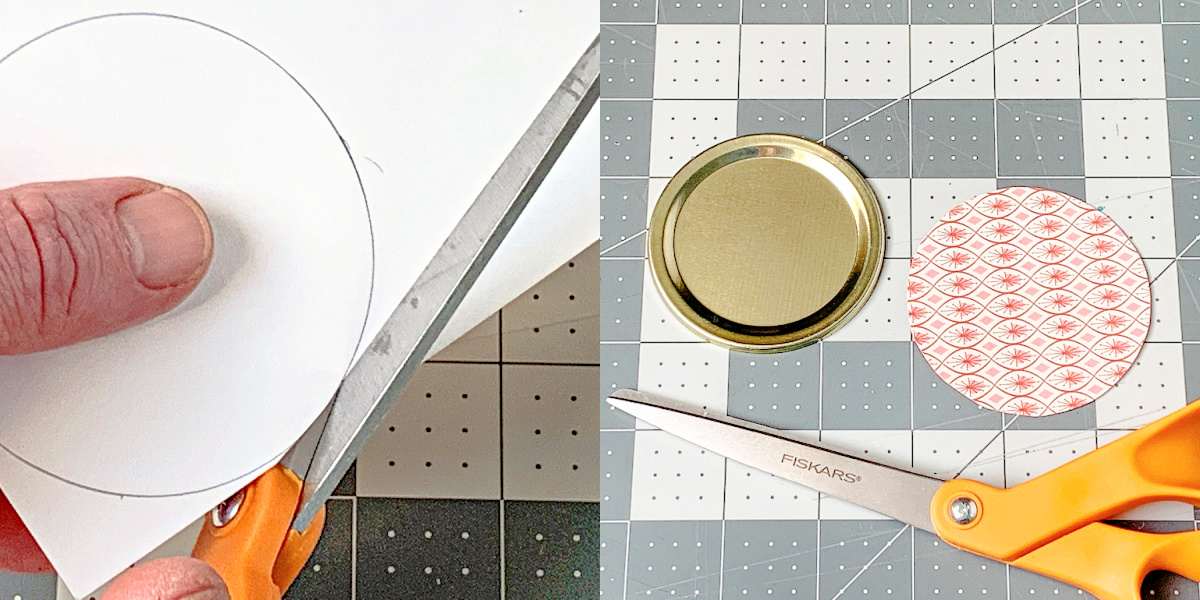
- Remove the lid from the mason jar ring and place on a piece of Christmas scrapbook paper. Trace and cut out with scissors.
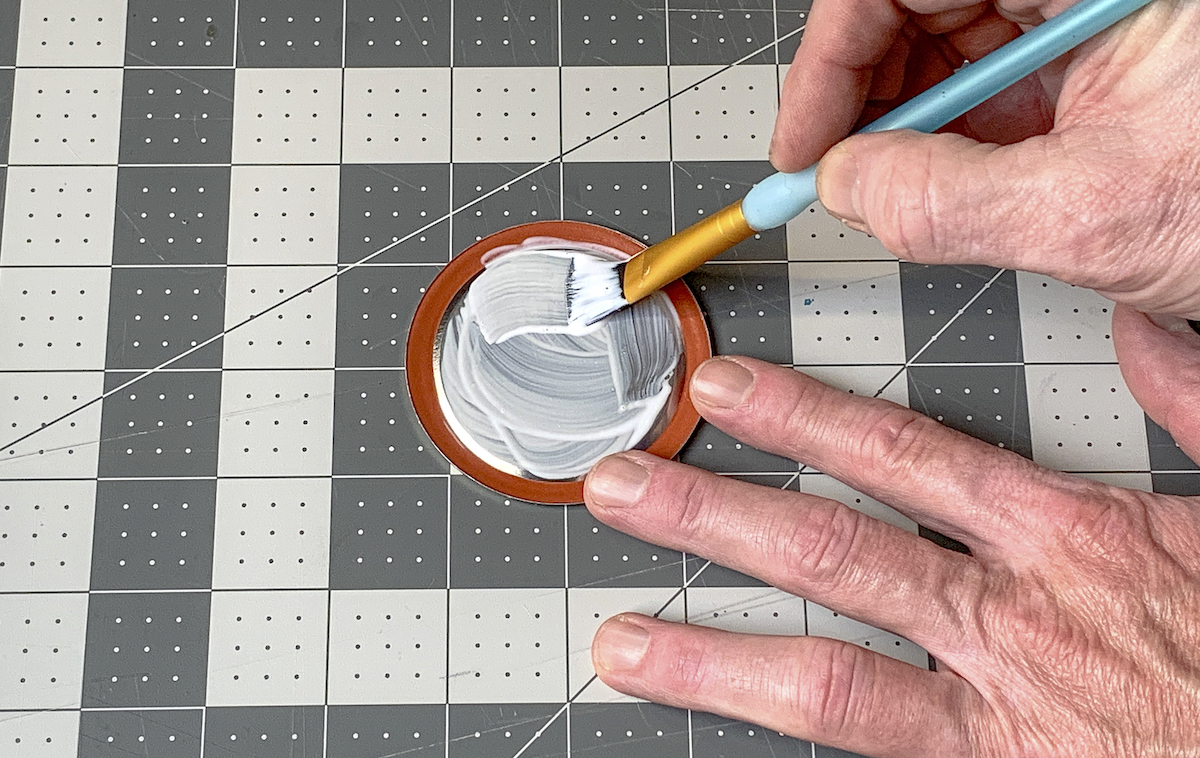
- Place a layer of Mod Podge on the back of the lid. Smooth the circle of paper down. and let dry for 15 minutes.
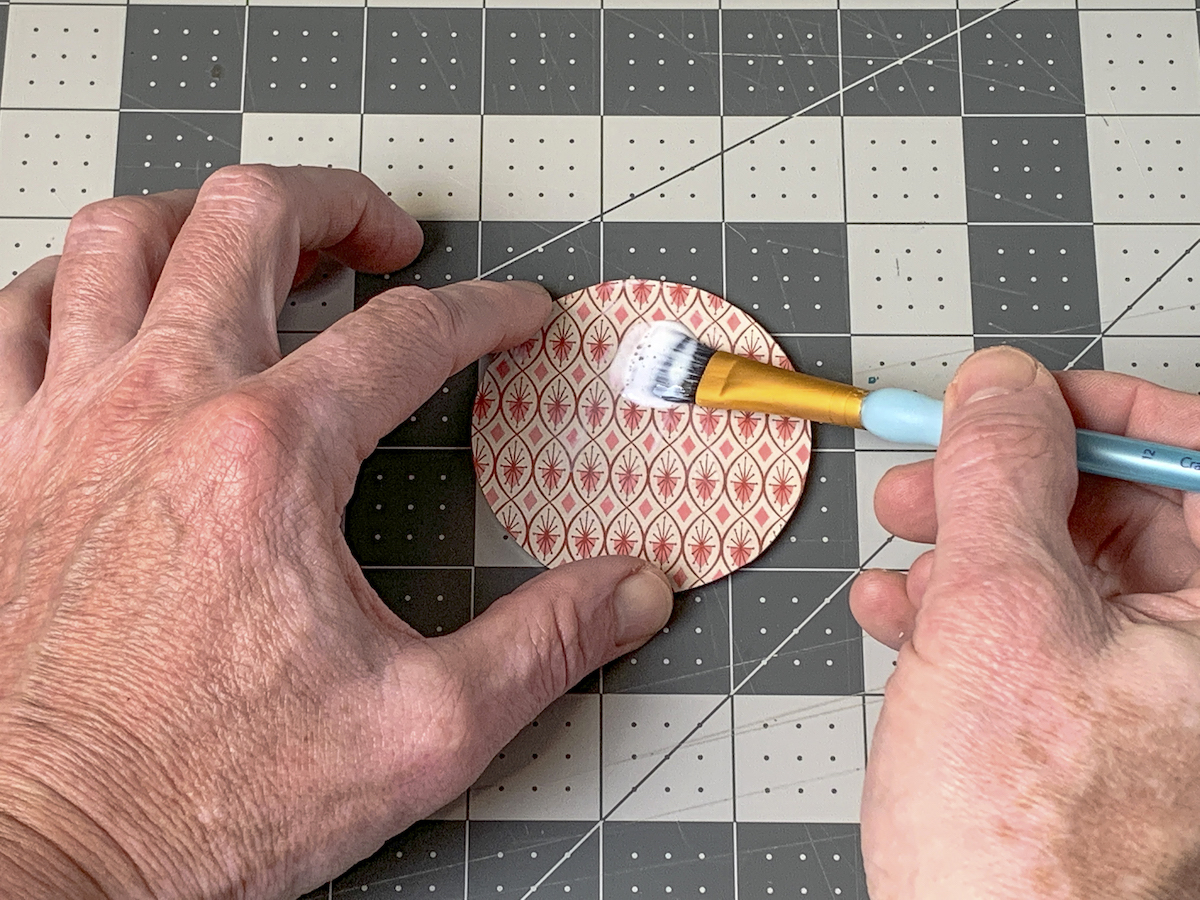
- Mod Podge over the top to seal and let dry.
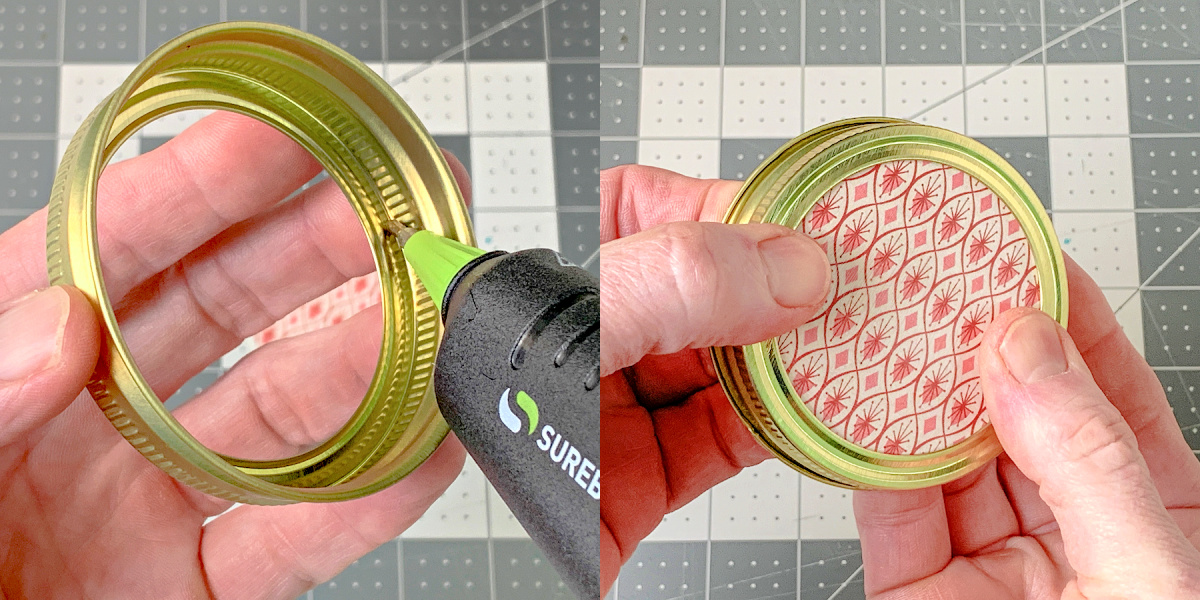
- Place the lid back into the mason jar ring, adding a line of hot glue around the inside of the ring to secure.
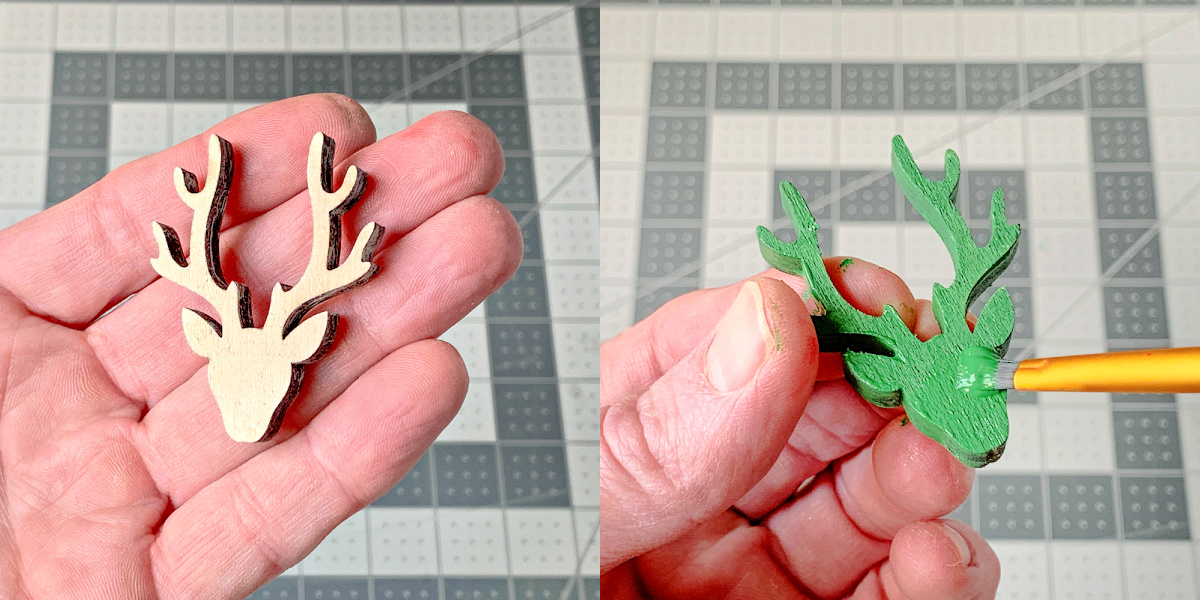
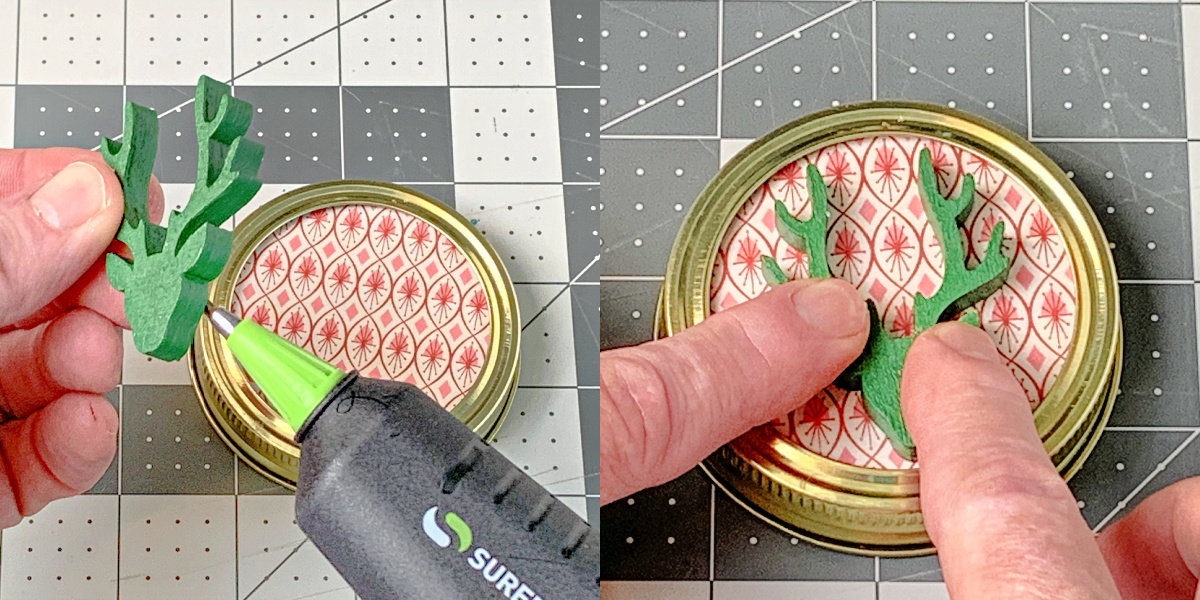
- Paint a wood embellishment with acrylic paint. Let dry.
- Attach to the front of the ornament with hot glue.
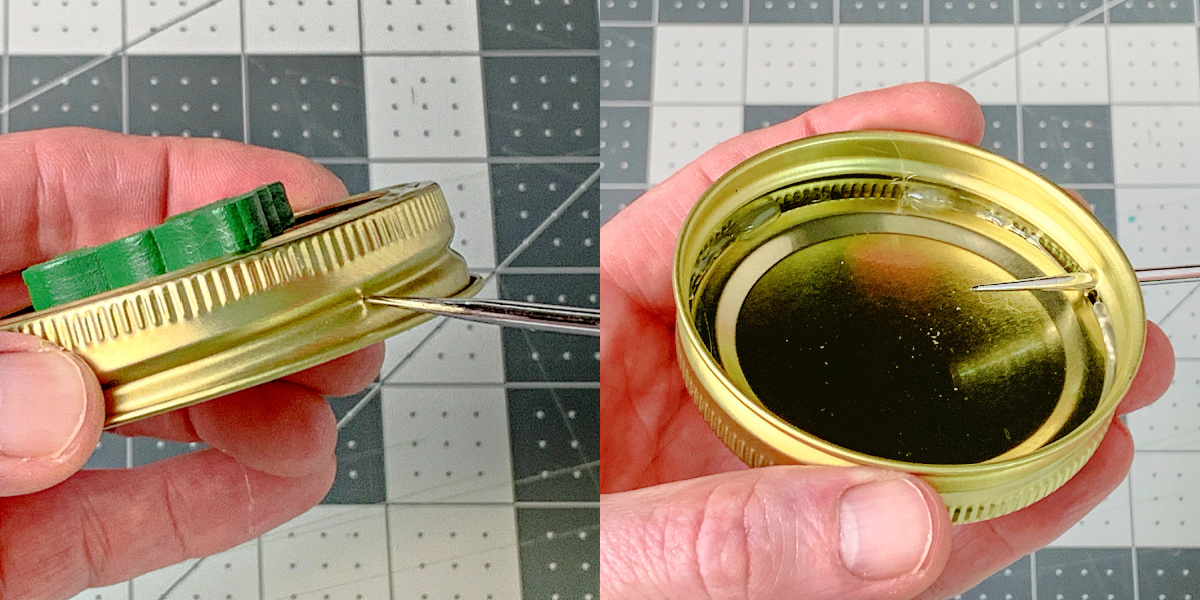
- Punch a hole in the top of the mason jar ring using an awl. This will be the hole for your hanger.
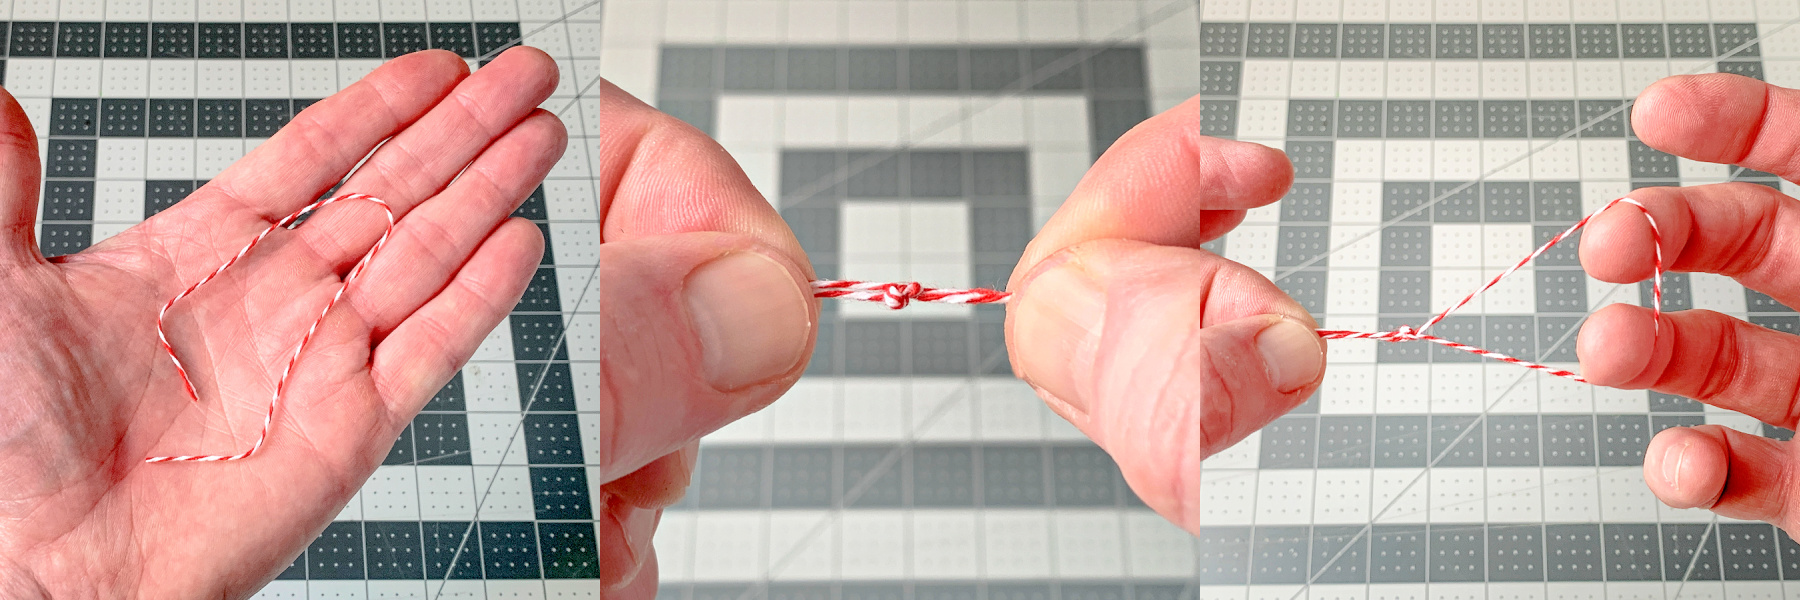
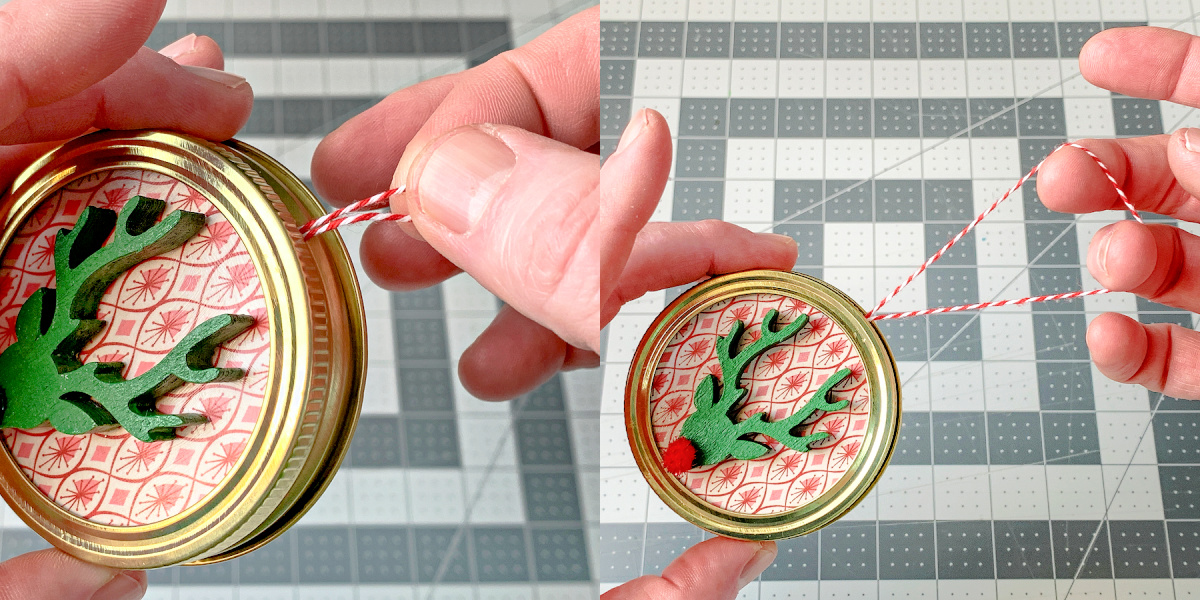
- Cut a piece of baker's twine. Loop and tie into a knot(s) at the bottom. Thread through the hole to make a hanger. If it doesn't stay, glue into the ring with hot glue.
- Add any other embellishments like a pom pom nose. Hang on the tree!
Video
If you enjoyed these mason jar lid ornaments, I’d love for you to check out these other ornament projects:
Confetti • Crystal Photos • Decoupage Fabric • Kids’ Handprints • Letters • Mod Podge Glitter • Night Light Bulbs • Painted Wood • Paper Bags • Paper Balls • Paper on Glass • Photo Blocks • Rhinestones • Rustic Glitter • Salt Dough • Seashells • Shadow Box • Sugar





Great ornaments! 🌻🧵📚
These are lovely. You have some very clever ideas. The instructions couldn’t be clearer.
Thank you.
Where do you get the reindeer heads for the mason jar lids?
I got them at Craft Warehouse here in Washington state; having said that you might be able to find similar on Amazon: https://amzn.to/3DSFKIk
I think at the craft store you could definitely find wood shapes you liked to substitute, especially at Hobby Lobby.
We made these years ago with craft paint and FREE metal tops we saved from frozen juice containers and a drop of hot glue for the ribbon on top. We also glued family pictures into them and added magnets to stick to the refrigerator. My kids were 3 & 4 and handled all of it but the cutting themselves. They are still hanging on our family’s trees & fridges!
Oh awesome! I love that 🙂
Very cute and even young children can do it with a little help with the string hole and cutting the paper. Very clever craft!
Thank you so much!