This wood star decor is easy to make for Fourth of July using Mod Podge, scrapbook paper, and Scrabble tile letters. Looks great on a mantel!
Skills Required: Intermediate. You’ll be making a template with paper to cut the scrapbook paper to the right size, then Mod Podging it to the star. You’ll also be distressing paint with candle wax. You should have experience with Mod Podge to complete this project.

I’m really excited to share a story of hope and joy today, my friends. What is the hope? It’s that you too, can use things out of your craft stash. Just because you’ve had them in there for years . . . doesn’t mean they are doomed to the Goodwill pile eventually.
Let me tell you what happened.
I went to Target at the wrong time, is how it started. And yes, this was a long time ago. I walked in when I had some money burning a hole in my pocket, and the inexpensive “Bulleye’s Playground” at the front was calling my name.
It was the time of year for summer crafting and Fourth of July, so there was a lot of red, white, and blue along with the symbols you’d expect to see like flags, fireworks . . . and stars.
This wood star decor was $5.
Kind of a tray, kind of a sign, it was unfinished MDF that I decided to take and make into something for a summer or Fourth of July mantel (that I could hang also).

Well, as you know, the star went into the wood surface bin. BUT instead of staying there for eternity, I finally brought it out of hiding this year!
What got me inspired to use it? I was actually looking through a scrapbook paper pack for something for another project, when I found this blue plaid paper and thought it would be perfect for the 4th.
At that time, I knew exactly what I was going to do! This wood star decor was born. And now I’m going to show you how to do it.
*I’m excited to show you how to make a template to cut the paper out in the star shape, also. It comes in very handy.
I also need this to inspire you to dig through your own wood surfaces and figure out what you can dig out – even if it’s been years! Here’s what you’ll need to make this project.
Gather These Supplies
- Wood star – look for chunky wood stars
- Craft paint – white, red
- Scrapbook paper – 12″ x 12″
- Mod Podge Satin
- Scrabble tile letters – saying of your choice
- Printer paper – two sheets
- Painter’s tape
- Pencil
- Paintbrushes
- Craft glue
- Wax candle
- Sandpaper
- Scissors
- Ruler
- Awl or sharp object – for smoothing paper into corners (optional)
- Ribbon (optional for hanging)
Tips and Thoughts for This Project
You can use any formula of Mod Podge depending on the finish you’d like. I used Satin, which is in between a gloss and a matte.
The reason I use craft glue and not hot glue with the Scrabble letters is because the craft glue doesn’t dry right away. You can move the letters around slightly after placing to make sure they’re perfectly straight before they dry.
Get the printable how to card for this project below:

Wood Star Decor
Equipment
- Awl or sharp object for smoothing paper into corners (optional)
Materials
- Wood star(s)
- Craft paint white, red
- Scrapbook paper
- Mod Podge Satin
- Scrabble tile letters saying of your choice
- 2 sheets Printer paper
- Painter’s tape
- Craft glue
- Wax candle
- Sandpaper
- Ribbon optional for hanging
Instructions
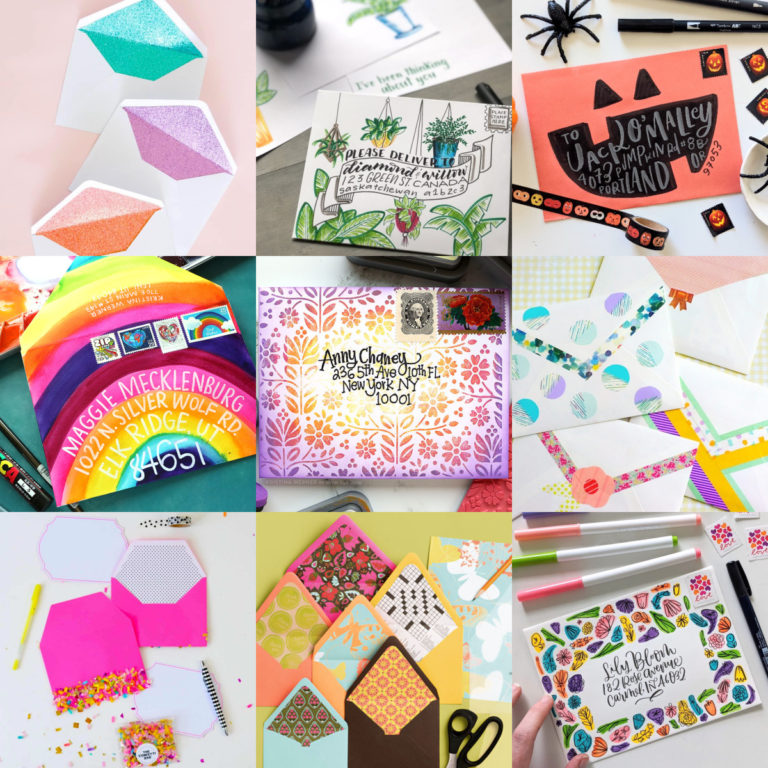
- Tape two pieces of printer paper together to cover the front of the star, using painter's tape. You can use scrap paper or anything that works.
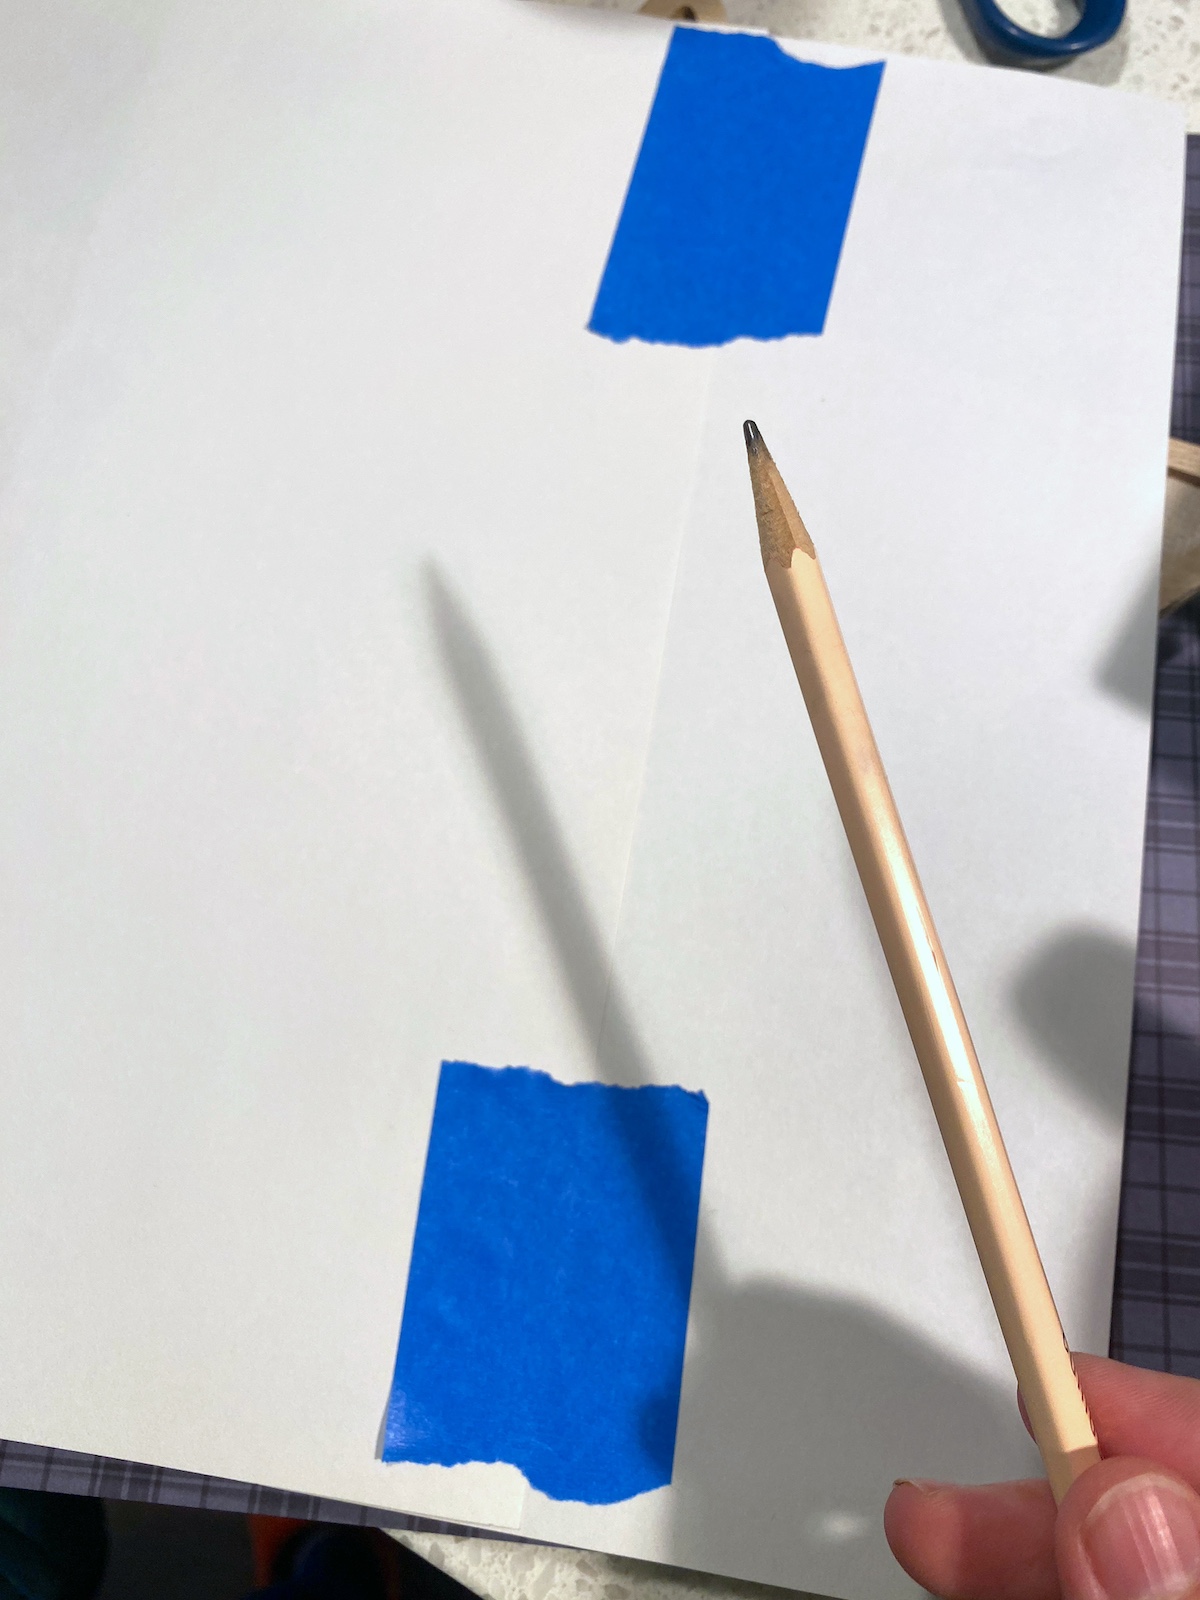
- Hold the taped paper down and rub the pencil led on the inside edges of the star. The lead will make a line that you can cut on, making your paper the same size as the inside!
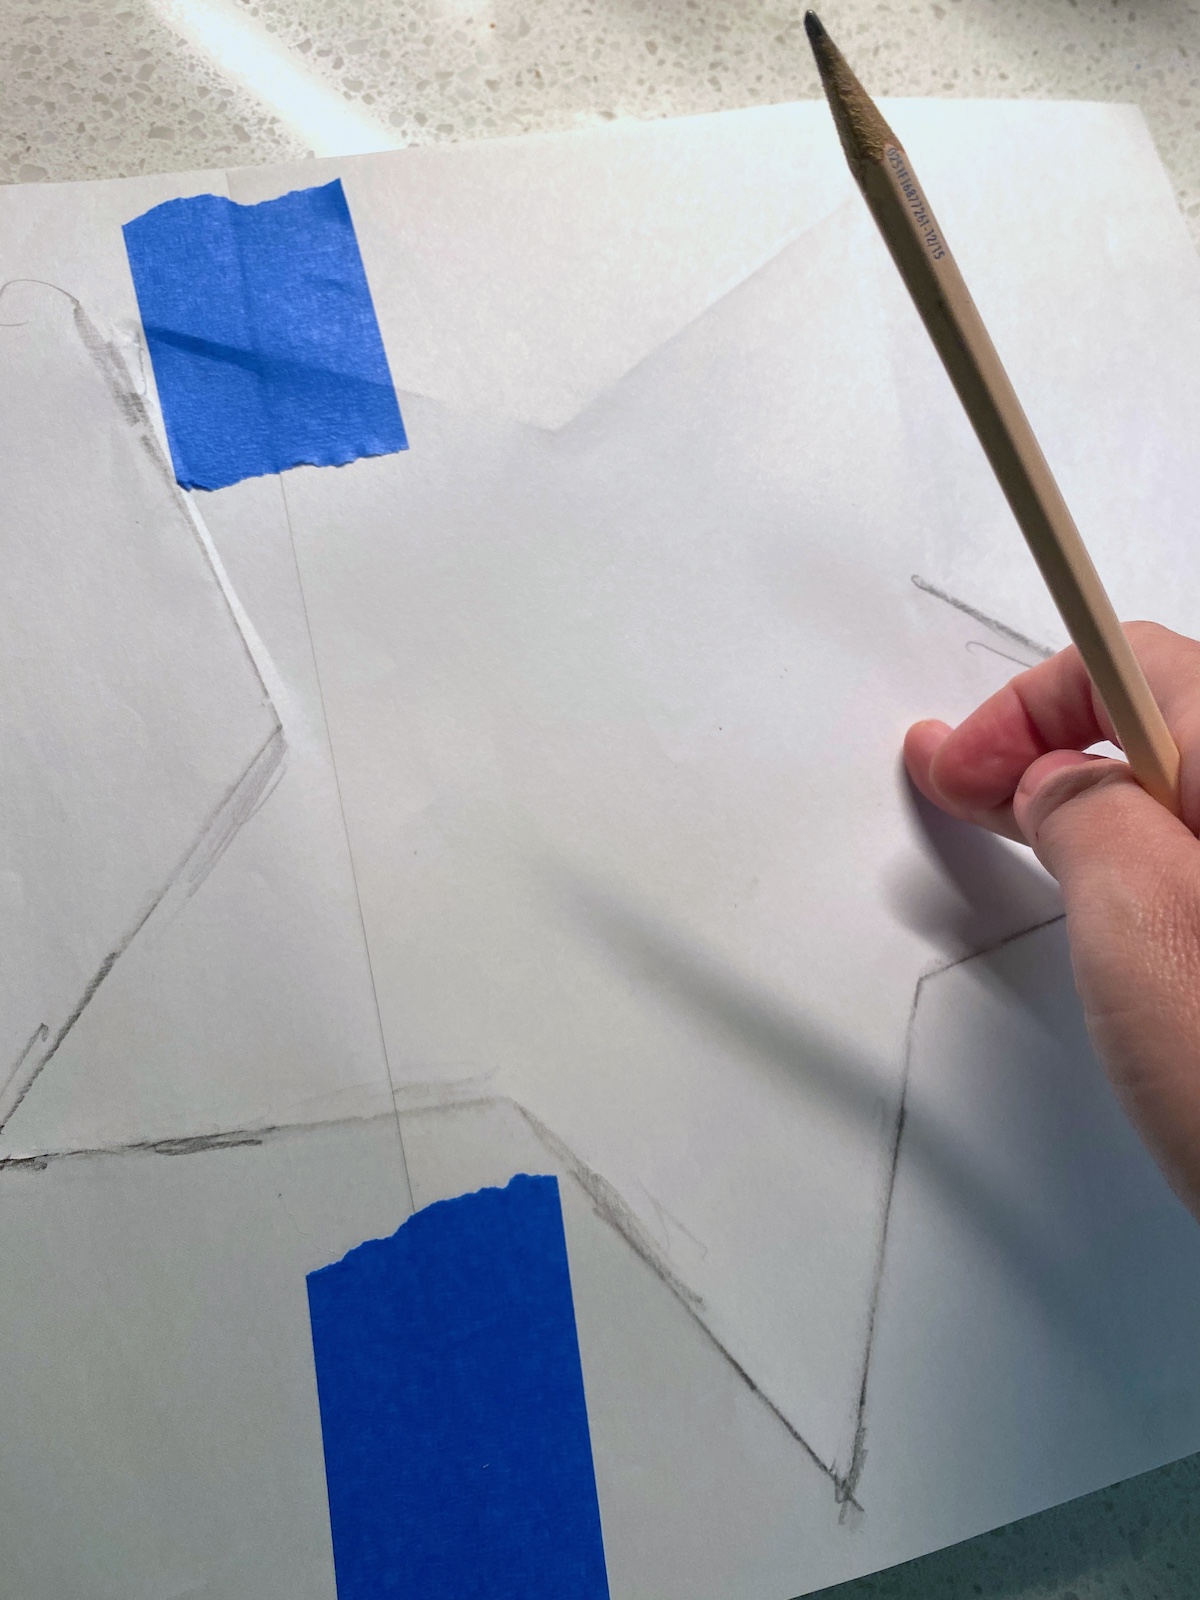
- Tape the template to the scrapbook paper. Use the scissors to cut on the lines.
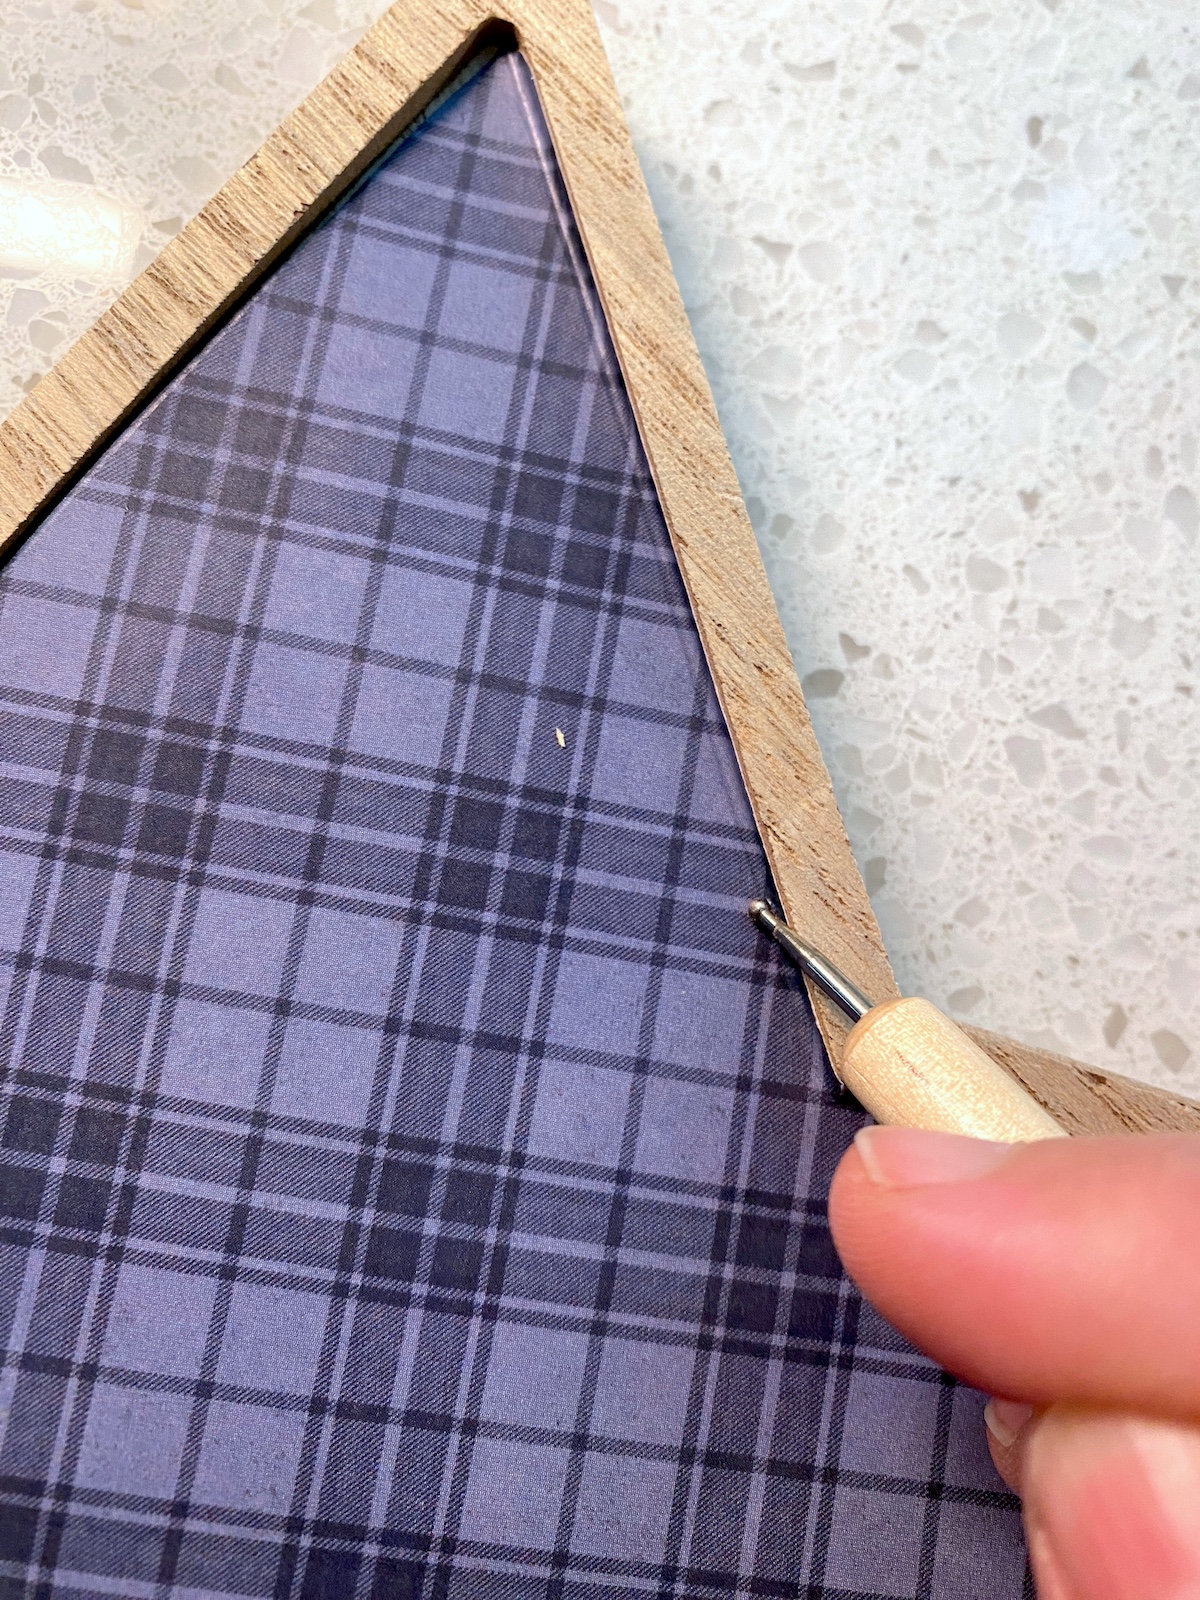
- Check the fit of the paper on the top of the plaque and do any gentle trimming as needed. You can also use an awl or sharp object to help smooth the paper into the edges for fitment. Set the paper aside for the moment.
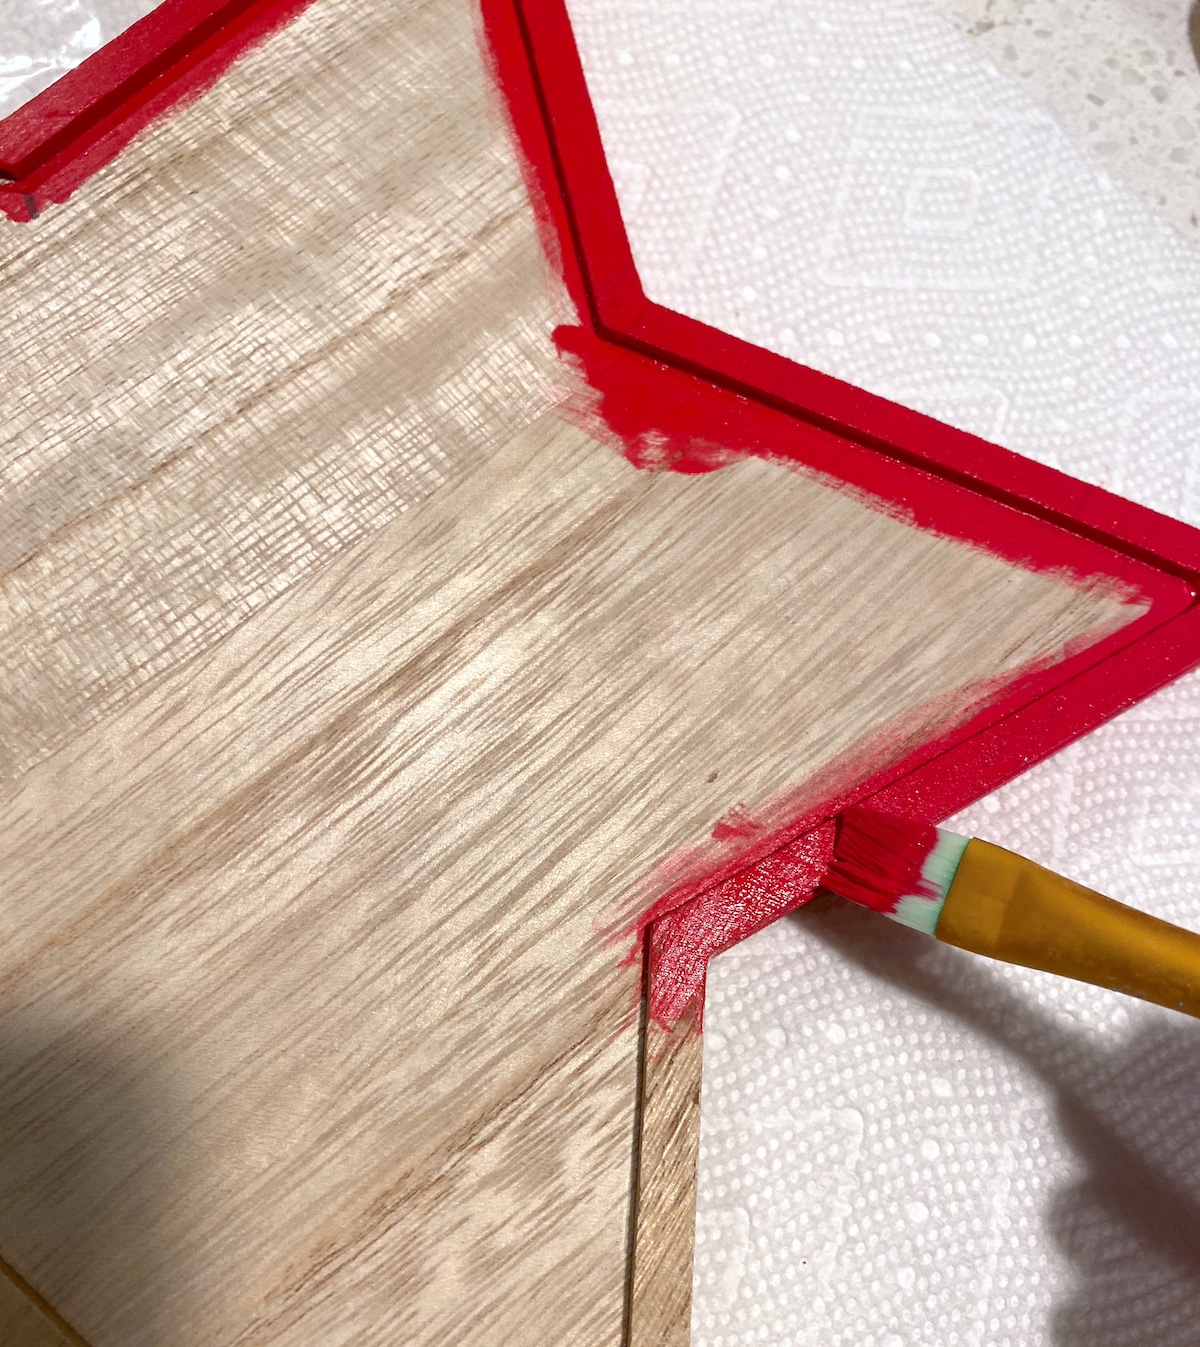
- Paint the edge all the way around the wood star with red paint. Let dry.
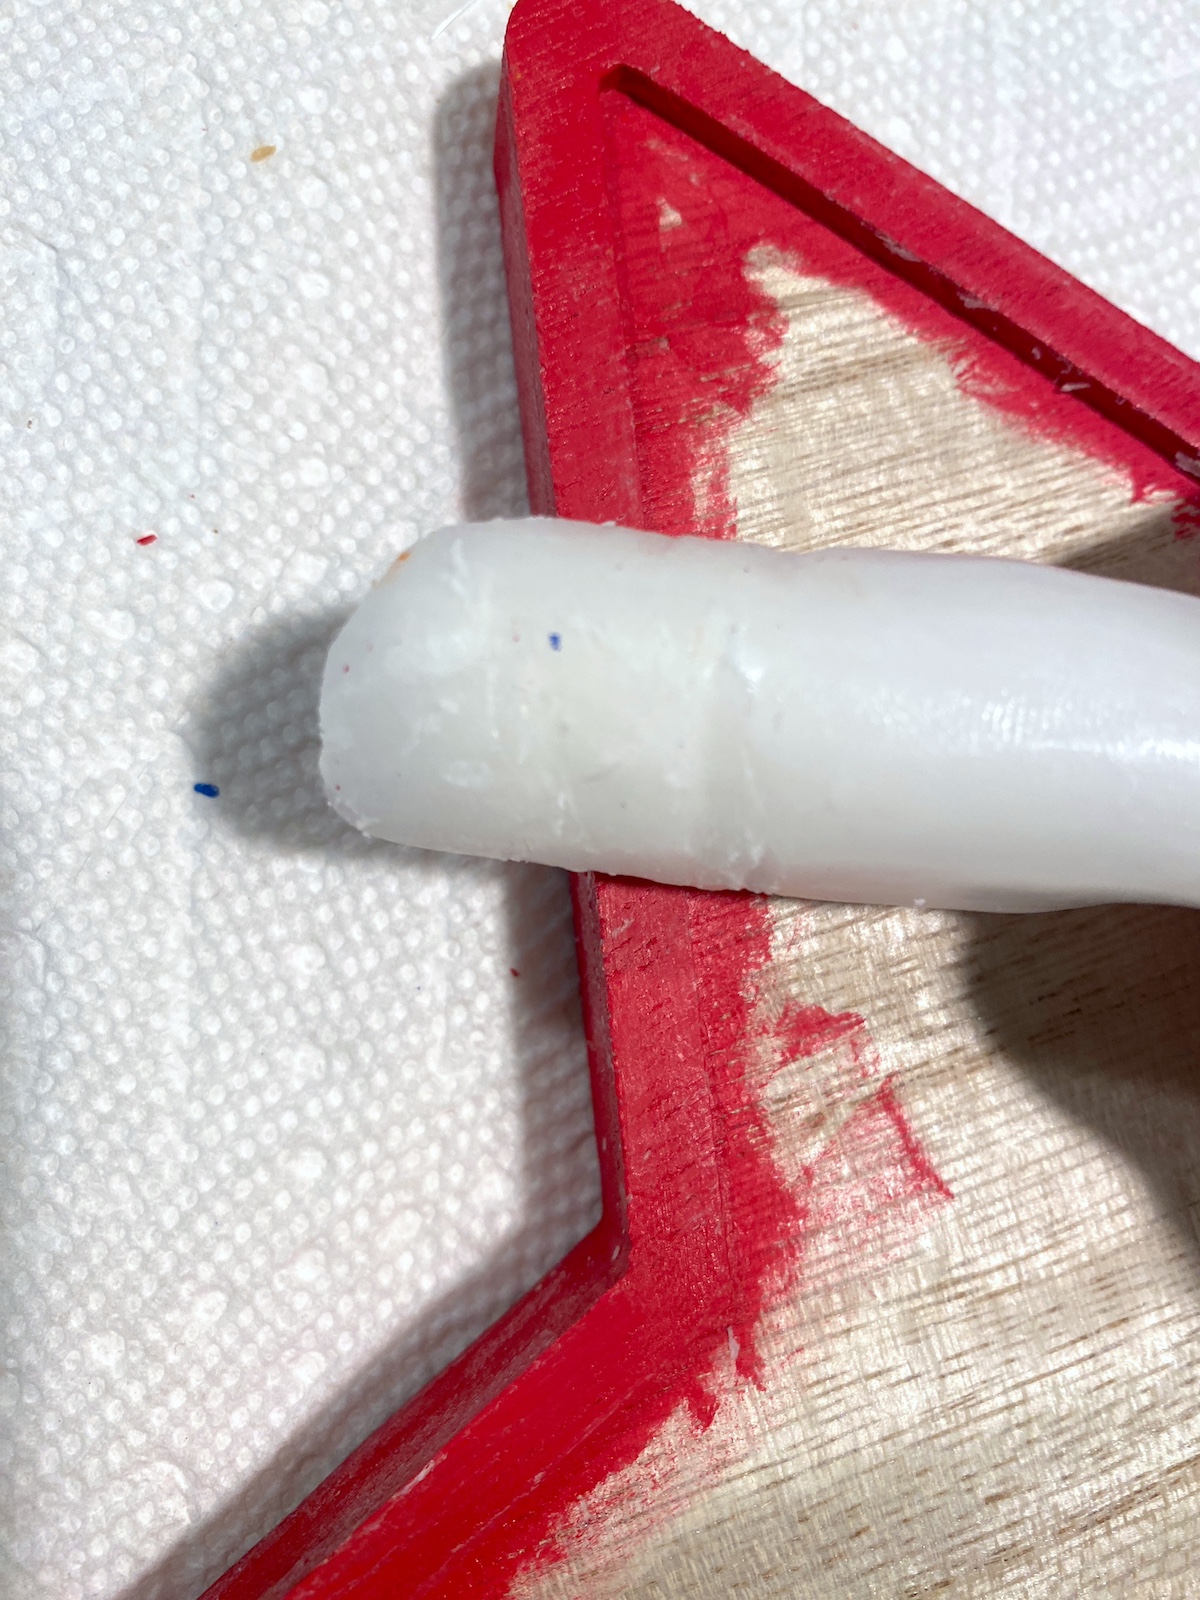
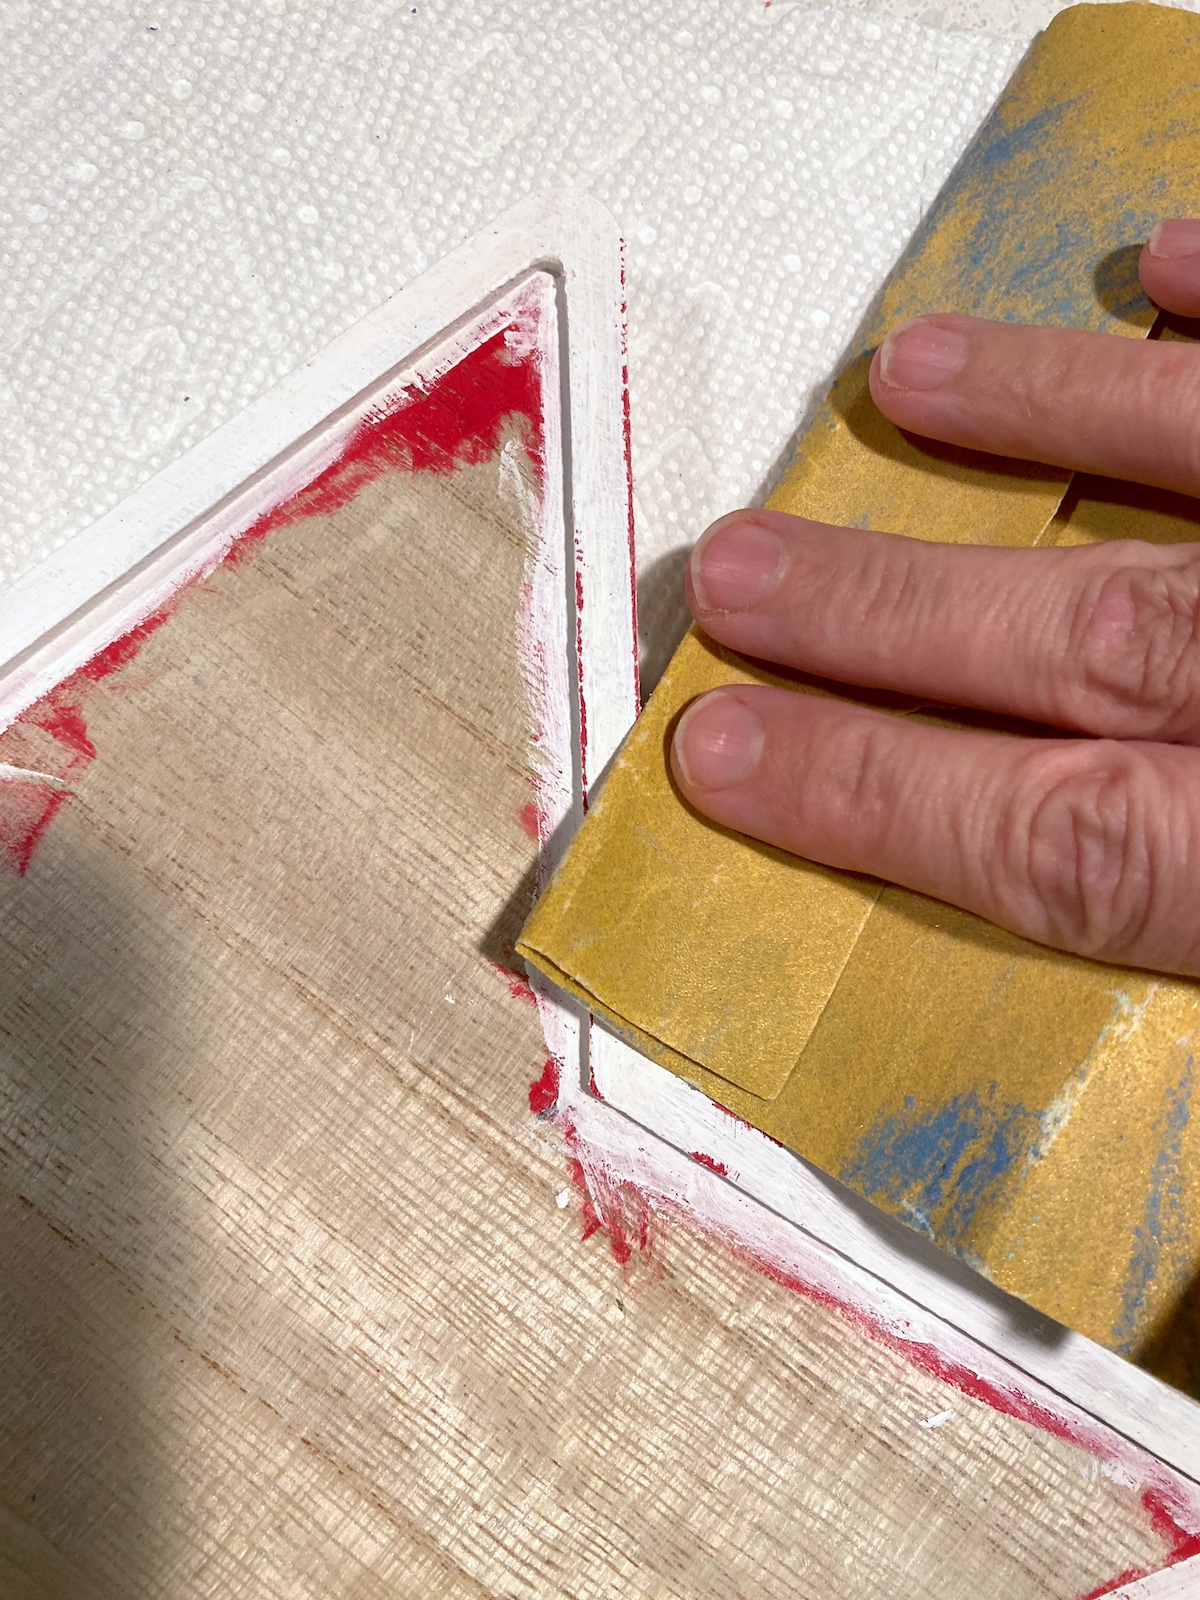
- Use a piece of wax from a candle to add wax to the edges of the star. You don't need to rub too hard. Be firm and add wax where you want any distressing.
- Paint over the top of the wax and red paint with white. Do two coats, letting dry after each.
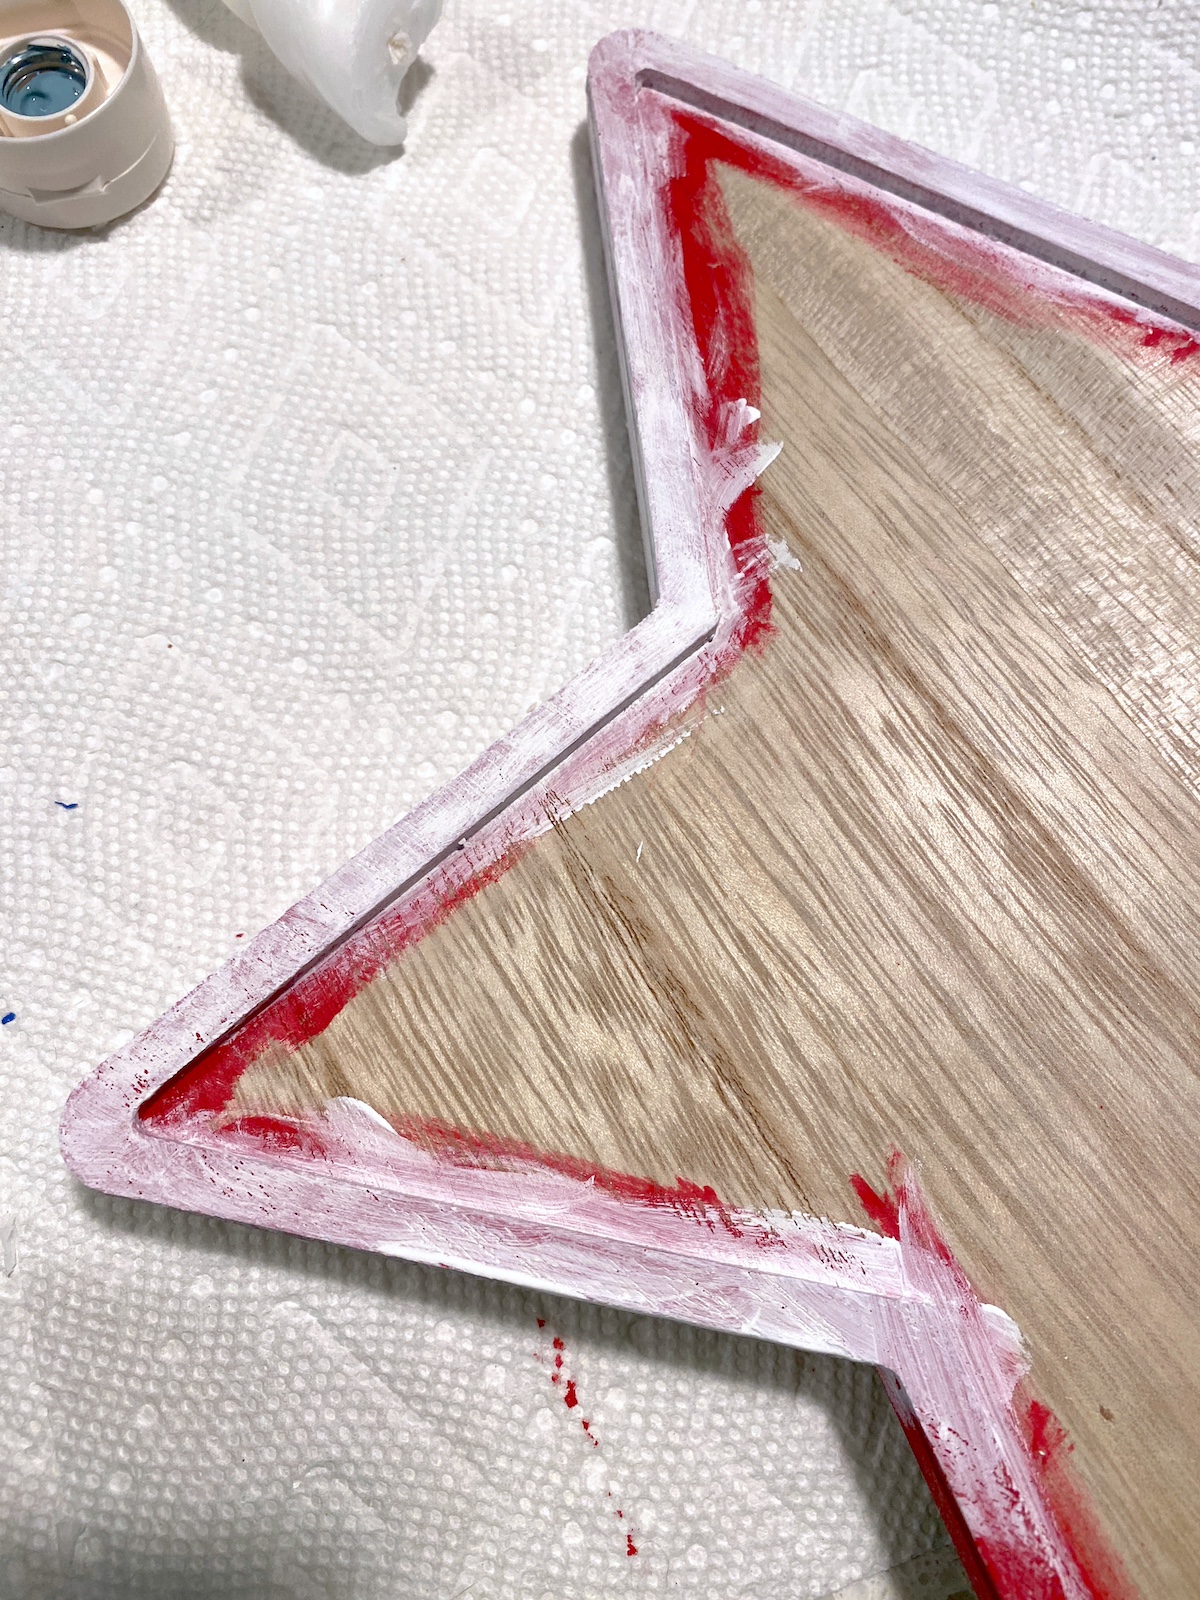
- Use sandpaper to gently remove white paint and reveal the paint below. If you lightly sand, the paint will come off easily where you applied wax. Continue until the desired amount of distressing is achieved.
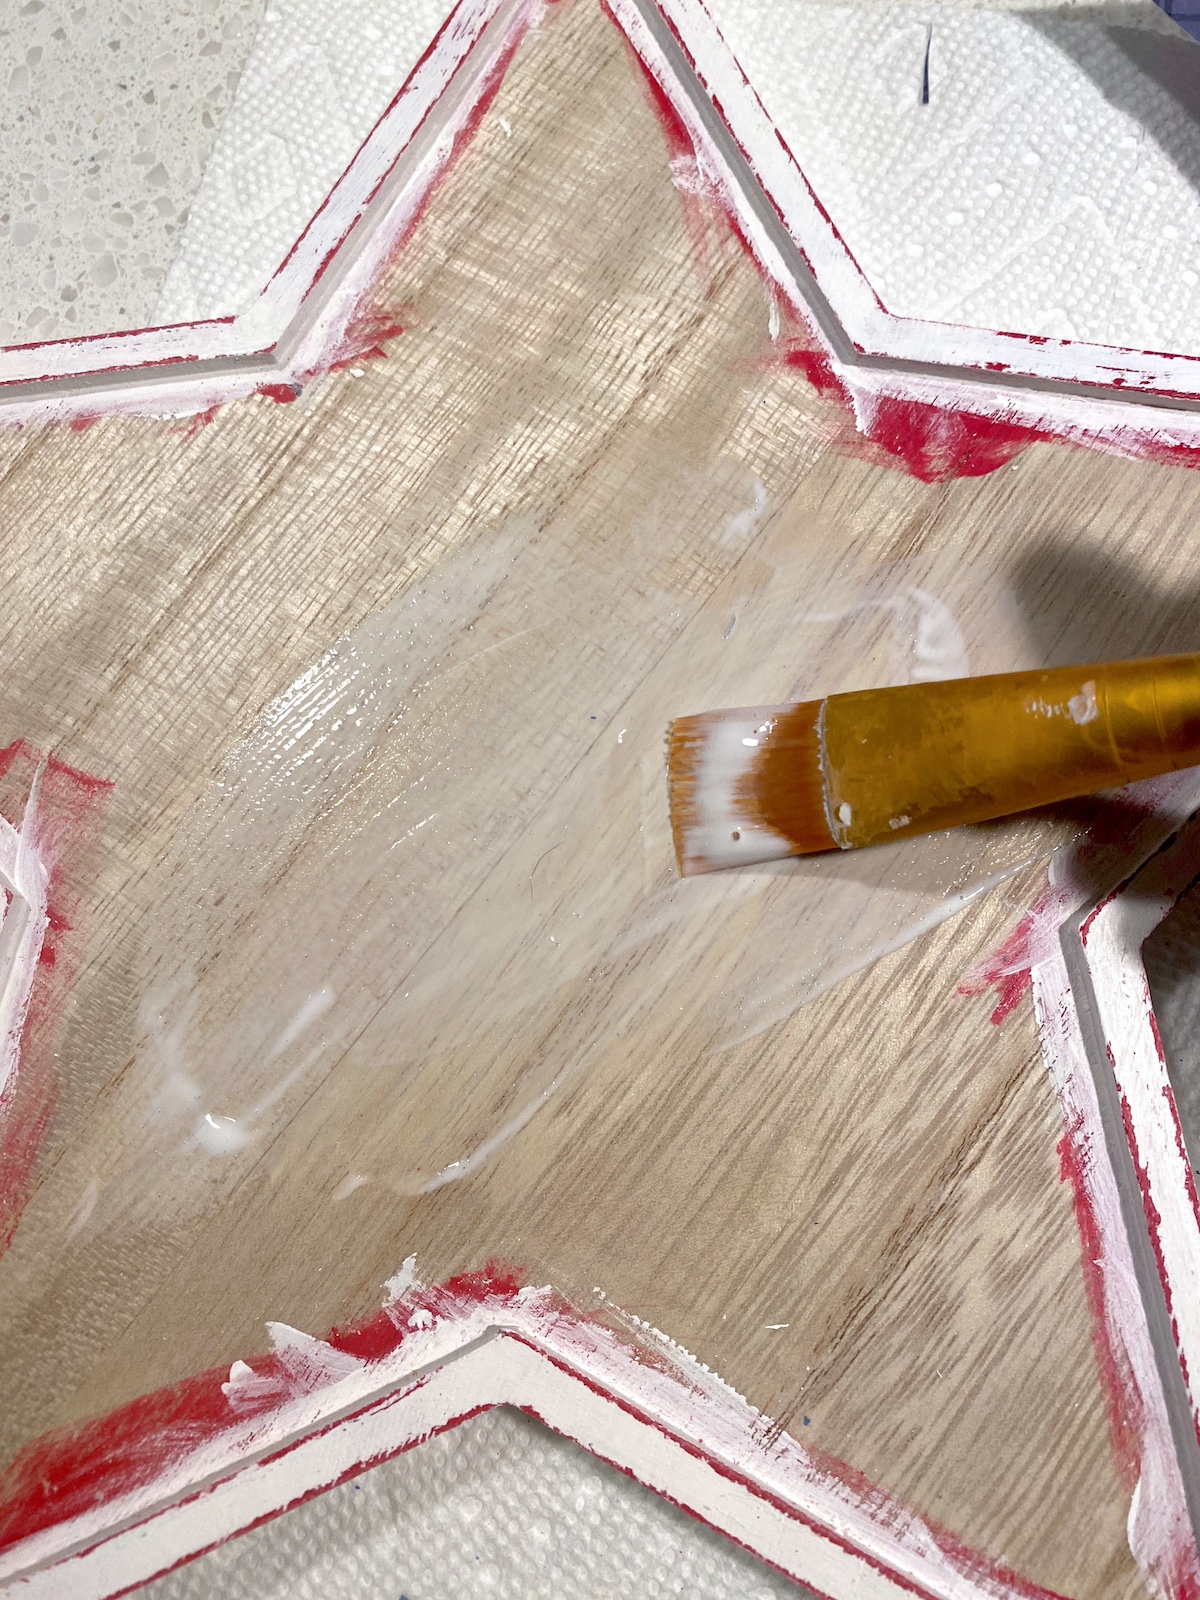
- Paint a medium layer of Mod Podge on the inside of the star with a brush, making sure to get all the edges. Work quickly.
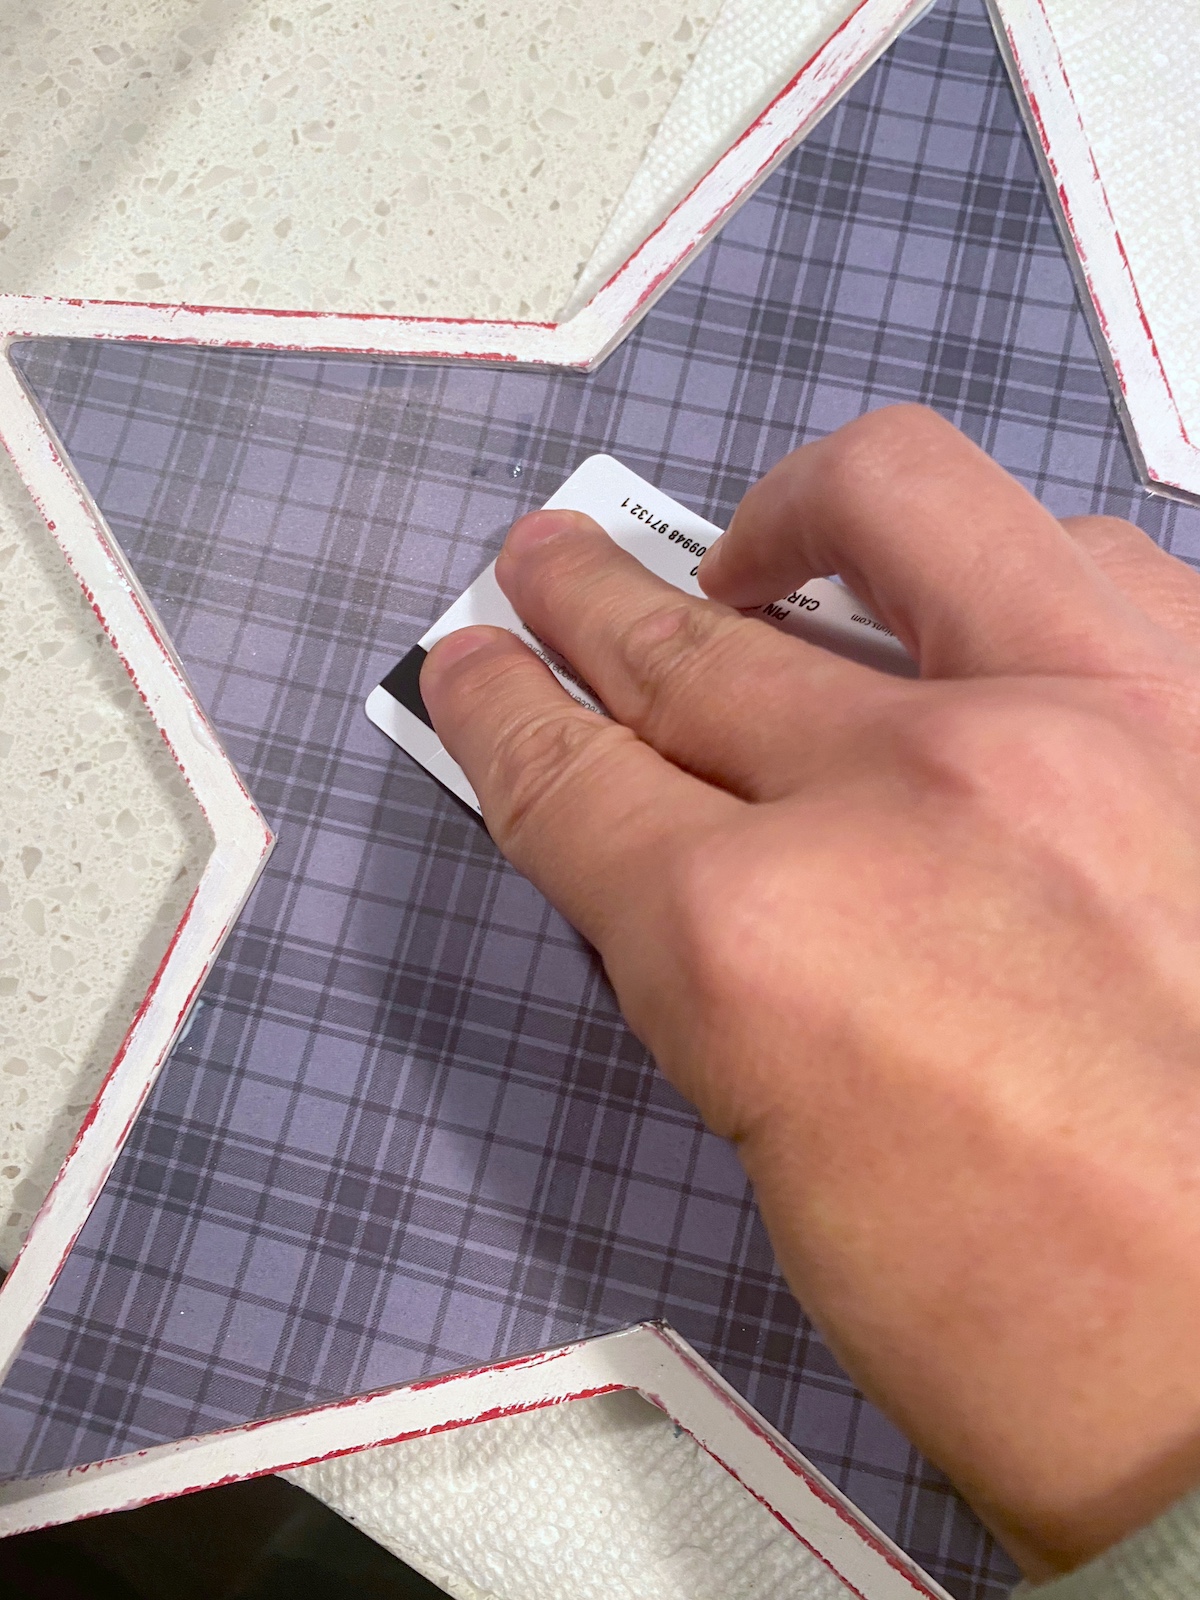
- Smooth down the paper thoroughly on top of the Mod Podge. You can use a credit card to press down slightly and get into the corners. Wipe away excess Mod Podge that comes out from under the paper with a brush. Let dry for 15-20 minutes.
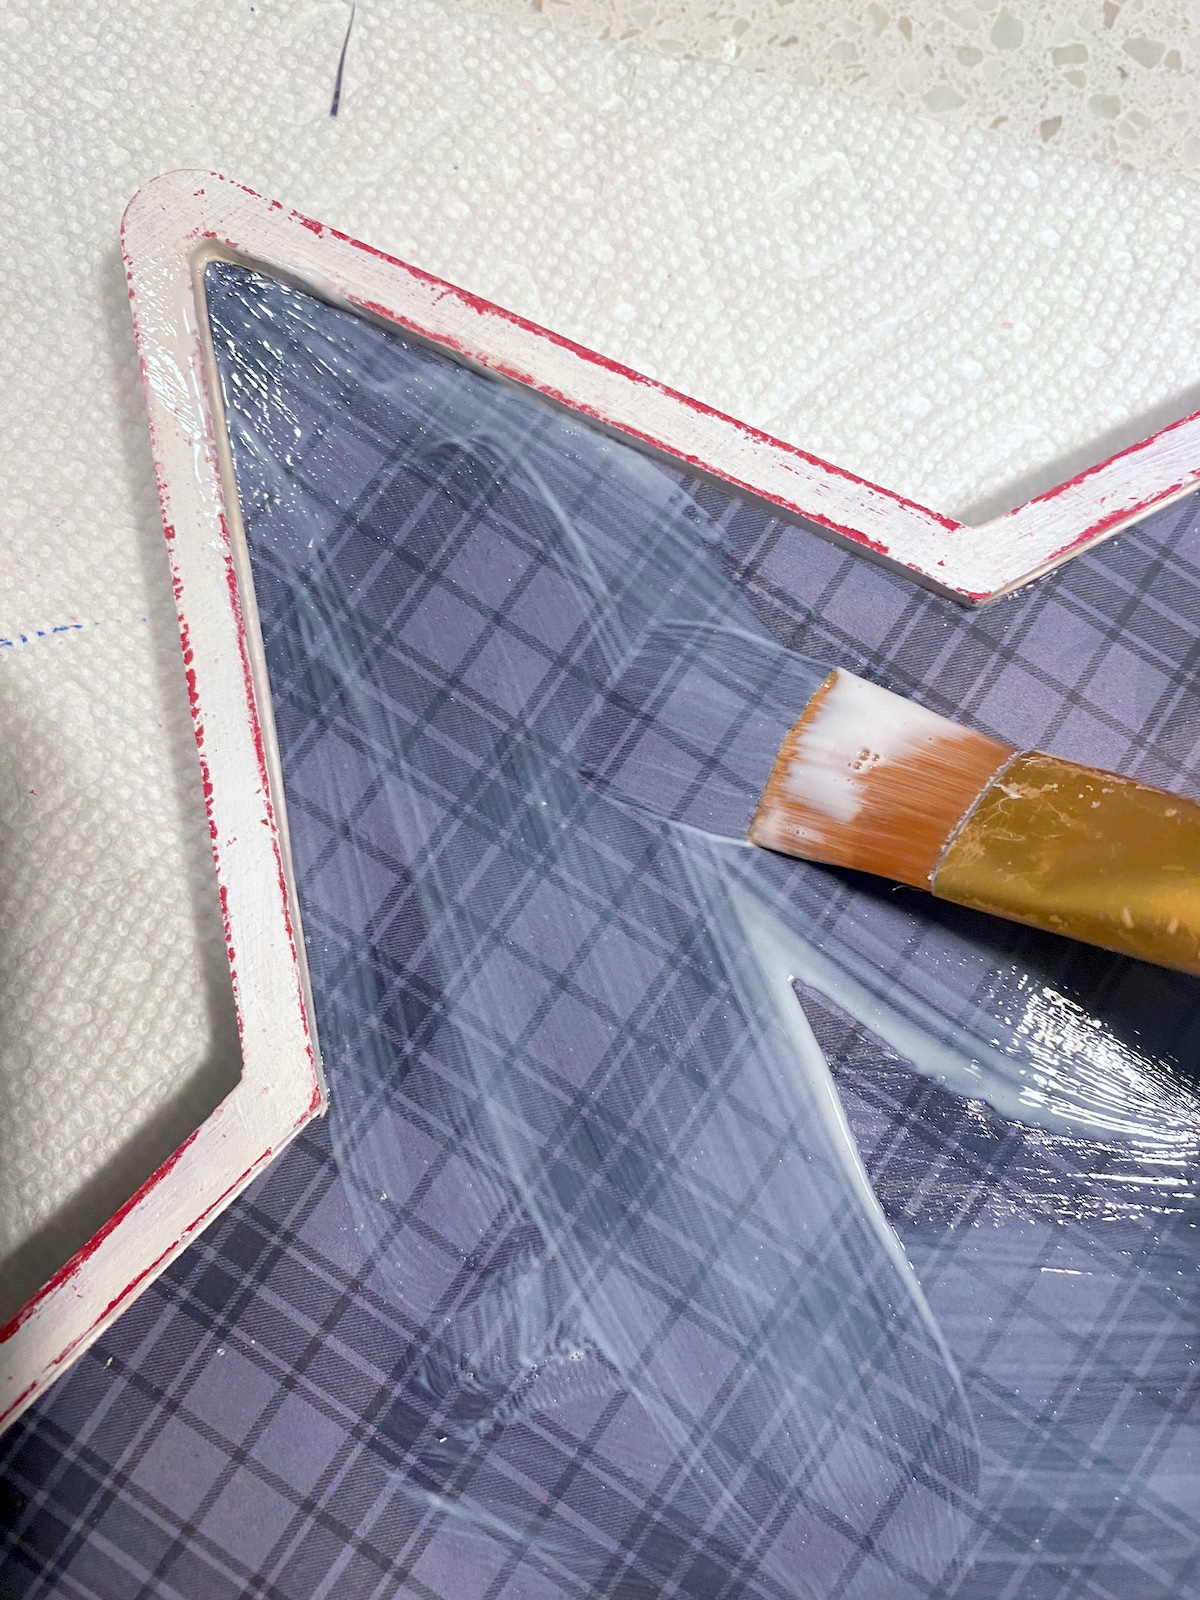
- Top coat the paper with Mod Podge. Let dry, then coat the entire star with Mod Podge, including the edges, to seal.
- Glue down the tile letters spelling the saying of your choice, using craft glue. Use a ruler to help align the letters if needed.

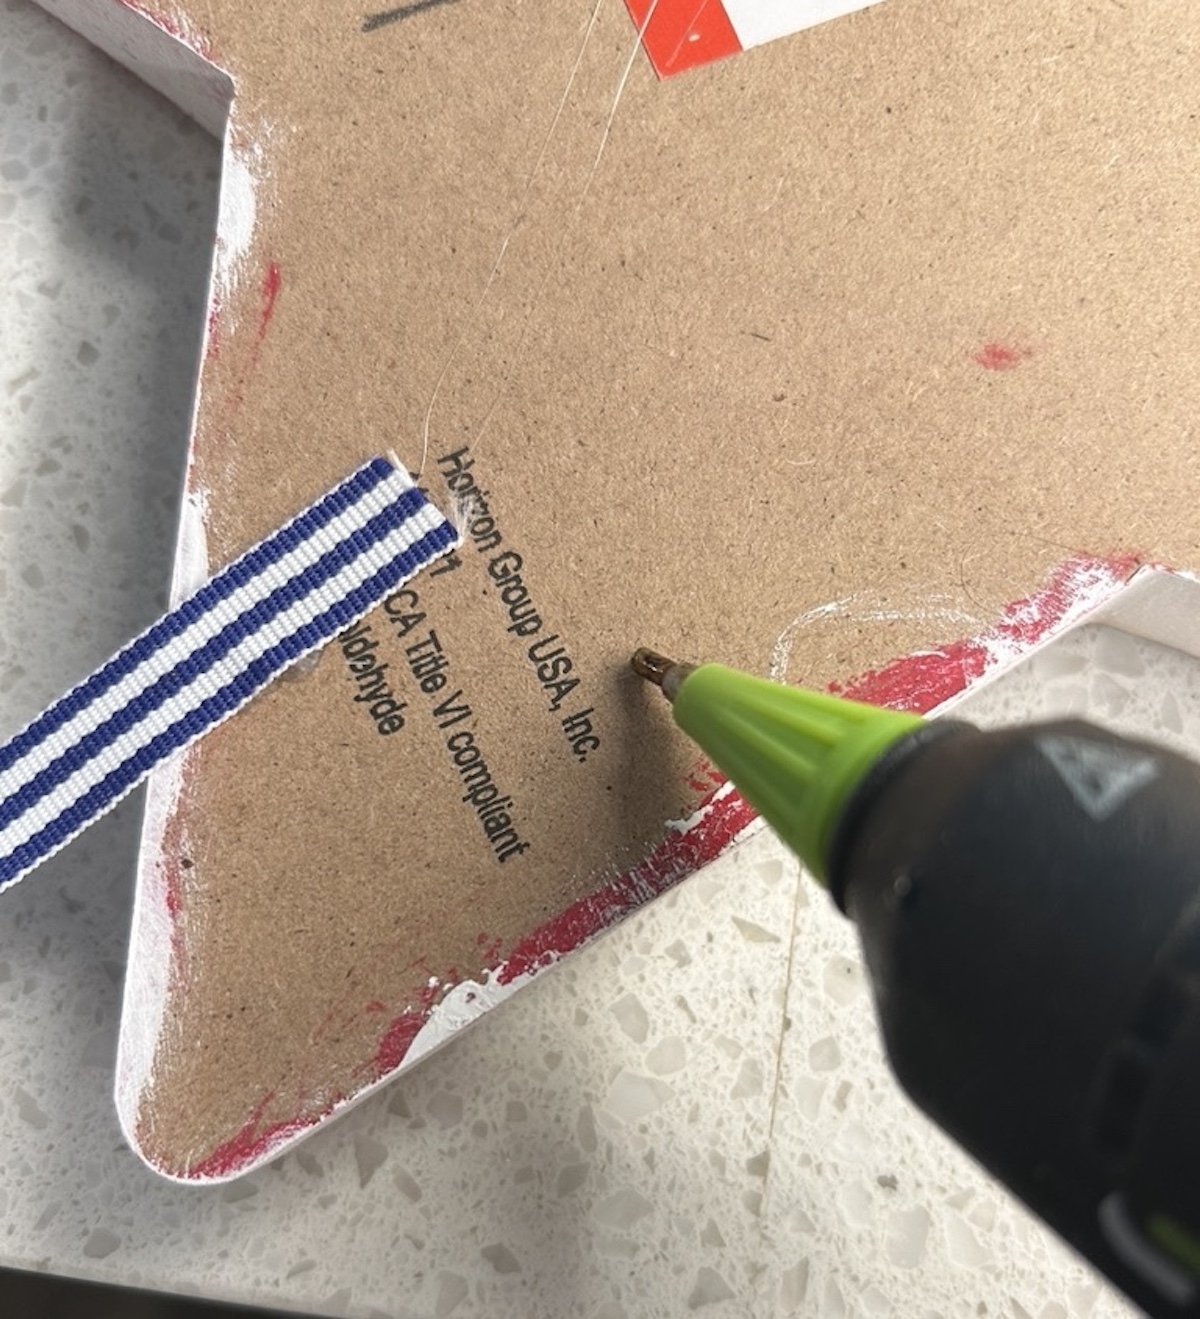
- If desired, attach a ribbon on the back. This gives you the option to hang. Let set before displaying.
Did you enjoy this craft? Let me know if you have any questions in the comments, or just tell me what you thought. I’d love for you to check out these other projects!