
Learn how to make fabric covered boxes using Mod Podge, fabric, and recycled materials! This is an easy and budget friendly craft idea.
I like baskets. For me personally, they give the illusion of organization here at Mod Podge Command Central – when in fact, everything is not organized. But who would know? Visitors can’t see inside.
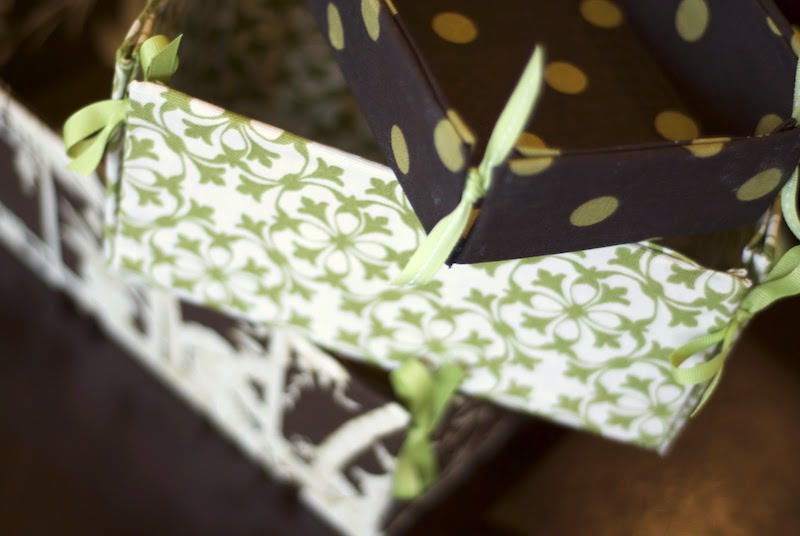
Mwahahaha! Erin from The Smallest Sparrow developed this tutorial for fabric covered boxes with ribbon ties, and guess what? The box part is cardboard. So this project is recycled. Three cheers for Erin! If you want to make this craft at home, keep reading.
Fabric Covered Box
Gather These Supplies
- Cardboard boxes
- Mod Podge Matte
- Fabric pieces to cover the boxes
- Paintbrushes
- Scissors
- Grosgrain ribbon
- Sewing machine (optional)
First, you’re going to learn how to cut up and construct the box here. Of course that’s just a guideline; you can alter the box however you like.
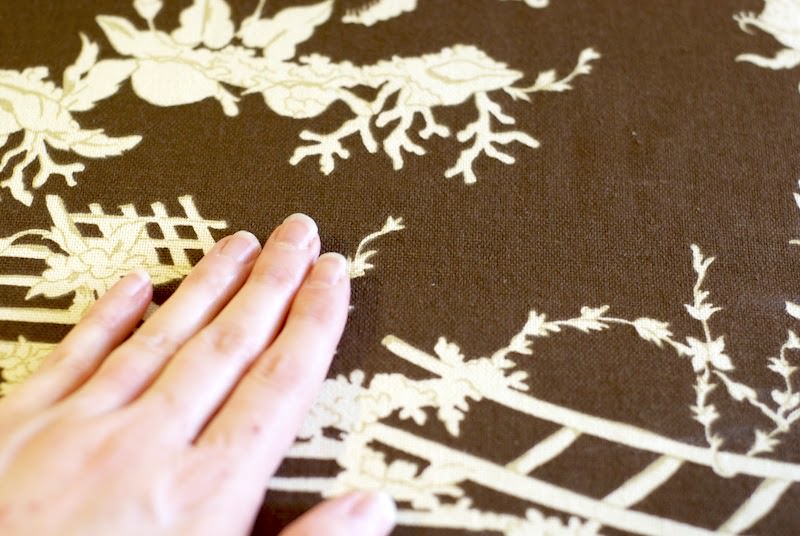
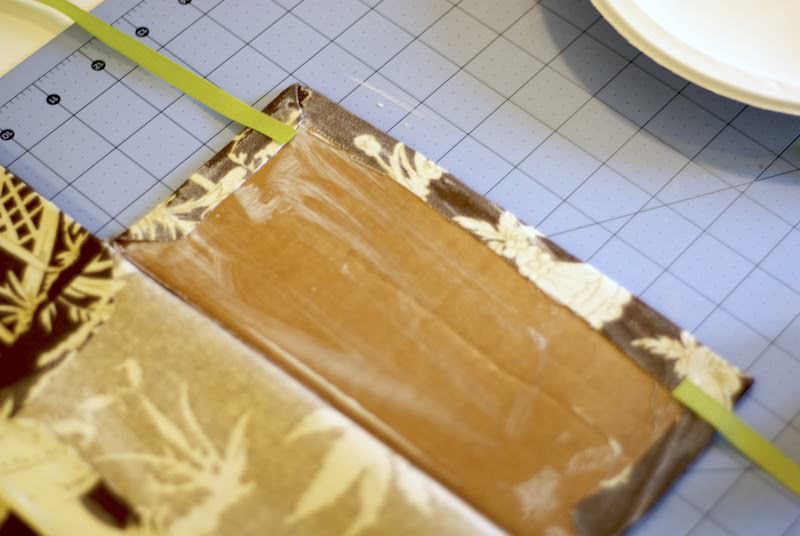
Start with the exterior piece of fabric for your largest box. Flip it so that the wrong side is up on your work surface.

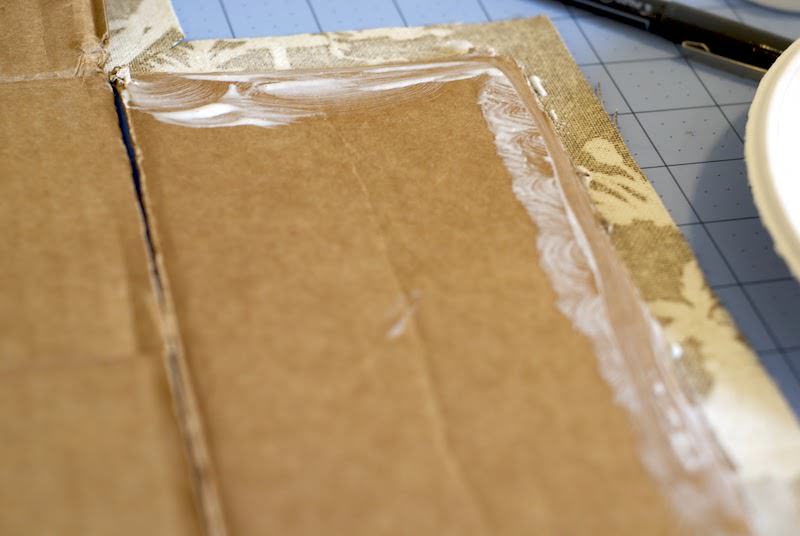
Now flip your box over and paint a layer of Mod Podge on just the center (bottom) section.

Working pretty quickly, flip the box onto the fabric and smooth out with your hands (or a burnishing tool if you have one).
Now your bottom piece is glued. Flip back over, and we’re essentially going to wrap the fabric all around like a present.
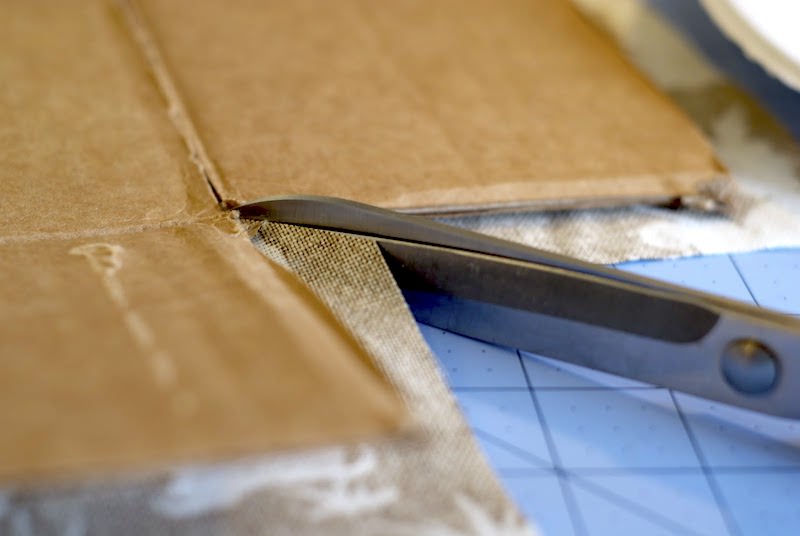
The first step is to notch those corners like we did with our interior pieces. Just cut a diagonal line that meets up with your box corners.
Flip one of your sides up and apply a layer of mod podge as shown.
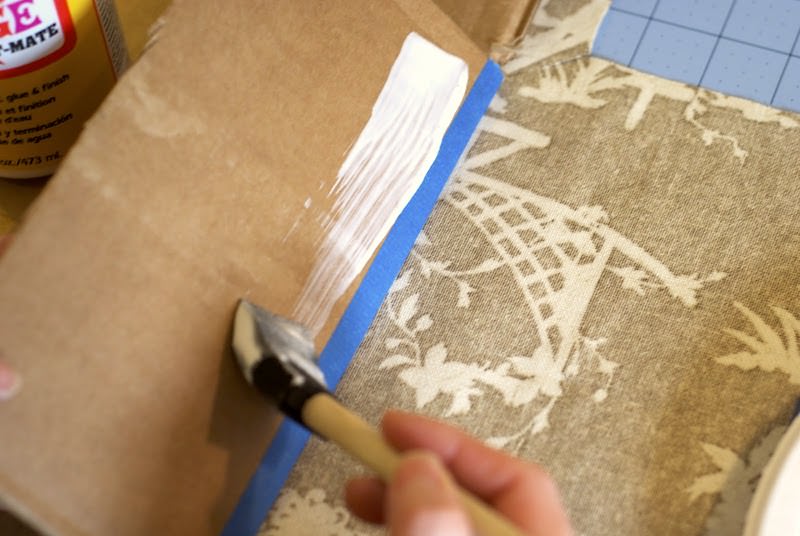
Gently lay that flap onto the fabric and paint a small bit of mod podge around the interior edges.
Smooth the fabric against the cardboard and pull it up and over onto the interior of the cardboard.

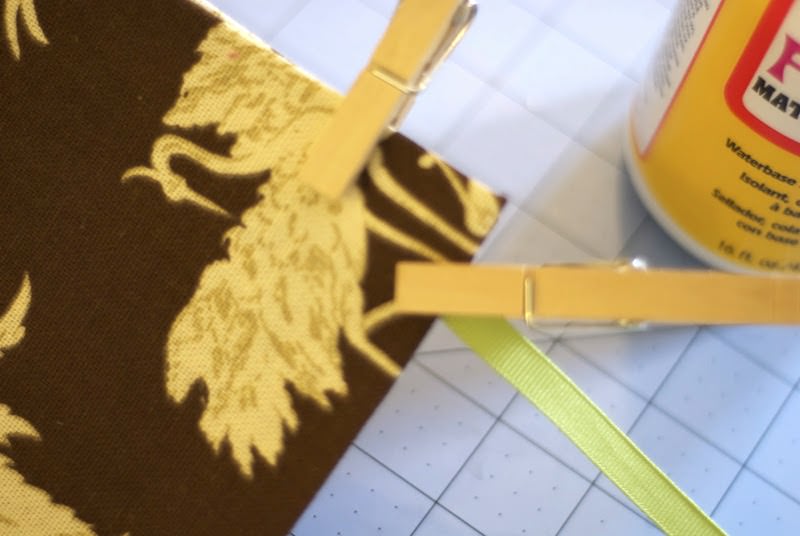
Now for the corners. We’ll do them the same way we did on our interior fabric pieces.
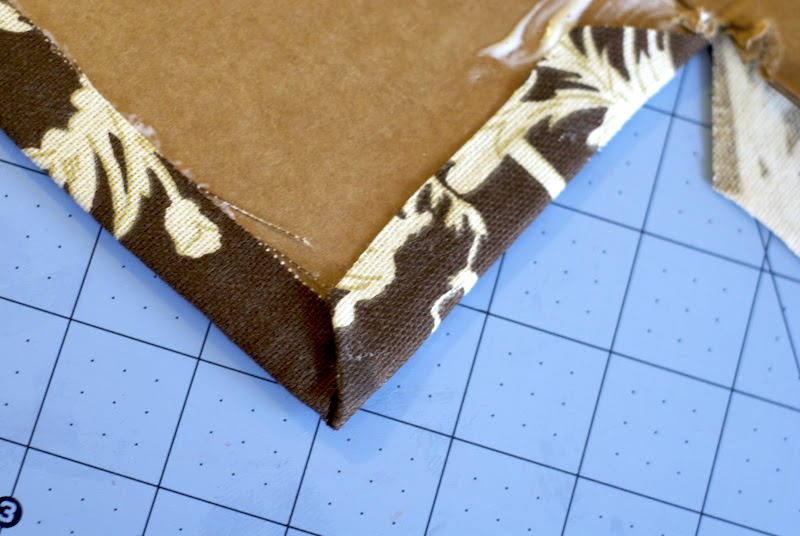
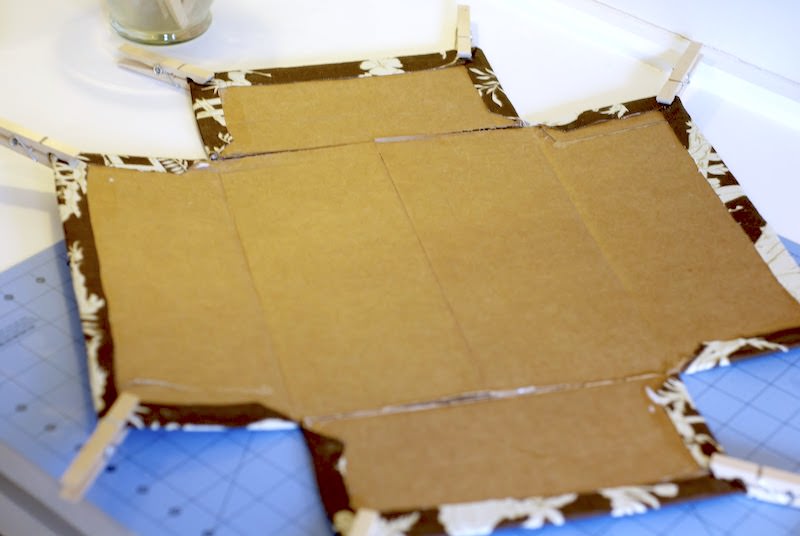
The corners will be a bit bulky. Use clothespins to hold them in place while your mod podge dries.

Repeat this process all the way around until you have the below. Set aside and allow to dry for 20 – 30 minutes.
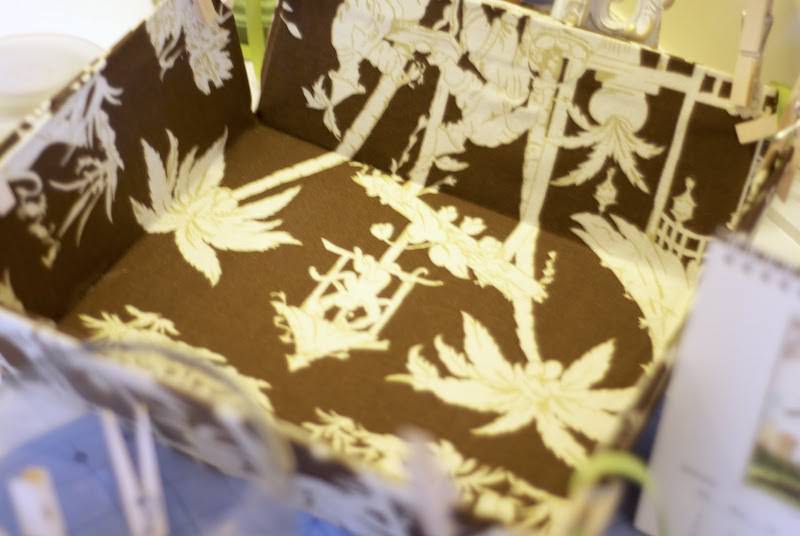
Remove the clothespins and paint a thin layer of Mod Podge to your center (bottom) cardboard.
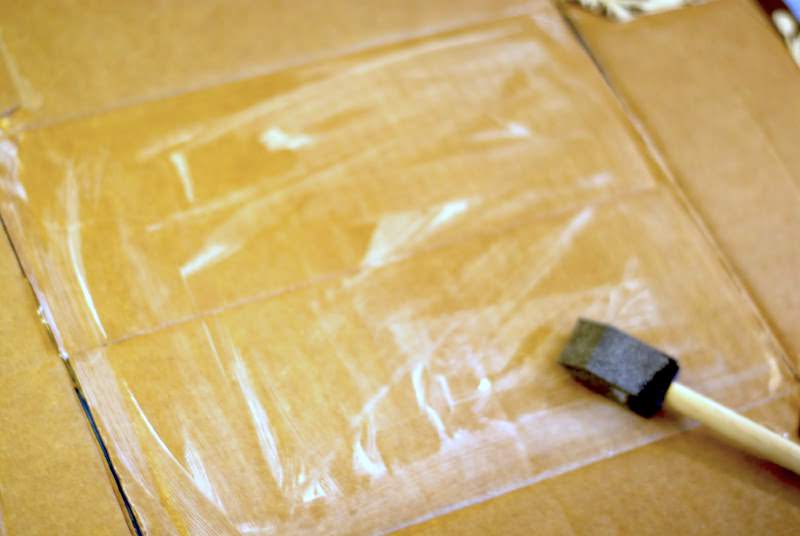
Making sure that corners and flaps match up, place your interior fabric piece wrong-side-down on the portion you’ve just decoupaged.
Again – burnish or smooth with your hands.
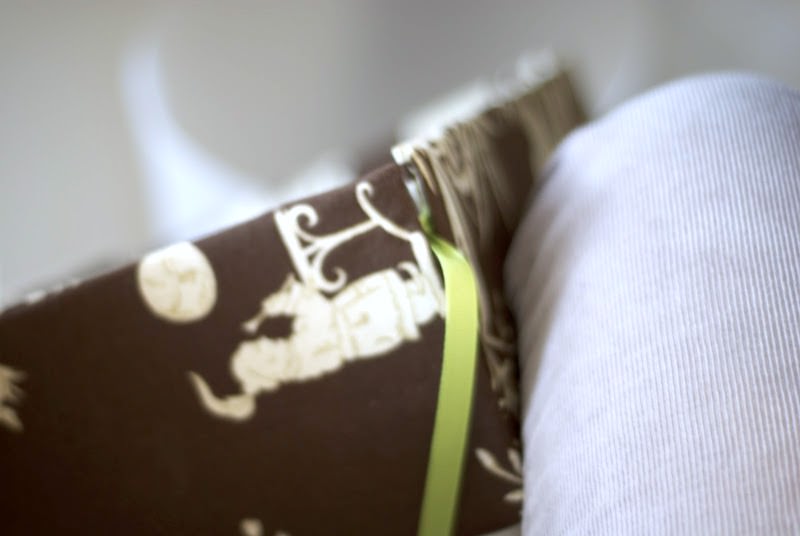
Cut 8 lengths of grosgrain ribbon. I cut mine 8″ but you can make them shorter or longer depending on your desired size.
If you would prefer to make ties instead of bows (like on my smallest polka dot box – see bottom of post for photo), you can get away with a shorter length (maybe 4″ or so).
Working with one flap at a time, apply Mod Podge, place your ribbons toward the top (maybe 1″ down) and burnish the fabric against the cardboard.
I used two clothespins in each corner to hold my box together during drying time.
Repeat this process with the three remaining flaps.
Prop up each side of the box with household items and allow to dry overnight.
Almost done!
If you have a sewing machine and want to go the extra mile, you can actually put a few stitches into the cardboard to hold your ribbon. If you’ve applied enough Mod Podge and allowed your boxes to dry really well, this may not be necessary.
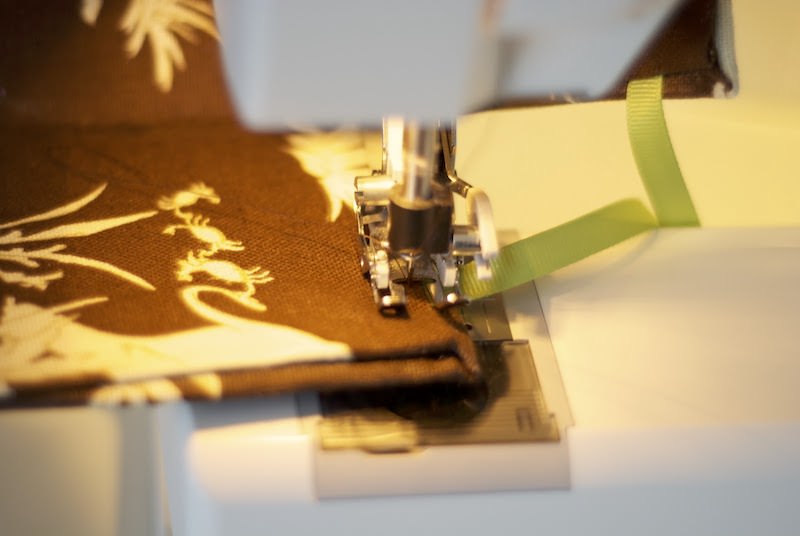
You’d be surprised at how easy it is to sew through cardboard. Just take it VERY slow and don’t backstitch or you might break a needle.
The only thing left to do is tie your bows or ties. I sort of hold the box between my knees while I do this to get a nice tight knot.
Now trim your ends and apply a small bit of fray check.
That’s it! Repeat with your two smaller boxes and you’ve got a set of three coordinating storage boxes made from an ugly old shipping box.
Visit her entire tutorial here.
Did you enjoy these fabric covered boxes? I’d love for you to check out these other project ideas:


Was wondering which mod podge formula will work to cover cardboard boxes with fabric. Plan to use only for craft storage, do won’t be being washed, so doesn’t need to be waterproof.
Hi Kim! Matte, Gloss, or Satin would work depending on the finish you like. I’d probably go with Matte!
Fabulous! Thanks for sharing Erin’s thrify and pretty boxes; what a delightful idea. I look forward to your newsletter in the ol’ inbox SOooooh much! Hope you’re heading for the best weekend ever. :o) mel
Thank you so much for letting me know about this great tutorial and blog.
Hi Amy. Thanks so much for featuring my tutorial!! I’m so excited to be on your fabulous blog.
A note to your readers… I probably should have used fabric podge but I didn’t know it existed when I made these (my first mod podge effort). The regular stuff seemed to work just fine, though.
Happy podging!
By the way – the link to Part 1 of my tutorial is here:
http://smallestsparrow.blogspot.com/2011/01/tutorial-fabric-covered-boxes-with.html
i’ve followed erin’s blog for some time now, although she’s a newish crafter / blogger. great tutorials and always so creative. i’m glad her creativity is getting out to more crafters!