
Want to learn how to make a fairy house the easy way? Make houses with clay pots and create a fairy garden in a few easy steps!
Skills Required: Beginner. All you need to be able to do is use a paintbrush, scissors, and glue. This is very simple for a newbie crafter.
If you’ve ever wondered how to make a fairy garden the easiest way possible, then you’re going to love this project. Did I mention it’s probably one of the most budget friendly ways to make a fairy garden? I don’t know if you’ve looked at prices recently, but the supplies for a fairy house can add up quickly.
In addition to clay pots, I used some inexpensive wood pieces and paints from my stash to make my garden. You’re going to go through four steps to make them:
- Paint the Pots
- Paint the Wood Accessories
- Add the Moss
- Glue it All Together
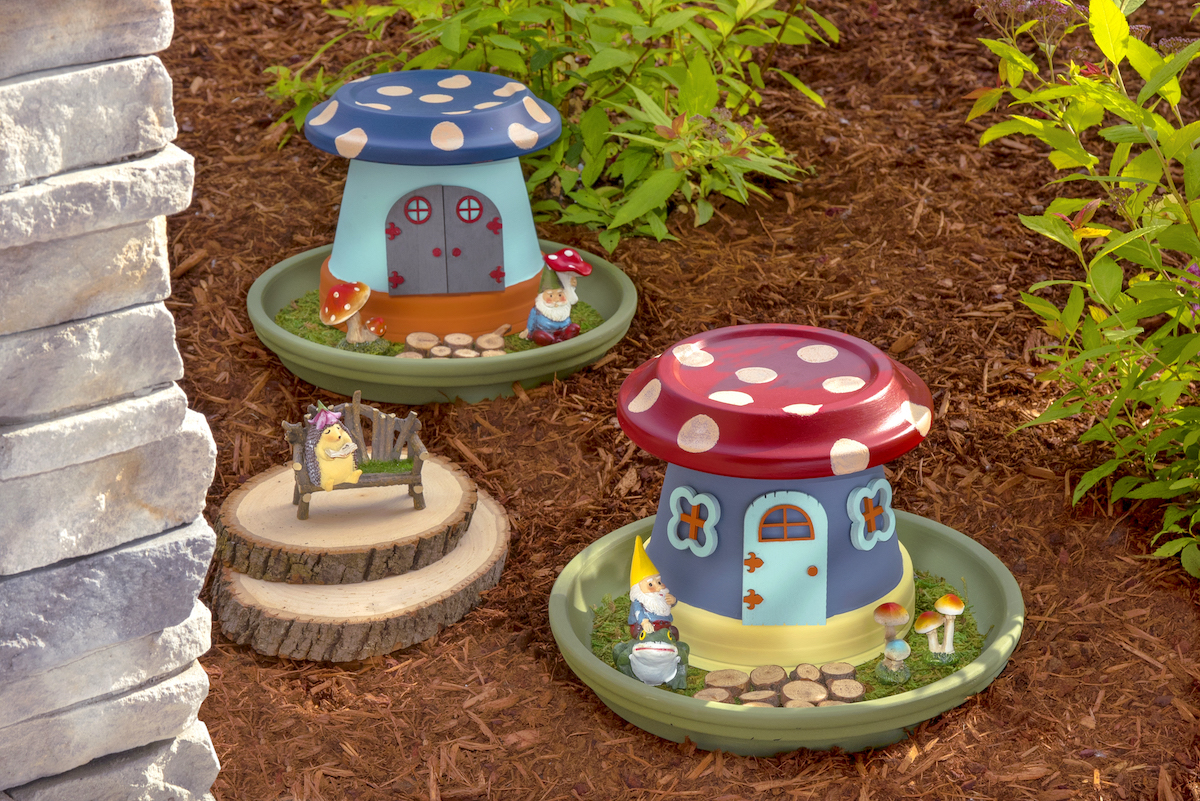
So easy, even a kid can do it. In fact, I did the project with a child – my six year old niece. Now these awesome gnome houses are sitting right outside my front door!
Tips for Making Fairy Houses
Before we dive into the project, I wanted to go over some tips. I know it seems like there’s not much to it, but here are the craft supplies I used and why so that you can achieve success.
Made Out of Clay Pots
The reason I selected clay pots for my DIY fairy garden is, first and foremost, I wanted something that could go outdoors. Clay pots are very durable, and I knew that they would hold up to the rainy weather of the Pacific Northwest (like my painted rocks!).
If you want your garden to stay outside most of the time, consider clay pots. Also consider drilling drainage holes in the clay pots if you get a lot of rain in your area.
Paint to Use
My DIY fairy garden is for the outdoors . . . if that’s the plan for yours as well, I recommend FolkArt Outdoor or FolkArt Multisurface. The Multisurface is my favorite paint of all time because of the colors and coverage! You’ll want to use a few coats of paint to completely cover the pot and saucers.
If your project is going inside, regular acrylic paint will work just fine. You can also use regular paint with an Outdoor sealer, but it will fade more quickly if it’s not outdoor rated.
Fairy House Accessories
I highly recommend using unfinished wood and dollar store pieces as much as possible to save money. I got my pieces directly from Plaid, and they are no longer available. BUT you can find windows and doors on Amazon as well as eBay.
I rely on both Michaels and Dollar Tree these days (in addition to online) to get a lot of my fairy garden accessories. I have the Michaels app and I’m always looking for those coupons for purchase!
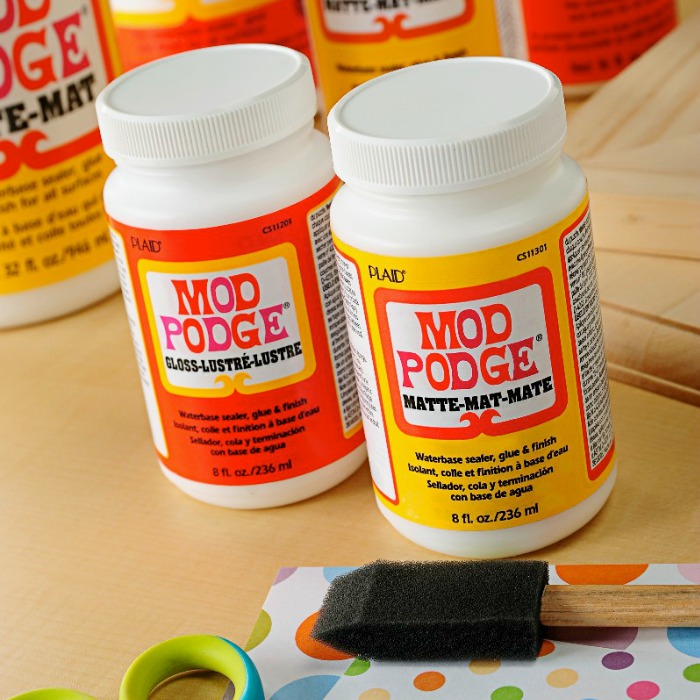
Mod Podge to Protect
I wrote an entire post on how to protect a fairy garden – and I’ll give you the summary here. The secret is Outdoor Mod Podge! If your houses are going to be outside in all types of weather, read this article to learn more.
Are you ready to get started on this cute craft project? Here’s what you’re going to need.
Gather These Supplies
- Clay pots – each fairy house requires one 10″ saucer, one 7″ saucer, and one 7″ pot (or sizes of your choosing)
- Acrylic paint for outdoor use – colors of your choice
- Mod Podge Outdoor
- Unfinished wood accent pieces
- Floral moss – can be adhesive or not
- Wood slices in various sizes (optional)
- Outdoor glue like E-6000
- Paintbrushes
- Spouncers (optional)
- Fairy house materials – gnomes, fairies, and other garden embellishments
Tips and Thoughts for This Project
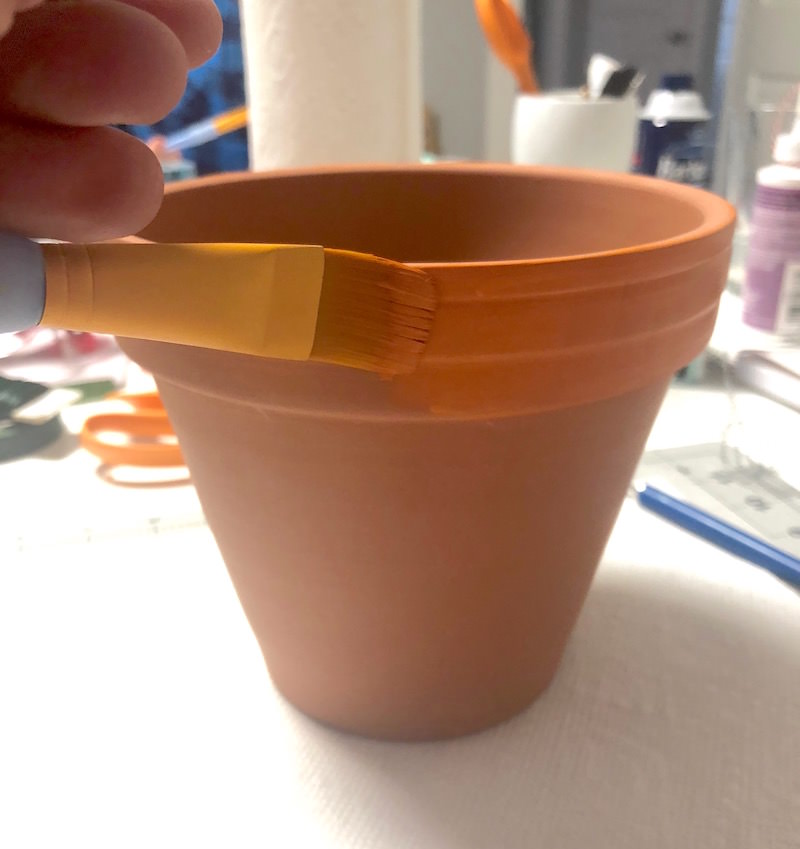
Before beginning, make sure your terra cotta pots are clean and the labels are removed. You can use mild soap and water to clean a clay pot; just make sure it’s fully dry before painting.
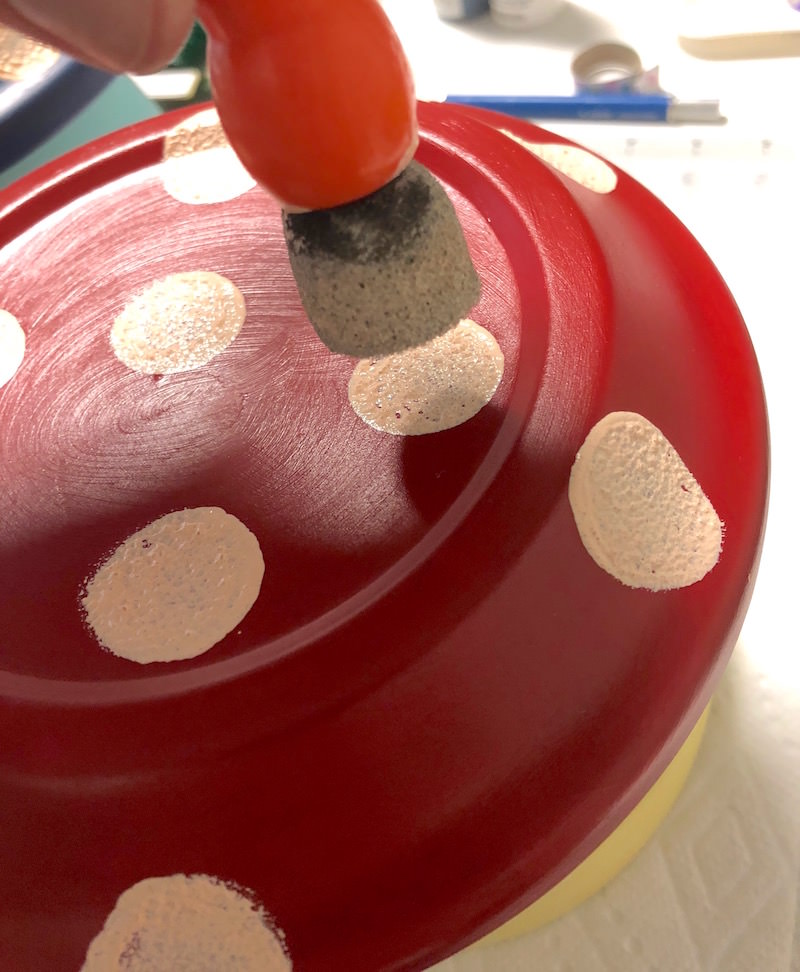
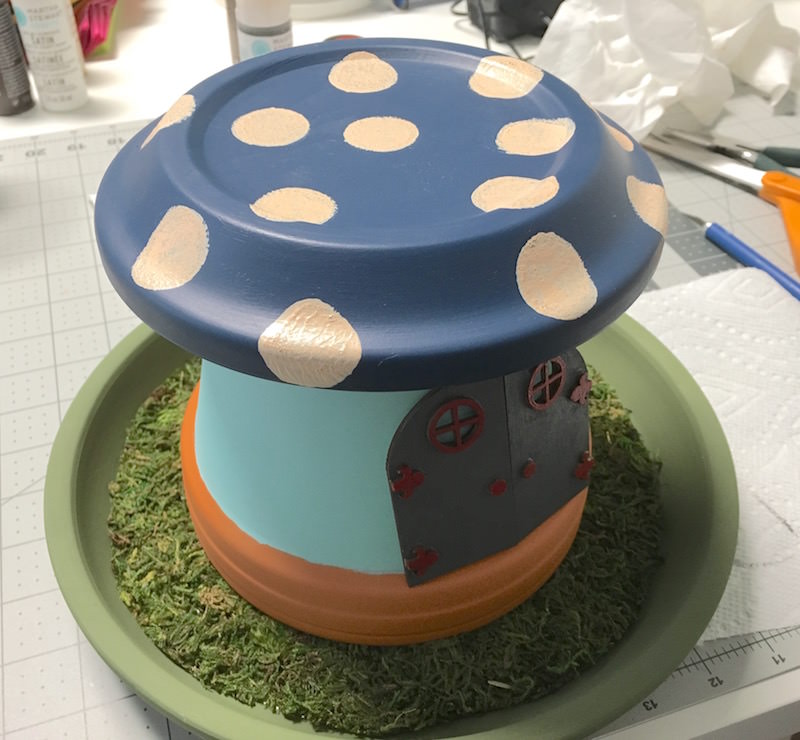
We turned the tops of the fairy houses into mushrooms by adding polka dots with a spouncer! If you’ve never used a spouncer before, you simply place a bit of paint on the bottom.
Then press straight down onto the surface to make a dot (practice before trying it on the pot). Use a flesh or white color for the dots if you do the mushroom design.
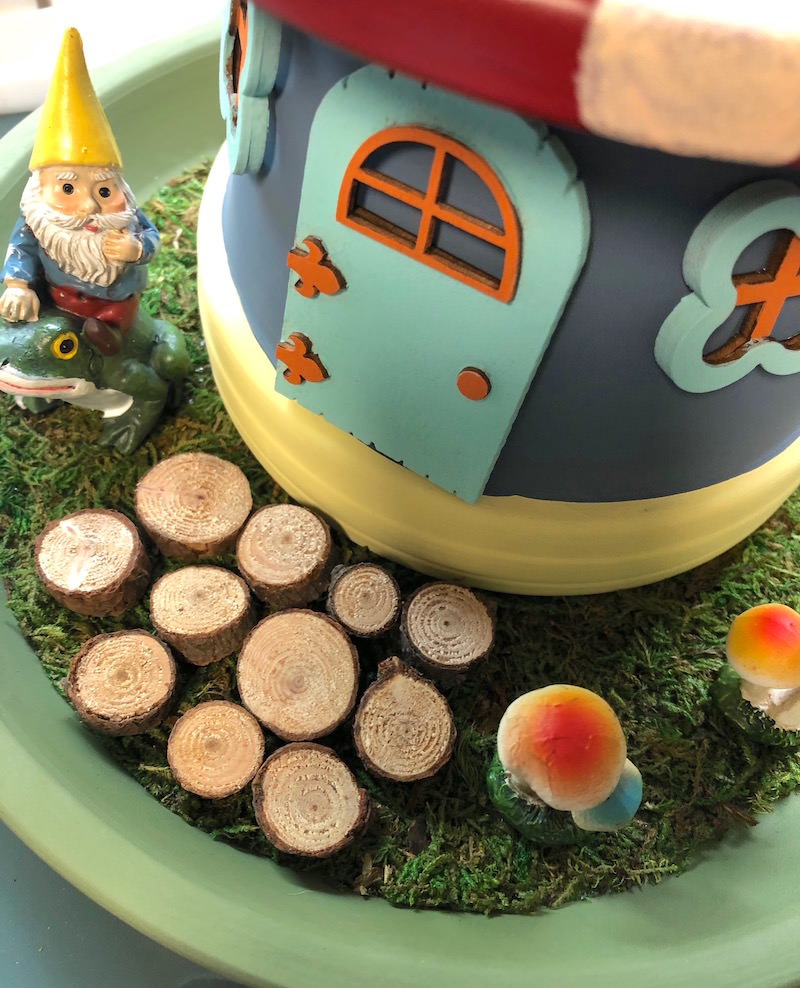
Consider decorating with some rock mushrooms or clay pot gnomes! Get the printable how to card for this project below:

DIY Fairy House
Materials
- Clay pots – each fairy house requires one 10″ saucer one 7″ saucer, and one 7″ pot (or sizes of your choosing)
- Acrylic outdoor paint
- Mod Podge Outdoor
- Unfinished wood accent pieces
- Floral moss
- Wood slices in various sizes optional
- E-6000
- Gnomes, fairies, and other garden embellishments
Video
Instructions
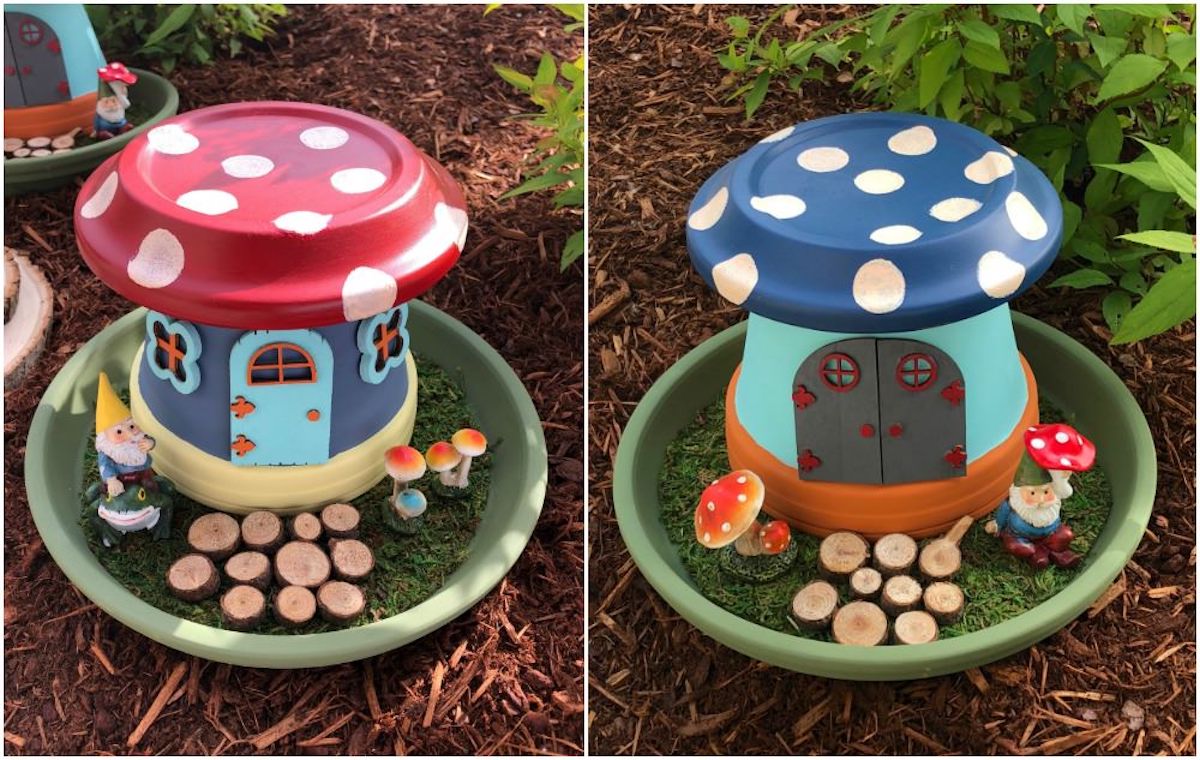
- Start by painting the rim of the clay pot(s) with a few coats of acrylic paint. Let dry.
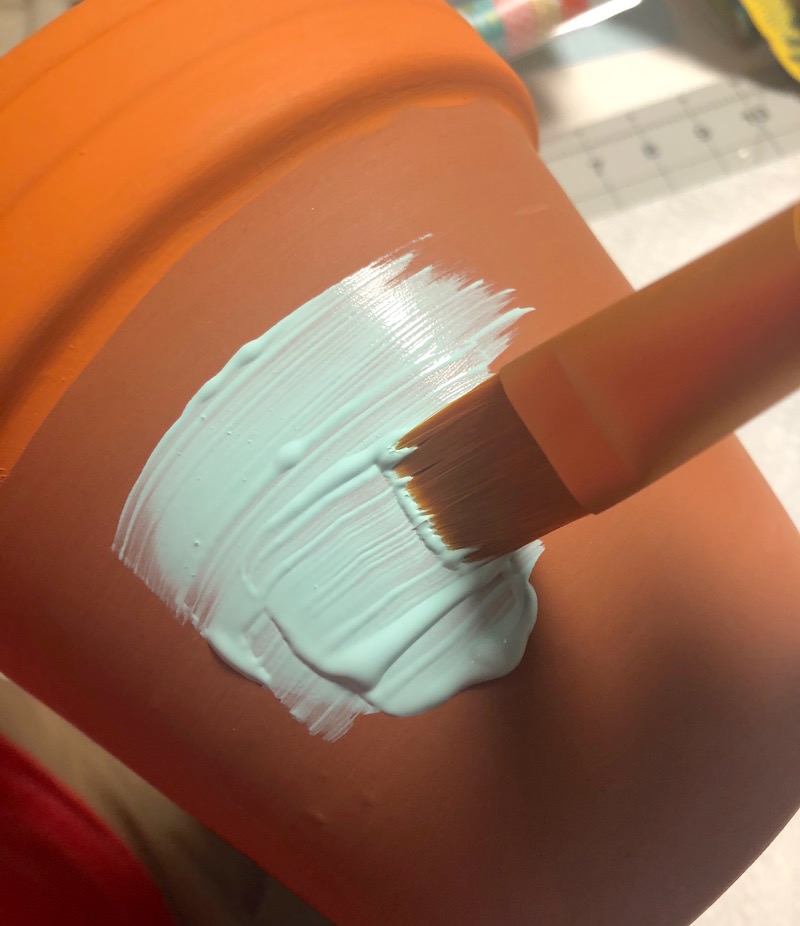
- Choose another color and paint the base of the pot. Don't worry about the bottom of the pot; it won't be seen.
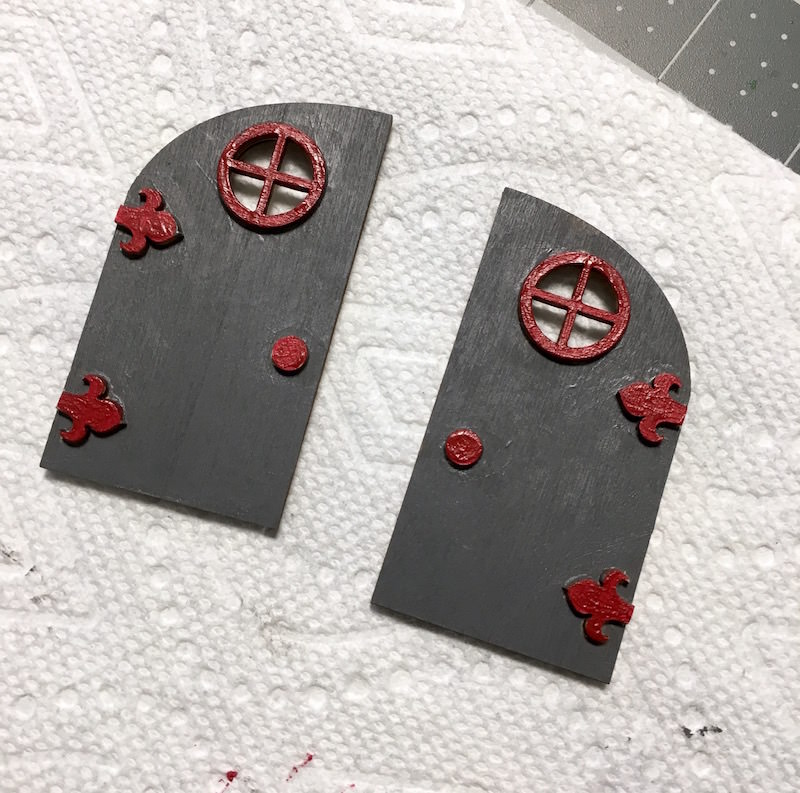
- Choose the unfinished wood pieces that you'd like to paint to decorate your house. Paint any embellishments with acrylic paint and let dry.
- Paint the saucers of the pots with coordinating colors. I recommend painting the larger saucers green to match the moss. Add dots with spouncers to turn them mushroom themed, if desired.
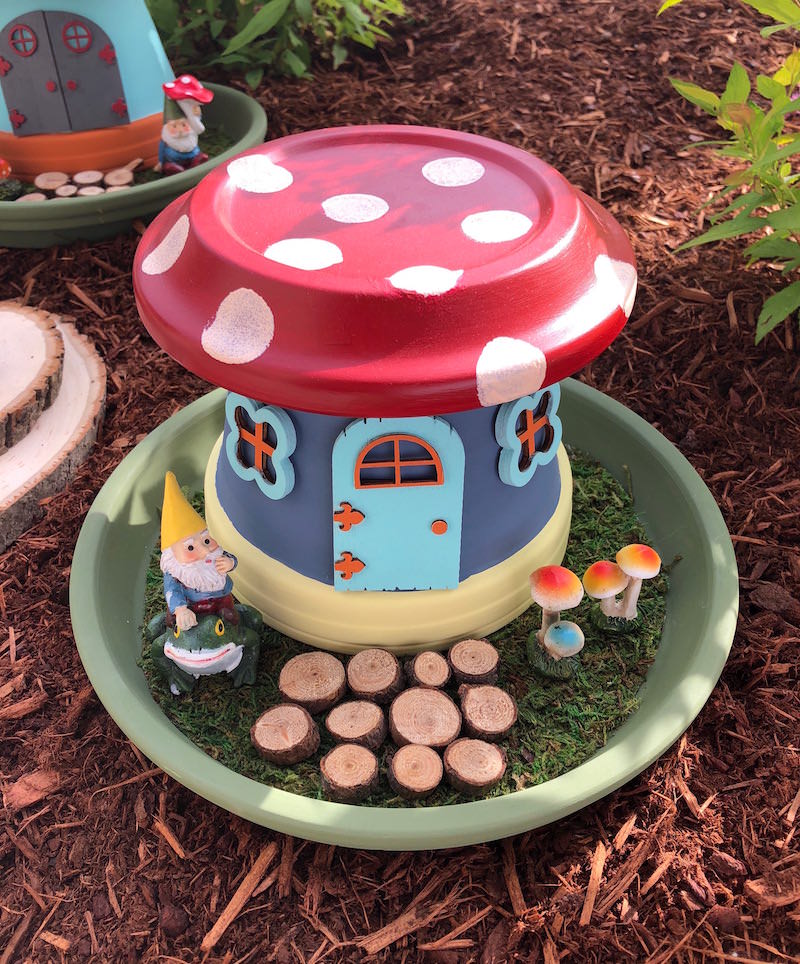
- Cut a piece of moss to fit the 10" saucer. Do this by tracing the bottom of the pot onto the back of the moss, if it's a sheet. Glue moss down with a waterproof glue to cover the base.
- Use E-6000 or another waterproof glue to attach the top of the fairy house to the bottom of the pot. Then place a ring of glue around the top of the clay pot and put it down on the base (into the moss). Let dry for several hours.
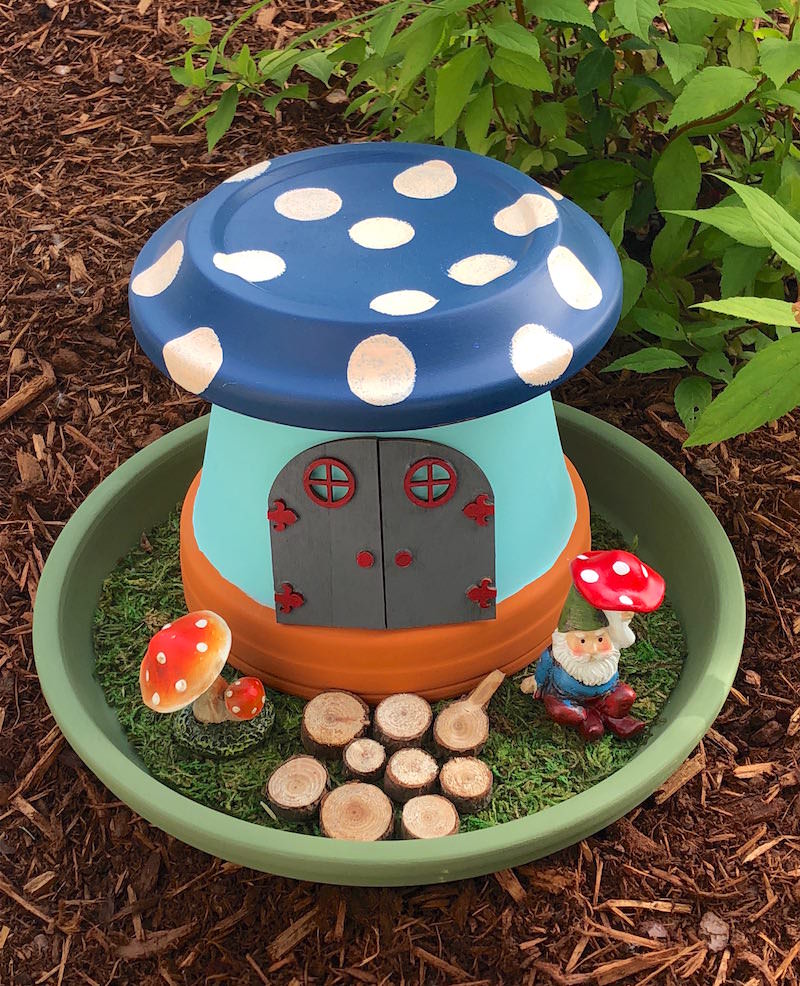
- Add embellishments like small wood circle steps with the waterproof glue. We also placed gnomes, but we didn't glue them down because we want to be able to change those out to various animals, fairies, etc.
- Give the houses a few coats of Outdoor Mod Podge (minus the pieces that will be moved). Let dry before placing outside.
I’d love to know if you try it in the comments! This project is part of our garden crafts, spring crafts, summer crafts, cute things to paint, and clay pot painting and decorating posts. Take a peek at those for more ideas.


This looks like so much fun. I can’t wait to try it!
I love love the lil clay pots for fairy gardens i have actually spent a fortune on fairy gardens i have four really big gardens but 1 is decor is frogs 1 is a campground for gnomes and 2 is fairies this makes the second year i have done it i love doing it and you’re right it takes a lot of and patience to get it done right