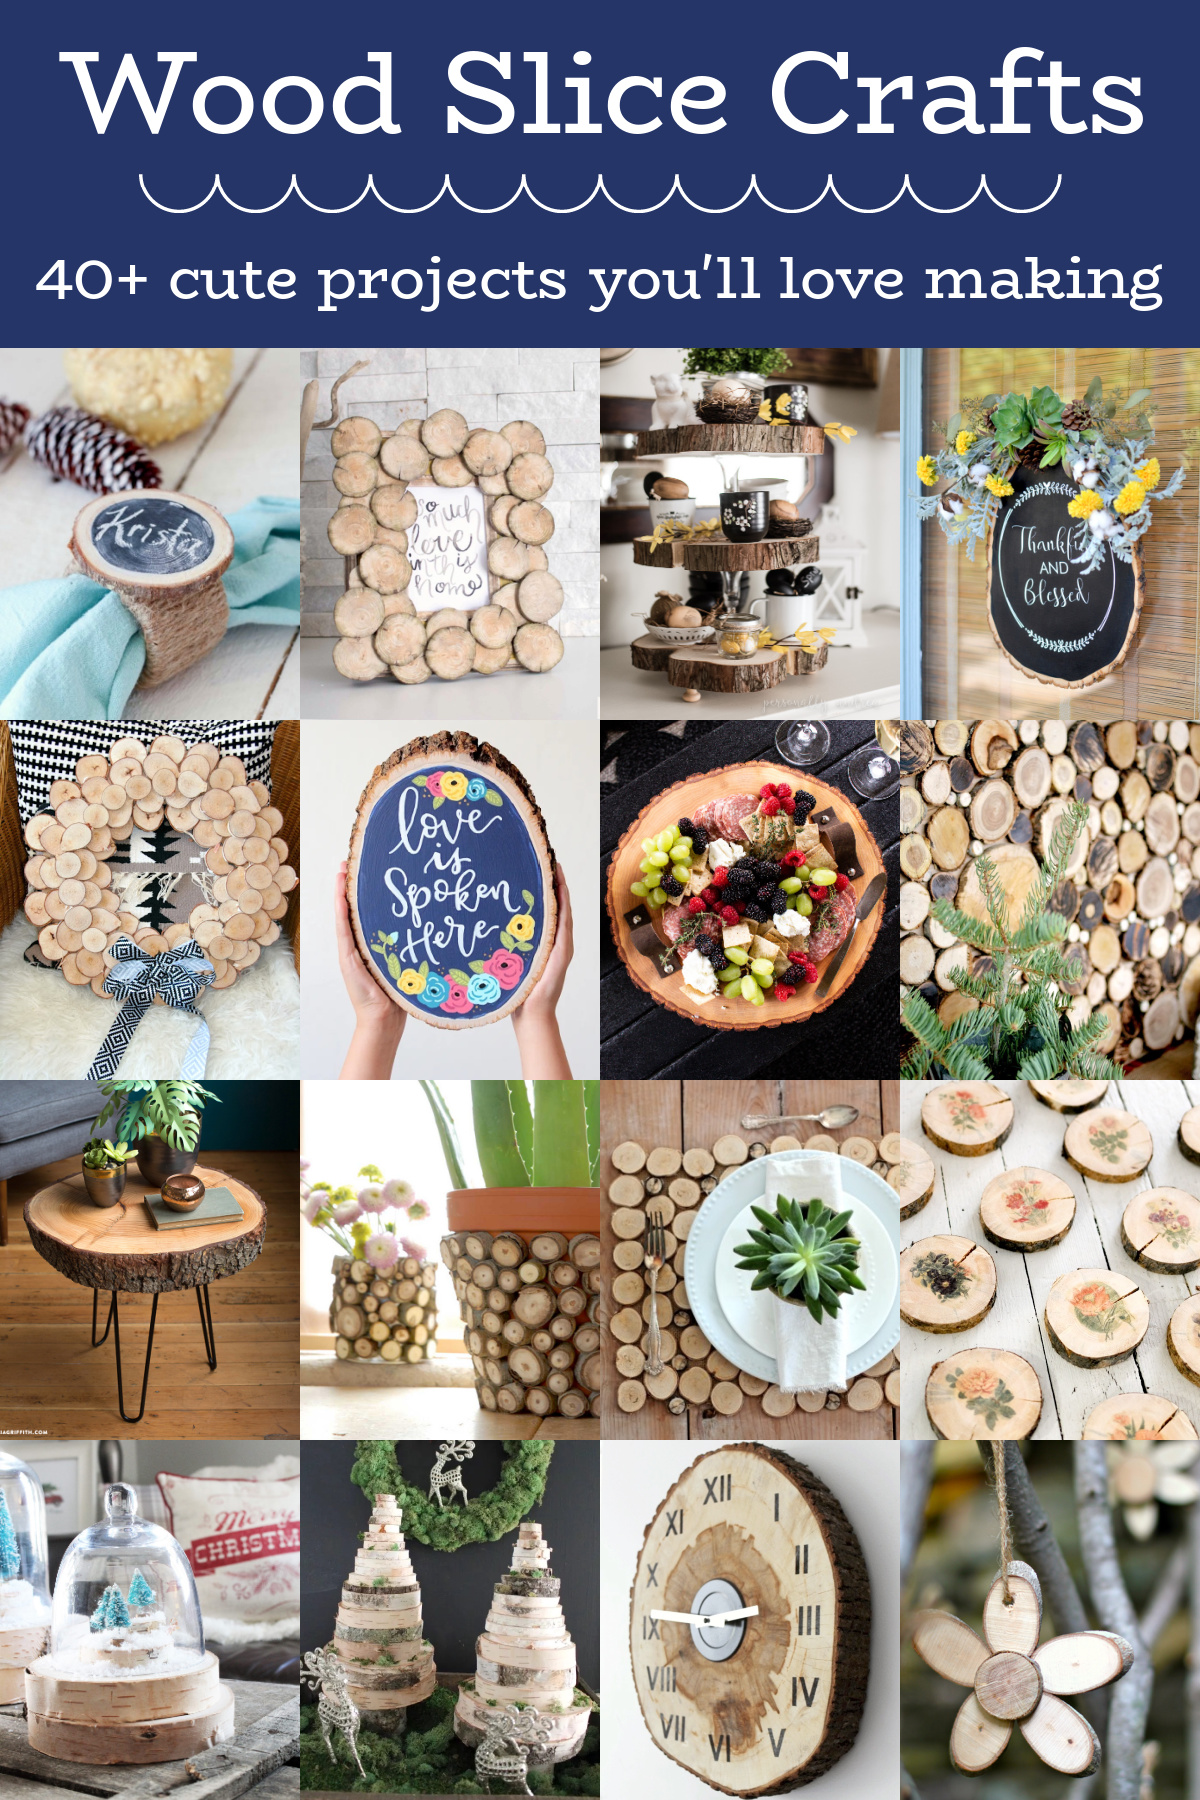
Learn how to make unique wood slice crafts that are perfect for beautiful decor and gifts. You’re going to love these fun projects.
If there’s one thing I love in decorating, no matter the style, it’s wood. I love using it in home decor crafts, and really whenever I get a chance.
I like wood because it’s got texture without being overly complicated. There are natural colors in the grain. And it works really well with paint!
SO. I’m very pleased to share these wood slice crafts with you today! I use wood rounds all the time in my craft projects, and I’m always looking for new things to do with them. I’ve got over 40 ideas to share!
But before that, I wanted to share some tips and FAQs with you. If you’re ready to craft, just skip down to get the ideas.
How do you prepare wood slices for crafts?
If you cut your own, you’ll need to dry them. If you buy them from the craft store, they are ready to craft with immediately. Otherwise, here’s what you need to know.
Cutting Your Own Versus Purchasing
I have used both wood circles purchased from the craft store in projects as well as ones that were cut from tree branches. Here’s what you should know about both scenarios.
Buying Wood Circles
Wood slices are readily available at most craft stores, but personally they are a crafting surface I always buy online. I tend to use them in a lot of different projects, so I buy large packs and just use them up. If you purchase wood circles online, make sure they are already dried.
Cutting Wood Circles from a Branch
If you’re going to cut your own, it will be free, but you’ll also have to go through some steps. You need a chop saw or miter saw, and you’ll cut the branches to whatever width you need for your project. Then you need to wipe away the sawdust and let them dry before using.
But here’s the catch – usually the rule for drying out wood is a year for every inch of thickness. This would mean that, depending on the thickness, it’s going to be about 3 – 6 months before you can use them.
If you cut down a tree in spring, that time frame could work depending on when you want to make your project. Otherwise . . . read the next section for drying information.
How do you dry wood slices?
You can let wood dry naturally (which takes a lot of time), but my other favorite methods that cut to the chase are using denatured alcohol and baking. I discuss both below.
Baking
If you cut your own wood, baking is the easiest option. To do this, set your oven to 200°F and place the slices in on a cookie sheet. Leave for 45 minutes, then flip over to the other side.
This is an easy, fast method – but you will lose some of the wood to cracking. So make sure you have a lot of slices (you can also embrace the cracks as part of the aesthetic).
Denatured Alcohol
Another option is to use denatured alcohol. This blog post describes the details of the method, but essentially you will let the wood sit in a bath of denatured alcohol for about 24 hours, and then dry out for 24 hours.
Keep in mind that this type of alcohol is toxic, so you would have to be careful about how and where you use this method.
Do I need to seal my wood rounds?
No, you don’t. I didn’t seal any of the ones you will see in this tutorial. However if you want to keep the edges from flaking too much or just give them a finished/polished look, you can brush them with some polycrylic or spray sealer. It’s not required though.
Are you ready to dive into the projects? Grab your wood circles and have some fun! Let me know what you try in the comments.
1
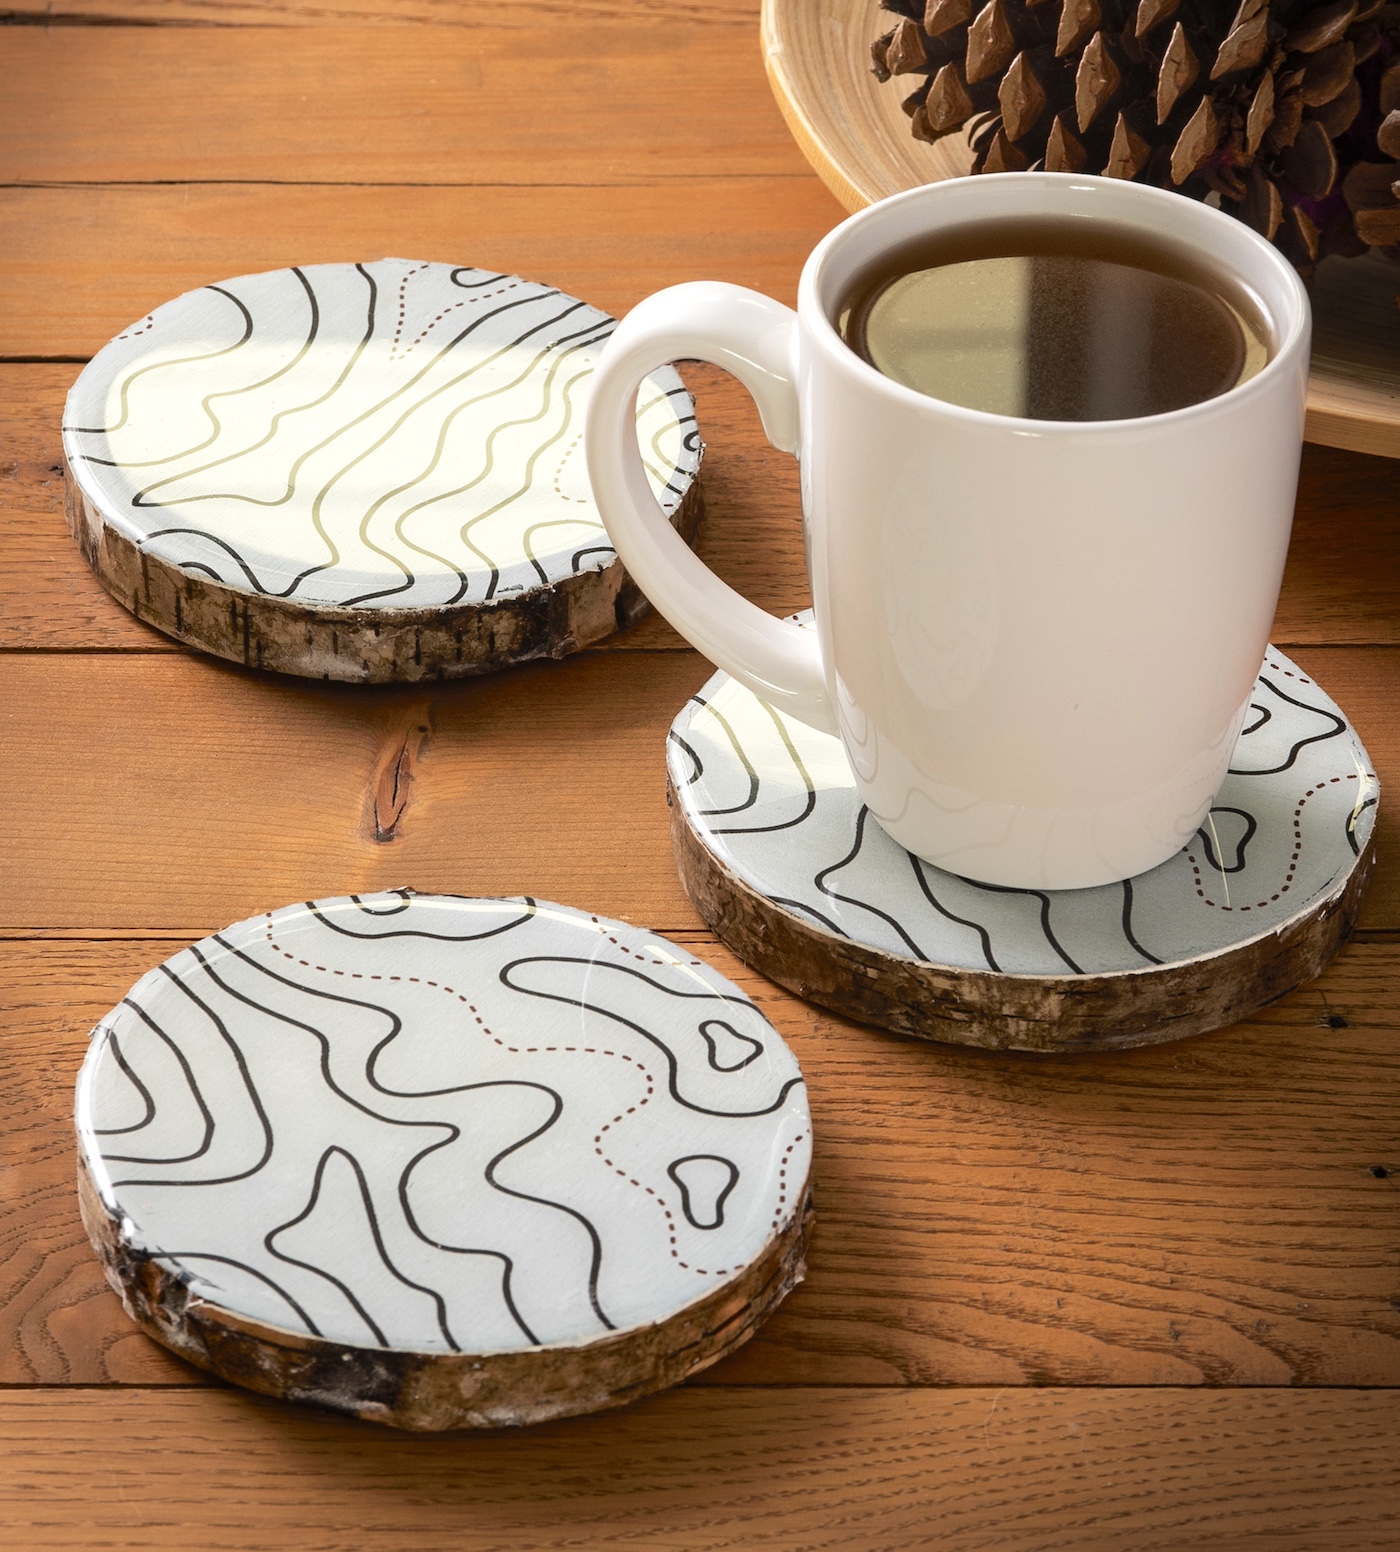
Wood Slice Coasters
Decorate wood slices with napkins, then turn them into waterproof coasters by adding resin on top! This is a fun and unique project.
Give your home a western vibe with a handmade wooden photo display. Use the Mod Podge Photo Transfer Tool OR the photo transfer medium to transfer the scenes of your favorite locations across the country. This project will be a unique addition to any space.
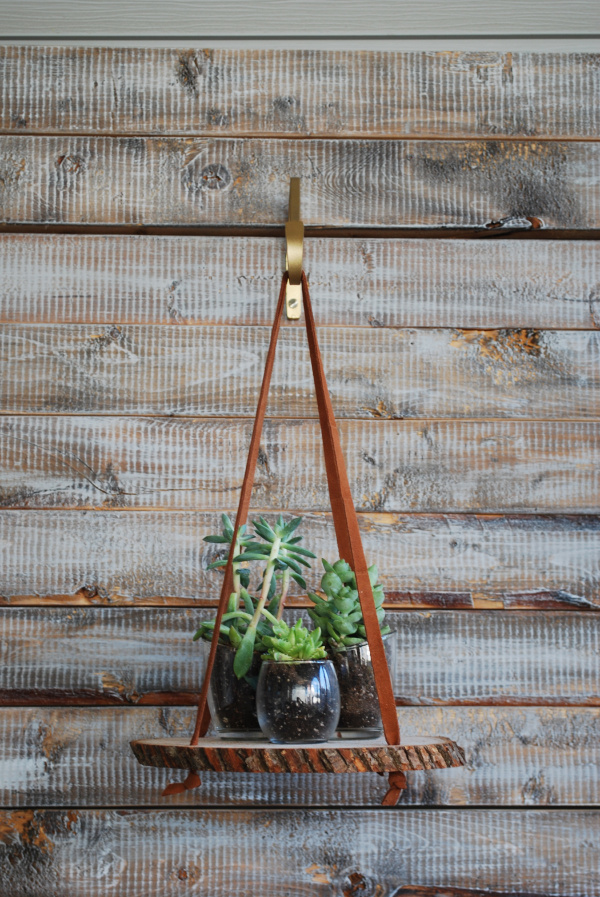
Make floating plant shelves using birch rounds! These are the perfect place for your plant babies to live anywhere in your home – or any other small items you'd like to display.
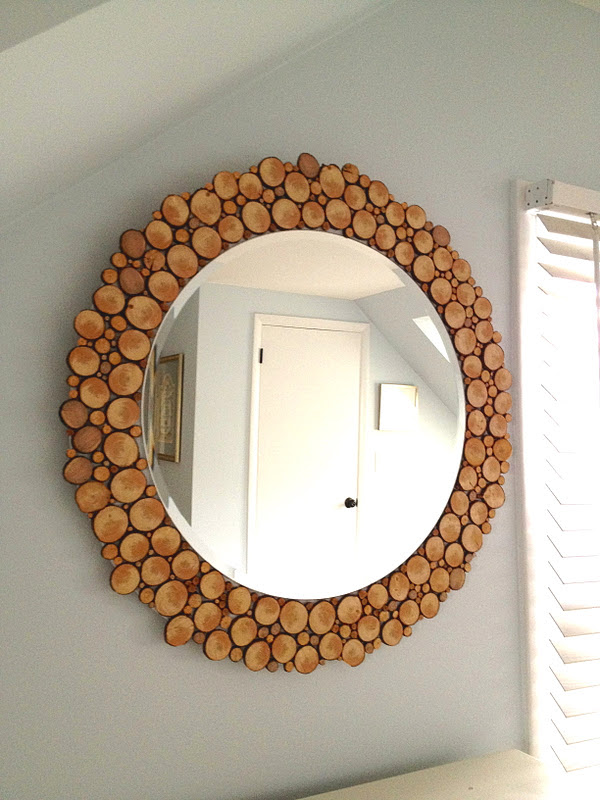
Jamie shows you how to take a mirror, add a wood backer, and then glue your wood circles all around. This project can be done with any size or shape of mirror.
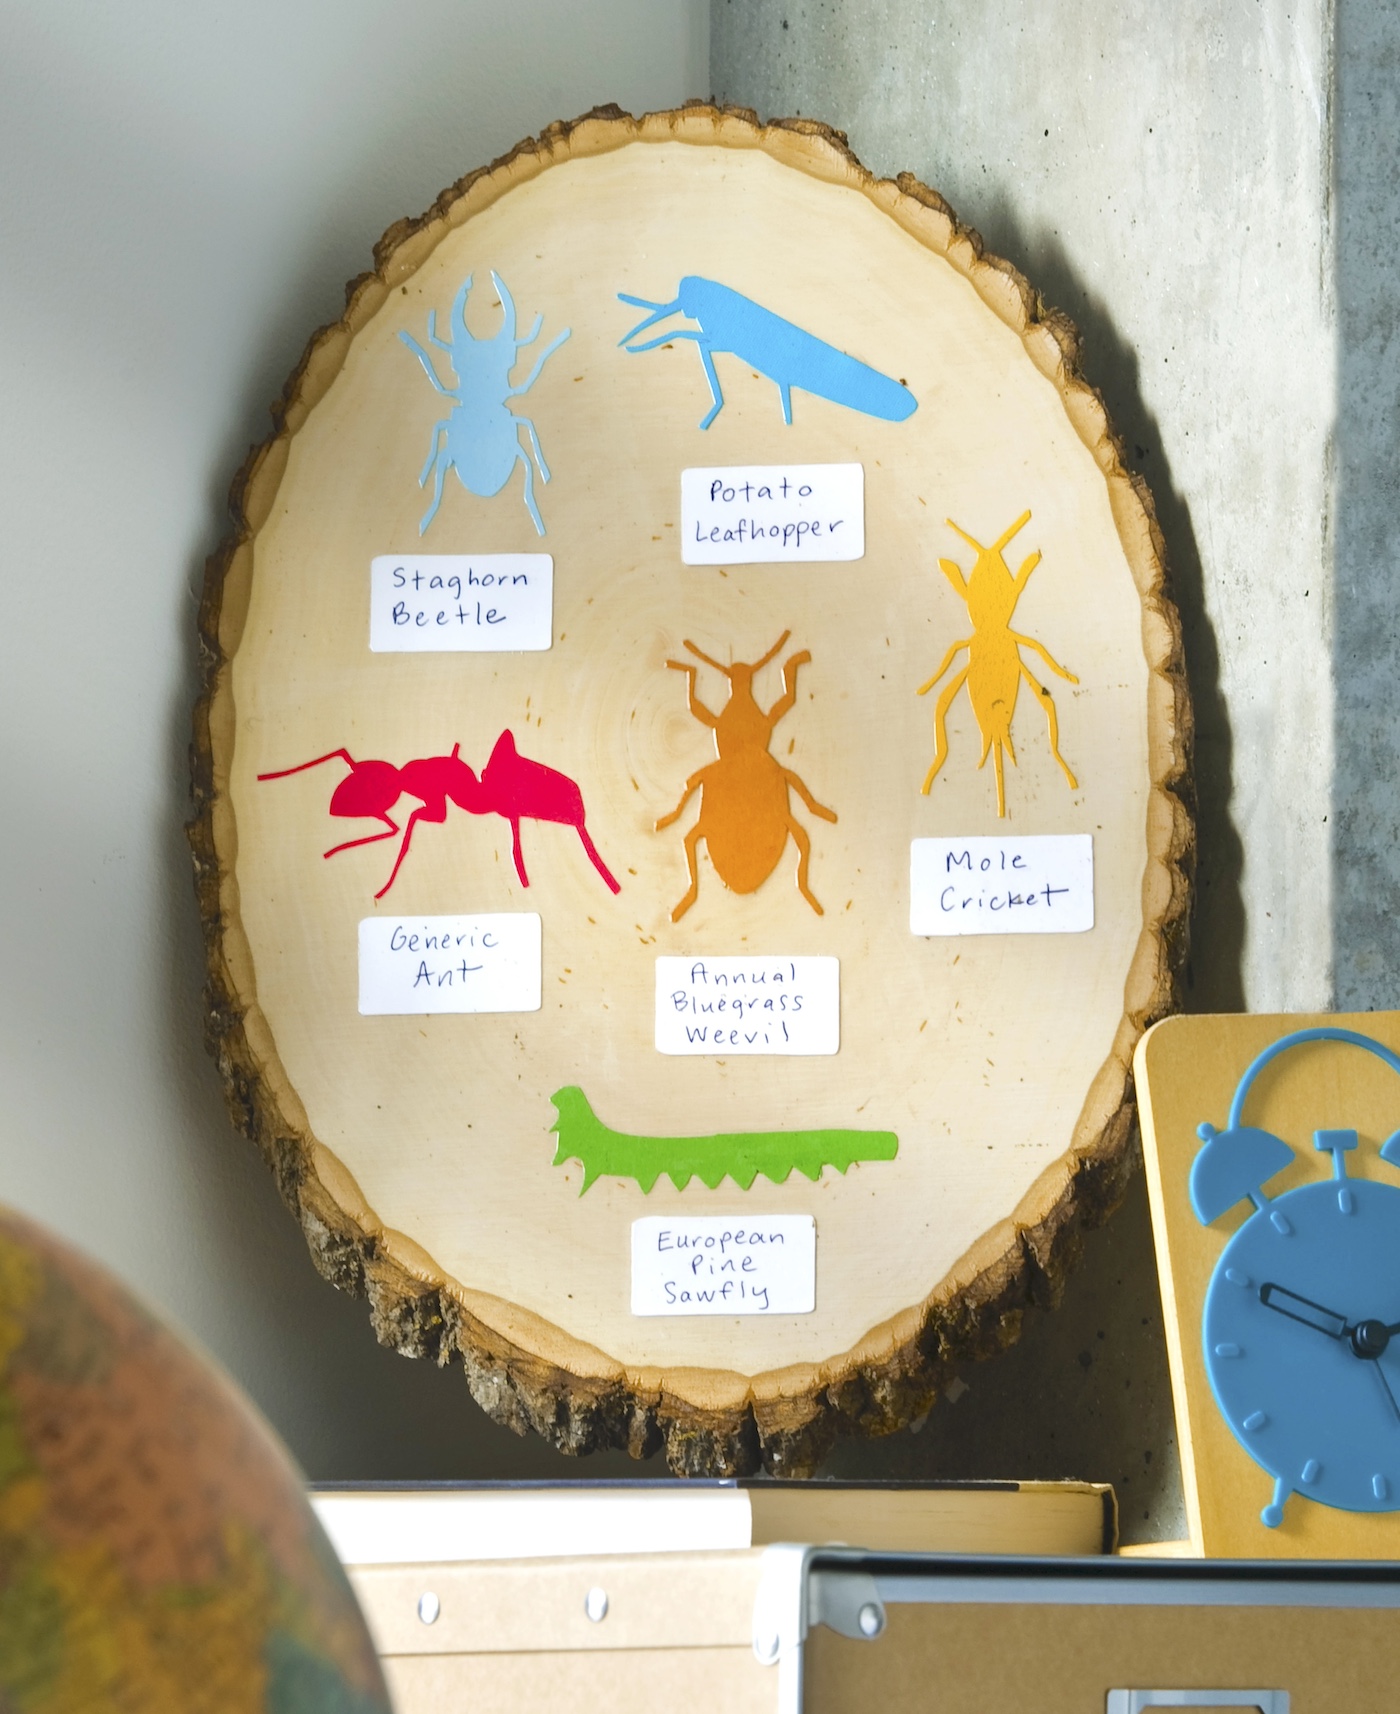
This insect identification chart is such an easy kids craft or boredom buster. It allows your children (and you!) to learn about the bugs in your environment, as well as create some cute decor.
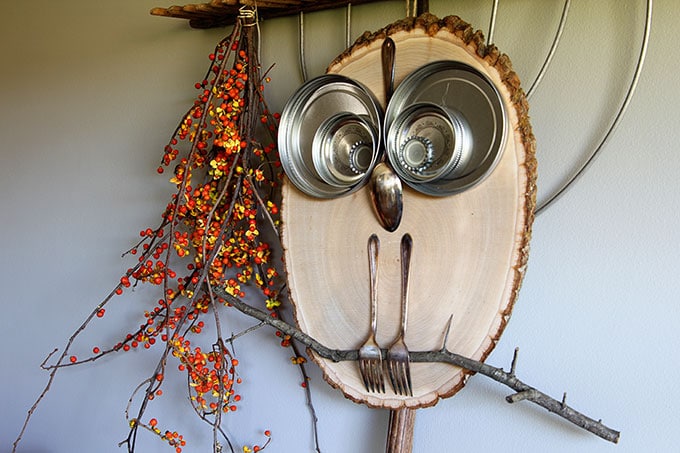
What a hoot! This adorable owl is a super quick and easy DIY wood slice project for fall home decor or any time of the year. It's a ten minute craft for either adults or kids!
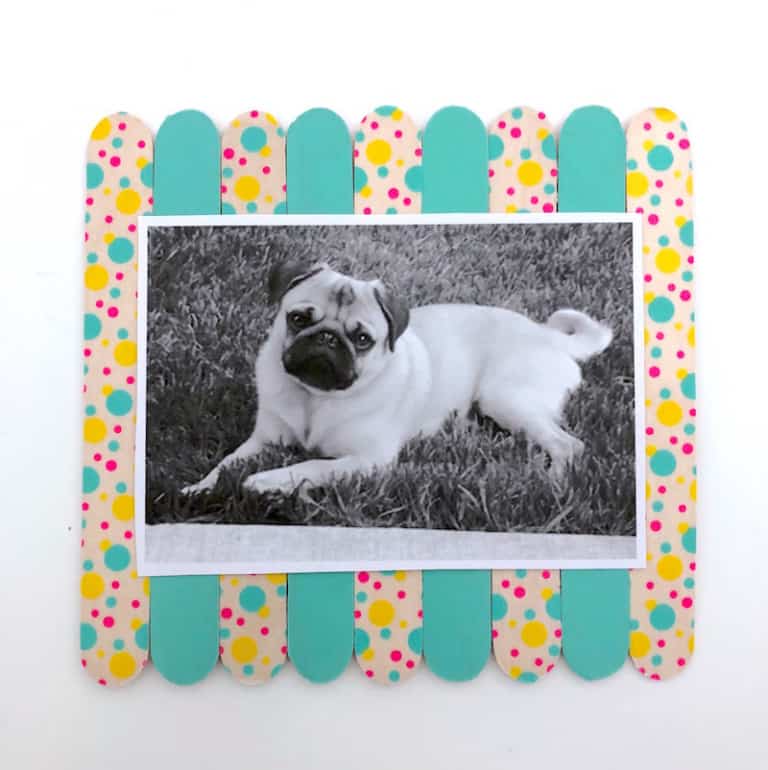
Take an outdated photo frame and gave it a fresh look with driftwood wood rounds! I love that this style of frame works with a variety of decor styles.
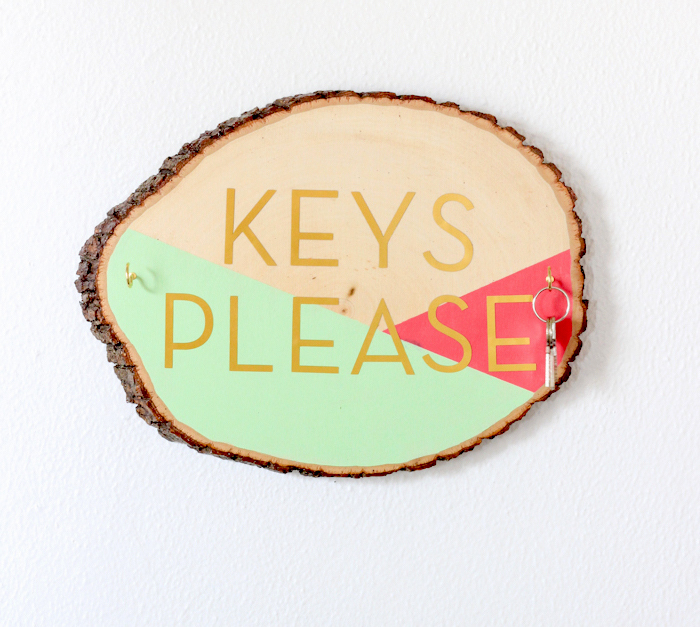
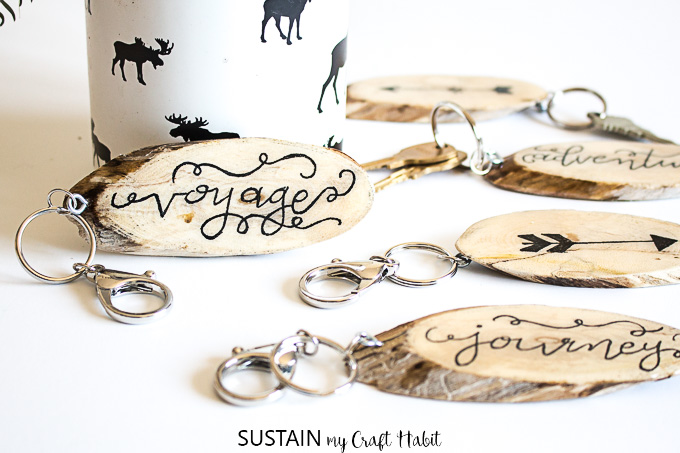
Hand lettering looks even better when put on a wood slice! Add your own style and flair to spruce up a simple piece of wood with this idea.You can see another version of this project with a Halloween theme here.
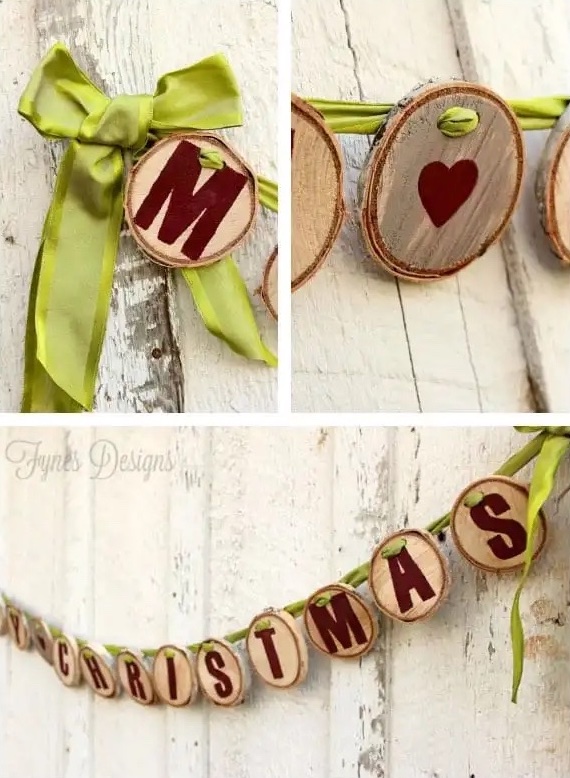
This tutorial shows you how to do an image transfer using an inkjet printer and wax paper! Once you decorate the slices, you can use them to make photo ornaments, a garland, table markers, or anything else you like.
Would you be happy if I told you that you don't need to use any glue for this project? Yep! You're going to put all the elements together with some faux snow for the ultimate holiday display.
If you like the combination of metal and wood, this is going to be a great addition to your furniture collection. Use wood slices and copper pipe to make a table.
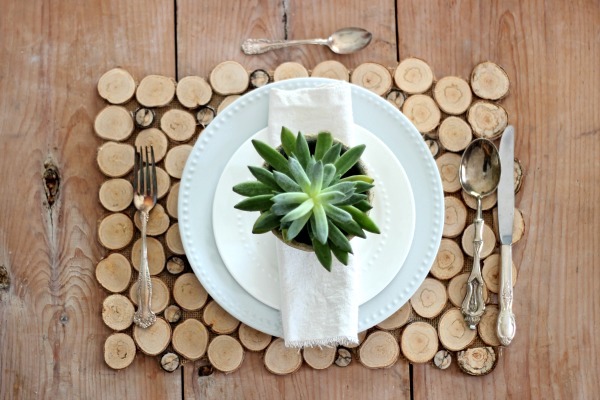
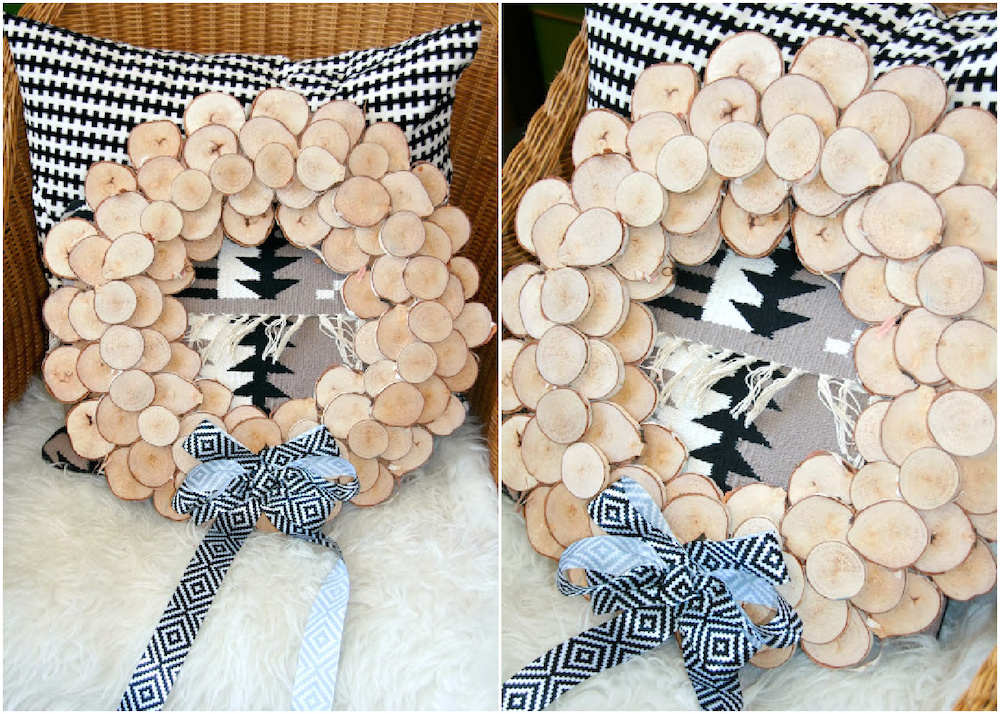
This was made using 55 – 60 small wood slices cut to 1/2″ thickness. All you do is cut a 12″ x 16″ rectangle of burlap and then hot glue the circles in place! Tiny circles are great for filling in the small areas.
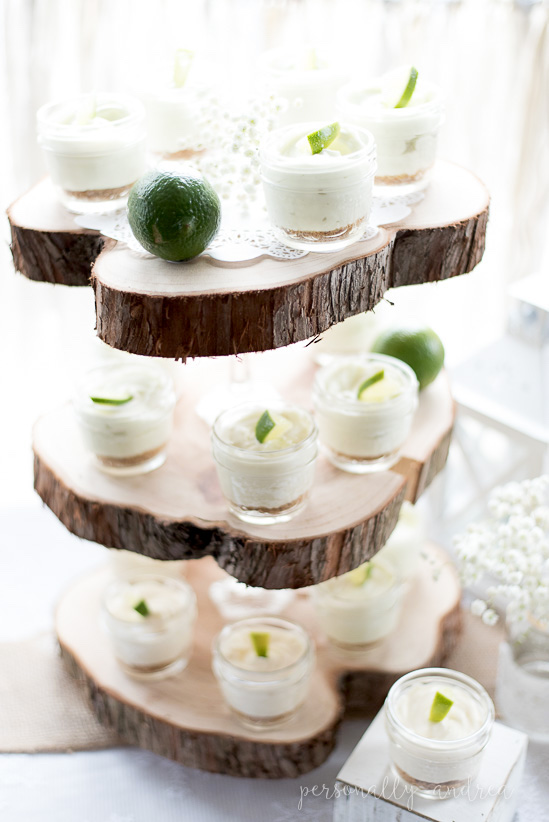
Learn how to make a rustic three tier stand with reclaimed wood slices and glass candlesticks. You can also make the same with the large cut wood plaques from the craft store.
Sometimes you want a place to put things but you don't have any floor room. Or you just want a display that is a bit unique. This plant stand is a perfect way to achieve both of those things!
It's very easy to make a wreath with a cardboard circle for the base. And if you already have a branch you can cut? You might be able to make this project for free!
This fall door decor idea is a fun change of pace from your typical fall wreath! Learn how to make a chalkboard wood slice with this easy to follow tutorial.
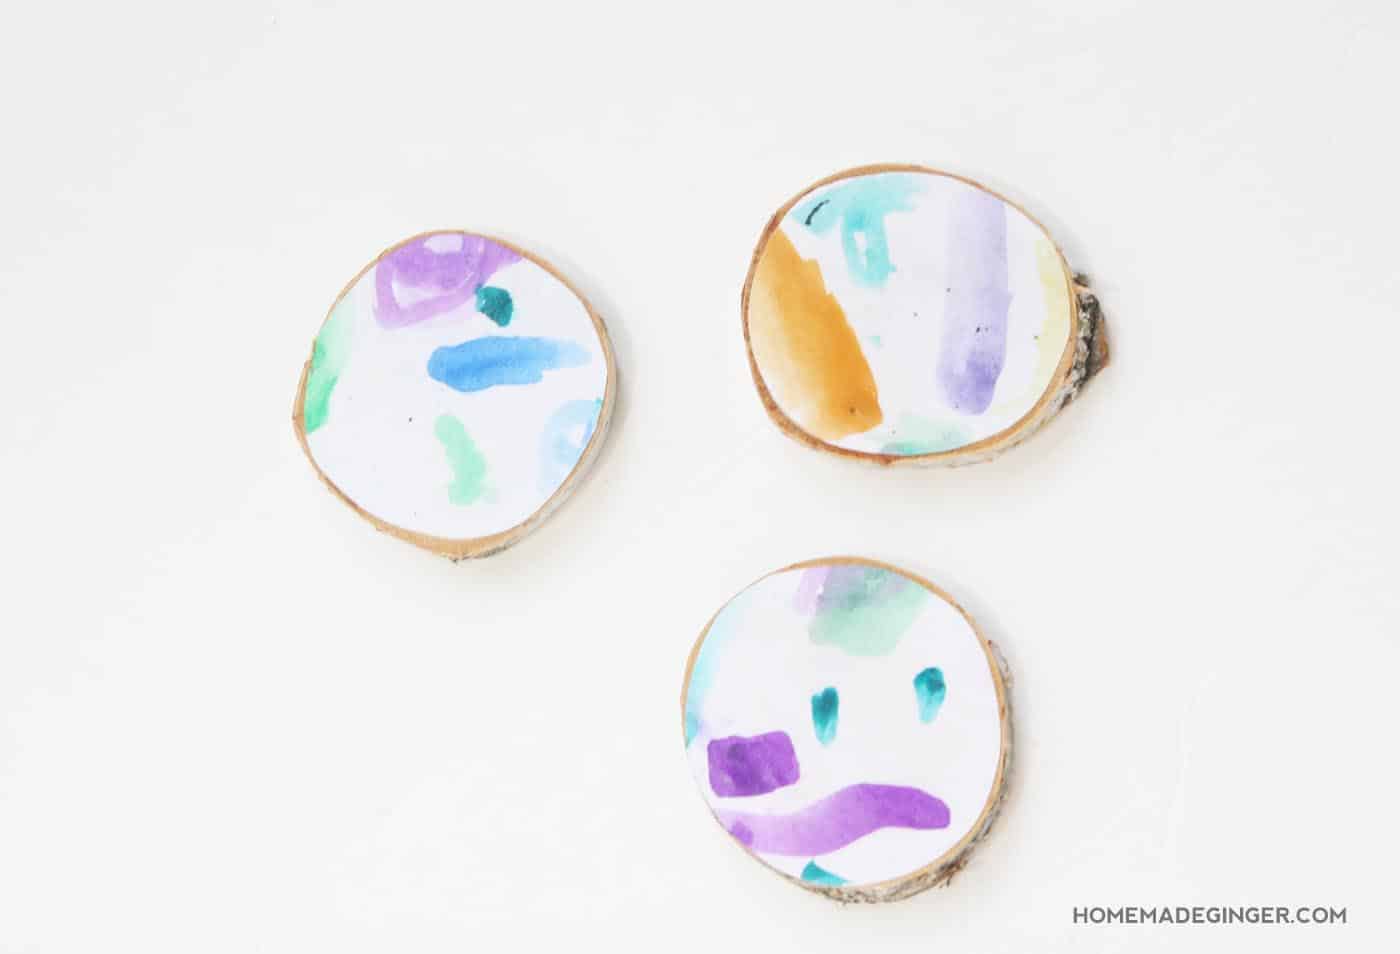
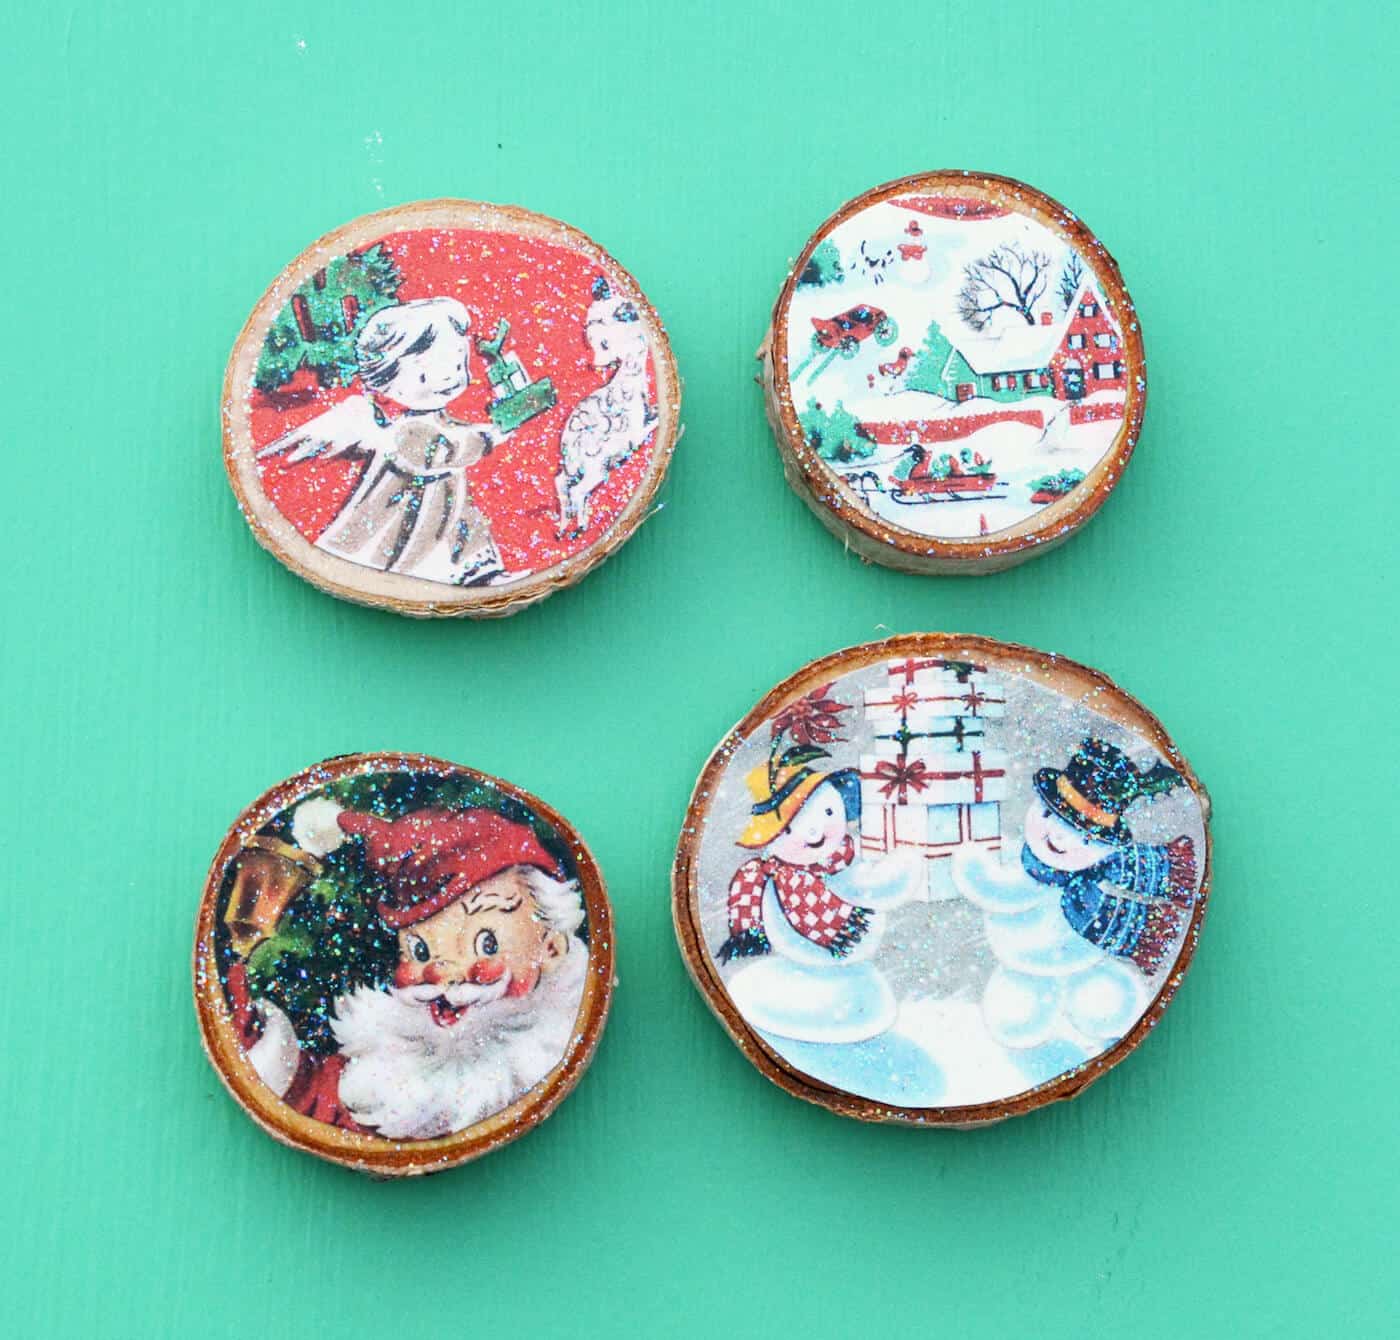
Wood Slice Ornaments for Your Rustic Christmas Tree
Learn how to make wood slice ornaments for your Christmas tree and other holiday decorating. These are SO easy and inexpensive. There’s also a free printable provided to use as a template for your designs!
This holiday wreath s is an unexpected Christmas gift for friends or family that can be easily customized. I already showed you a wreath, but this one has some wood burning on it! I love that added touch.
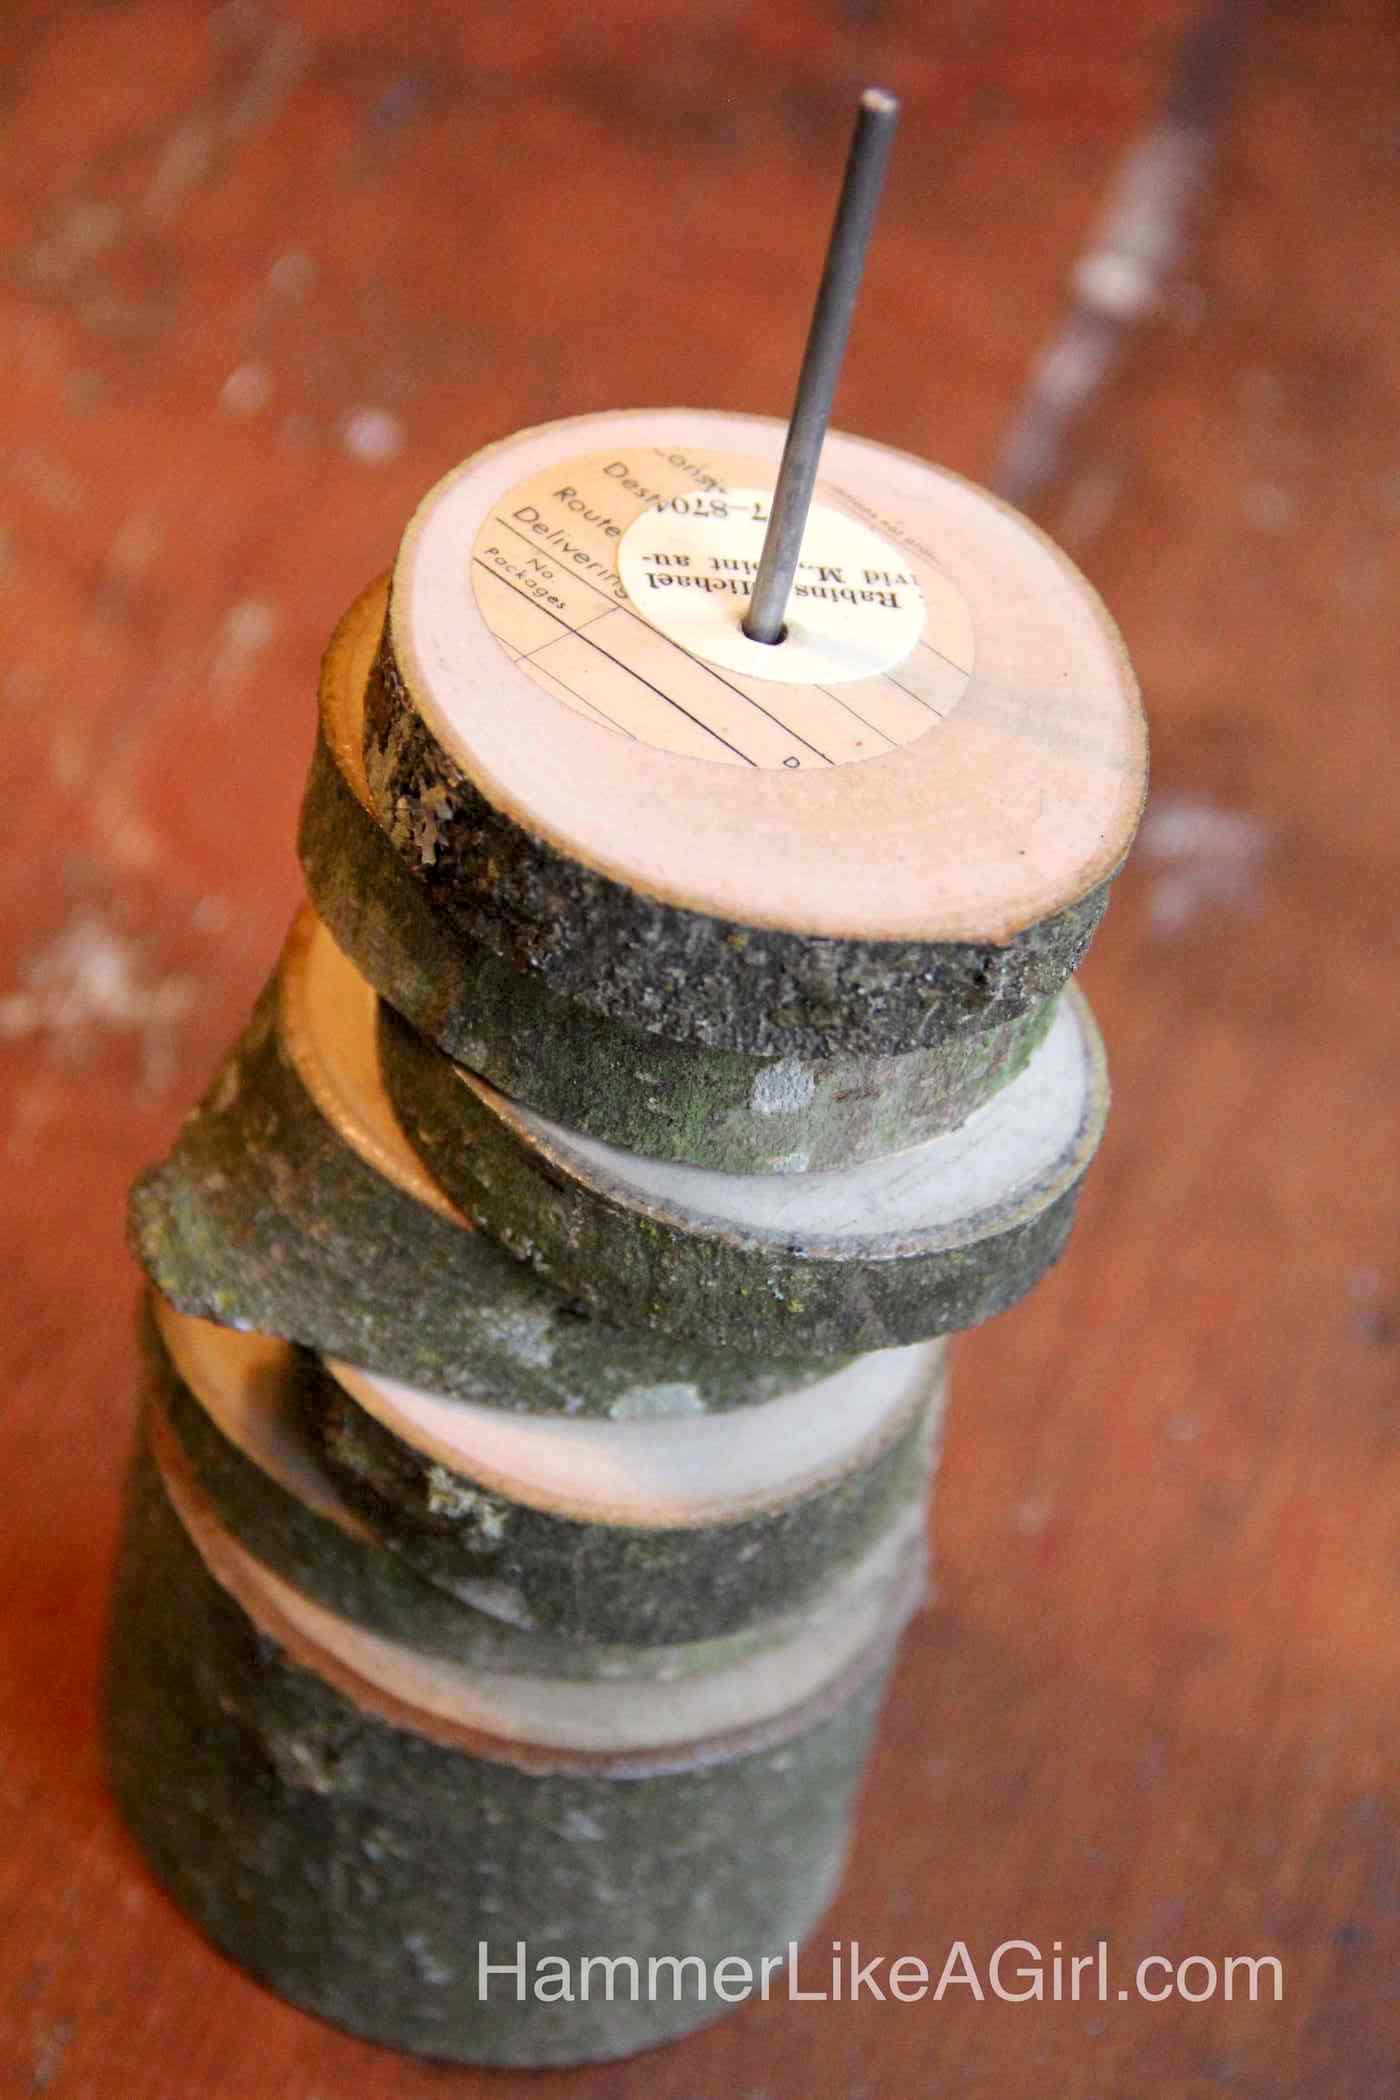
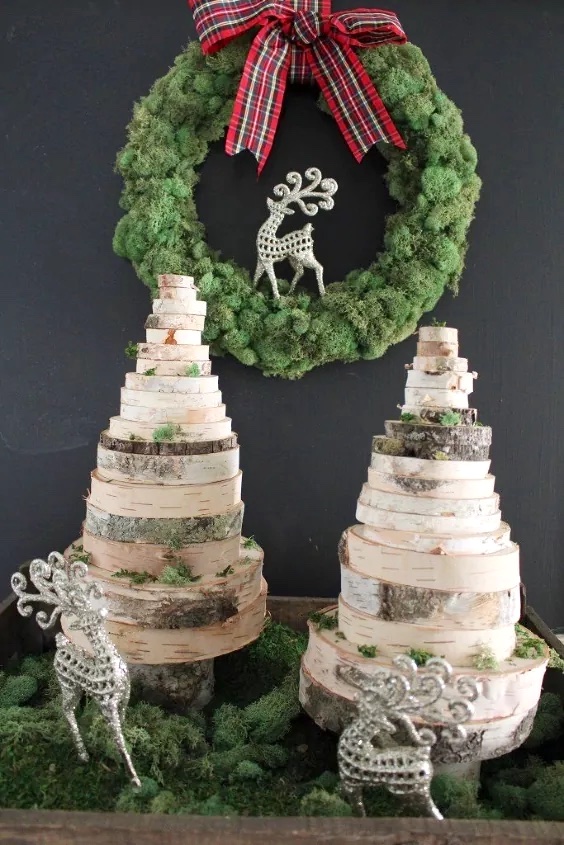
This trees are absolutely beautiful! You'll get to do some cutting, and the rest is just stacking a way that is pleasing to the eye and works with your decor.
Make a reversible porch decoration with pumpkins on one side and a snowman on the other. This cute holiday craft can be used for both the fall and winter seasons!
Technically these are ornaments so they were made for the holiday season. But I love these wood unicorns and I think they would be fun to make with kids – any time of year!
Never lose your wine glass again with these darling little wood wine charms. Add some chalkboard paint and then write anything you like on your circles.
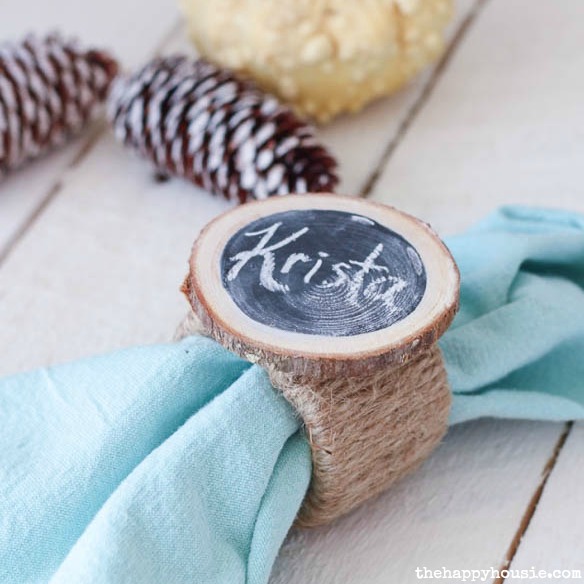
These chalkboard wood slice napkin rings (that work as place cards) are a cute and easy addition to your holiday table. I can't believe these are made with plumbing parts!
Learn how to make beautiful geode coasters with resin, alcohol ink, glitter, and paint. This tutorial walks you through the process. Doesn’t take long before you have beautiful faux agate coasters that are perfect for home decor or gifts!