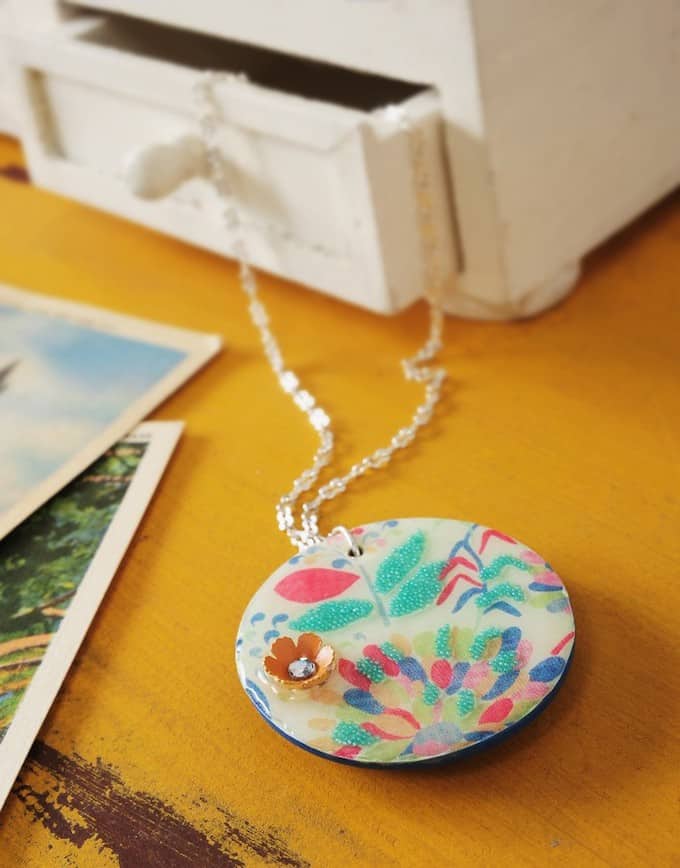
Use wood or paper mache to create these fun, personalized decoupage letter ornaments. These initial ornaments are easy to make with Mod Podge Gloss.
Skills Required: Beginner. You’ll be cutting out paper in the shape of the letters, Mod Podging down, and then adding glitter. These Christmas ornaments are pretty easy to make with kids.
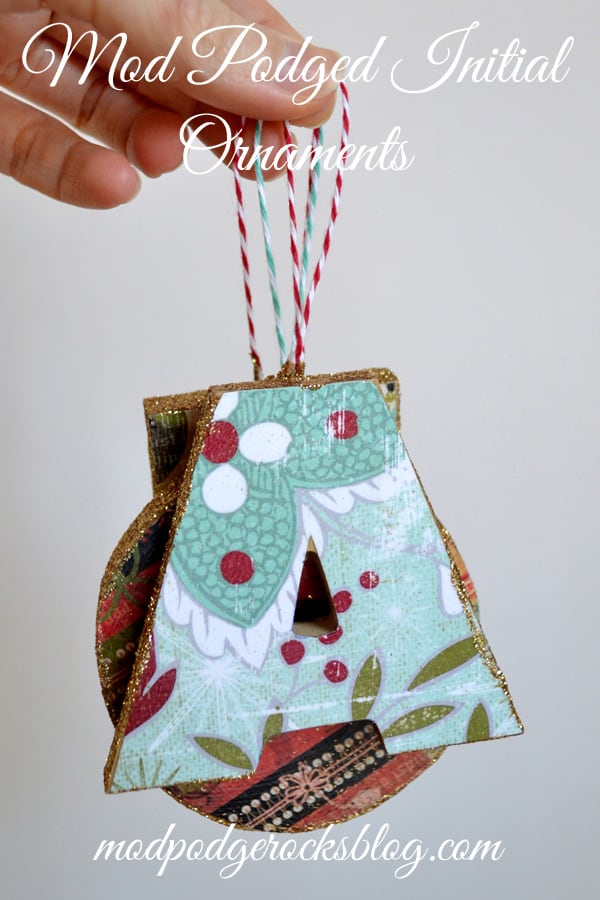
Hello there, fellow Mod Podgers! It’s Linda here from burlap+blue, with an easy, sparkly, and fun tutorial for personalized letter ornaments to share with you all today.
It’s hard to believe that Christmas is just a couple of weeks away, but don’t worry, these letter ornaments come together quickly and easily. These Mod Podge ornaments would even make adorable gift toppers!
Initial Ornaments
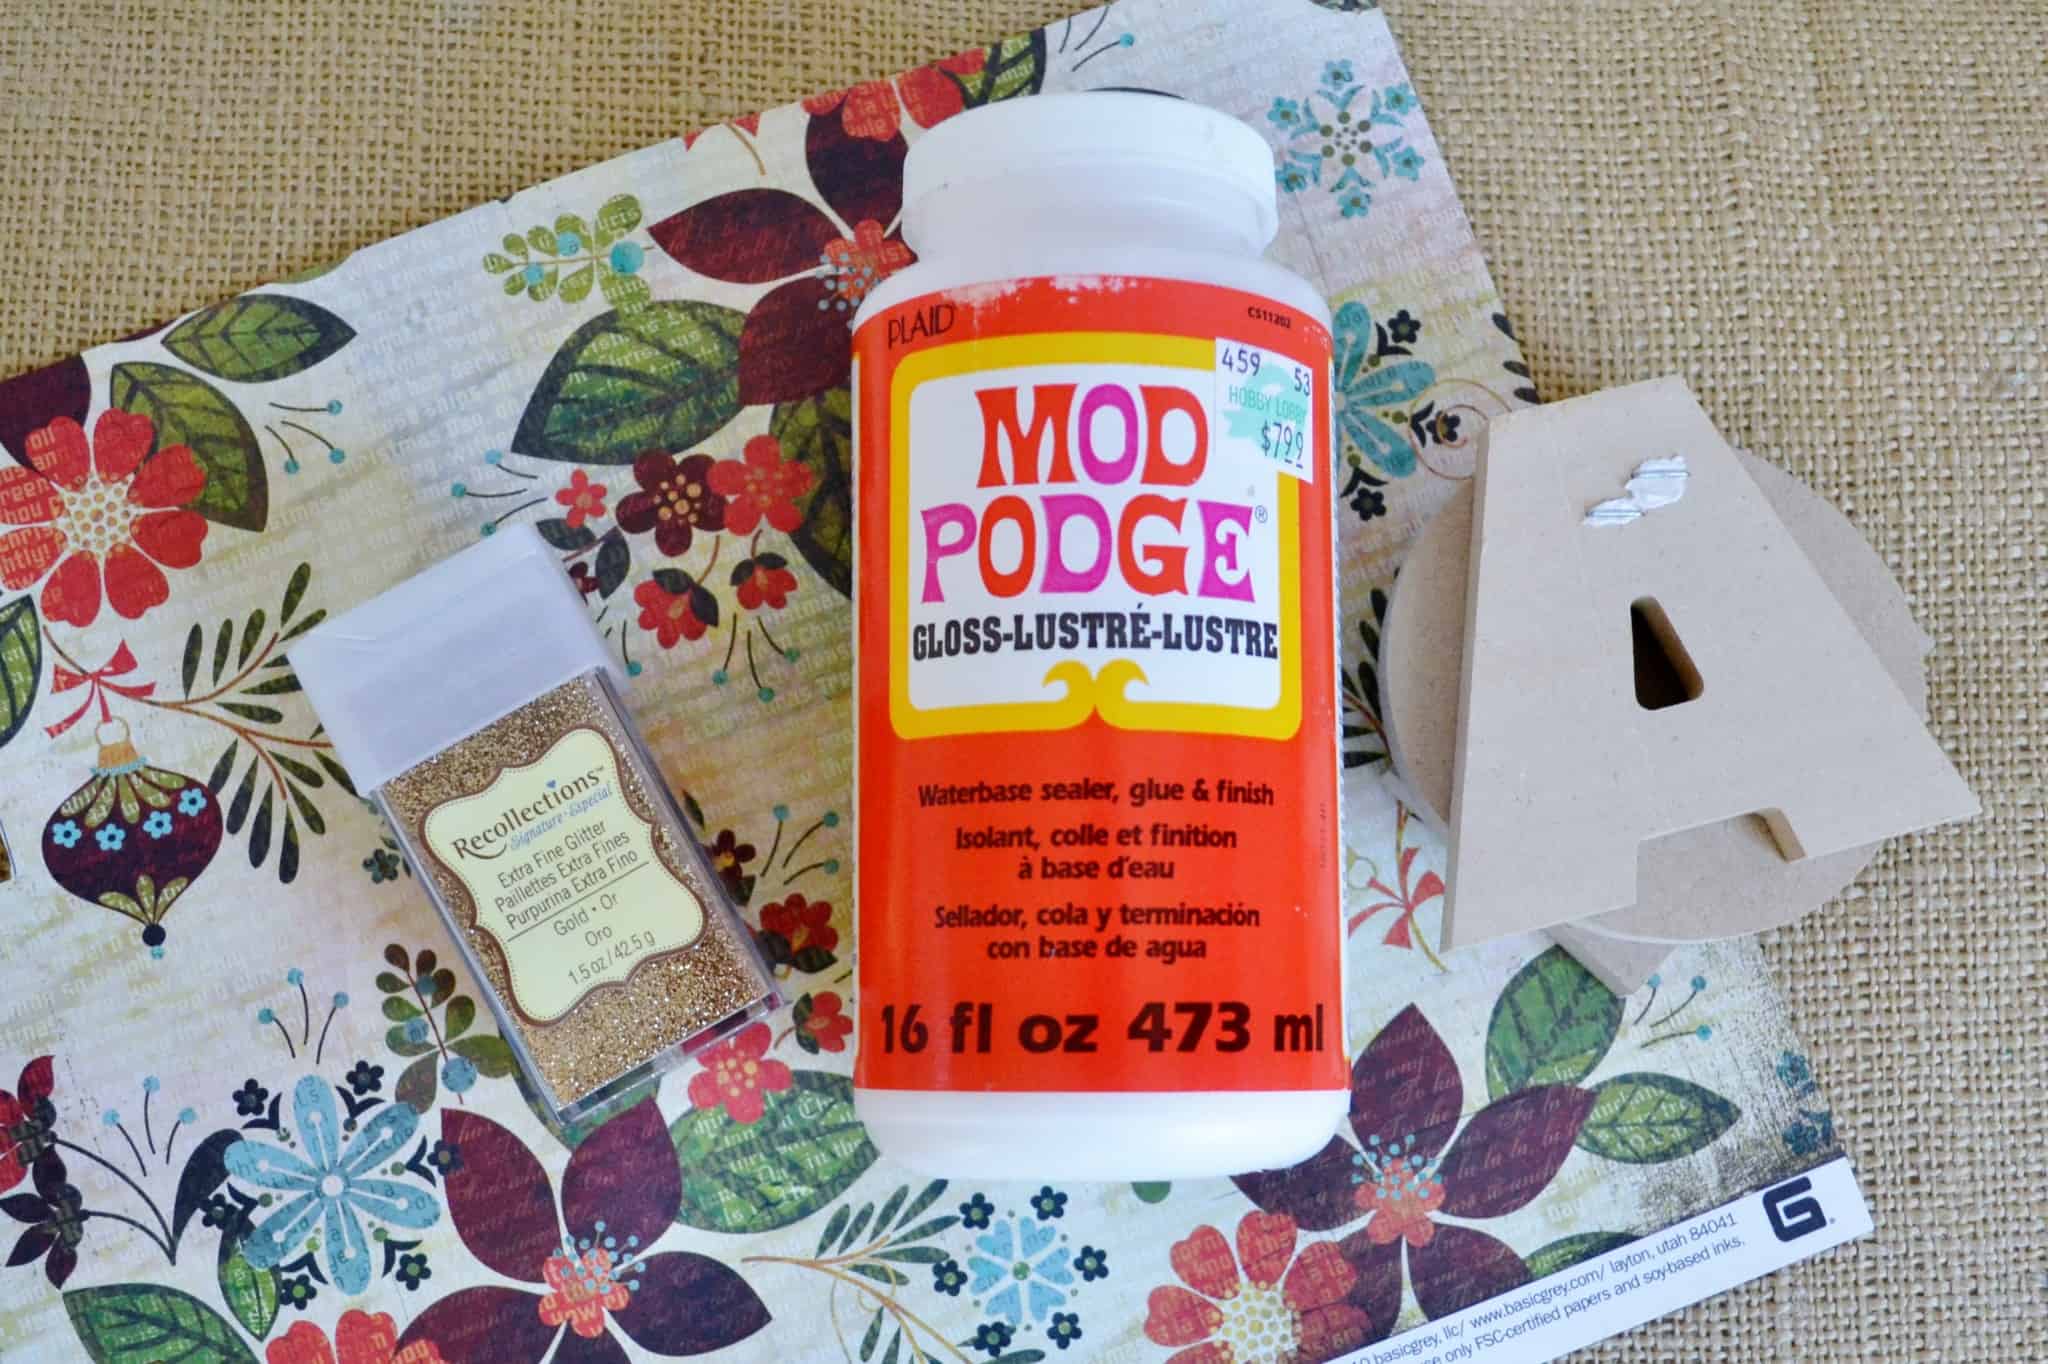
Gather These Supplies
- Mod Podge Gloss
- Scrapbook paper
- Wooden letters or paper mache initials
- Twine
- Glitter
- Paintbrush
- Pencil
- Scissors
Step 1: First, you’ll need to trace your letter onto scrapbook paper and cut out. I got these letters from Michaels, but any craft store will have something similar. You can choose paper mache or wood for your surface.
Don’t forget to cut a piece for the back side of your letter as well!
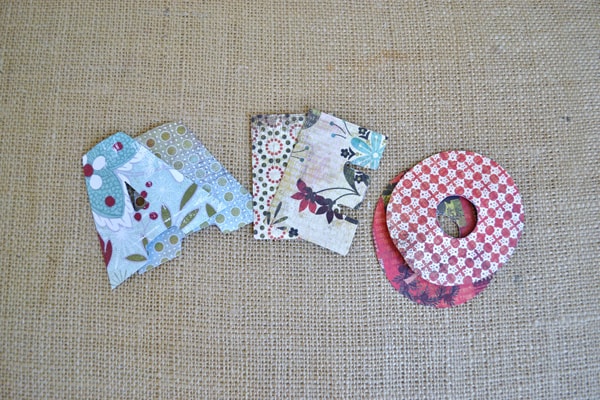
Step 2: Next, use your Mod Podge to attach your paper to your letters. For the back of each letter, insert a halved piece of twine or ribbon for hanging before Mod Podging your paper down.
Once you’re done, you’ll have this . . .
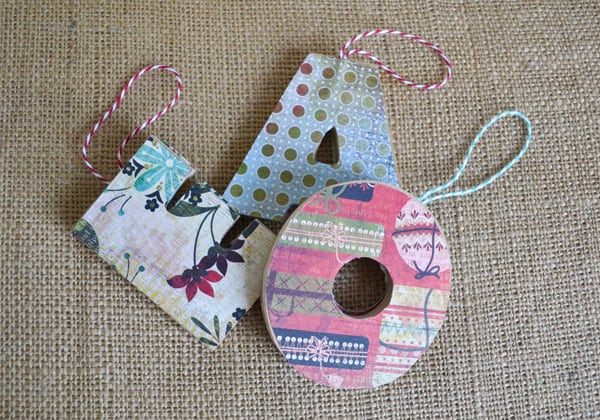
Add 2-3 coats of Mod Podge to seal, making sure to let your letters dry completely between coats.
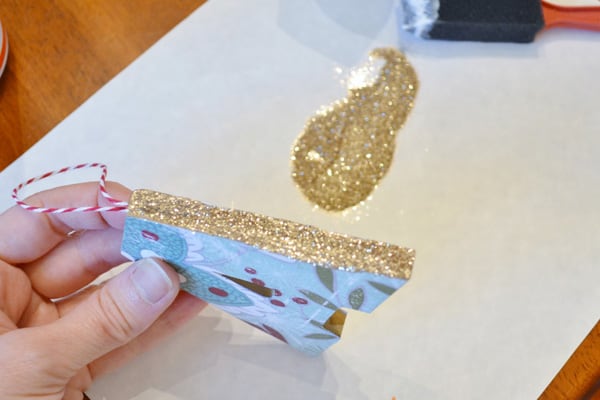
Step 3: Now for the fun part of your letter ornaments! I used extra fine gold glitter for this, but whatever you have on hand will work.
What worked best for me was to lay a small pile of glitter on a piece of paper, add Mod Podge to a portion of my letter, and dip the letter in the glitter.
For the smaller nooks and crannies of the letters where a foam brush won’t reach, use a small paintbrush or Q-tip to apply the Mod Podge.
And there you have it! I hope you enjoy making these initial ornaments as much as I did. Merry Christmas!
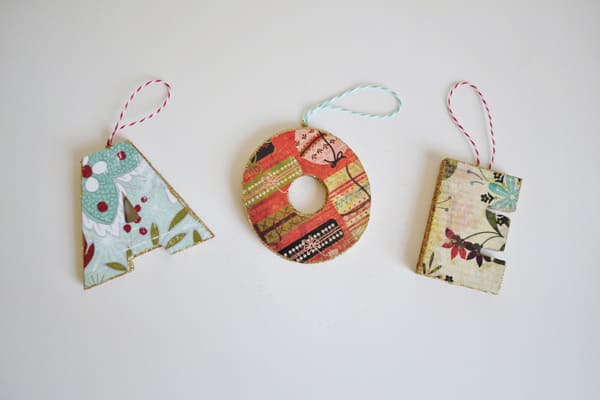
Thank you so much for letting me share my letter ornaments with you all today! You can find lots of other tutorials and inspiration on my blog. Have a lovely day!
Letter Ornaments
Equipment
Materials
- Mod Podge Gloss
- Scrapbook paper
- Wooden or paper mache initials
- Glitter
- Twine
Instructions
- Trace the letter shapes onto the scrapbook paper with the pencil and cut out with scissors. Cut two letter shapes for each ornament.
- Cut a piece of twine long enough to go around a tree branch using the scissors.
- Place Mod Podge on the surface of the letter with a paintbrush. Add one end of the twine to the Mod Podge before placing the paper down.
- Place the paper down on the letter and Mod Podge and smooth. Let dry.
- Flip the ornament over and repeat. Make sure that the twine creates a single loop. Let dry completely.
- Add 2-3 coats of Mod Podge to seal, making sure to let the letters dry completely between coats.
- Lay a small pile of glitter on a piece of paper. Add Mod Podge to a portion of the letter edge and dip into the glitter. Let dry and repeat until covered.
Video
Notes
You want more DIY Christmas ornaments, right? There are plenty more on the blog:


