Learn how to decorate Halloween wood cutouts using paint, Mod Podge, napkins, and other embellishments. Great to make for DIY holiday decor!
Skills Required: Intermediate. It’s easy to paint the wood and decorate with trim. The only challenging part is ironing the napkins into the Mod Podge, since napkins are fragile. It might take some practice, so work on a sample first.
There’s something I’m obsessed with this Halloween season and I’m very excited to share my love: chunky wood cutouts.
I went to the craft store and was poking around, and of course the Halloween craft section drew me in. Then I realized there were these Halloween wood cutouts that I could decorate. And not only that, but each wood piece can stand by itself in your display.
They stand because the wood is thick. “Chunky,” if you will.
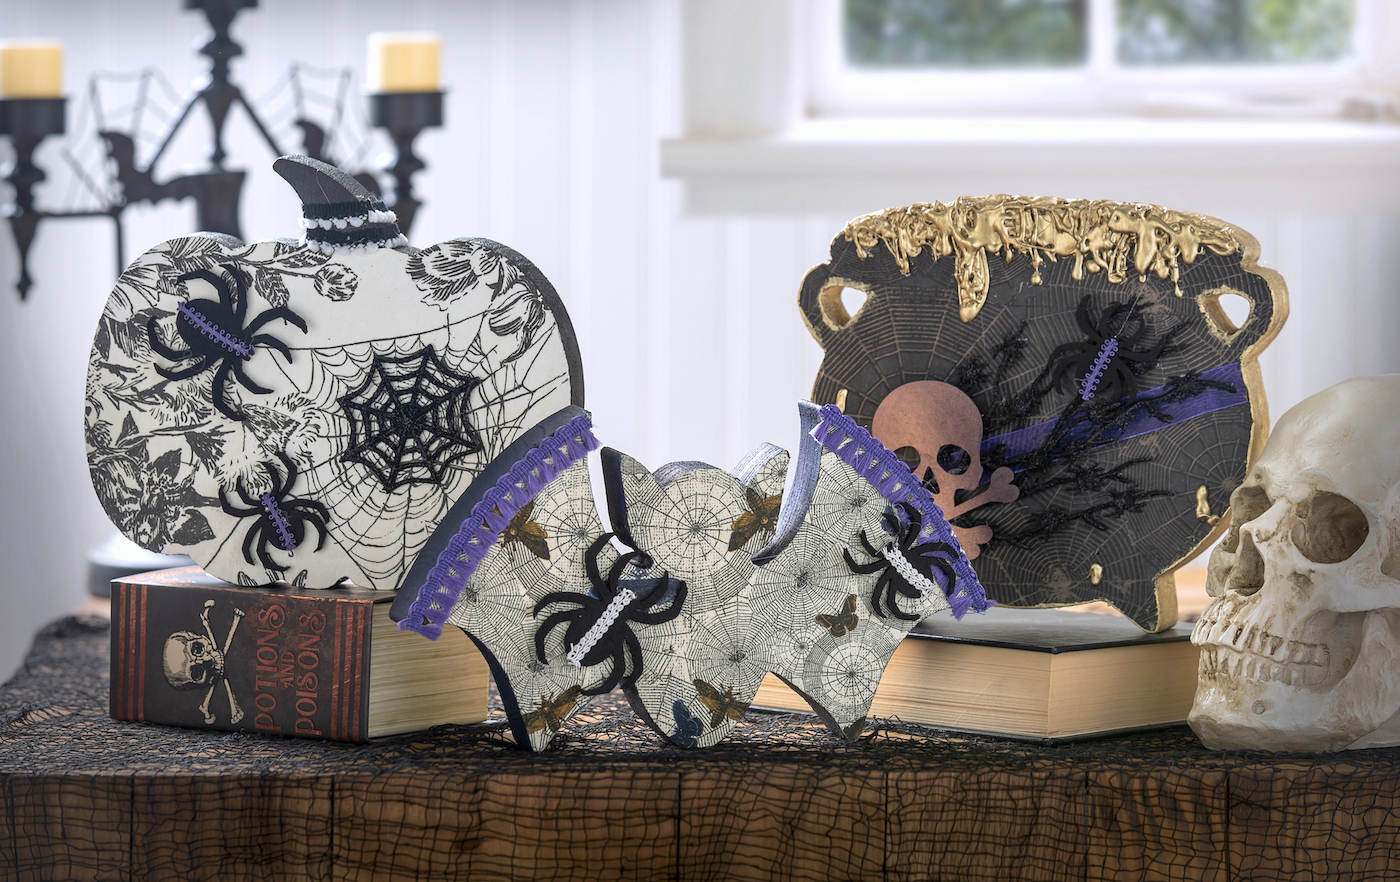
SO! I grabbed a wood cauldron, bat, and pumpkin and got to work decorating them with a ton of stuff from my stash!
I wanted to show you what I did with them so you could get inspired, and maybe do something similar. And I’m especially excited to show you how I Mod Podged some Halloween napkins to the front of the wood cutouts, which was also very fun.
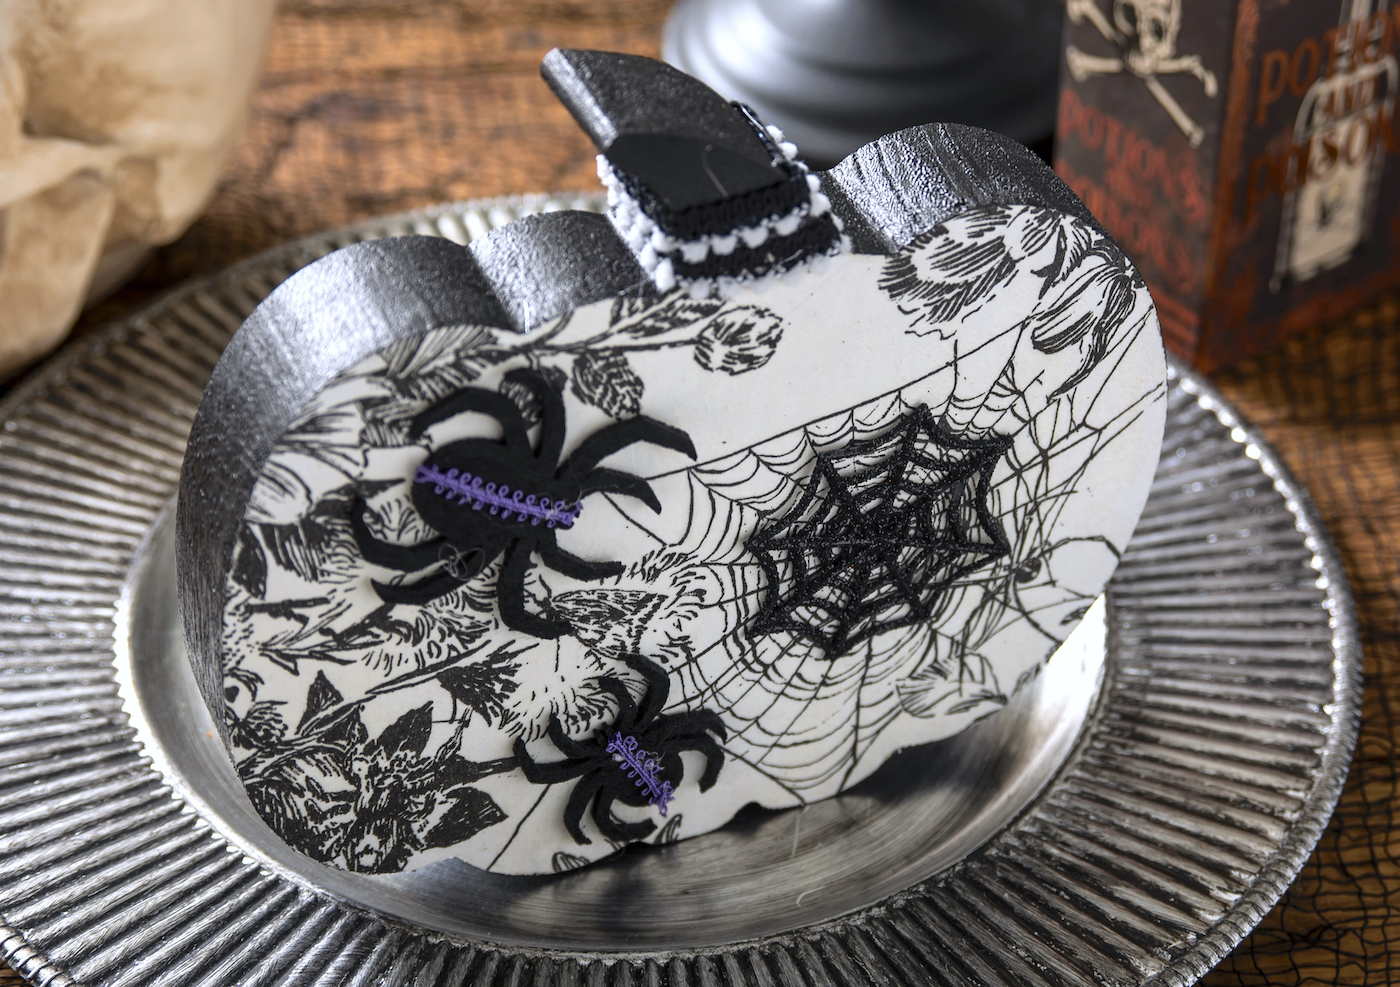
I decided to go with a more vintage Halloween theme, at least in that I wanted to use black, white, and gold together as opposed to the more traditional bright purple and orange.
I’m really happy with how my Halloween wood cutouts turned out, and I can’t wait to share. The only rule with these? There are no rules. There’s no right or wrong. You can make them any style you like!
Grab your paintbrushes and let’s get rolling. It’s easy to make this DIY Halloween decor and I’m going to show you how to do it.
Decorating Halloween Wood Cutouts
Gather These Supplies
- Wood cutouts – I used chunky ones from Michaels
- Craft paint – white and the other colors of your choice, including Color Shift and Treasure Gold
- Mod Podge Satin
- Napkins
- Ribbon and trim
- Wood skull cutout
- Halloween embellishments – felt spiders, black branches, cobwebs, etc.
- Ribbon
- Parchment paper
- Hot glue gun and hot glue
- Paintbrushes
- Craft knife
- Scissors
- Mini iron
Paint the Cutouts
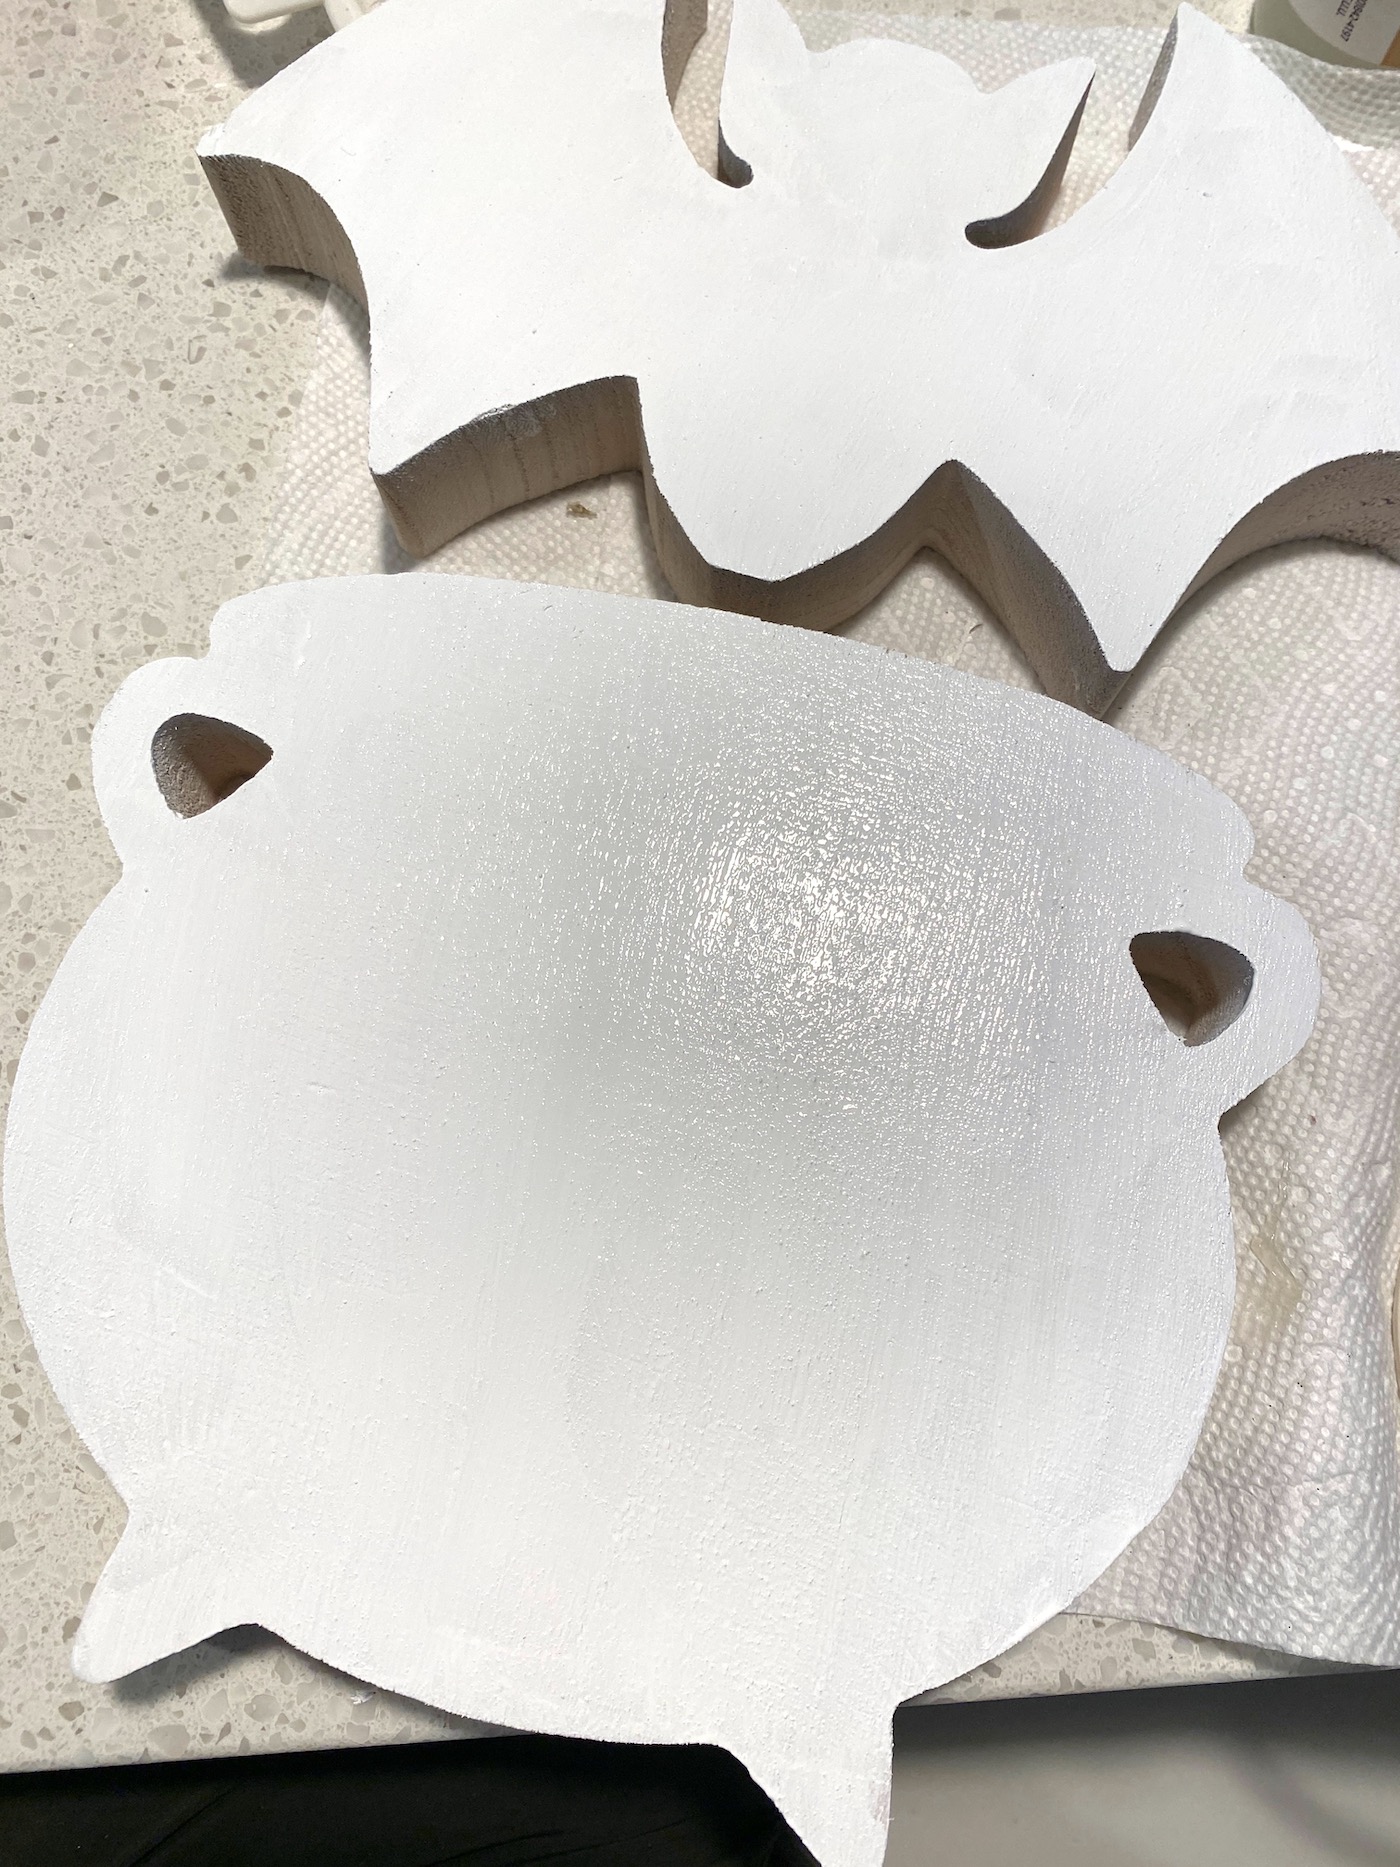
Paint all of the wood cutouts with white before you choose the final color. There’s two reasons for this. First, you’re going to leave the front white because that is where the napkin is going and you want the design to pop off.
The second reason is because I’m noticing that sometimes with the wood it takes a lot of coats to cover, and sometimes the wood color even ends up coming through the paint (maybe due to how the wood is produced?). I like to prime the wood so they look their best.
Add the Mod Podge
Once the paint has dried, paint two coats of Mod Podge over the front of the wood pieces. You will paint a coat, making sure to get all the way to edges, and let dry. Then you’ll paint a second coat and let dry.

Apply the Napkins
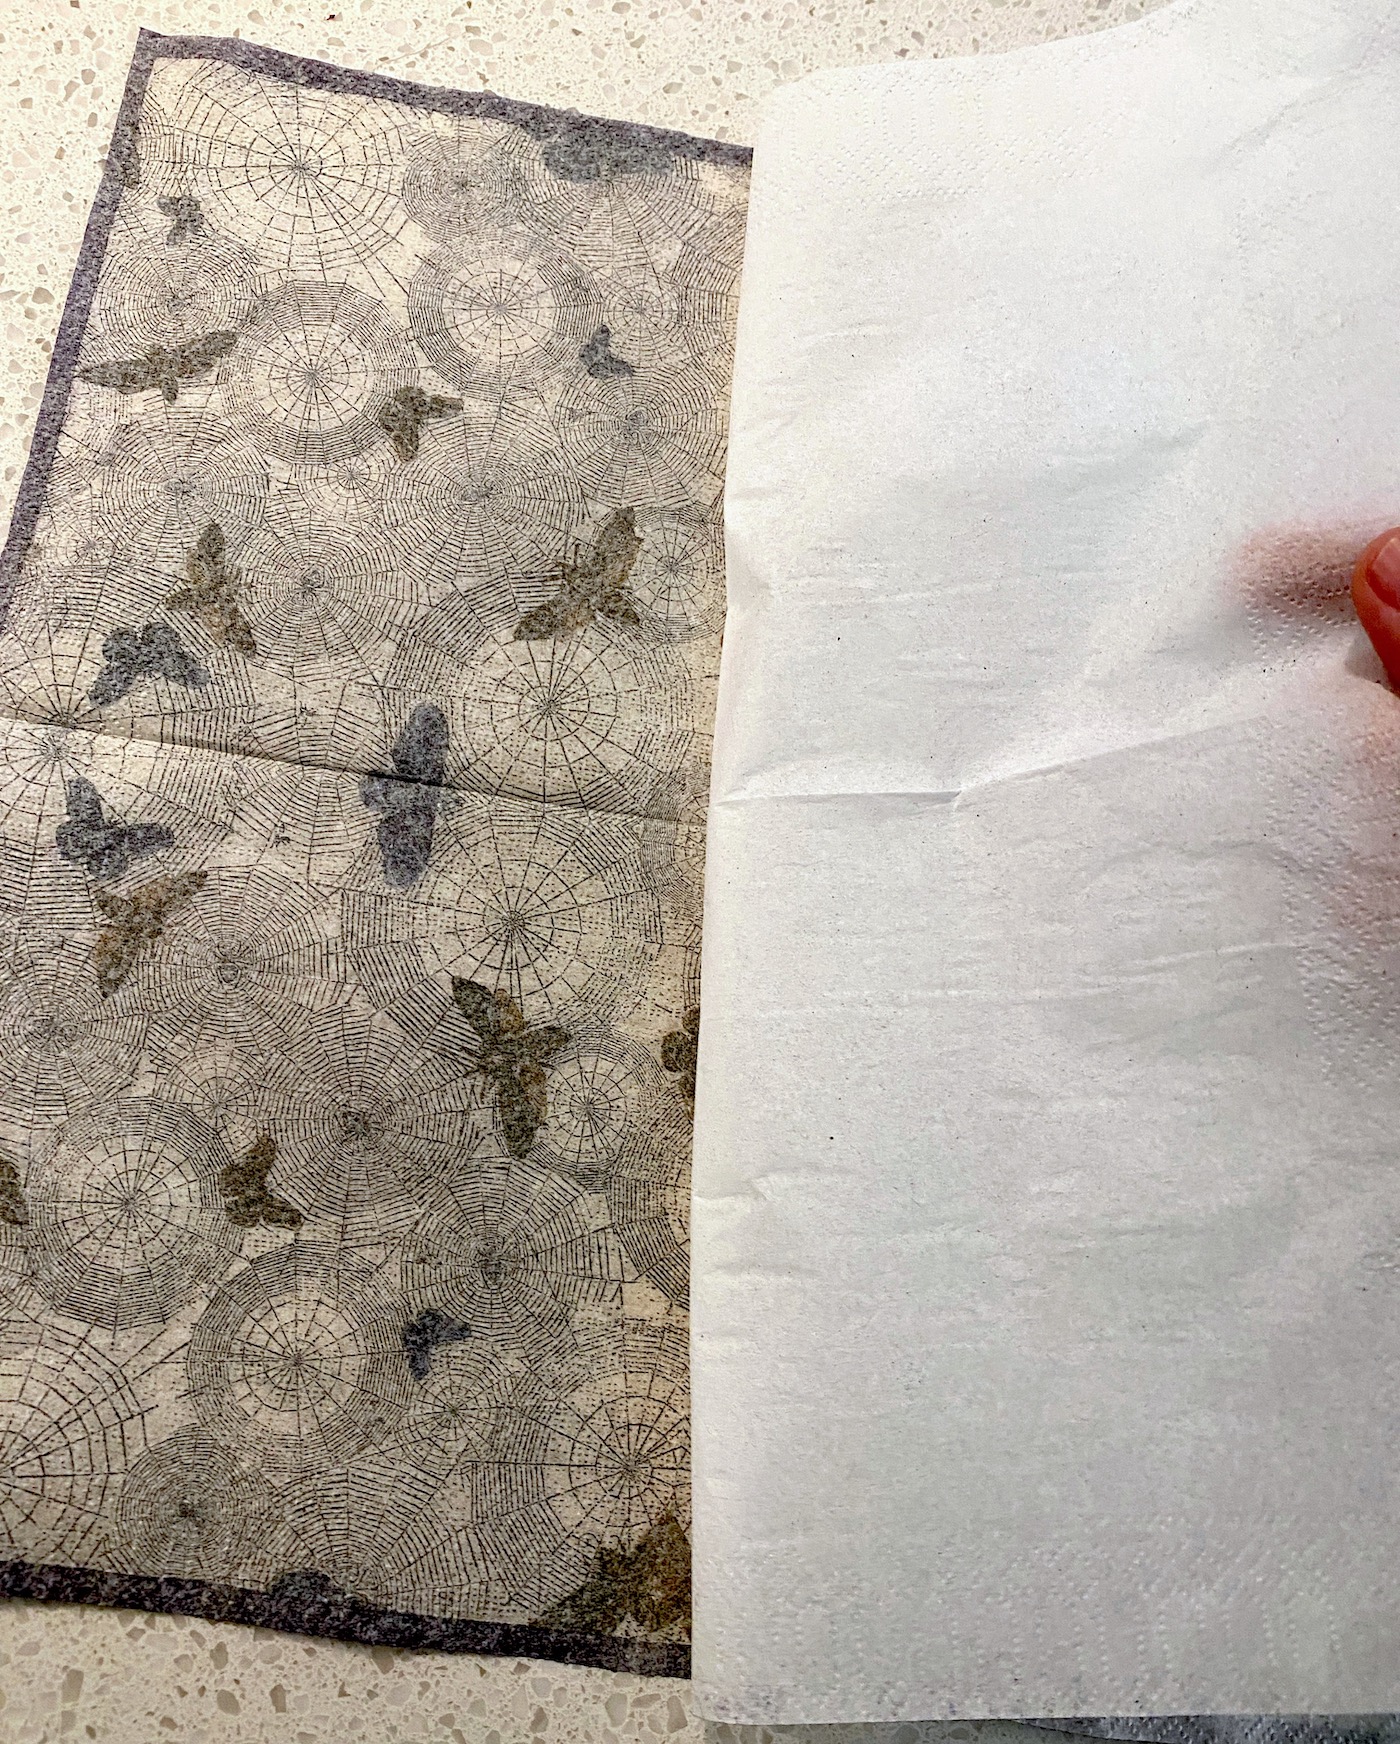
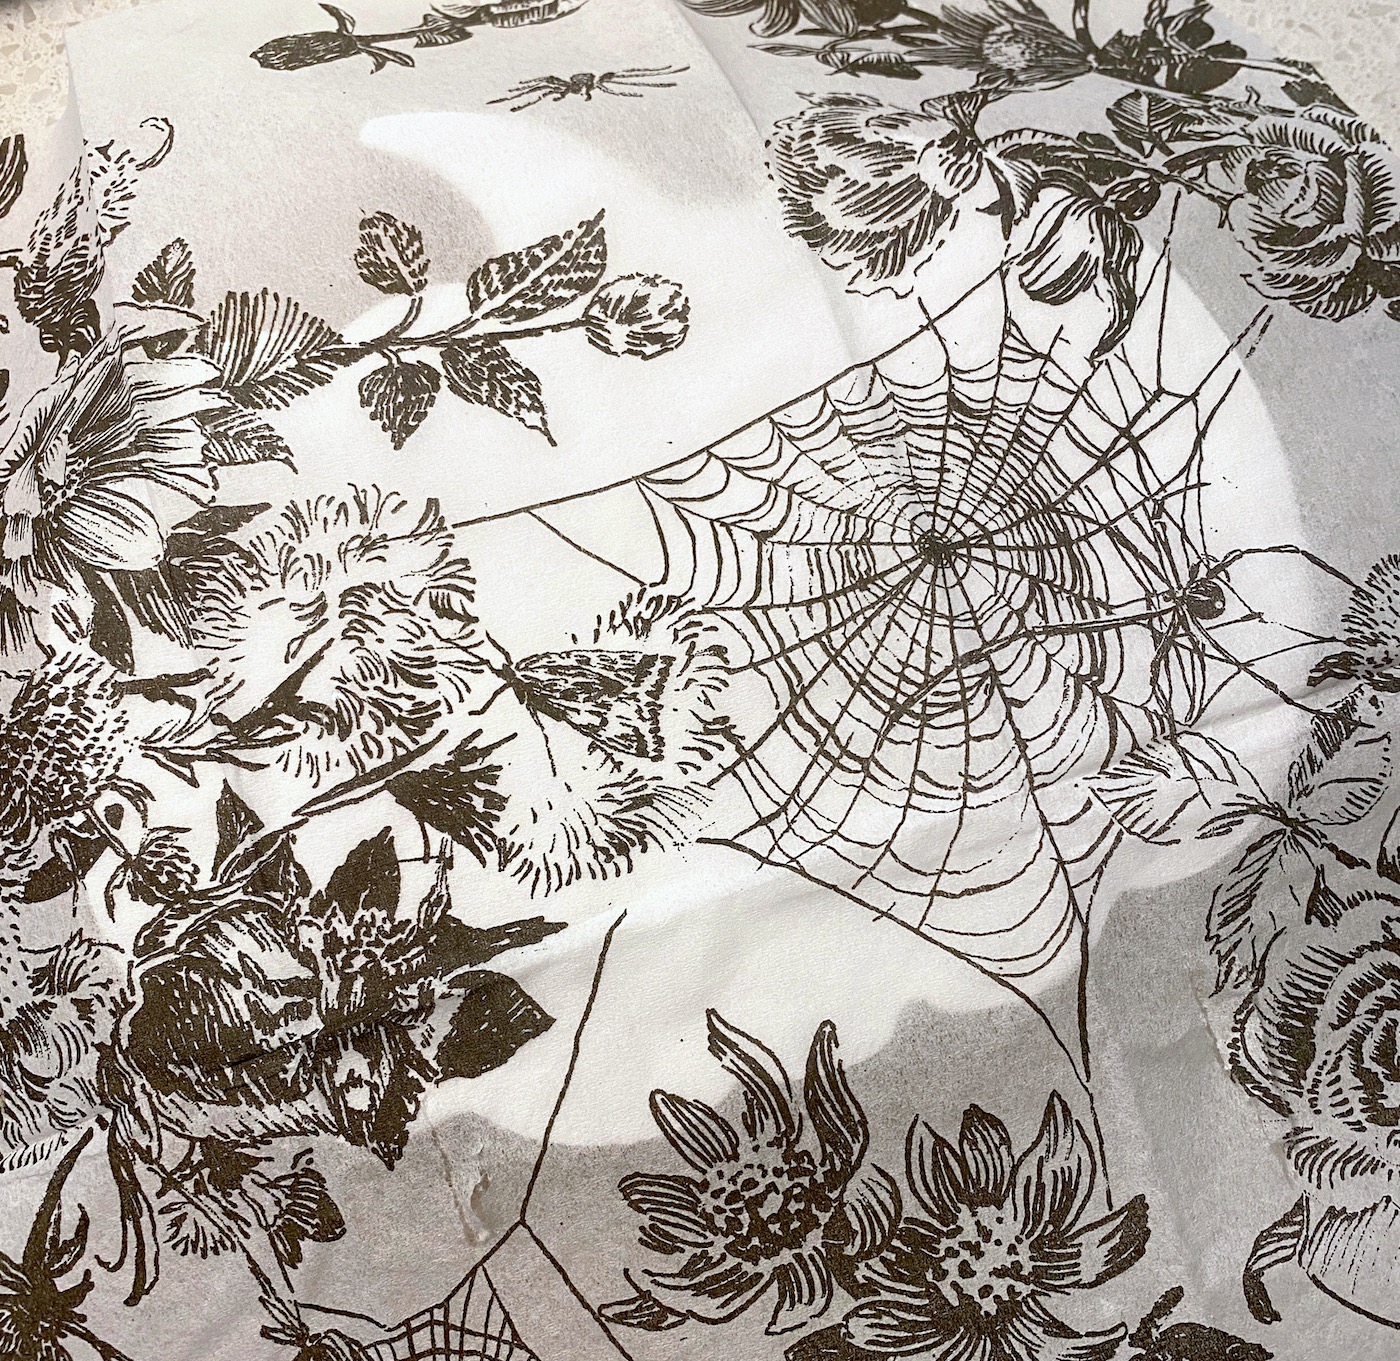
While the Mod Podge is drying, separate the napkin layers. The reason you’re going to do this is because napkins are made of 2-3 layers typically, and you just want the top layer with the design. If you use the napkin without separating it, it will wrinkle because the layers will operate independently of each other.
Cut the napkin slightly larger than the wood shape, and gently rub the layers together to separate. You can also use a piece of Scotch tape in one corner on the white portion and pull.
The wood piece should be on your work surface with the Mod Podge side up. Place the napkin down on the pumpkin (for example) and situate it the way you like. Turn your mini craft iron up to the top level (level three). If you use a real iron, go to medium heat with no steam.
I like to have an iron just for crafts.
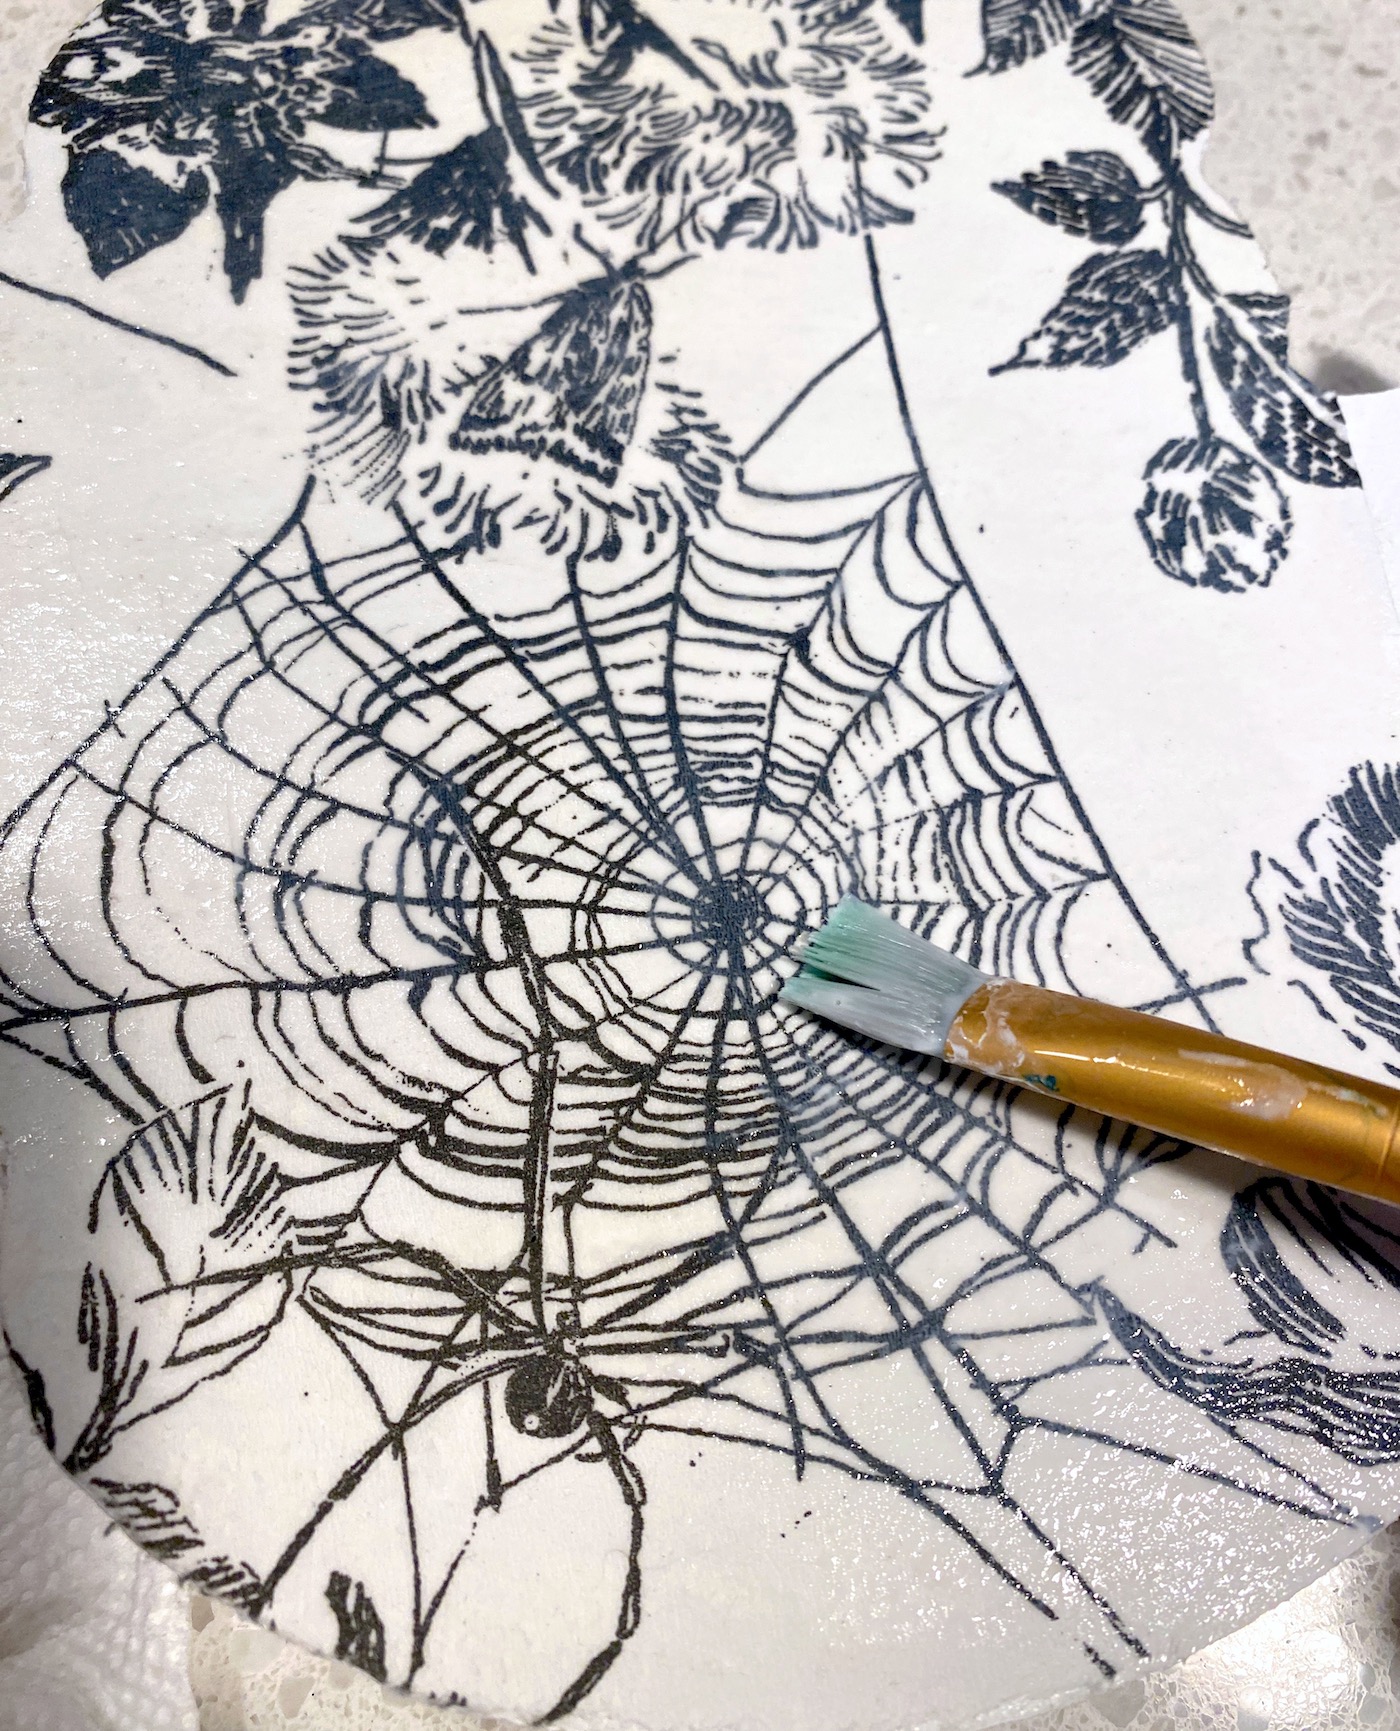
Place a piece of parchment paper on top of the wood, and run the craft iron across the top several times. While you are doing this, the Mod Podge is melting below the napkin, and the napkin is adhering.
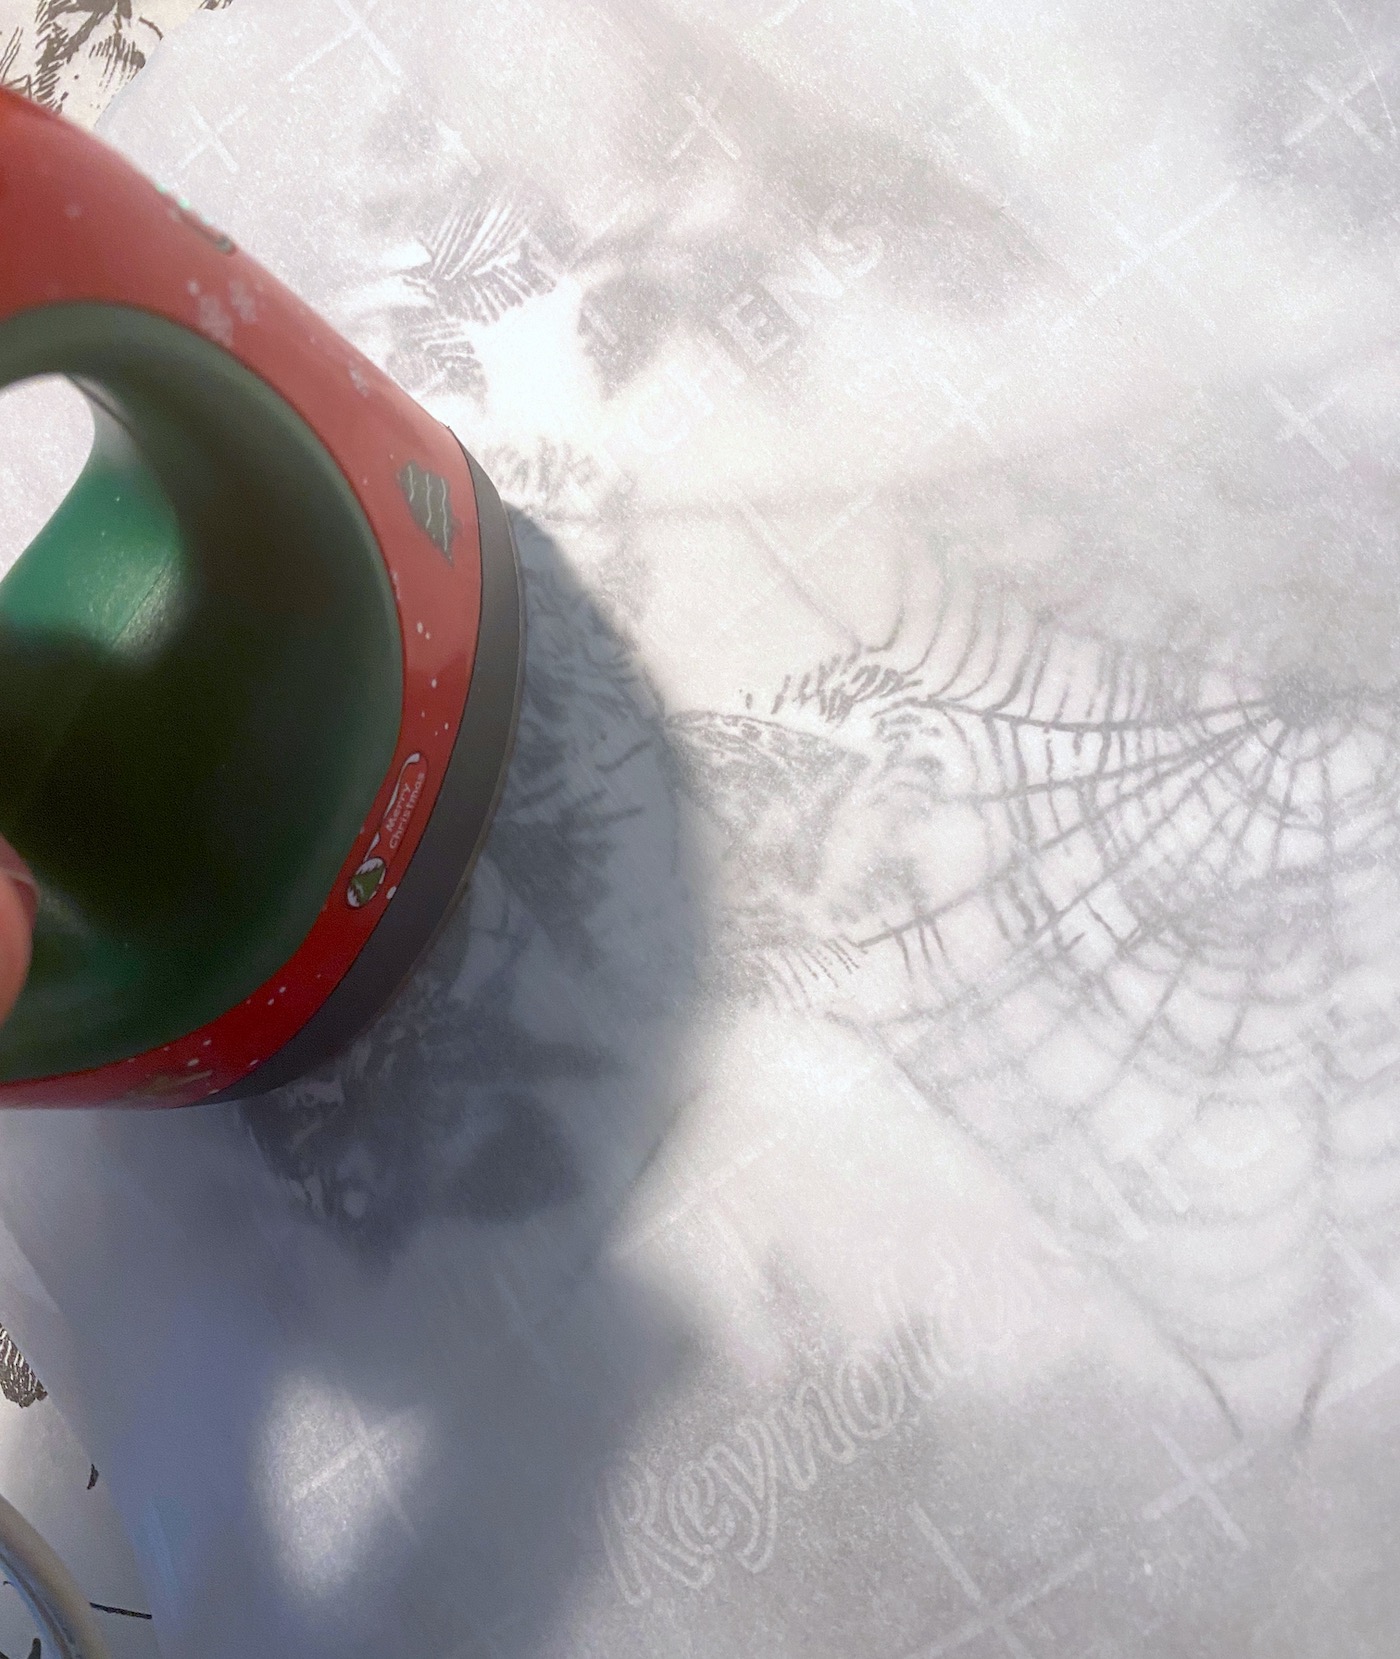
Keep going until the napkin is fully adhered. It should just take a minute or two on a surface this small. Lift up and check under the parchment paper to see if you missed anywhere, especially around the edges.
Once you’re done, remove the parchment paper and let cool. It should be pretty smooth.
Trim and Seal
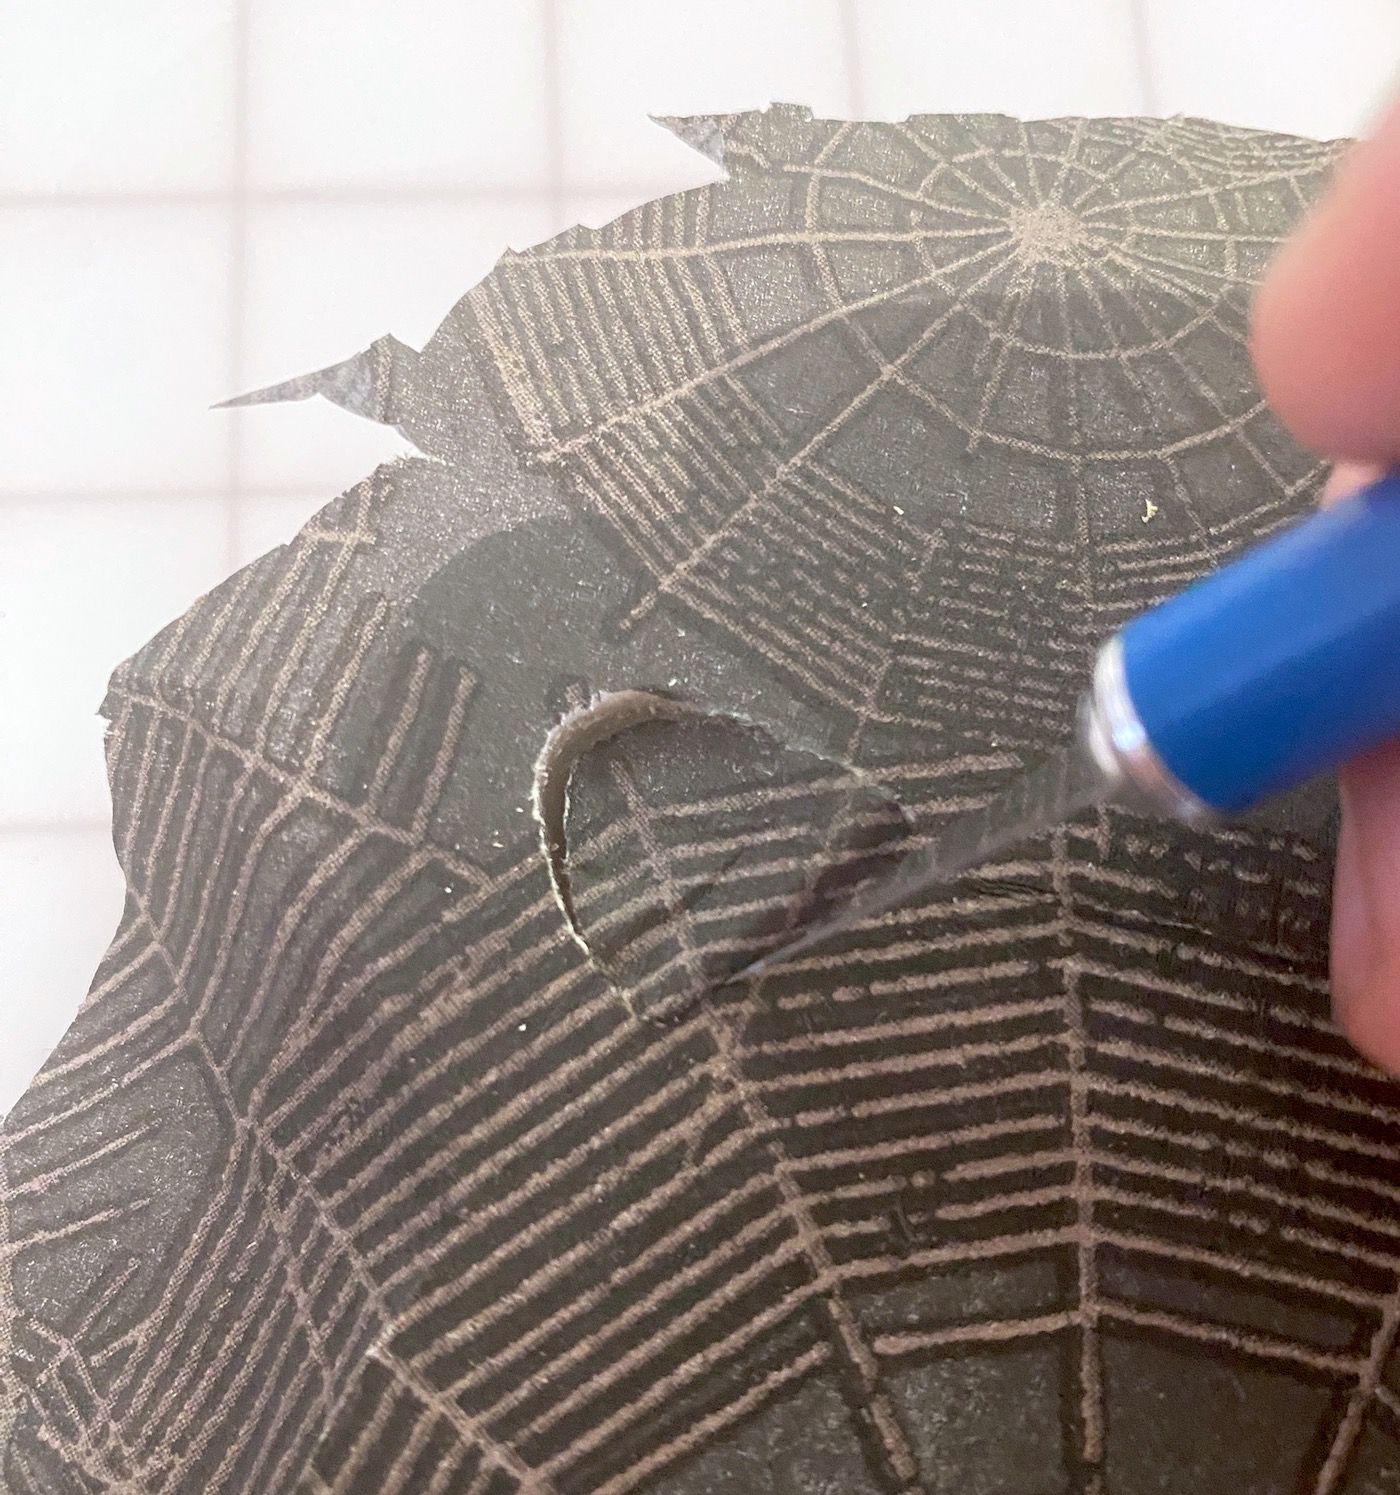
Turn the wood shapes over and use a craft knife to remove the excess napkin around the edges.
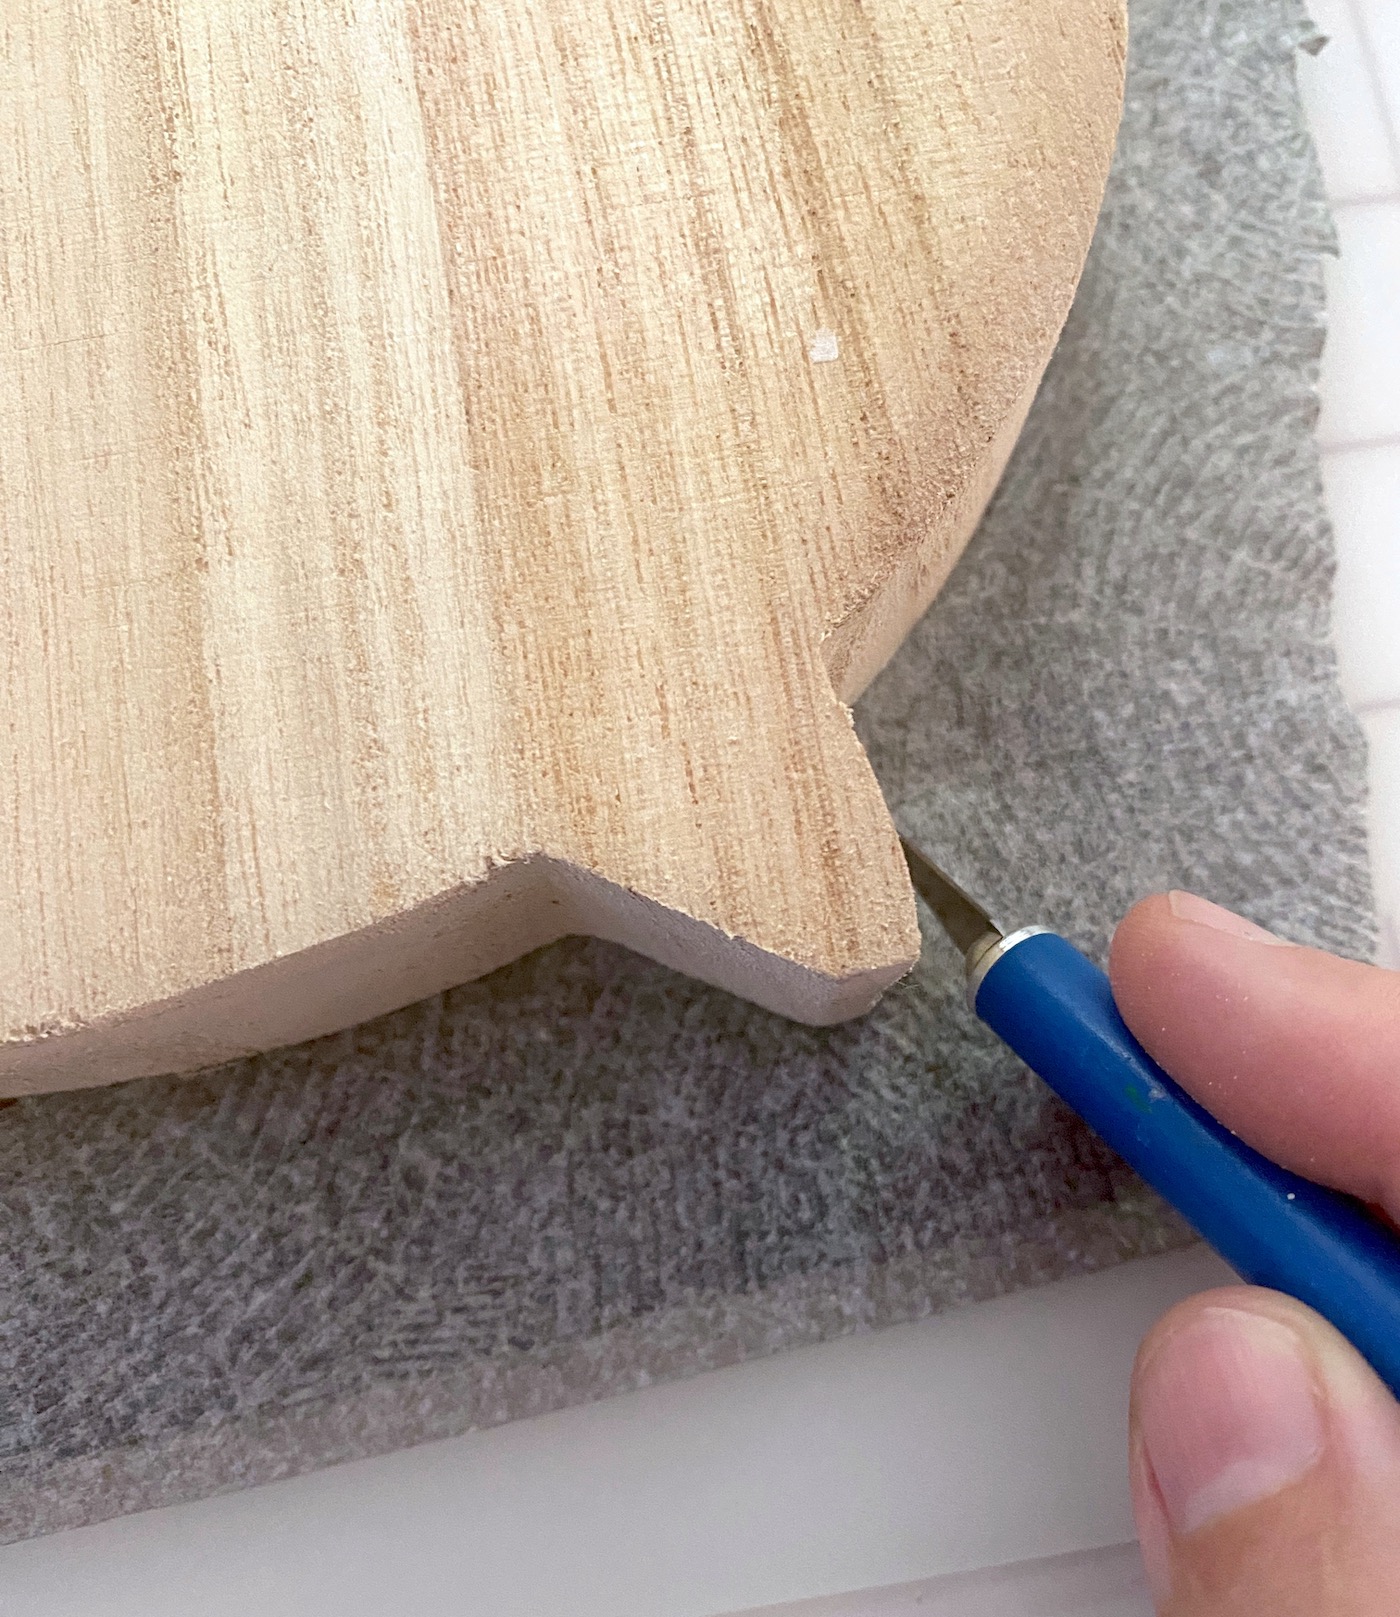
If you have cut out areas on your cutout, you’ll want to remove the napkin there too. Work carefully.
Now seal the napkins onto the front of the shapes! Apply a layer of Mod Podge and let dry.
You might get a few bubbles or wrinkles popping up in the napkins. It doesn’t bother me. And it protects the front of the project, which is just napkin at this point (and can be stained or torn).
Paint the Edges and Wood Shapes
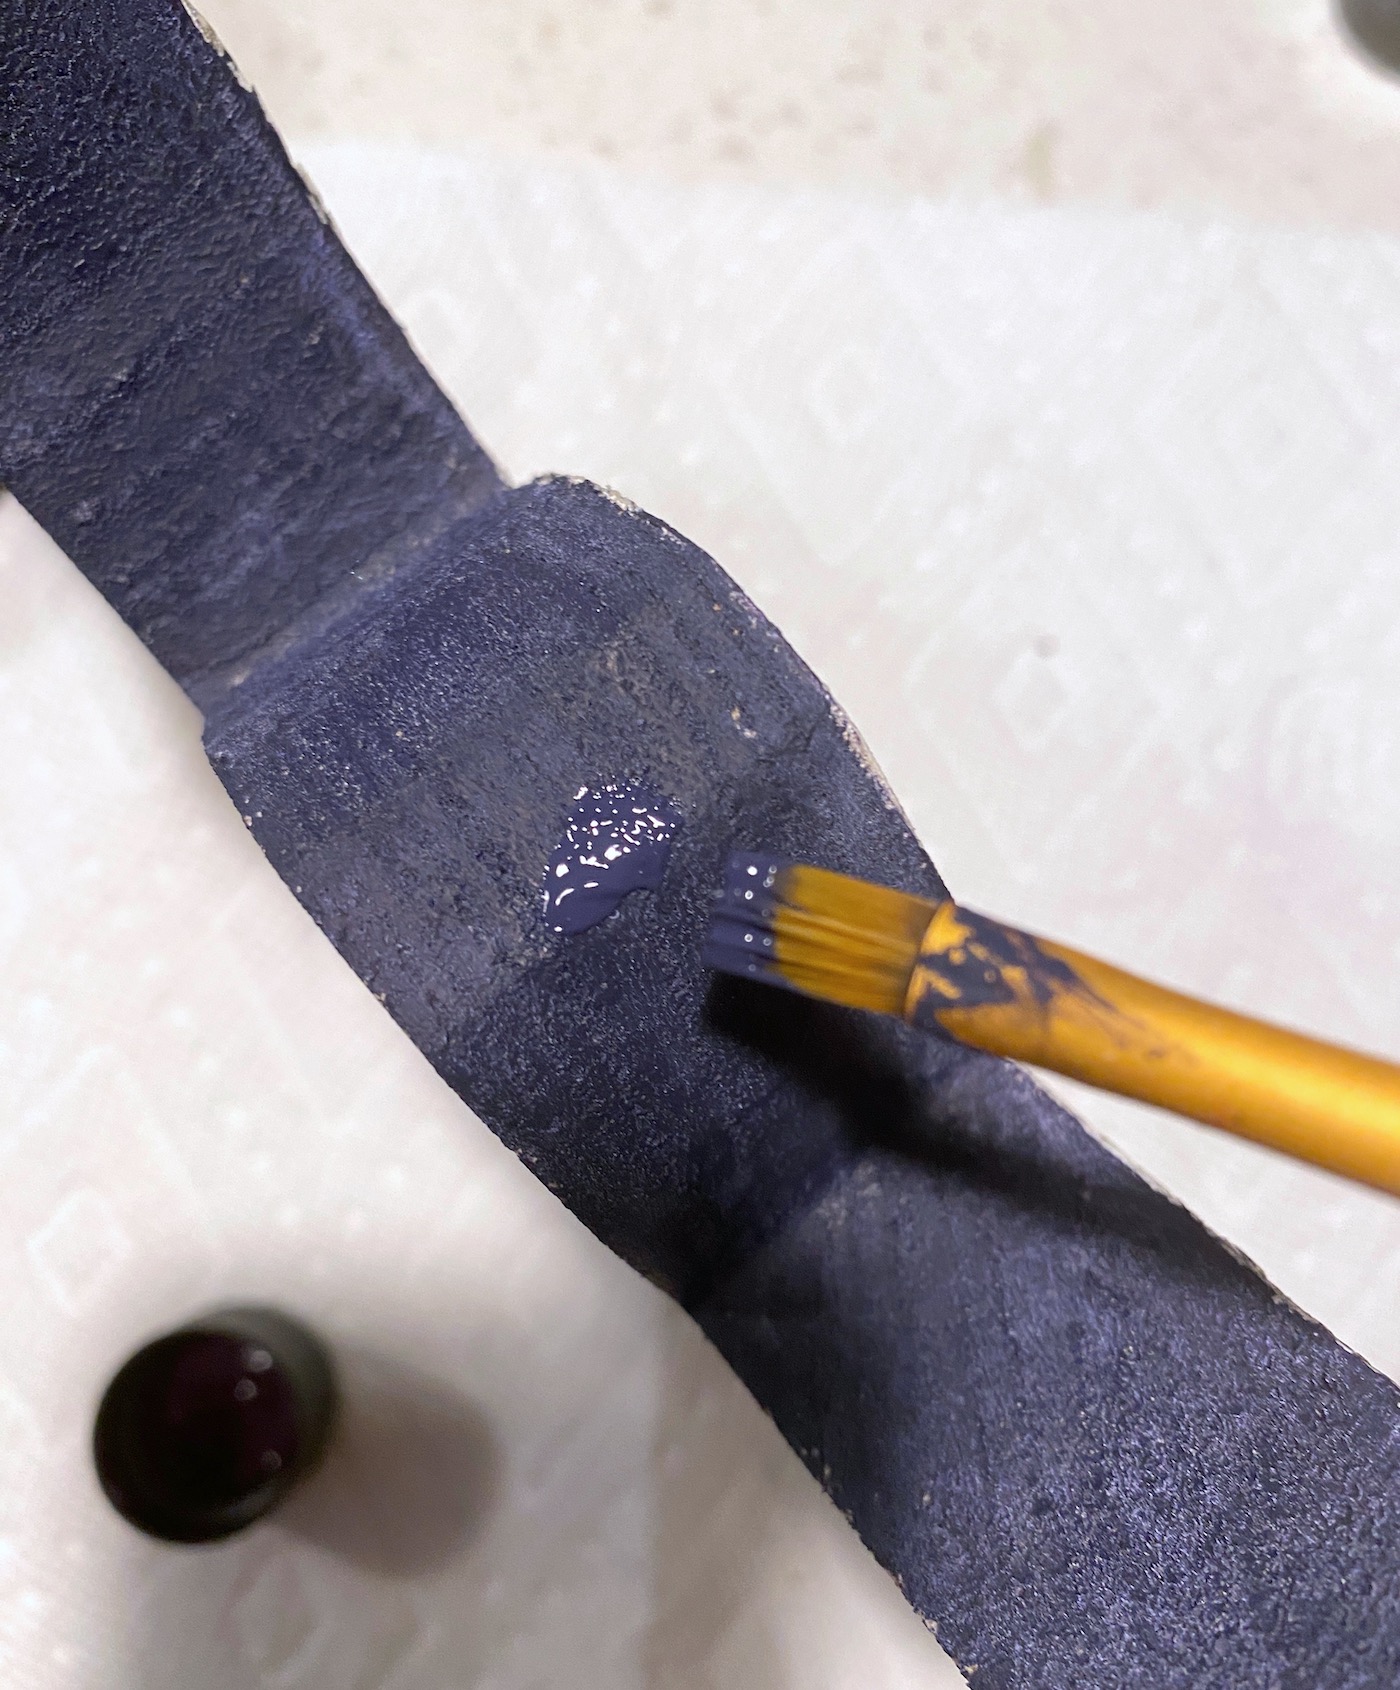
Now that the napkins are down on the fronts, paint the edges of the chunky wood with fun paint colors. Because yes – they will be seen.
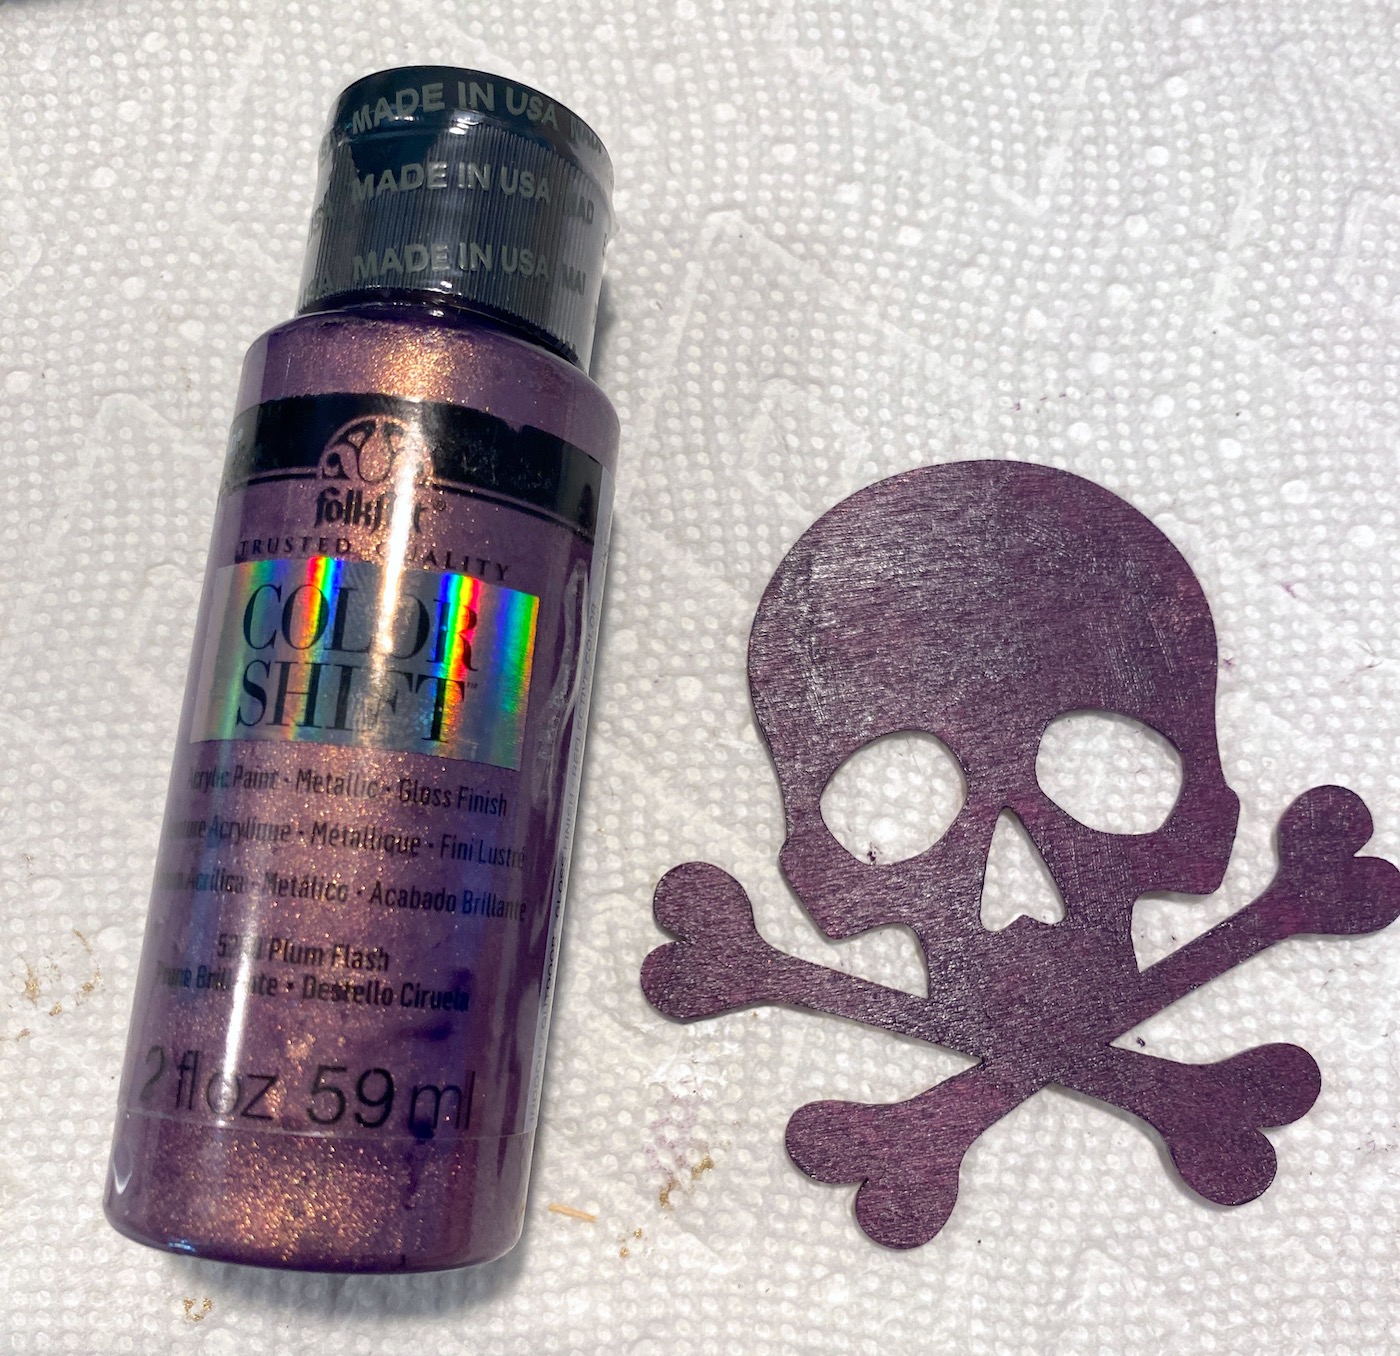
You can also paint some wood shapes to adhere to the fronts of your larger wood. I did some experimenting with Color Shift paint and I love the results! My wood skeleton is copper-y, purple-y, shimmery.
I also added some Treasure Gold dry brushed around the edges of the cauldron and by the handles.
Add Ribbon and Background Pieces
Once the paint is dry, start adding ribbon and other background accent pieces. Cut what you need with scissors and glue it to the front.
Glue down any wood pieces.
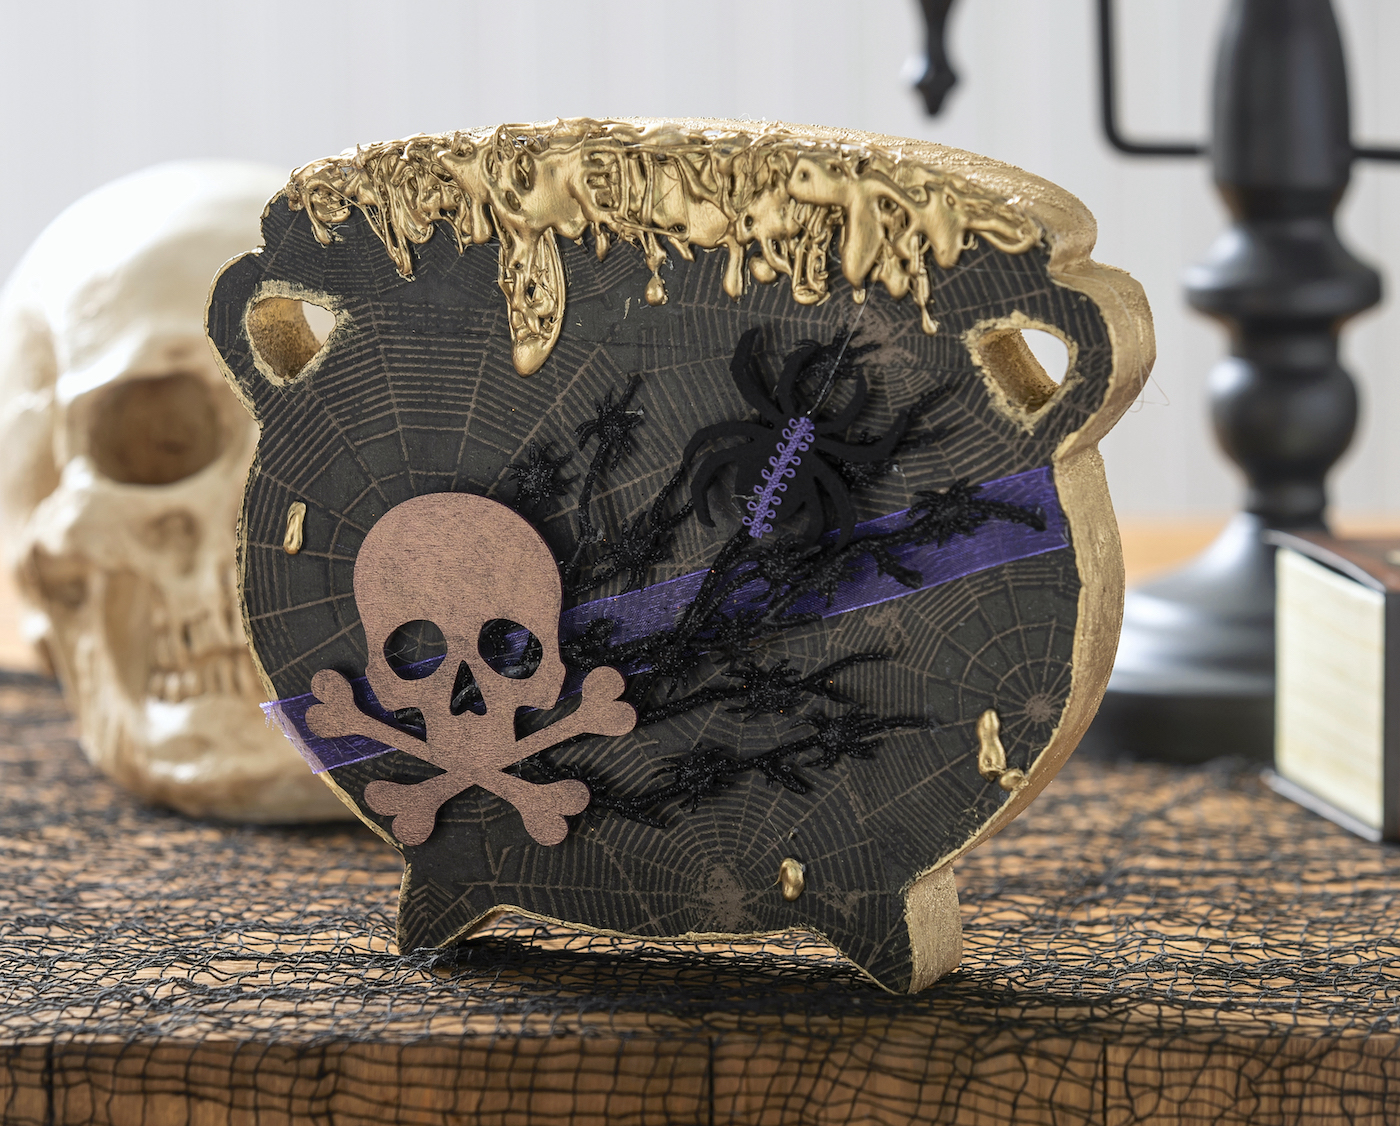
Accent the Cauldron
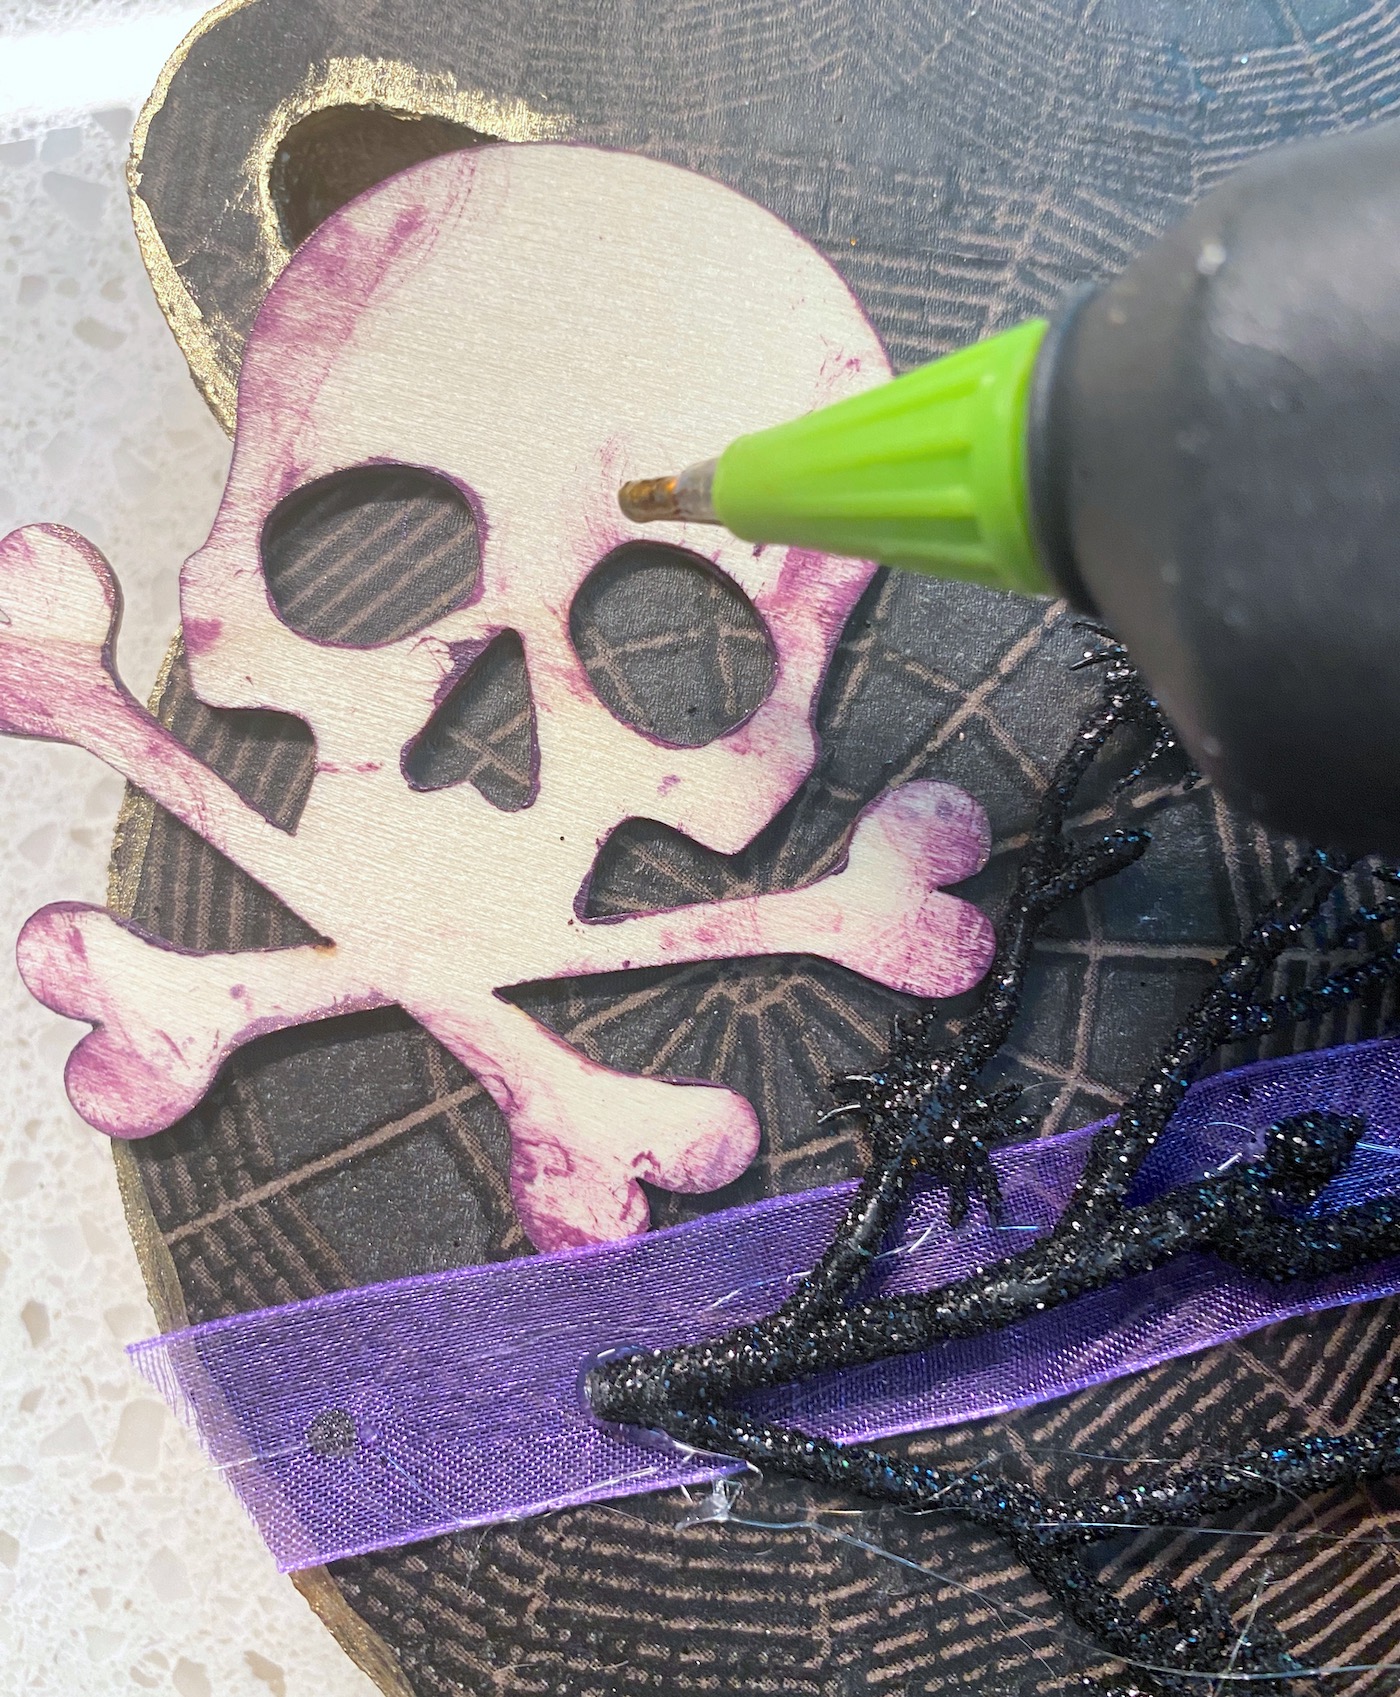
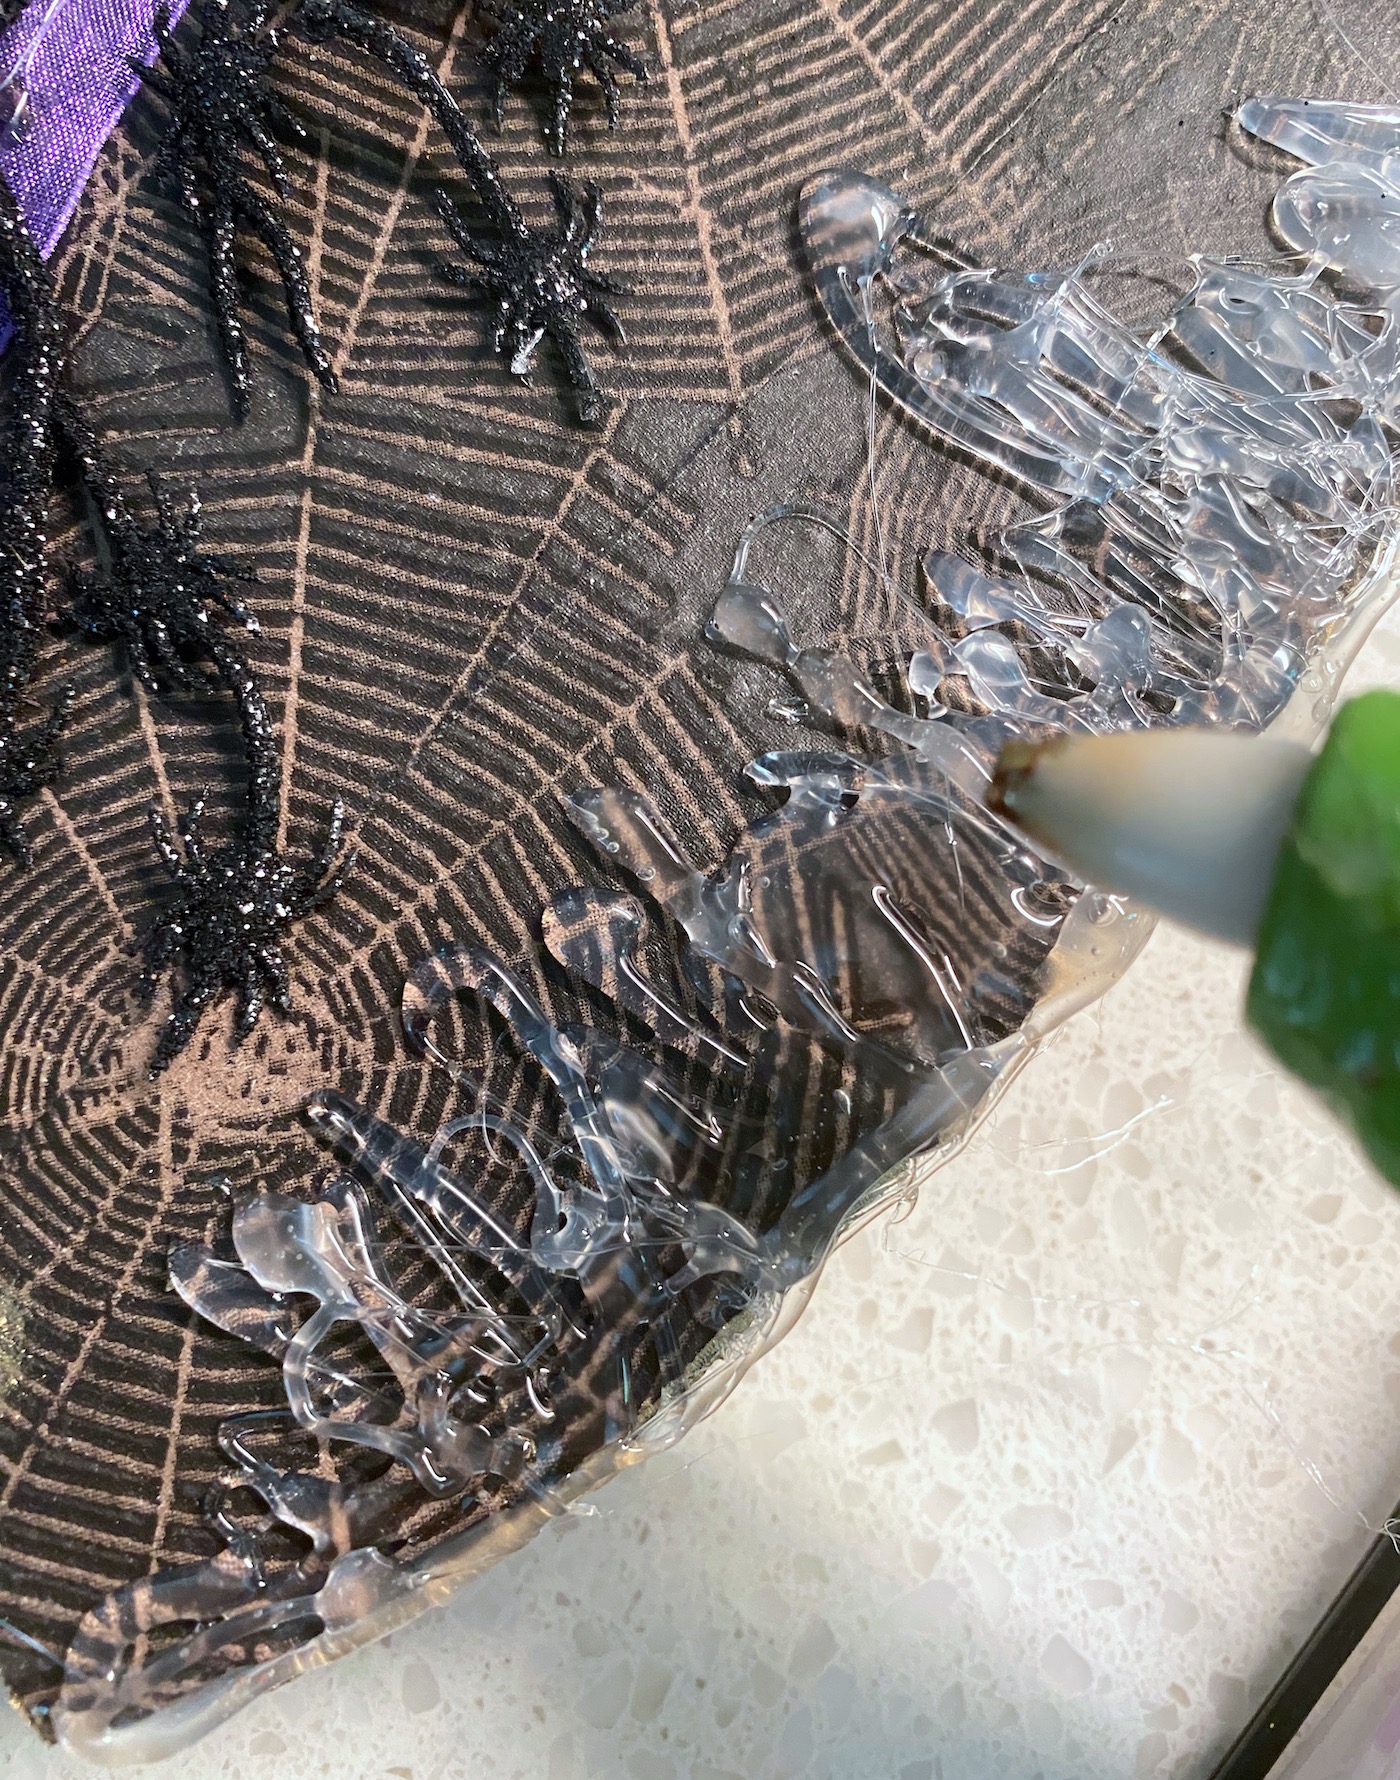
Once it came time to decorate the cauldron, I went a little crazy and decided that mine would be boiling over – with gold! But first step is to make LOTS of drips towards the top with hot glue.
This is really easy to do and can be very random. Just make drips and fill them in – you can even do some down the front.
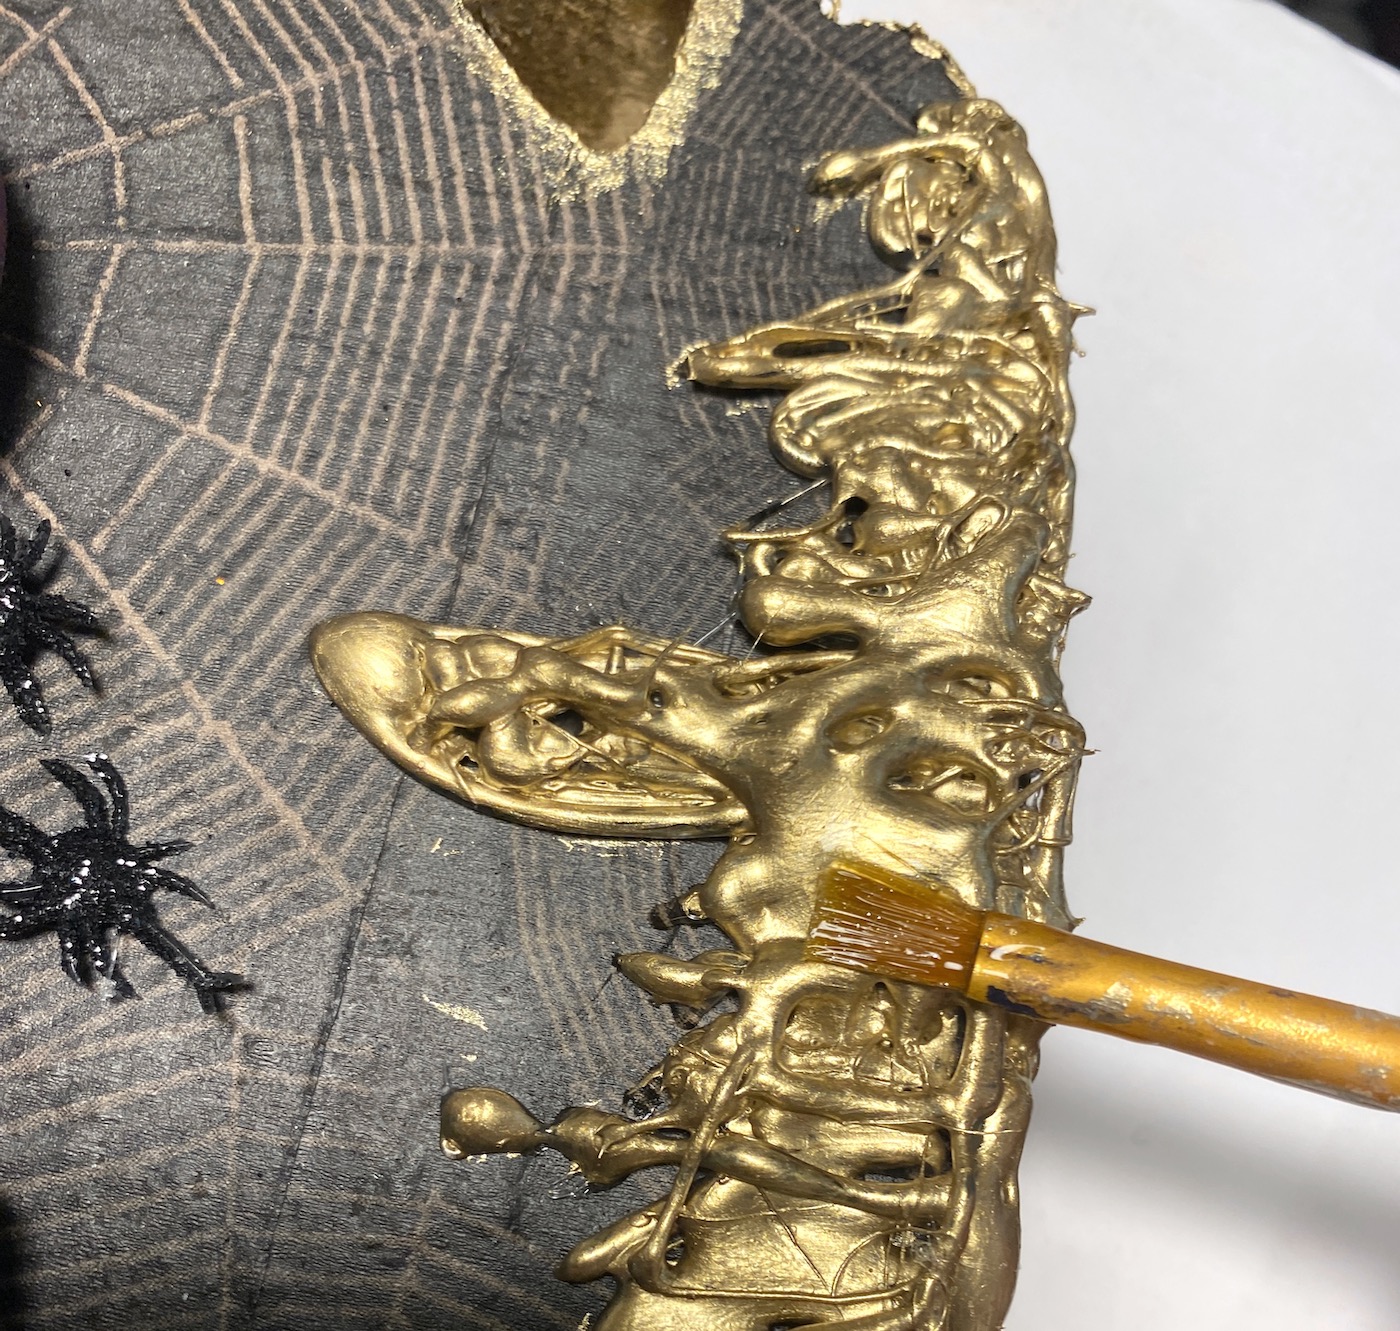
Once cool, paint the glue with Treasure Gold (or something similar). My cauldron is boiling over with gold!
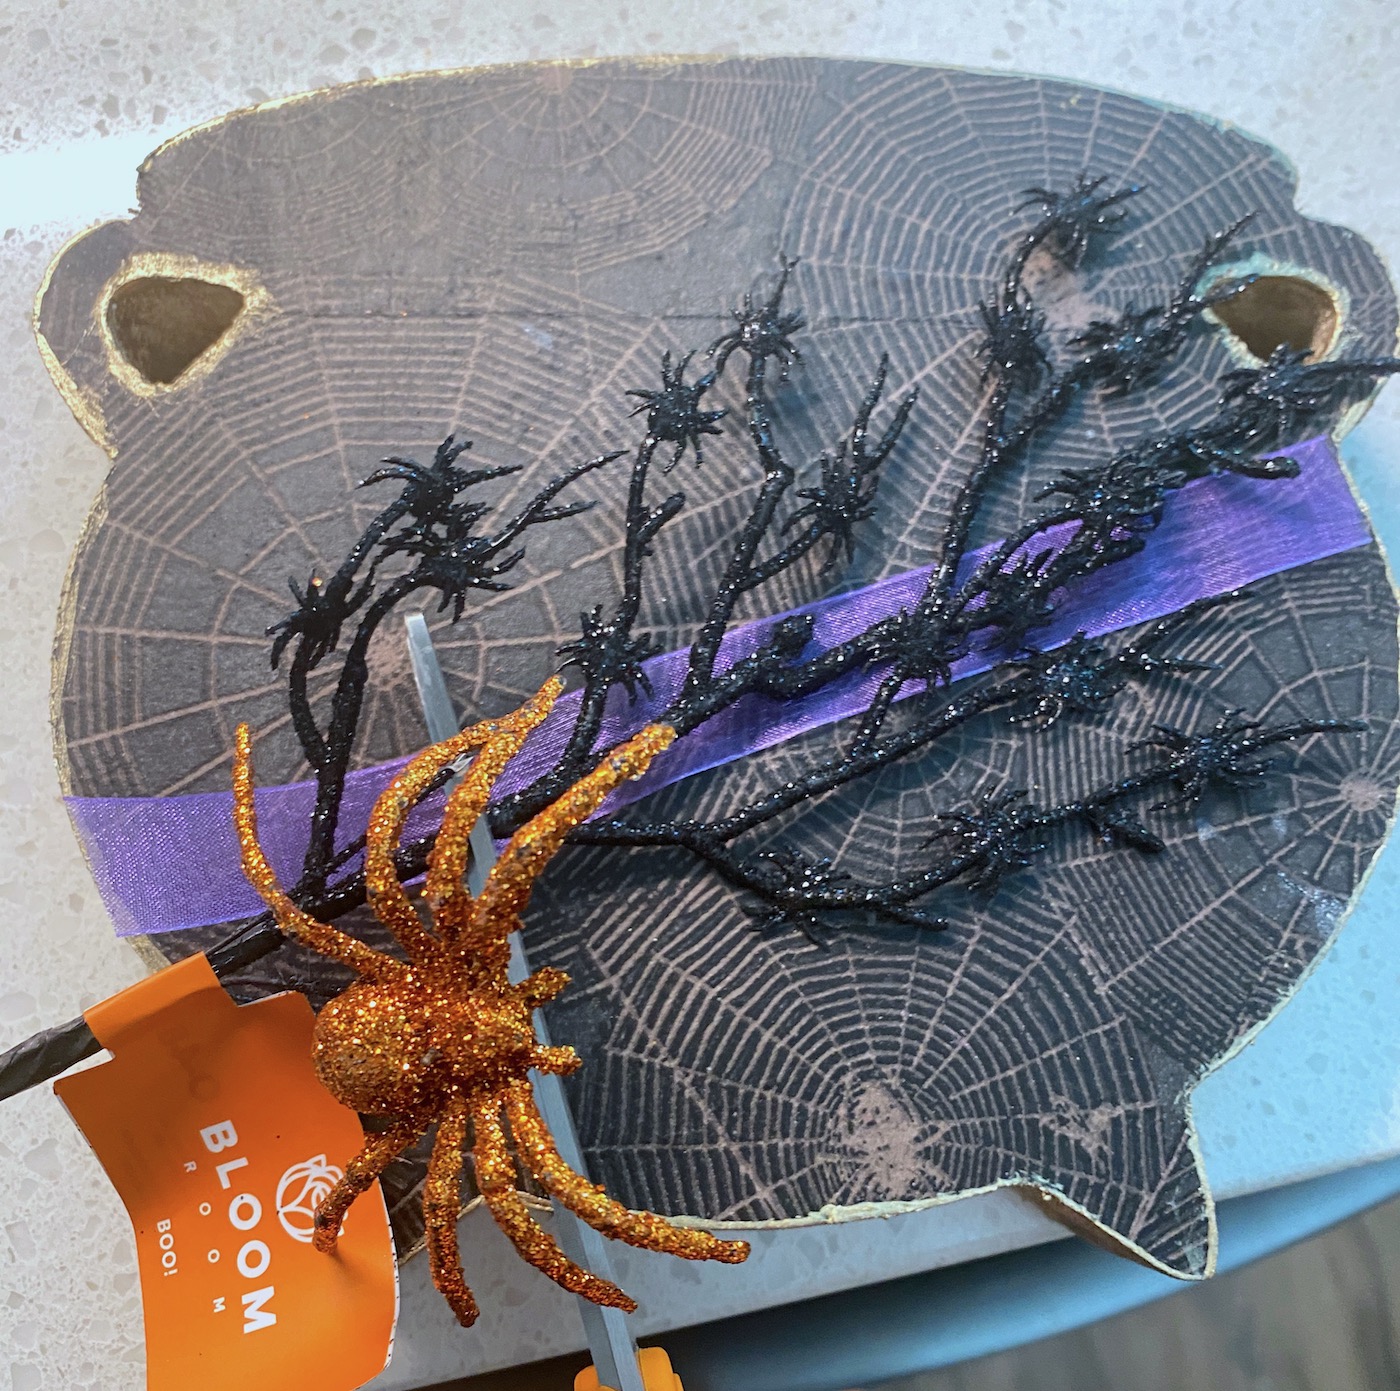
Add Trim and Embellishments
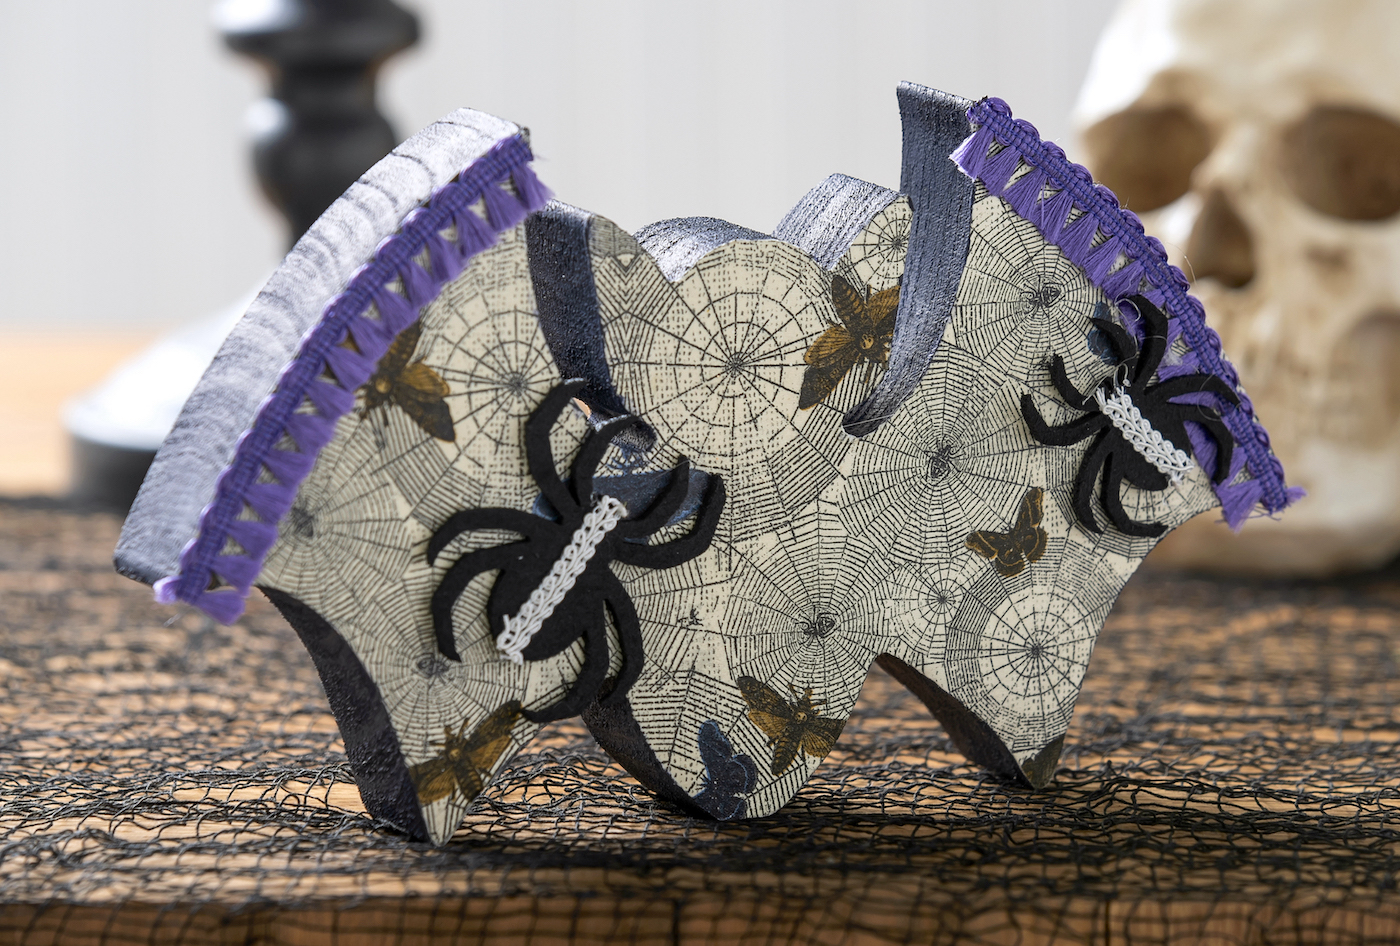
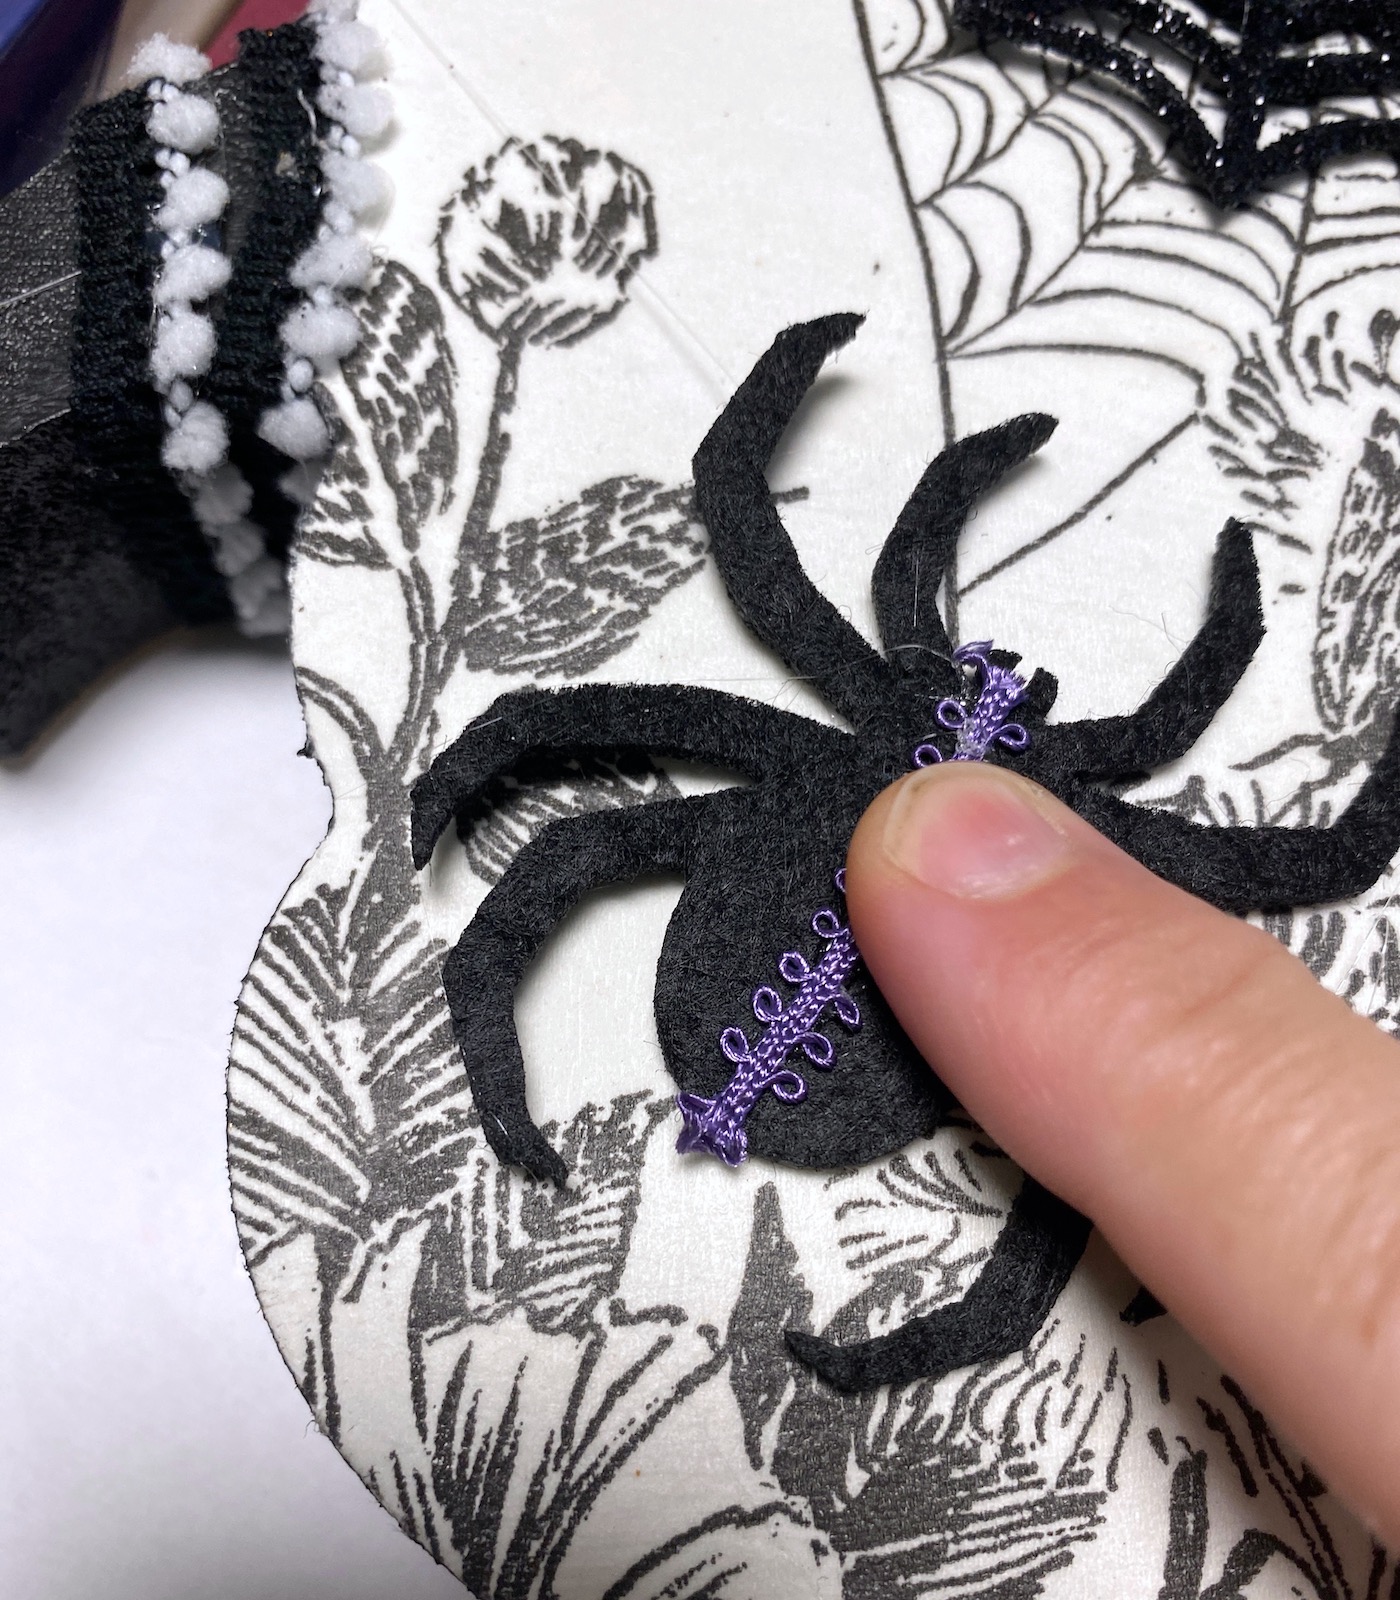
Glue down spiders, cobwebs, additional ribbon . . anything you like. I wrapped some smaller pom pom ribbon around the pumpkin stem.
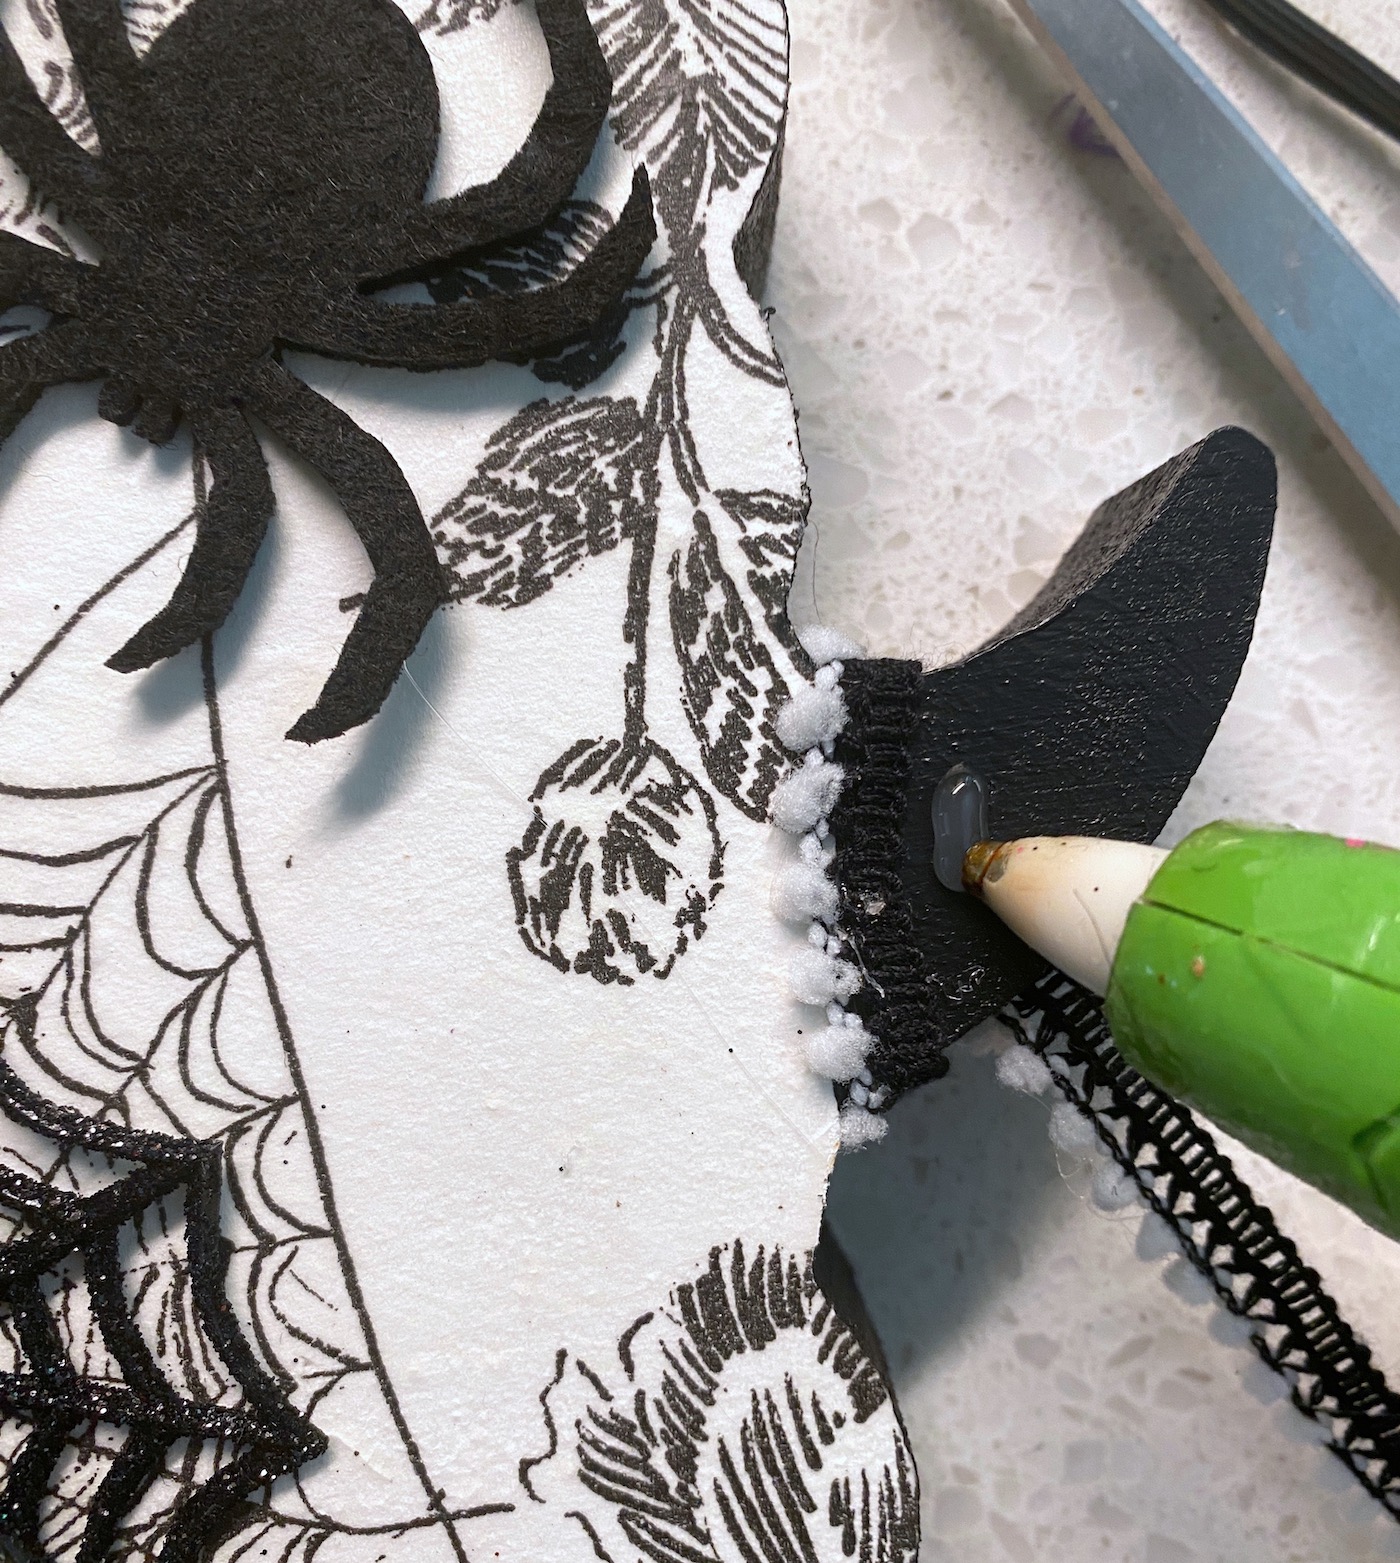
I also decided to add some lace-y trim to the spiders (remember, I was going with kinda vintage).
And that’s how I finished up my new Halloween decorations! Which are currently proudly displayed in the front of my home on a table. What do you think? Let me know in the comments . . . and happy Halloween!
If you enjoyed this project, I hope you’ll check out these other posts for the holidays:
BOO Letters • Button Art • Cheesecloth Ghost • Coffin Tray • Decorating Wood Cutouts • Decorative Blocks • DIY Wreath • Dollar Tree Wood Pumpkin • Door Hangers • Duct Tape Pumpkin • Fairy Garden • Halloween Ornaments • Halloween Rocks • Mason Jar Lanterns • Mummy Luminaries • Paper Cones • Potion Bottles • Spooky Candle Holders • Spooky Pumpkins • Wall Decor • Window Art • Witch Hat Garland