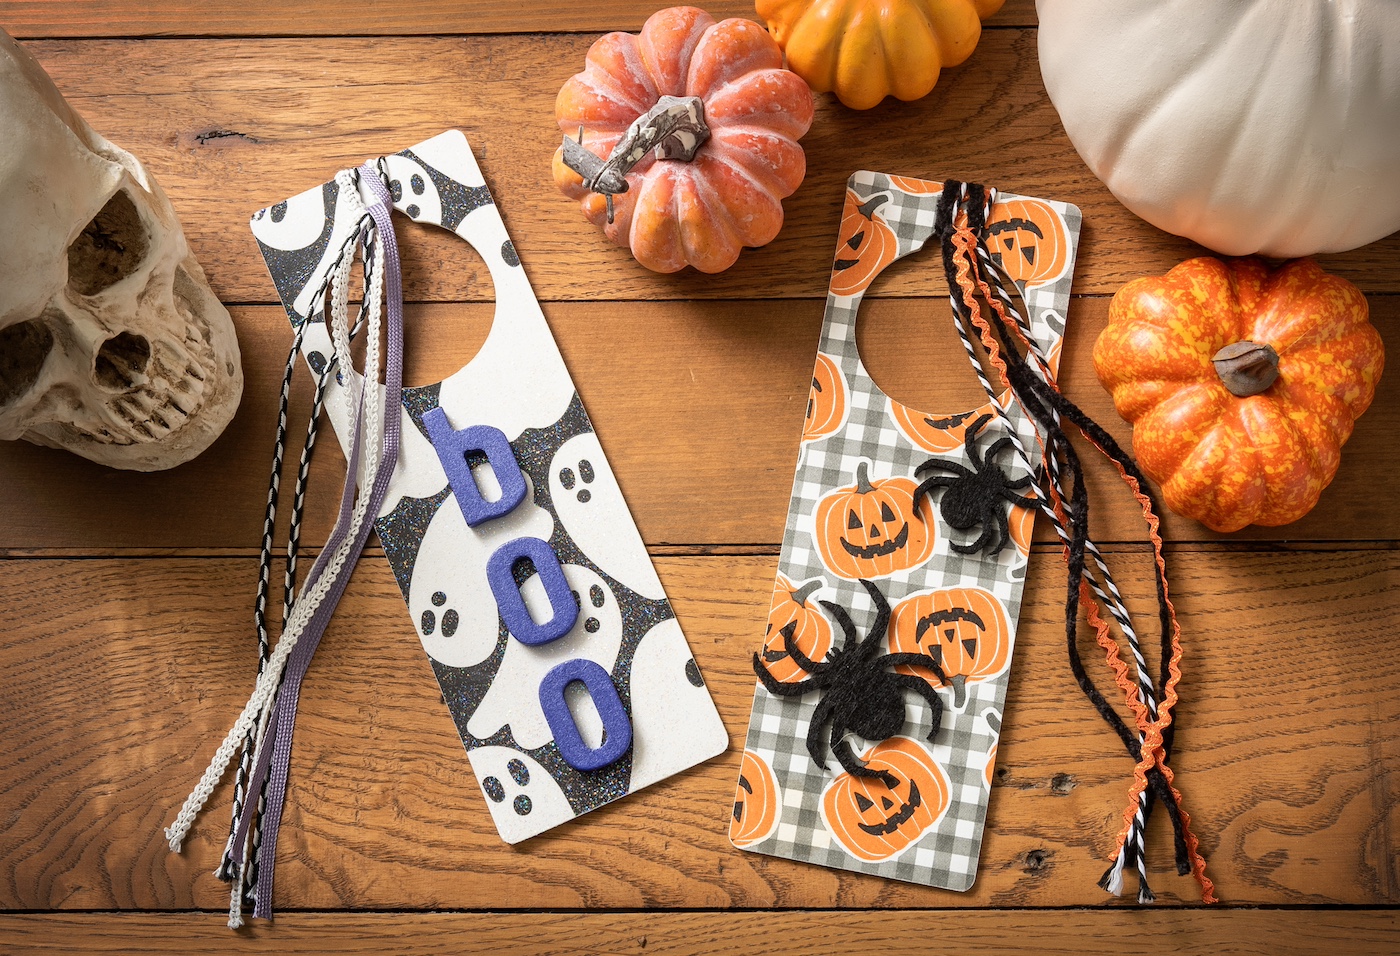
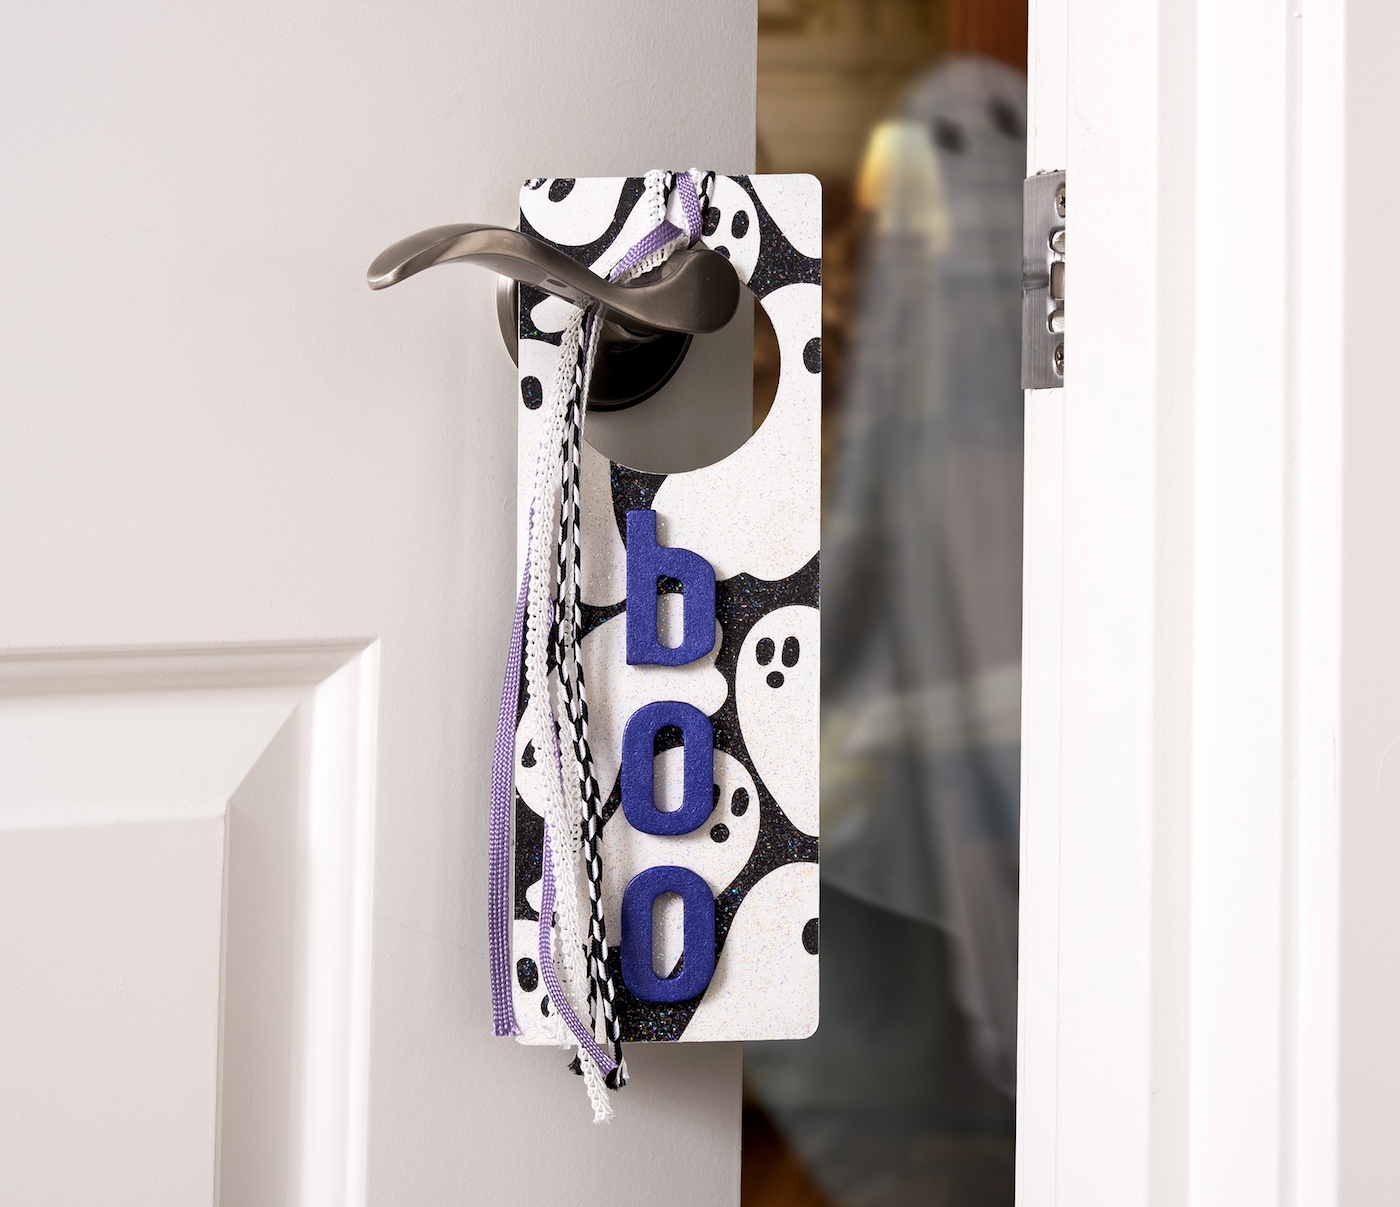
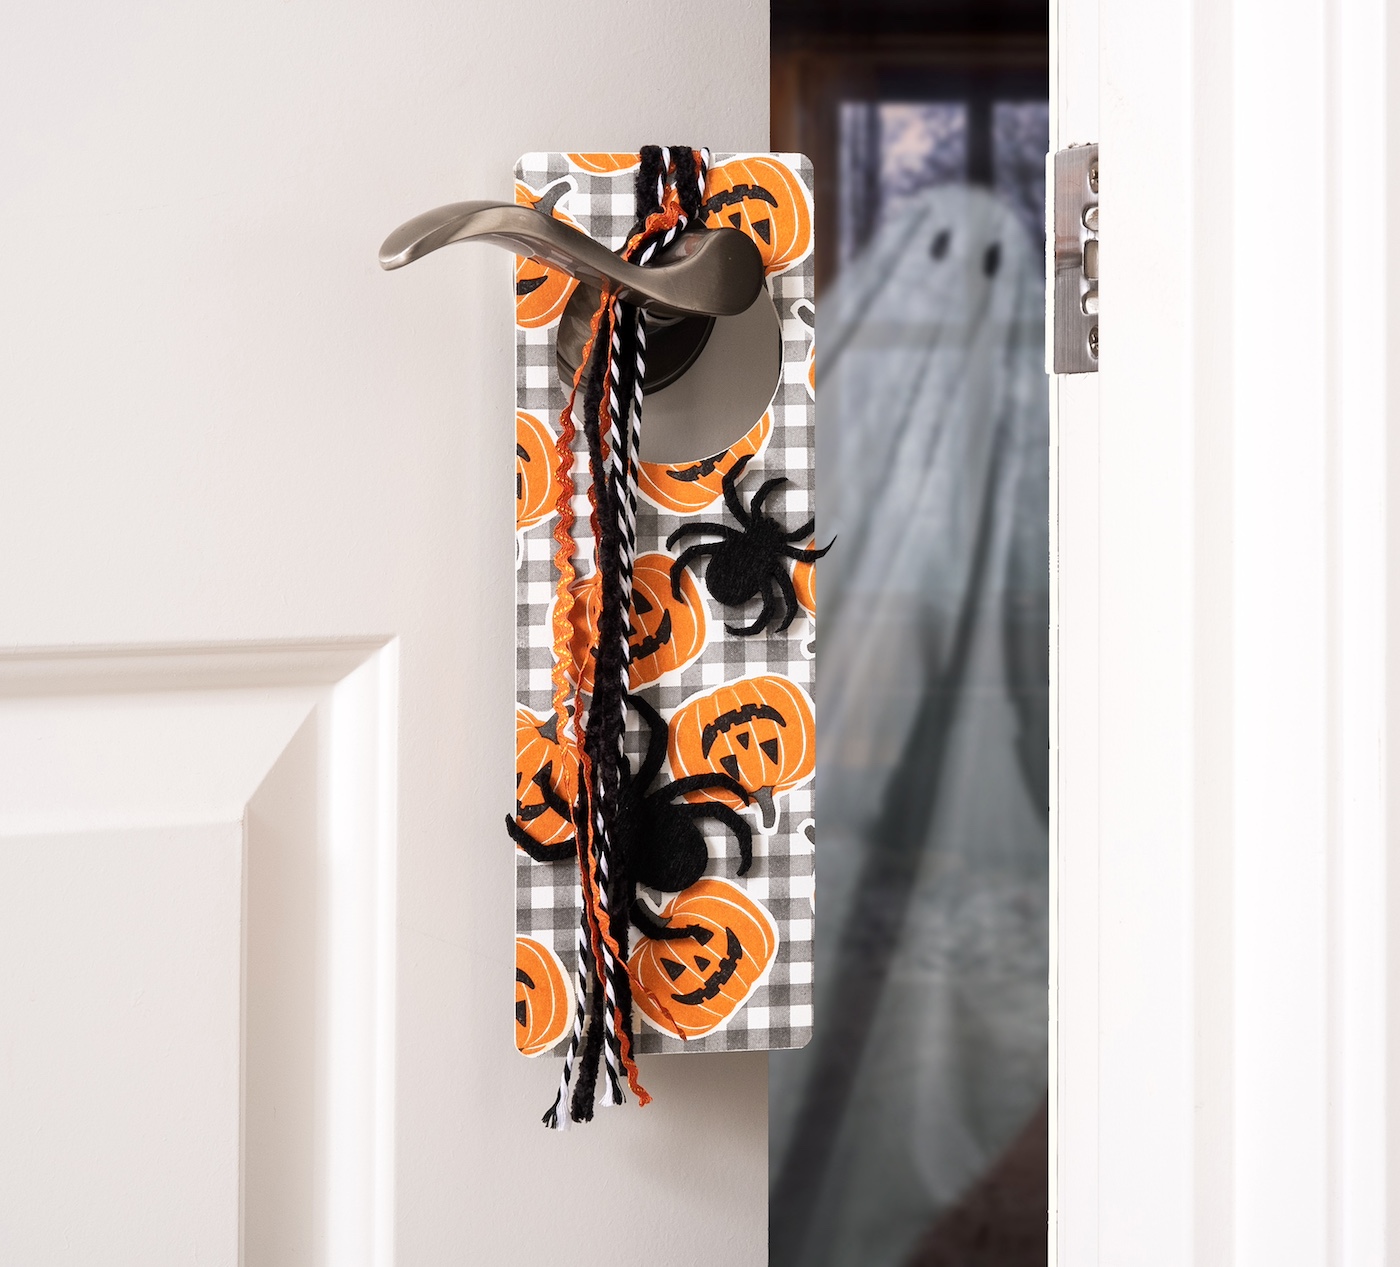
This DIY Halloween door hanger is a fun and easy idea for some unique holiday decor! There are a lot of options for personalization.
Skills Required: Beginner. To make this Halloween craft, it helps to have experience with paint and Mod Podge. You’ll be applying both, ironing the napkin down, then adding embellishments.
Halloween is creeping up, and with it, the season of jack-o’-lanterns, spooky treats, and, most thrillingly, the all-important mission of transforming our homes into a haven of Halloween haunts.
You might be thinking – here we go, another year, another mad dash for decorations that promise to be ‘one-of-a-kind’ but end up being the same old plastic skeletons and cobwebs.
But pause your witch’s broom, because this year, I’m going to unveil how to craft a DIY Halloween door hanger that’ll have your friends and family pausing in their tracks to admire your handiwork.
Let me introduce you to the world of decorating unfinished wood door hangers – as enjoyable to create as they are to showcase.
How are we going to cast a spell over these hangers? With the enchantment of napkins, the adaptability of Mod Podge, the spookiness of felt spiders, and the allure of Halloween-colored ribbon.
Yes, we’re diving deep into our cauldron of creativity.
This project is a treat for crafters of all skill levels, from the experts to the ‘I accidentally turned my craft table into an experiment’ novices.
So, summon your glue, round up your spooky embellishments, and let’s conjure up some Halloween magic.
By the time we’re done, your doors will be the envy of everyone who sees them, and you’ll have a story to tell about the time you brought a little extra decor to spooky season.
Ready to get started? The tutorial is below. First, here’s what you’re going to need.
Gather These Supplies
- Unfinished wood door knob hangers – 9.5 x 3.25 x 0.1-Inch were the size I used
- Halloween napkins – I got mine at Joanns (tissue paper works also)
- Mod Podge – any formula
- Mod Podge Sparkle
- Craft paint – white, purple, metallic or glitter purple
- Wood letters – boo
- Halloween embellishments (felt or plastic spiders) and ribbon
- Craft glue or hot glue gun
- Emery board
- Paintbrushes
- Small iron
- Parchment paper
- Scissors
- Clear acrylic spray sealer (optional)
Tips and Thoughts for This Project
Yes, you can make your own door hangers with wood scraps. If you don’t know how to use a hole saw bit, see this video. Drill through the plywood where you want the hole. Sand away any rough edges.
You don’t *have* to paint the door hanger white, however, it makes the colors of the napkin pop. It’s also easy to do, so I always do it. You can use spray paint, but craft paint is cheaper and just as fast with a roller.
I didn’t seal the top of the pumpkin napkin with Mod Podge – it tends to make them wrinkle. If you do seal with Mod Podge and the napkins wrinkle, you can place parchment down and iron over the top again. It’s not as noticeable with the glitter formulas.
Get the printable how to card for this project below! Also don’t forget to check out our Christmas door hangers.

Halloween Door Hanger
Equipment
- Paintbrushes and/or a roller
Materials
- Unfinished wood door knob hangers
- Halloween napkins
- Mod Podge
- Mod Podge Sparkle
- Craft paint white, purple, metallic or glitter purple
- 3 Wood letter(s) boo
- Halloween embellishments felt or plastic spiders and ribbon
- Parchment paper
- Clear acrylic spray sealer optional
Instructions
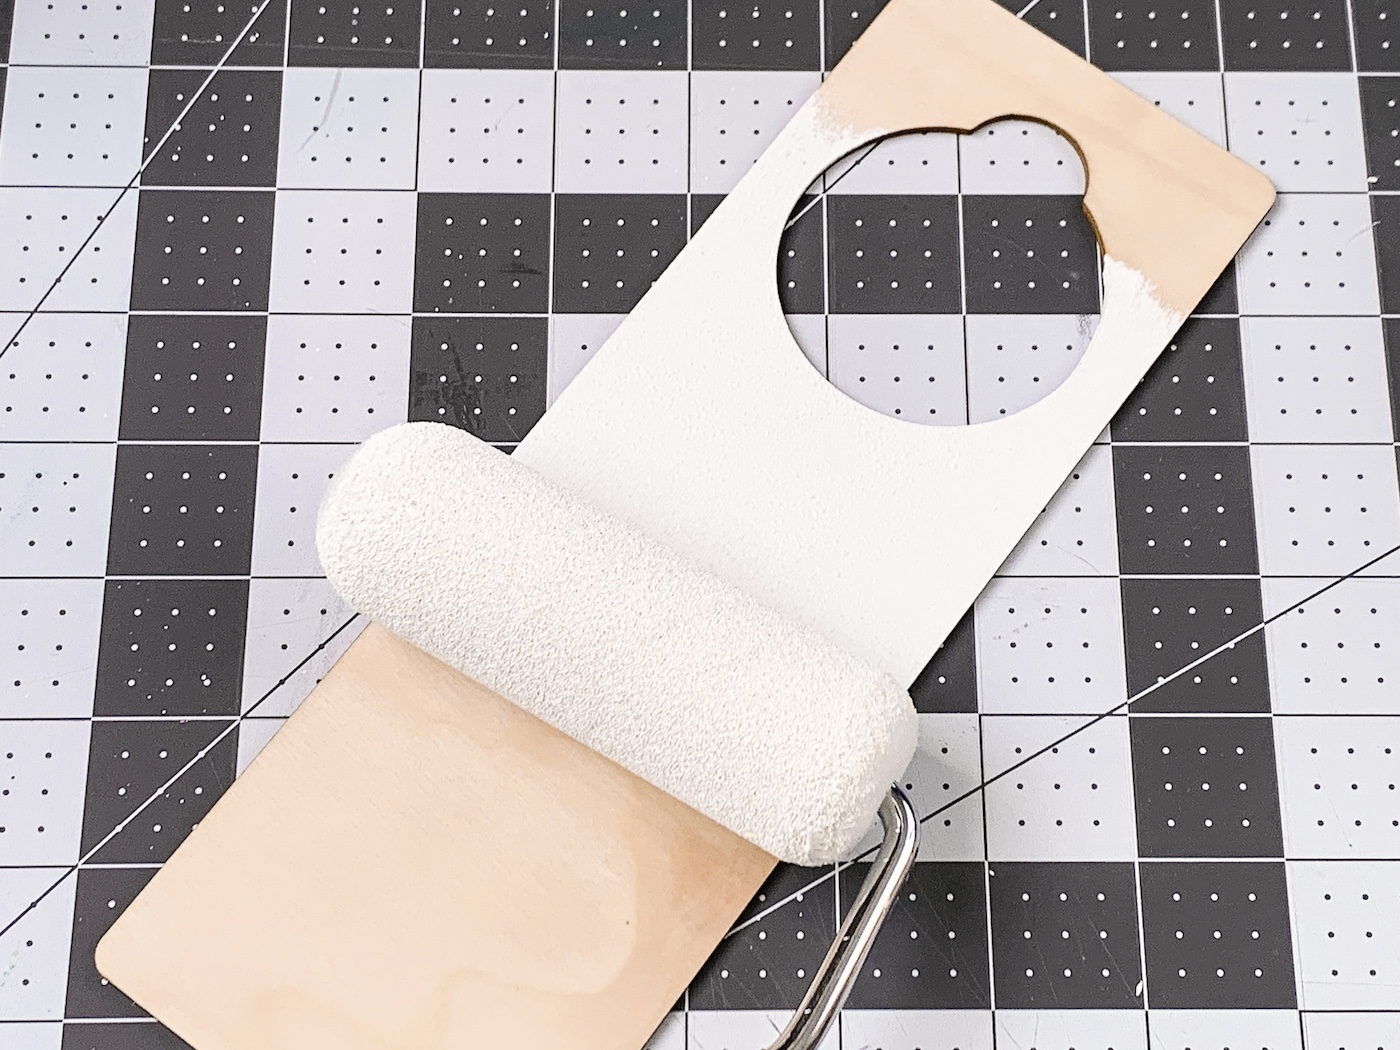
- Paint the door hanger using white craft paint. Roll on one side, let dry, and flip over. Paint other side and let dry.
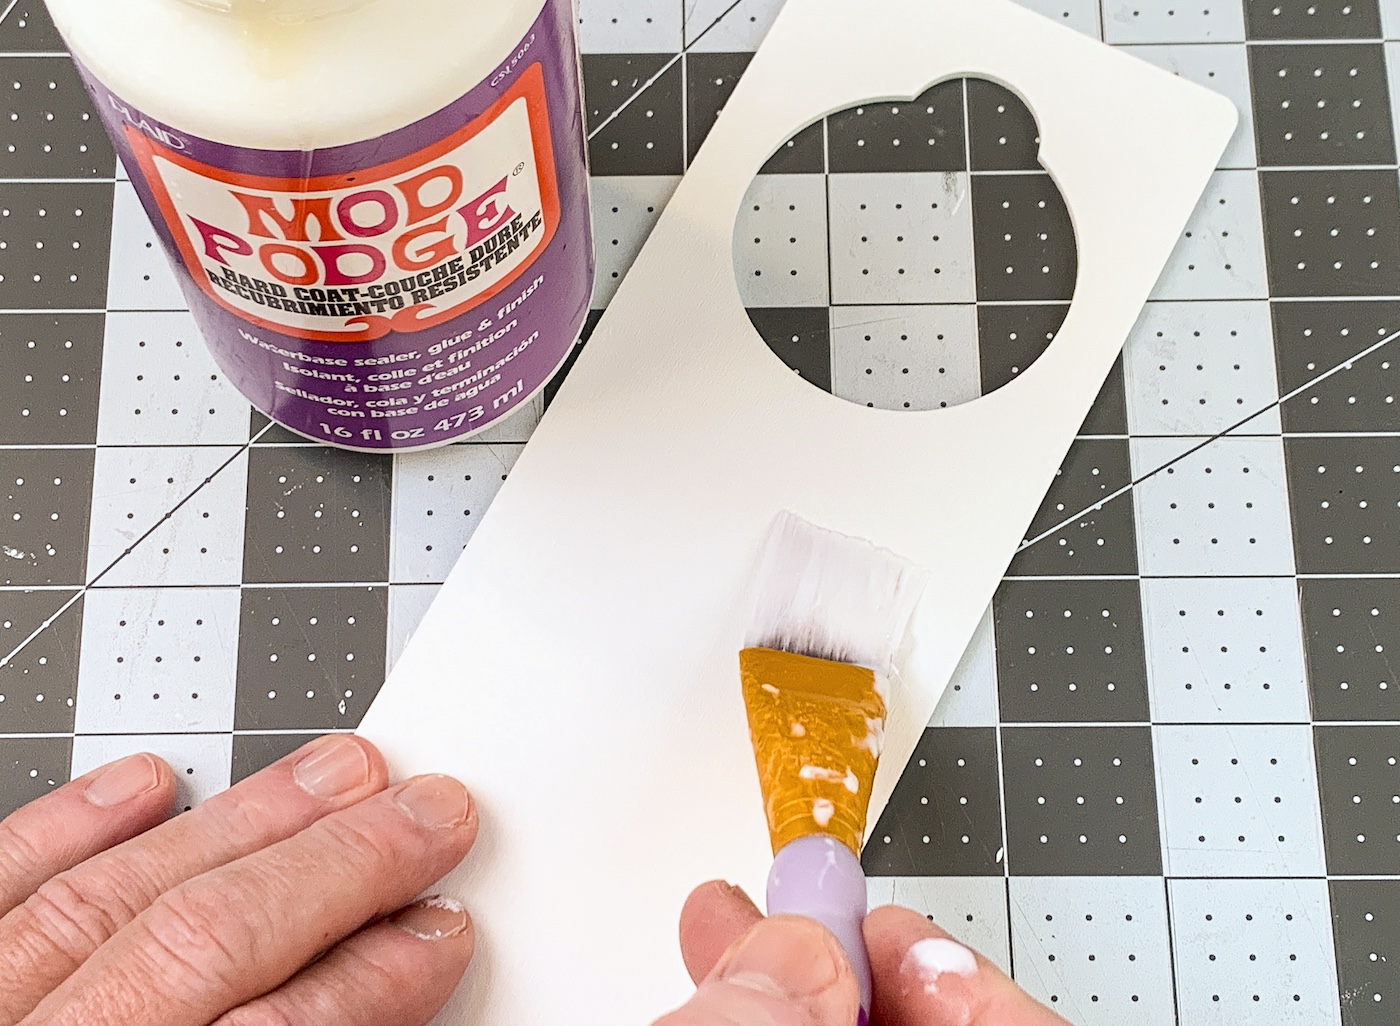
- Apply a coat of Mod Podge to the wood; don't do the edges. Let dry 15-20 minutes and repeat.
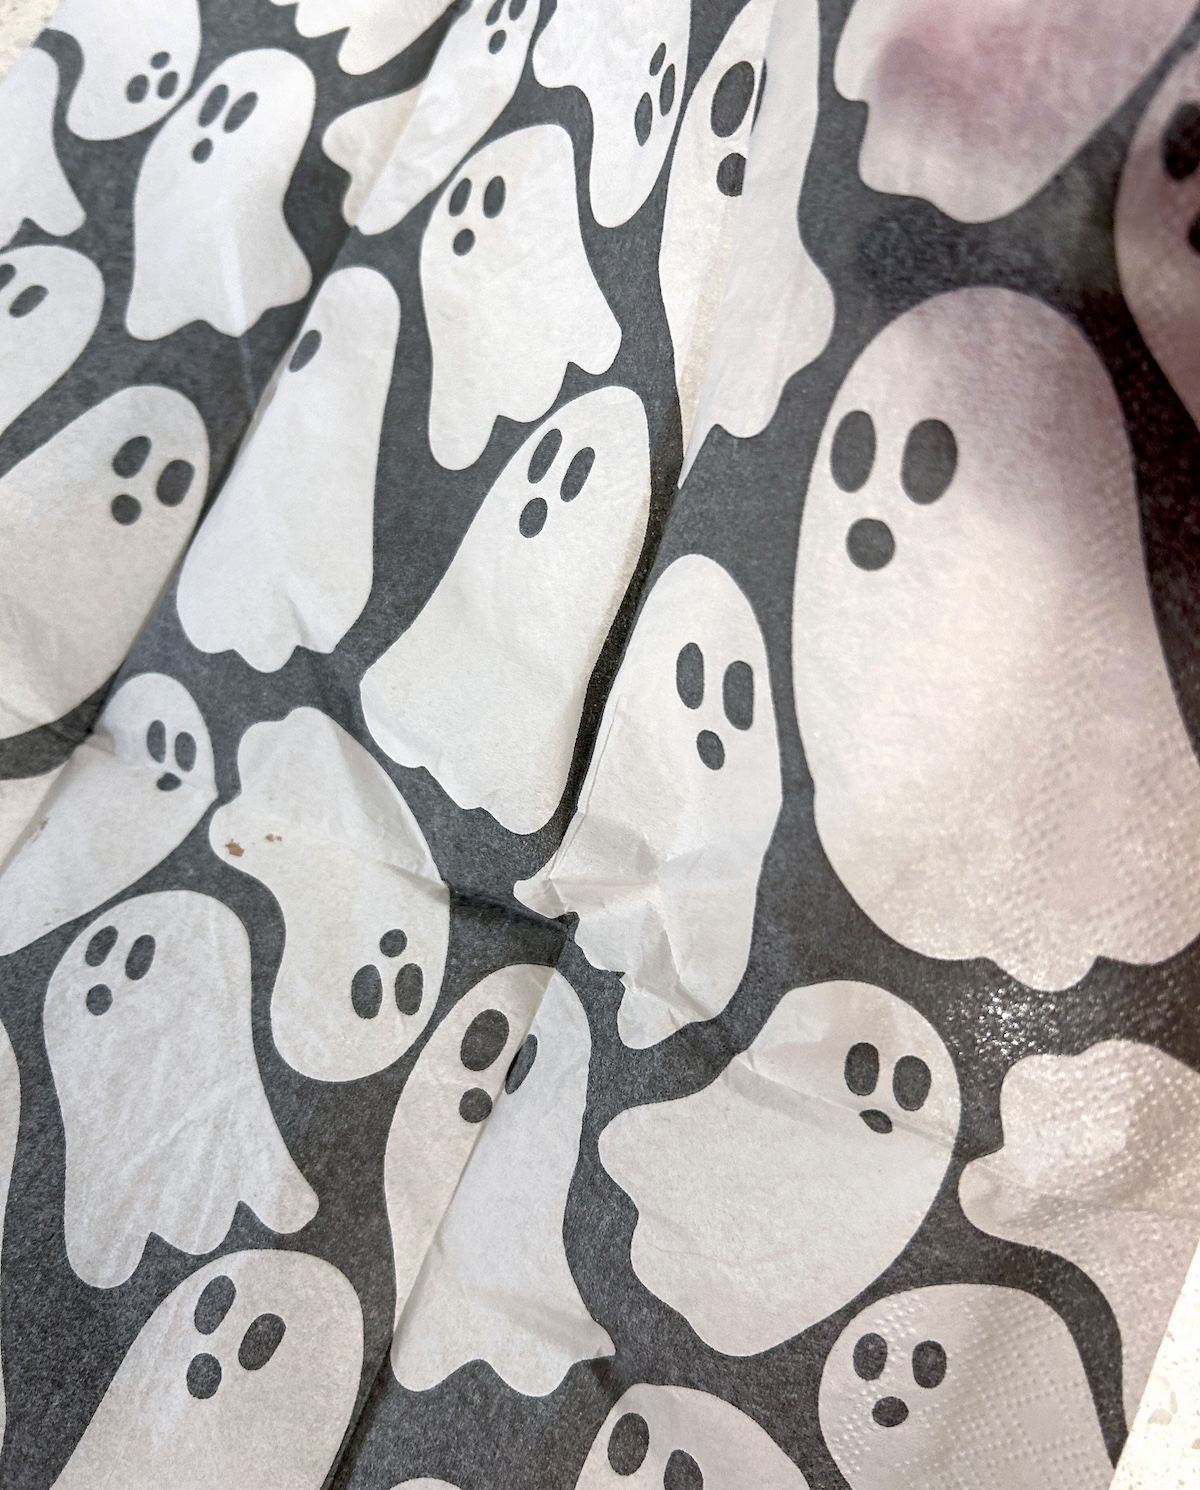
- While the Mod Podge is drying, separate the napkin from the bottom layers. You can use tape to help. You just want the top layer with the design.
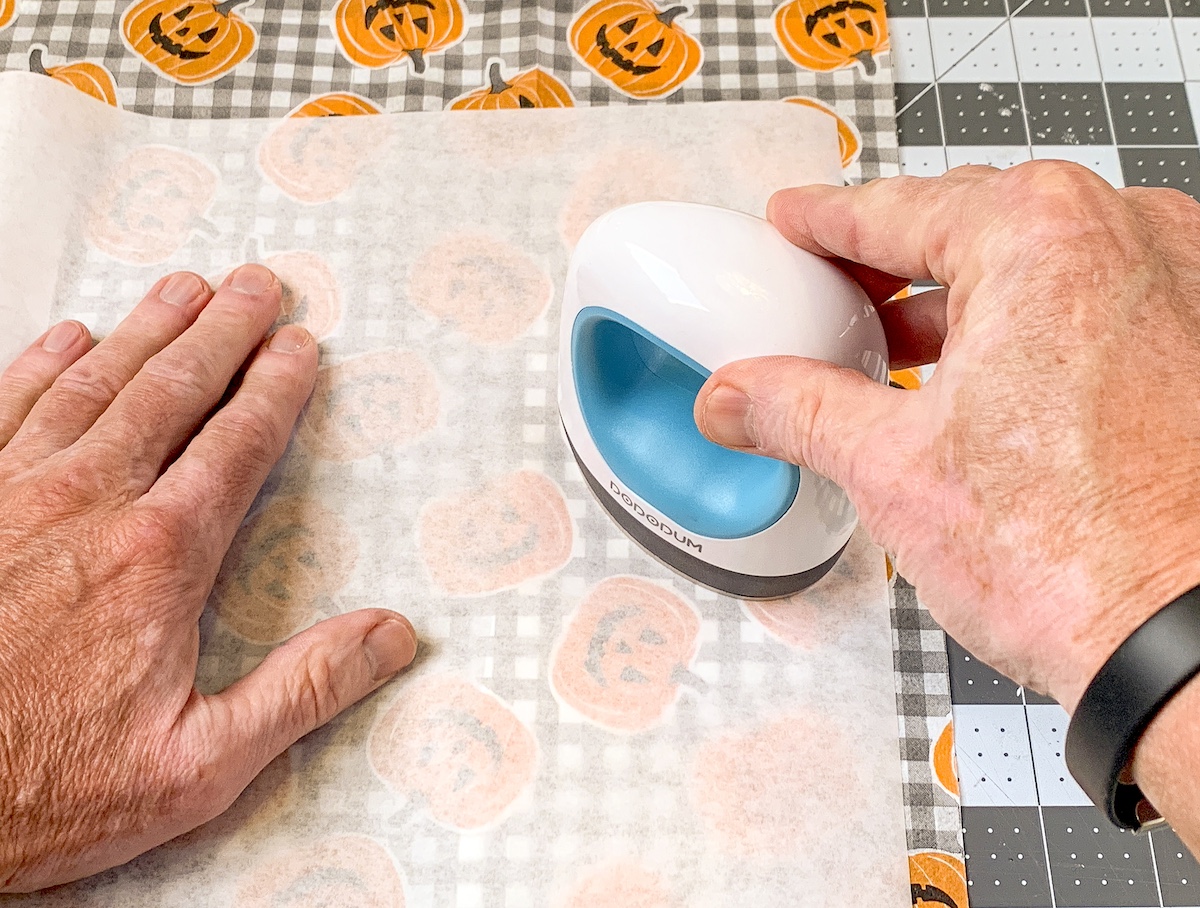
- Place the napkin down onto the door hanger. Place a piece of parchment paper on top of the napkin, and run the craft iron across the top several times. While you are doing this, the Mod Podge is melting below the napkin, and the napkin is adhering. Keep going until the napkin is fully adhered, including the edges.
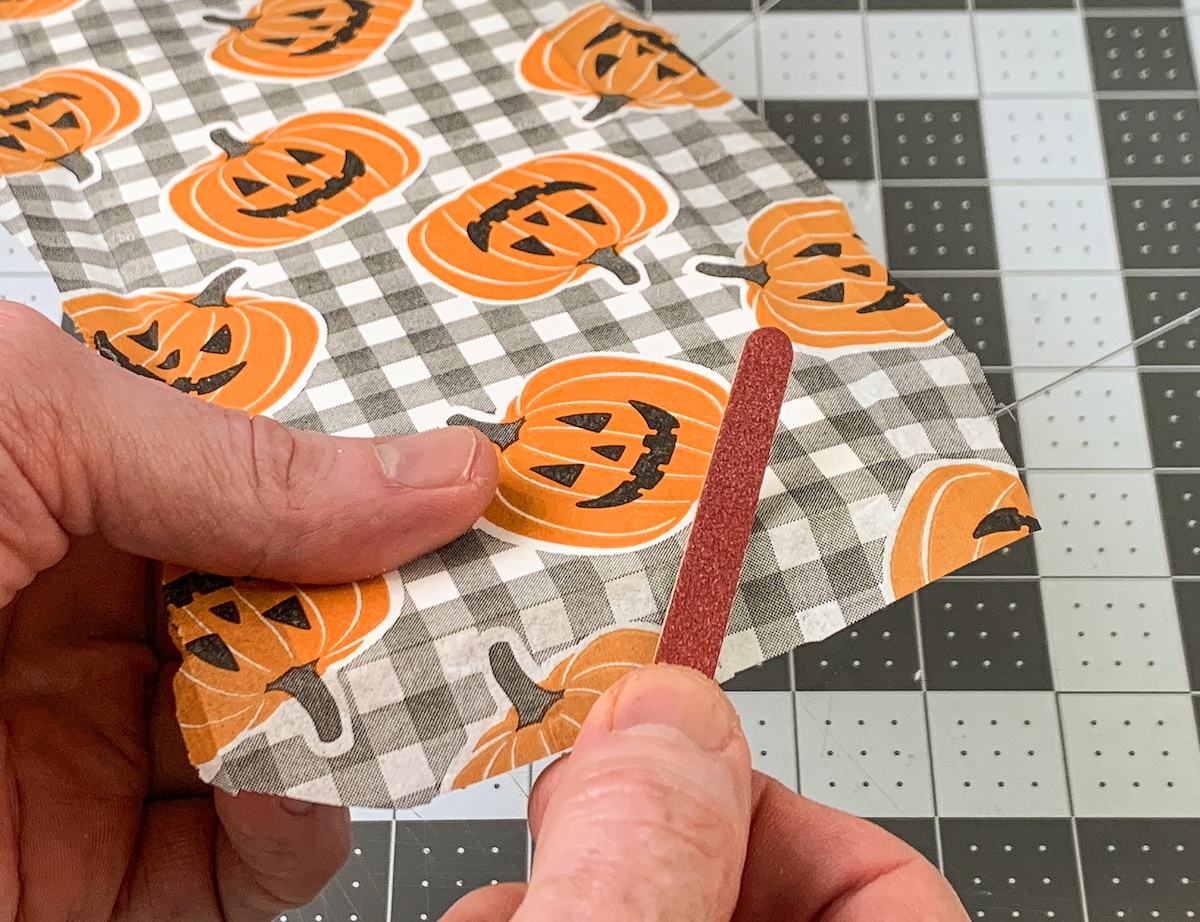
- Let the hanger cool after ironing. Use an emery board to gently sand away the excess napkin. Sanding at an angle works very well. Continue until all the extra napkin is removed.
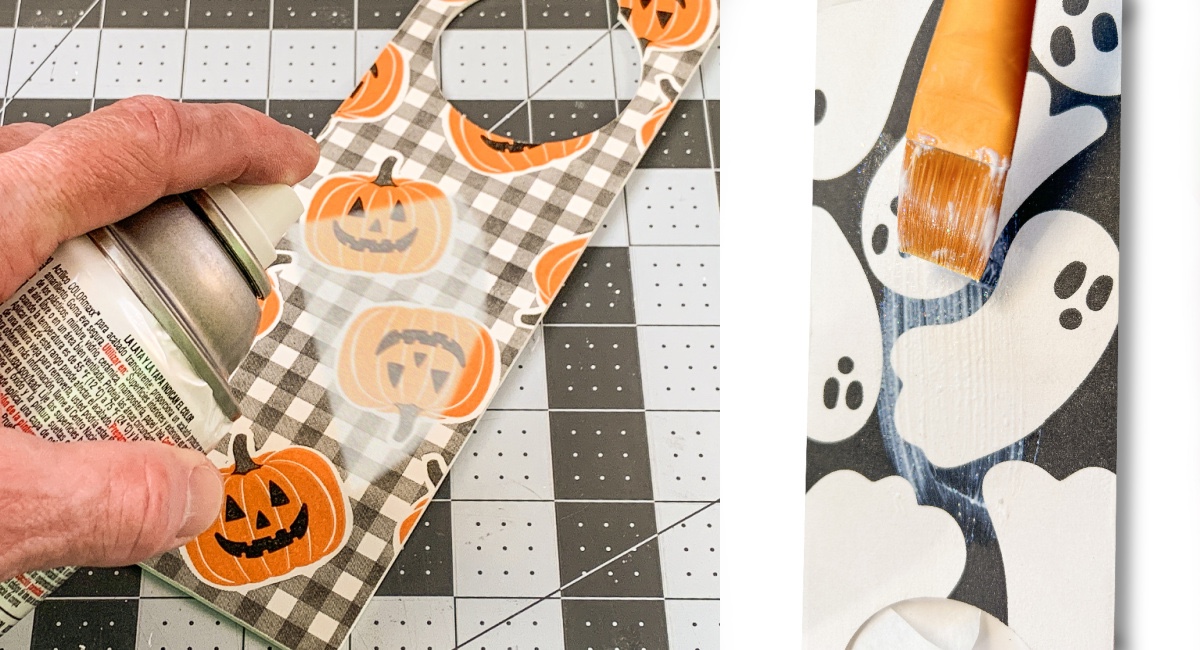
- On the pumpkin napkin, I sprayed clear acrylic sealer so it wouldn't wrinkle. I used Sparkle Mod Podge on the ghost door hanger, where wrinkling wouldn't be as noticeable. Choose the method that works best for you. Let dry.
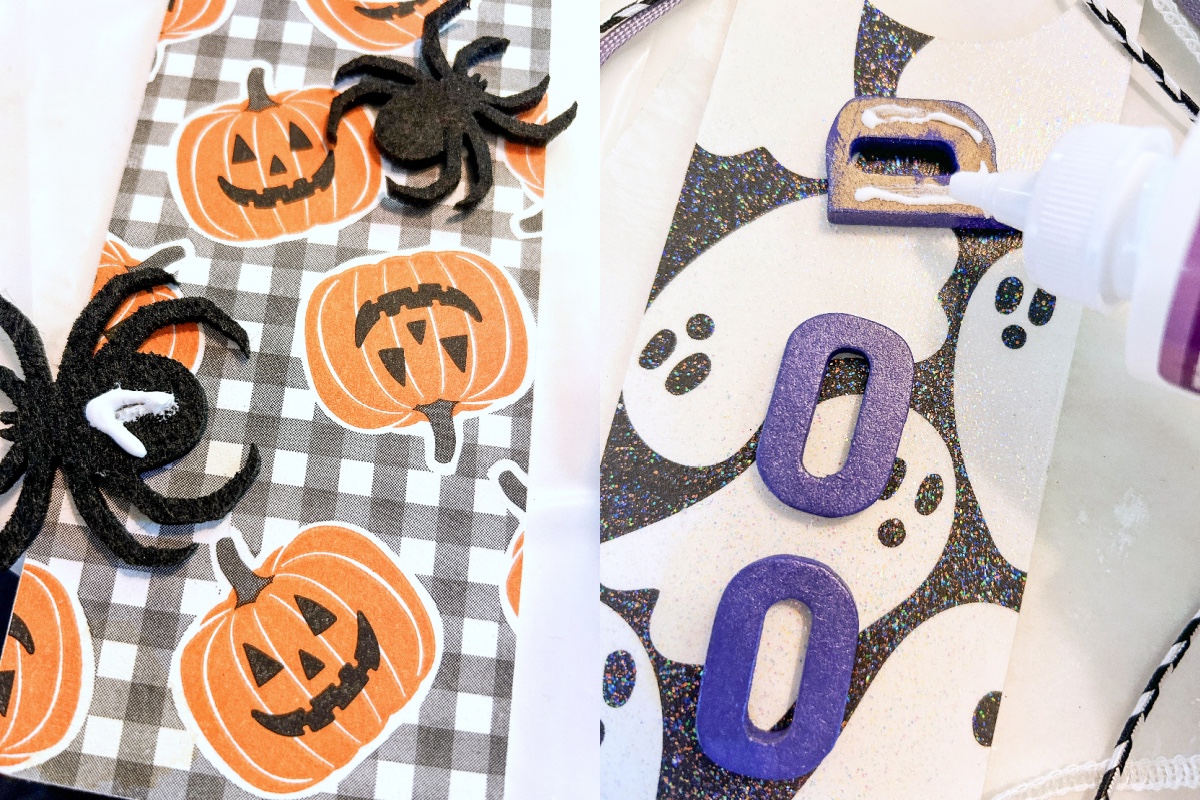
- Paint any wood letters. I basecoated with purple paint, then I used purple metallic over the top and let dry.

- Cut lengths of ribbon and tie around the hanger handles. Glue letters and embellishments down with craft glue and let dry before hanging.
If you enjoyed this Halloween door hanger DIY, I’d love for you to let me know in the comments. You can also check out these other projects:
BOO Letters • Button Art • Cheesecloth Ghost • Coffin Tray • Decorating Wood Cutouts • Decorative Blocks • DIY Wreath • Dollar Tree Wood Pumpkin • Duct Tape Pumpkin • Fairy Garden • Halloween Ornaments • Halloween Rocks • Mason Jar Lanterns • Mummy Luminaries • Paper Cones • Potion Bottles • Spooky Candle Holders • Spooky Pumpkins • Wall Decor • Window Art • Witch Hat Garland • Wood Ghost Decor