Learn how to make DIY spooky pumpkins using Dollar Tree supplies! These are easy and perfect for creepy and vintage Halloween decorating.
Skills Required: Beginner. You’ll be painting and using fabric stiffener to attach black spooky cloth to pumpkins. It’s easy even if you’ve never crafted, but you will get your hands messy!
I started this new thing about three years ago with my Halloween decor. I love to decorate, as you can imagine, but I never tackled the front entryway before.
The table went from a few Halloween craft items and a couple of Dollar Tree finds to removing all the other decor to create a “vintage spooky” scene. You can see how I started setting up this year below:
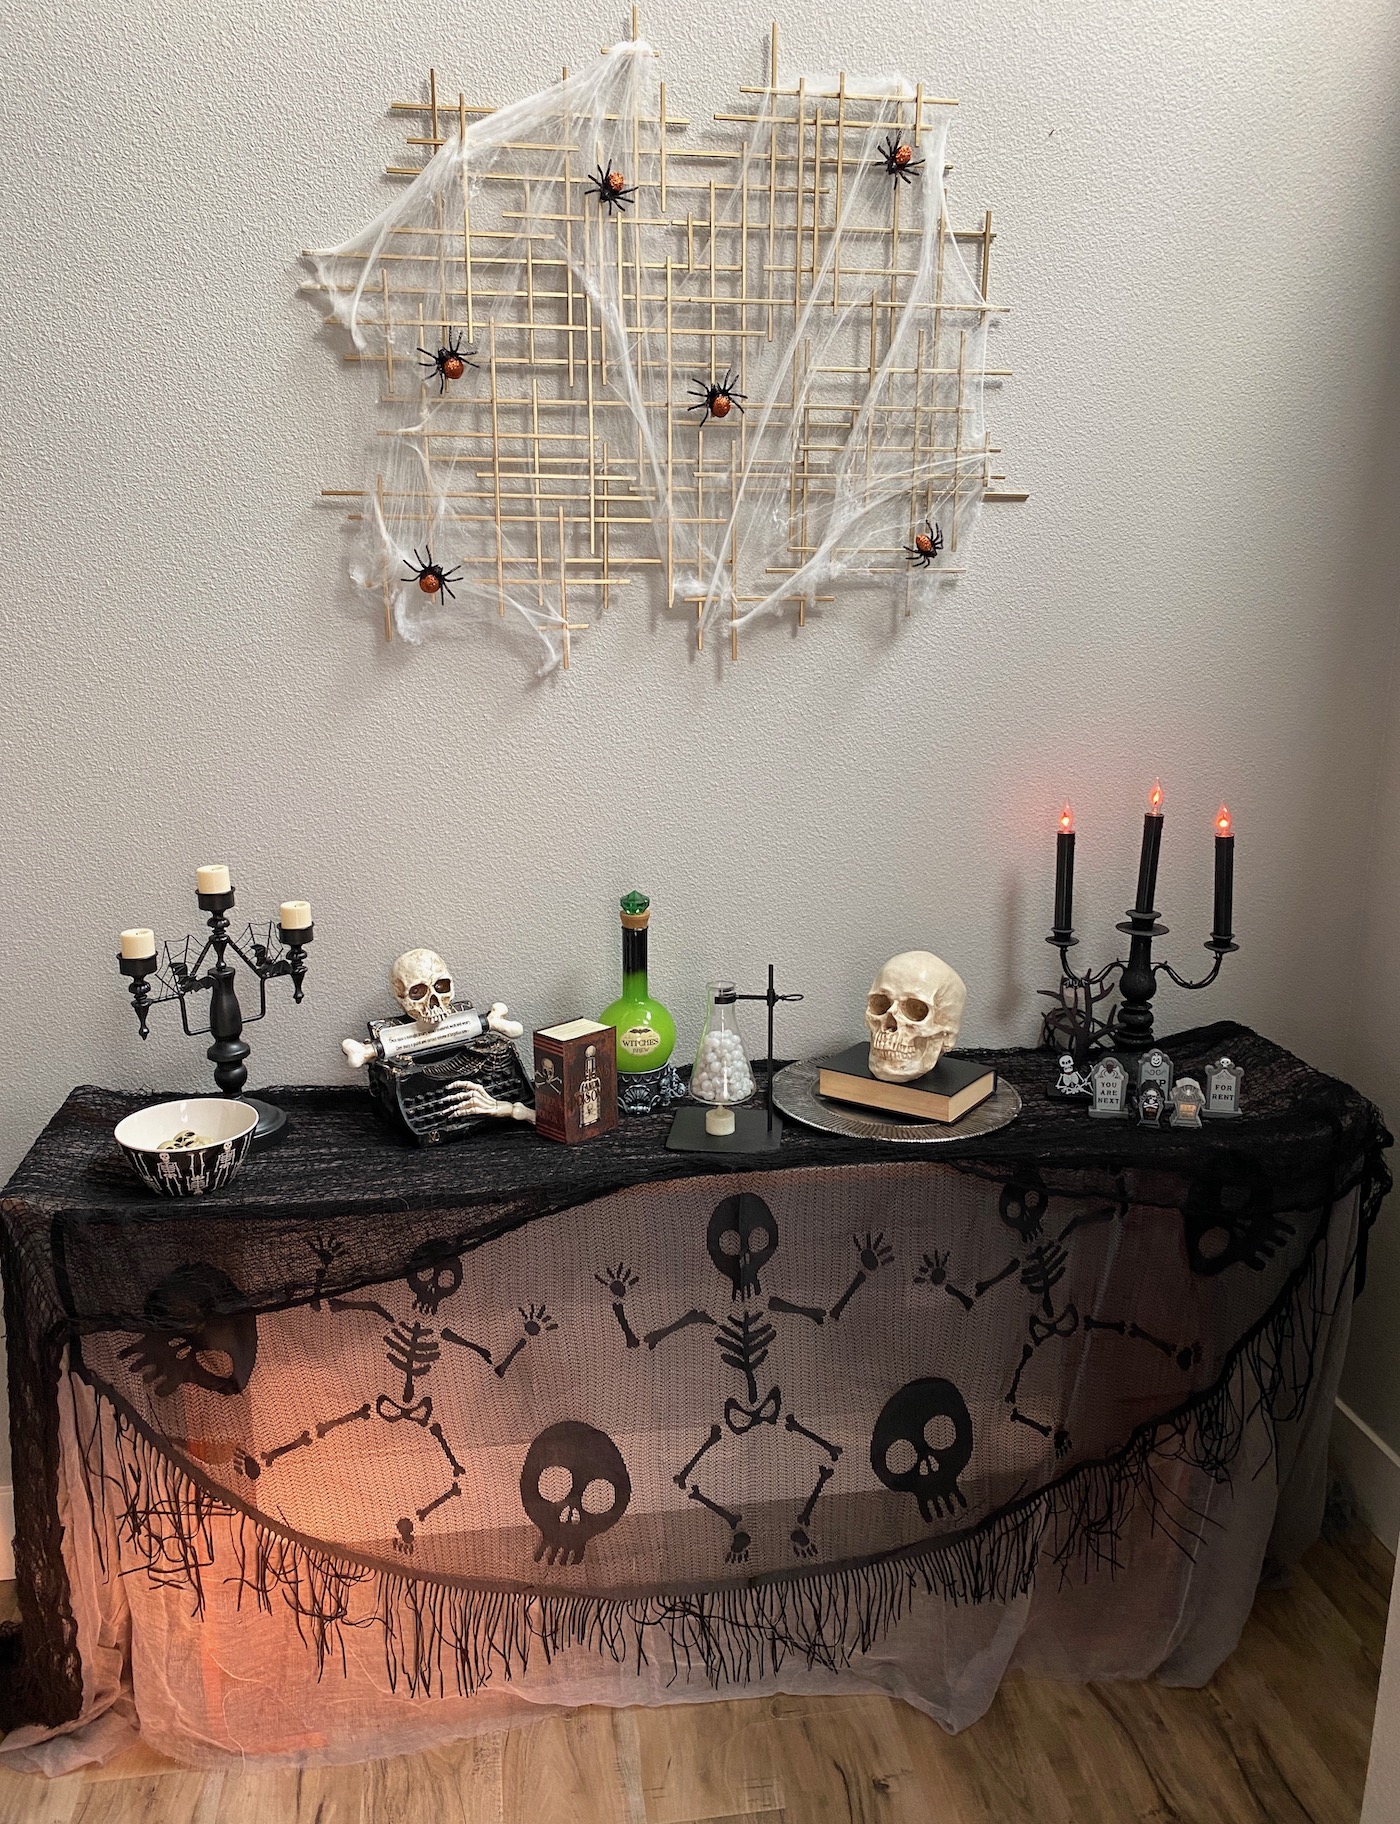
Keep in mind that the above photo is in progress! The motif is vintage Halloween decor, and I’ve slowly been assembling goodies for the past three years that fit with the theme. Some of them are purchased and some are handmade. And of course, any Halloween crafts I made I have to share with you.
So today I’m excited to share my DIY spooky pumpkins! Made with Dollar Tree supplies. And if you saw my wooden ghost decor, you know that this year I got smarter and got to the DT early to purchase holiday surfaces.
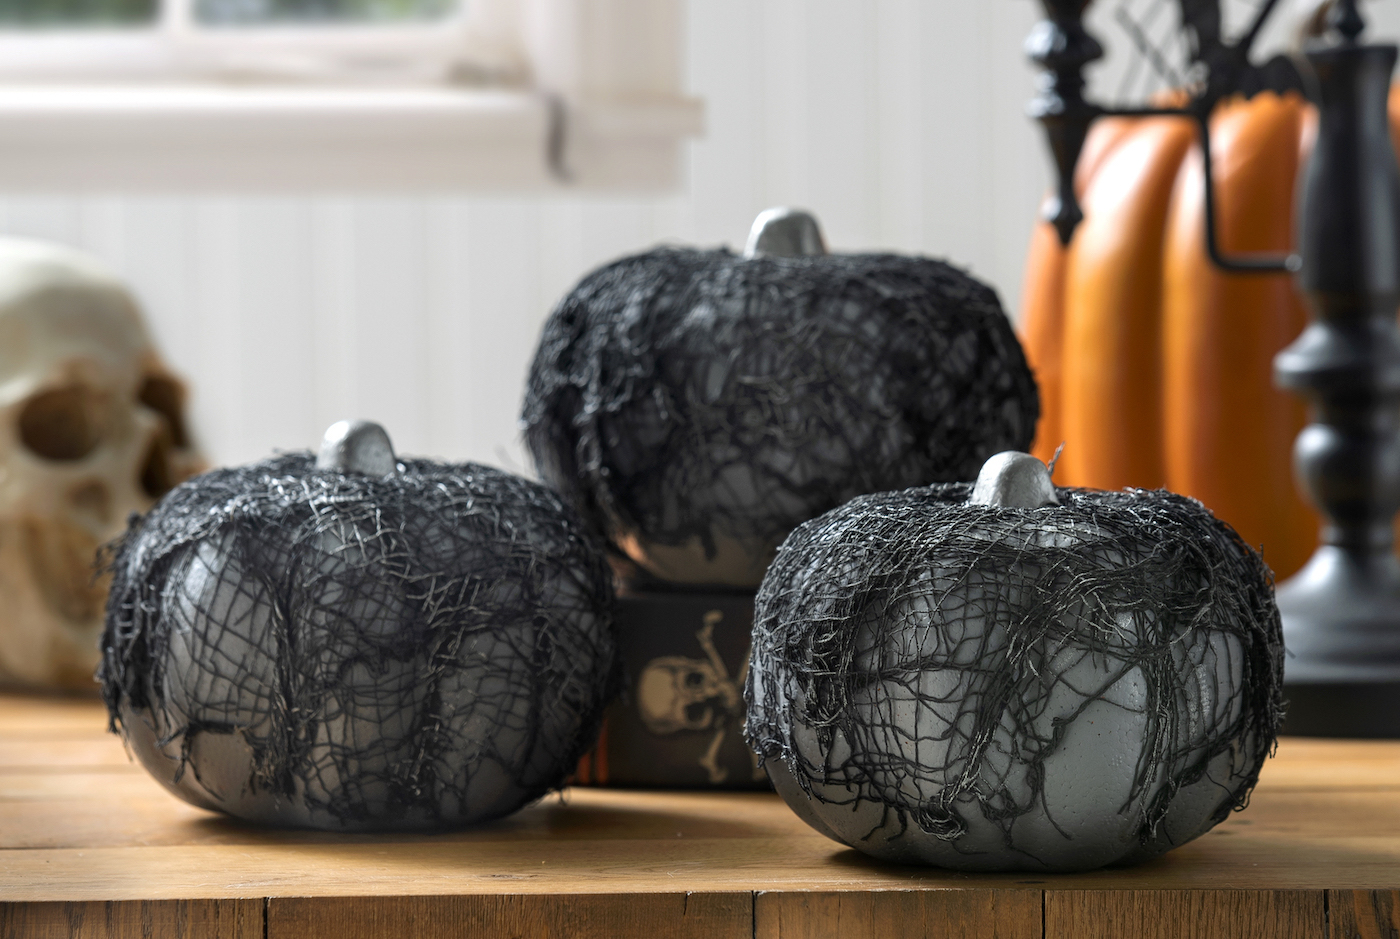
And one of the things I got? Some small foam pumpkins. Completely paintable and able to be covered in creepy cloth. I made these “vintage-y” for my front entryway decor, and I’m excited to show you how I did it.
If your Halloween decorating style is a little bit creepy, I’d love for you to check out the tutorial below. These turned out so fun and were really easy! And the supplies were inexpensive. Here’s how they were made.
DIY Creepy Pumpkins
Gather These Supplies
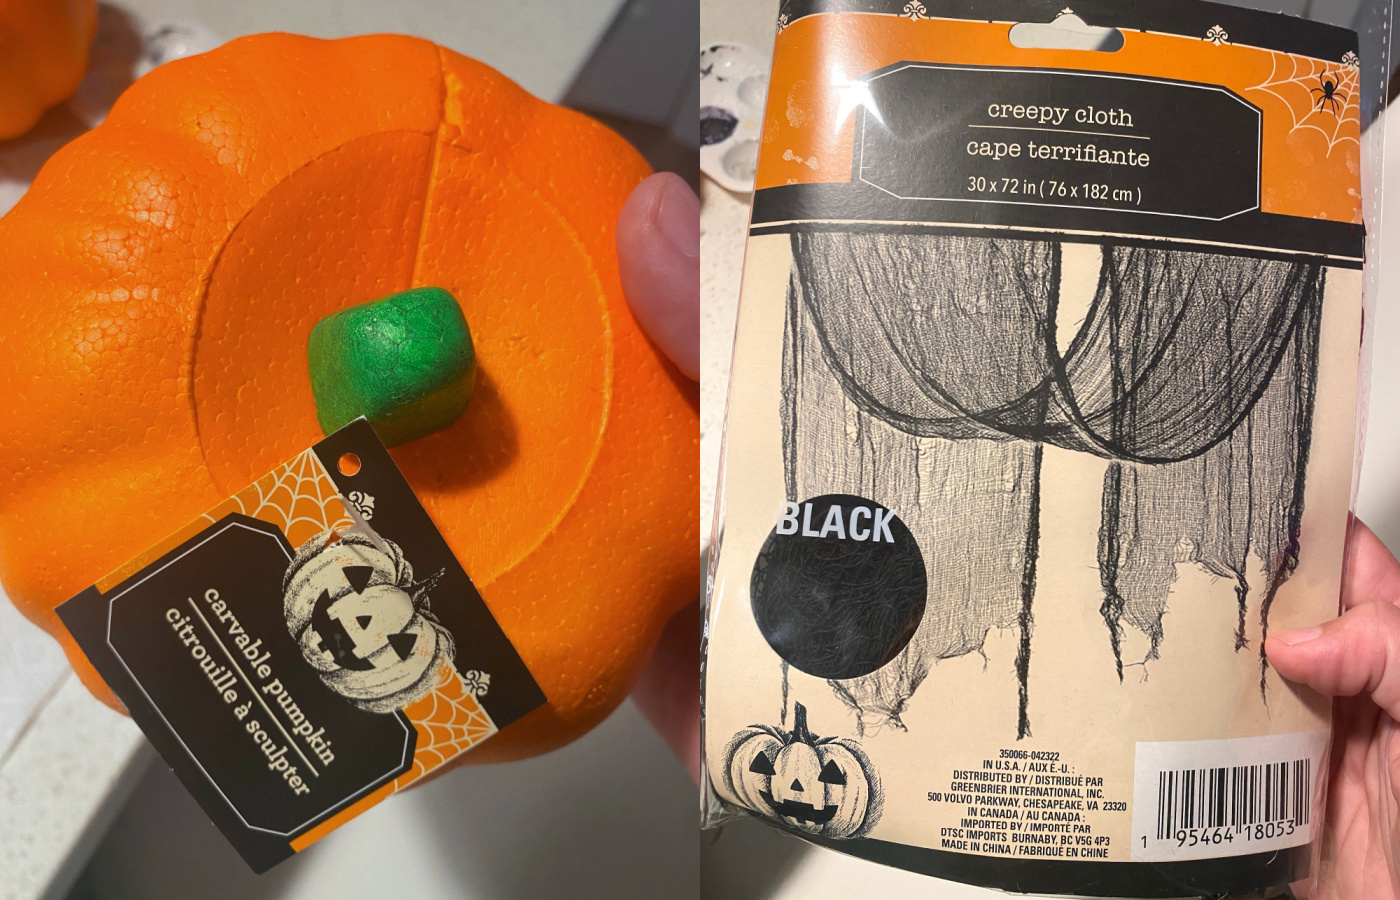
- Carvable pumpkins – 3
- Creepy cloth – black
- Craft paint – gray
- Mod Podge Stiffy
- Treasure Gold – Platinum or Antique Silver
- Paintbrushes
- Foam spouncer
- Scissors
- Parchment paper or wax paper
Here are the pumpkin and creepy cloth I got from Dollar Tree. I want you to see what you’re looking for when you go shopping!
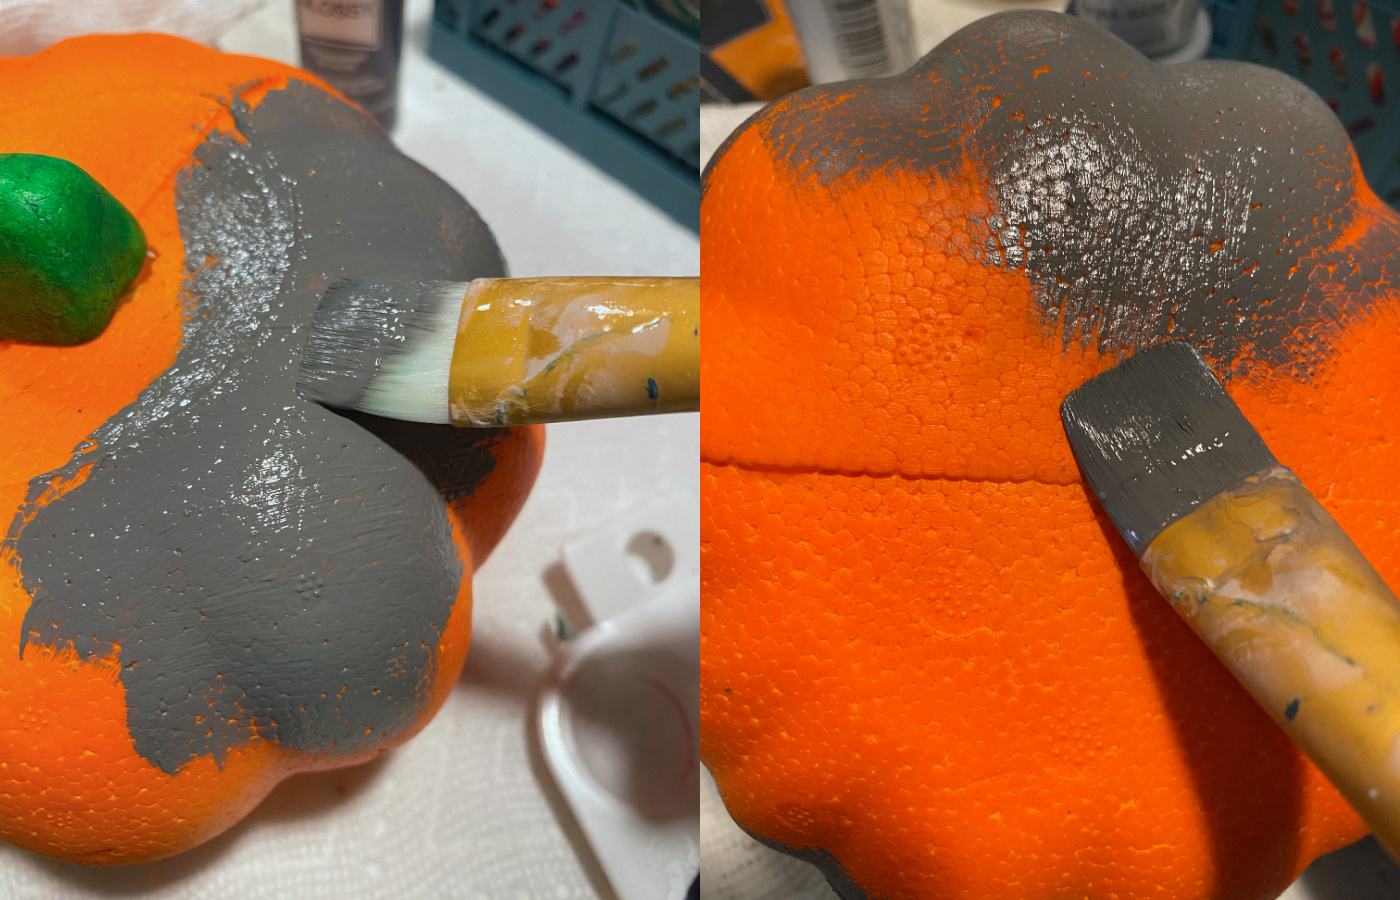
Paint the Pumpkins
Begin by painting the foam pumpkins with gray craft paint. You can paint directly on them, and the stems are slightly movable to get underneath them. Give the pumpkins a few coats and let dry.
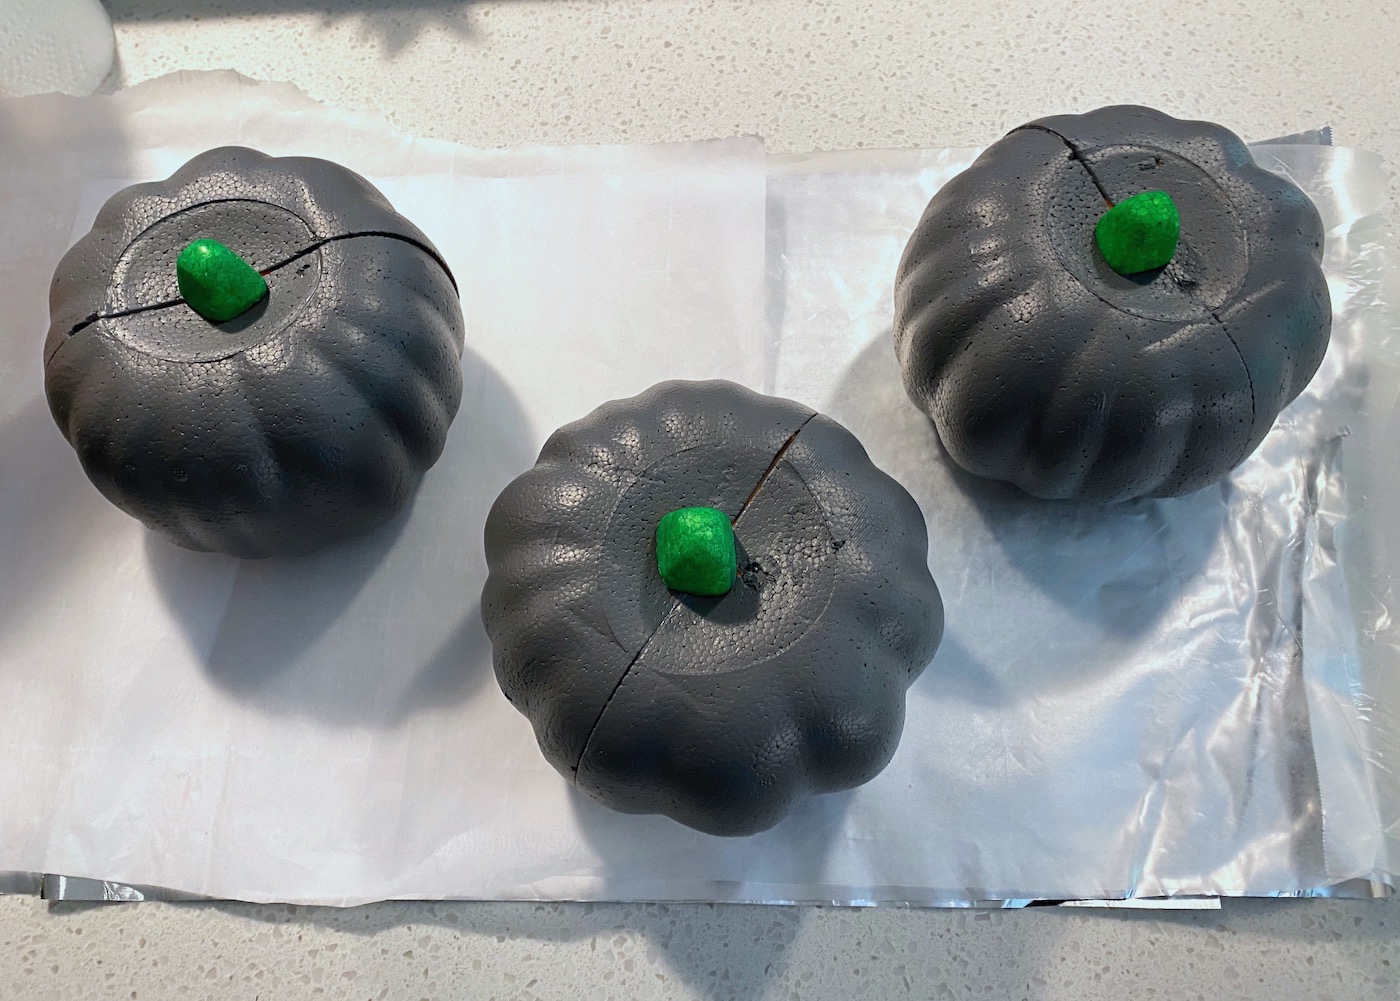
You’re going to paint all three pumpkins. Then place them onto a few pieces of parchment or wax paper on your work surface.
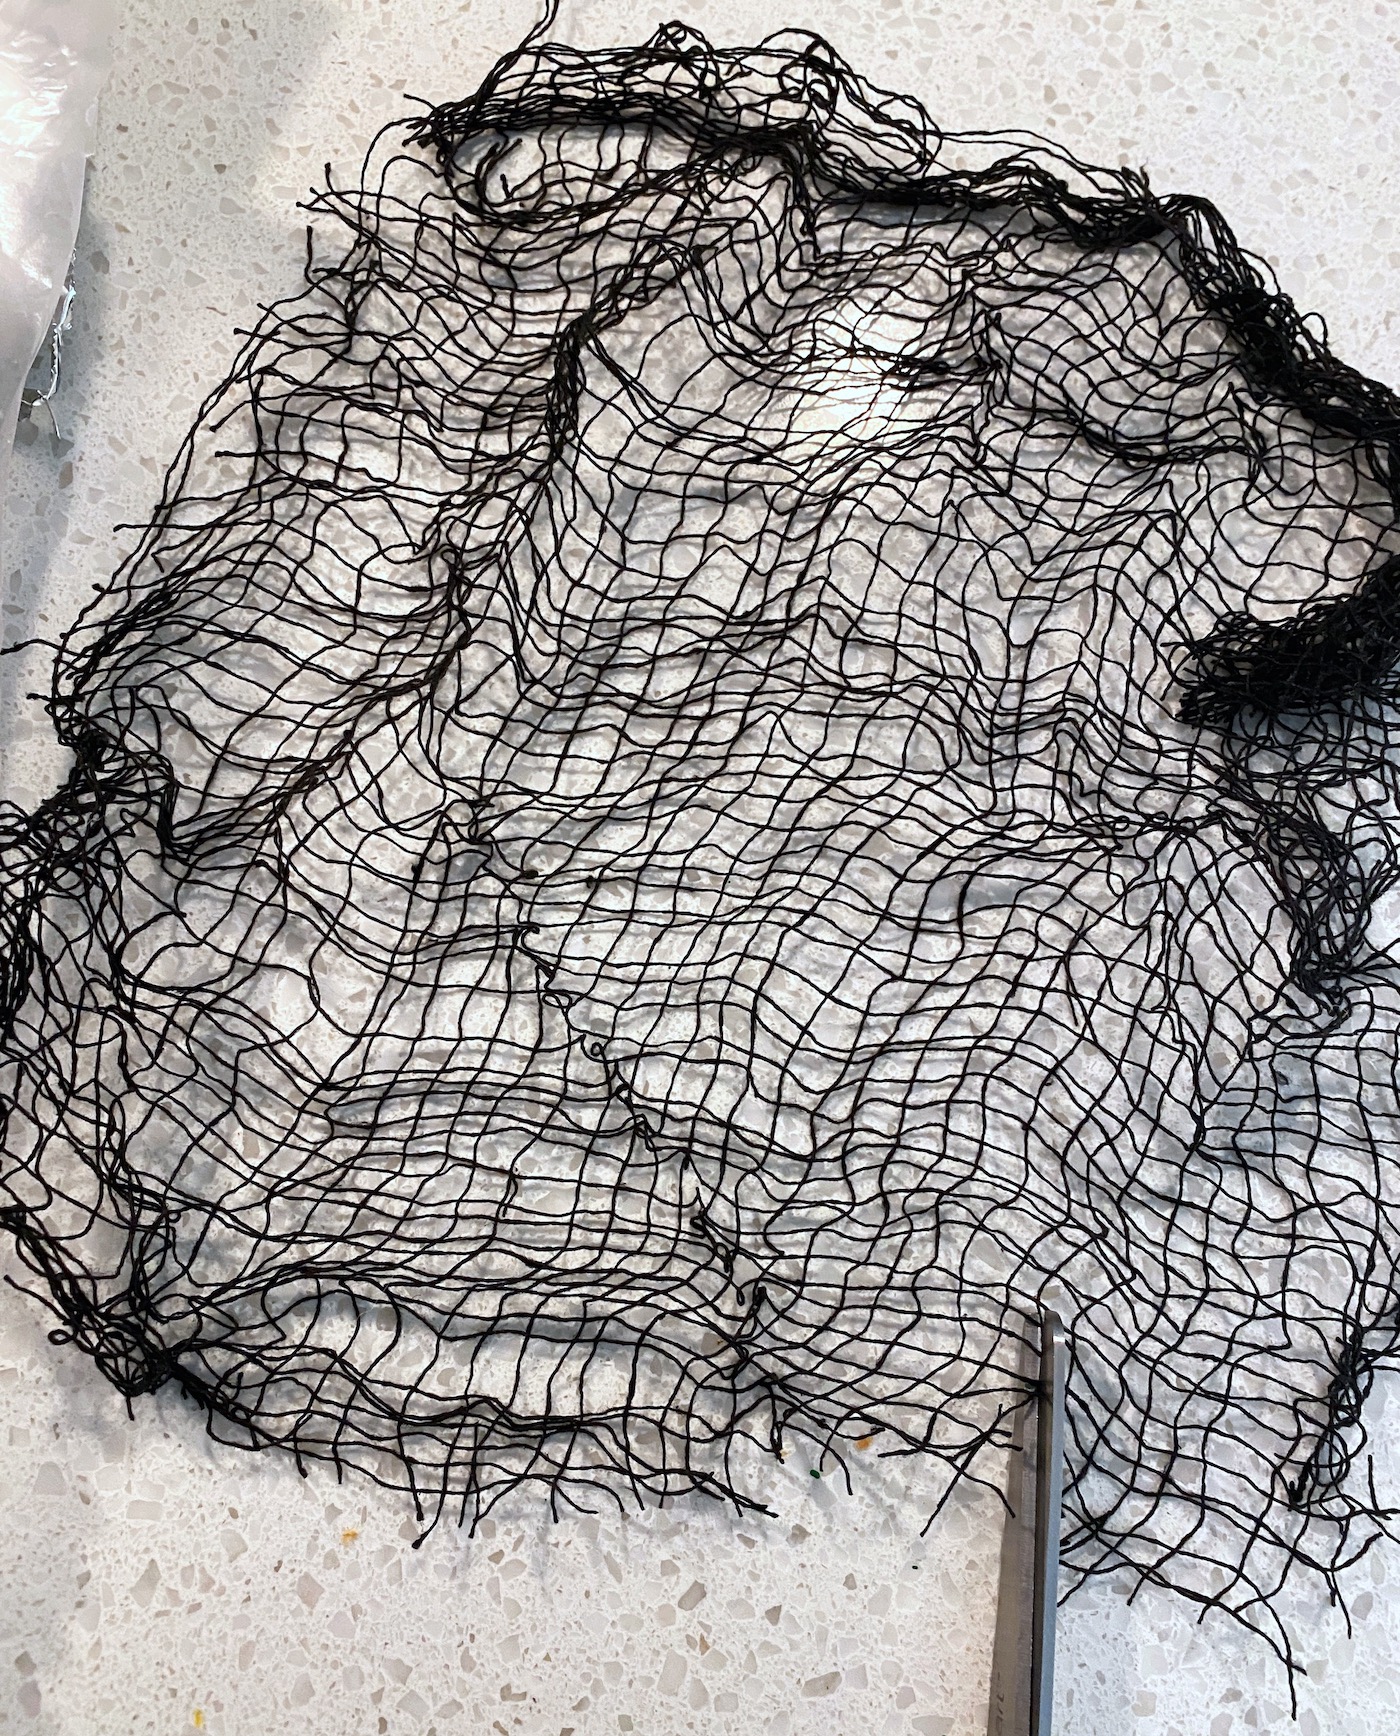
Apply the Cloth
Open the package of spooky cloth and unfold it. You’re going to cut several pieces of the cloth and layer them on top of the pumpkins. Start by cutting one smaller piece.
Do a test fit on the top of the pumpkin to make sure it’s around the right size. Depending how you want to style your own pumpkins, you might want the fabric to drape more, etc.

Pour some Mod Podge Stiffy into a plastic container (I have one that I use for crafts). Take the piece of creepy cloth you just cut and dip it into the stiffener.
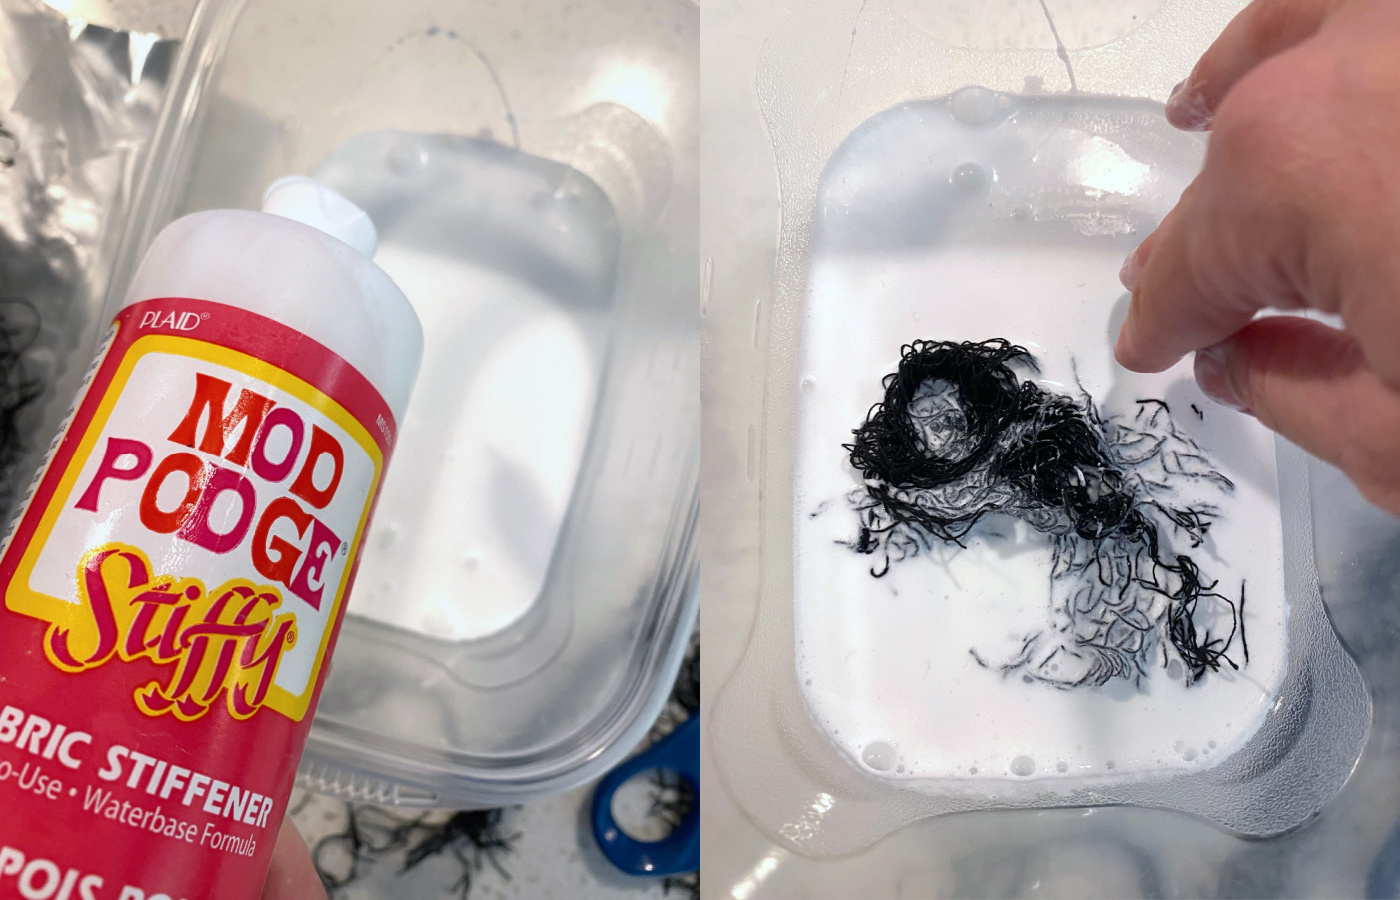
Pull it out of the stiffener and squeeze some of the excess out with your hand.
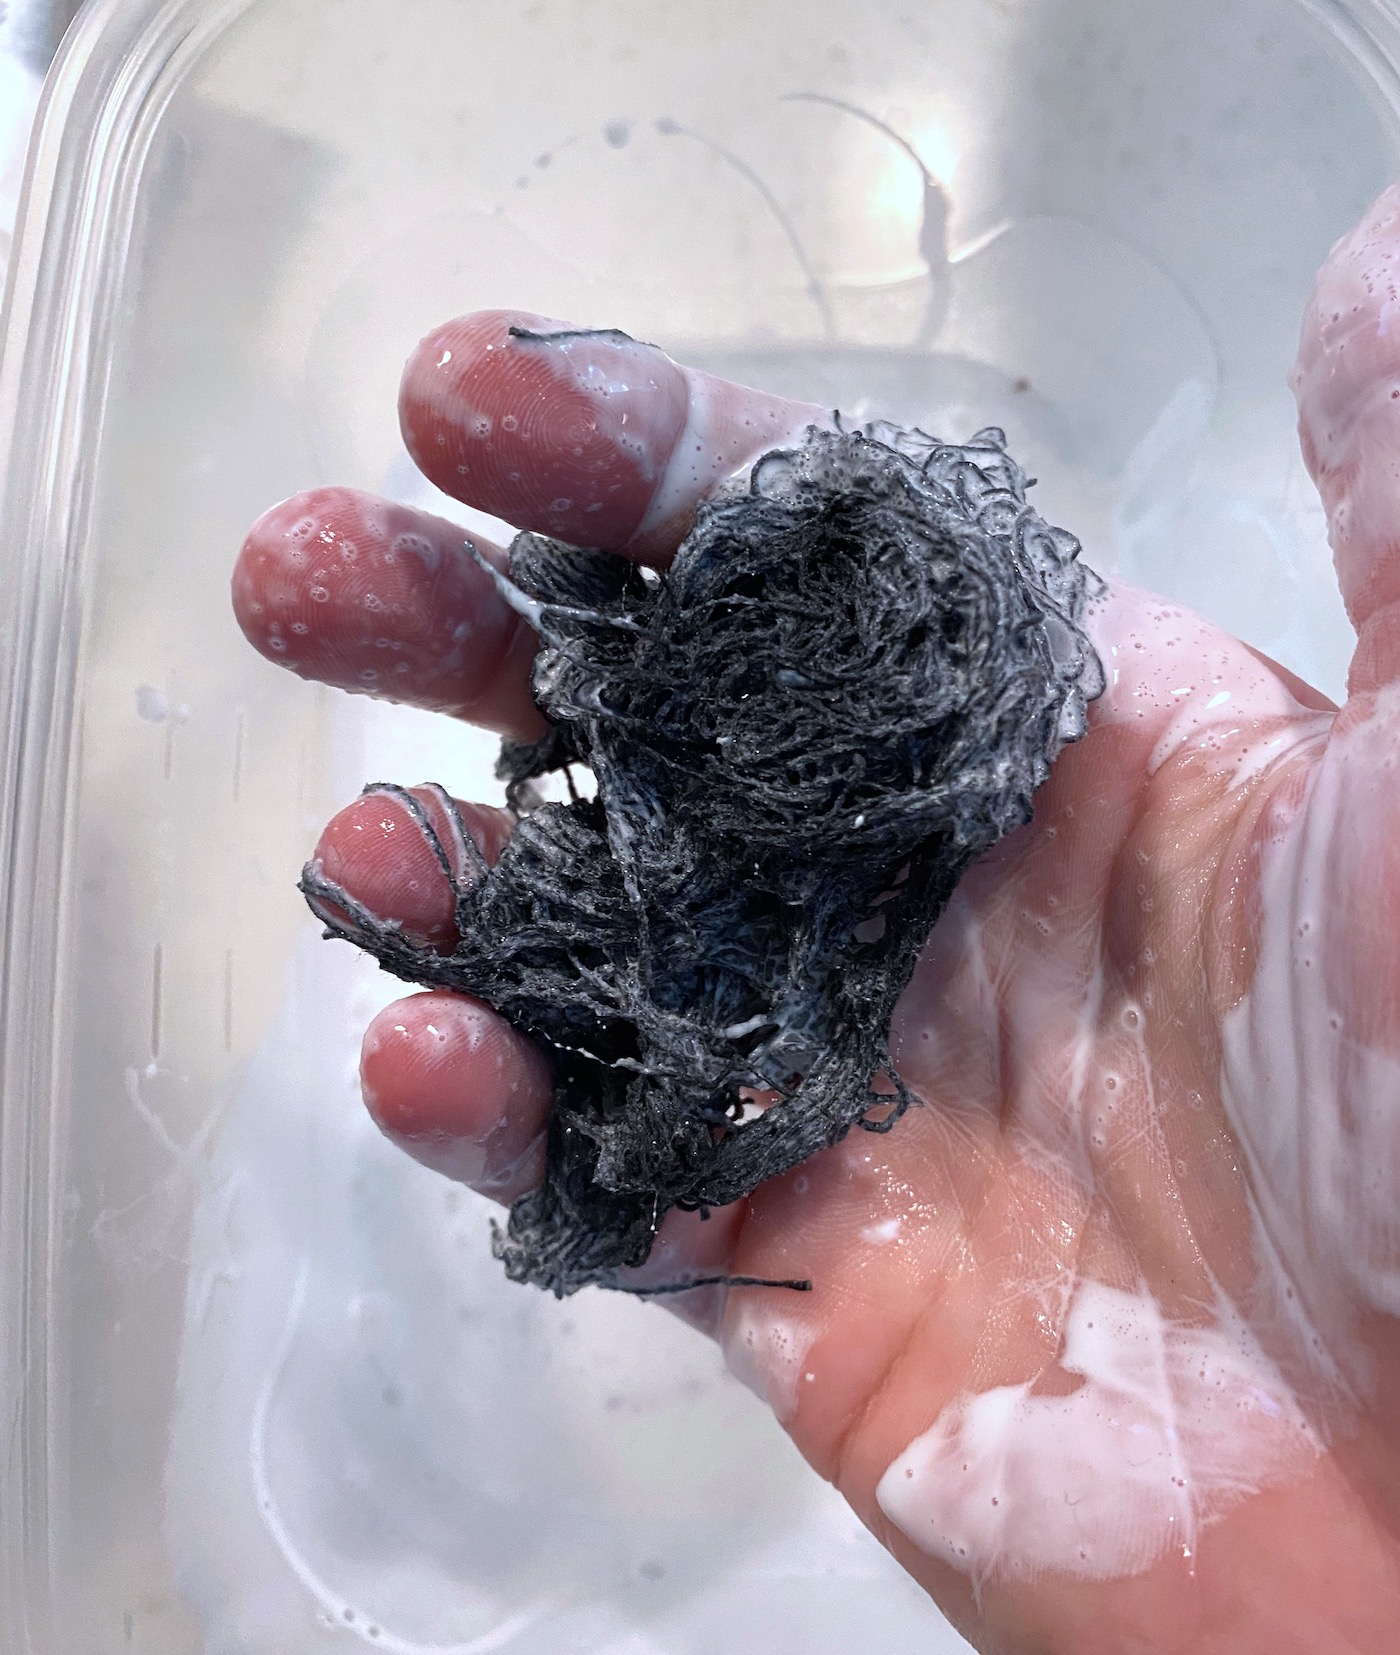
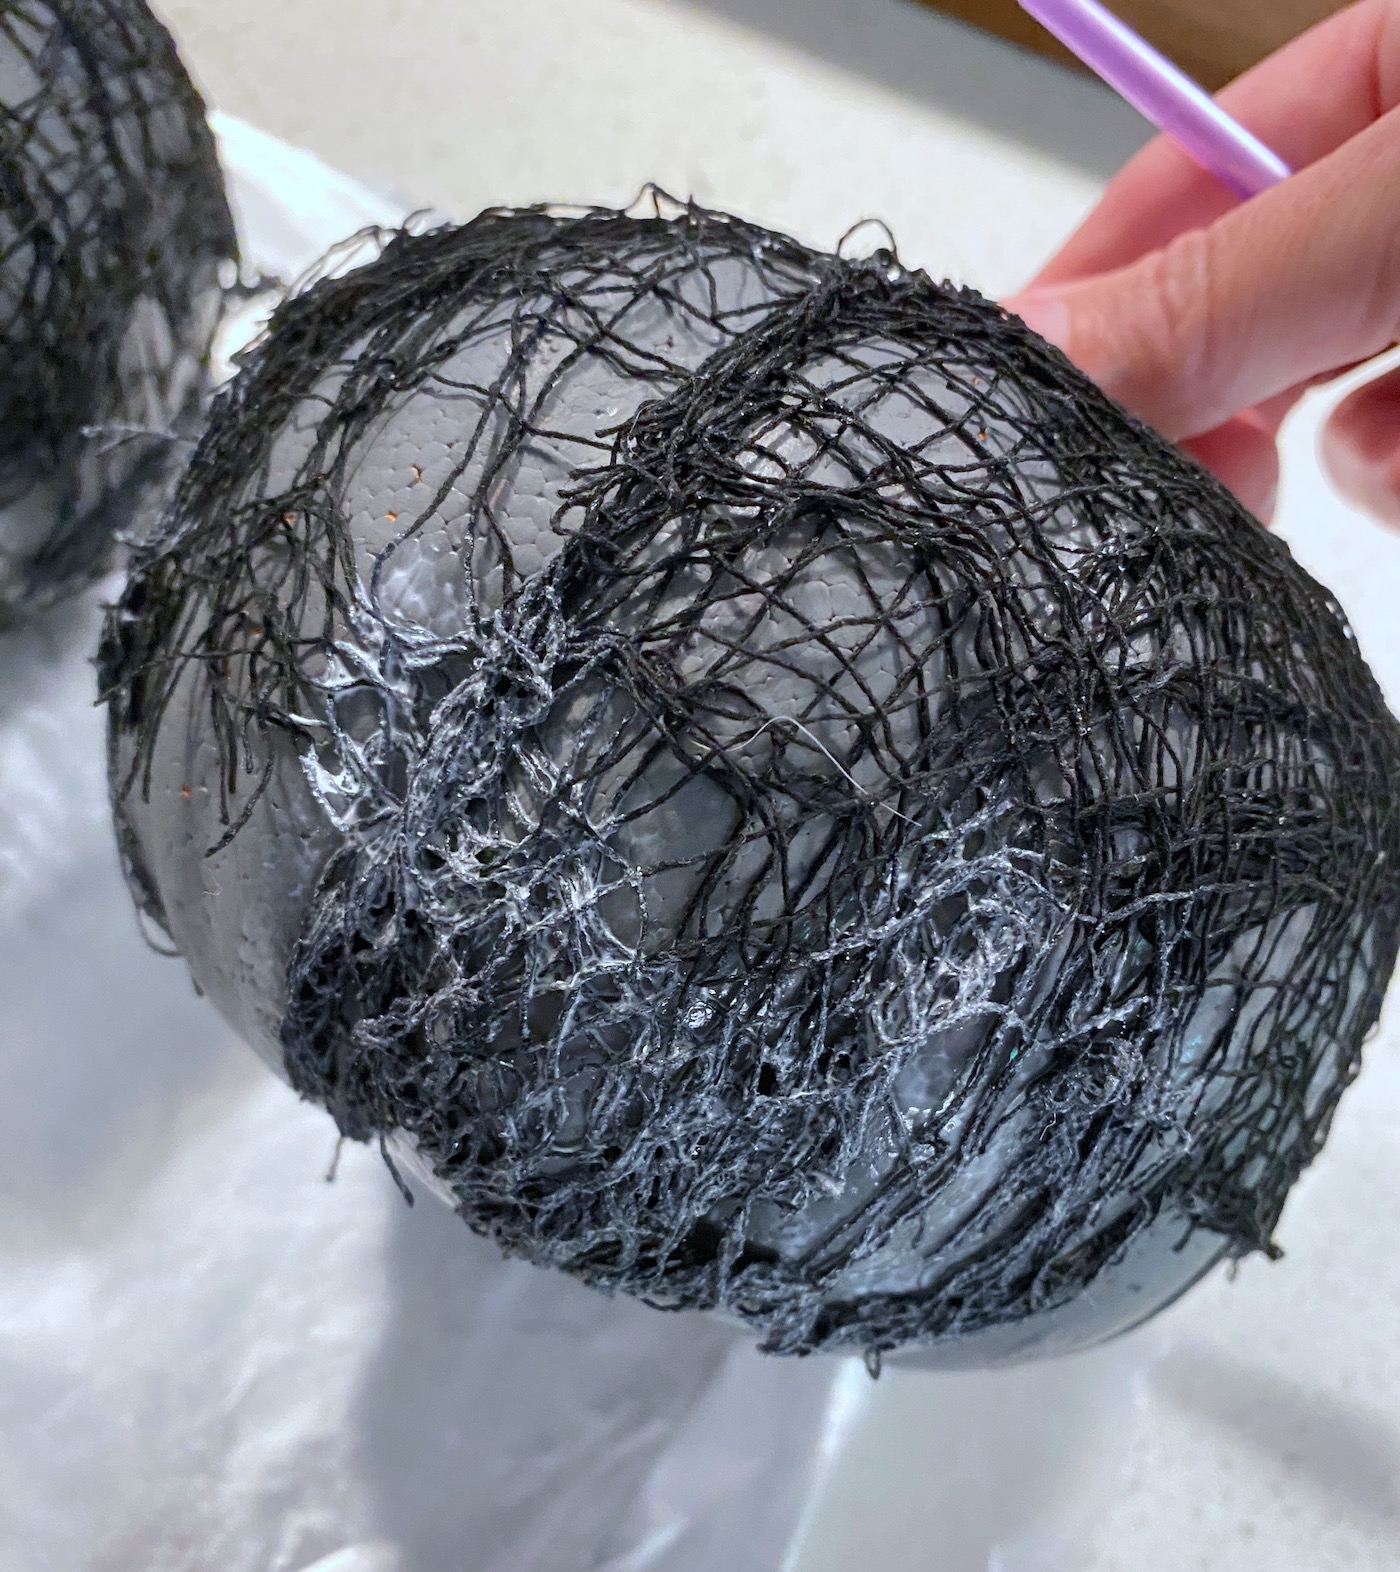
Lay the cloth over the top of the pumpkin, and move it around the stem to sit down onto the pumpkin. The stiffener is going to do two things: 1) stiffen the cloth and 2) glue the cloth to the pumpkin shape.
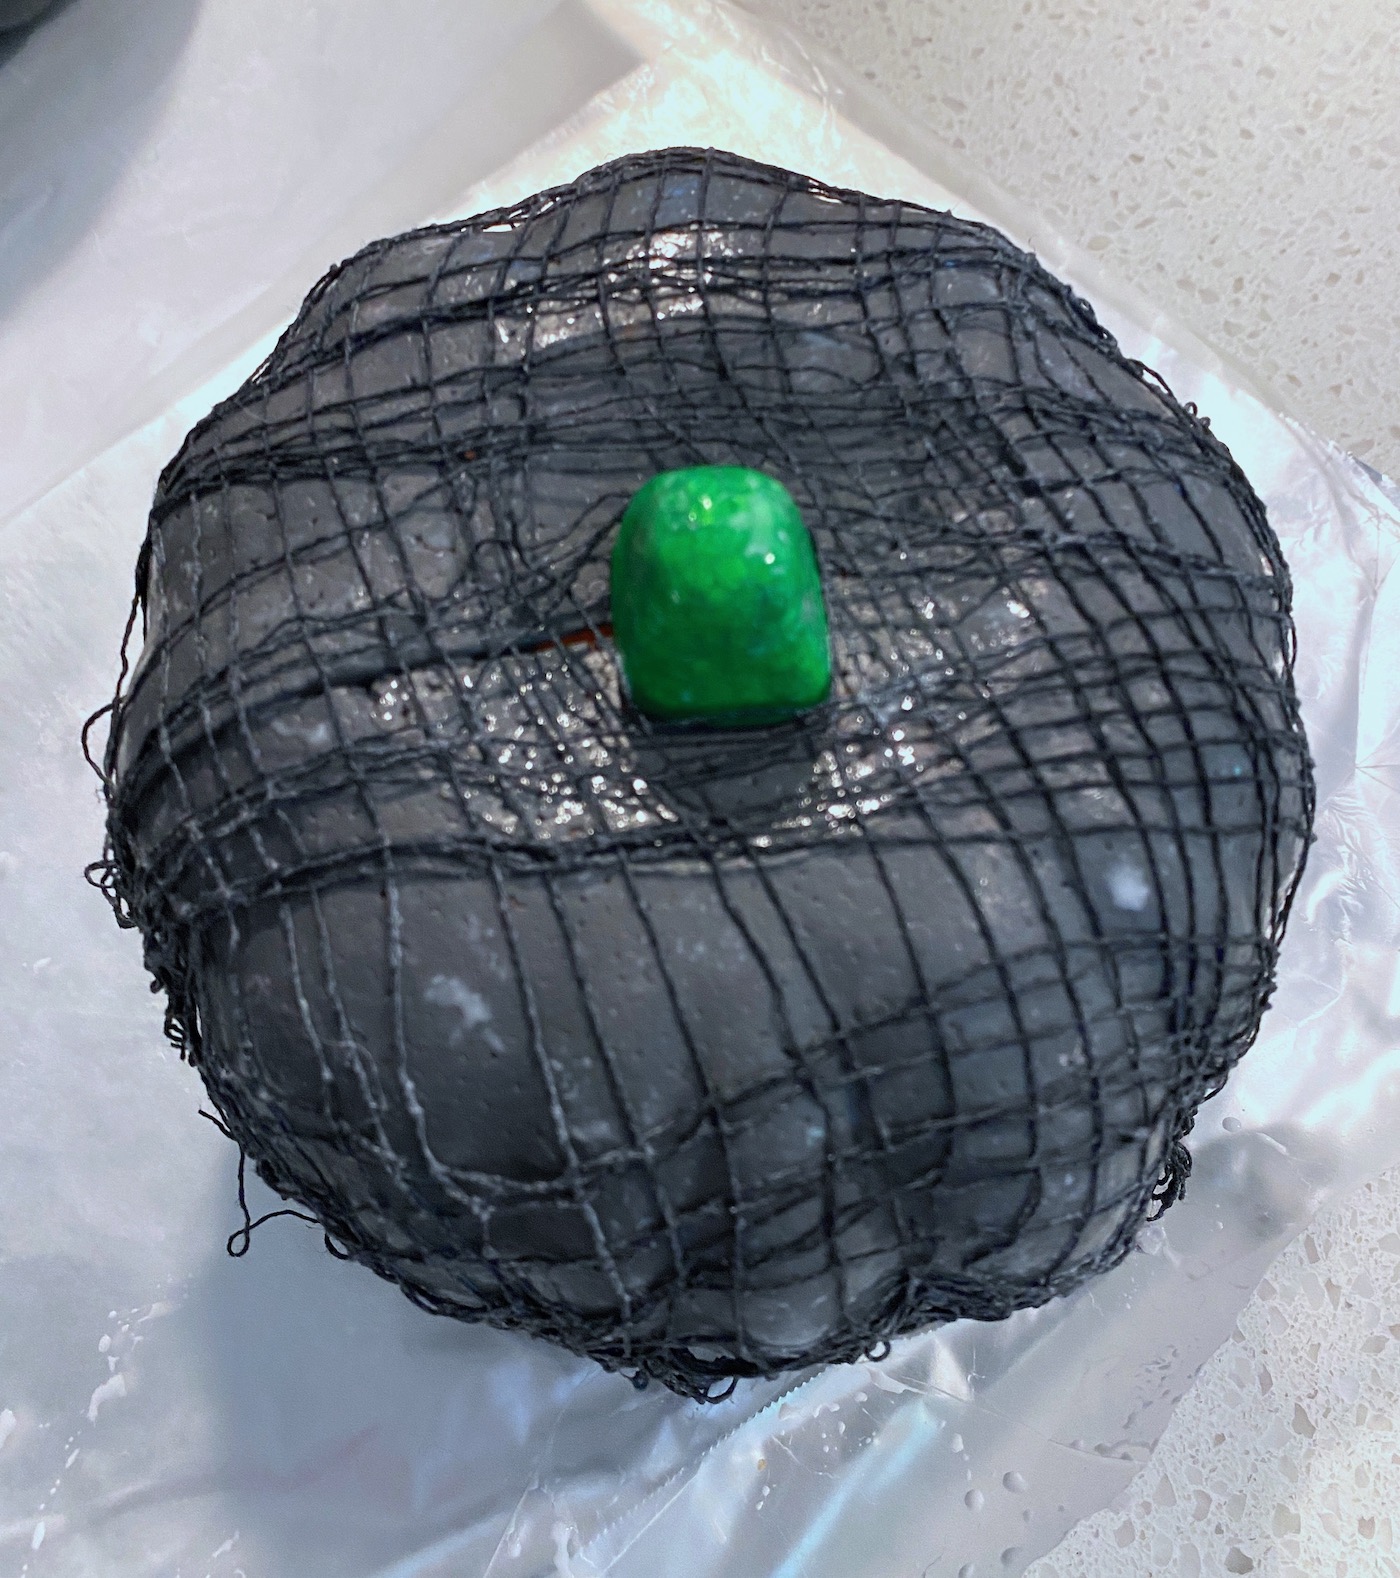
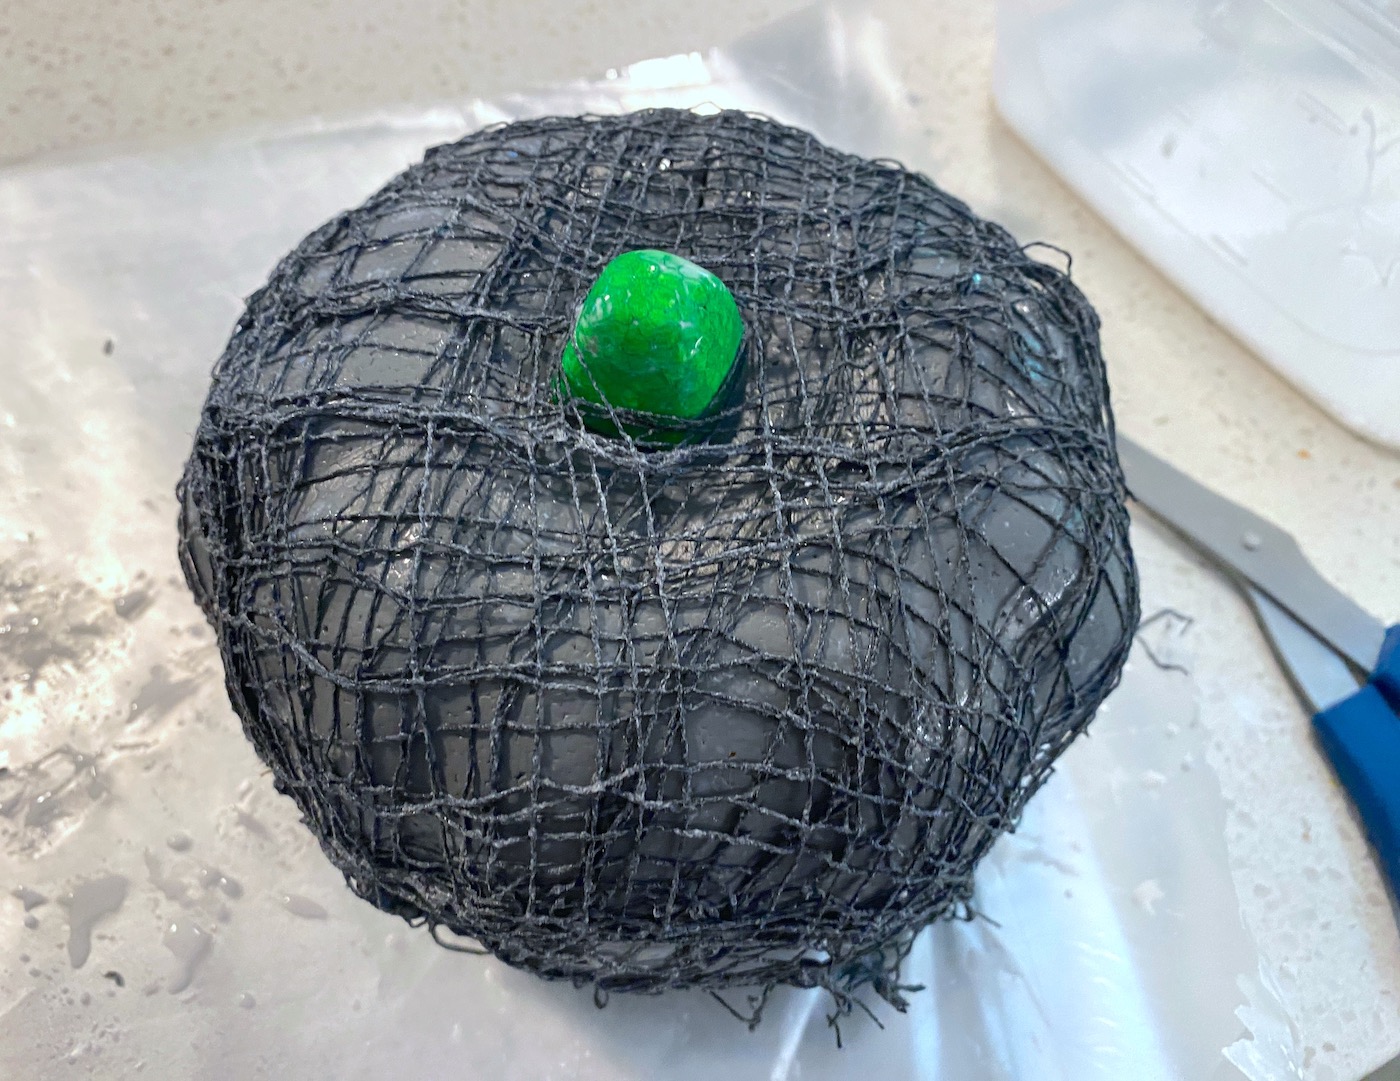
After you apply one piece of cloth, repeat the process 3 – 5 more times, layering the cloth on top of the other cloth. As the Stiffy dries, it’s going to harden and solidify the cloth.
Tip: if you see areas where too much stiffener has gathered and it’s not drying, simply wipe it away with the brush.
Leave the pumpkins on the wax paper to dry. You should be able to peel them off when dry.
I noticed that around the bottom edges of my pumpkins, there was some cloth that I wanted to glue down and stiffen a bit more. If you notice it too, brush some Stiffy on with a paintbrush. Let dry again.
Add the Silver Paint
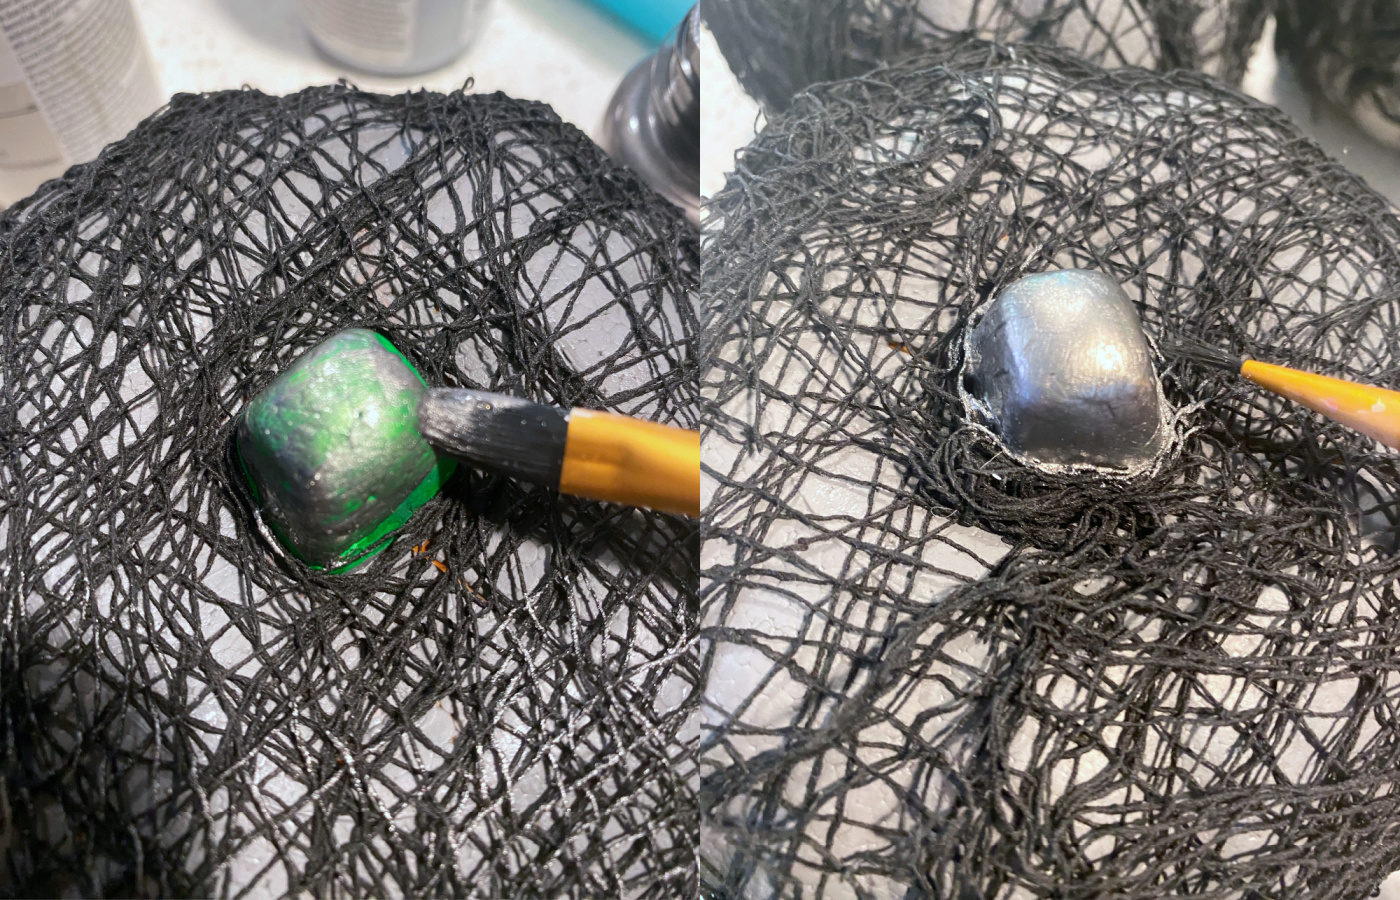
Now is the time you get to use some Treasure Gold! Which is the brand name – the color I’m using is silver. It has great coverage and is so metallic-y. Paint the stem using a paintbrush and you’ll see what I mean.
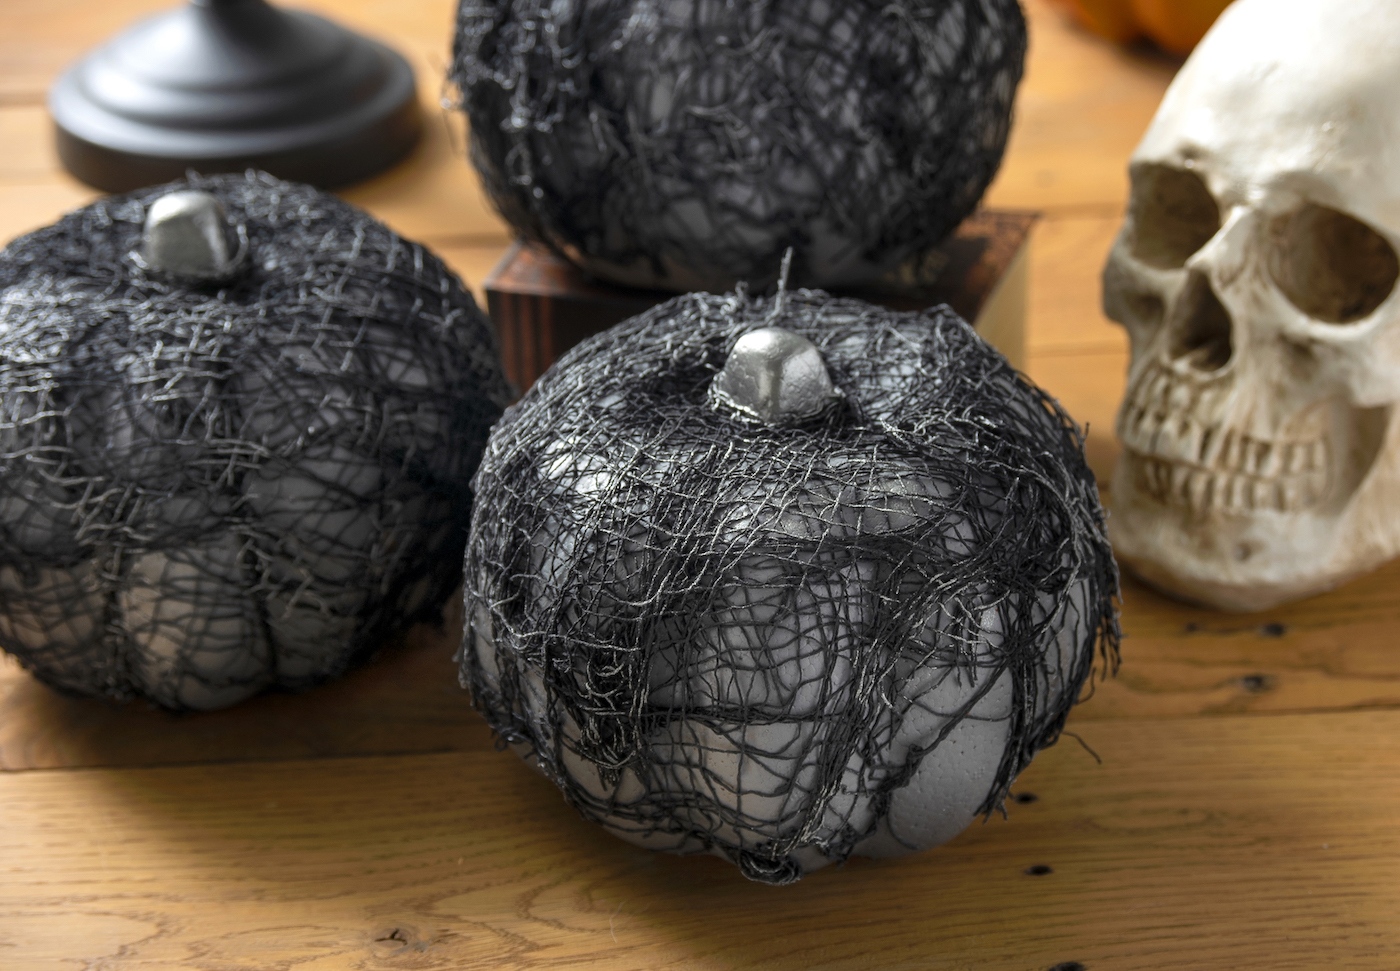
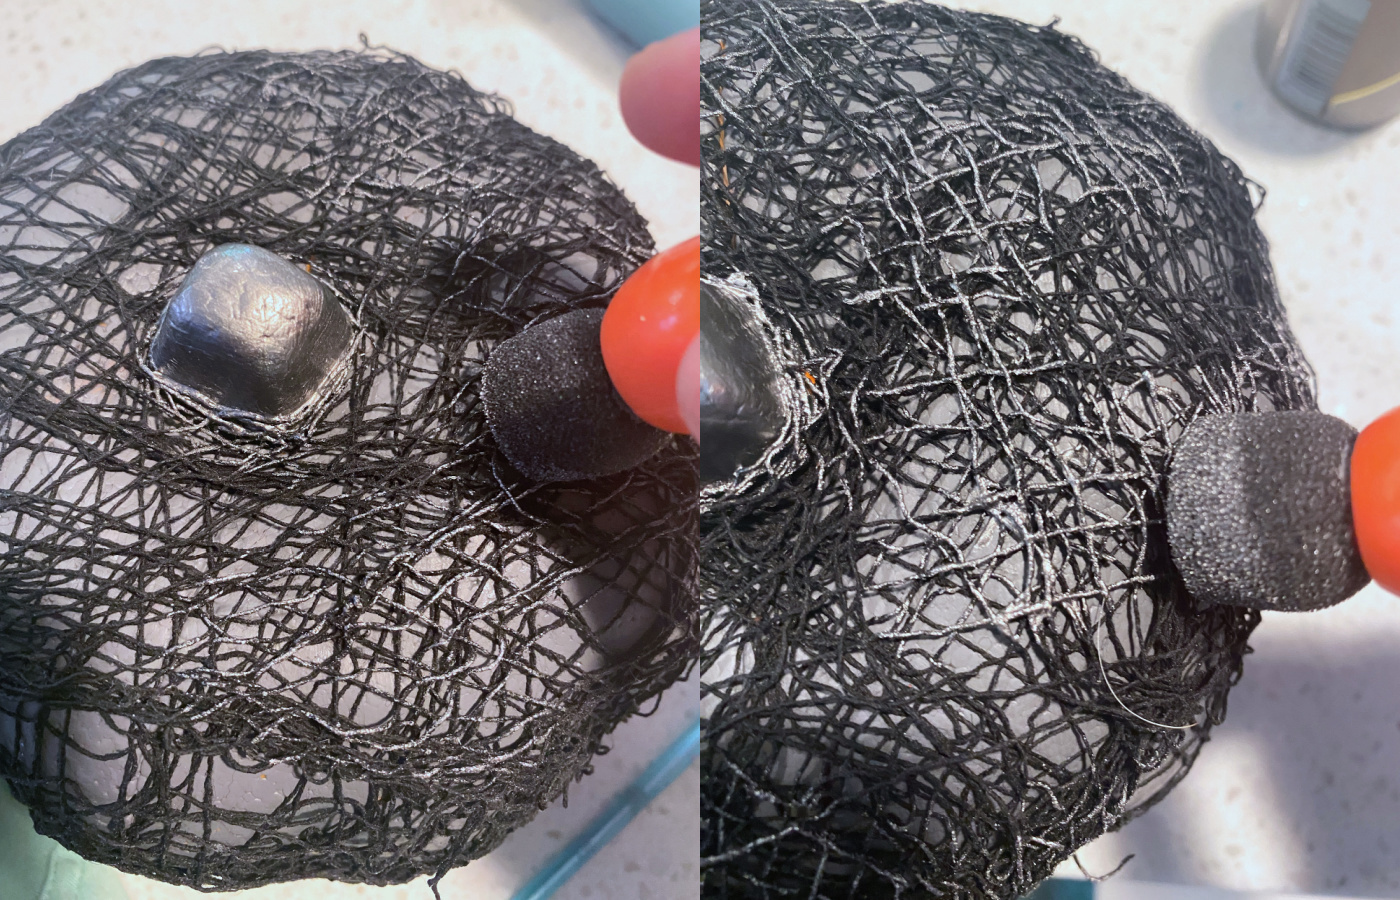
After you’re done with the stem, use the foam spouncer to apply silver all over the dried creepy cloth. This gives your spooky pumpkins somewhat of a metal and vintage finish.
Once you’re done, let the paint dry and then see if you need to add any additional paint. Let them dry and then add to a spooky display!
How did you enjoy making these DIY spooky pumpkins? Let me know what you think in the comments! I’d also love for you to take a peek at these other projects:
BOO Letters • Button Art • Cheesecloth Ghost • Coffin Tray • Decorating Wood Cutouts • Decorative Blocks • DIY Wreath • Dollar Tree Wood Pumpkin • Door Hangers • Duct Tape Pumpkin • Fairy Garden • Halloween Ornaments • Halloween Rocks • Mason Jar Lanterns • Mummy Luminaries • Paper Cones • Potion Bottles • Spooky Candle Holders • Wall Decor • Window Art • Witch Hat Garland