
Learn how to decorate Dollar Tree wooden ghost decor using Mod Podge, paint, and napkins! This is an easy, budget friendly Halloween decor craft.
Skills Required: Intermediate. It’s easy to paint the wood and apply decoupage medium. The only challenging part is ironing the napkins into the Mod Podge, since napkins are fragile. It might take some practice, so work on a sample first.
I’ll admit that I was really dumb last Halloween season. Why? Because I decided to wait until the beginning of October to hit the Dollar Tree and buy my Halloween craft supplies.
And if you are a regular dollar store shopper? You know this is a bad idea.
If you wait until the last minute to grab stuff, especially the Halloween wood surfaces, you might be out of luck. Or as my great-grandmother said, S.O.L. Some of you will know what that means!
This year I decided to be smart and head there in September, and the fruits of my forward thinking were realized! I grabbed several things, but one of them was a wood ghost cutout I decided to add to my Halloween decor.
I’ve been obsessed with using napkins in my craft projects lately. I used some vintage style napkins in my Halloween wood cutouts.
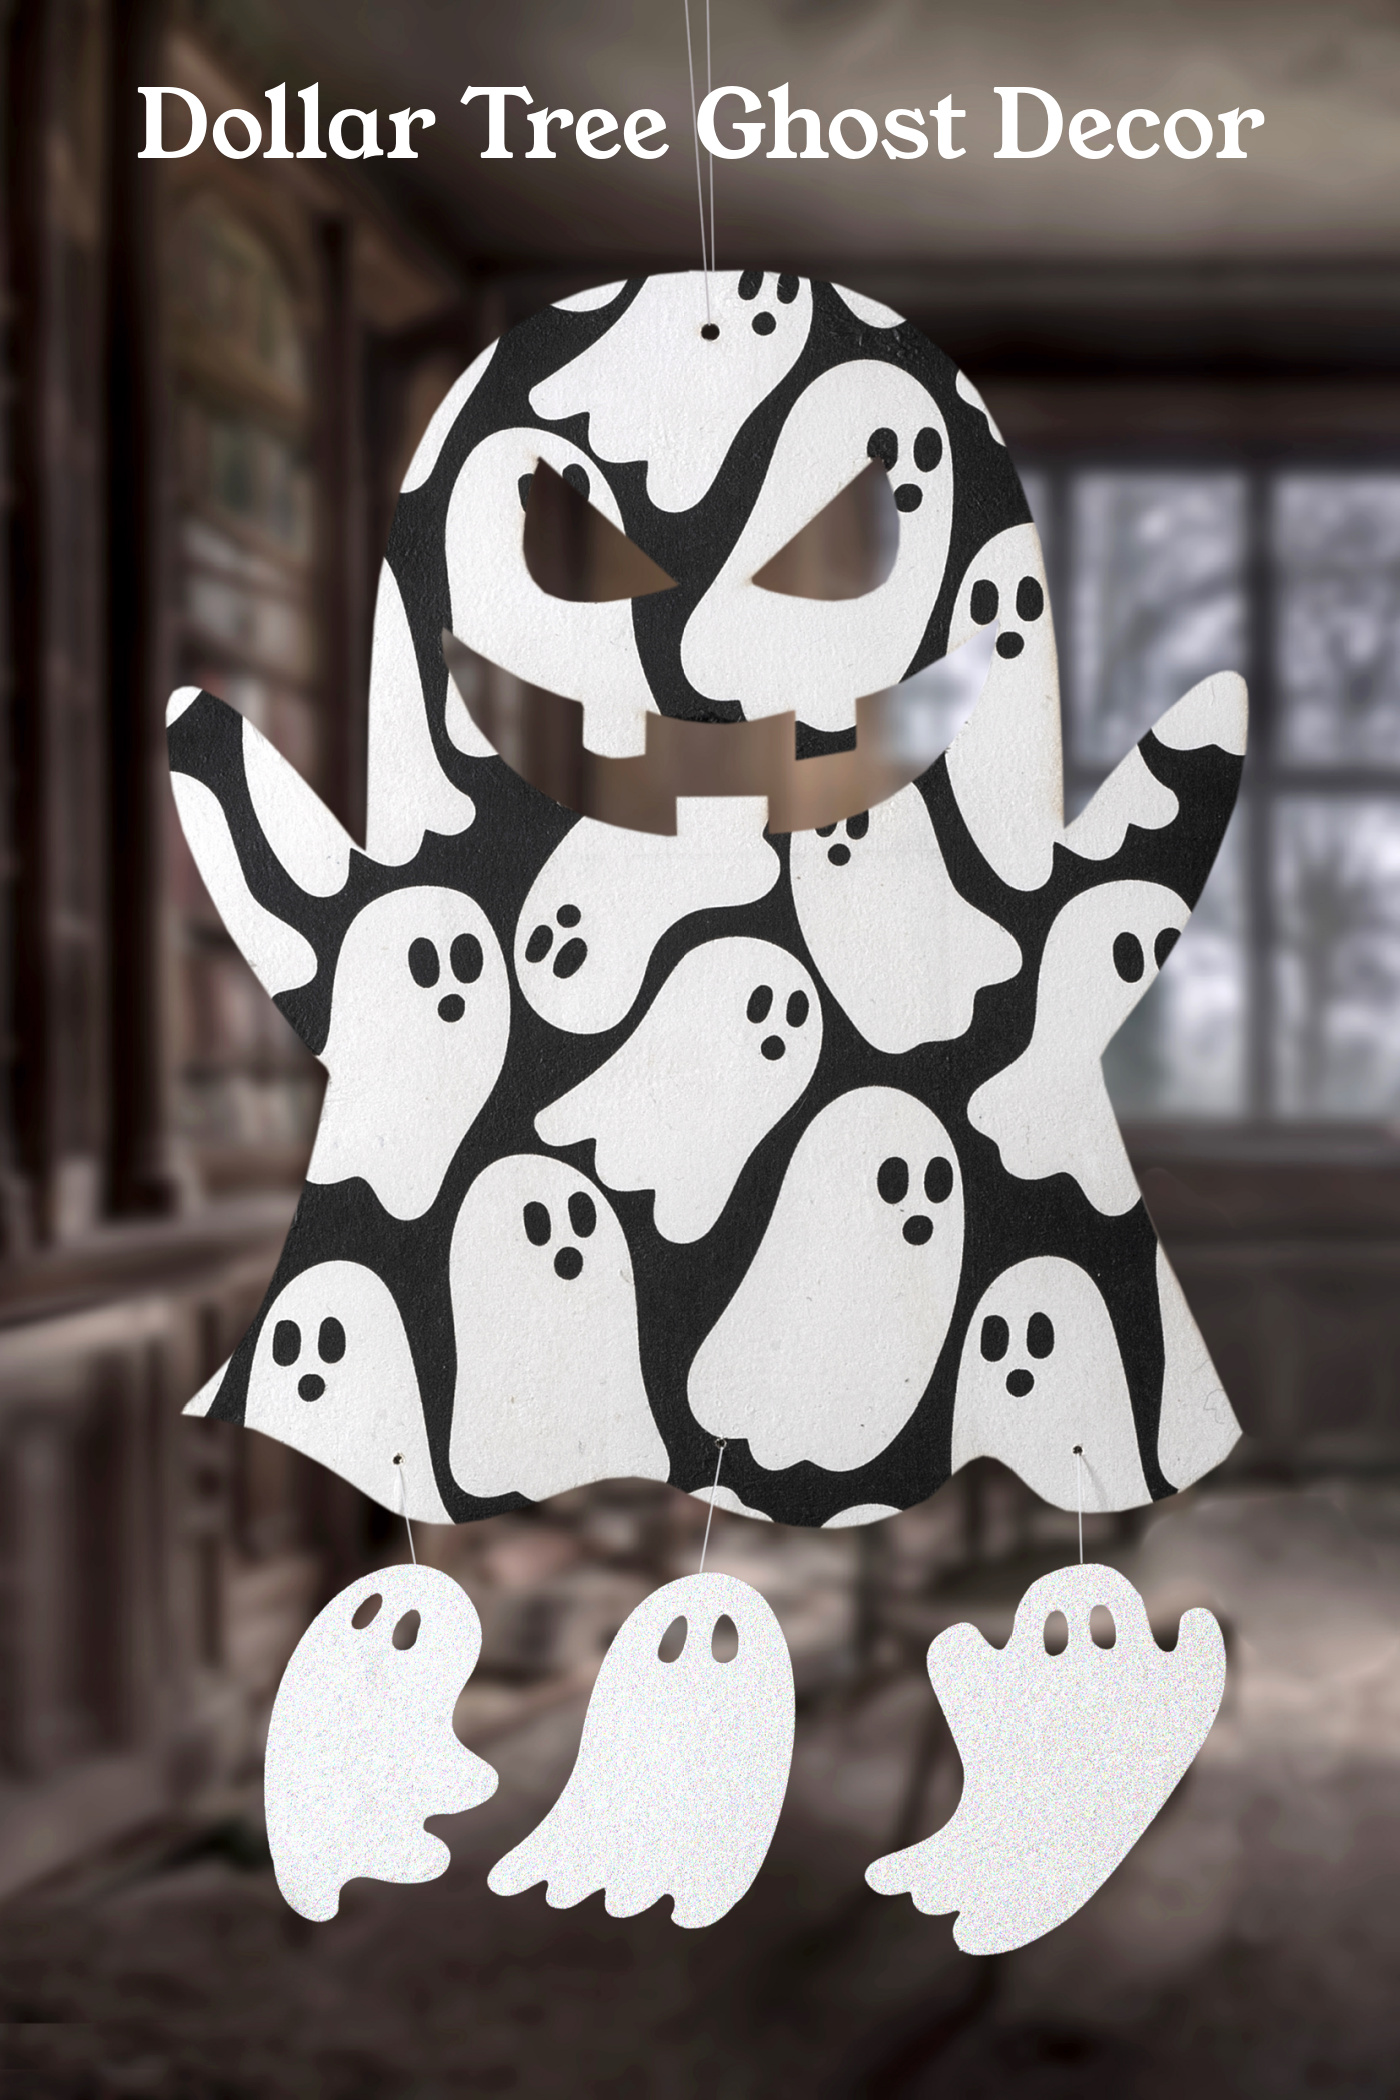
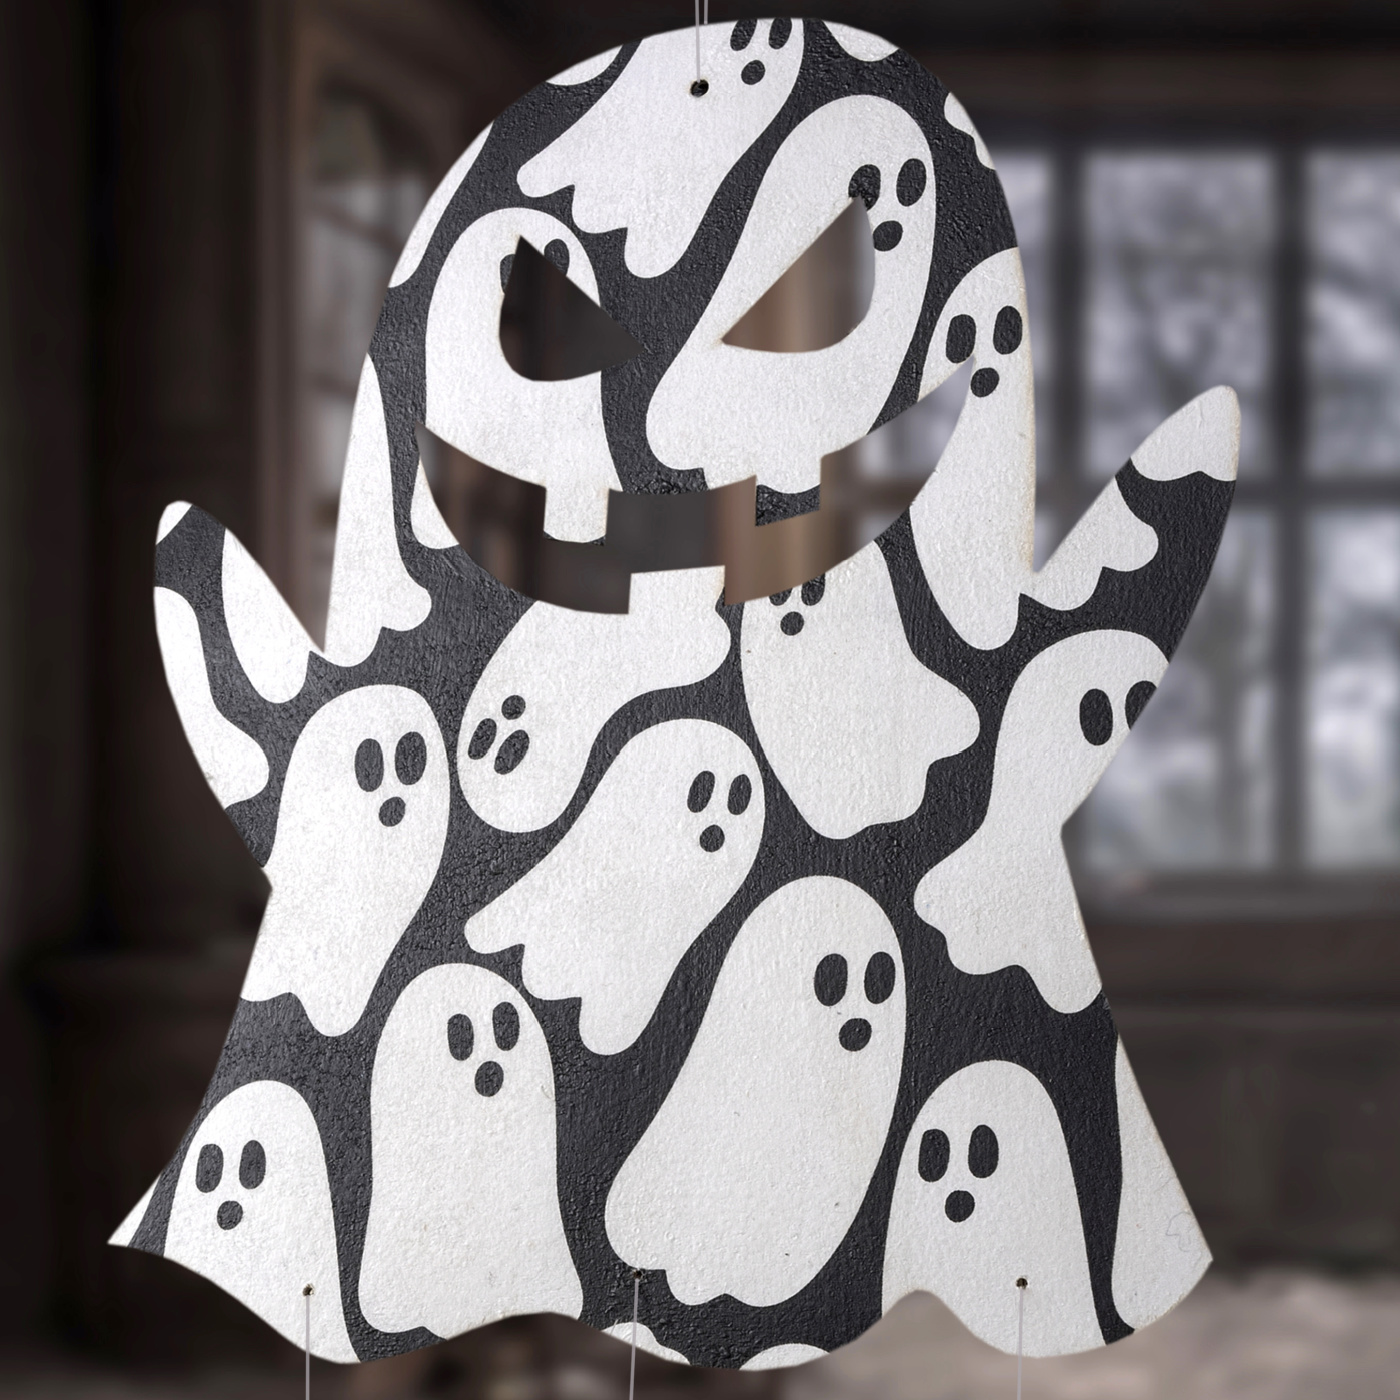
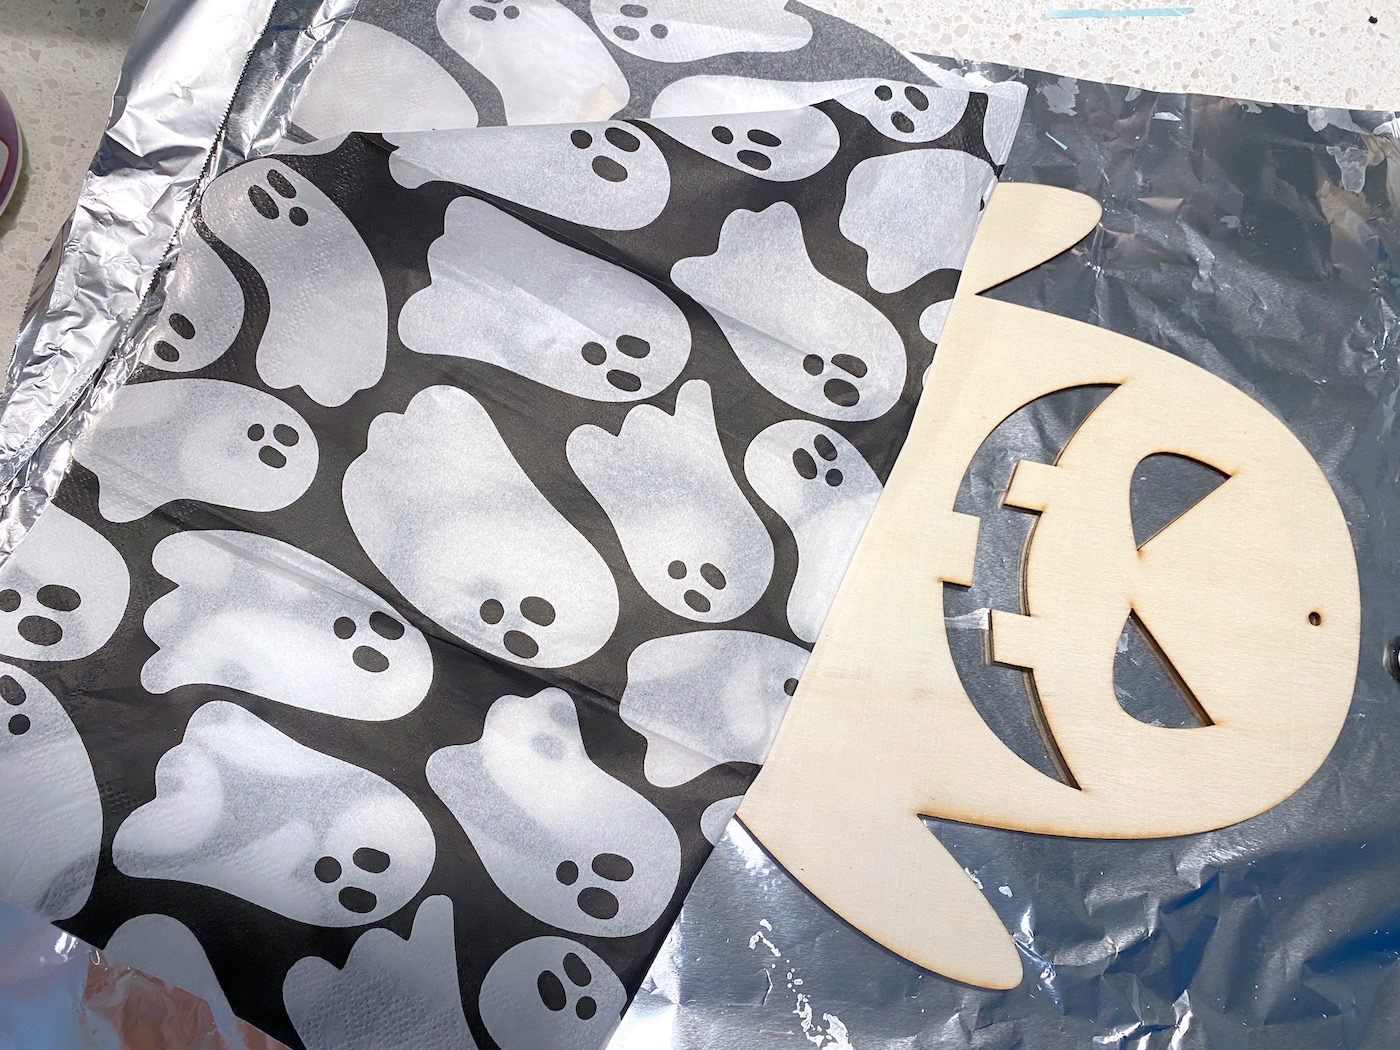
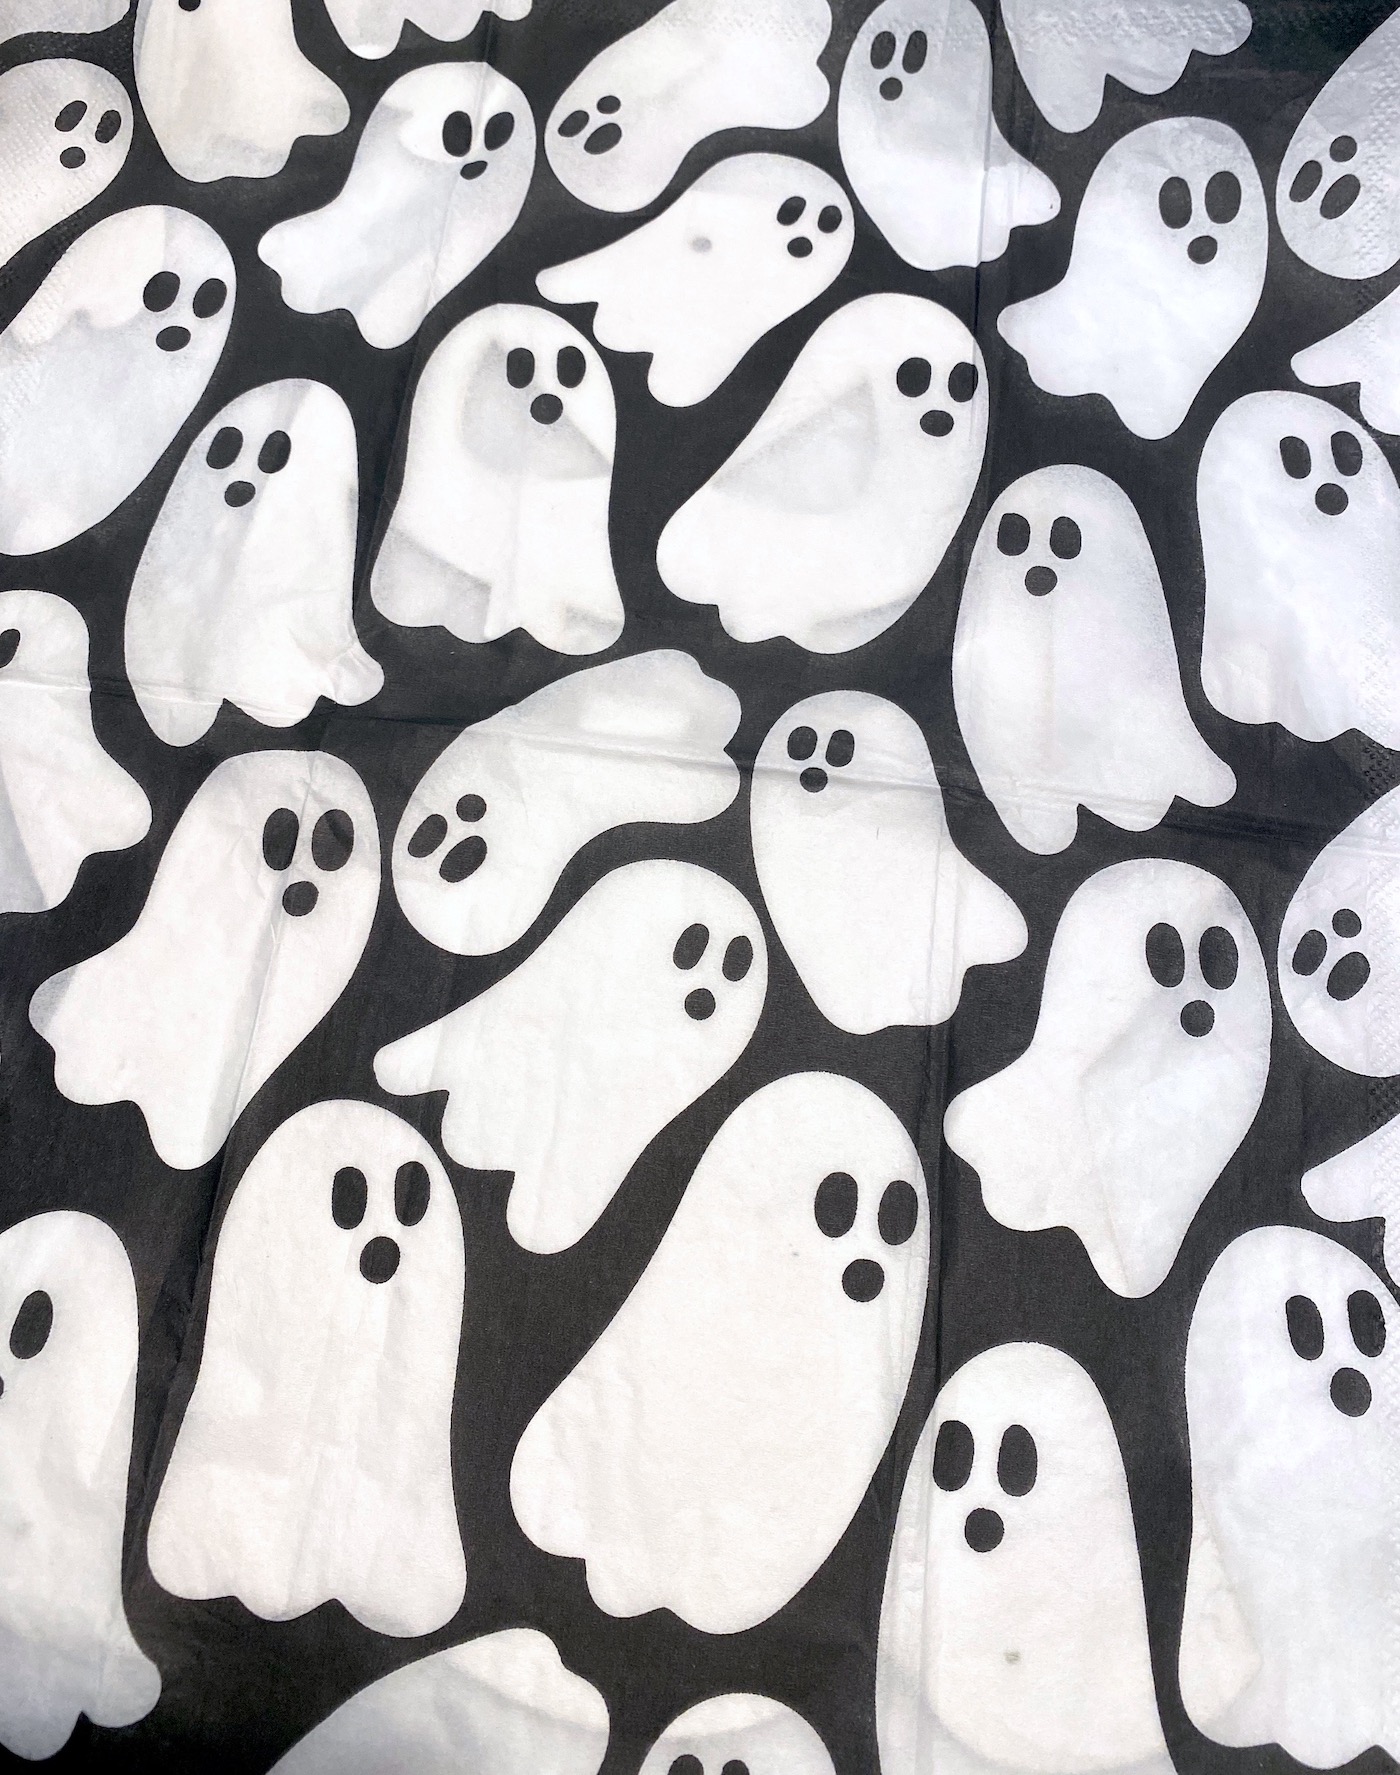
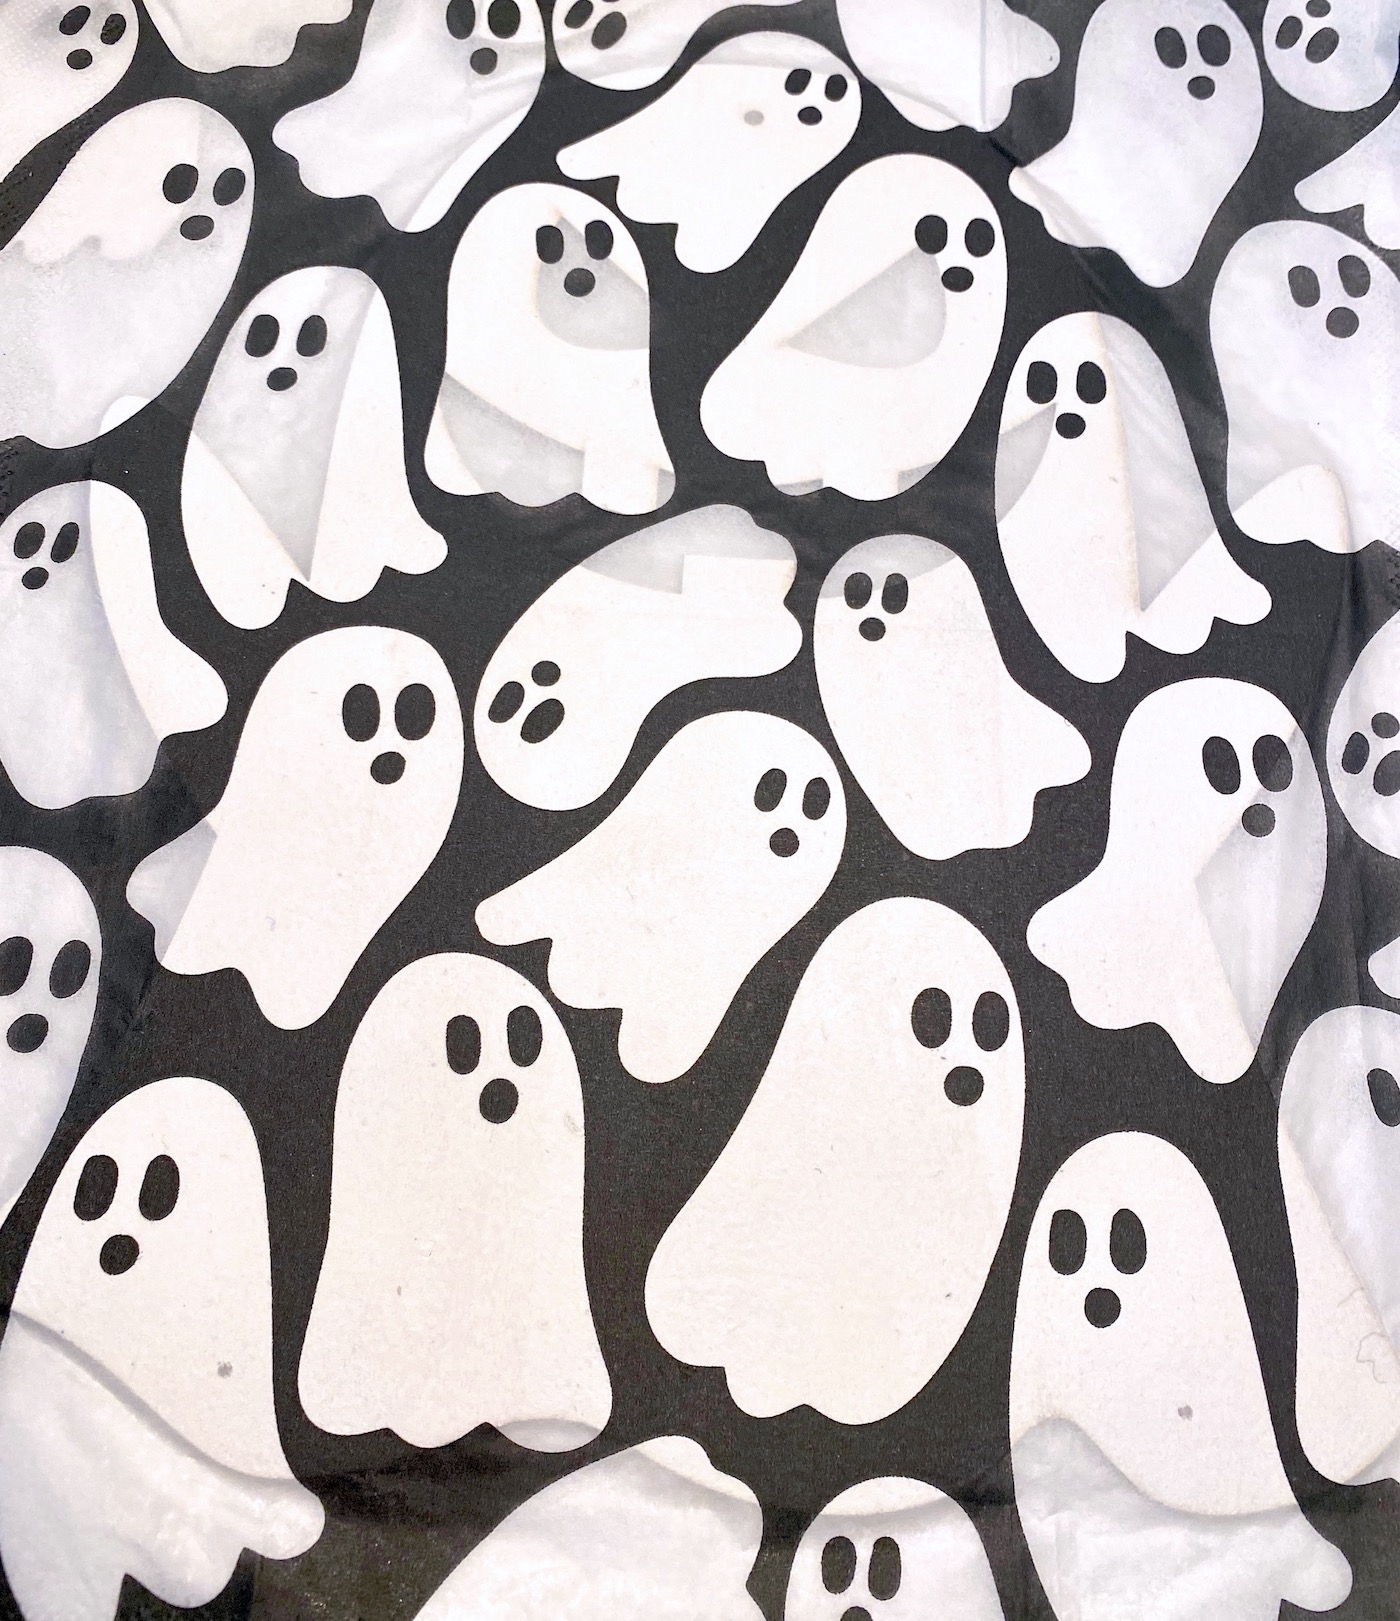
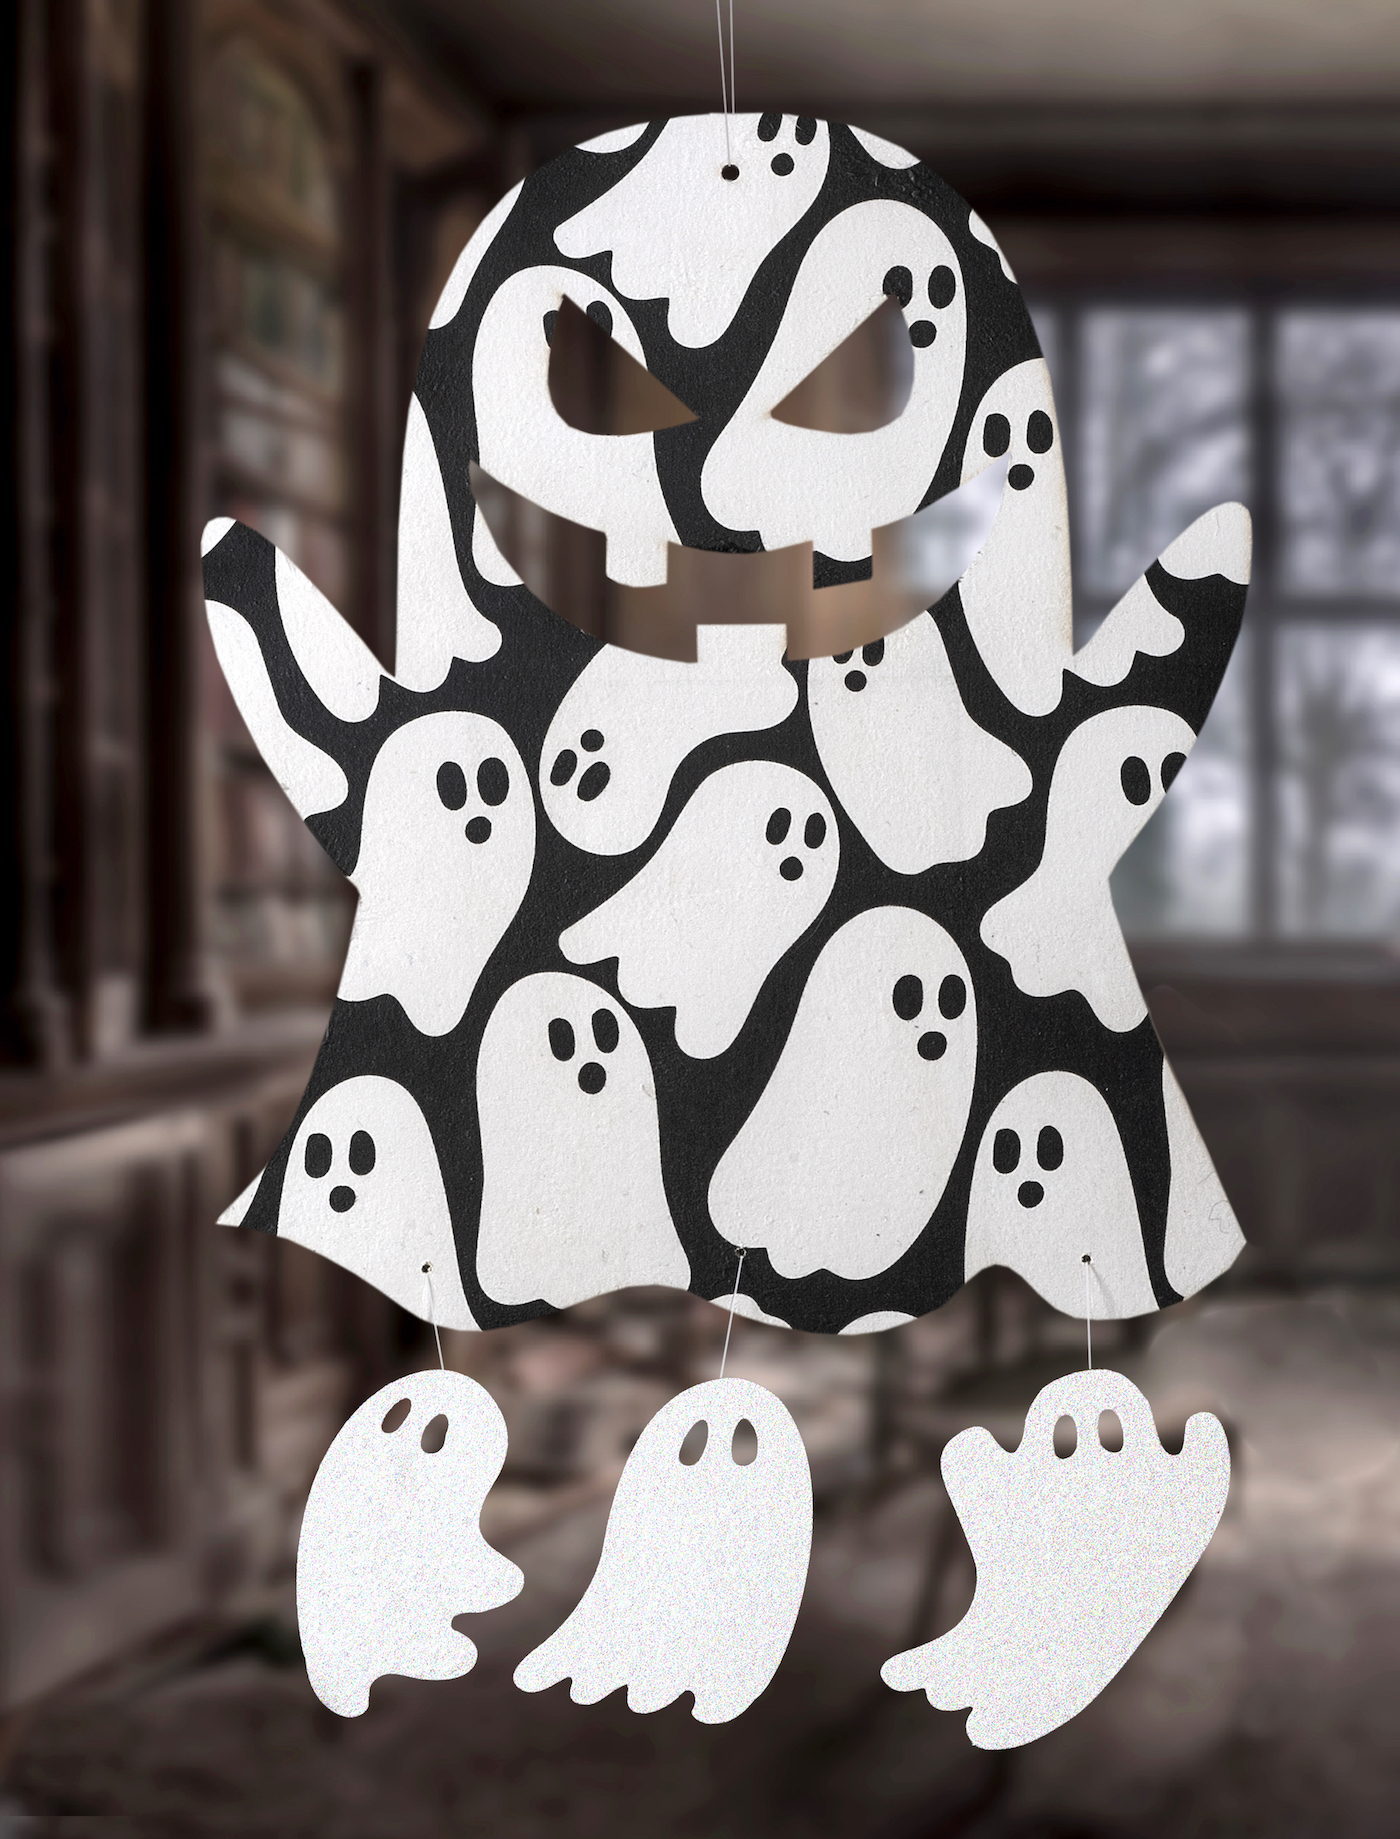
For this wooden ghost, I decided I wanted to use a more fun napkin with a bold ghost print. What’s more fun that ghosts upon ghosts (upon ghosts)? This project came together pretty easily if you’ve ironed napkins before. I’m excited to show you how this Halloween craft is done.
Dollar Tree Ghost Decor
Gather These Supplies
- Dollar Tree wood ghost shape
- Small wood ghost shapes
- Ghost napkin
- Mod Podge Gloss
- Craft paint – white
- Glitter paint – I used FolkArt Glitterific in Snowfall
- Clear floss
- Paintbrush(es)
- Foam spouncer
- Craft knife
- Scissors
- Mini iron
- Parchment paper
- Hot glue gun and hot glue
- Sandpaper
- Drill
- Painter’s tape
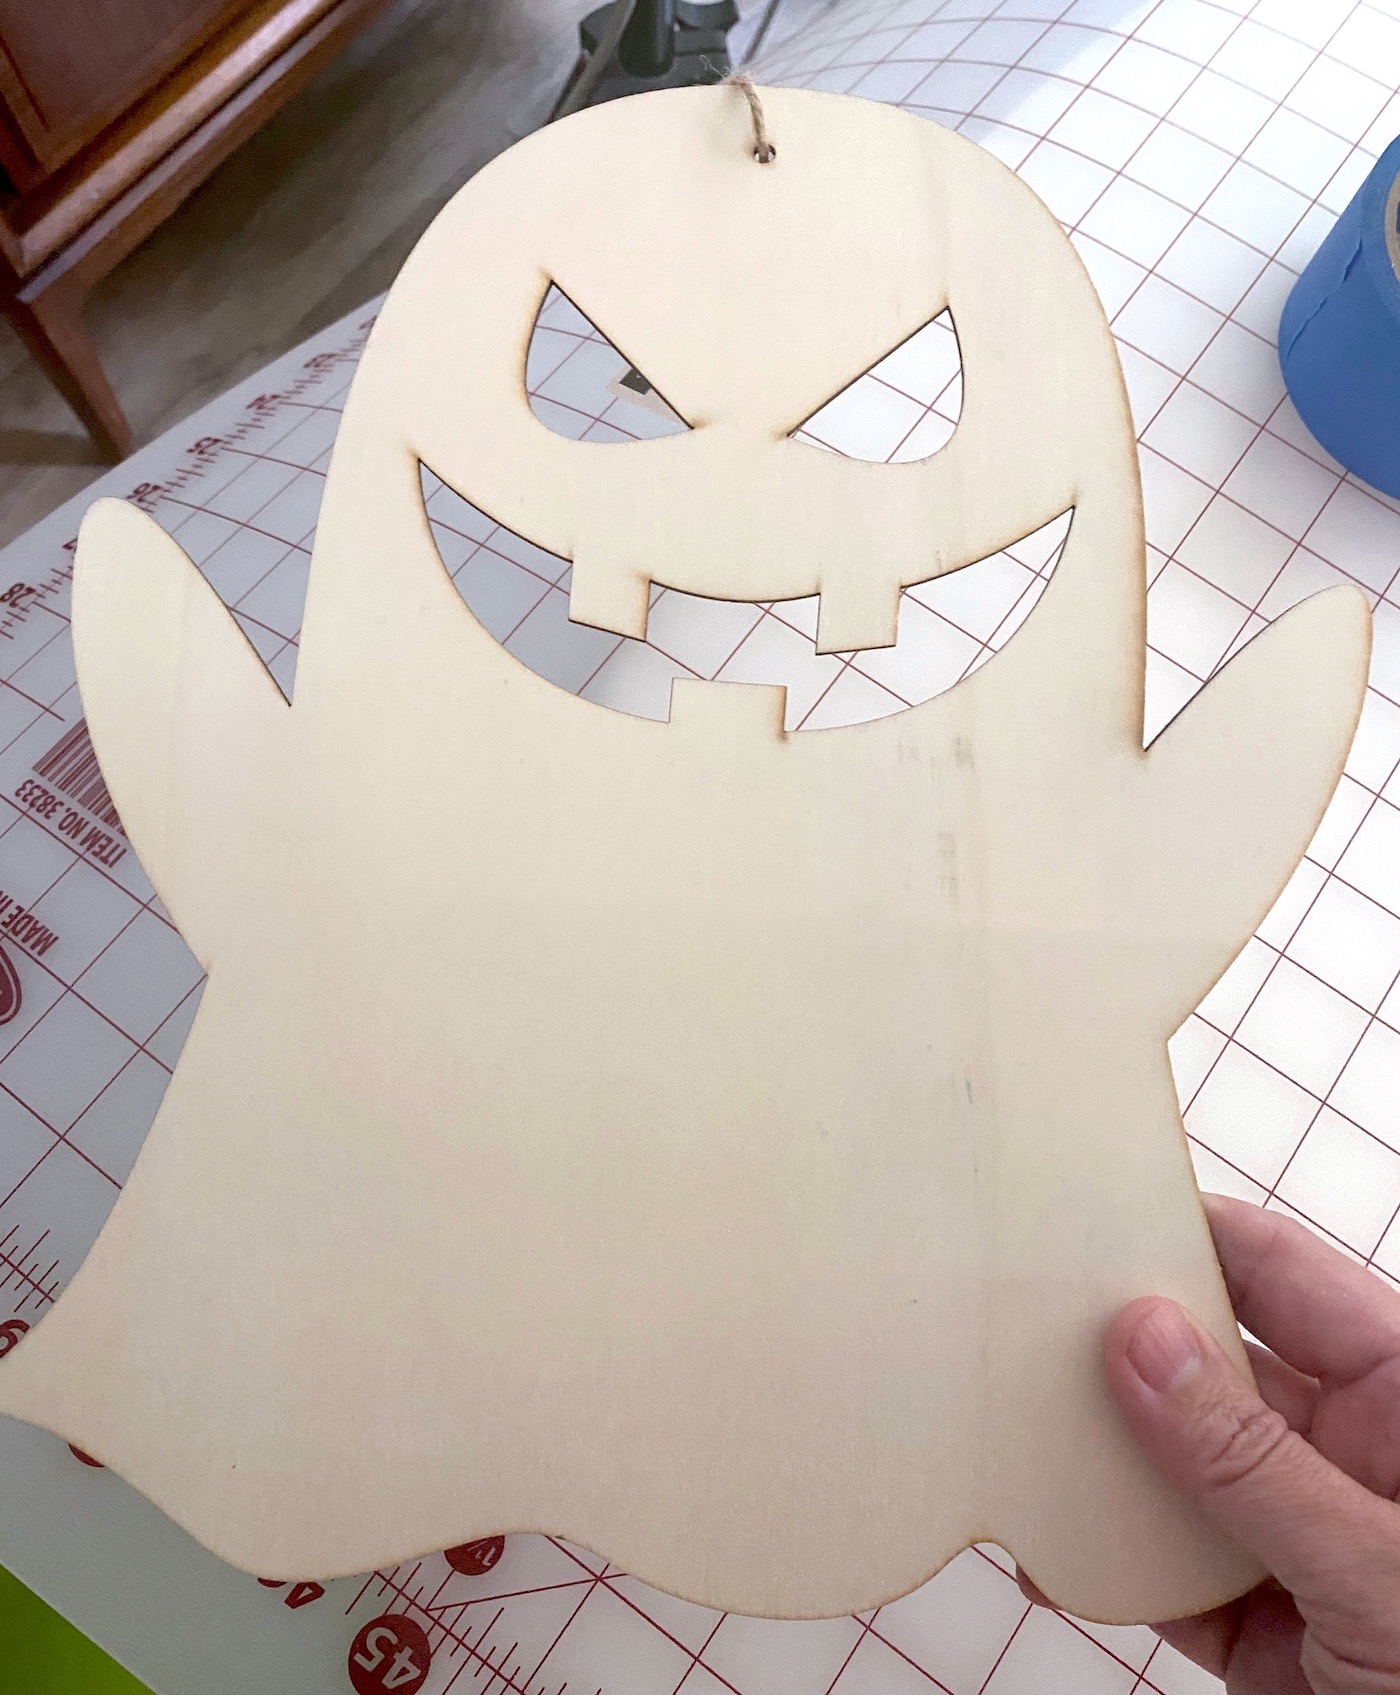
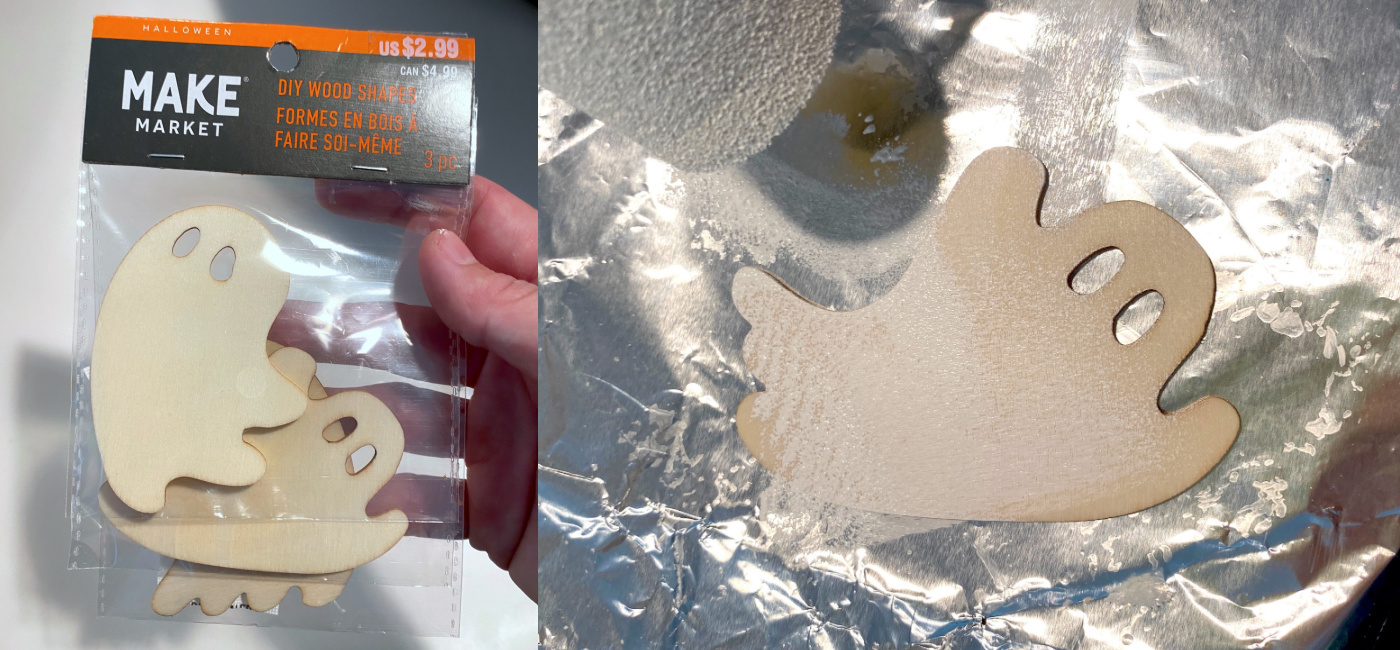
This is the ghost shape I got from Dollar Tree. I want you to see what kind of wood shapes you’re looking for when you go shopping! They usually have a piece of twine at the top and are in the seasonal section.
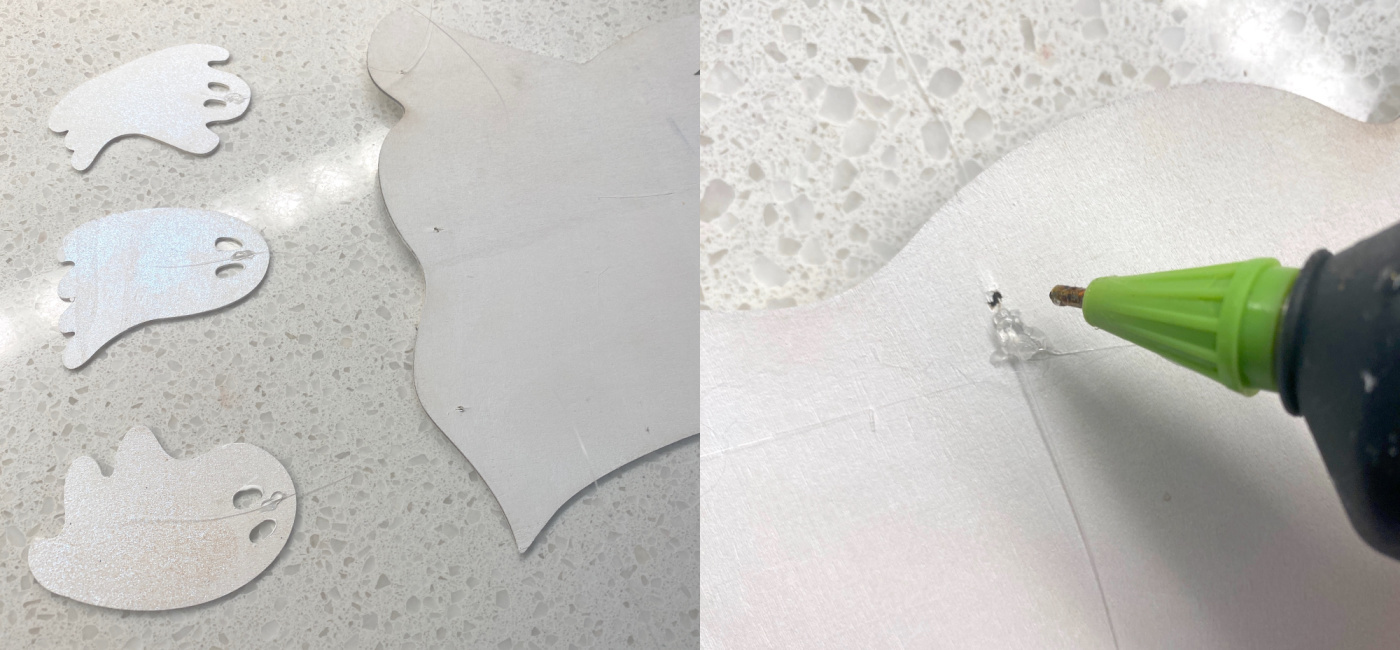
Drill the Holes
I decided that I wanted to hang some mini ghosties from my main ghostie, so I drilled holes at the bottom of the wood shape.
Because the wood shape is so thin (it’s a dollar store item), you should use painter’s tape so that the wood doesn’t splinter or break. Put a piece of painter’s tape on both sides over where you’ll be drilling.
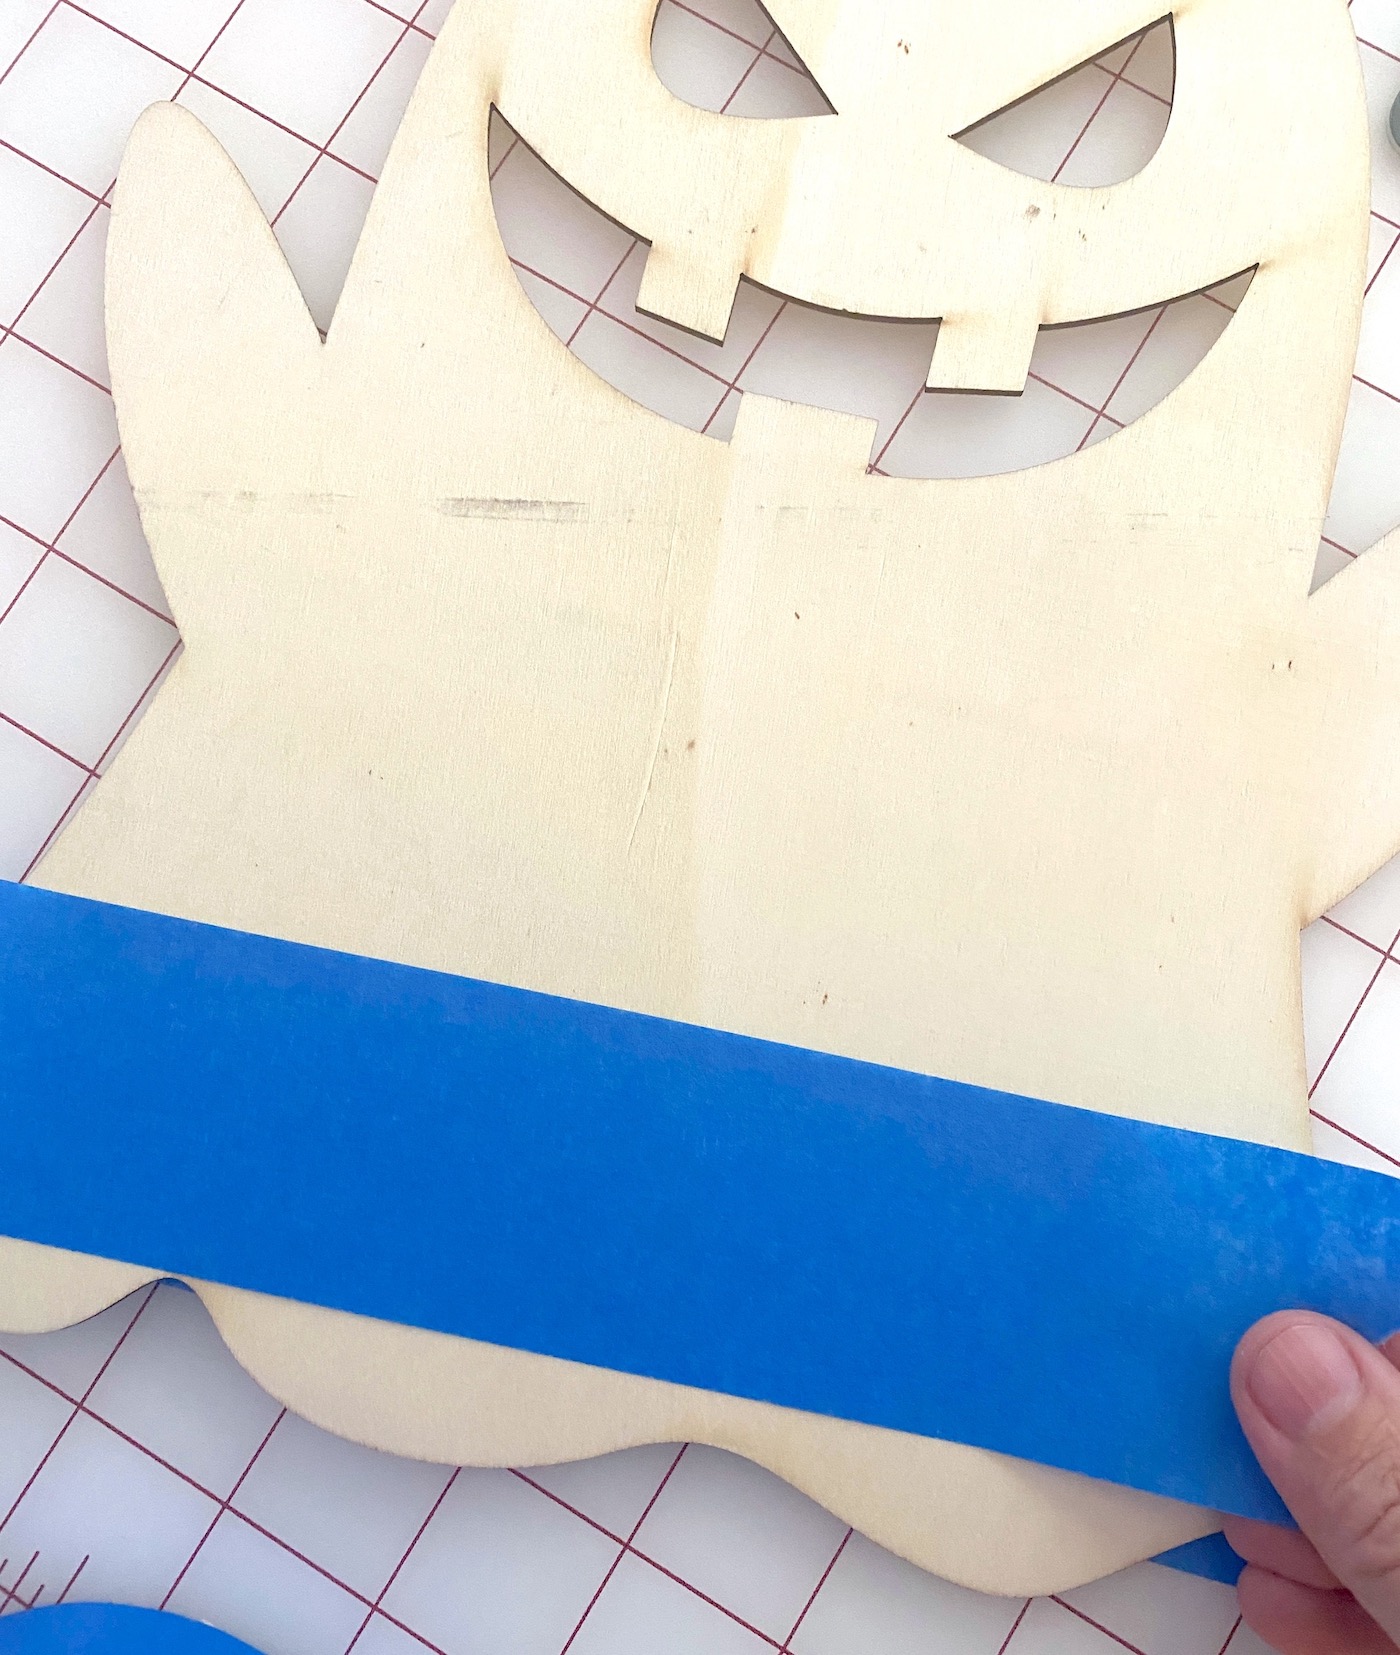
Mark the places you would like to hang the ghosts. I had three small wood ghosts, and so I marked three holes. Then drill the holes with a small bit.
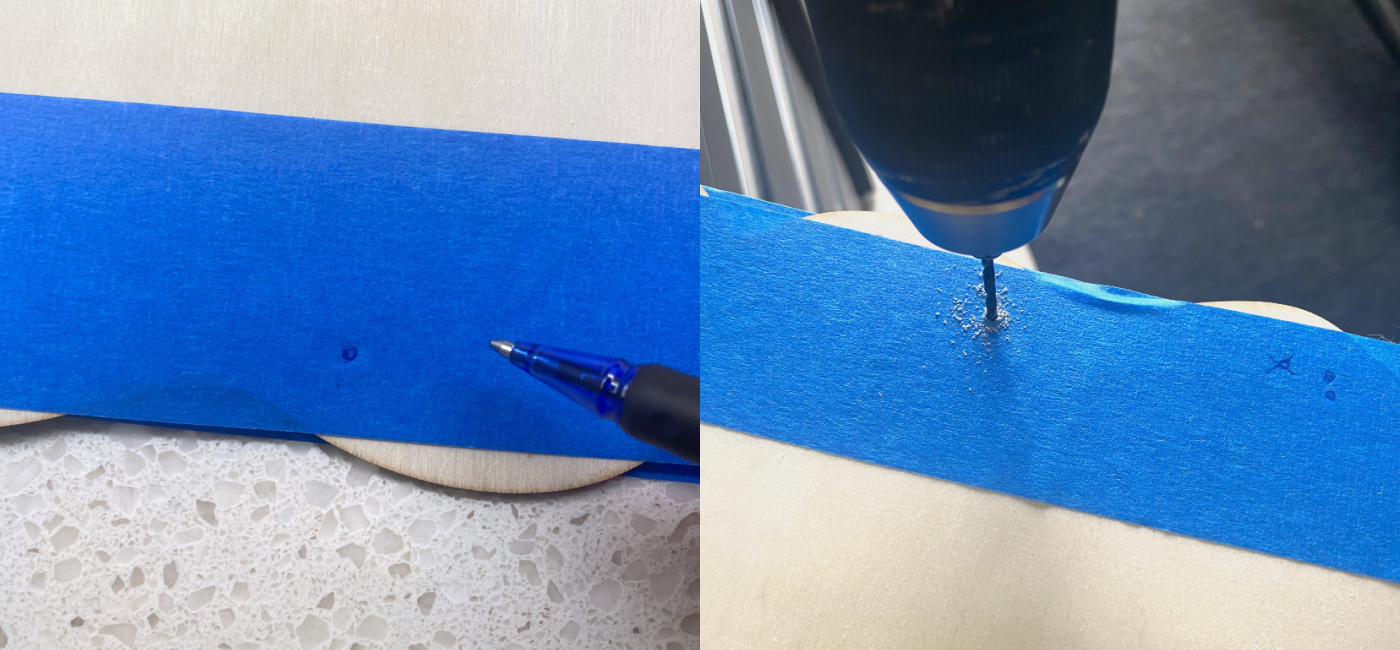
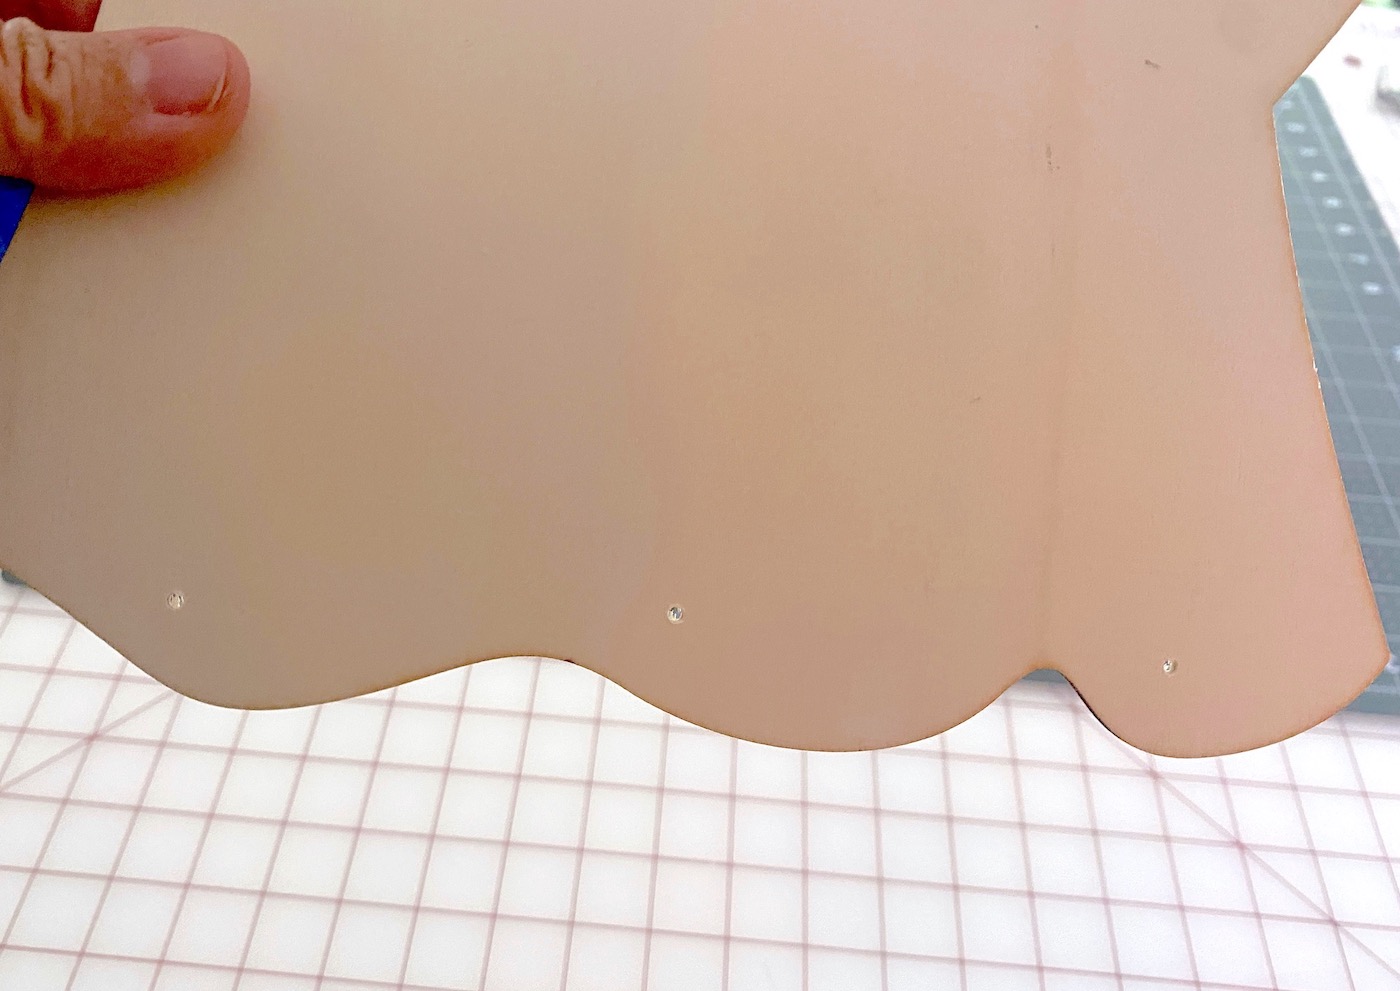
Remove the painter’s tape and you will have three holes drilled in the wood. You’re ready to continue.
Paint the Wood
Now you’ll paint all of the wood ghosts, both the small and large, with white paint. The reason for painting the large ghost is because napkins are very, very sheer. So when you apply the design, you want the napkin design to be bright and pop off the wood. The white background will do that for you.
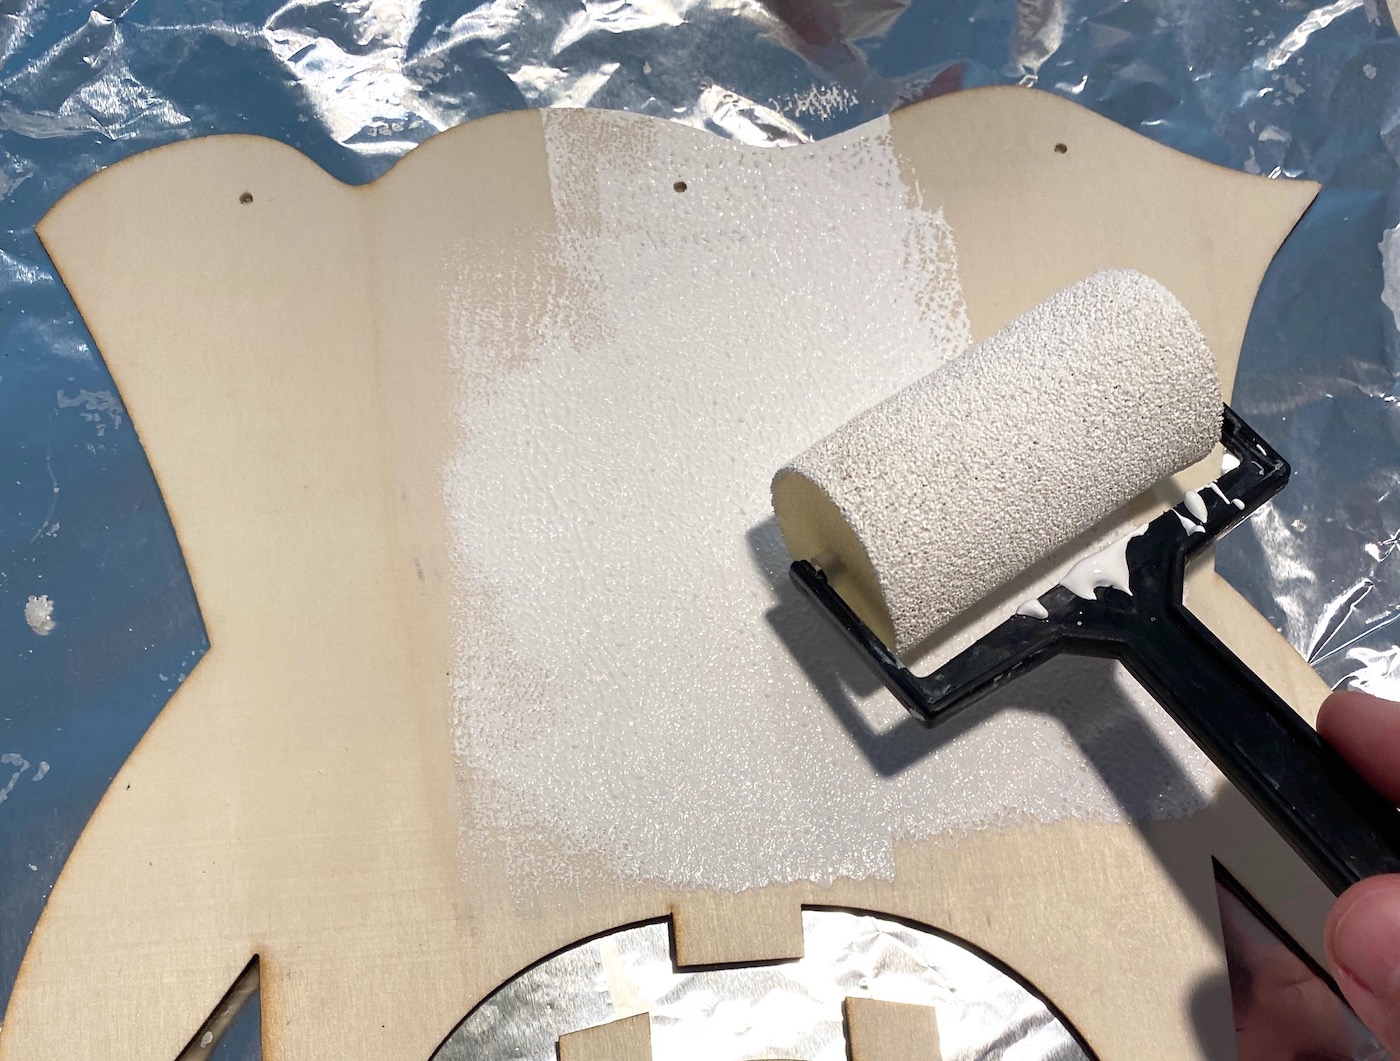
Paint all the ghosties with a few coats of white paint, and let dry. Don’t forget to do both sides. The small ghosts could flip from side to side when you hang the final project.
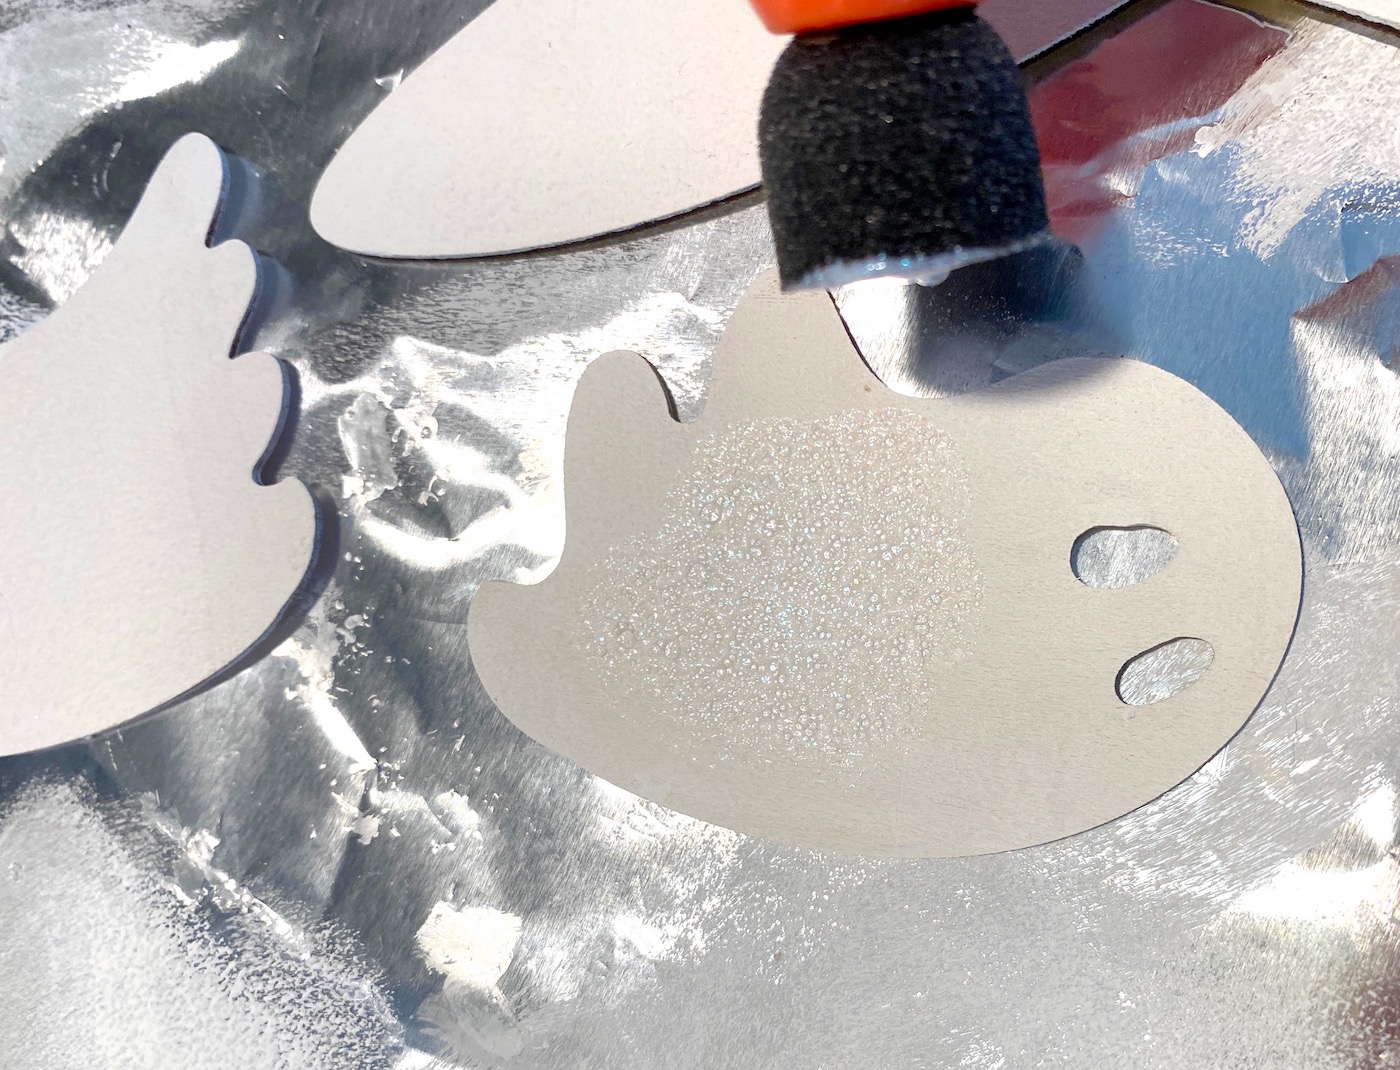
Glitter the Small Ghosts
Use the foam spouncer to apply the glitter paint to the small ghosts. If you don’t have a foam spouncer, you can still use a brush, but it’s more difficult to apply. The spouncer keeps it right where you apply it.
Paint both sides of the ghosts and let dry. Then repeat. I used two coats.
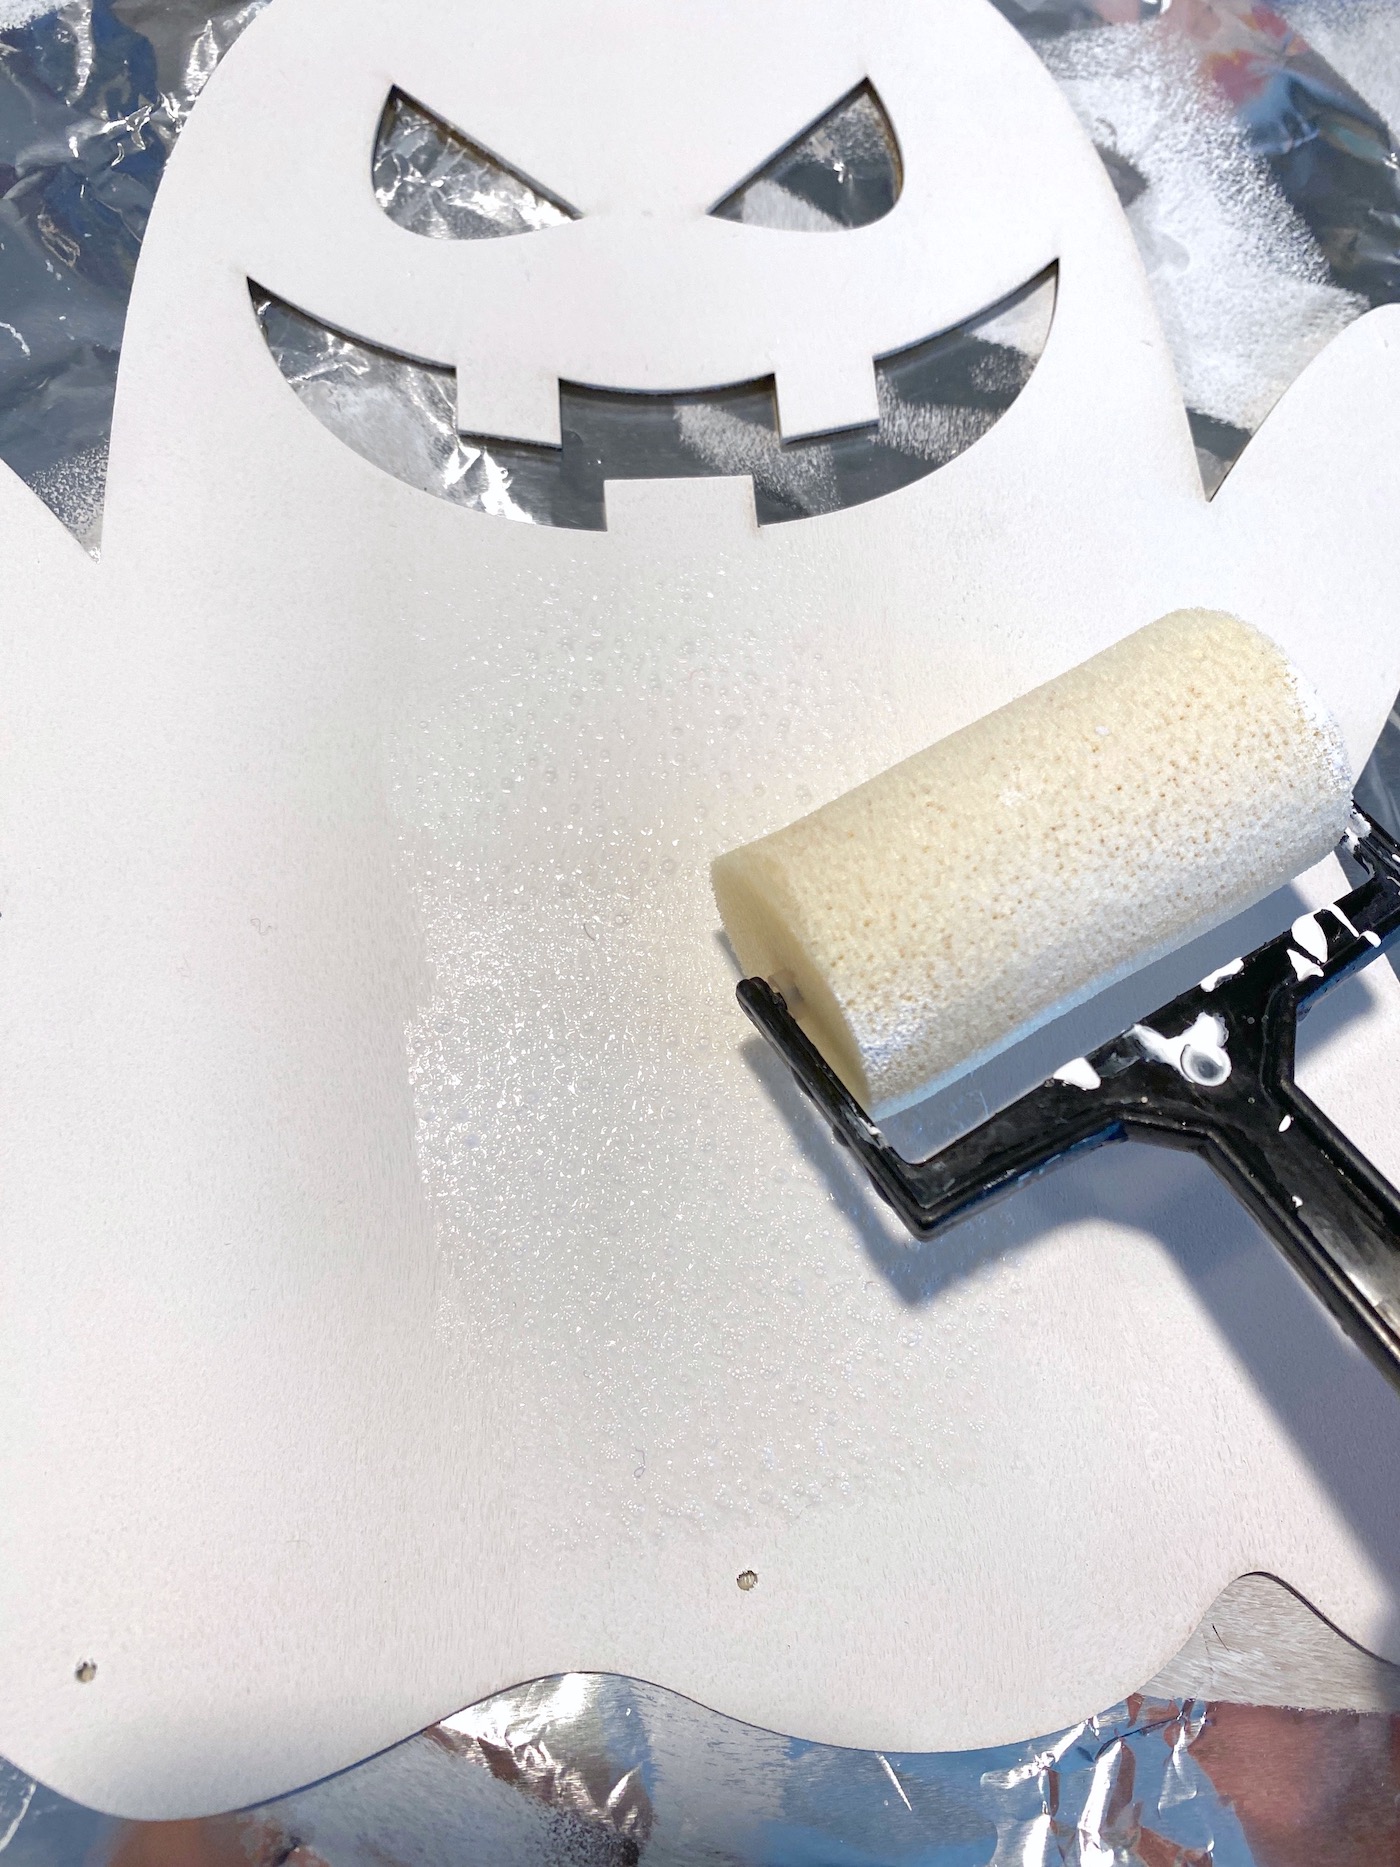
Mod Podge the Large Ghost
Once the paint has dried, paint two coats of Mod Podge over the front of the large ghost. You will paint a coat, making sure to get all the way to edges, and let dry. Then you’ll paint a second coat and let dry.
Apply the Napkins
While the Mod Podge is drying, separate the napkin layers. The reason you’re going to do this is because napkins are made of 2-3 layers typically, and you just want the top layer with the design. If you use the napkin without separating it, it will wrinkle because the layers will operate independently of each other.
The wood piece should be on your work surface with the Mod Podge side up. Place the napkin down on the ghost and situate it the way you like. Turn your mini craft iron up to the top level (level three). If you use a real iron, go to medium heat with no steam.
Place a piece of parchment paper on top of the wood, and run the craft iron across the top several times. While you are doing this, the Mod Podge is melting below the napkin, and the napkin is adhering.
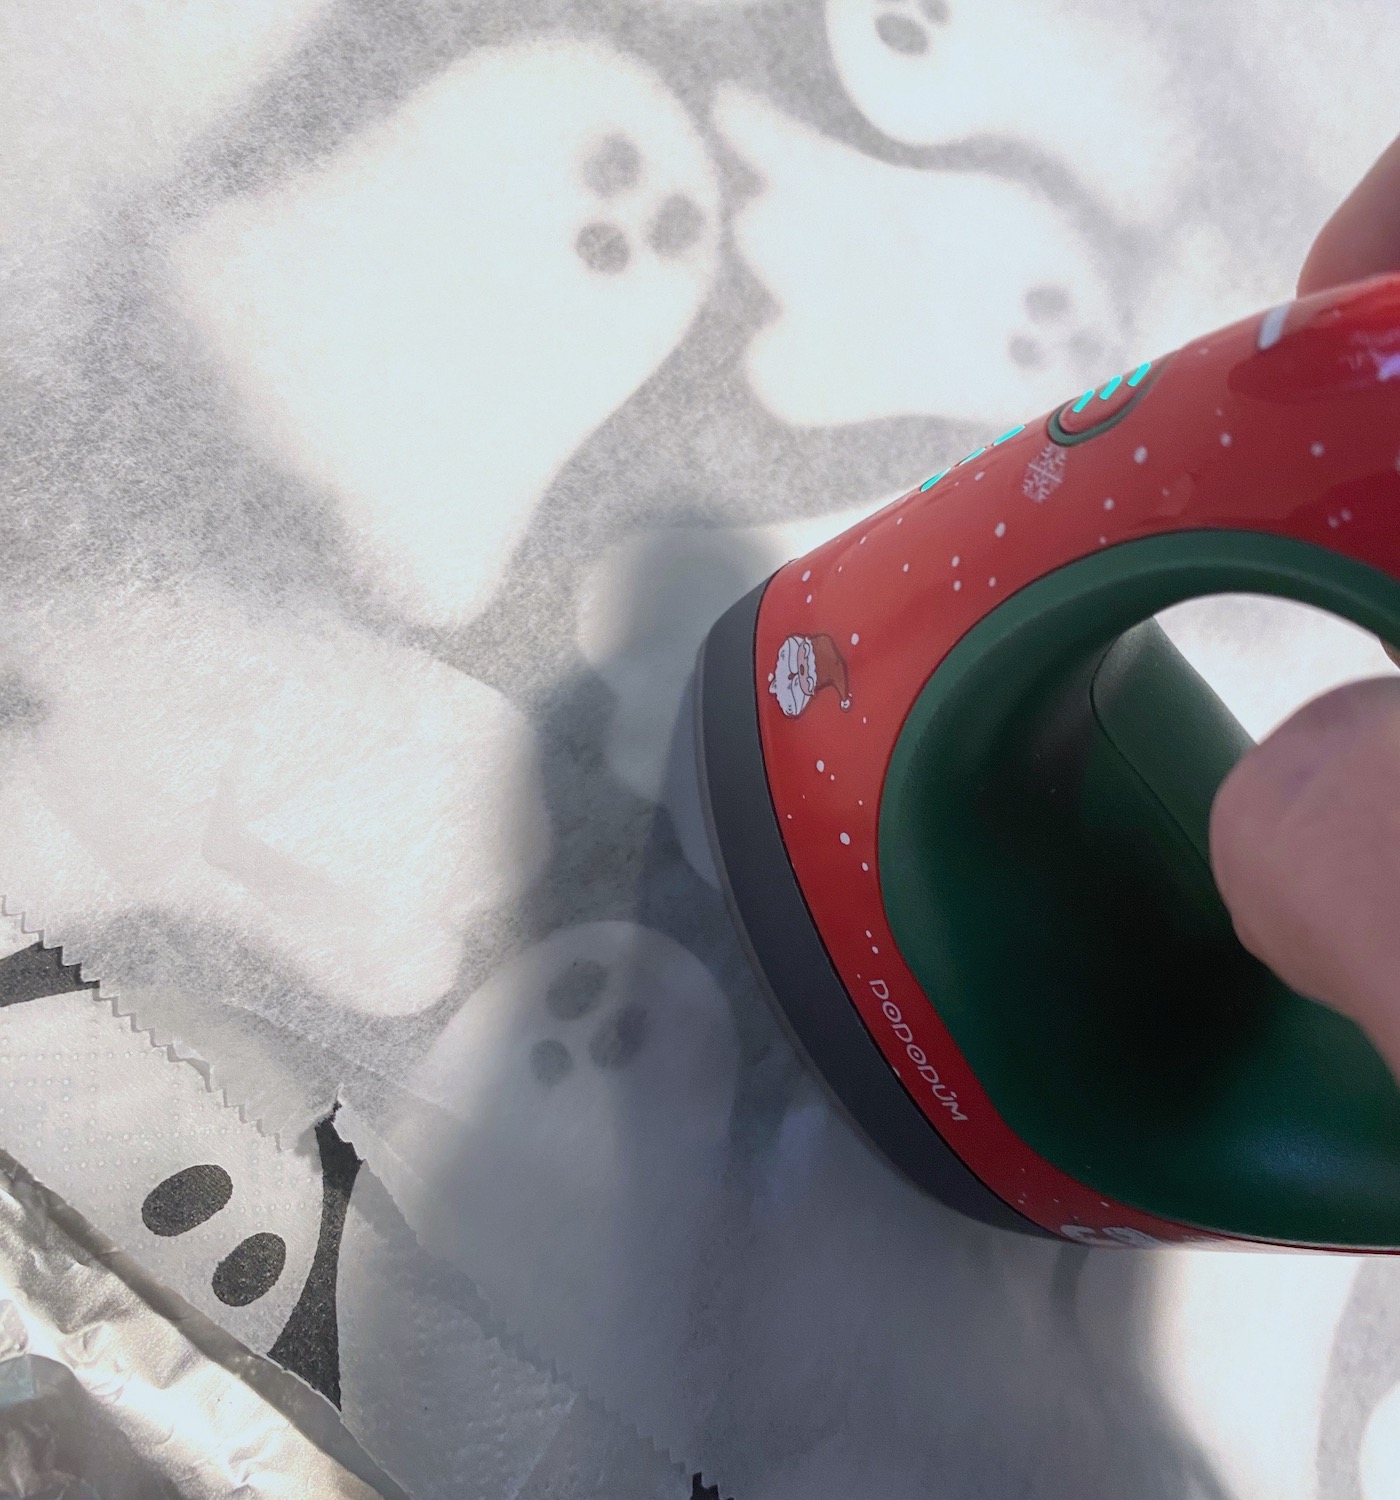
Keep going until the napkin is fully adhered. It should just take a minute or two on a surface this small. Lift up and check under the parchment paper to see if you missed anywhere, especially around the edges
Once you’re done, remove the parchment paper and let cool. It should be pretty smooth.
Trim and Seal
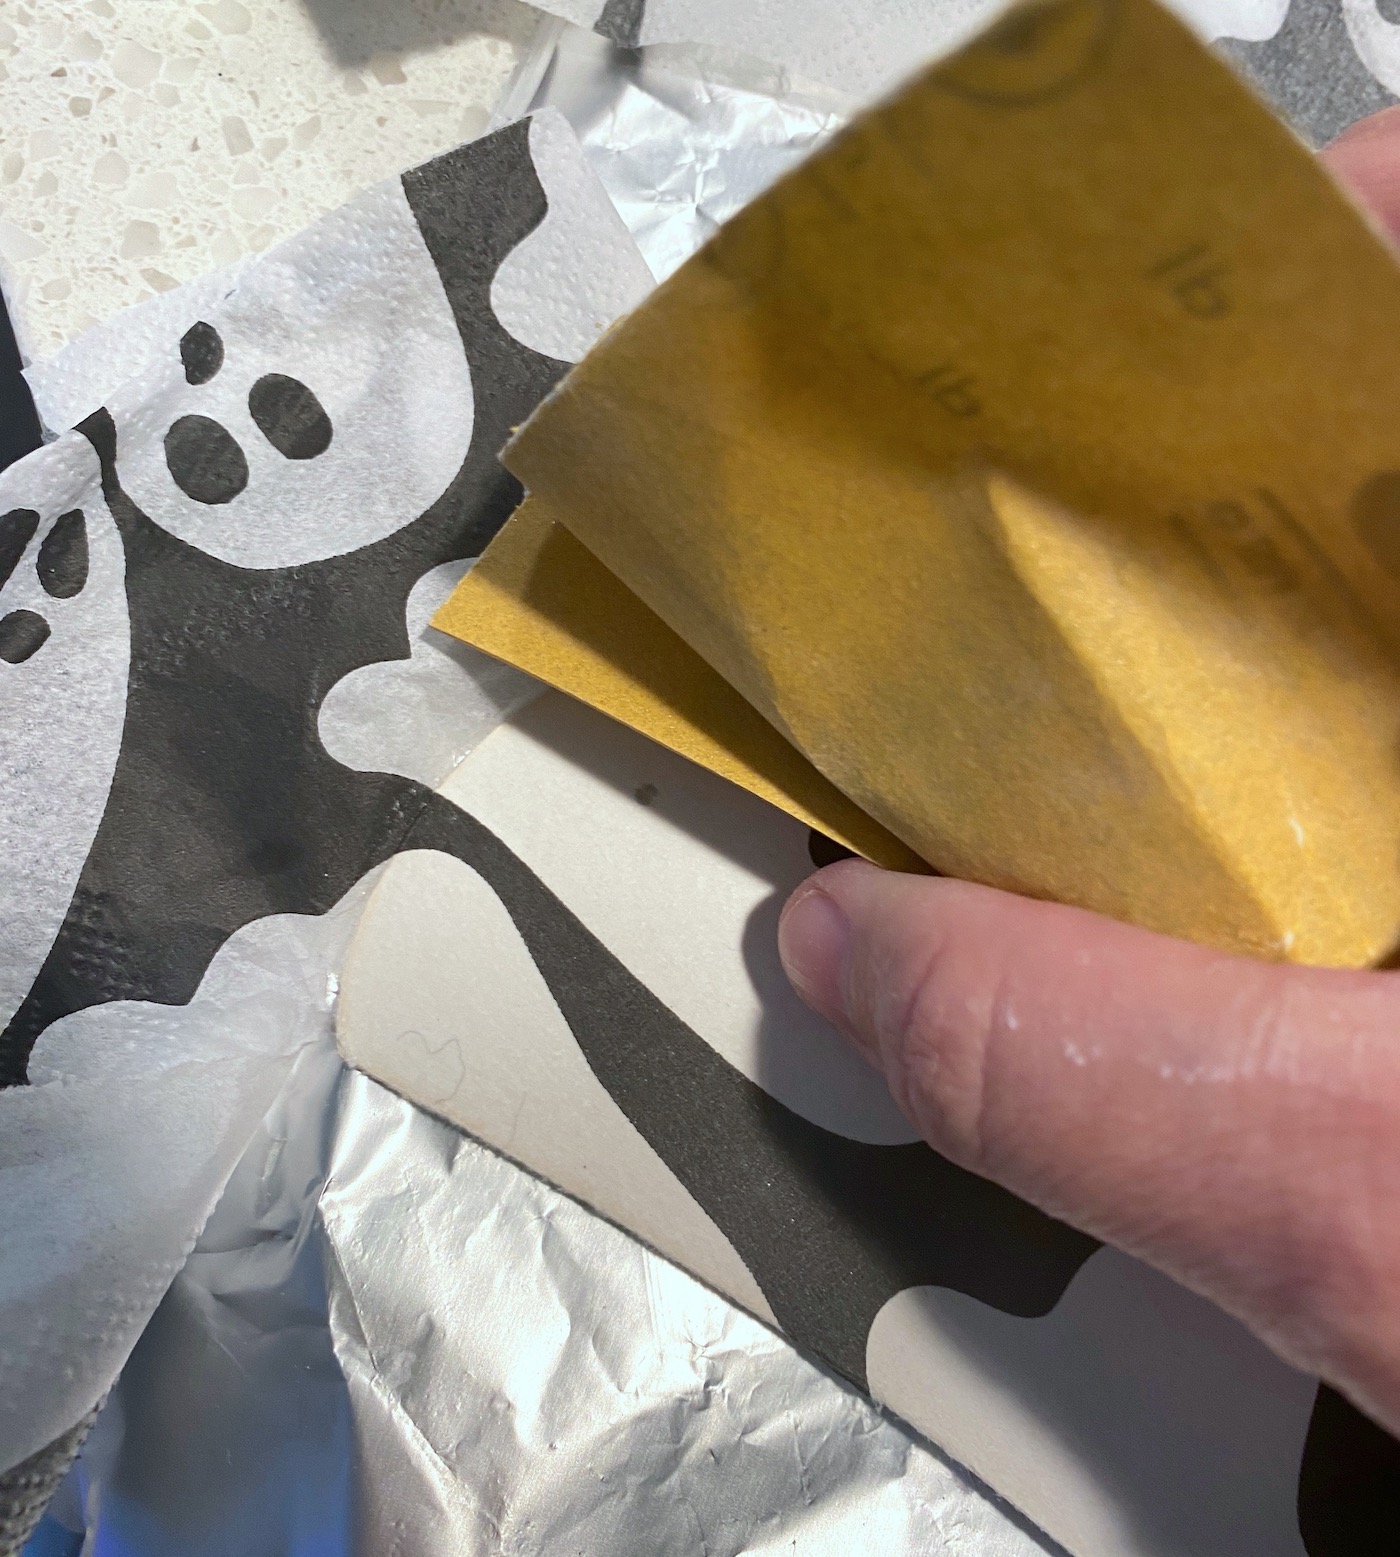
Once the wood cools, remove the excess napkin from around the outside edge using fine grit sandpaper or a nail file. You will see the napkin pull right apart as you sand on the edge.
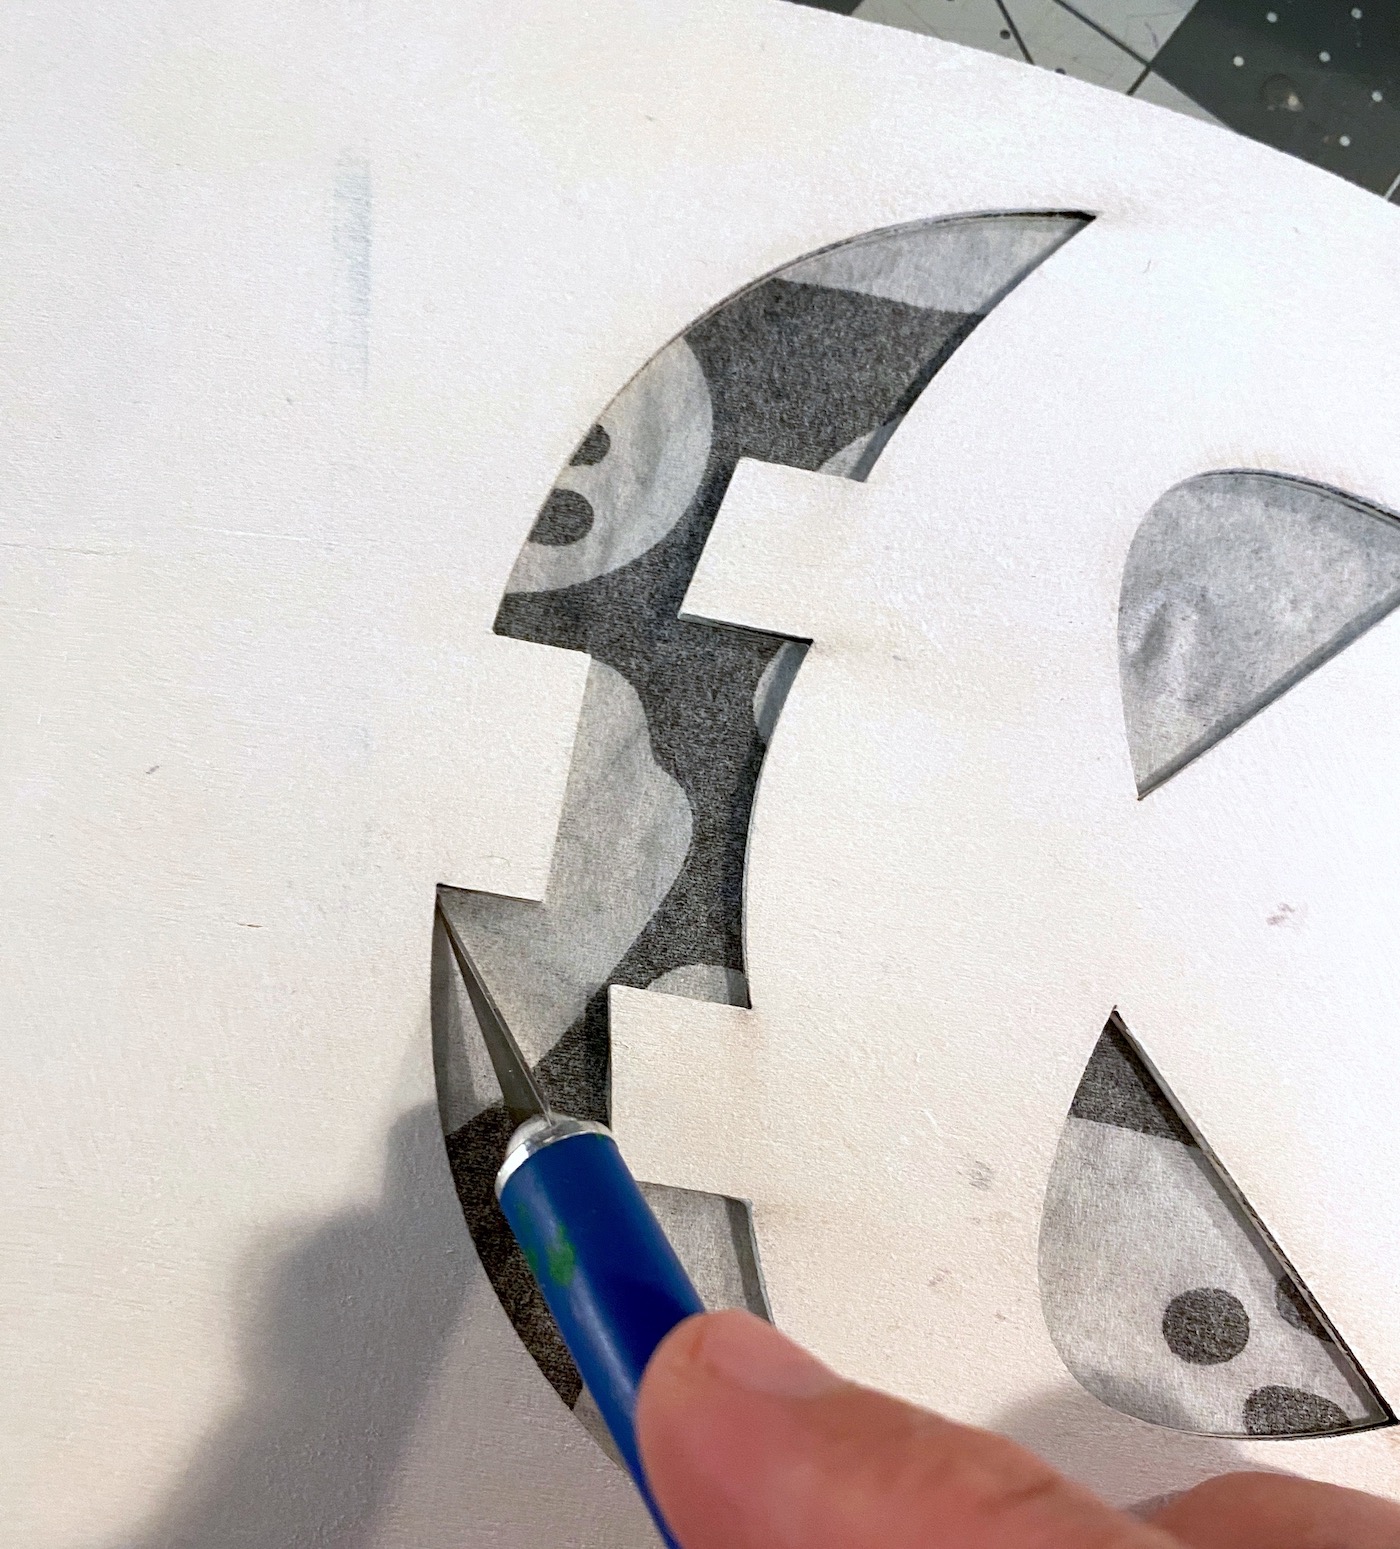
Use a craft knife to remove the excess napkin from the mouth and eye holes. Work carefully and use a sharp blade.
Attach the Small Ghosts
To finish your ghost decor, you’re going to hot glue the small wood shapes to the bottom. I first cut three pieces of clear floss the length I wanted them to hang.
Then I hot glued the floss with a small dab to the “back” of the ghosts. I flossed them through the holes in the bottom of the main ghost (you can push the floss right through the napkin or poke with a pin).
Then I tied knots on the back. You could also add more hot glue.
Your Dollar Tree wood ghost decor is ready to display! There’s already a hole at the top for hanging (it came that way).
If you enjoyed this fun Halloween craft, I’d love for you to check out these other ideas:
BOO Letters • Button Art • Cheesecloth Ghost • Coffin Tray • Decorating Wood Cutouts • Decorative Blocks • DIY Wreath • DIY Spooky Pumpkins • Dollar Tree Wood Pumpkin • Door Hangers • Fairy Garden • Halloween Ornaments • Mason Jar Lanterns • Mummy Luminaries • Paper Cones • Potion Bottles • Spooky Candle Holders • Wall Decor • Window Art • Witch Hat Garland


I’ve never seen the iron technique before, very cool, I need to try it. You mentioned sealing the napkins when done. Do you use Mod Podge to do that or a spray sealer? Thanks!