
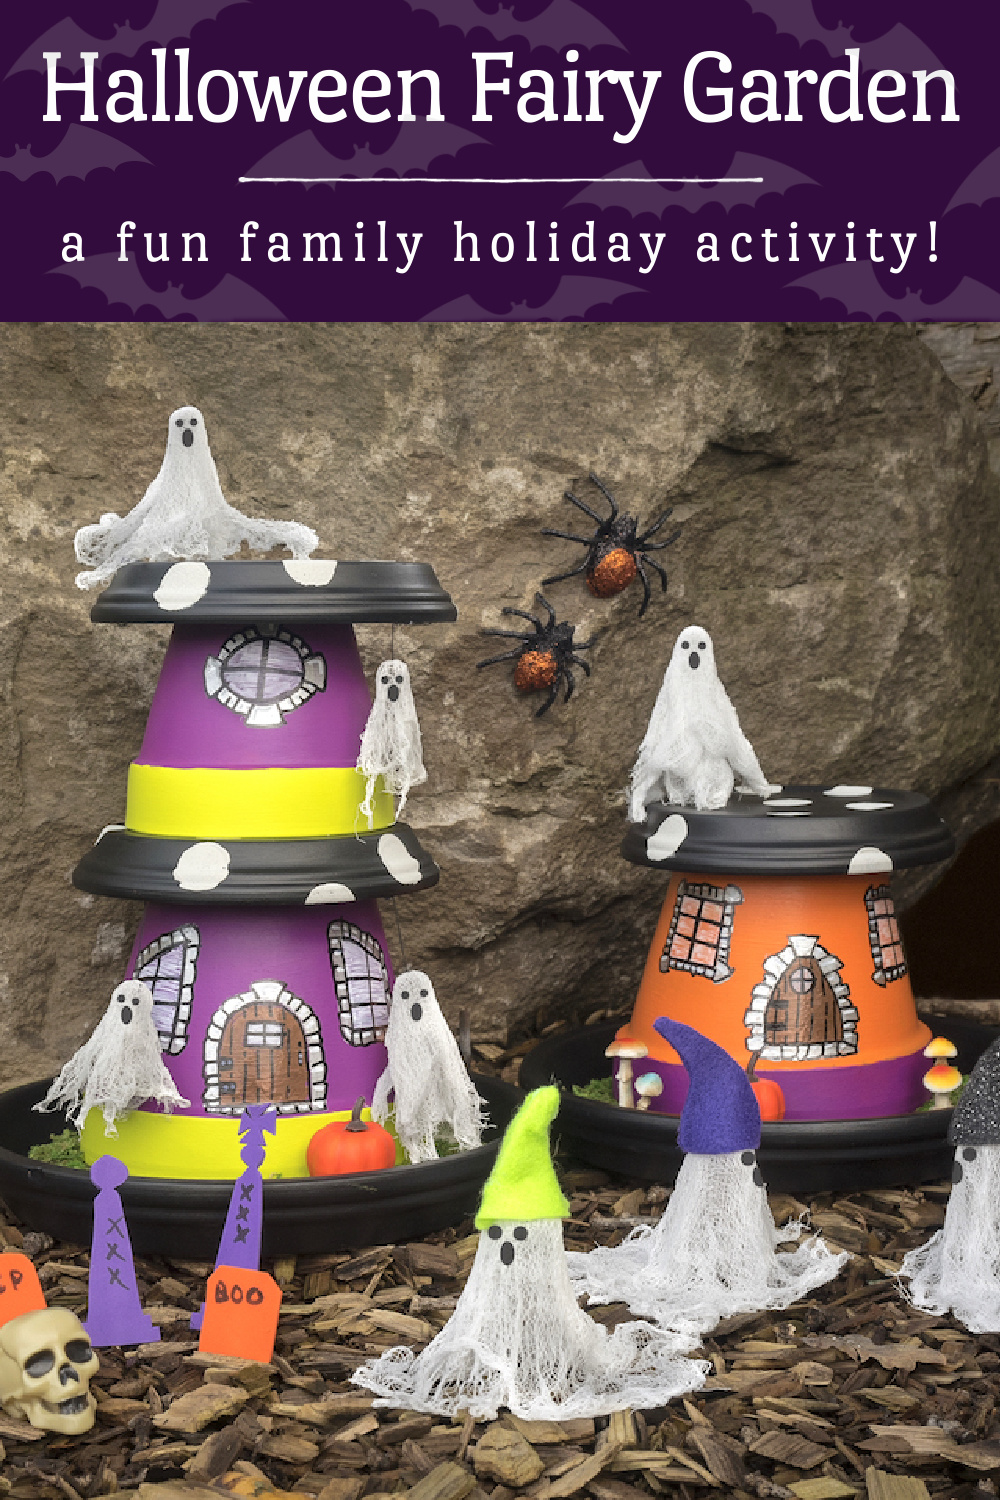
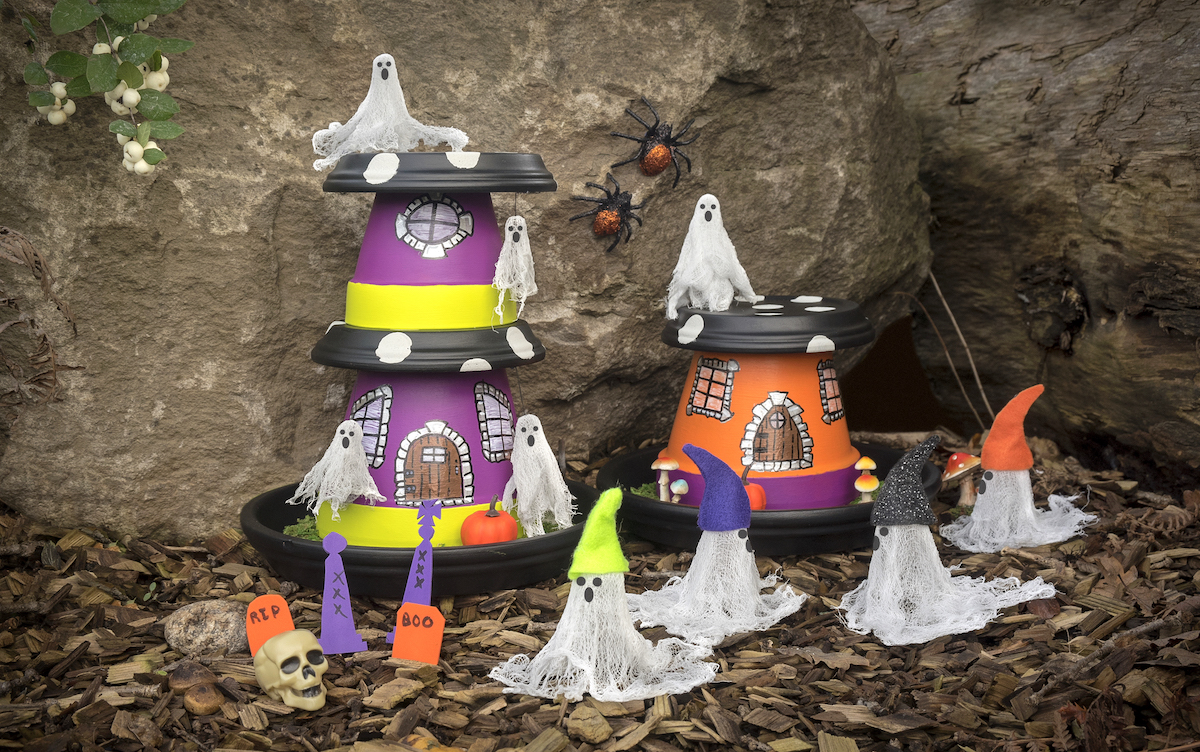
Learn how to make the cutest Halloween fairy garden with terra cotta pots and acrylic paint! Add ghosts, pumpkins, skulls, grave markers, and other decorations of your choice.
Skills Required: None. Even if you’ve never crafted before, you’ll be able to make this clay pot village. You’ll be painting, sealing, and (if you want to) making little Stiffy ghosts. There’s a lot of room for error.
If there’s one obsession that everyone around me knows I have, it’s Halloween. I think in terms of vices, it’s pretty benign. I like candy, I love the color orange, and dressing up without having to give gifts is fun. Can you blame me that it’s my favorite holiday?
After making a fairy garden out of terra cotta pots not so very long ago, I realized that a spring-ish display had the potential for holidays as well. What if you could make a Halloween fairy garden just by changing a few colors and adding some ghosts?
What if you could switch a little bit from regular gnomes and maybe make – gnome ghosts?
This how this whole project came about, and I think it would be make a fun family activity that everyone will love. The options are endless for how you might choose to style your own fairy garden. Let me show you a few pictures.
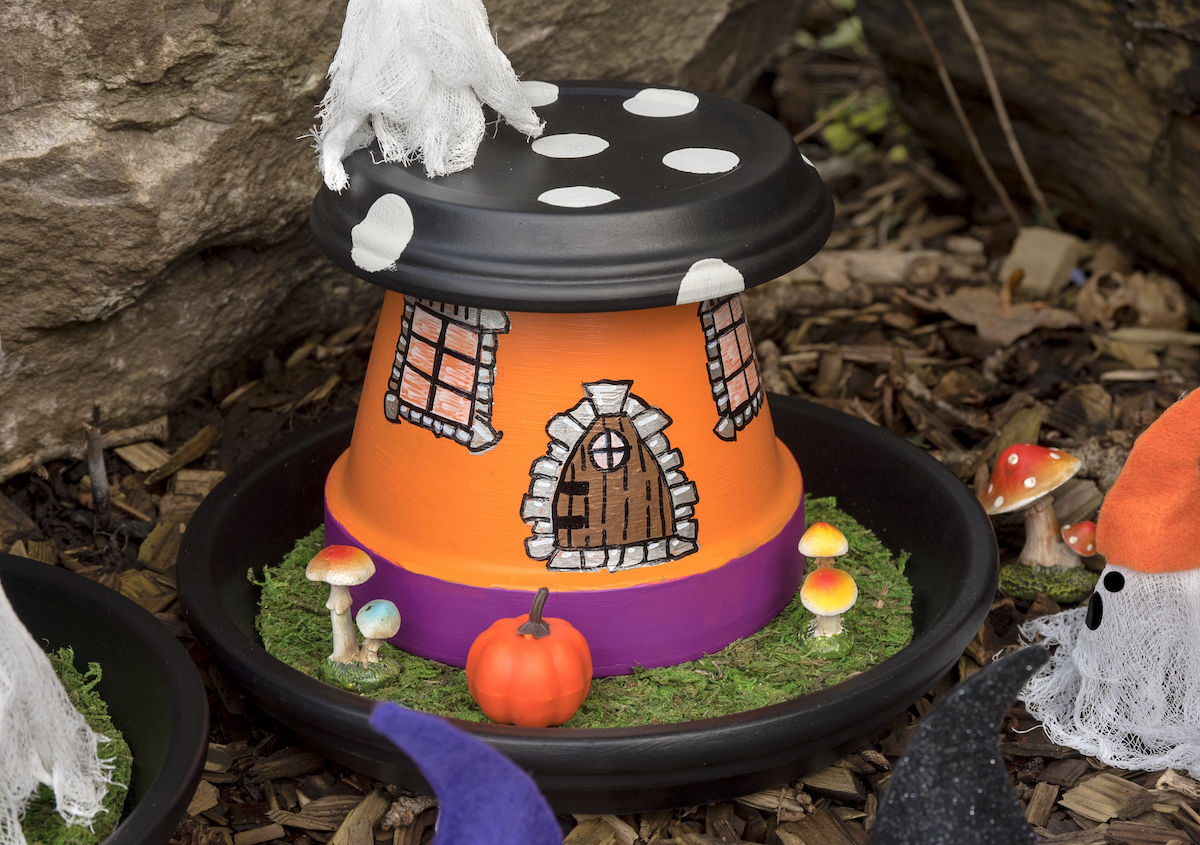
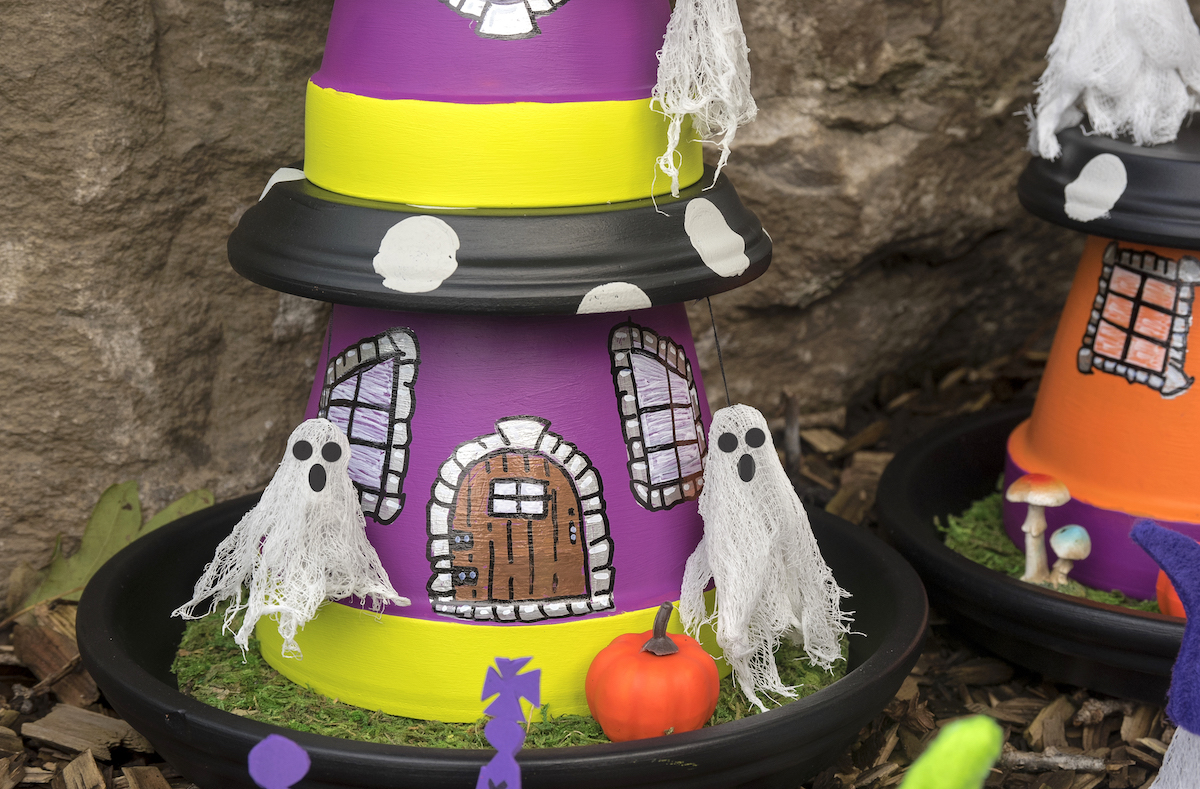
Here’s a close up of the smaller dwelling.
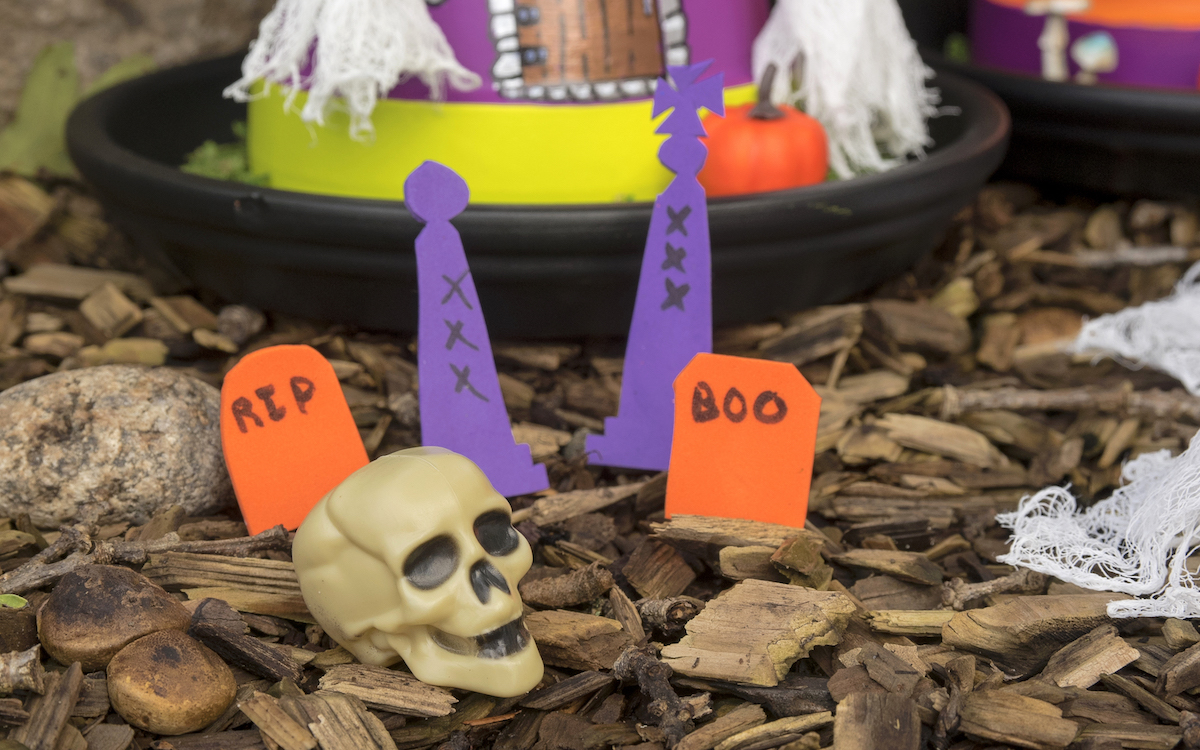
Here’s the fairy garden graveyard with some foam headstones (the skulls and pumpkins were from Dollar Tree).
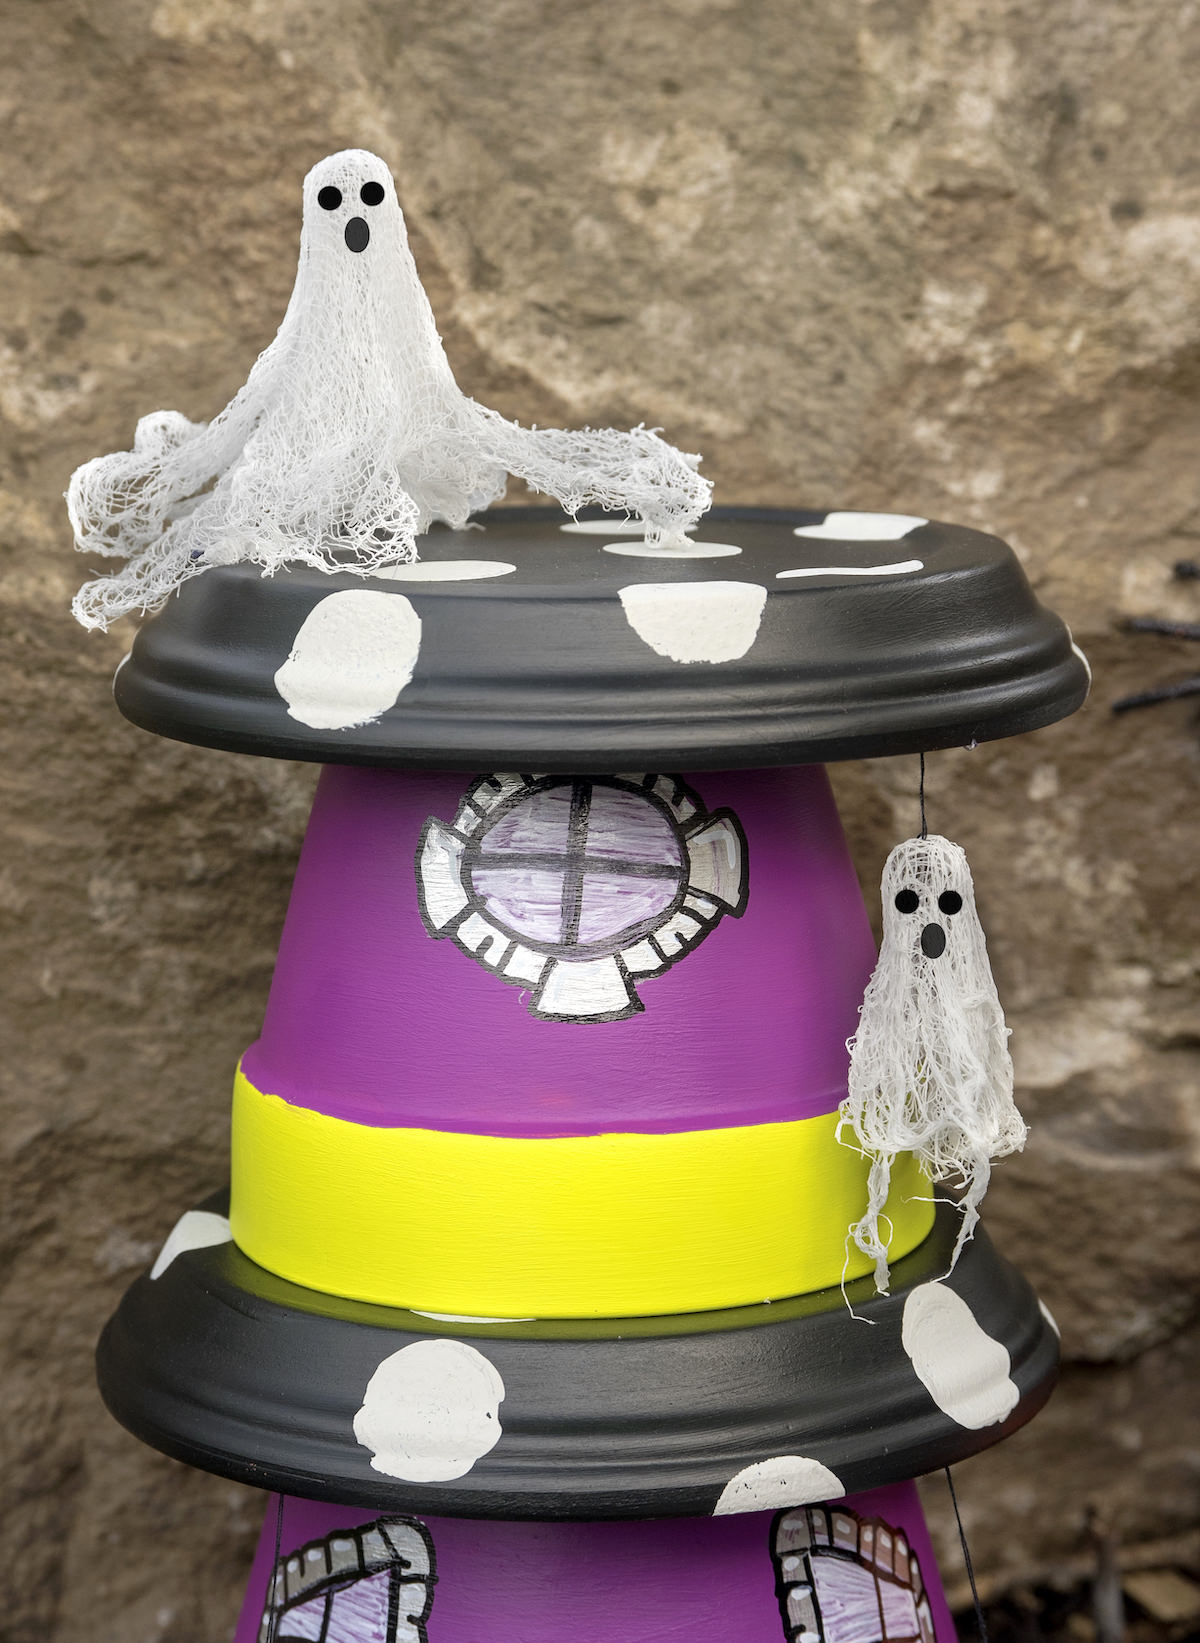
Then, of course, we have a haunted house covered in Stiffy ghosts. Yes, we even hung one from the top roof. Is this not the cutest? I’ll admit that I squeal a bit when I see it.
There are only a few steps to making fairy houses like these. You’re going to paint the pots, add the details with paint pens, glue in the moss, and make the embellishments. How much you do is up to you, and can be adjusted based on the aged of the children you are working with and how much effort you put in.
Are you ready to get started on the project? Keep reading to learn how to make a Halloween fairy garden!
DIY Halloween Fairy House
Gather These Supplies
- Clay pots – the small fairy house requires one 10-inch saucer, one 7-inch saucer, and one 7-inch pot. The haunted house requires those three plus one more 7-inch saucer and a 5-inch pot (or sizes of your choosing).
- Acrylic paint for outdoor use – colors of your choice (can also be multisurface)
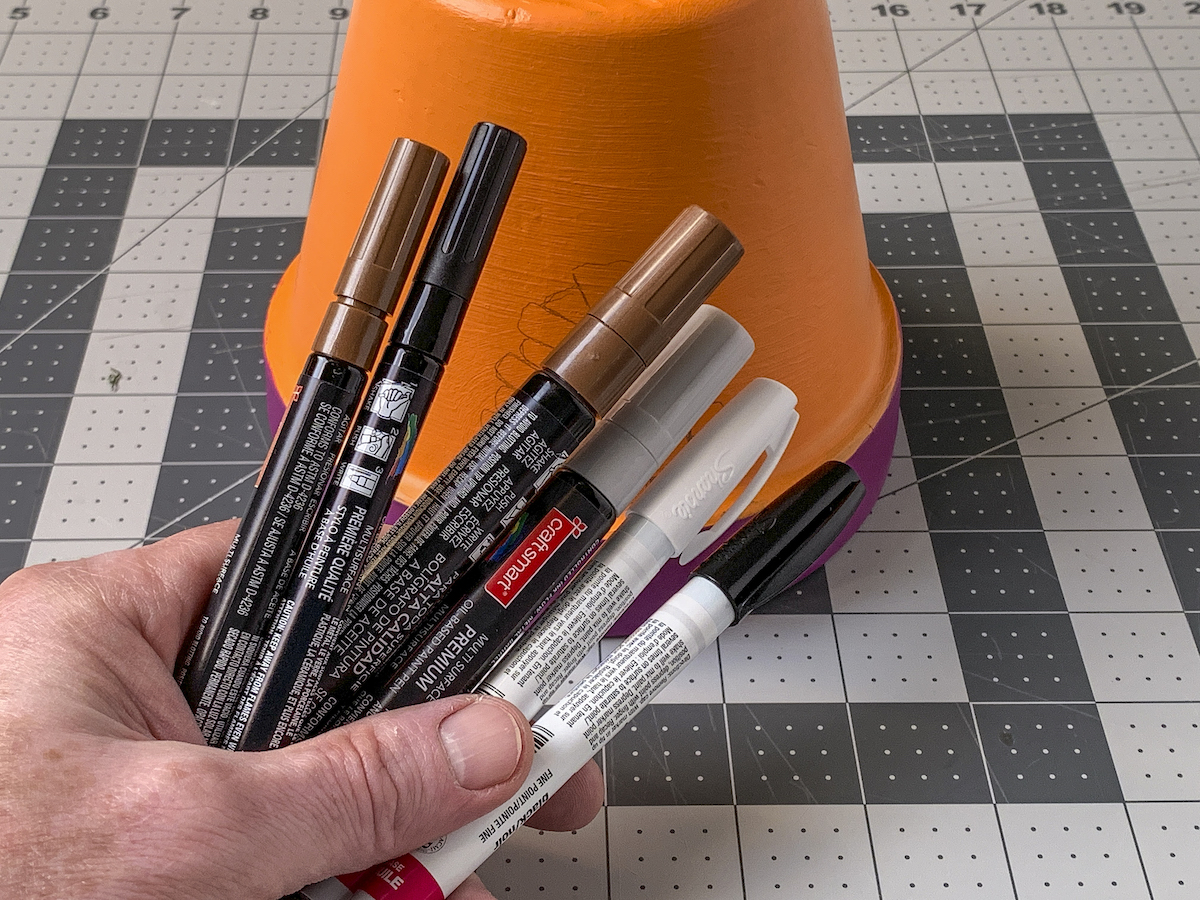
- Paint pens
- Pencil
- Mod Podge Outdoor
- Floral moss – can be adhesive or not
- Outdoor glue like E-6000
- Paintbrushes
- Spouncers (optional)
- Embellishments like small skulls, pumpkins, spiders, mushrooms or anything else you can dig up!
Additional Notes
- If you want to make the small ghosts, you’ll need cheesecloth and Stiffy. The tutorial for those is here (and a peg doll was used as the mold).
- The grave stones were made with craft foam glued to toothpicks, with Sharpie markers.
- The ghost gnome hats were made with felt cut to shape and glued together, then turned inside out. You have to make the hats slightly larger than the ghost heads for that.
Before beginning, make sure your terra cotta pots are clean and the labels are removed. You can use mild soap and water to clean a clay pot; just make sure it’s fully dry before painting.
Paint the Saucers
Start by painting your saucers – all of them – with black craft paint. You’ll want to use outdoor or multisurface paint if your fairy garden is going to be outside (I used multisurface).Do the insides and outsides and let dry.
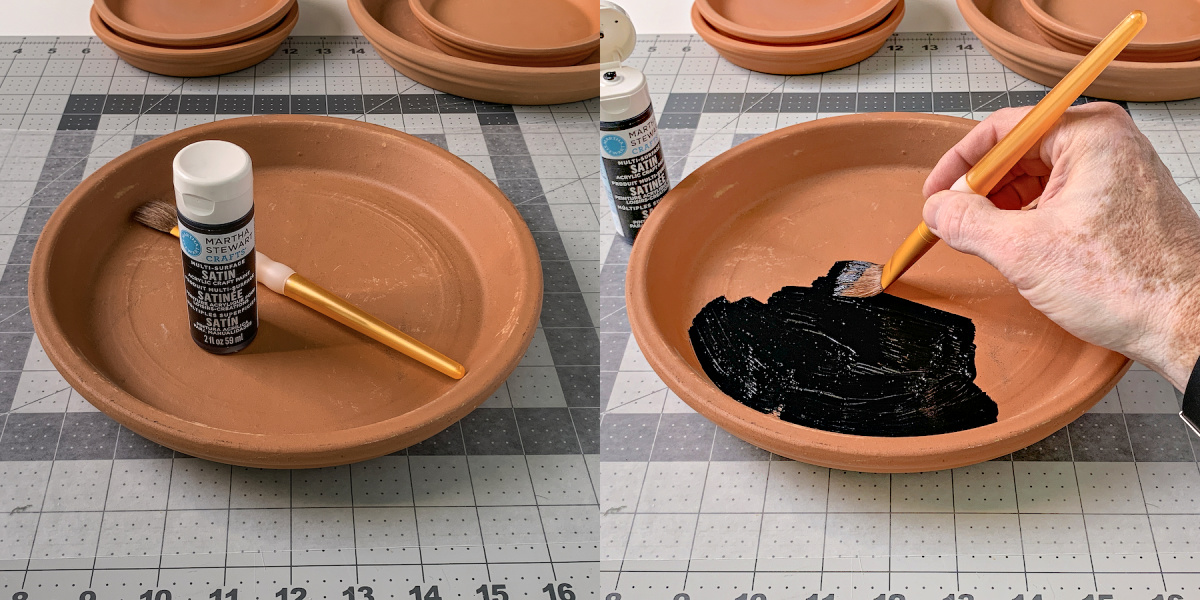
It’s going to take you a minute which is why it’s nice to grab several brushes and get the entire family involved! Pretty much all ages of children can help with the painting portion.
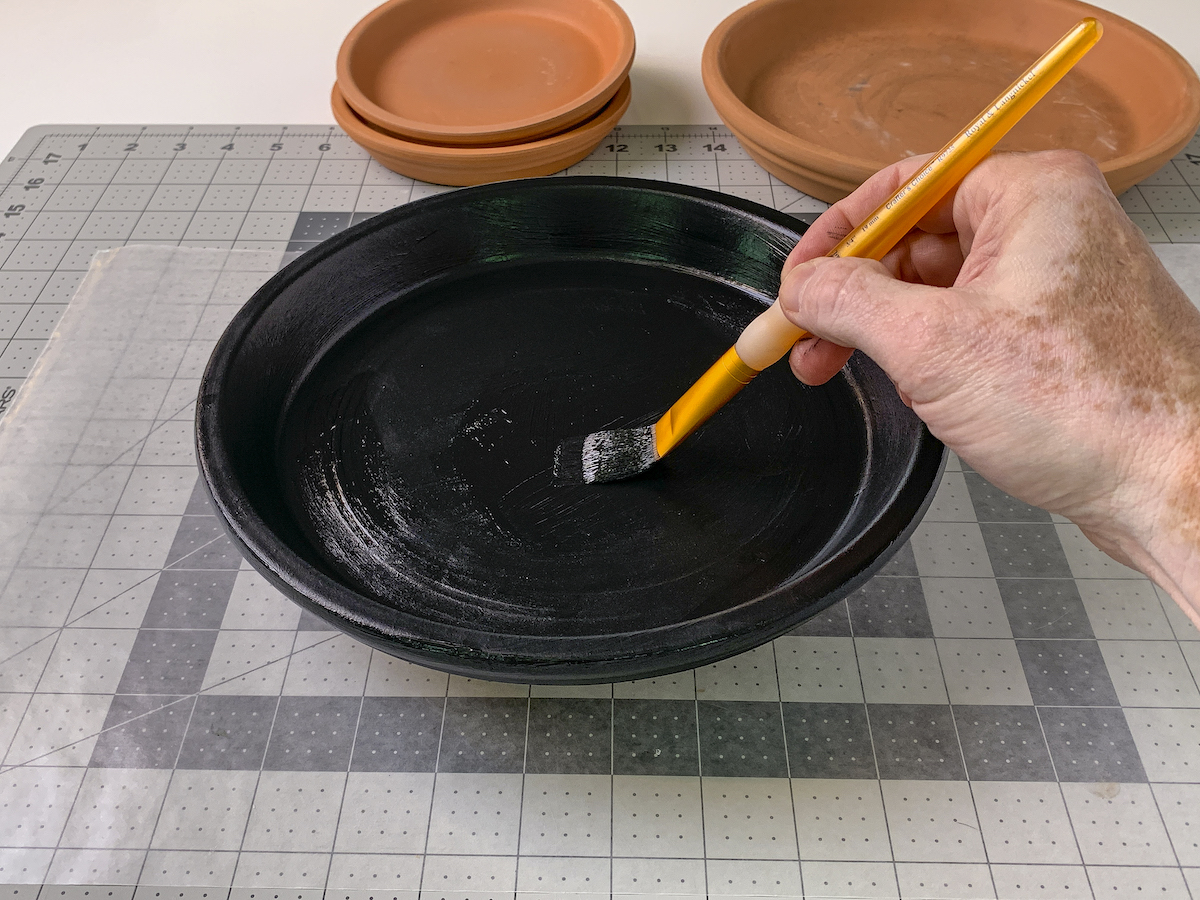
Give them a few coats and let the saucers dry.
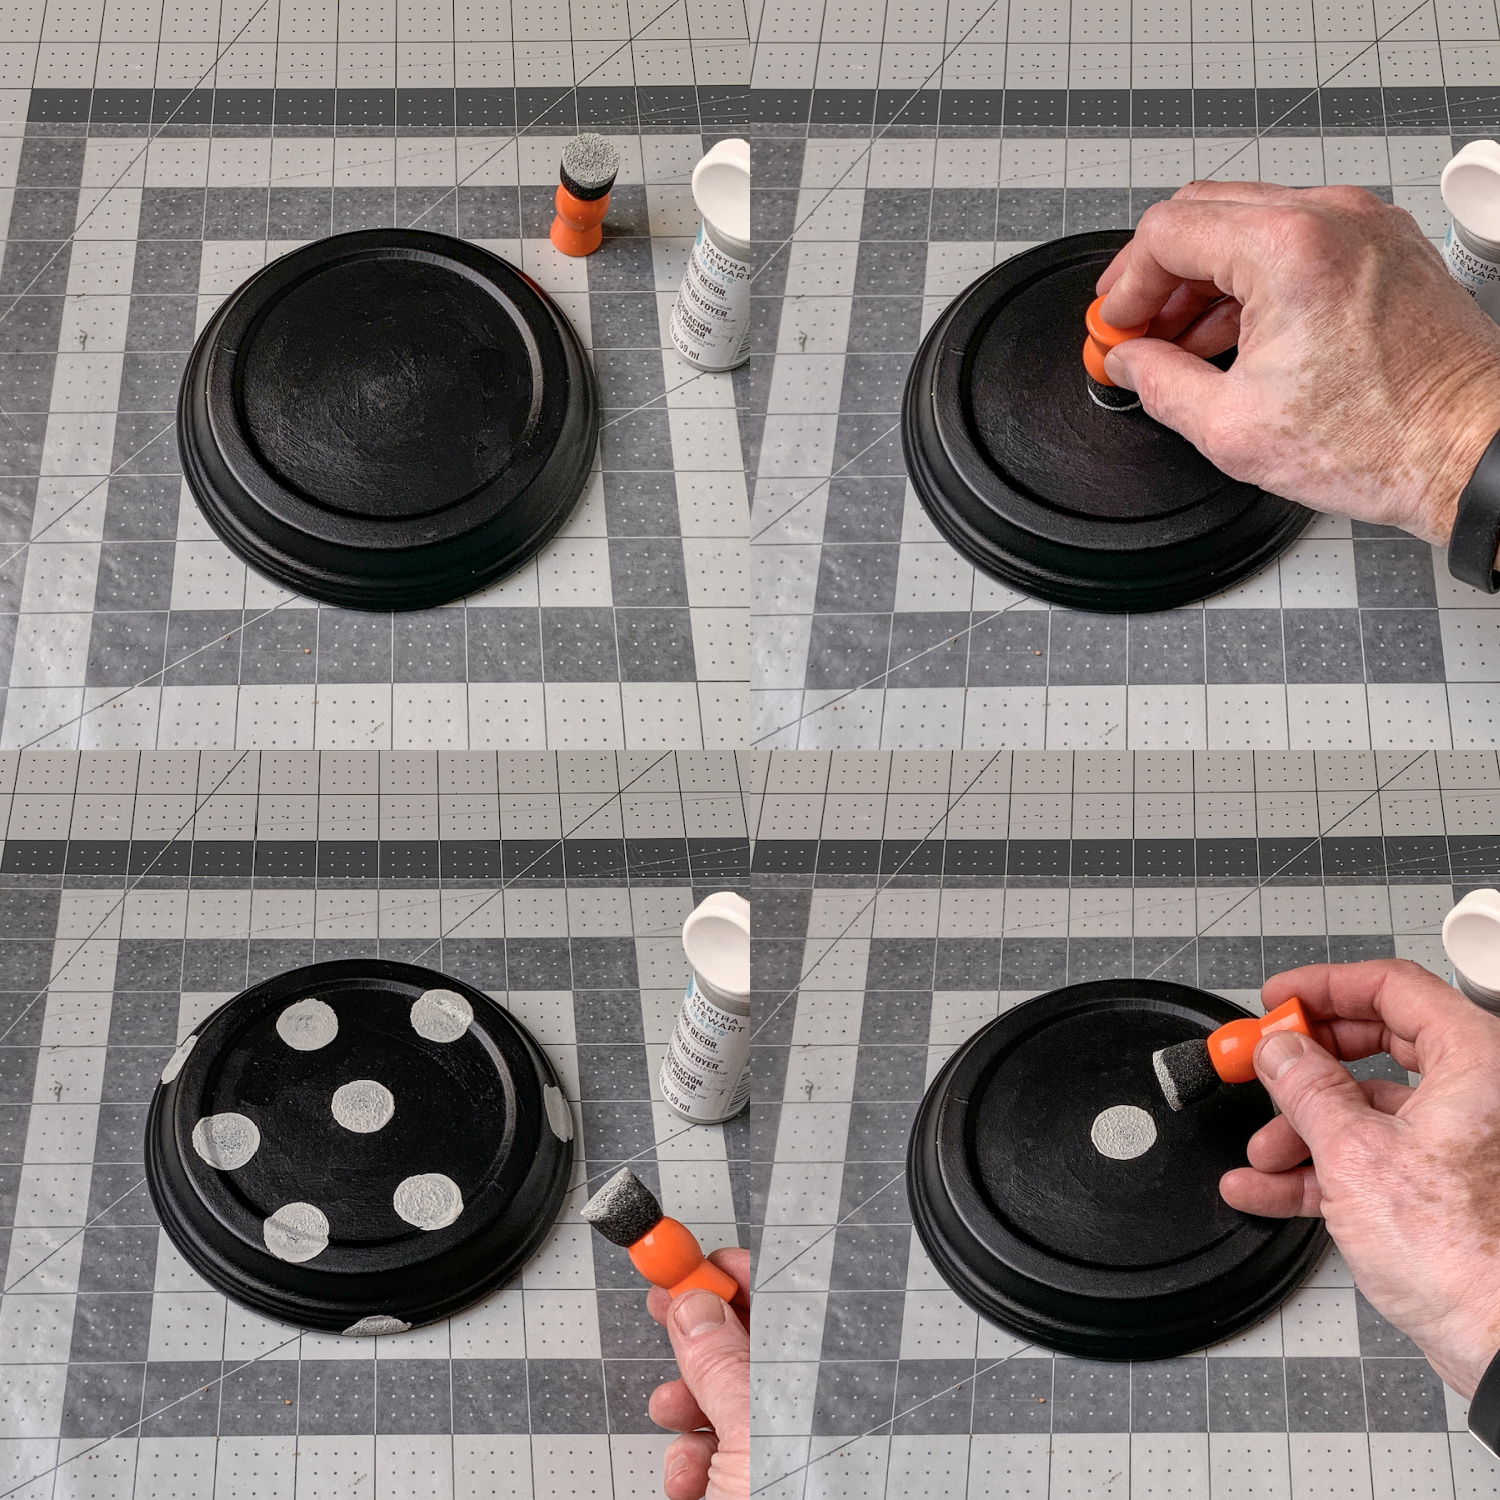
On the three saucers that are going to be your roofs, you’re going to paint dots to mimic the “mushroom” effect of a fairy garden. I wanted to keep some of the original elements of fairy houses like mushrooms, gnomes, etc.
A spouncer is the easiest way to apply dots to a surface. It’s basically a small circular sponge that you dip into paint and press down. If you don’t have one, it’s okay – you can use your paint pens to draw them. A spouncer just makes them perfectly circular very easily.
Paint the Houses
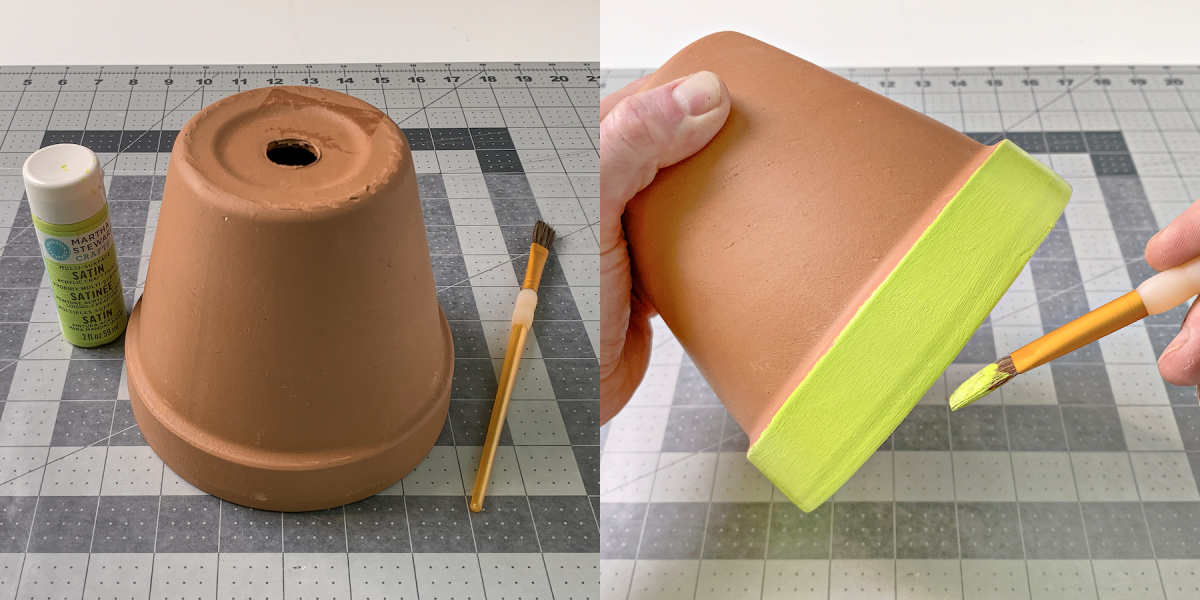
After the saucers are painted, you’ll paint the house. Again with multisurface paint. I used some fun colors on the bases of the houses themselves.
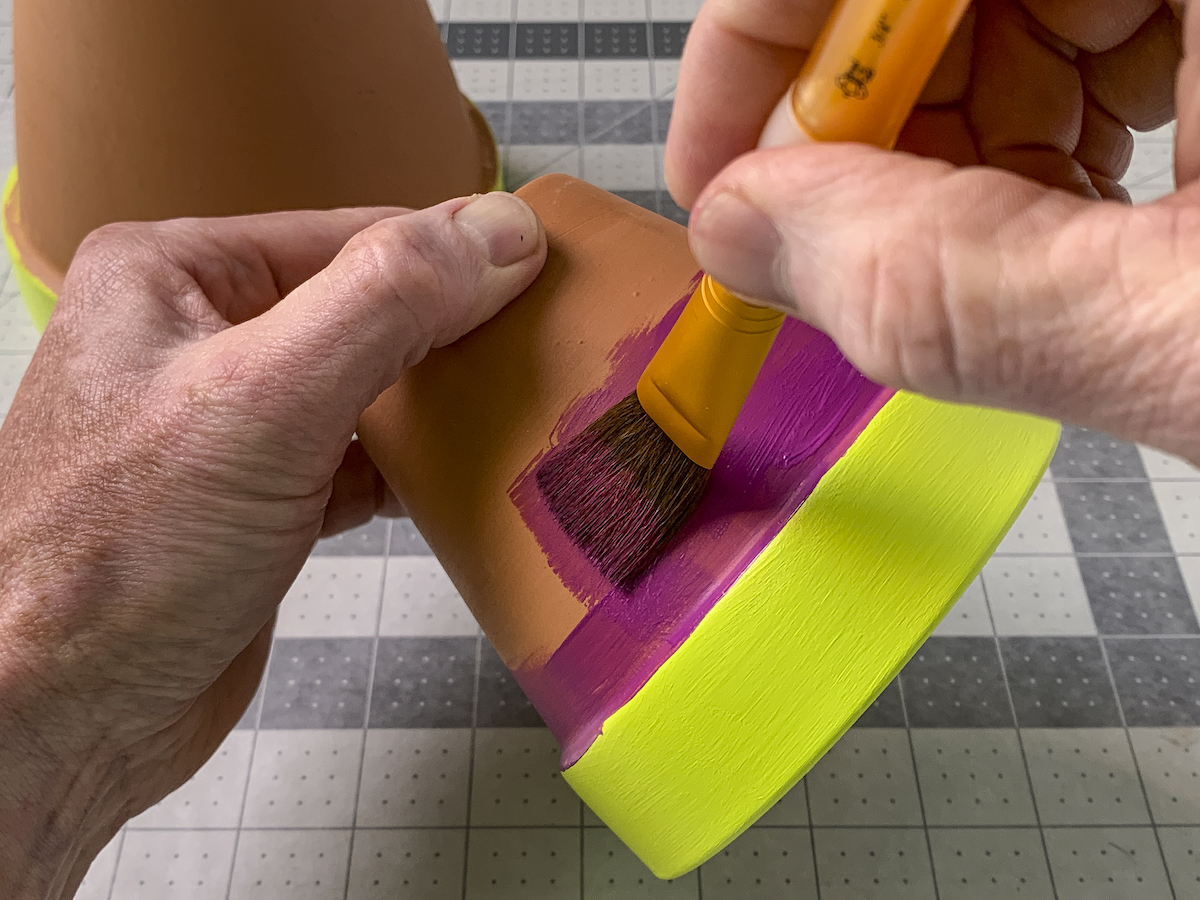
Paint the rims of the pots, let dry, and then paint the main portions of the pots. I loved using bright versions of Halloween colors on this project! Kids will love picking the colors.
Add the Accents
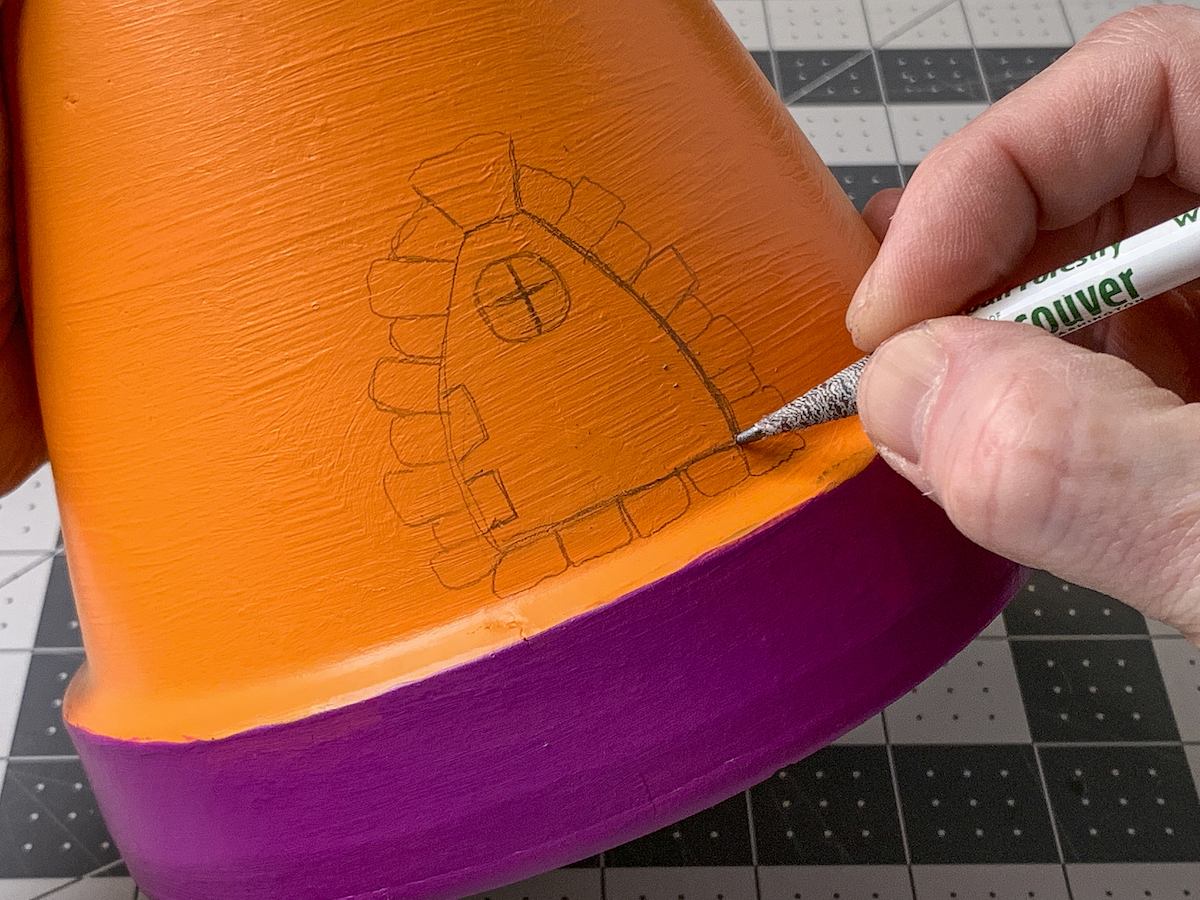
Before you get started with the paint pens, sketch out your design with a pencil. The paint pens will cover up the pencil and it’s a little forgiving (you can erase if necessary).
Grab the paint pens to draw the doors and windows on your Halloween fairy garden. I’ll show you the process, and you’ll use the same for the windows.
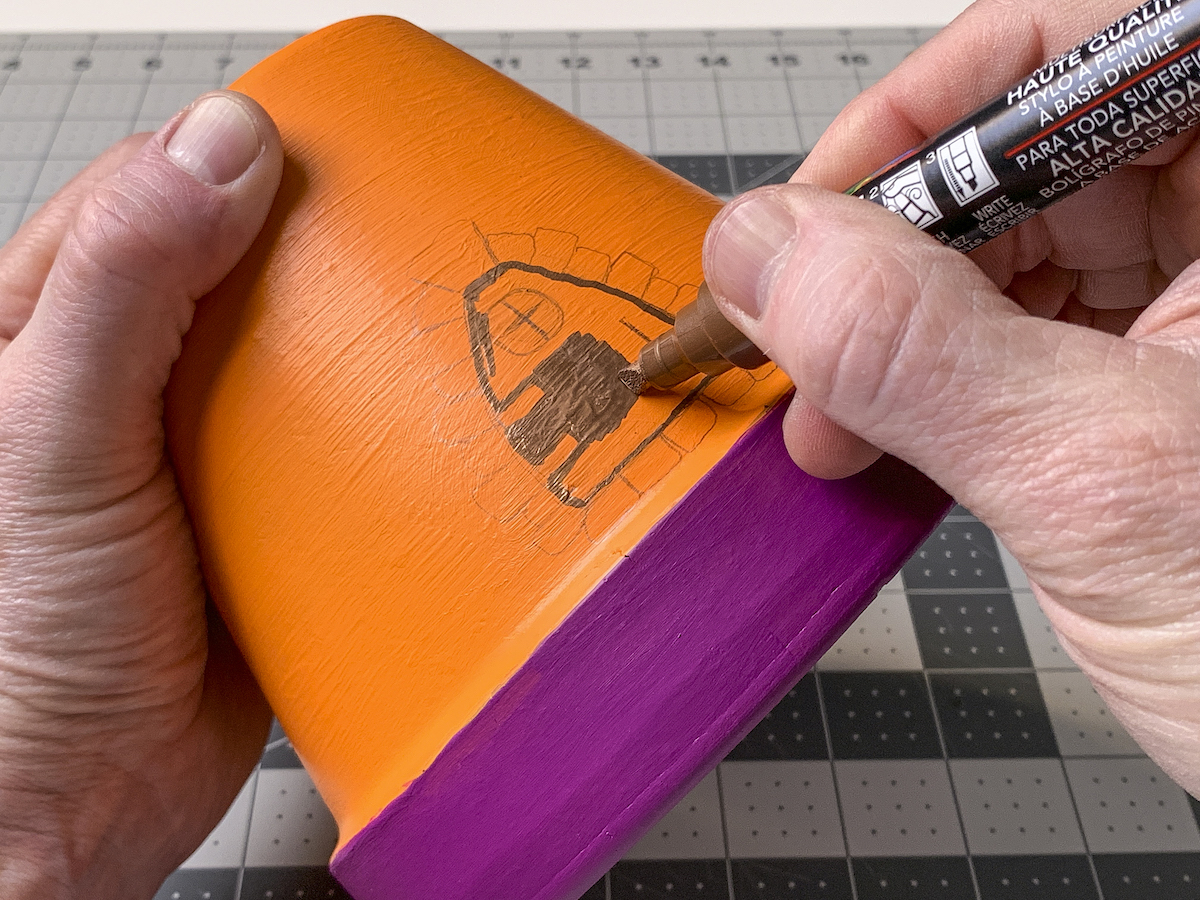
Paint the base door using the copper or brown pen. Let dry.

Add the bricks around the door with silver, and black lines on the door.
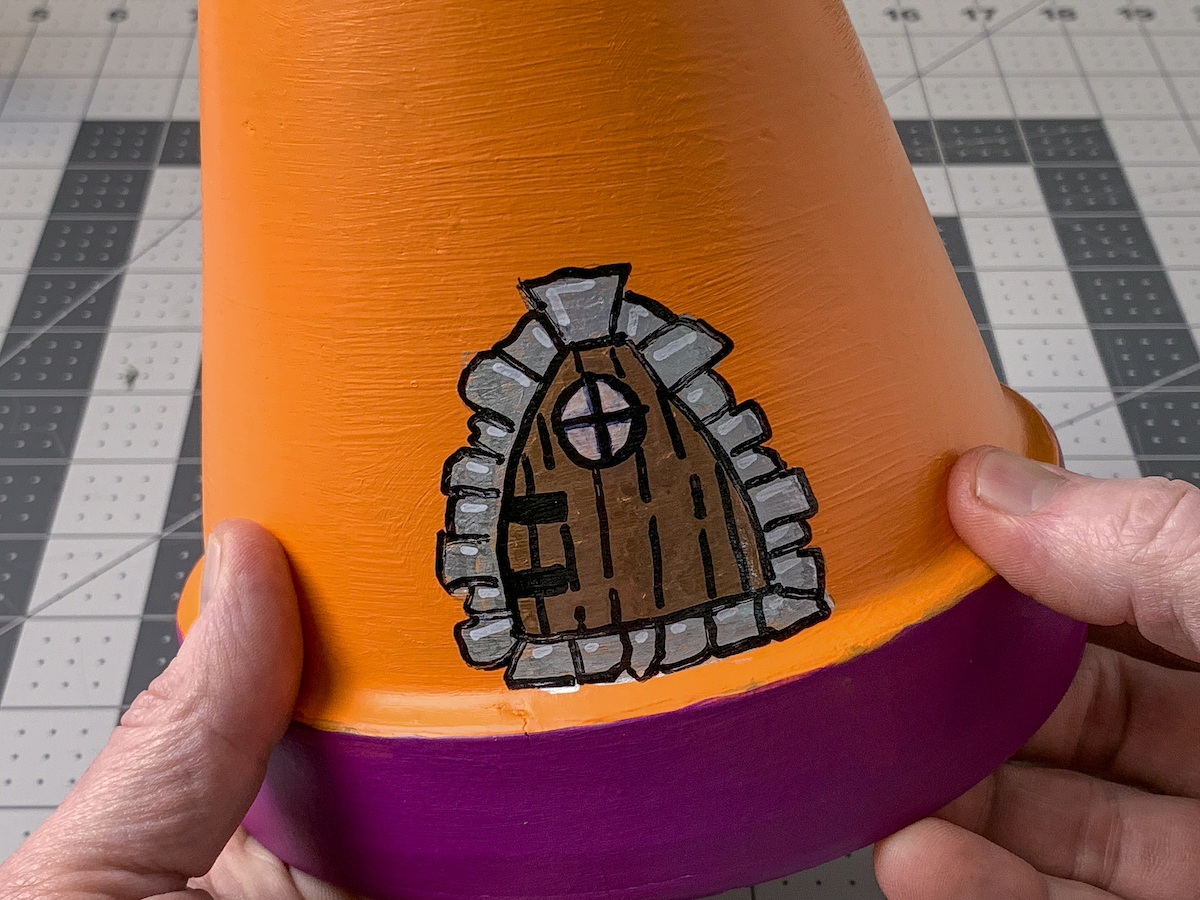
Finish the door by accenting the bricks with black and white paint pens. Finish all the doors and windows of your fairy houses and set aside to let them dry.
Cut the Grass
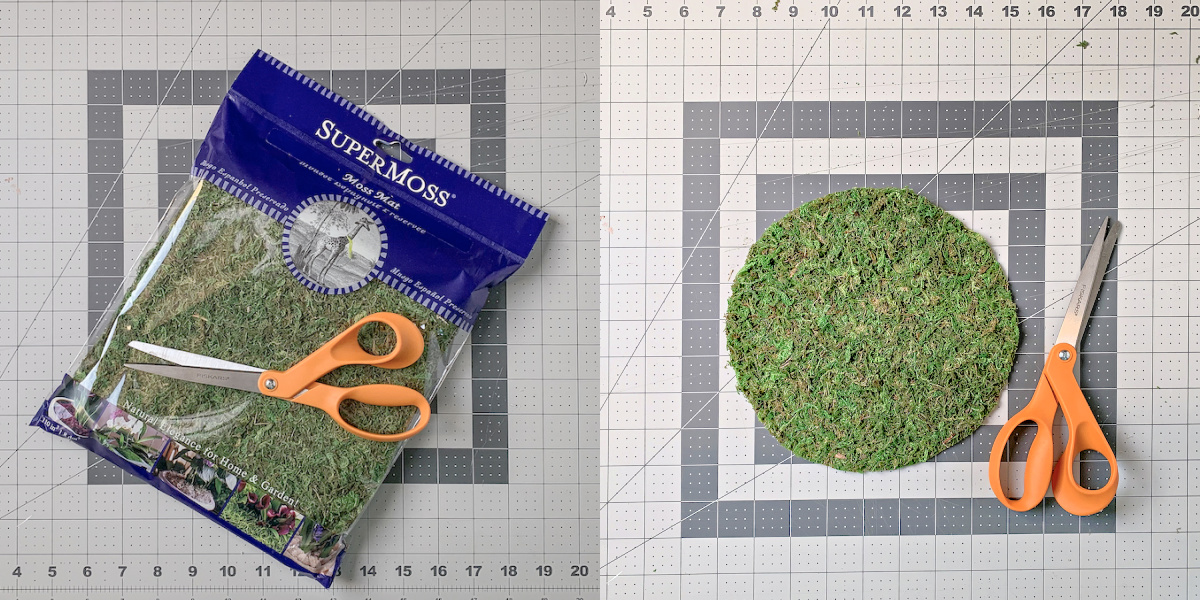
Take the floral moss and a pair of scissors and cut to fit the bottom saucers. The thing to keep in mind about the moss is that you might not want to use it if you live in a very wet area.
I live in the Pacific Northwest and I keep my Halloween garden outside, but under my front porch.So it does get exposed to water, but not soaked (which will destroy the grass and cause it to disintegrate).
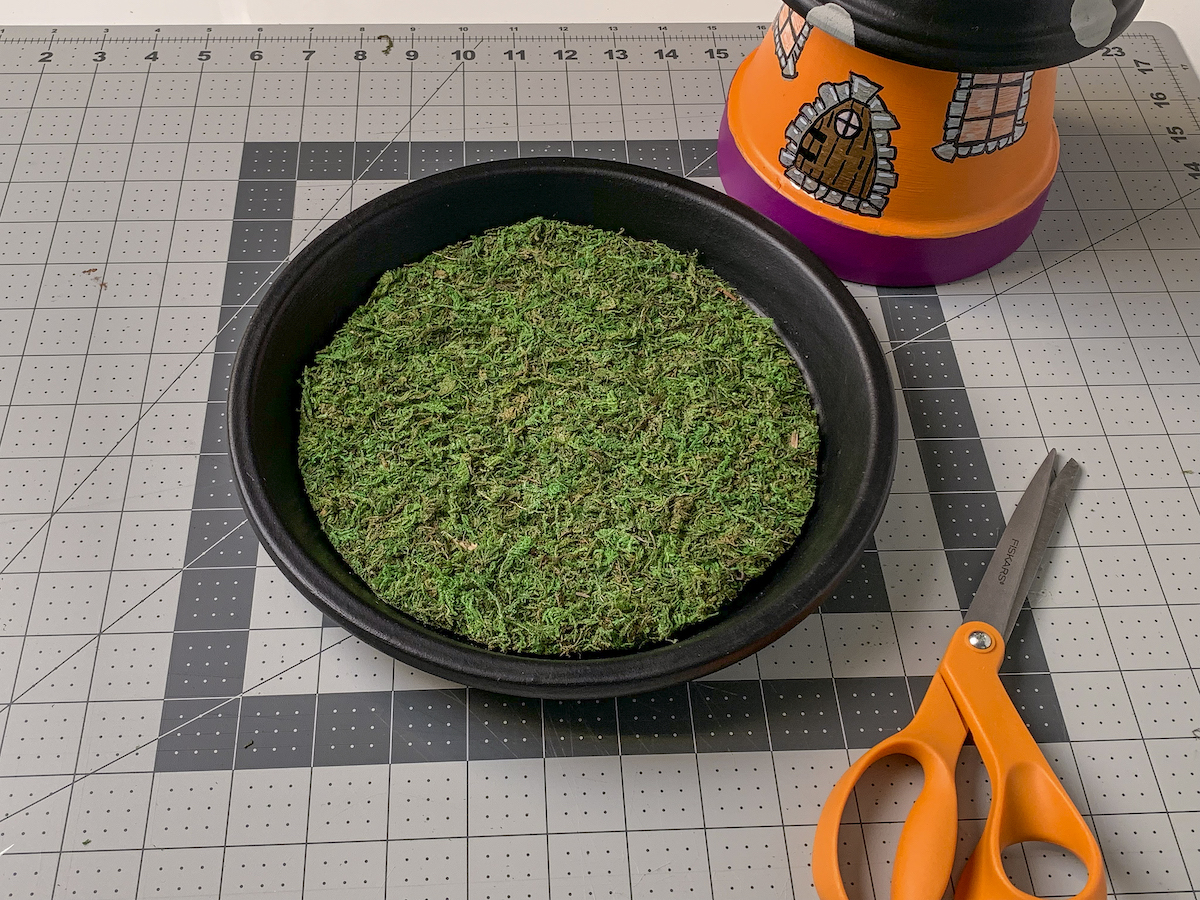
Glue the grass into the saucers with E-6000.
Assemble the Houses
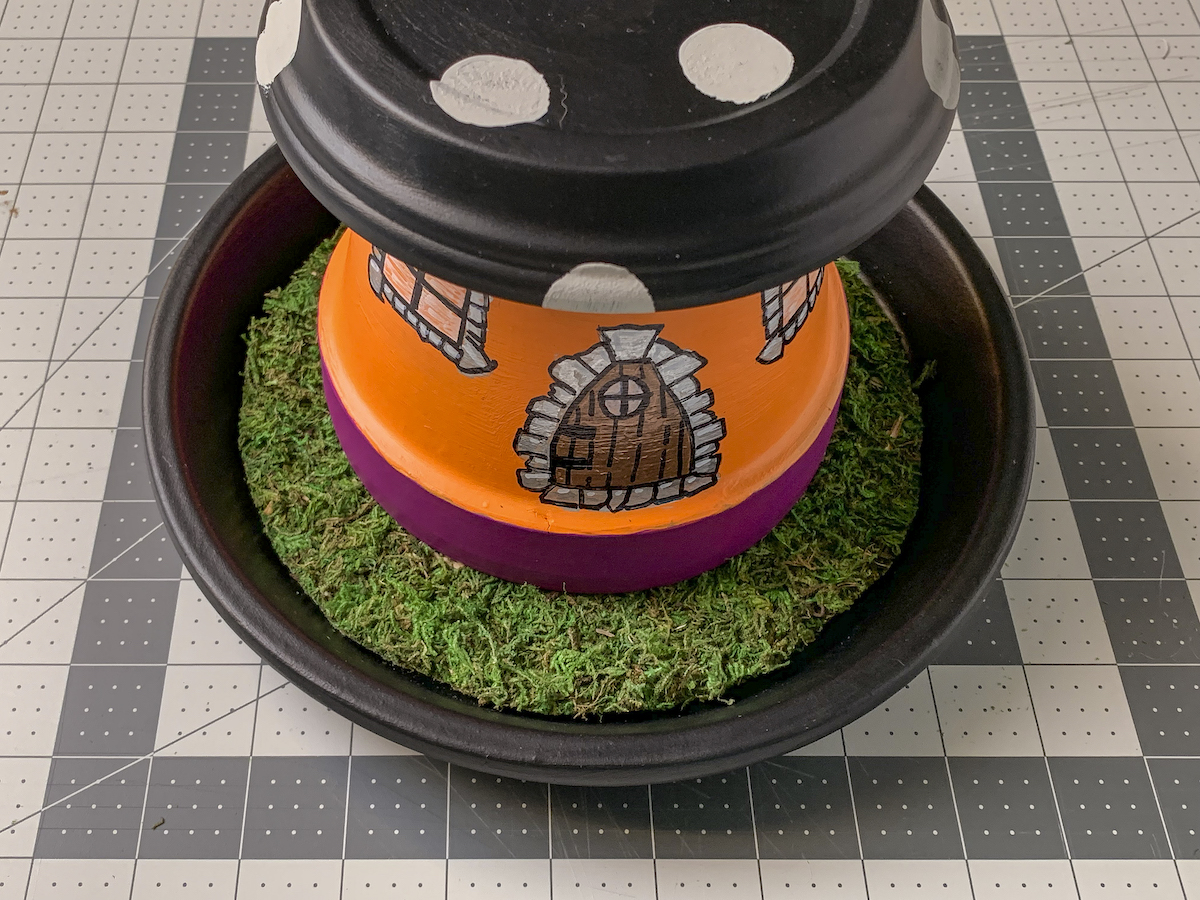
The last step before making your embellishments is to glue everything together. You’ve already glued the grass in, so you’ll want to glue the saucer roofs to the houses using E-6000. For the haunted house, glue the second layer on.
Let everything dry and then make the accents of your choice – ghost gnomes, headstones, and more! You will have so much fun putting your Halloween fairy garden together.
Check out these additional pictures of my houses.

You can add facial features to your ghosts with felt dots and glue or a Sharpie.
The ghosts were hung from the haunted house using a glue gun and embroidery thread. Boooooo!
So what do you think? I’d love to know in the comments! I’d also love for you to visit these other Halloween craft projects for kids:


Love the Halloween houses. Will save the idea for next year.
Thank you so much Barbara!