Add a nautical touch to your kitchen with this easy IKEA lazy susan makeover! Use a stencil to create a unique design.
Skills Required: Beginner. You will mostly be painting and then sealing with Mod Podge. You will use a vinyl cut stencil to create the design. There are options if you don’t have a cut machine!
I went to IKEA last week and I found some AMAZING things there!! Who wouldn’t, right?!?! IKEA always has all sorts of good surfaces. One of my favorite finds was this lazy susan.
It was only $10, and I knew I wanted to give it a Mod Podge makeover – it was a perfect blank slate to do anything with. The wheels of my DIY lazy susan started turning!
I originally thought of covering it with scrapbook paper, but once I started looking through my Mod Podge stash, I found some Ultra Matte Chalk Finish (now known as Super Matte).
Then I decided to go in a whole new direction. I started looking through my Silhouette library to see what they had that was summer themed.
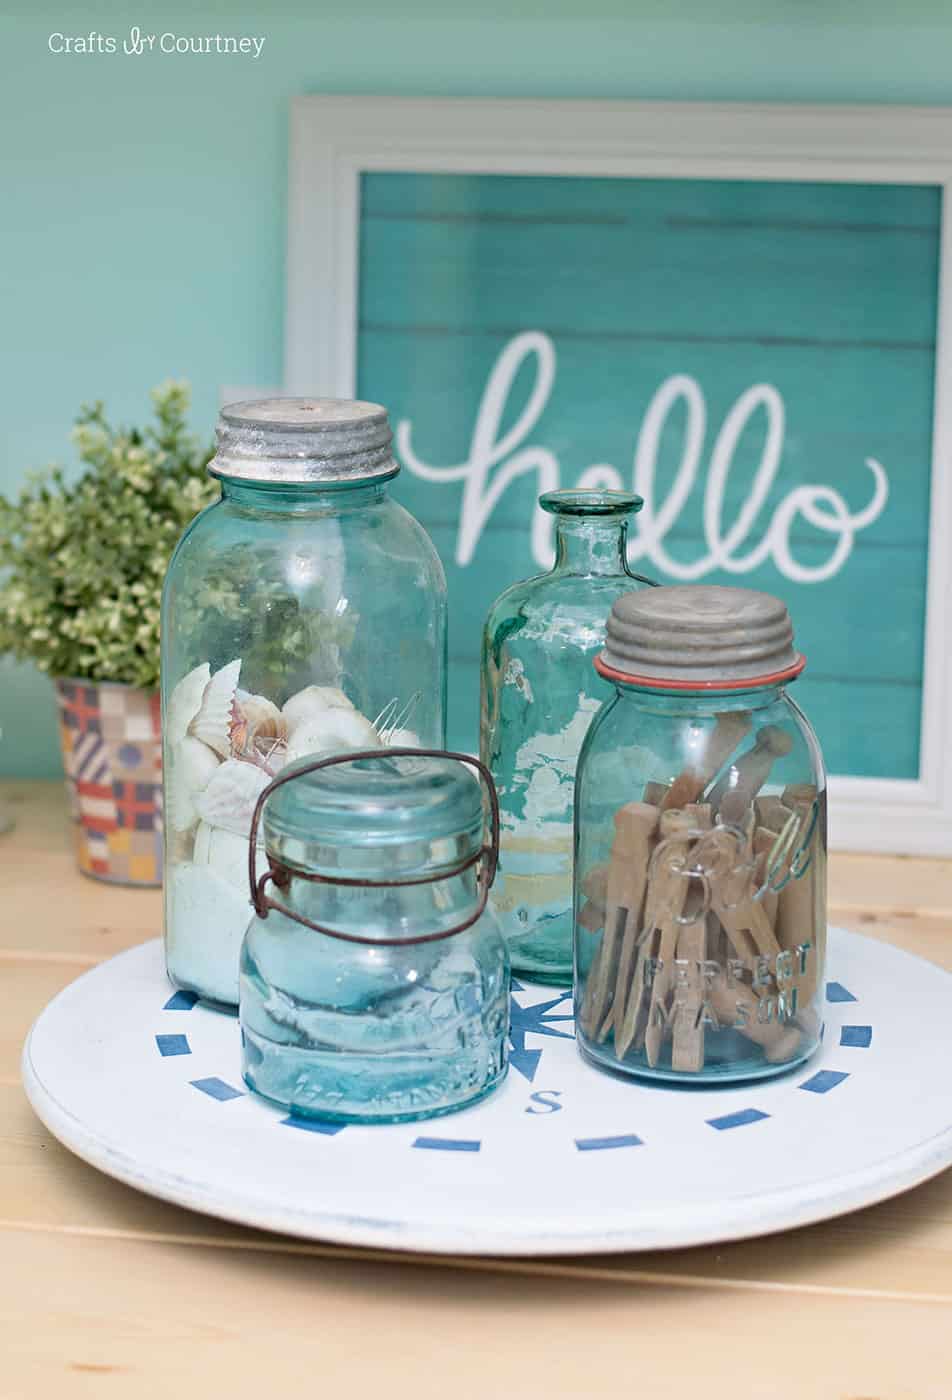
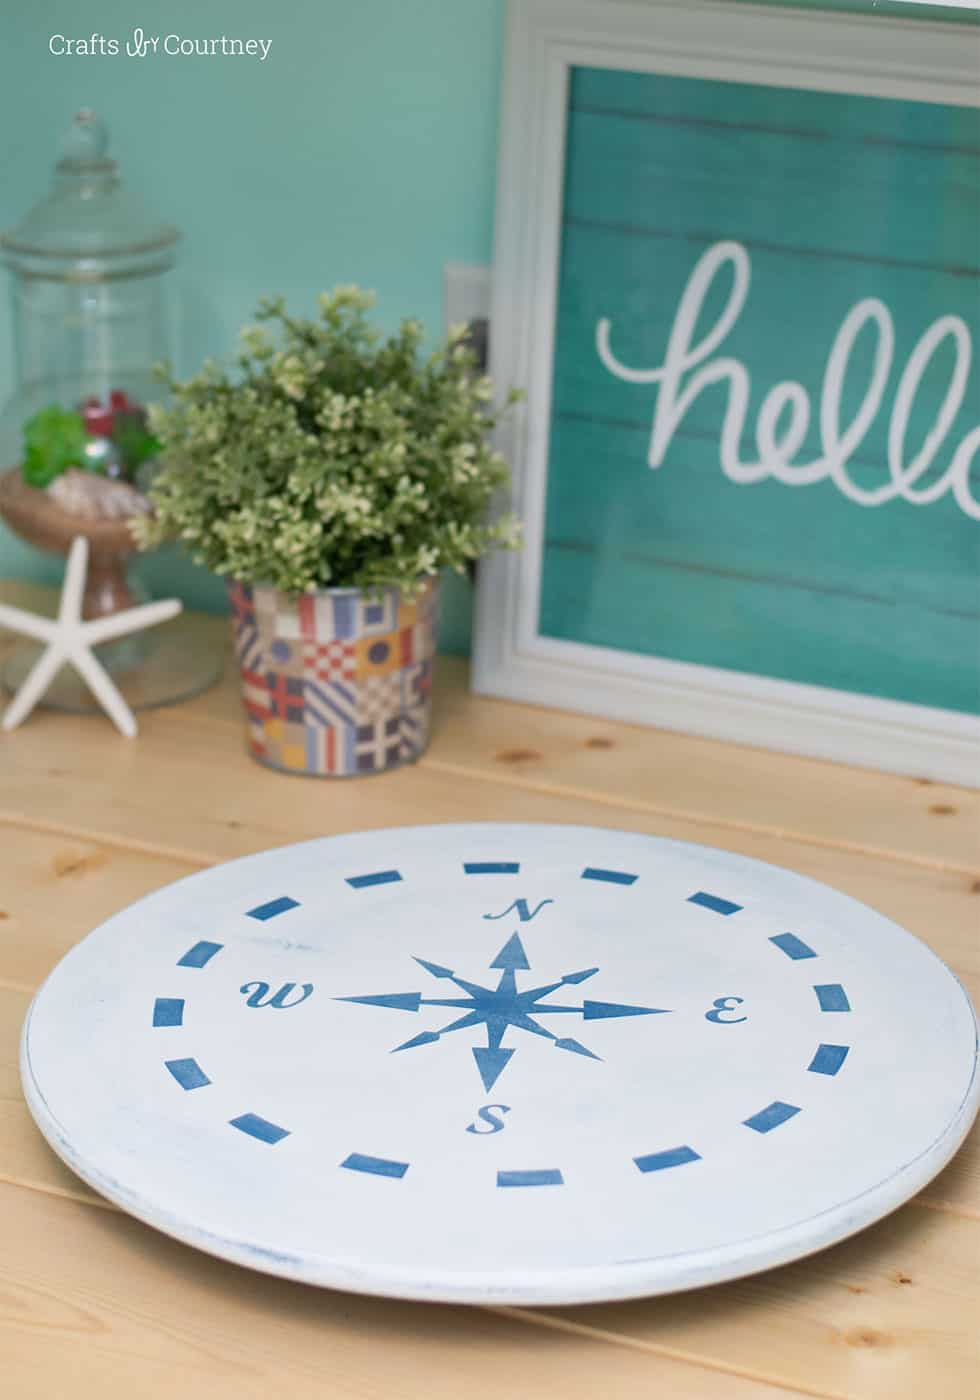
I was thinking of maybe adding a lobster or crab . . . but then I found a compass and thought that would be perfect. I decided to turn this lazy susan into DIY beach decor.
Here’s how I did it!
IKEA Lazy Susan Makeover
Supplies
- Mod Podge Super Matte
- Lazy Susan from IKEA
- Chalk paint or craft paint
- Stencil – cut from vinyl with a Silhouette
- Sandpaper
- Scissors
- Paintbrushes
Getting Started
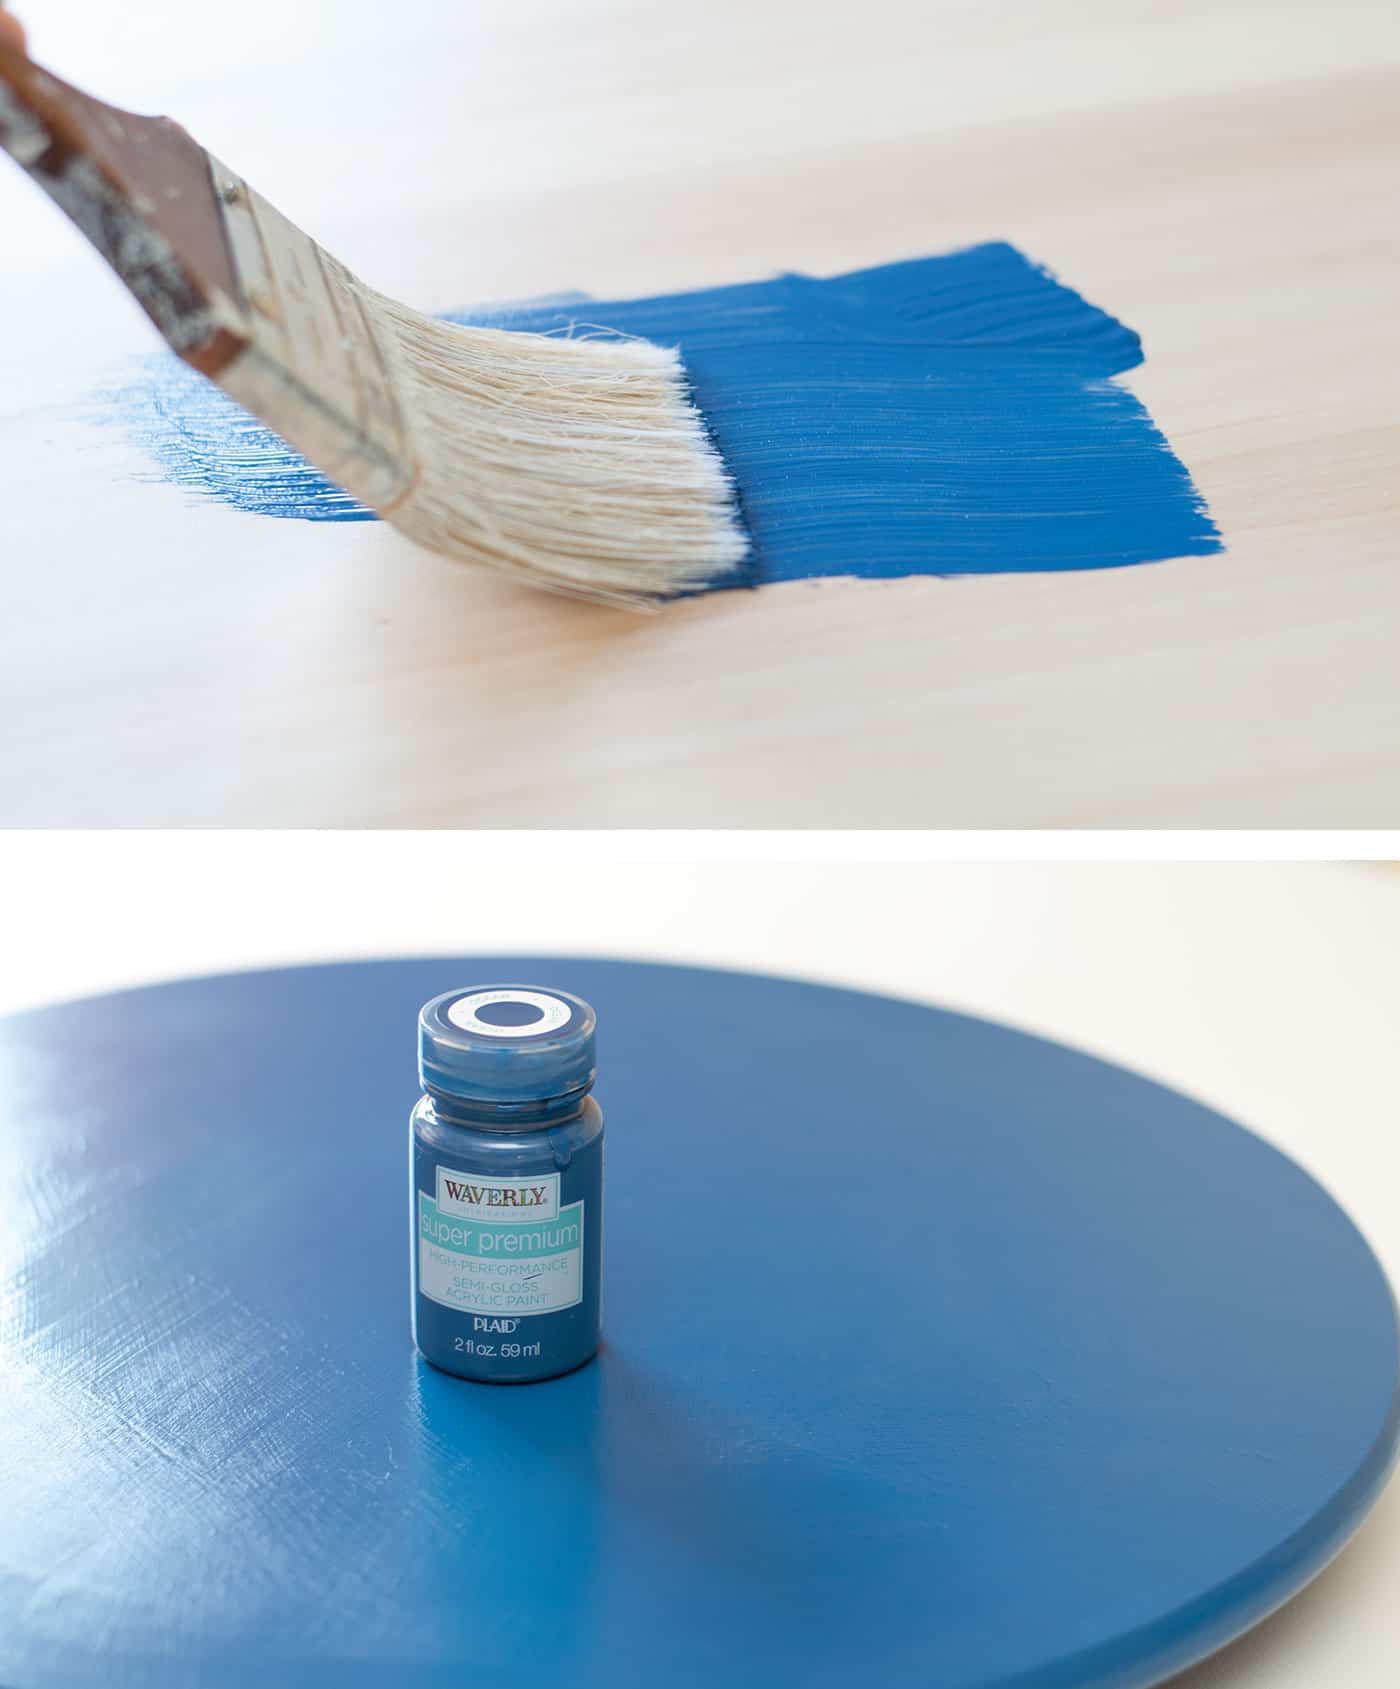
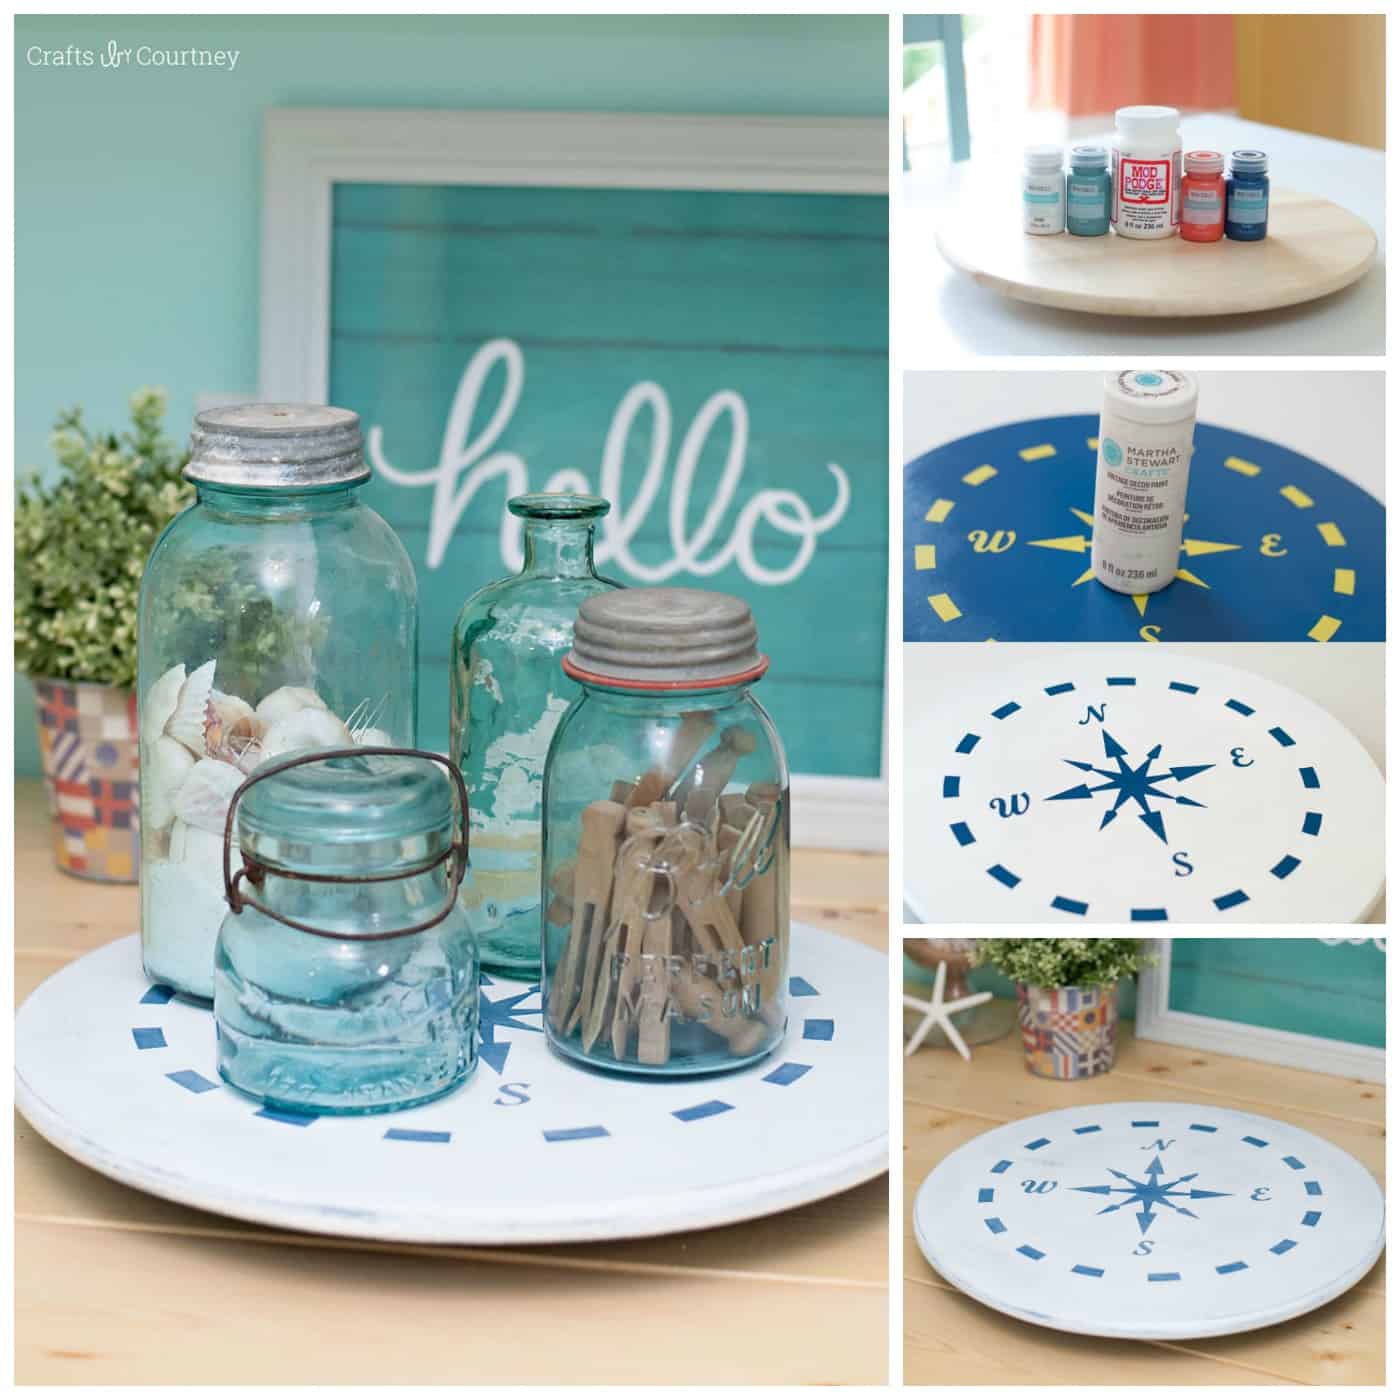
In addition to your other supplies, round up your paints. My local Wal-Mart got some new Plaid paints in and I was eager to try them out. Of course, you’re going to need Mod Podge.
Note: If you can’t find the Super Matte formula, use Hard Coat. That will work as well!

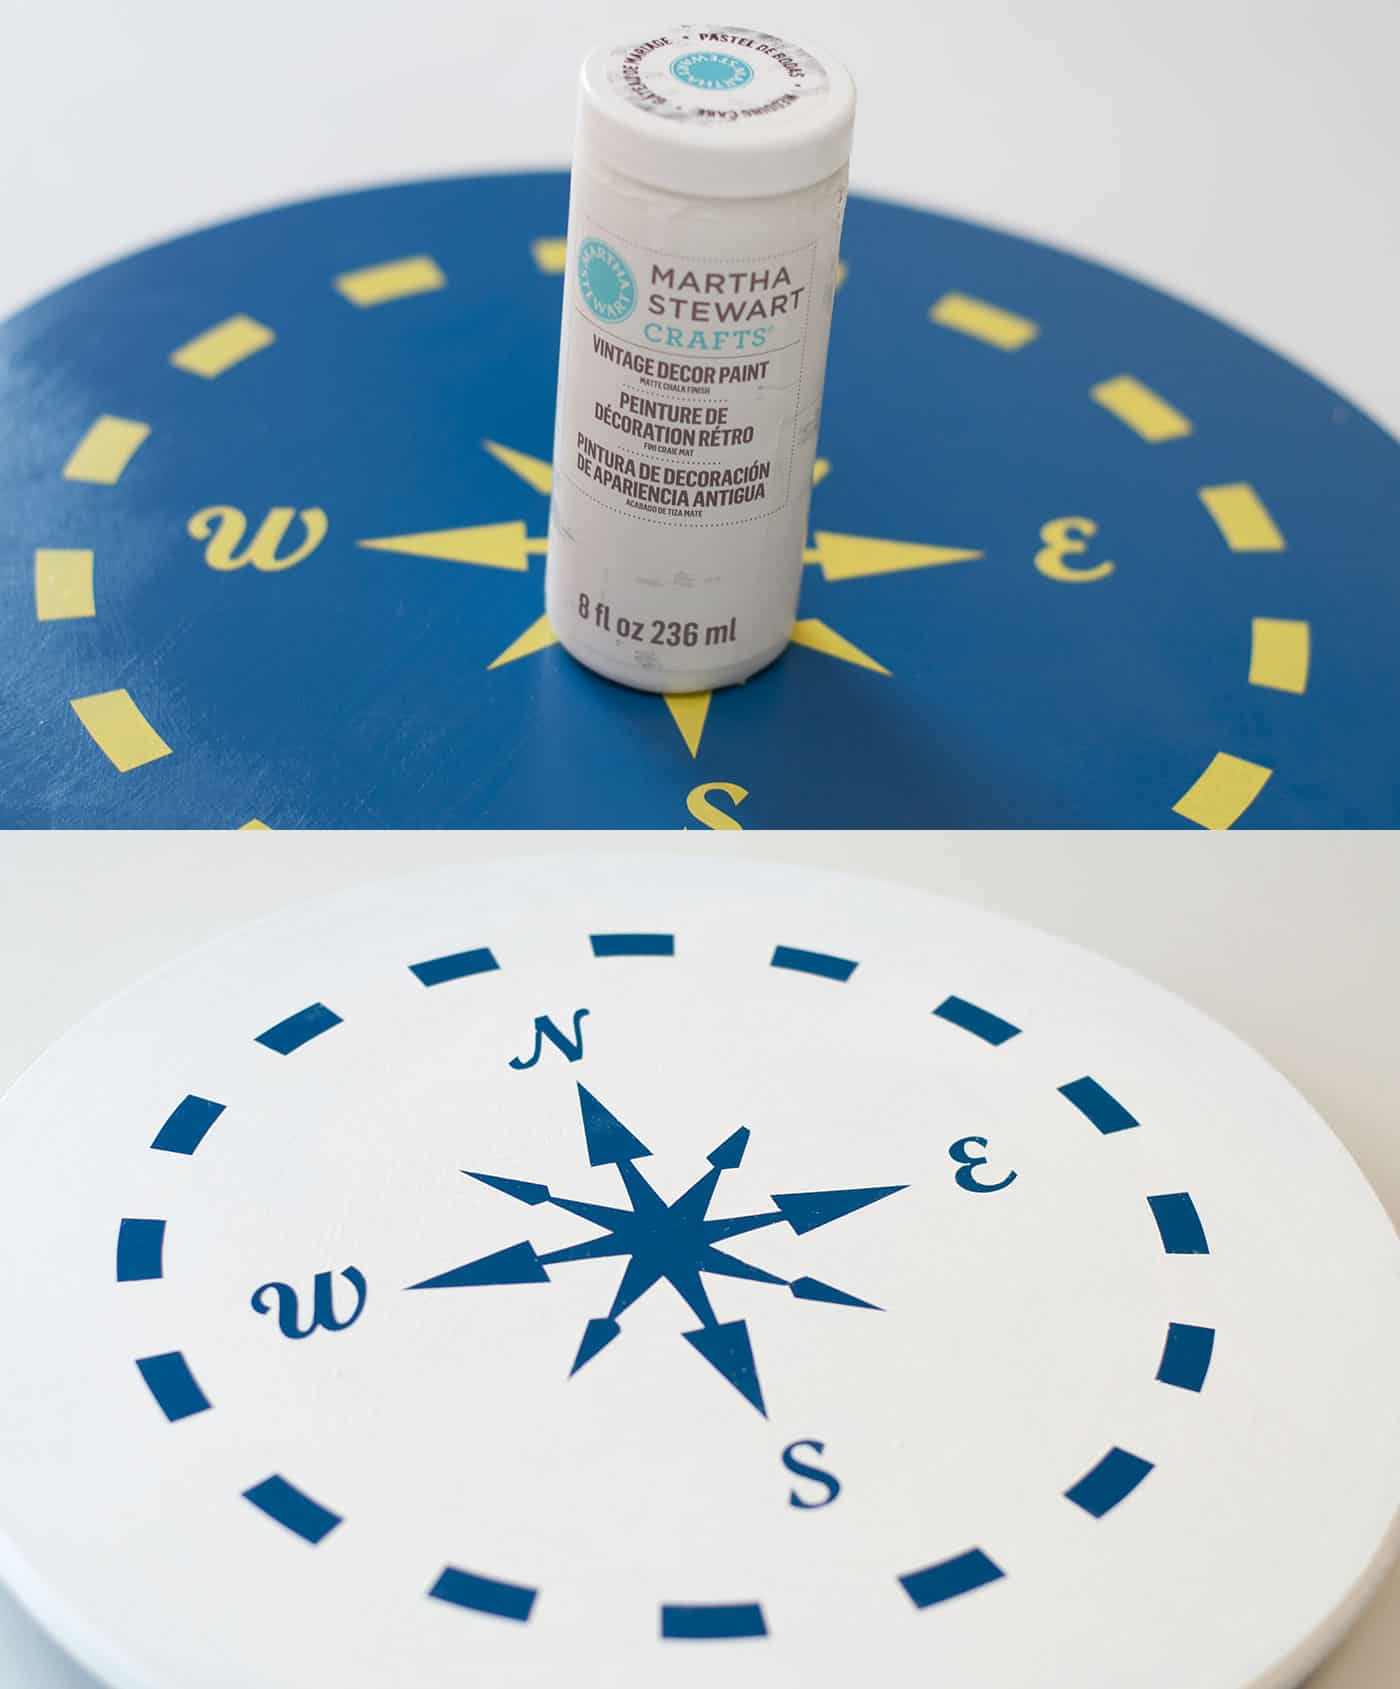
Step 1 – Paint First Coat
I painted on two coats of paint, letting each coat dry 20 minutes. Make sure to paint the top and bottom of the lazy susan. I think this blue is a beautiful color, don’t you?
Step 2 – Cut and Add Stencil
Next, I used my Silhouette Cameo to cut my stencil. BUT if you don’t have a cutting machine, craft stores have a lot of stencil options. You can use a regular stencil with stencil adhesive and apply any design you want.
You can also go on Etsy and get a custom vinyl stencil created with any design and any size. This is nice if you want to create something to fit your exact surface.
Note: If you have any questions about cutting a stencil with your Silhouette, just leave a comment and I will be happy to answer!!
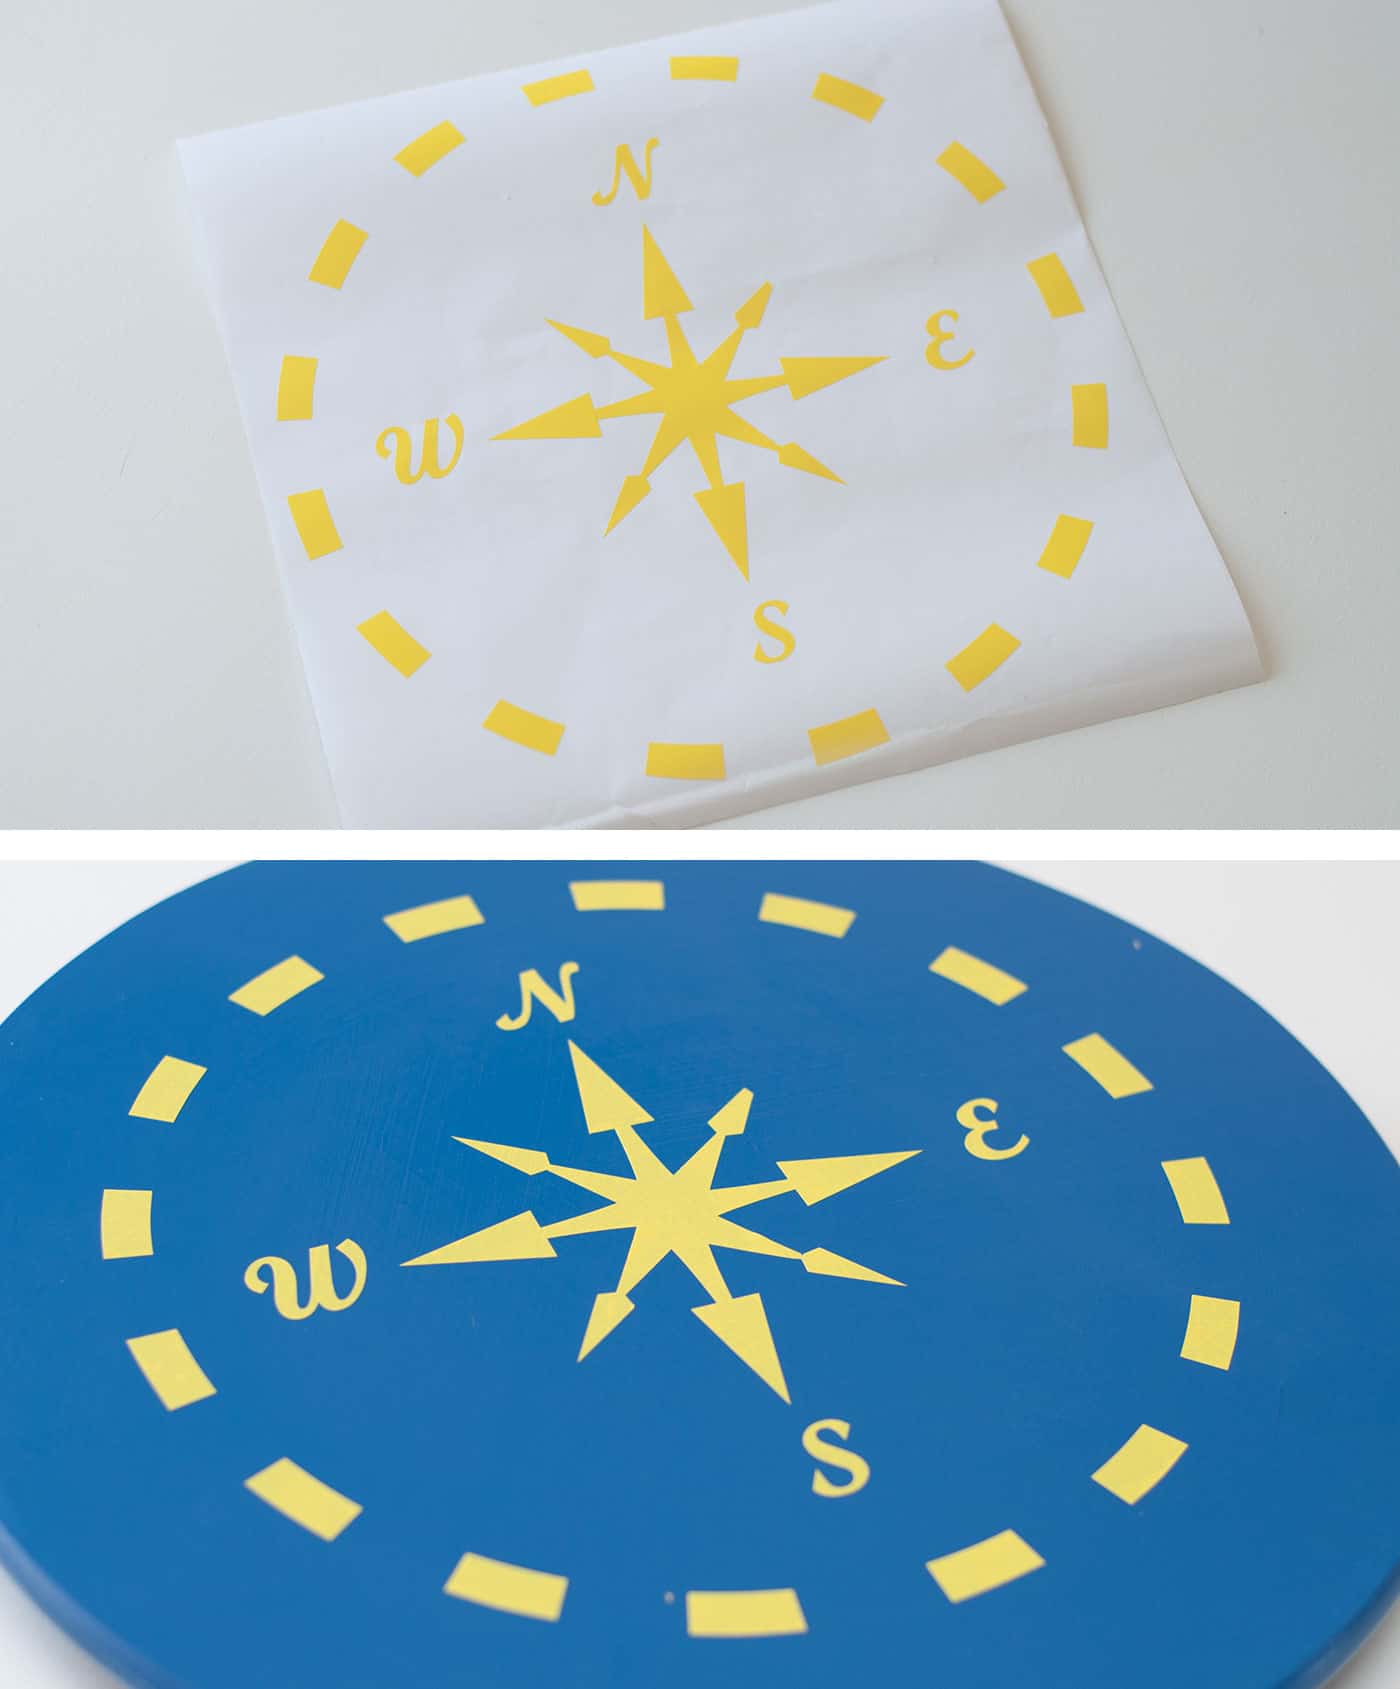
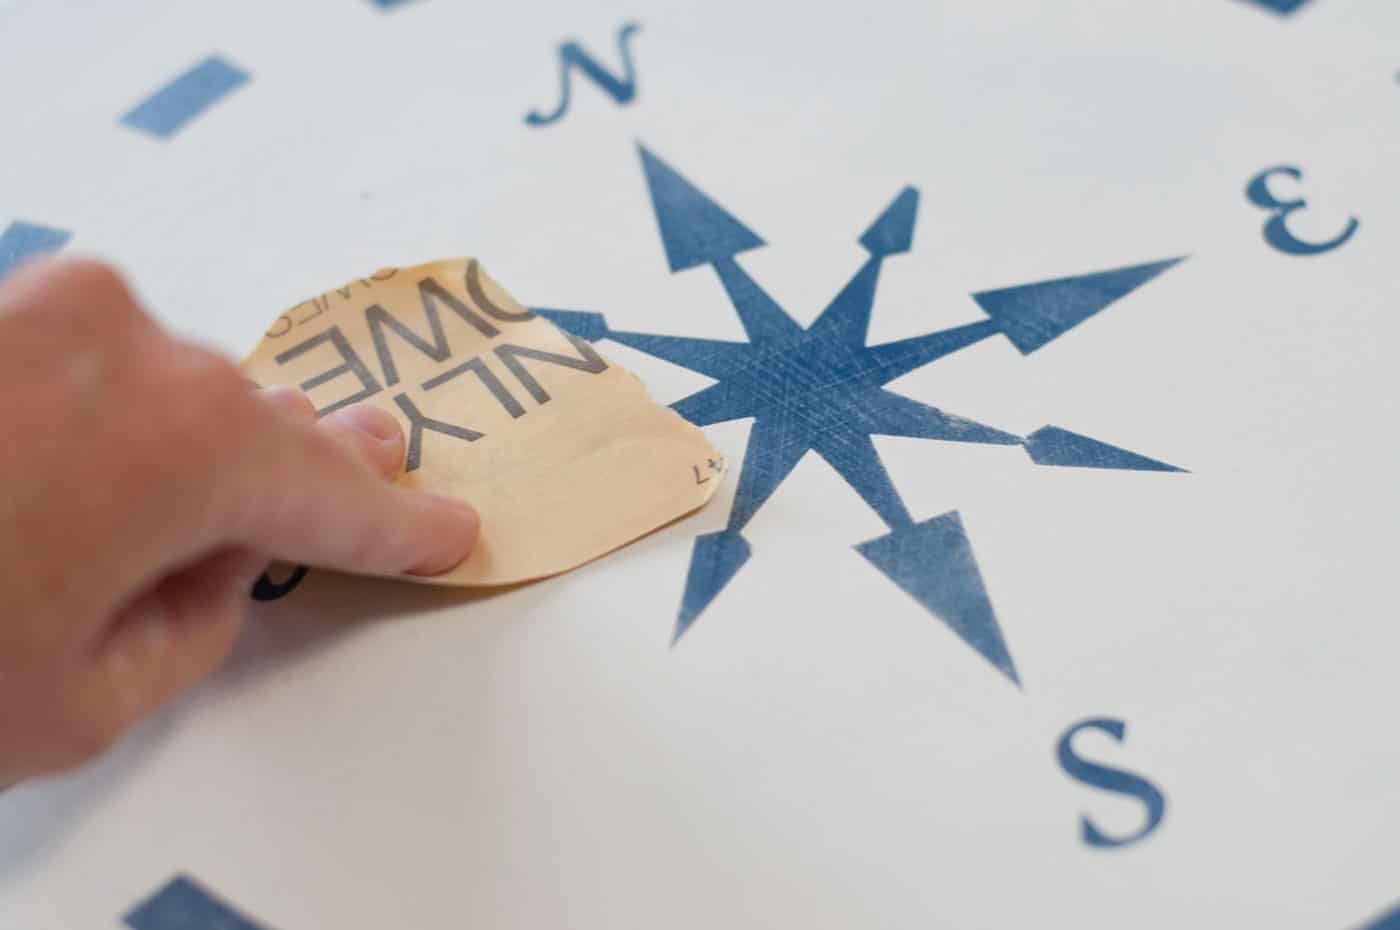
Step 3 – Add Final Coat of Paint
I pulled out some Martha Stewart Chalk Paint and painted over my stencil. I did a total of 2 coats for this step. Once my paint was dry I pulled off my stencil. It always turns out perfectly when I make a stencil using vinyl and my cutting machine!
Step 4 – Distress
I love to distress my chalk painted projects. So I grabbed some light sandpaper and went to town!!!
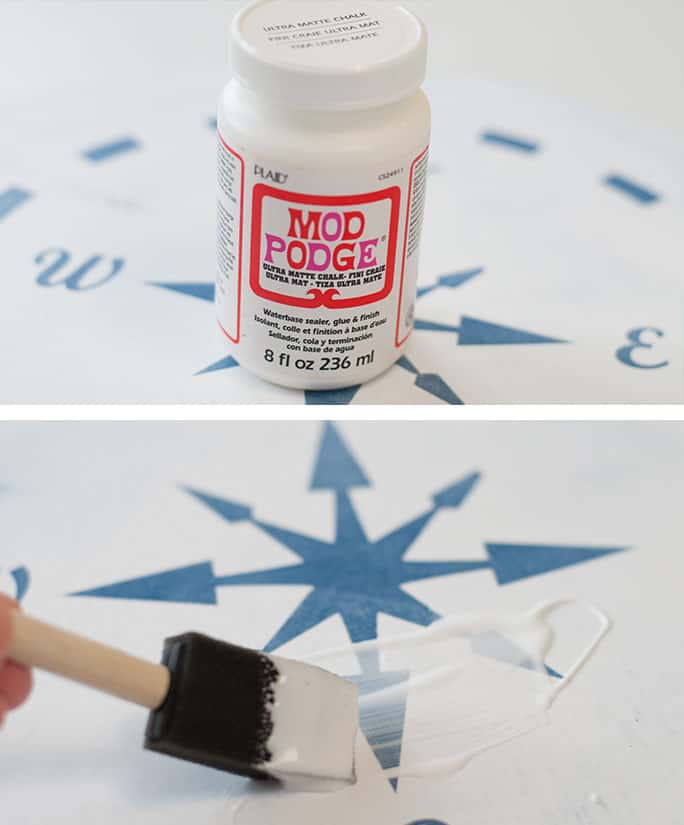
Step 5 – Add Layer of Chalk Finish
Finally I added a layer of the Super Matte Mod Podge and let dry an hour before use. It goes on really easy.
Finishing Touches
You can’t tell in the picture, but it has a perfect chalky finish on it. This is a great alternative to waxing your furniture, especially with a piece like this.
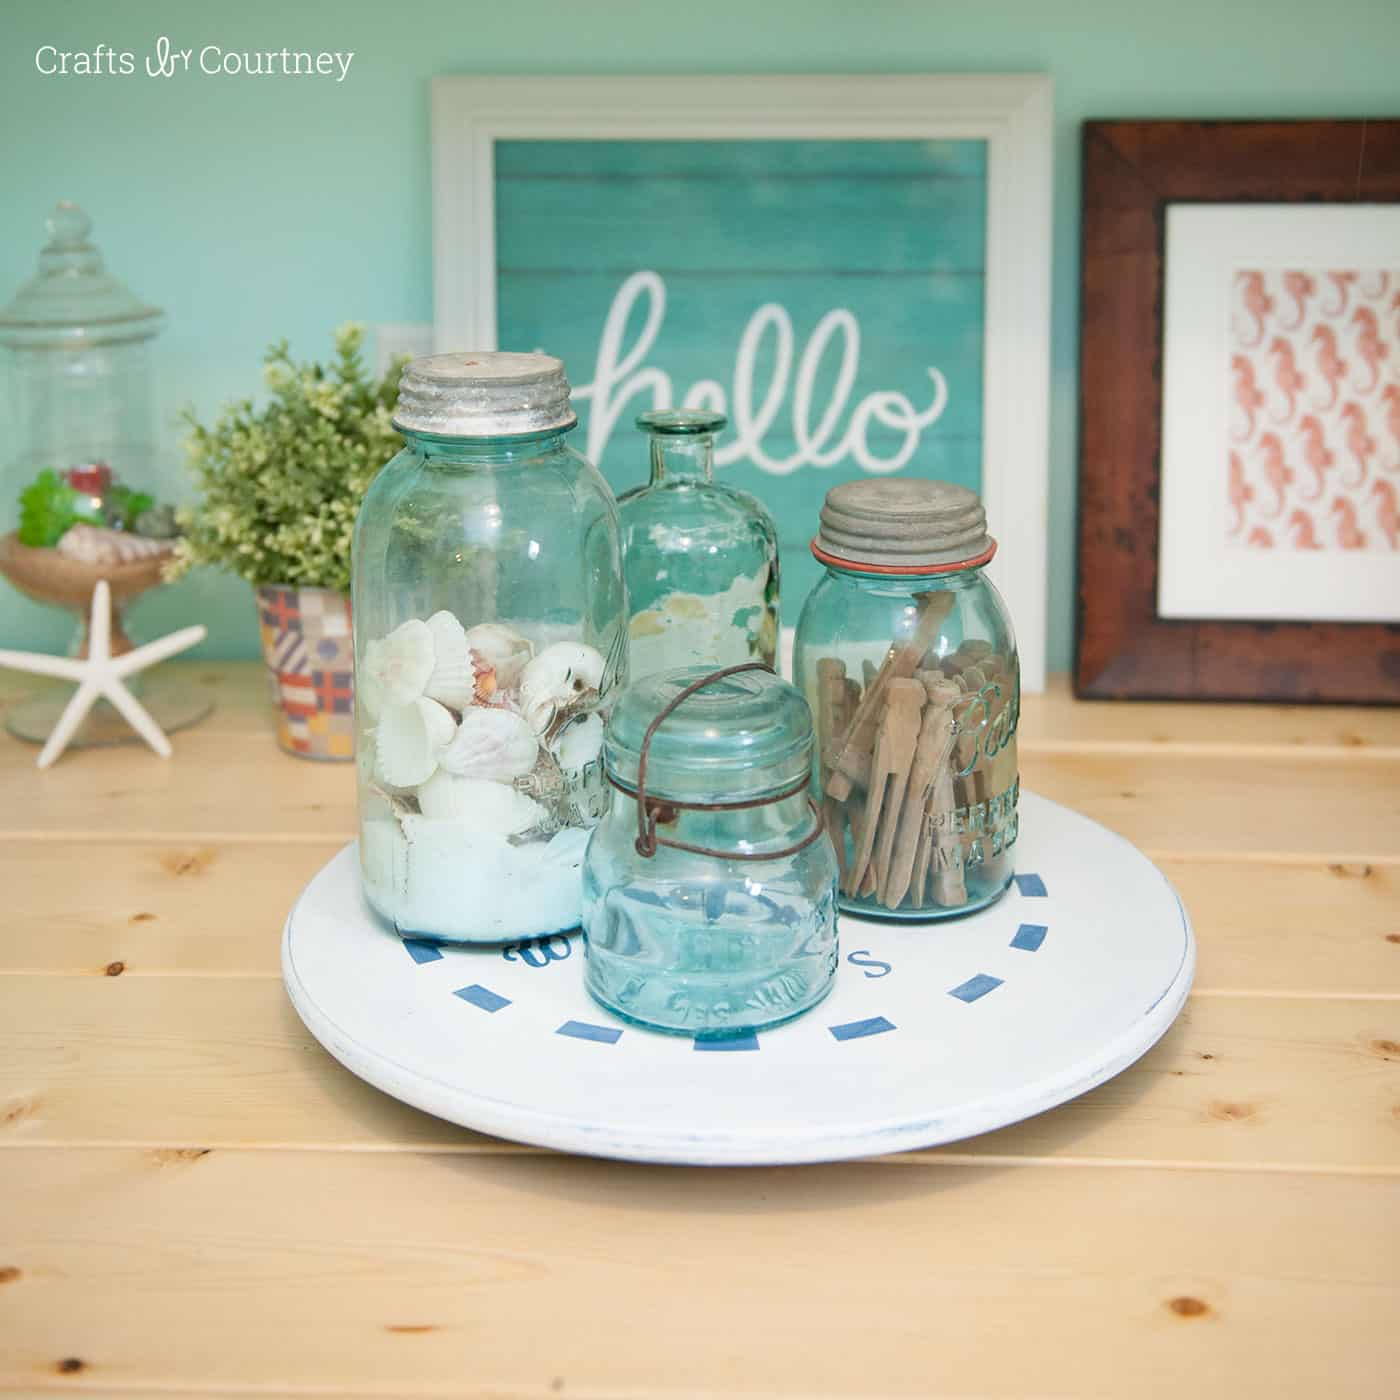
This nautical DIY lazy susan will fit in perfectly with my new laundry room makeover. I can’t wait to try this chalk finish out on another project soon!!
If you guys want to get even more crafting inspiration, I’d love for you to visit the following projects: