
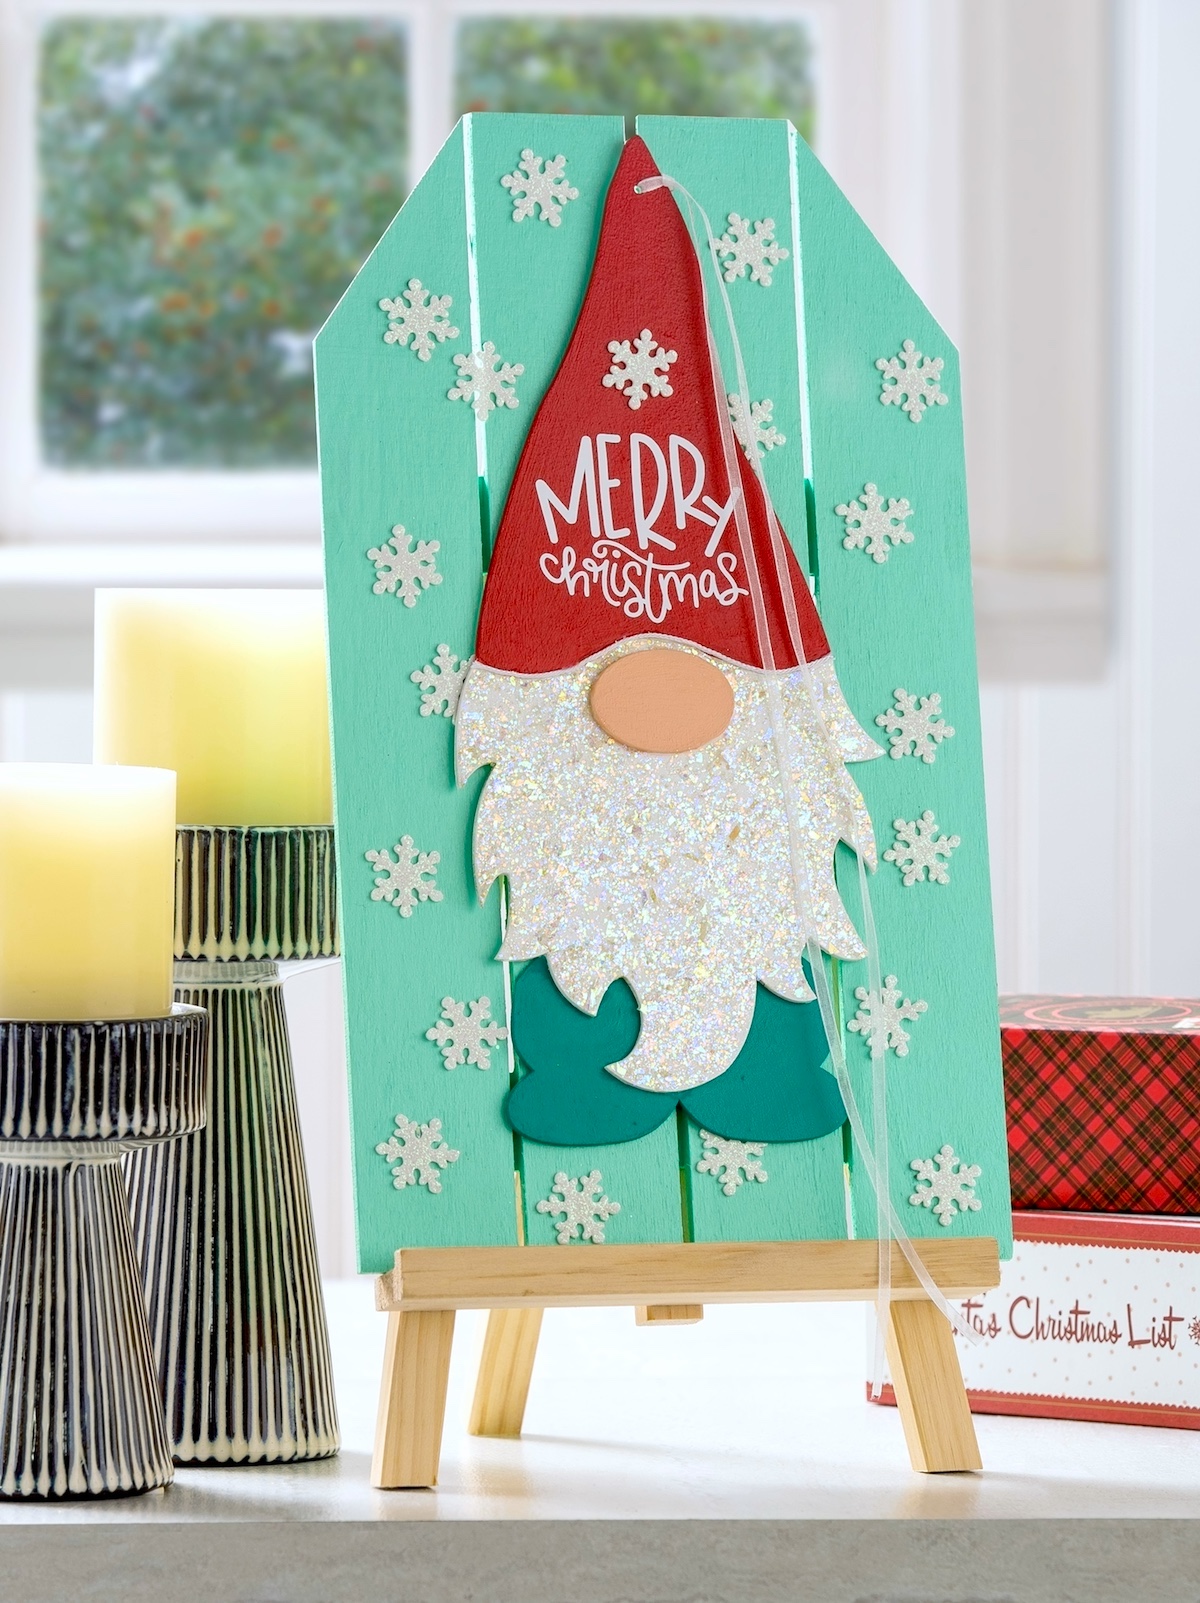
This wood gnome Christmas decor is so easy to make with surfaces from the craft store and your favorite holiday paint colors!
Skills Required: Beginner. You’ll mostly be painting, then sealing with Mod Podge. I also used a Cricut machine, but you can substitute with adhesive letters.
Do you have those stores you can’t go into? Because I do. For me it changes based on what I’m hooked on in the moment, but lately it’s been Dollar Tree.
This isn’t permanent – instead it’s a moratorium, because I’ve been hitting their Crafter’s Square pretty hard these days.
I did a lot of Halloween projects using their wood surfaces, and I didn’t even finish everything I had intended to make before the Christmas supplies came.
Faster than I could say “jingle bells,” the racks were stocked again and there was new Christmas wood I had to have. Not to mention, a ton of embellishments like stickers, ribbon, mini ornaments, and a bunch of other “stuff” I couldn’t leave without.
One of those items was a wood gnome. Yes, the same wood gnome that I used in this Christmas decor! I’m going to show you what I did to assemble this guy together with other supplies into a cute holiday craft.

The large wood gift tag I already had in my stash from Michaels, and I also had the paints. The snowflake stickers were purchased as part of my Dollar Tree haul . . . and the rest just came together!
The wood surface came with a hole at the top, and I drilled a hole in the top of the gnome’s hat to give me the option to hang. But I like that I can display it by propping it up on a Christmas mantel as well!
Here’s what you’re going to need to start.
Gather These Supplies
- Wood gift tag
- Wood gnome
- Craft paint – white, aqua, teal, red, peach
- Mod Podge Hard Coat
- Folk Art Glitterific or Mod Podge Extreme Glitter
- Snowflake stickers
- Cricut with vinyl and a “Merry Christmas” saying, or adhesive letters
- Ribbon
- Paintbrushes
- Spouncer
- Craft glue
Tips and Thoughts for This Project
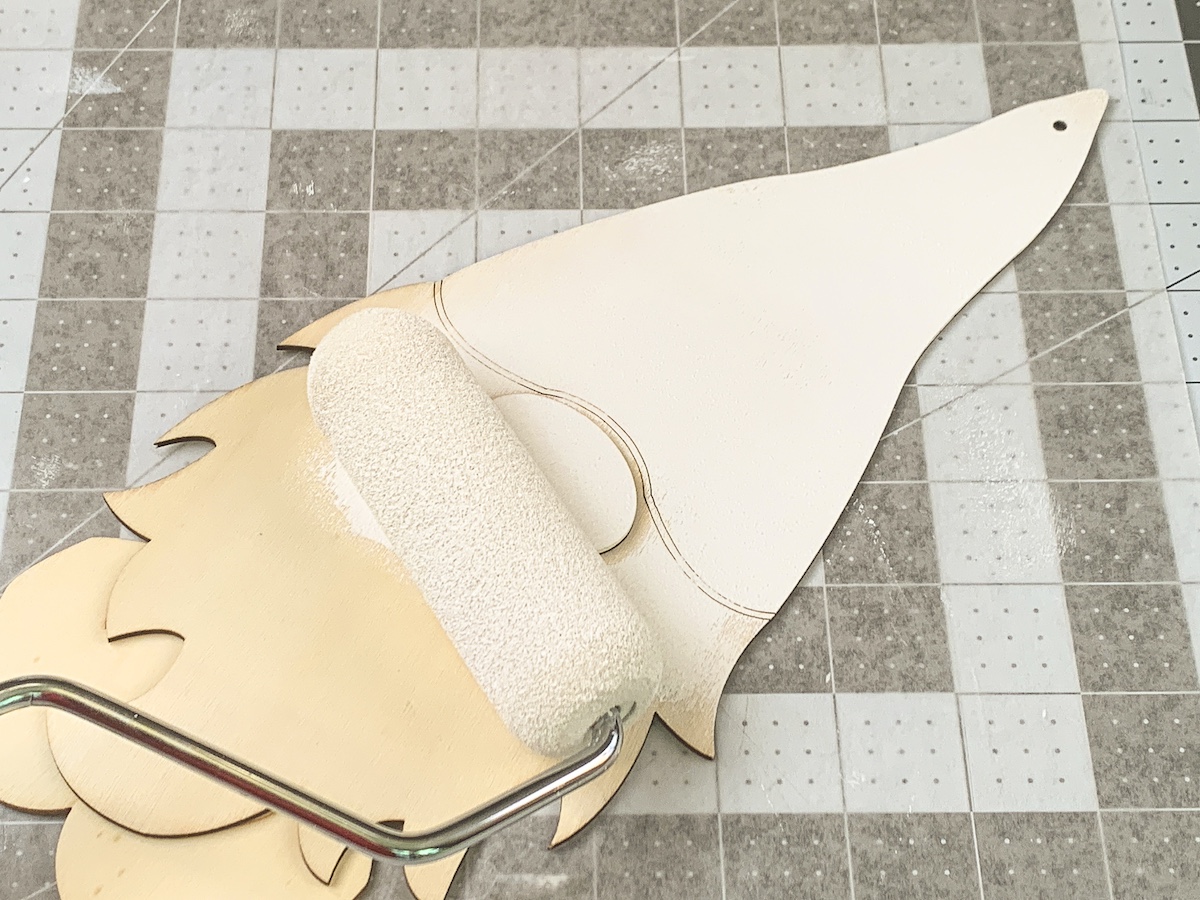
Using a roller helps cover large areas with paint quickly. I bought my foam roller from Lowe’s.
If you use glitter paint, I highly recommend using a spouncer. A brush just moves the glitter particles around while a small foam spouncer makes it easier to “place” the paint.
Get the printable how to card for this project below:
Wood Gnome Christmas Decor
Equipment
- 1 Cricut with white vinyl (or adhesive letters)
Materials
- Wood gift tag
- Wood gnome shape
- Acrylic paint red, white, turquoise, aqua, skin tone
- FolkArt Glitterific
- Glitter snowflake stickers
- Ribbon and white mini cord
- Craft glue
Instructions
- Paint the wood tag with the color of your choice. Use a large brush or roller, do both sides, and let dry. Use smaller brushes to get into between the slats. Let dry completely.

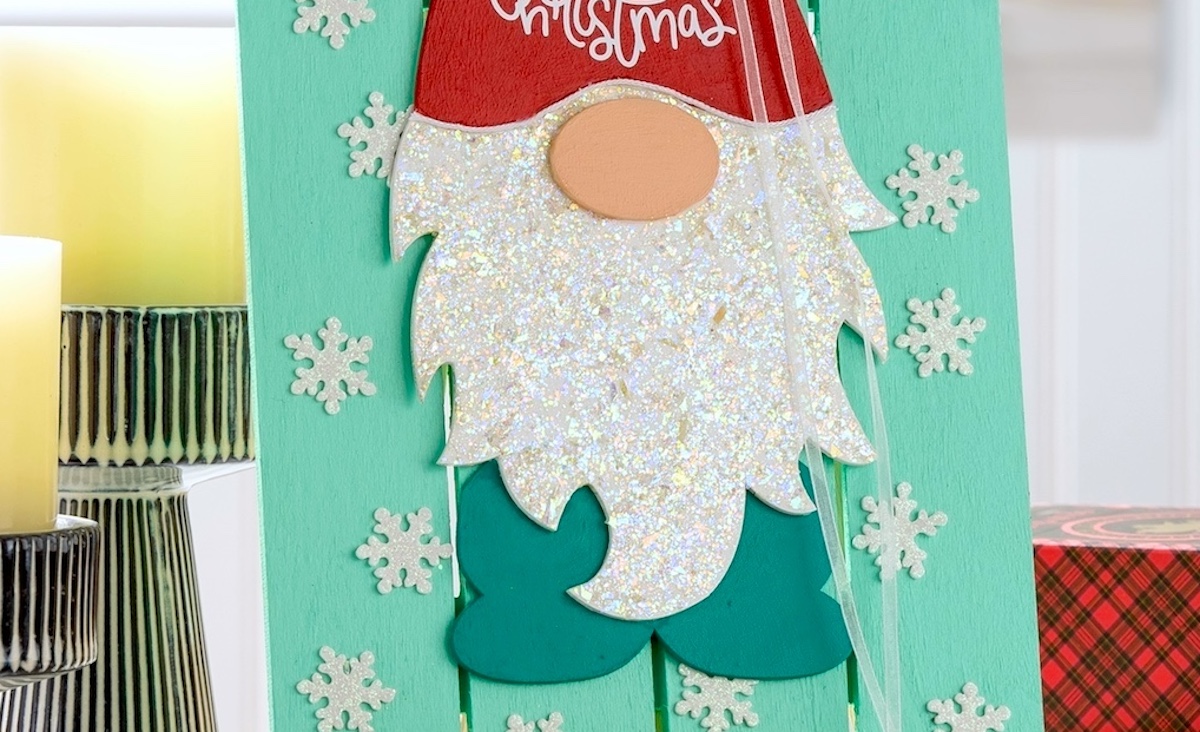
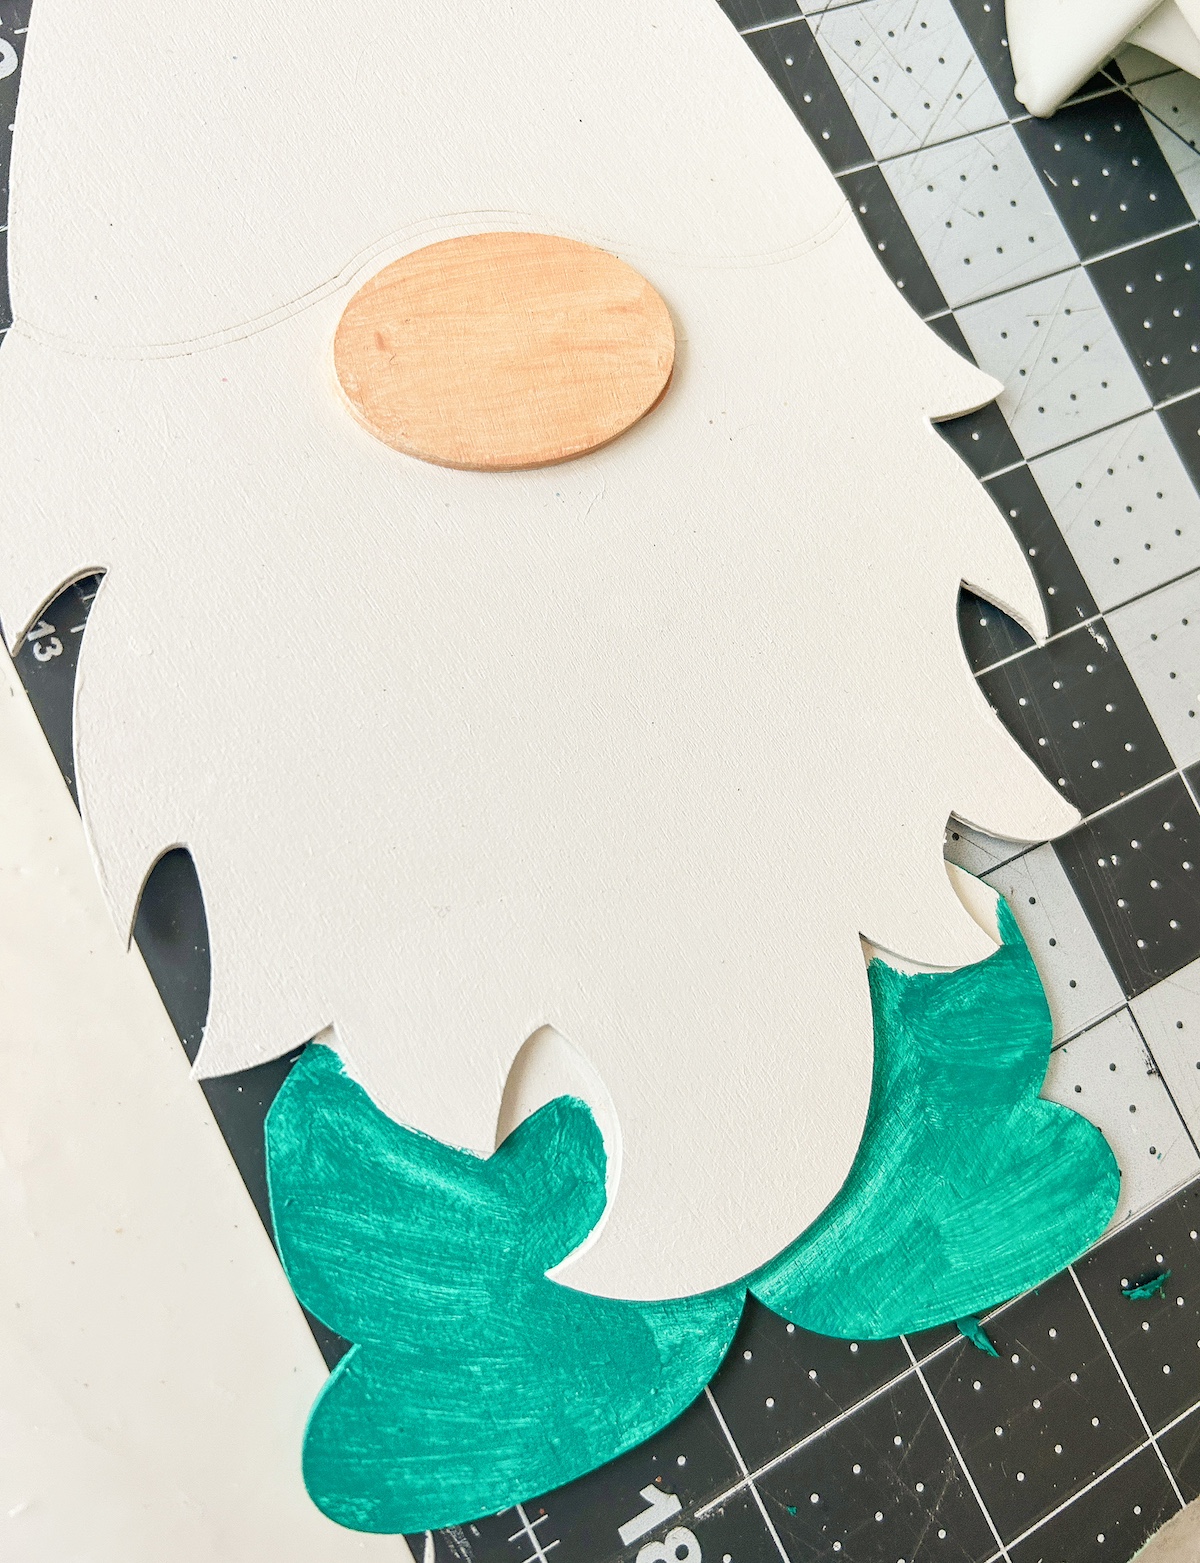
- Begin by painting the gnome. At first I didn't know what colors I wanted to paint my gnome, so I painted the whole thing white.
- Use detail brushes and the colors of your choice to paint the gnome hat, nose, and pants. Let dry.
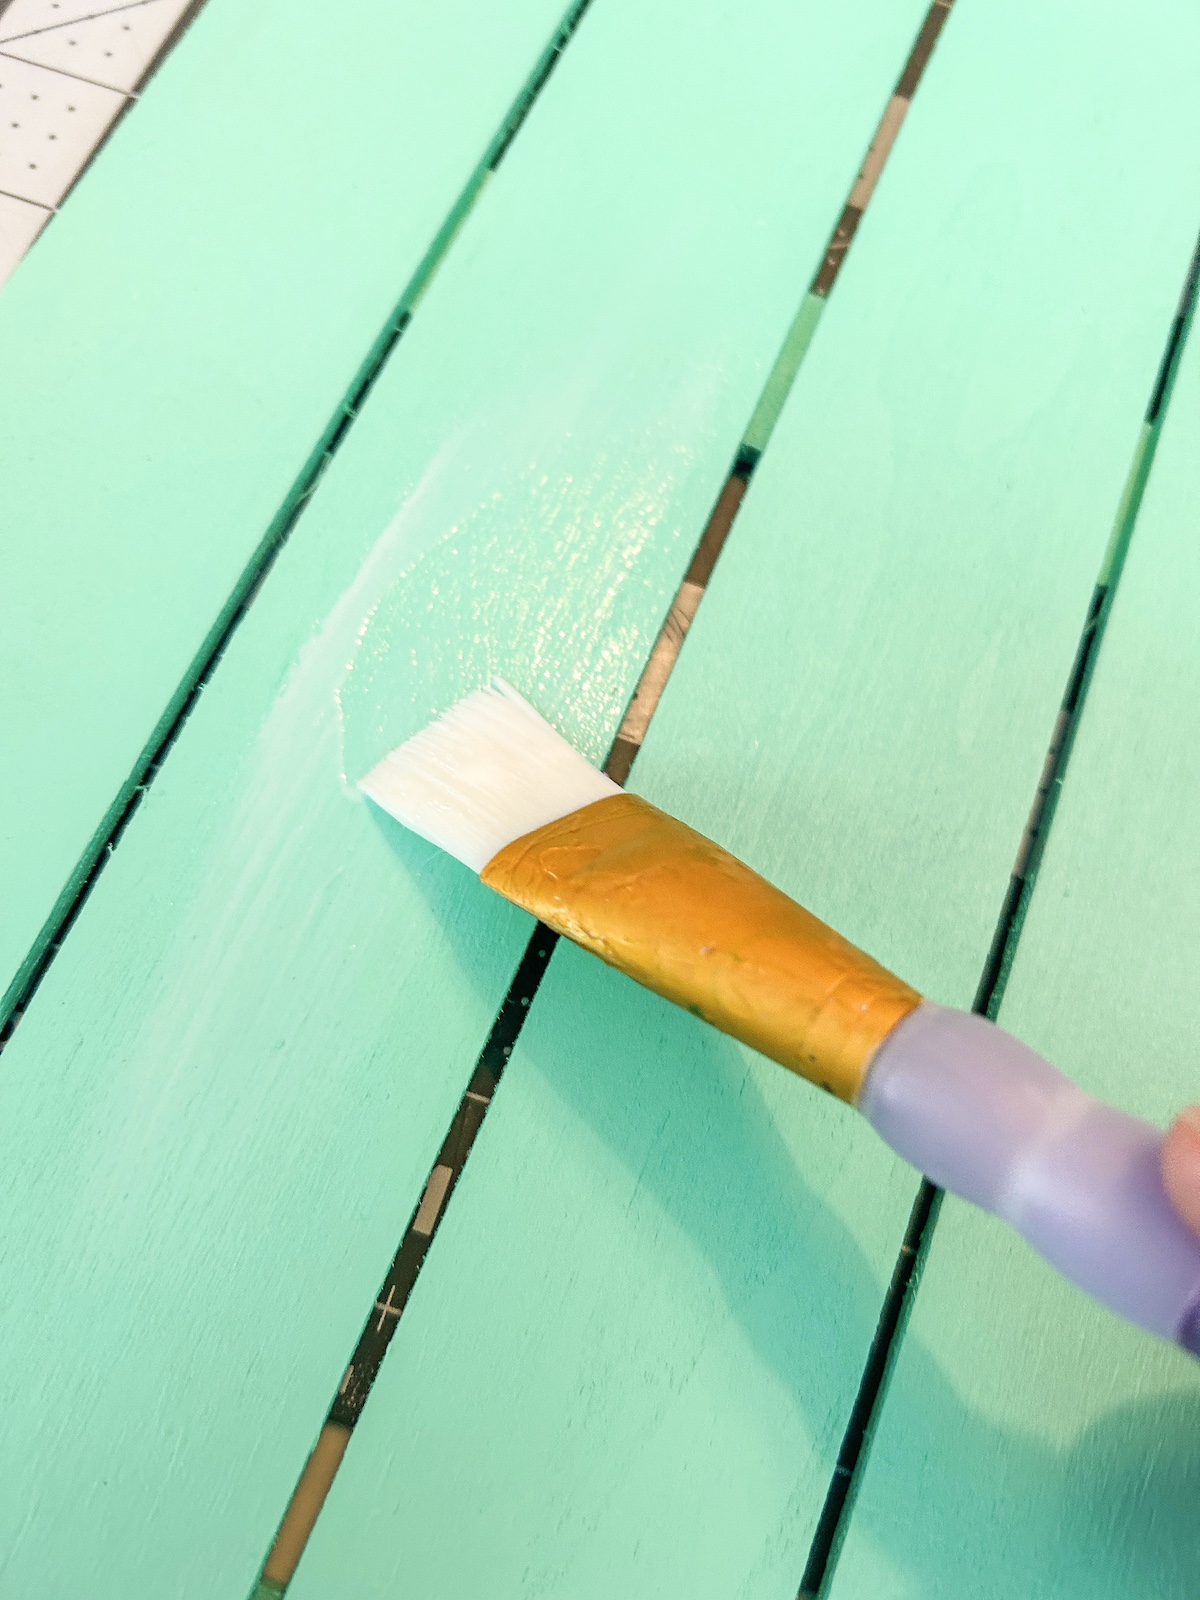
- Seal the wood tag and gnome wood piece with Mod Podge. Let dry.
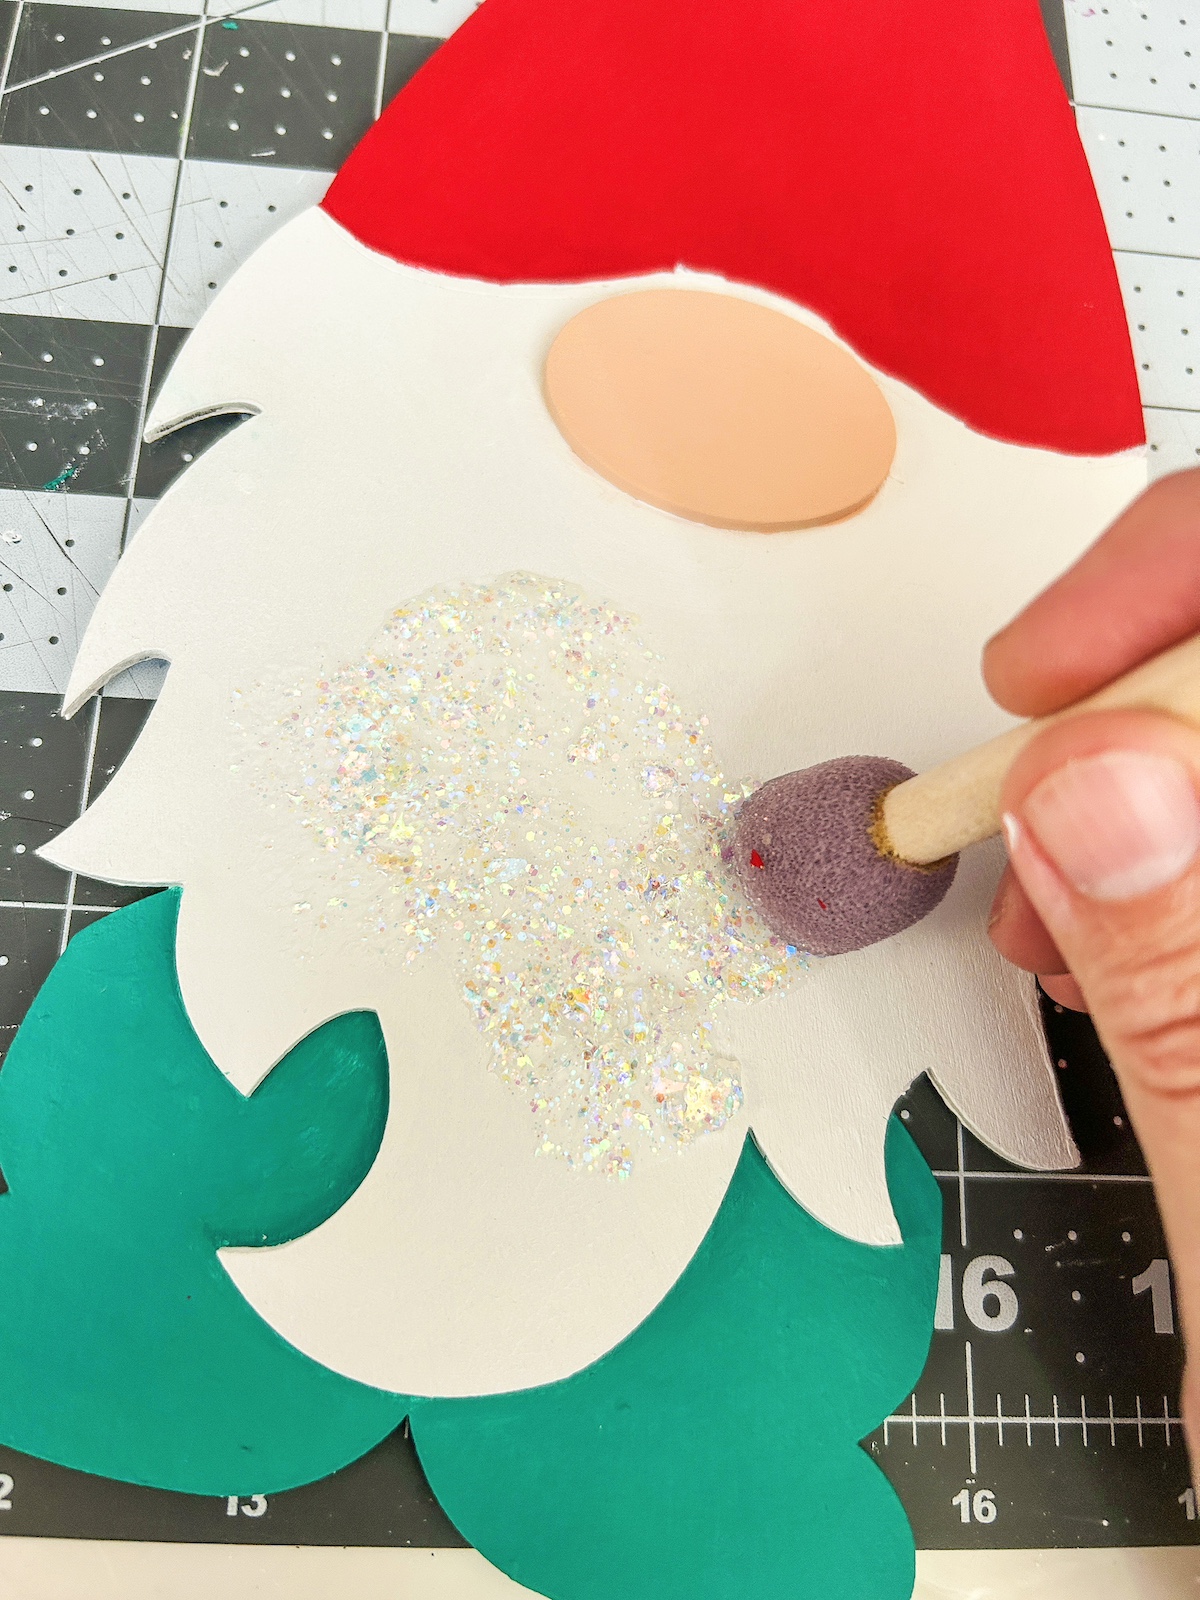
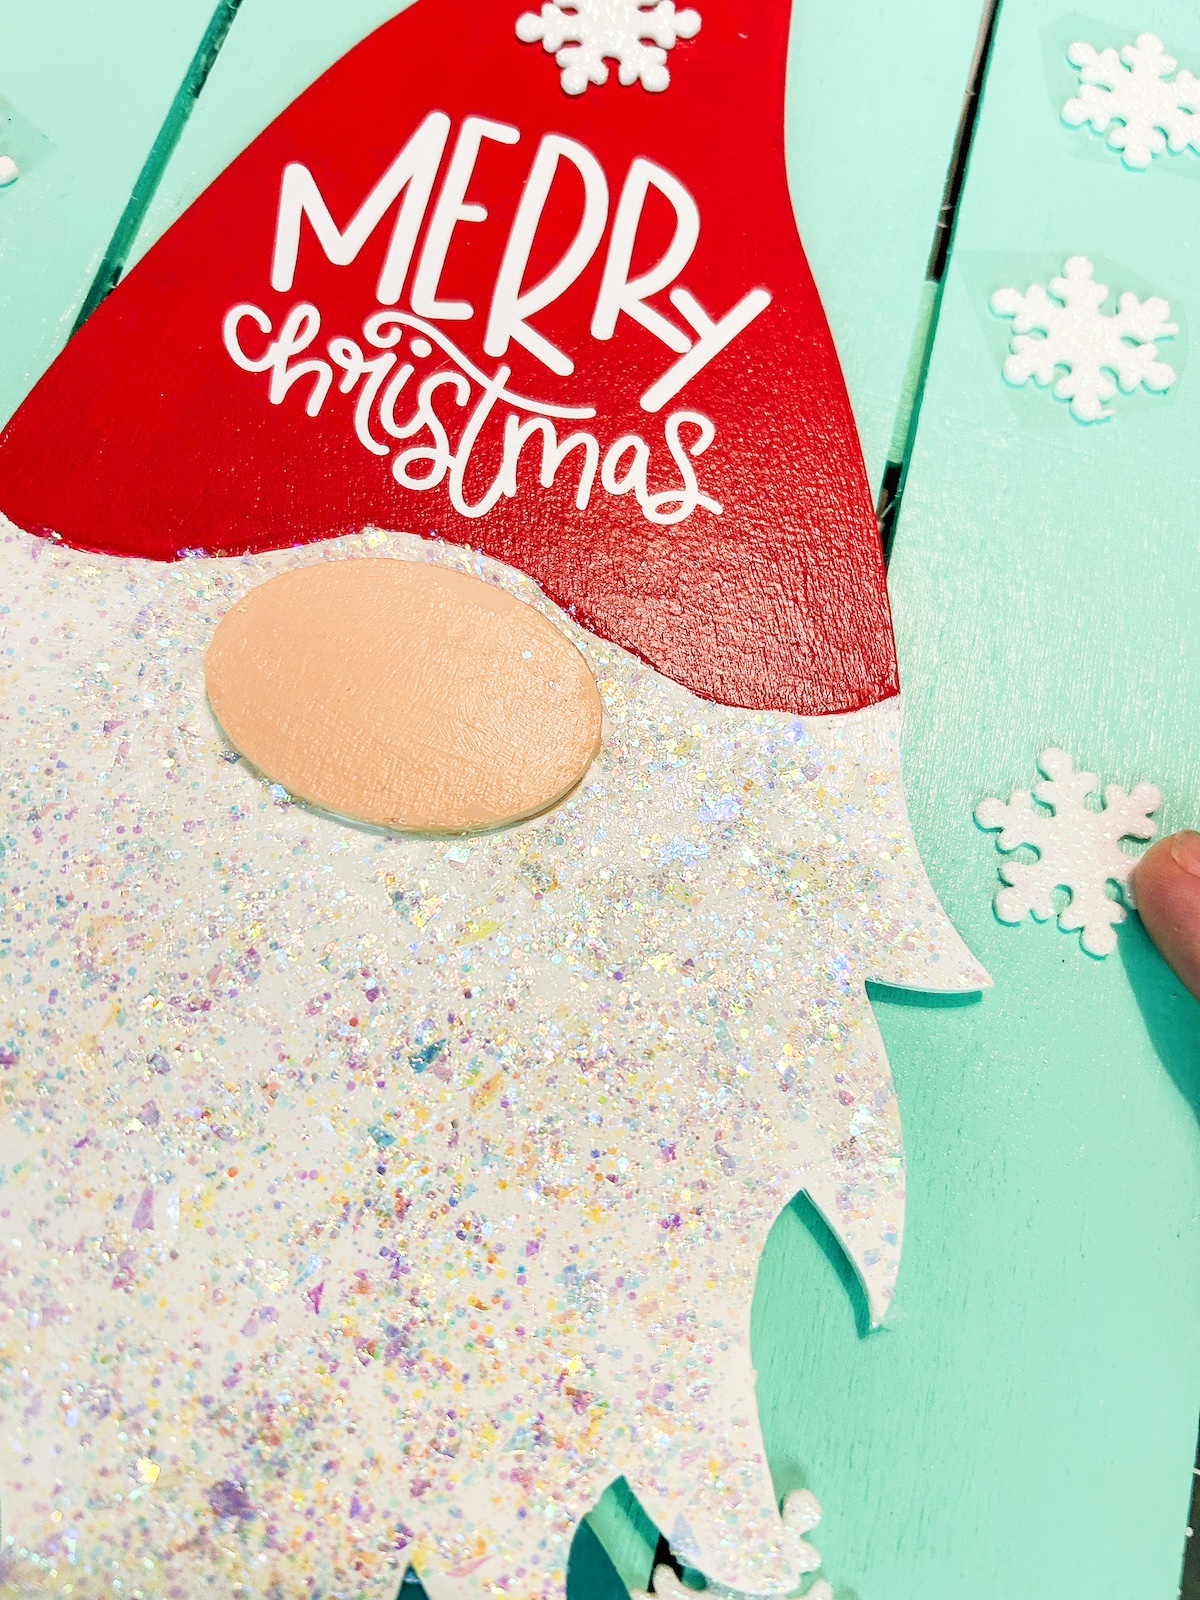
- Use a spouncer to apply the glitterific paint to the beard area. Let dry completely and touch up any areas, if desired.
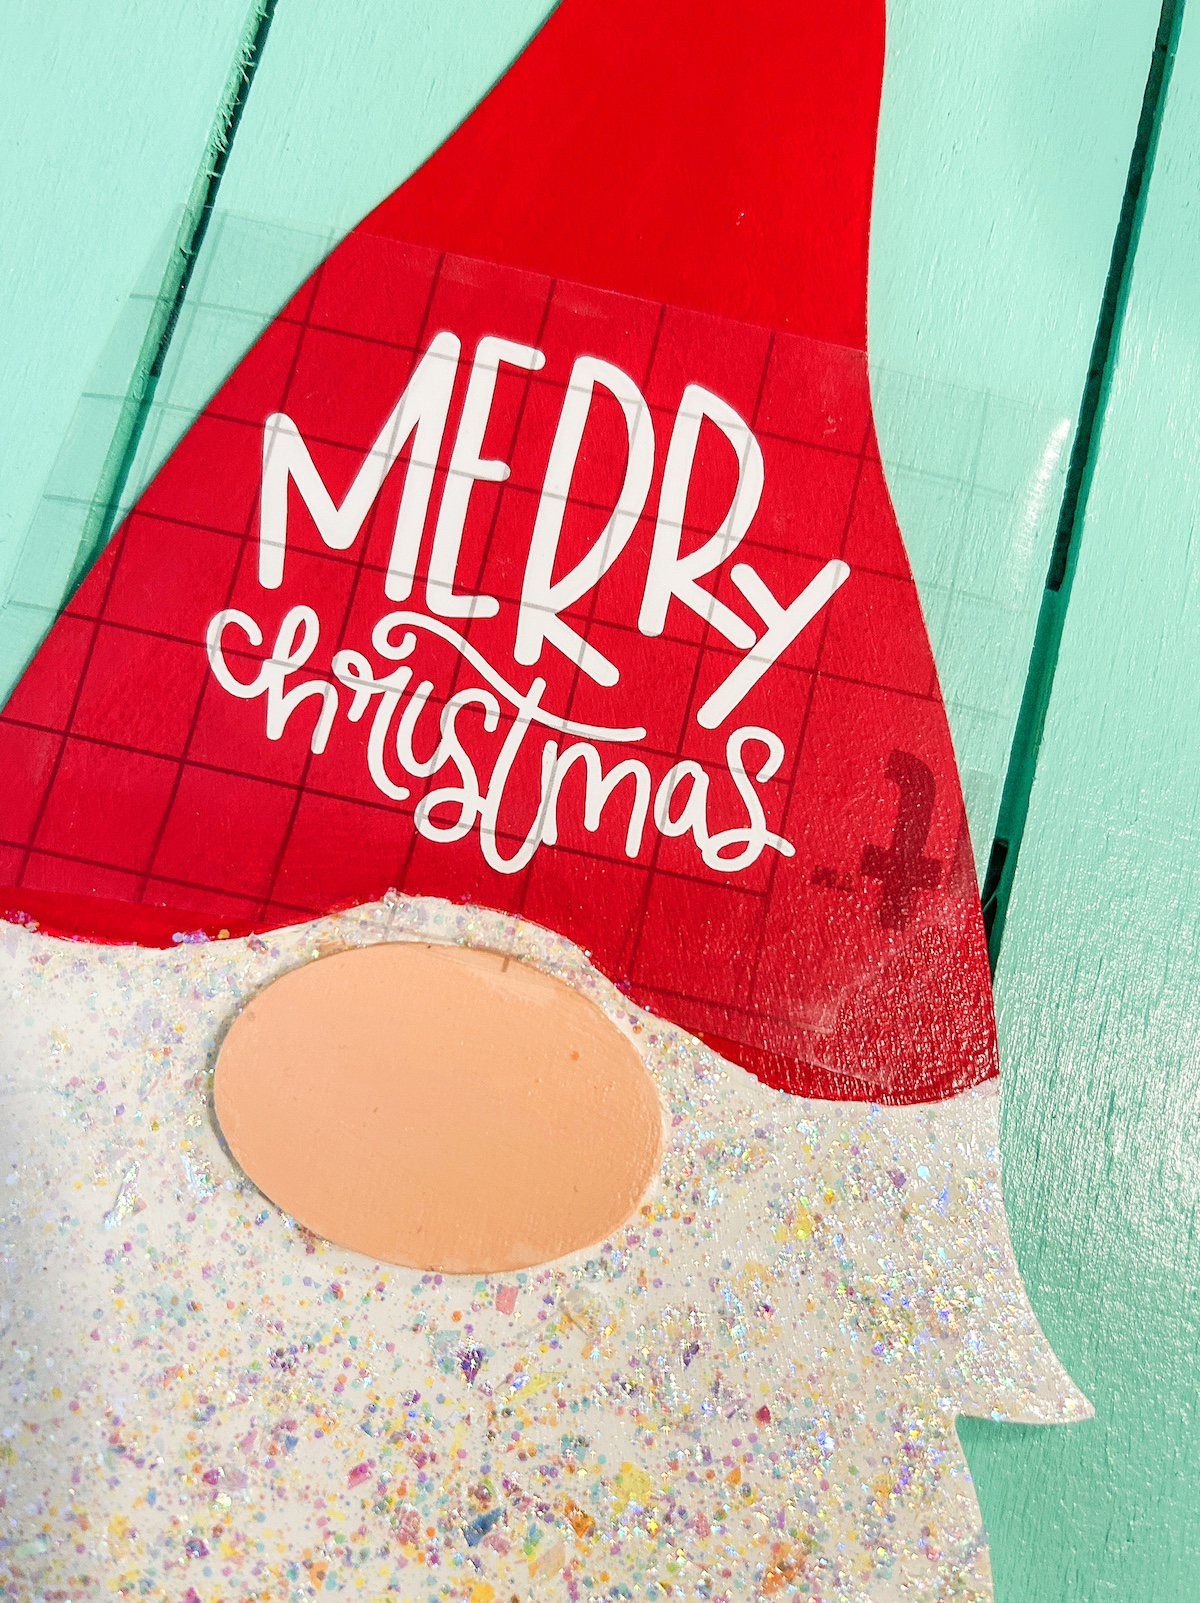
- Use your Cricut to cut out the saying or holiday phrase of your choice.

- Use the transfer tape to line up the decal on the hat. Smooth completely, then remove the transfer tape and make sure the decal is fully adhered.
- Use the craft glue (or hot glue) to attach the gnome to the wood tag.
- Randomly add the snowflake stickers around the wood tag, as desired.
- Glue a length of white mini cord along the hat line to clean up the project. Tie a ribbon to the top if desired. Let dry before displaying.
If you enjoyed this project, let me know in the comments! I’d also love for you to check out these other fun posts:


